
The Art of Baking Sour Rye Bread (Beyond Sourdough)

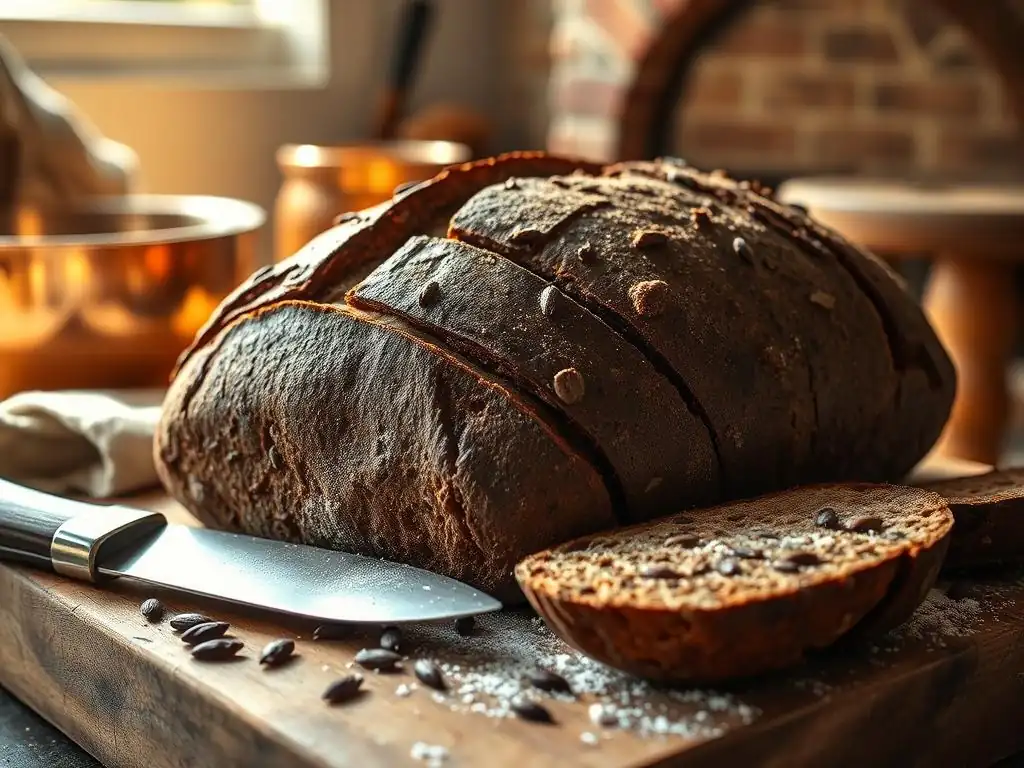
Welcome to BakeWithEase, your trusted companion on your baking journey! Ever wondered if you could conquer the nuanced art of sourdough rye bread? We're about to unlock that secret. This time, we're diving deep into the techniques and tips behind crafting an easy sourdough rye bread recipe that's both satisfyingly tangy and surprisingly simple. Ready to experience the magic?
- Introduction to Sour Rye Bread Baking: A BakeWithEase Guide
- Mastering the Fundamentals for an Easy Sourdough Rye Bread Recipe
-
Step-by-Step: Our Easy Sourdough Rye Bread Recipe
- Preparing the Rye Sourdough Starter Levain
- Mixing the Dough: Achieving the Perfect Consistency
- Bulk Fermentation: Developing Flavor and Texture
- Shaping the Loaf: Creating a Beautiful Rye Bread
- Proofing: Ensuring a Light and Airy Crumb
- Baking: Achieving a Dark and Flavorful Crust
- Cooling and Slicing: Preserving the Bread's Integrity
- Troubleshooting Your Homemade Rye Bread: Common Issues and Solutions
- Variations on Our Easy Sourdough Rye Bread Recipe
- Storing and Enjoying Your Delicious Sour Rye Bread
- Conclusion: Embrace the Art of Sour Rye Bread Baking
-
Frequently Asked Questions
- How does this recipe differ from a standard sourdough rye bread recipe?
- What makes this sourdough rye bread recipe "easy" compared to others?
- Can I substitute the rye flour in this recipe?
- What if my sourdough starter isn't very active?
- What kind of equipment do I need for this easy sourdough rye bread recipe?
- Final Reflection: The Enduring Allure of Sour Rye, Beyond the Recipe
- Unleash Your Inner Rye Baker!
Introduction to Sour Rye Bread Baking: A BakeWithEase Guide
Discover the Unique Flavors of Sour Rye Bread
Sour rye bread offers a depth of flavor that sets it apart from standard wheat-based sourdoughs. Its characteristic tang comes not just from the sourdough fermentation but also from the rye flour itself, which contains compounds that contribute to acidity and complex aromas. Unlike wheat, rye flour has a lower gluten content and a higher proportion of soluble fiber (pentosans), which absorb more water and create a denser, moister crumb with a distinct chewiness. This combination results in a loaf that is both hearty and flavorful, often described as earthy, slightly sweet, and, of course, pleasantly sour.
Exploring the world of rye means encountering a spectrum of flavors, from the mild tang of a light rye loaf to the intense, malty depth of a pumpernickel. The specific flavor profile depends heavily on the type of rye flour used (light, medium, dark, or pumpernickel), the fermentation time and temperature, and the inclusion of enhancers like caraway seeds or molasses. A well-made sour rye bread provides a robust foundation for everything from simple butter and cheese to smoked meats and pickled vegetables, showcasing its versatility and unique appeal on the table.
Why Rye Bread Deserves a Place in Your Baking Repertoire
Incorporating rye bread into your baking routine expands your skills and introduces you to different dough handling techniques. Rye dough behaves differently than wheat dough due to its lower gluten structure; it tends to be stickier and less elastic, requiring a gentler touch and different expectations regarding rise. Mastering rye baking teaches patience and observation, as the dough's development is less about visual gluten development and more about fermentation activity and hydration management. It's a rewarding challenge that builds confidence and expands your understanding of flour types and their unique properties.
Beyond the technical aspects, baking sour rye bread allows you to create loaves with significant nutritional benefits. Rye flour is higher in fiber than wheat flour, particularly soluble fiber, which can aid digestion and contribute to a feeling of fullness. It also contains various vitamins and minerals, including magnesium, phosphorus, zinc, and B vitamins. Making an easy sourdough rye bread recipe at home means you control the ingredients, avoiding commercial additives and ensuring a wholesome, naturally fermented product that's both delicious and nutritious.
Mastering the Fundamentals for an Easy Sourdough Rye Bread Recipe
Essential Ingredients for Authentic Sour Rye Bread
Rye Flour: Choosing the Right Type for Your Bake
The type of rye flour you choose significantly impacts the final texture, color, and flavor of your sour rye bread. Light rye flour, milled from the inner part of the rye berry, produces a lighter colored bread with a milder flavor, often used in combination with wheat flour.
Medium rye flour includes more of the outer layers and germ, resulting in a darker crumb and more pronounced rye flavor. Dark rye flour, milled from the whole rye berry including most of the bran and germ, yields a dense, deeply colored, and intensely flavored loaf, often used in traditional European rye breads.
Pumpernickel flour is typically a very coarse grind of whole rye, sometimes including the entire berry, used for very dense, dark loaves often baked for extended periods at lower temperatures. For an easy sourdough rye bread recipe, starting with a mix of medium rye and bread flour is often recommended to balance flavor with manageable dough handling.
Understanding the different types of rye flour is crucial for predicting the outcome of your bake. For example, using 100% dark rye flour will result in a very dense loaf with a strong, earthy flavor, whereas a blend of 40% medium rye and 60% bread flour will produce a lighter loaf with a softer crumb and a more subtle rye tang.
The hydration level also needs adjustment based on the flour type; darker, coarser flours typically absorb more water than lighter ones. Experimenting with different blends, perhaps starting with a 50/50 mix of bread flour and medium rye flour for a beginner-friendly approach, allows you to discover your preferred texture and flavor profile.
Sourdough Starter: Building and Maintaining a Robust Culture for Rye
A healthy, active sourdough starter is the heart of any sourdough bread, and this holds true for an easy sourdough rye bread recipe. For rye bread, a starter that is specifically fed with rye flour (or a blend including rye) can often provide a more vigorous rise and a deeper, more characteristic rye flavor.
Rye flour contains more enzymes than wheat flour, which can sometimes make rye starters more active and faster-fermenting. Maintaining a rye or rye-inclusive starter involves regular feedings, typically with a 1:1:1 ratio of starter, flour, and water by weight, at least once a week if stored in the refrigerator, or daily if kept at room temperature.
To prepare your starter for baking rye bread, it's best to feed it 4-12 hours before mixing the dough, allowing it to become active and bubbly. A common practice is to build a 'levain' specifically for the bake by taking a small amount of your mature starter and feeding it with the specific flour blend (often primarily rye) and water ratio required for the recipe.
For many easy sourdough rye bread recipes, using a 100% hydration starter (equal parts flour and water by weight) is standard. The starter should have peaked and just begun to recede slightly when you use it, indicating it has maximum leavening power.
Caraway Seeds and Other Flavor Enhancements
Caraway seeds are arguably the most classic flavor pairing for rye bread, offering a distinctive warm, slightly peppery, and anise-like note that complements the tang of the rye perfectly. They can be added whole to the dough during mixing, typically at a rate of 1-2% of the total flour weight (e.g., 5-10 grams for a loaf using 500 grams of flour). Lightly toasting the caraway seeds before adding them can intensify their aroma and flavor.
Beyond caraway, other ingredients can enhance the complexity of your easy sourdough rye bread recipe. Molasses, honey, or a touch of brown sugar can add sweetness and contribute to a darker crust color, often used in darker rye loaves like pumpernickel. Soaking seeds like sunflower, pumpkin, or flax seeds and adding them to the dough provides texture and nutty flavors.
Even a small amount of cocoa powder or dark roasted malt flour can deepen the color and add a subtle, earthy note to a dark rye loaf. Experimenting with these additions allows you to customize your rye bread to your personal taste.
Essential Equipment for Baking Sour Rye at Home
Baking Stones and Dutch Ovens: Achieving a Crispy Crust
Achieving a beautiful, crispy crust on your easy sourdough rye bread recipe at home often requires creating a steamy environment in your oven, similar to professional bakery ovens. A baking stone or steel, preheated thoroughly, provides a consistent, high heat source from beneath, promoting oven spring and helping to develop a deep brown crust. Place the stone on the middle rack and preheat it for at least 30-60 minutes at your target baking temperature, often between 220°C and 250°C (425°F - 475°F).
A Dutch oven is another excellent tool for baking sourdough rye, especially for beginners. Baking the loaf inside a preheated lidded Dutch oven traps the moisture released by the dough, creating steam that keeps the crust soft during the initial phase of baking. This allows the loaf to expand fully before the crust hardens.
After 20-30 minutes, the lid is removed, allowing the crust to brown and crisp up. This method is particularly effective for high-hydration rye doughs which can sometimes spread more during baking. A 5 or 6-quart cast iron Dutch oven is a versatile size for most standard loaf recipes.
Banneton Baskets: Shaping Your Rye Loaf for Success
Banneton baskets, also known as proofing baskets, are invaluable for giving your rye loaf structure and shape during the final proofing stage. Made from rattan, cane, or wood pulp, these baskets are typically dusted generously with flour (often rice flour, which is less likely to stick) before placing the shaped dough seam-side up or seam-side down, depending on whether you want the seam or a smooth surface as the top crust. As the dough proofs, it expands to fill the basket, preventing it from spreading outwards and helping it maintain a desirable height.
Using a banneton is particularly beneficial for rye doughs, which tend to be softer and less able to hold their shape compared to wheat doughs. The basket supports the dough as it develops its structure. Once proofed, the dough is gently inverted onto parchment paper or directly onto the hot baking surface. The texture of the banneton leaves a lovely pattern on the surface of the loaf if proofed seam-side down. Ensure the basket is well-floured to prevent sticking, especially with the stickier nature of rye dough.
Step-by-Step: Our Easy Sourdough Rye Bread Recipe
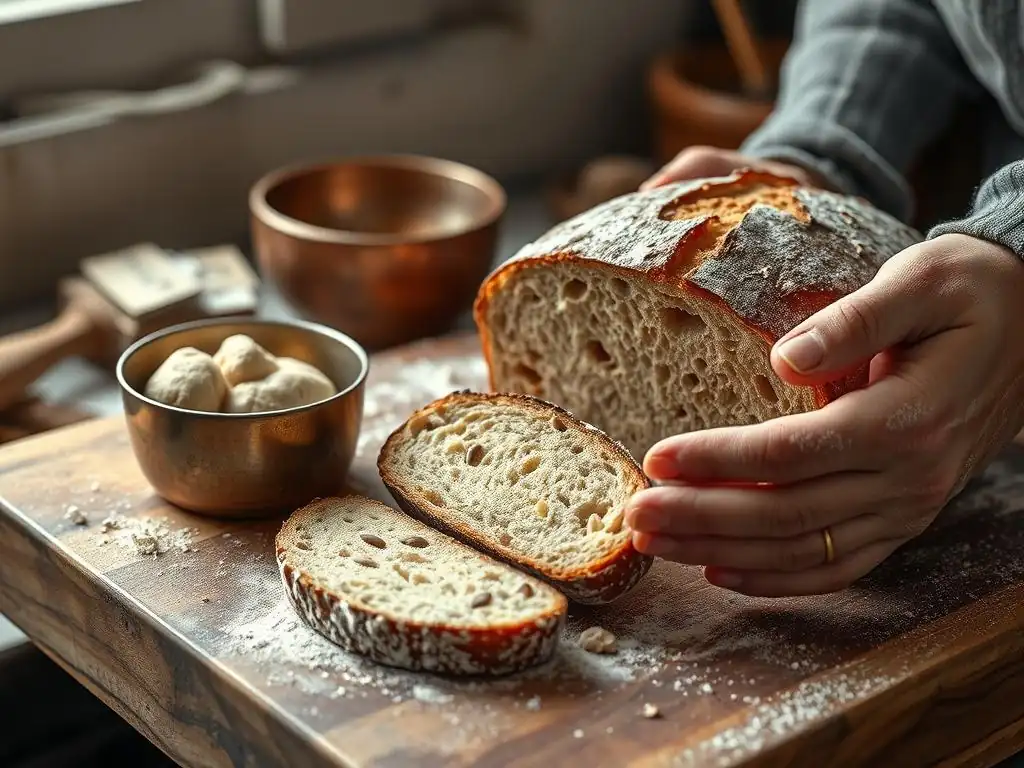
Preparing the Rye Sourdough Starter Levain
To begin our easy sourdough rye bread recipe, you'll need an active sourdough starter. About 8-12 hours before you plan to mix your dough, prepare a levain. Take 10-20 grams of your mature starter and feed it with a specific mix of flour and water. For a typical loaf using around 500g total flour, you might build a levain using 20g starter, 100g rye flour (medium or dark), and 100g water. This creates a 100% hydration levain that is primarily rye-based, perfect for inoculating your main dough.
Let the levain ferment at room temperature (ideally between 20-24°C or 68-75°F) until it has roughly doubled in size, is visibly bubbly, and smells pleasantly tangy. It should pass the float test (a small dollop dropped in water floats) or be just starting to recede from its peak. This active levain is crucial for providing the leavening power and sour notes characteristic of great sour rye bread.
- [ ] Take 10-20g mature starter.
- [ ] Feed with 100g rye flour and 100g water.
- [ ] Mix well in a jar or container.
- [ ] Let ferment at room temperature for 8-12 hours.
- [ ] Check for doubling and bubbly activity before use.
Mixing the Dough: Achieving the Perfect Consistency
Mixing rye dough is different from mixing wheat dough. Because of rye's lower gluten content, aggressive kneading is not necessary and can even be detrimental. For our easy sourdough rye bread recipe, we'll use a gentle mixing approach. In a large bowl, combine the active levain, the remaining water for the main dough, and your flours (e.g., 250g bread flour, 250g medium rye flour). Mix until just combined and no dry flour spots remain. This initial mix is called the autolyse (or rest period). Let it rest for 20-30 minutes.
After the rest, add the salt (typically around 1.8-2% of the total flour weight, e.g., 9-10g for 500g flour) and any optional inclusions like caraway seeds (5-10g). Gently mix and fold the dough within the bowl. The dough will be sticky and less elastic than wheat dough. You can perform a few gentle sets of stretch and folds over the next hour or so (e.g., 2-3 sets at 20-30 minute intervals) just to build a little structure, but avoid excessive handling. The dough consistency should be quite moist and tacky.
Bulk Fermentation: Developing Flavor and Texture
Bulk fermentation, or the first rise, is where the sourdough starter works its magic, developing flavor and creating gas to leaven the dough. For rye dough, bulk fermentation typically takes 2-4 hours at room temperature (20-24°C / 68-75°F), though this can vary significantly based on temperature and starter activity. Rye dough doesn't always show dramatic visual increases in volume like wheat doughs; look for signs like increased puffiness, bubbles visible on the surface or sides of the container, and a pleasant, tangy aroma.
During bulk fermentation, the unique enzymes in rye flour break down starches, contributing to the characteristic flavor and moist crumb. Over-fermenting rye dough can lead to a gummy texture and a loaf that collapses during baking. Pay close attention to the signs of fermentation rather than relying solely on a prescribed time. The dough should feel aerated and lighter, but not necessarily doubled in size. Aim for a roughly 30-50% increase in volume, depending on the flour ratio.
Shaping the Loaf: Creating a Beautiful Rye Bread
Shaping rye dough requires a light touch due to its stickiness and lower gluten. Lightly flour your work surface and your hands. Gently scrape the dough out of the bulk fermentation container. Avoid degassing it too much. For a boule (round loaf) or batard (oval loaf), perform a simple pre-shape by gently folding the edges towards the center to create some surface tension, then let it rest for 10-15 minutes, covered.
For the final shape, gently mold the dough into your desired form. With rye, it's often easier to use a bench scraper to help manage the sticky dough. Aim to create a taut surface without tearing the dough. Place the shaped loaf, seam-side up (if using a banneton and baking seam-side down) or seam-side down (if proofing seam-side up or using a loaf pan), into a well-floured banneton or proofing basket. Ensure the flouring is sufficient to prevent sticking.
Proofing: Ensuring a Light and Airy Crumb
Proofing, the final rise before baking, allows the shaped loaf to gain volume and develop the internal structure that will result in a light crumb. Rye dough can proof relatively quickly compared to wheat dough. Room temperature proofing for our easy sourdough rye bread recipe might take 1-3 hours. Alternatively, a cold proof in the refrigerator for 8-16 hours can develop deeper flavors and make the dough easier to handle and score.
To check if the dough is ready, perform the poke test: gently press your floured finger into the dough. If the indentation springs back slowly but doesn't disappear completely, it's likely ready. If it springs back immediately, it needs more time. If it leaves a deep indentation that doesn't spring back at all, it may be over-proofed. Rye doughs are prone to over-proofing, which can lead to a dense or collapsed loaf. When in doubt, it's often better to slightly under-proof than significantly over-proof.
- [ ] Room temperature proof: 1-3 hours.
- [ ] Cold proof (refrigerator): 8-16 hours.
- [ ] Perform poke test to check readiness.
- [ ] Dough should spring back slowly.
Baking: Achieving a Dark and Flavorful Crust
Preheat your oven and baking vessel (baking stone/steel or Dutch oven) to a high temperature, typically 230-250°C (450-475°F), for at least 30-60 minutes. Carefully transfer the proofed dough onto parchment paper or into the hot Dutch oven. If using a baking stone, you can add steam to the oven by placing a tray of hot water or ice cubes on a lower rack.
Score the top of the loaf with a sharp blade to allow for controlled expansion during baking. Bake covered (in a Dutch oven) or with steam for the first 20-25 minutes. This steam is critical for maximizing oven spring and developing a thin, crispy crust.
Then, remove the lid (if using a Dutch oven) or vent the steam (if using a stone and water tray) and reduce the oven temperature slightly, perhaps to 220°C (425°F). Continue baking for another 25-35 minutes, or until the crust is a deep brown color and the internal temperature reaches 96-99°C (205-210°F). Rye loaves often benefit from a longer, slower bake to ensure they are cooked through and prevent a gummy crumb.
Cooling and Slicing: Preserving the Bread's Integrity
Once baked, immediately transfer the sour rye bread to a wire rack to cool completely. This step is absolutely crucial, especially for rye bread. The internal structure of the loaf continues to set as it cools, and slicing too early can result in a gummy texture, even if it was perfectly baked. Resist the temptation to slice into the hot loaf!
Allow the bread to cool for at least 2-4 hours, or ideally longer for very dark or dense rye loaves. The internal temperature needs to drop significantly for the moisture to redistribute and the crumb to stabilize. Once fully cooled, use a serrated bread knife to slice the loaf. This patience is key to enjoying the best possible texture and flavor from your easy sourdough rye bread recipe.
Troubleshooting Your Homemade Rye Bread: Common Issues and Solutions
Dense and Gummy Crumb: Identifying the Causes and Fixes
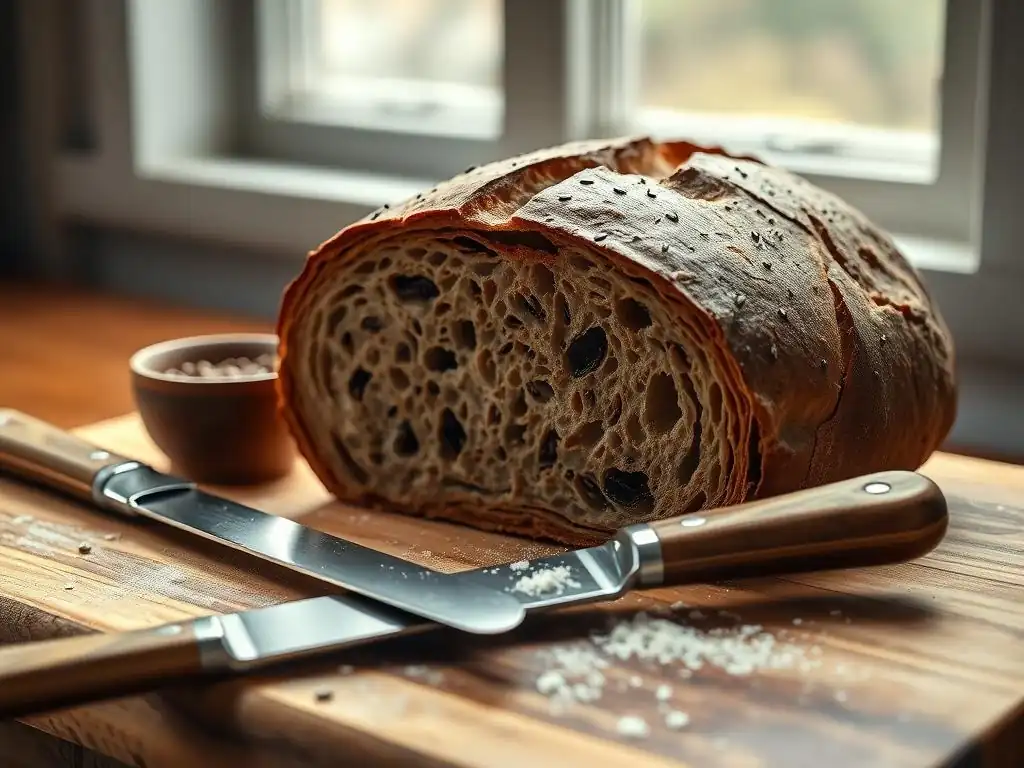
A dense or gummy crumb is one of the most common frustrations when baking rye bread. This can be caused by several factors. One primary reason is under-baking; rye dough holds a lot of moisture, and it needs sufficient time in the oven for that moisture to evaporate and the starches to set properly. Ensure the internal temperature reaches 96-99°C (205-210°F). Another cause is insufficient fermentation, either during bulk fermentation or proofing, which means the dough didn't develop enough gas to create an open structure.
Over-proofing can also paradoxically lead to a gummy crumb because the structure breaks down. Using too much rye flour, especially dark rye, without adjusting the hydration or adding some wheat flour for structure can also result in a denser loaf. Ensure your starter is active, don't rush the fermentation steps, bake thoroughly, and consider reducing the percentage of rye flour in your easy sourdough rye bread recipe if density is a persistent issue.
Flat Loaf: Understanding the Factors Affecting Rise
A flat loaf can be disheartening. This often points to issues with leavening or dough structure. The most common culprit is an inactive sourdough starter or levain; if your starter isn't strong and bubbly, it won't produce enough gas to lift the dough. Ensure your levain is active and peaked before mixing. Over-proofing is another major cause; if the dough proofs for too long, the gluten structure (limited as it is in rye) can weaken and collapse, leaving the loaf unable to hold its shape in the oven.
Under-development of dough structure, although less critical than with wheat, can also contribute. Gentle folding during bulk fermentation helps build some strength. Finally, insufficient surface tension during shaping or inadequate support during proofing (like not using a banneton) can cause the dough to spread outwards instead of rising upwards. For an easy sourdough rye bread recipe, focus on using a vigorous starter, monitoring fermentation signs closely, and giving the shaped loaf good support during proofing.
Overly Sour Taste: Balancing the Acidity
While some tang is desired in sour rye bread, an overwhelmingly sour flavor can be unpleasant. This is typically related to the fermentation process. Longer or warmer fermentation times, especially during the bulk ferment or cold proof, can increase the production of lactic and acetic acids by the sourdough bacteria. Using a very mature or hungry starter can also contribute more acidity.
To reduce excessive sourness in your easy sourdough rye bread recipe, try adjusting fermentation temperatures and times. A shorter bulk fermentation or proof can result in a milder flavor. Using a younger, more recently fed starter (caught closer to its peak) can also yield less acidity. Alternatively, increasing the percentage of wheat flour relative to rye can dilute the strong rye flavors which can sometimes enhance the perception of sourness.
Pale Crust: Techniques for Achieving a Darker Color
Rye bread is known for its deep, appealing crust color, and a pale crust suggests something isn't quite right with the bake. Insufficient baking time or too low an oven temperature are common reasons. Rye crusts benefit from high initial heat to set and then adequate time to darken. Ensure your oven is properly calibrated and preheated thoroughly, especially if using a baking stone or Dutch oven.
Lack of steam during the initial baking phase prevents the crust from staying pliable long enough to expand fully and can lead to a thinner, paler crust. Using a Dutch oven or generating steam in the oven is key. Adding a small amount of sugar, molasses, or malt to your easy sourdough rye bread recipe can also help promote browning due to the Maillard reaction. Finally, ensure the loaf is baked until the internal temperature is correct; often, achieving the desired crust color coincides with the bread being properly cooked through.
Variations on Our Easy Sourdough Rye Bread Recipe
Adding Seeds and Grains for Enhanced Flavor and Texture
Incorporating seeds and grains is a popular way to add complexity and nutritional value to sour rye bread. Sunflower seeds, pumpkin seeds, flax seeds, and sesame seeds are excellent choices.
They can be added directly to the dough during the final mixing stage, typically at a rate of 10-20% of the total flour weight. Soaking harder grains or seeds like rye berries, cracked rye, or even some types of seeds (like flax or chia, which form a gel) in an equal weight of hot water for an hour or two before adding them to the dough can prevent them from absorbing moisture from the dough during fermentation and result in a better texture.
A "soaker" or "porridge" made from rye flakes or cracked rye cooked with water can also be incorporated into the dough. For instance, cooking 50g of rye flakes with 100g of water until soft and cooled, then adding this to your easy sourdough rye bread recipe dough, will add moisture, texture, and a pleasant chewiness. The addition of seeds and grains not only boosts flavor and texture but also makes the bread more visually appealing.
Exploring Different Rye Flour Combinations
Our easy sourdough rye bread recipe provides a great starting point, but the world of rye flour offers many possibilities for variation. You can experiment with different percentages of rye flour relative to wheat flour. For a milder loaf, you might use 30% medium rye and 70% bread flour. For a more intense rye experience, try 60% dark rye and 40% strong bread flour. Remember that increasing the rye percentage will likely require increasing the hydration slightly and will result in a denser, stickier dough.
You can also combine different types of rye flour within the same loaf, such as using a mix of light and dark rye, or incorporating some pumpernickel flour for added coarseness and depth of flavor. Each combination will yield a unique texture and taste profile, allowing you to tailor your sour rye bread to your preference. Documenting your experiments with different flour ratios will help you refine your perfect easy sourdough rye bread recipe over time.
Incorporating Molasses or Other Sweeteners
Traditional dark rye breads often include a touch of sweetness, which balances the sourness and deepens the flavor. Molasses is a classic addition, lending a characteristic dark color and rich, slightly smoky sweetness. Adding 1-2 tablespoons of molasses per loaf (using around 500g total flour) can significantly impact the color and flavor profile. Blackstrap molasses will provide a stronger, less sweet flavor than regular or light molasses.
Other sweeteners like honey, maple syrup, or brown sugar can also be used. Honey adds a distinct floral note, while brown sugar contributes a caramel-like sweetness. Adding sweeteners not only affects taste but also aids in browning during baking, contributing to a darker, more appealing crust. Experiment with small amounts initially, perhaps starting with just one tablespoon in your easy sourdough rye bread recipe, to see how it changes the loaf.
Storing and Enjoying Your Delicious Sour Rye Bread
Proper Storage Techniques to Maintain Freshness
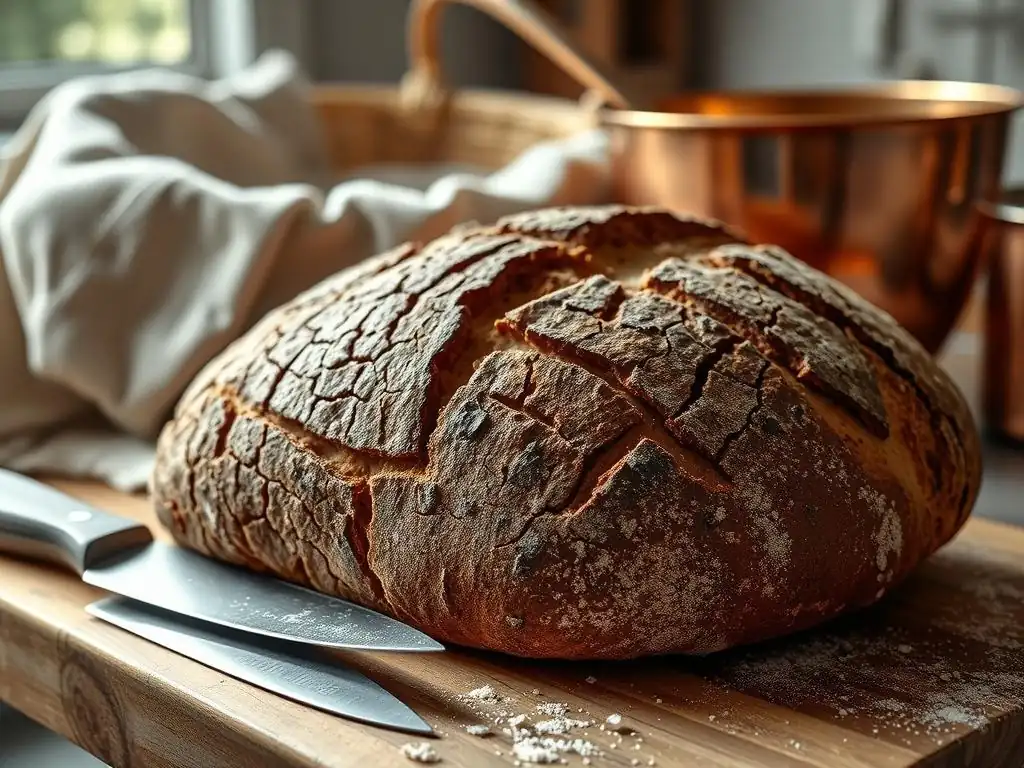
Proper storage is essential to keep your homemade sour rye bread fresh and delicious. Once completely cooled, store the loaf at room temperature. Avoid refrigerating bread, as this can actually make it stale faster. A simple bread box or a clean linen bread bag works well, allowing some air circulation while preventing the crust from drying out too quickly.
For longer storage, rye bread freezes exceptionally well. Slice the cooled loaf and place the slices in a freezer-safe bag or container, removing as much air as possible. Frozen slices can be easily popped into a toaster or oven directly from the freezer for quick enjoyment. A whole loaf can also be frozen, wrapped tightly in plastic wrap followed by foil, and then thawed at room temperature before slicing. Properly stored at room temperature, a well-baked sour rye loaf can stay fresh for 3-5 days, while freezing extends its life for several months.
Serving Suggestions: Pairing Rye Bread with Complementary Flavors
Sour rye bread's robust flavor makes it a fantastic base for a variety of toppings and pairings. It's a natural partner for strong cheeses like sharp cheddar, Swiss, or aged Gouda. Cream cheese, especially flavored with herbs or smoked salmon, is also a classic pairing.
Consider serving your easy sourdough rye bread recipe with:
- Smoked or cured meats (pastrami, corned beef, ham)
- Pickled vegetables (pickles, sauerkraut)
- Hearty soups and stews (borscht, goulash)
- Butter, especially cultured or flavored butter
- Avocado and a sprinkle of flaky salt
- Open-faced sandwiches (like Danish smørrebrød)
Its dense, moist crumb holds up well to moist toppings and spreads, making it incredibly versatile for both simple snacks and elaborate meals.
Conclusion: Embrace the Art of Sour Rye Bread Baking
Baking sour rye bread using a sourdough starter is a rewarding journey into a world of rich flavors and textures distinct from traditional wheat loaves. While rye dough presents its own unique challenges, understanding its properties and following a well-structured easy sourdough rye bread recipe empowers you to create loaves that are both delicious and satisfying. From selecting the right rye flour to mastering fermentation and achieving that perfect dark crust, each step offers an opportunity to learn and refine your baking skills.
BakeWithEase: Your Partner in Bread Baking Success
At BakeWithEase.com, we are dedicated to making the art of bread baking accessible and enjoyable for everyone. Our easy sourdough rye bread recipe and detailed guides are designed to help you navigate the nuances of working with rye flour and sourdough. We provide the tips, techniques, and inspiration you need to tackle new challenges in the kitchen and achieve baking success. Whether you're new to sourdough or looking to expand your repertoire beyond classic wheat, we're here to support your baking adventures, one delicious loaf at a time.
Frequently Asked Questions
How does this recipe differ from a standard sourdough rye bread recipe?
This recipe prioritizes ease of use and accessibility. It uses a simplified process compared to traditional sourdough, focusing on achievable results for home bakers while still capturing the essence of sourdough rye.
What makes this sourdough rye bread recipe "easy" compared to others?
The "easy" designation comes from using readily available ingredients and a simplified mixing and proofing process. It avoids complex techniques and long fermentation times often associated with sourdough baking.
Can I substitute the rye flour in this recipe?
While rye flour is crucial for the characteristic flavor, you could substitute a portion (up to 25%) with whole wheat flour. However, the distinctive rye flavor and texture will be diminished.
What if my sourdough starter isn't very active?
For best results, ensure your sourdough starter is active and bubbly before beginning. If it's sluggish, feed it regularly for a few days until it doubles in size within a few hours after feeding.
What kind of equipment do I need for this easy sourdough rye bread recipe?
You'll need basic baking equipment like a mixing bowl, measuring cups and spoons, a loaf pan, and an oven. A kitchen scale is highly recommended for accurate measurements, but not strictly necessary.
Final Reflection: The Enduring Allure of Sour Rye, Beyond the Recipe
The art of baking sour rye bread is more than just a recipe; it's a journey into the heart of culinary tradition and a testament to the enduring power of simple ingredients. This exploration into the nuances of rye, beyond the often-simplified sourdough approach, reveals a depth of flavor and texture achievable with careful attention to detail and a patient hand. The current surge in home baking, fueled by a desire for connection and control over our food, makes mastering this craft more relevant than ever.
The process of making sour rye, with its long fermentation and careful nurturing of the starter, mirrors the slow, deliberate pace often missing in our fast-paced lives. It's a meditative practice, a quiet rebellion against instant gratification. The best things in life are worth waiting for,
a sentiment perfectly encapsulating the rewarding experience of biting into a perfectly crafted loaf of sour rye. This bread, far from being merely sustenance, becomes a symbol of patience, skill, and the profound satisfaction of creating something beautiful and delicious from humble beginnings. The cultural significance of bread, a staple across civilizations, is amplified by the unique tang and complexity of rye, connecting us to a rich culinary heritage.
Now, consider your own kitchen. Imagine the aroma of freshly baked rye filling your home, the satisfying thud of the loaf as it hits the cooling rack. Don't be intimidated by the seemingly complex process; embrace the challenge.
Each step, from mixing the starter to shaping the loaf, is an opportunity to connect with the ingredients, the process, and ultimately, yourself. Take the time, savor the journey, and discover the profound satisfaction of crafting your own perfect loaf of sour rye bread. The reward is far more than just a delicious meal; it's a connection to something timeless and deeply satisfying.
Unleash Your Inner Rye Baker!
Thanks for joining us on this delicious journey into the world of sour rye bread! We hope you've gained valuable insights and feel inspired to tackle this rewarding baking adventure. Now it's time to put your newfound knowledge into practice!
- Bake your own sour rye masterpiece! Use the techniques outlined in the article and experiment with different flours and flavor combinations. This is your chance to truly own the process.
- Share your baking triumphs (and tribulations!) with our community. We'd love to see your creations and hear your experiences in the comments section below.
- Explore other traditional bread recipes on our site – expand your baking horizons and discover new favorites!
Ready to transform your kitchen into a fragrant bakery? What unique twist will you add to your first sour rye loaf?