
Elevate Your Baking: Pro Tips for Using Baking Stones and Dutch Ovens.

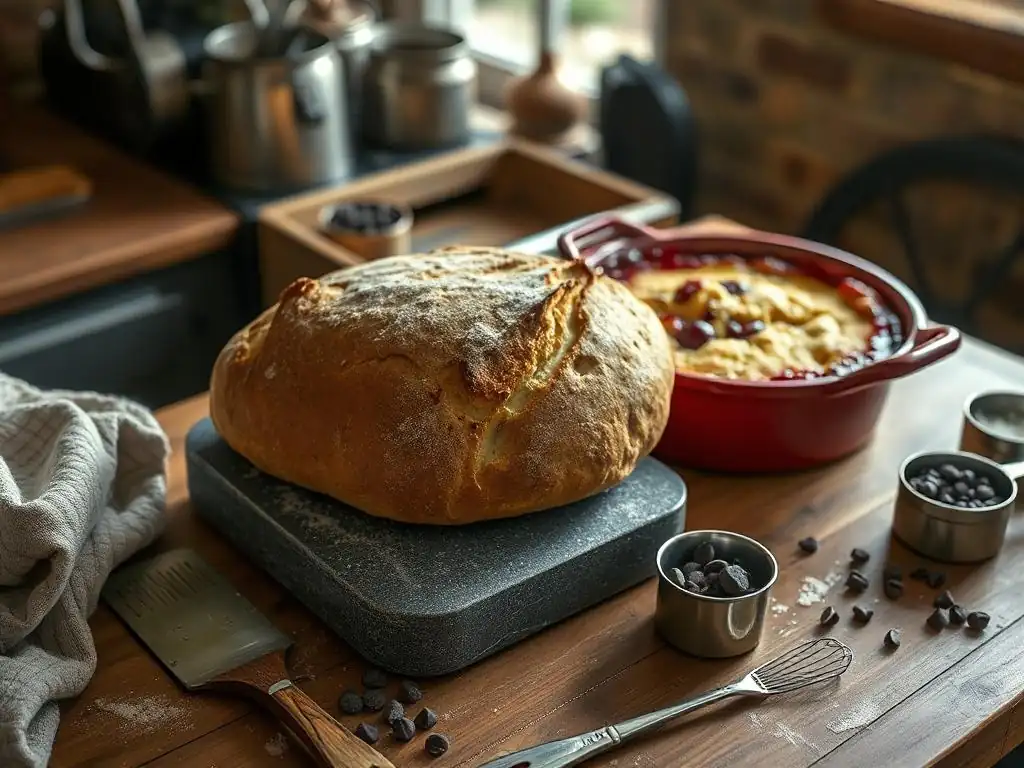
Welcome to BakeWithEase, your kitchen companion for unlocking baking brilliance! Ever wondered how to achieve that perfect crust on your homemade bread or pizza? This article delves into essential baking stones dutch oven tips that will transform your baking game. Discover the secrets to consistent heat distribution and unparalleled flavor, and get ready to elevate your creations from good to unforgettable. Curious how these simple tools can revolutionize your baking? Let's get started!
- Introduction: Mastering Baking with Stones and Dutch Ovens
- Understanding Baking Stones: A Baker's Best Friend
- Demystifying Dutch Ovens: Versatility in Every Bake
- Baking Stone vs. Dutch Oven: A Detailed Comparison
- Maintaining Your Baking Stone and Dutch Oven for Longevity
- Troubleshooting Common Issues with Baking Stones and Dutch Ovens
- Conclusion: Unlock Your Baking Potential with Stones and Dutch Ovens
- Frequently Asked Questions
- Final Reflection: The Transformative Power of Stone and Oven
- Unleash Your Inner Baker: Master the Art of Stone & Oven Baking!
Introduction: Mastering Baking with Stones and Dutch Ovens
Why Choose Baking Stones and Dutch Ovens for Superior Results?
For home bakers aiming to replicate the results of professional ovens, integrating tools like baking stones and Dutch ovens can be a game-changer. These pieces of equipment offer distinct advantages that significantly impact the final texture, crust development, and overall quality of your baked goods. A baking stone, for instance, mimics the intense, radiant heat of a brick oven floor, crucial for achieving that coveted crispy pizza crust or a beautifully browned loaf bottom.
Similarly, a Dutch oven creates a perfectly controlled microclimate within your oven. Its heavy construction and tight-fitting lid trap steam released by the dough during the initial stages of baking. This steamy environment keeps the crust supple, allowing for maximum oven spring – the rapid expansion of the dough before the crust sets. This leads to taller loaves with a thinner, crisper crust compared to baking on a standard baking sheet. Mastering the use of these tools, incorporating effective baking stones dutch oven tips, is key to unlocking a new level of baking excellence at home.
Understanding Baking Stones: A Baker's Best Friend
What is a Baking Stone and How Does it Work?
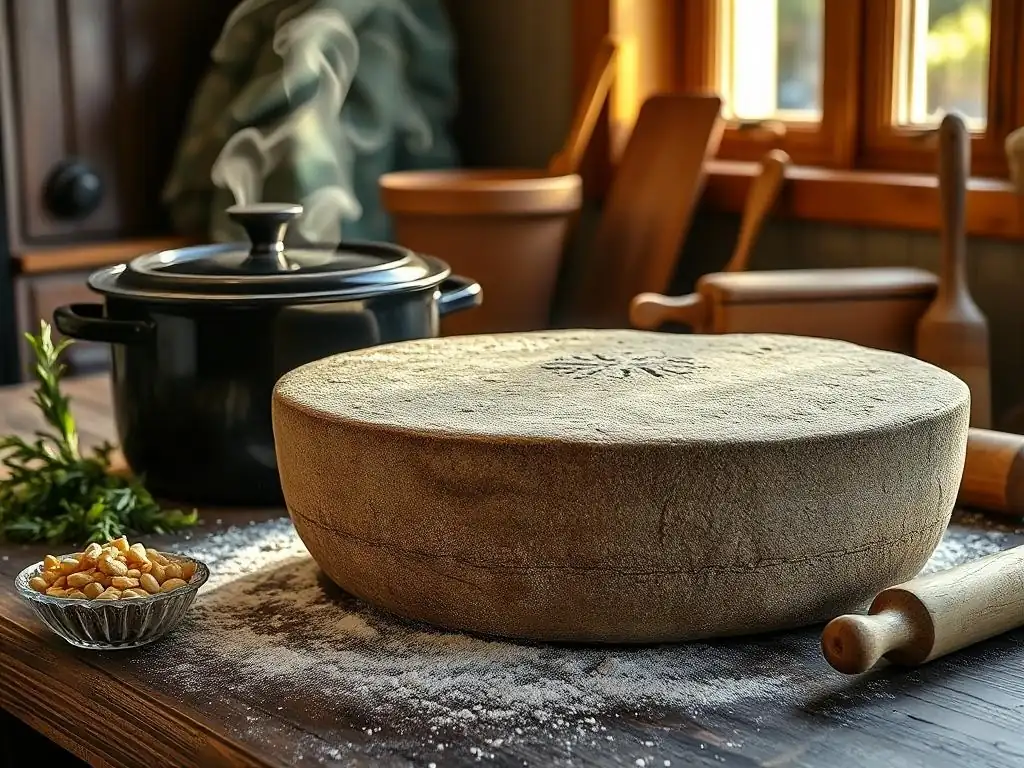
A baking stone is typically a flat slab made from materials like ceramic, cordierite, or even soapstone. Its primary function is to absorb and retain a significant amount of heat from the oven. Once heated, it radiates this heat directly into the base of whatever is placed upon it, providing a much more intense and even heat transfer than a standard metal baking sheet.
This thermal mass is crucial for baking items that benefit from a strong initial heat surge from below, such as pizzas, flatbreads, and artisanal loaves. The stone doesn't just distribute heat; some porous materials can also absorb a small amount of moisture released by the dough, contributing to a crispier bottom crust. Understanding how this heat transfer works is fundamental to utilizing baking stones effectively for superior results.
Benefits of Baking with a Stone: Achieving Crispy Crusts and Even Baking
One of the most celebrated benefits of using a baking stone is its ability to produce incredibly crispy crusts, particularly on items like pizza and rustic bread. The intense, direct heat from the preheated stone causes rapid expansion and caramelization on the bottom of the dough, resulting in a desirable crunch that's hard to achieve otherwise. Think of biting into a pizza with a bottom crust that crackles slightly – that's the stone at work.
Beyond the crust, a baking stone also contributes to more even baking. By covering the entire rack, it helps stabilize the oven temperature, reducing fluctuations and hot spots. This consistent heat means your bread or pizza bakes uniformly across the base, preventing pale or underbaked spots. It provides a solid, reliable surface that ensures consistent heat transfer throughout the entire bake time.
Types of Baking Stones: Cordierite, Ceramic, and Soapstone
Baking stones come in various materials, each with slightly different properties affecting performance and durability. Ceramic stones are common and relatively affordable. They heat up quickly but can be more susceptible to thermal shock, meaning they might crack if exposed to sudden temperature changes, like placing a frozen pizza directly on a hot stone.
Cordierite stones are often considered a step up, particularly favored for high-temperature baking like pizza. This material is known for its excellent resistance to thermal shock, making it more durable and less likely to crack under varying temperatures. Soapstone is another option, known for retaining heat exceptionally well and being non-porous, which makes it easier to clean, though it might take longer to heat up initially. When choosing, consider what you'll bake most often and your budget.
Pro Tips for Using Baking Stones: Preheating, Placement, and Maintenance
Preheating Your Baking Stone for Optimal Performance
Proper preheating is perhaps the single most important step when using a baking stone. Simply waiting for your oven to reach its set temperature is not enough; the stone itself needs time to absorb and store sufficient heat. A good rule of thumb is to preheat your oven with the stone inside for at least 30 to 60 minutes after the oven's temperature indicator says it's ready.
For high-temperature bakes like Neapolitan pizza, preheating at 500°F (260°C) or even higher for a full hour is ideal to ensure the stone has enough stored energy for that rapid, intense heat transfer needed for a bubbly, charred crust. For bread baked at slightly lower temperatures, 450°F (230°C) for 45 minutes is often sufficient. This extended preheat is what provides the powerful thermal boost to your dough.
Preventing Cracks and Damage: Baking Stone Care Tips
To ensure your baking stone lasts for many years, avoiding thermal shock is crucial. Never place a cold or frozen item directly onto a scorching hot stone. If baking frozen items, it's best to let them thaw first or use a baking sheet underneath. Similarly, avoid exposing a hot stone to cold water – wait until it has cooled completely in the oven before attempting to clean it.
When cleaning, scrape off any baked-on debris with a spatula or stiff brush once the stone is cool. Avoid using soap, as porous stones can absorb it, leading to soapy-tasting baked goods. For stubborn stains, you can try heating the stone in a clean oven at high temperature (during a cleaning cycle if your oven has one) to burn off residue, or make a paste with baking soda and water, apply, let dry, then scrape and brush clean.
Best Practices for Transferring Dough to a Hot Baking Stone
Safely and effectively transferring dough, especially sticky pizza dough or wet bread dough, onto a hot baking stone requires a bit of technique. The most common method involves using a pizza peel dusted generously with cornmeal, semolina, or flour. The dusting acts like tiny ball bearings, helping the dough slide smoothly.
Alternatively, you can bake on parchment paper. Simply shape your dough on parchment placed on a peel or cutting board, then slide the parchment with the dough onto the hot stone. This is often easier for beginners and works well, though you might remove the parchment partway through the bake if you want maximum direct heat transfer to the base. Practice makes perfect with the peel-to-stone slide!
Demystifying Dutch Ovens: Versatility in Every Bake
What is a Dutch Oven and Its Advantages in Baking?
A Dutch oven is essentially a heavy cooking pot, usually made of cast iron (either bare or enameled), with a tight-fitting lid. While widely used for stews and braises, its heavy construction and ability to create a sealed environment offer significant advantages in baking, particularly for bread.
The key benefit in baking comes from its ability to trap steam. When you place dough inside a preheated Dutch oven and cover it, the moisture evaporating from the dough is contained within the pot. This trapped steam keeps the surface of the loaf moist and pliable during the critical initial phase of baking, allowing the dough to expand fully before the crust hardens.
The Science Behind Dutch Oven Baking: Trapped Heat and Moisture
The magic of Dutch oven bread baking lies in managing the environment around the dough. In a regular oven, steam quickly dissipates. But inside the lidded Dutch oven, the trapped steam condenses on the cooler interior surface of the pot and lid, creating a humid microclimate. This humidity prevents the outer layer of the dough from drying out and forming a hard crust too early.
This soft, moist surface allows the loaf to achieve maximum oven spring. As the bread expands, the moist crust stretches easily. After about 20-30 minutes, when the loaf has achieved most of its rise, removing the lid allows the temperature inside the pot to soar, and the direct dry heat of the oven finishes the bake, allowing the crust to brown and crisp beautifully.
Dutch Oven Materials: Cast Iron vs. Enameled Cast Iron
Dutch ovens are most commonly found in two forms: traditional bare cast iron and enameled cast iron. Bare cast iron is durable and retains heat exceptionally well. It requires seasoning – a layer of polymerized oil – to prevent rust and create a non-stick surface. This seasoning needs occasional maintenance.
Enameled cast iron has a coating of porcelain enamel over the cast iron. This enamel prevents rust, eliminates the need for seasoning, and makes cleaning much easier. It also prevents acidic foods (like fruit in a cobbler) from reacting with the metal. While enameled versions are often more expensive and the enamel can chip if dropped or exposed to extreme thermal shock, they are incredibly versatile and popular for both baking and general cooking.
Pro Tips for Using Dutch Ovens: Temperature Control and Recipes
Mastering Dutch Oven Bread Baking: Achieving a Perfect Crust
For many home bakers, the Dutch oven is the secret weapon for achieving bakery-quality bread crusts. The standard technique involves preheating the empty Dutch oven in a hot oven, often around 450°F (230°C). Once the oven and pot are fully heated (usually 30-60 minutes), the shaped dough is carefully transferred into the hot pot.
The lid is then placed on, and the bread bakes covered for the first portion of the time (typically 20-30 minutes). This covered bake traps steam for oven spring. After this initial phase, the lid is removed, allowing the bread to bake uncovered for another 15-25 minutes until the crust is deeply browned and has reached the desired level of crispness. This two-stage baking process is key to the perfect balance of rise and crust development.
Using Dutch Ovens for Cakes, Cobblers, and Other Baked Goods
While famous for bread, Dutch ovens are also excellent for baking other items. Their even heat distribution makes them ideal for fruit cobblers, crumbles, and even rustic cakes. When baking these desserts, the heavy pot acts like a mini-oven, providing consistent heat from all sides.
You might use a slightly lower temperature or shorter baking time compared to conventional recipes, as the heat retention is so good. For cobblers, placing the fruit filling in the bottom and topping with biscuit or crumble dough works beautifully, resulting in a perfectly cooked fruit base and a golden-brown topping. Just be mindful of potential sticking if not adequately greased, especially with sugary fillings.
Temperature Control in a Dutch Oven: Preventing Burning
Due to their excellent heat retention, Dutch ovens can sometimes lead to the bottom of your bake getting too dark or even burning, especially if the oven itself has hot spots or the heat source is primarily from below. While preheating is essential, managing the intensity of the heat transferred to the bottom of the pot is important.
A simple yet effective trick is to place a baking sheet on the rack below the one holding the Dutch oven. This acts as a heat shield, deflecting some of the direct radiant heat from the bottom element of the oven. It helps ensure the heat is distributed more evenly throughout the Dutch oven, reducing the risk of a burnt bottom crust while still allowing the top to brown once the lid is removed.
Baking Stone vs. Dutch Oven: A Detailed Comparison
Heat Distribution: Stone vs. Dutch Oven
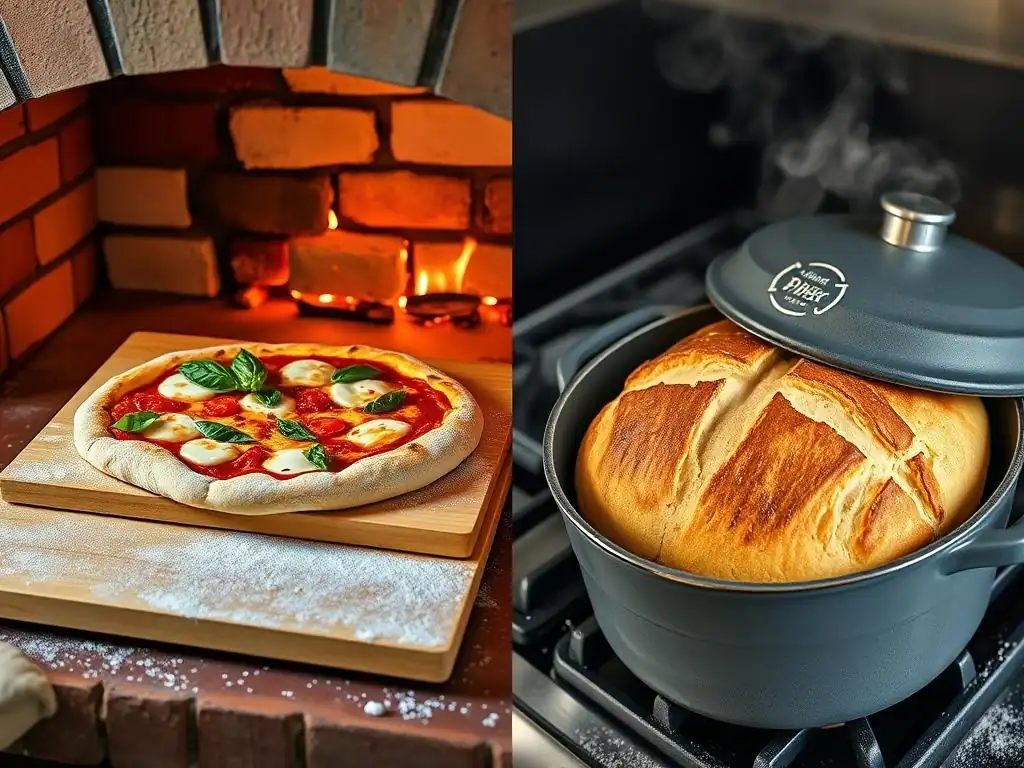
When comparing baking stones and Dutch ovens from a heat distribution perspective, their primary functions differ. A baking stone provides intense, direct radiant heat from the bottom up. It's like having a super-heated surface that immediately transfers energy into the base of your dough. This is why it excels at creating crispy bottoms on flat items like pizza or freeform loaves placed directly on it.
A Dutch oven, on the other hand, provides more enveloping, convective heat supplemented by radiant heat from the heavy walls and bottom. It surrounds the dough with heat from all sides, leading to very even cooking throughout a loaf. While the bottom does get hot, the primary benefit is the contained environment it creates, rather than just direct bottom heat.
Moisture Retention: Which Tool Excels?
The way these tools handle moisture is perhaps their most significant difference in baking. A porous baking stone actually absorbs some moisture from the bottom of the dough, contributing to a drier, crispier base. It doesn't actively create a humid environment around the rest of the dough.
A Dutch oven, conversely, is designed to trap the moisture released by the dough. This creates a steamy atmosphere that keeps the crust soft and pliable during the initial rise, promoting maximum oven spring. Once the lid is removed, the moisture escapes, allowing the crust to dry out and crisp up. For achieving a thick, crackly crust on a boule, the Dutch oven's steam-trapping ability is unparalleled.
Versatility: Exploring Different Baking Applications
Both baking stones and Dutch ovens are versatile, but they lend themselves to different types of bakes. Baking stones are stars for anything flat that needs a crispy bottom: pizza, focaccia, tarts, freeform loaves baked directly on the stone, and even some cookies or pastries (though parchment is often used).
Dutch ovens are ideal for baking boules or other shaped loaves that fit inside, where trapping steam is desired for oven spring. They are also excellent for non-bread items like fruit cobblers, baked beans, or even roasting meats, leveraging their ability to hold and distribute heat evenly in a contained space. While you can bake cookies in a Dutch oven (perhaps on a rack), it's not its primary strength, just as baking a tall boule without a pan directly on a stone might yield different results than in a Dutch oven.
Ease of Use and Cleaning: A Practical Perspective
From a practical standpoint, there are differences in using and maintaining these tools. Getting dough onto a hot baking stone requires a peel and a sliding technique, which can have a learning curve. Cleaning involves scraping and brushing, strictly avoiding soap and soaking, which can be cumbersome for heavily soiled stones.
Dutch ovens are generally easier to load, especially with parchment paper. Enameled Dutch ovens are particularly easy to clean with soap and water, though they are heavy. Bare cast iron requires careful cleaning and re-seasoning to maintain its non-stick properties and prevent rust. The sheer weight of a Dutch oven can also be a factor when moving it in and out of a hot oven.
Maintaining Your Baking Stone and Dutch Oven for Longevity
Cleaning Your Baking Stone: Avoiding Soap and Water
Maintaining your baking stone properly is key to its longevity and performance. After use, let the stone cool completely in the oven – this is crucial to prevent thermal shock and cracking. Once cool, use a bench scraper or stiff brush to scrape off any stuck-on food particles or burnt flour.
It is important not to use soap on porous baking stones. The soap can be absorbed into the stone and impart an unpleasant flavor to future bakes. Similarly, avoid soaking the stone in water, as absorbed moisture can lead to cracking when the stone is next heated. For stubborn stains, a paste of baking soda and water can be applied, allowed to dry, then scraped off, or run the stone through your oven's self-cleaning cycle if applicable (check manufacturer instructions first).
Caring for Your Dutch Oven: Preventing Rust and Sticking
Caring for your Dutch oven depends on its material. For bare cast iron, proper seasoning is vital. After washing with mild soap and water (some prefer just hot water), dry it thoroughly immediately – rust is the enemy of cast iron. Apply a thin layer of cooking oil and wipe off the excess before storing or heating. Re-season as needed if food starts sticking or rust spots appear.
For enameled cast iron, cleaning is simpler. Use hot, soapy water and a non-abrasive sponge or brush. Avoid metal utensils inside the pot to prevent chipping the enamel. For stuck-on food, soaking with hot water and a little soap usually works, or simmering water in the pot. For stubborn stains, a baking soda paste can be effective. Always dry the pot thoroughly before storing.
Storage Solutions for Your Baking Equipment
Storing heavy baking equipment like stones and Dutch ovens requires a sturdy location. Baking stones should ideally be stored flat to minimize the risk of breakage. Many bakers store their stone permanently on an oven rack, which also means it's always ready for preheating and helps regulate oven temperature even when not in use for baking directly on it.
Dutch ovens, being heavy, should be stored on lower shelves or in sturdy cabinets. To prevent moisture buildup and potential rust (even on enameled versions if stored in a humid environment), it's a good practice to place a paper towel or a small cloth between the pot and the lid when storing. This allows for air circulation and absorbs any residual moisture, protecting the interior.
Troubleshooting Common Issues with Baking Stones and Dutch Ovens
Baking Stone Cracking: Prevention and Solutions
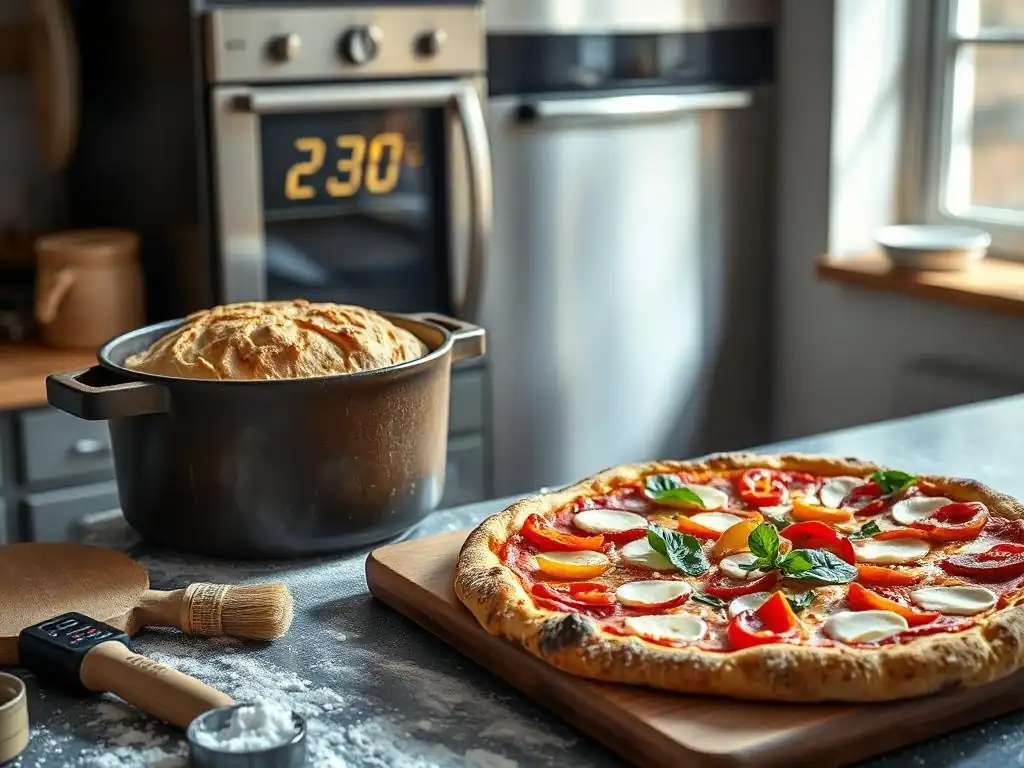
The most heartbreaking issue with a baking stone is cracking. This is almost always caused by thermal shock – a rapid change in temperature that stresses the material beyond its limit. Common culprits include placing frozen dough on a hot stone, or washing a hot stone with cold water.
Prevention is the best solution: always preheat and cool your stone gradually with the oven. Ensure anything placed directly on it is at least room temperature. If your stone does crack, unfortunately, it cannot be repaired to its original state. Depending on the severity, you might be able to continue using the pieces (carefully!) for smaller items or place them under a baking sheet for indirect heat, but the direct radiant heat transfer will be compromised.
Dutch Oven Sticking: Tips for a Clean Release
Sticking can happen in both bare and enameled Dutch ovens, though for different reasons. In bare cast iron, sticking usually indicates a problem with the seasoning layer – either it's insufficient or has been damaged. In enameled Dutch ovens, sticking might occur if the pot wasn't sufficiently preheated or if sugary ingredients caramelize and bond to the surface.
For bread baking in a Dutch oven, using parchment paper is a simple and effective way to prevent sticking and makes transferring the dough much easier. For other bakes, ensure the pot is properly greased or oiled. If sticking occurs in cast iron, a gentle scrub with a stiff brush and hot water, followed by re-seasoning, is often needed. For enameled pots, soaking with hot, soapy water or simmering water can help loosen stuck-on food.
Uneven Baking: Identifying and Correcting the Problem
Uneven baking can manifest differently with a stone versus a Dutch oven. On a baking stone, unevenness might appear as one side of a pizza crust browning faster than the other, potentially due to oven hot spots. With a Dutch oven, unevenness could mean the bottom of a loaf is darker than the top, or one side is more developed.
Identifying the cause often involves understanding your oven's quirks. Many ovens have hotter spots or uneven heating elements. For baking stones, rotating the pizza or bread partway through the bake can help. For Dutch ovens, ensuring the pot is centered in the oven and, as mentioned before, potentially placing a baking sheet on a lower rack to shield the bottom heat can promote more even cooking throughout the loaf.
Conclusion: Unlock Your Baking Potential with Stones and Dutch Ovens
Using baking stones and Dutch ovens offers home bakers powerful ways to enhance their results, bringing them closer to the quality achieved in professional settings. Whether you're aiming for the perfect crispy pizza crust with a baking stone or a beautifully risen, crackly-crusted loaf of bread from a Dutch oven, these tools provide the necessary heat management and environmental control.
By applying the baking stones dutch oven tips discussed – from proper preheating and maintenance to understanding how each tool interacts with heat and moisture – you can significantly elevate your baking game. Experiment with different recipes and techniques to see how these versatile pieces of equipment can transform your favorite baked goods. Explore other sections of our site for specific recipes and in-depth guides to further refine your skills and master the art of baking.
Frequently Asked Questions
What are baking stones and how do they enhance my baking?
Baking stones are flat slabs made from materials like stone or ceramic that help to evenly distribute heat. They create a crispy crust on breads and pizzas, making them essential for achieving professional results at home.
How do I properly use a Dutch oven for baking?
When using a Dutch oven, preheat it along with your oven to create a steamy environment for bread baking. This method helps to achieve a perfect crust and enhances the overall texture of your baked goods.
Can I use a baking stone in a Dutch oven?
Yes, you can use a baking stone inside a Dutch oven, but it's often more effective to use the Dutch oven on its own. The lid retains moisture, creating a steam effect that mimics a professional bakery setting.
What tips can I follow to maintain my baking stones?
To maintain your baking stones, avoid using soap, and let them cool before cleaning. Regularly scrape off any baked-on residue with a spatula or a soft brush to keep them in optimal condition.
Are there specific recipes that work best with a Dutch oven?
Yes, recipes like artisan bread or no-knead bread work exceptionally well in a Dutch oven. The moist environment created during baking is ideal for achieving a crusty exterior and soft interior.
Final Reflection: The Transformative Power of Stone and Oven
The humble baking stone and Dutch oven, often overlooked kitchen tools, are quietly revolutionizing home baking. Their ability to create perfectly crisp crusts, evenly baked interiors, and unparalleled flavor is transforming the way we approach bread, pizza, and even roasted vegetables. This isn't just about technique; it's about unlocking a deeper connection with the food we create.
The impact of these tools extends beyond the individual kitchen, influencing the broader culinary landscape. We're seeing a resurgence of artisan baking, a renewed appreciation for traditional methods, and a growing desire for authentic, homemade food. This shift reflects a deeper cultural yearning for connection – a connection to our food, our heritage, and the simple pleasure of creating something delicious with our own hands. The best things in life are homemade.
This simple sentiment encapsulates the power of these tools to elevate the everyday into something truly special.
Consider the possibilities. Imagine the satisfying crackle of a perfectly formed sourdough crust, the aroma of a freshly baked pizza filling your home, or the tender texture of roasted vegetables imbued with smoky, earthy flavors. You have the power to unlock this culinary magic. Experiment with different recipes, explore the unique properties of your baking stone and Dutch oven, and most importantly, enjoy the process. Let the warmth of the oven and the satisfaction of creating something delicious fill your kitchen with joy. The journey of elevating your baking is just beginning.
Unleash Your Inner Baker: Master the Art of Stone & Oven Baking!
Thanks for taking the time to explore the world of baking stones and Dutch ovens! You've just unlocked some seriously delicious potential in your kitchen. Ready to take your baking skills to the next level?
- Bake Your Dream Loaf: Try out one of the recipes mentioned in the article using your baking stone or Dutch oven. Note the difference in texture and crust!
- Share Your Success: Post a picture of your masterpiece on social media and tag us @BakeWithEase—we’d love to see your creations!
- Explore Further: Dive deeper into the world of artisan bread baking with our free recipe ebook (available via a newsletter signup on our site homepage).
What amazing bread will you create next?