
Just Got a Stand Mixer? Your Essential First Steps for Baking Ease

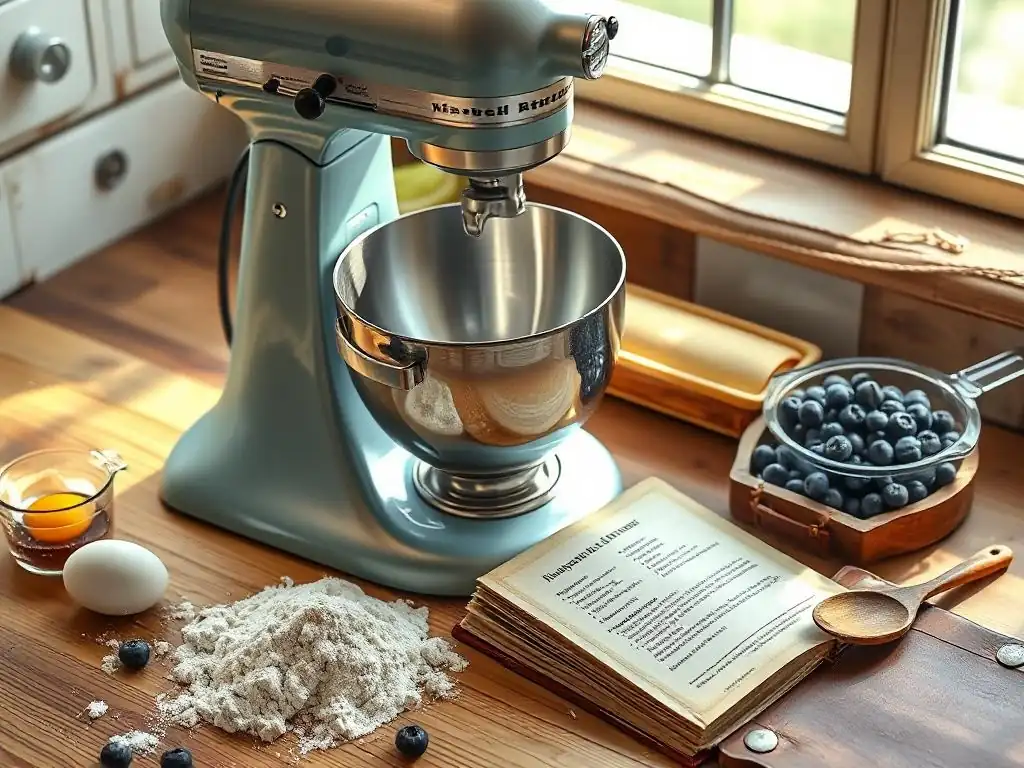
Welcome to BakeWithEase, where baking becomes a joy, not a chore! Just unwrapped that shiny new stand mixer? Get ready to unlock a world of culinary possibilities. This guide, " Stand mixer beginner baking tips," is your essential starting point. Discover insider secrets and simple techniques that will transform you from a mixer novice into a baking pro. Curious how to avoid common pitfalls and maximize your mixer's potential? Let's get started!
- Welcome to Stand Mixer Baking: Essential Tips for Beginners
- Unboxing and Initial Setup: Preparing Your KitchenAid for Baking Success
- Understanding Your KitchenAid's Components: A Baker's Guide
- First Baking Project: Easy Recipes for KitchenAid Newbies
- Essential KitchenAid Baking Tips for Beginners
- KitchenAid Maintenance and Care: Keeping Your Mixer in Top Shape
- Beyond the Basics: Expanding Your KitchenAid Baking Skills
- Conclusion: Embrace the Ease of Baking with Your KitchenAid Stand Mixer
-
Frequently Asked Questions
- What are the most important first steps to take when you get a new stand mixer according to BakeWithEase?
- What kind of beginner recipes does BakeWithEase recommend for someone new to using a stand mixer?
- How can I ensure I'm using the correct speed settings on my stand mixer, especially when baking for the first time?
- What are some common mistakes beginners make when using a stand mixer, and how can I avoid them?
- What maintenance tips does BakeWithEase offer for keeping my stand mixer in good condition?
- Final Reflection: Unlocking Baking Joy with Your Stand Mixer
- Unleash Your Baking Potential Today!
Welcome to Stand Mixer Baking: Essential Tips for Beginners
So, you've taken the plunge and invested in a KitchenAid stand mixer? Congratulations! You've just unlocked a whole new level of baking ease and potential. Forget the arm strain of hand-mixing dough or whipping cream; your new stand mixer is about to become your best friend in the kitchen. This guide is designed specifically for you, the beginner baker eager to get started with your powerful new tool. We'll walk you through everything from setting it up to tackling your first recipes, providing essential stand mixer beginner baking tips along the way.
Learning to use your stand mixer effectively is one of the most valuable baking skills you can acquire. It opens the door to recipes that might have seemed too daunting before, like airy meringues, perfectly kneaded bread, and smooth cake batters. Our goal here is to demystify the process and build your confidence, ensuring your initial experiences are successful and enjoyable. With the right guidance and a few simple stand mixer beginner baking tips, you'll be whipping up delicious treats in no time.
Elevate Your Baking with a KitchenAid Stand Mixer
A KitchenAid stand mixer isn't just a kitchen gadget; it's a significant upgrade that transforms how you bake. Its powerful motor and planetary mixing action ensure ingredients are thoroughly combined, leading to more consistent and predictable results. Imagine effortlessly creaming butter and sugar until light and fluffy, a crucial step for many cookies and cakes, which can take considerable effort by hand. This machine handles the heavy lifting, allowing you to focus on the finer points of your recipe.
Beyond saving you time and effort, a stand mixer provides precision that's hard to match manually. For instance, whipping egg whites to stiff peaks for a meringue or soufflé requires sustained, high-speed agitation – something a stand mixer excels at. Similarly, kneading bread dough to develop gluten properly is a labor-intensive task that the dough hook attachment handles with ease, ensuring a well-structured loaf. These capabilities significantly expand your baking repertoire and improve the quality of your finished goods.
A Beginner's Guide to KitchenAid Stand Mixer Mastery
Embarking on your stand mixer journey starts with understanding the basics: assembly, attachments, and speed settings. Don't feel overwhelmed by the machine's robust appearance; its operation is quite intuitive once you grasp the fundamentals. Think of this as learning the language of your new baking partner. We'll guide you through the initial setup, explain what each part does, and demonstrate how these elements work together to achieve different baking tasks.
Mastering your stand mixer is less about complex maneuvers and more about understanding the science behind baking and how the machine facilitates it. For example, knowing when to use a low speed for incorporating dry ingredients versus a high speed for whipping air into mixtures is key. We'll provide clear, actionable stand mixer beginner baking tips to help you make these decisions confidently. By the end of this guide, you'll feel comfortable and excited to tackle a variety of recipes using your powerful KitchenAid.
Unboxing and Initial Setup: Preparing Your KitchenAid for Baking Success
Getting your stand mixer ready for its first use is a simple but crucial process. This stage involves unpacking, assembling, and cleaning your new appliance. Taking the time to do this properly ensures your mixer is safe to use and ready to perform at its best right out of the box. It's like preparing your canvas before painting – essential for a successful masterpiece.
This initial setup phase is also a great opportunity to familiarize yourself with the different parts of your mixer. Understanding where everything fits and how it operates will make subsequent baking sessions much smoother. Don't rush this step; enjoy the process of getting acquainted with your new KitchenAid.
KitchenAid Unboxing: What to Expect Inside the Box
When you open your KitchenAid stand mixer box, you'll typically find the mixer base itself, which houses the motor and controls. Depending on the model (like the classic Artisan or the Professional series), you'll also find the mixing bowl – usually stainless steel, though some models come with glass or ceramic options. The standard attachments are always included: the flat beater, the wire whip, and the dough hook.
You should also find an owner's manual and perhaps a small recipe booklet. Take a moment to check that all listed components are present and undamaged. The manual contains vital information about operating your specific model, safety precautions, and cleaning instructions. It's worth keeping it handy for reference, especially as you're learning the ropes and seeking stand mixer beginner baking tips specific to your machine.
Assembling Your KitchenAid: A Step-by-Step Guide
Assembling your KitchenAid is straightforward. For tilt-head models, tilt the head back using the locking lever. Place the mixing bowl onto the base plate and twist gently to lock it in place. Attach the desired accessory by sliding it onto the attachment shaft and pushing it upward until the pin snaps into the shaft. Lower the head and lock it into place.
For bowl-lift models, ensure the head is lowered. Place the mixing bowl into the bowl support arms and lower the arms using the bowl-lift lever until the bowl is securely seated on the pins. Attach the accessory by sliding it onto the attachment shaft and pushing it upward until the pin snaps into place. It's a quick process, designed for ease of use, which is a key aspect of utilizing stand mixer beginner baking tips effectively.
Cleaning Your KitchenAid Before First Use: Hygiene First!
Before you mix your first batch of cookies or knead your first dough, it's essential to clean your new stand mixer and its accessories. Manufacturing processes can leave residues or dust. Wash the mixing bowl, flat beater, wire whip, and dough hook thoroughly with warm, soapy water. Rinse them well and dry them completely.
The mixer base itself should be wiped down with a damp cloth. Never immerse the mixer base in water, as this can damage the motor and electrical components. Pay attention to the attachment shaft and the area where the bowl sits, ensuring they are clean and dry. This initial cleaning is a fundamental step in preparing your equipment for safe and hygienic baking, laying the groundwork for successful stand mixer beginner baking tips application.
Understanding Your KitchenAid's Components: A Baker's Guide
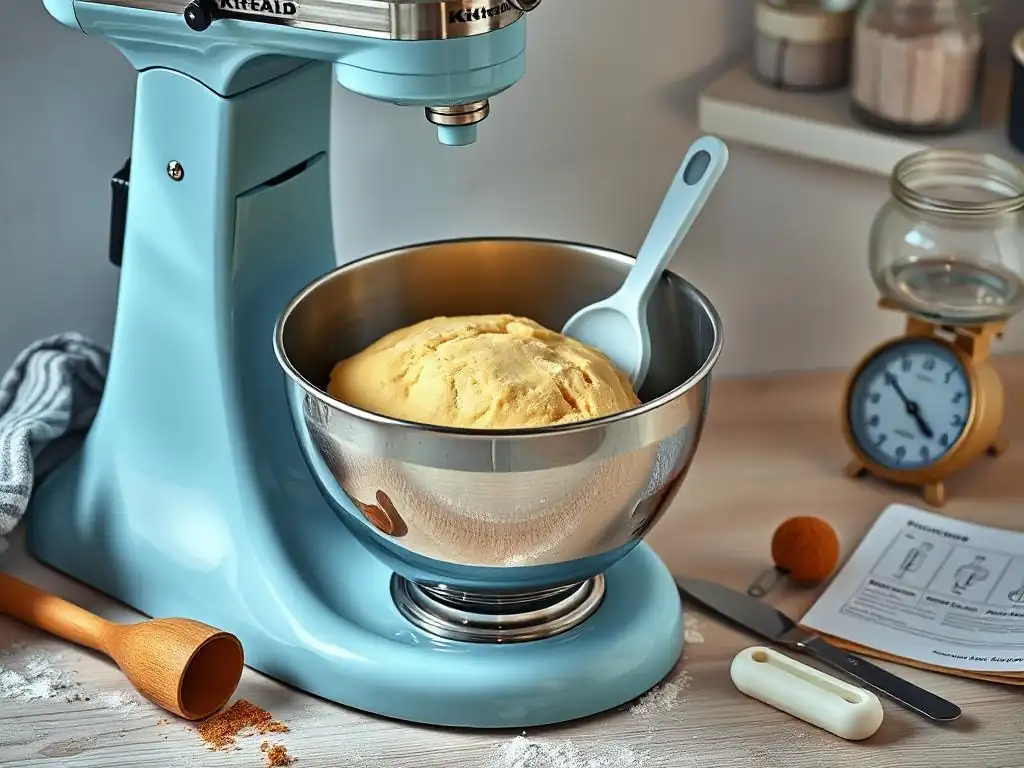
To truly master your KitchenAid, you need to understand what each part does and when to use it. Think of the attachments as your culinary tools – each designed for a specific job. The speed control is your maestro's baton, directing the tempo and intensity of the mixing process. Familiarizing yourself with these components is crucial for applying stand mixer beginner baking tips effectively and achieving desired results.
Knowing the difference between models, like bowl-lift versus tilt-head, helps you understand the nuances of operating your specific machine. While they perform the same core functions, their design impacts how you access the bowl and attachments. This section will break down these elements, providing you with the knowledge you need to use your mixer confidently.
Identifying Your KitchenAid Attachments: Flat Beater, Wire Whip, and Dough Hook
Your KitchenAid comes with three standard attachments, each with a distinct purpose. The flat beater (sometimes called the paddle attachment) is your workhorse for creaming butter and sugar, mixing batters, mashing potatoes, and combining ingredients for cakes, cookies, and brownies. Its design ensures it scrapes the bottom and sides of the bowl effectively as it rotates.
The wire whip (or whisk attachment) is designed to incorporate air into mixtures. Use it for whipping cream, beating egg whites for meringues or soufflés, and making light batters like those for sponge cakes. Its numerous wires create volume quickly. Finally, the dough hook is specifically shaped to knead yeast doughs for bread, pizza, and pasta. It mimics the action of hand kneading, developing gluten structure without the manual effort. Using the right attachment is one of the most important stand mixer beginner baking tips.
Speed Settings Explained: Mastering Your KitchenAid's Controls
KitchenAid stand mixers typically have a speed control dial with settings ranging from Stir (Speed 1) to High (often 10). Understanding when to use each speed is vital. Speed 1 (Stir) is for gently combining ingredients, like incorporating flour into wet ingredients or adding nuts and chocolate chips without overmixing.
Low to Medium-Low Speeds (2-4) are great for mixing batters, creaming butter and sugar, and starting to knead dough. Medium Speeds (5-7) are used for beating egg whites to soft peaks, mixing heavier batters, and continuing to knead dough. High Speeds (8-10) are for whipping cream, beating egg whites to stiff peaks, and other tasks requiring maximum aeration. Always start at a lower speed and gradually increase to avoid splashing ingredients out of the bowl – a classic stand mixer beginner baking tip!
Bowl-Lift vs. Tilt-Head KitchenAid Mixers: Understanding the Difference
KitchenAid primarily offers two types of stand mixers: tilt-head and bowl-lift models. Tilt-head models feature a head that tilts back, allowing easy access to the bowl and attachment. They are generally smaller and lighter, making them suitable for home bakers with limited counter space and for handling everyday tasks like cookies, cakes, and smaller batches of dough. The locking lever secures the head during mixing.
Bowl-lift models have a stationary head, and the bowl is raised or lowered into the mixing position using a lever. These mixers are typically larger, more powerful, and designed for heavier loads, such as large batches of dense bread dough or multiple dozens of cookies. They offer greater stability for demanding tasks. The choice depends on your typical baking volume and the types of recipes you plan to make, though both are excellent for applying stand mixer beginner baking tips.
First Baking Project: Easy Recipes for KitchenAid Newbies
Now that you're familiar with your KitchenAid, it's time for the fun part – baking! Starting with simple, reliable recipes is the best way to build confidence and get a feel for how your mixer operates. These recipes are designed to be forgiving and showcase the basic functions of your stand mixer. Think of them as your first steps on your stand mixer beginner baking tips journey.
We've selected three classic recipes that utilize different attachments and techniques: chocolate chip cookies (flat beater), vanilla cake (flat beater/wire whip), and basic bread dough (dough hook). Successfully completing these projects will give you a solid foundation and encourage you to explore more complex recipes later.
Chocolate chip cookies are a perfect first project for your stand mixer. They primarily use the flat beater to cream butter and sugar, then incorporate the remaining ingredients. This process demonstrates the mixer's ability to create a light, airy base, crucial for tender cookies. A standard recipe might call for creaming 1 cup (2 sticks) of softened butter with ¾ cup granulated sugar and ¾ cup brown sugar on medium speed (around 4-6) for 2-3 minutes until pale and fluffy – a task that takes seconds with a stand mixer compared to several minutes by hand.
After creaming, you'll add eggs and vanilla, mixing on low speed (Speed 2) until just combined. Then, gradually add your dry ingredients (like 2 ¼ cups flour, 1 tsp baking soda, ½ tsp salt) on the lowest speed (Stir or Speed 1) until just incorporated. Finally, stir in the chocolate chips on low speed or by hand. The key here is avoiding overmixing the dry ingredients, which the slow speed settings help with. This recipe teaches you speed control and ingredient incorporation, vital stand mixer beginner baking tips.
Quick Vanilla Cake Recipe: A Beginner-Friendly Baking Adventure
A simple vanilla cake is another excellent way to use your stand mixer, often utilizing both the flat beater and sometimes the wire whip. Many recipes start by creaming butter and sugar with the flat beater, similar to the cookies. Then, eggs are added one at a time. The mixer ensures a smooth, emulsified mixture, preventing curdling. For a recipe using about ½ cup of butter and 1 cup of sugar, this creaming might take 3-4 minutes on medium speed.
For some vanilla cakes, you might alternate adding dry ingredients (like 1 ½ cups flour, 1 ½ tsp baking powder, ¼ tsp salt) and wet ingredients (like ½ cup milk, 1 tsp vanilla extract) to the creamed mixture, starting and ending with dry. Use a low speed (Speed 1 or 2) for this to prevent overdevelopment of gluten.
For a lighter texture, some recipes might call for whipping egg whites to soft or medium peaks with the wire whip (Speed 6-8) and gently folding them in at the end. This introduces you to using different attachments within a single recipe, expanding your stand mixer beginner baking tips knowledge.
Basic Bread Dough: Introduction to KitchenAid Kneading
Making bread might seem intimidating, but your KitchenAid's dough hook makes it remarkably accessible. A basic white bread recipe, using ingredients like 3 cups of flour, 1 ¼ cups warm water, 2 ¼ tsp active dry yeast, and a pinch of salt and sugar, is a great starting point. You'll typically combine the warm water, yeast, and sugar first, letting the yeast bloom for 5-10 minutes.
Then, add the flour and salt to the mixing bowl with the yeast mixture. Attach the dough hook. Start the mixer on low speed (Speed 2 is standard for kneading) and let it knead for 6-8 minutes. Watch the dough; it should eventually pull away from the sides of the bowl and form a smooth, elastic ball. The dough hook does the hard work of developing the gluten structure needed for a good rise and texture. This experience provides hands-on practice with the dough hook and kneading times, a fundamental aspect of stand mixer beginner baking tips for bread.
Essential KitchenAid Baking Tips for Beginners
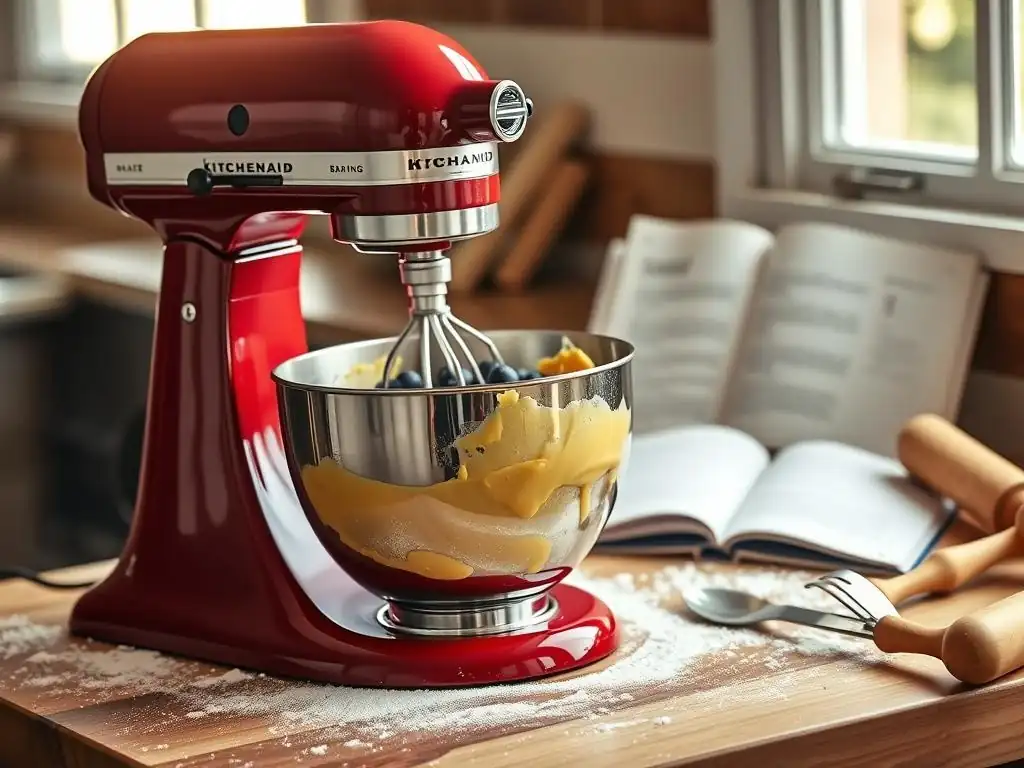
Beyond specific recipes, some universal tips will help you get the most out of your KitchenAid stand mixer. These pieces of advice address common pitfalls and best practices, ensuring your baking results are consistently excellent. Mastering these fundamental stand mixer beginner baking tips will significantly improve your success rate.
From understanding the impact of ingredient temperature to knowing when to stop mixing, these tips are designed to make your baking journey smoother and more enjoyable. Pay close attention to these points as they apply to almost every recipe you'll make using your mixer.
Avoiding Overmixing: The Key to Tender Baked Goods
One of the most critical stand mixer beginner baking tips is learning when to stop mixing. While a stand mixer is powerful, overmixing can ruin the texture of many baked goods. When mixing batters for cakes, muffins, or cookies after adding the dry ingredients, mix only until the flour streaks just disappear. Overmixing develops gluten unnecessarily, leading to tough, dry results.
For tasks like whipping cream or egg whites, overmixing turns cream into butter and egg whites into a dry, separated mess. Pay close attention to the visual cues described in recipes (soft peaks, stiff peaks, etc.) and stop the mixer as soon as those stages are reached. A stand mixer works quickly, so it's easy to go too far if you're not paying attention.
Ingredient Temperature Matters: Achieving Baking Perfection
The temperature of your ingredients significantly impacts how they combine and the final texture of your baked goods, especially when using a stand mixer. For creaming butter and sugar, the butter should be softened but still cool to the touch (around 65°F / 18°C). Butter that is too cold won't cream properly, while butter that is too soft or melted will result in a greasy, dense product.
Eggs and other liquid ingredients like milk or buttermilk are often best used at room temperature (around 70°F / 21°C). Room temperature ingredients emulsify more easily, creating a smoother, more uniform batter. Cold ingredients can cause butter to seize up and create a lumpy mixture. Planning ahead to bring ingredients to the correct temperature is a simple yet effective stand mixer beginner baking tip.
Proper Attachment Usage: Choosing the Right Tool for the Job
Using the correct attachment for the task at hand is fundamental to successful stand mixer baking. Using the flat beater for kneading dough will put excessive strain on your mixer's motor and won't develop the gluten properly. Conversely, trying to cream butter and sugar with the wire whip won't achieve the necessary aeration.
Always consult your recipe and use the recommended attachment. If a recipe doesn't specify, remember the general rules: flat beater for batters and creaming, wire whip for whipping air into liquids, and dough hook for kneading yeast doughs. This ensures your mixer operates efficiently and your results are consistent, reinforcing good stand mixer beginner baking tips habits.
KitchenAid Maintenance and Care: Keeping Your Mixer in Top Shape
Taking care of your KitchenAid stand mixer ensures its longevity and continued performance. These machines are built to last, but like any appliance, they require proper cleaning and maintenance. Incorporating these practices into your routine is just as important as the baking itself.
Regular cleaning prevents food buildup and keeps your mixer hygienic. Proper storage protects it from damage, and knowing how to troubleshoot minor issues can save you time and frustration. These maintenance tips are essential for any stand mixer beginner baking tips guide.
Cleaning Your KitchenAid After Each Use: A Quick Guide
Cleaning your stand mixer immediately after use prevents food from drying and hardening, making the task much easier. Remove the bowl and attachment as soon as you're finished. Wash the bowl and attachment in warm, soapy water. Most KitchenAid bowls and standard attachments (flat beater, dough hook) are dishwasher safe, but always check your manual or the attachment itself, as some coatings can be damaged by the dishwasher. The wire whip is often hand-wash only to protect the delicate wires.
Wipe down the mixer base with a damp cloth to remove any splatters. Use a dry cloth to remove any moisture. Pay special attention to the attachment shaft and the area where the bowl sits. Avoid using abrasive cleaners or scouring pads, which can scratch the finish. A quick wipe-down after each use is a small effort for a clean machine, a practical stand mixer beginner baking tip.
Proper Storage: Protecting Your Investment
Where and how you store your KitchenAid can impact its condition. Keep your mixer in a clean, dry location, away from excessive heat or moisture. Many bakers keep their stand mixer on the counter because of its weight (some models weigh over 20 pounds!) and frequent use. If you store it in a cabinet, ensure it's easily accessible to avoid strain when lifting.
Consider purchasing a dust cover if you don't use your mixer daily or keep it on the counter. This protects it from dust and grease in the kitchen environment. Store attachments separately in a drawer or container to prevent them from getting lost or damaged. Treating your mixer with care is part of responsible ownership and good stand mixer beginner baking tips application.
Troubleshooting Common Issues: KitchenAid Baking Solutions
Occasionally, you might encounter minor issues with your stand mixer. One common problem is ingredients not mixing properly at the bottom of the bowl, especially with smaller quantities. This often means the attachment clearance needs adjustment. Your manual will provide instructions on how to adjust the height of the attachment relative to the bowl, ensuring it reaches the bottom without scraping.
Another issue might be the mixer walking or vibrating excessively, particularly when kneading stiff doughs. This is more common with smaller or older models. Ensure the mixer is on a stable, flat surface. Don't overload the bowl beyond the manufacturer's recommended capacity (e.g., a 4.5-quart mixer might handle dough for 2 loaves, while a 6-quart can handle more). If issues persist, consult your manual or KitchenAid's support resources. Learning these simple fixes is a valuable stand mixer beginner baking tip.
Beyond the Basics: Expanding Your KitchenAid Baking Skills
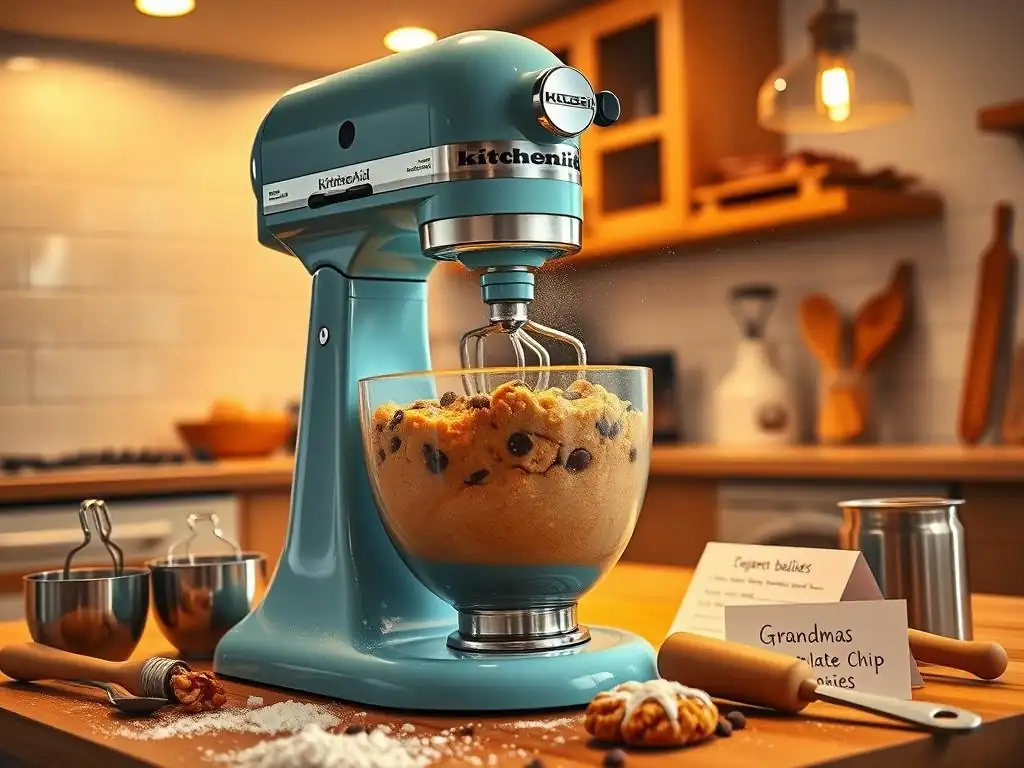
Once you're comfortable with the fundamental operations and standard attachments, your KitchenAid offers a gateway to more advanced baking techniques and recipes. The versatility of this machine extends far beyond cookies and cakes. Exploring its full potential is an exciting next step in your baking journey.
Consider this section an invitation to experiment and grow. Your stand mixer is capable of handling challenging tasks that were previously reserved for professional kitchens or required significant manual labor.
Exploring Advanced Recipes: From Swiss Meringue to French Macarons
With your stand mixer, recipes that require precision and sustained whipping, like Swiss meringue or French macarons, become much more achievable. Swiss meringue, used for stable frostings or bases for mousse, requires whipping egg whites over a double boiler while heating, then transferring to the mixer and whipping until cool and stiff peaks form – a process that can take 10-15 minutes on high speed (Speed 8-10).
French macarons rely on a well-made meringue and careful mixing. The stand mixer ensures the meringue is whipped to the perfect consistency before you gently fold in the dry ingredients. These recipes highlight the mixer's ability to create stable, voluminous foams, pushing your stand mixer beginner baking tips into more refined techniques.
KitchenAid Attachments for Specific Tasks: Pasta Roller, Food Grinder, Ice Cream Maker
One of the greatest advantages of many KitchenAid stand mixers is the power hub located at the front of the head. This hub allows you to connect a wide array of optional attachments, transforming your mixer into a multi-functional appliance. These attachments can take your culinary skills in new directions.
Popular power hub attachments include the pasta roller and cutter set, which allows you to make fresh pasta sheets and shapes from scratch. The food grinder attachment is perfect for grinding meats or vegetables. The ice cream maker attachment lets you easily churn homemade ice cream, gelato, or sorbet. Investing in these accessories expands the utility of your stand mixer significantly, demonstrating its value beyond just baking.
Conclusion: Embrace the Ease of Baking with Your KitchenAid Stand Mixer
You've now completed a comprehensive guide to getting started with your KitchenAid stand mixer. From unboxing and setup to understanding attachments, tackling your first recipes, learning essential stand mixer beginner baking tips, and keeping your machine in top shape, you have the knowledge to embark on countless baking adventures. Your KitchenAid is a powerful, reliable tool that will save you time and effort while improving the consistency and quality of your baked goods.
Don't be afraid to experiment and try new recipes. Every use will build your confidence and familiarity with the mixer. Remember the stand mixer beginner baking tips we've covered – they are your foundation for success. Enjoy the process, savor the delicious results, and embrace the ease and joy that your KitchenAid stand mixer brings to your kitchen. Happy baking!
Frequently Asked Questions
What are the most important first steps to take when you get a new stand mixer according to BakeWithEase?
The initial steps involve familiarizing yourself with the attachments, reading the instruction manual, and starting with a simple recipe to get comfortable.
What kind of beginner recipes does BakeWithEase recommend for someone new to using a stand mixer?
BakeWithEase suggests easy recipes like simple cookies or a basic cake batter to learn how the mixer handles different consistencies. These recipes are great for building confidence.
How can I ensure I'm using the correct speed settings on my stand mixer, especially when baking for the first time?
Refer to the recipe instructions! BakeWithEase emphasizes that using the correct speed is crucial for proper mixing and to avoid over-mixing, which can ruin your bake.
What are some common mistakes beginners make when using a stand mixer, and how can I avoid them?
Overfilling the bowl and not scraping down the sides are common errors. BakeWithEase advises to start small and frequently scrape down the bowl to ensure even mixing.
What maintenance tips does BakeWithEase offer for keeping my stand mixer in good condition?
BakeWithEase recommends regular cleaning of the attachments and the mixer itself. Also, avoid overloading the motor and store it properly to prolong its lifespan.
Final Reflection: Unlocking Baking Joy with Your Stand Mixer
Mastering your stand mixer isn't just about acquiring a fancy kitchen appliance; it's about unlocking a world of baking possibilities and embracing the joy of creating delicious treats from scratch. The tips and techniques outlined in this article are designed to empower beginner bakers to confidently navigate the initial learning curve and transform their baking experience. From understanding the different attachments to mastering basic techniques like creaming butter and sugar, these foundational steps are crucial for consistent success.
The impact of readily available technology, like the stand mixer, on home baking is undeniable. It has democratized the process, making complex recipes more accessible to a wider audience. Baking is at once child's play and adult joy. And love.
- This quote, while not directly about stand mixers, perfectly captures the essence of the transformative power of baking, a power amplified by the ease and efficiency of this incredible tool. The ability to create something beautiful and delicious from simple ingredients is a deeply satisfying experience, and the stand mixer plays a vital role in making that experience more achievable.
Now, it's your turn. Don't let your stand mixer gather dust! Take the knowledge you've gained here, experiment with different recipes, and most importantly, embrace the process. Each batch of cookies, each loaf of bread, is a step towards mastering your craft and discovering the unique joy that comes from creating something delicious with your own two hands. So, dust off that mixer, gather your ingredients, and let the baking begin!
Unleash Your Baking Potential Today!
Thank you for taking the time to explore the essential steps for getting started with your new stand mixer! With the right guidance, you're now equipped to elevate your baking experience and create delicious masterpieces in your kitchen.
Now, let’s turn that enthusiasm into action! Here are some simple yet effective steps to help you maximize your stand mixer:
- Start with a Simple Recipe: Choose a beginner-friendly recipe (like chocolate chip cookies) to practice and familiarize yourself with your mixer’s functions.
- Experiment with Attachments: Try using different attachments, like the dough hook or whisk, to see how they alter your baking game. You might be surprised at what you can create!
- Join Our Community: Share your first baking experience with others! Connect with fellow baking enthusiasts on social media for tips, recipe swaps, and inspiration.
What delightful creation will you bake first with your stand mixer? Let us know in the comments!