
Mastering Your Hand Mixer: A Simple StepbyStep Usage Guide

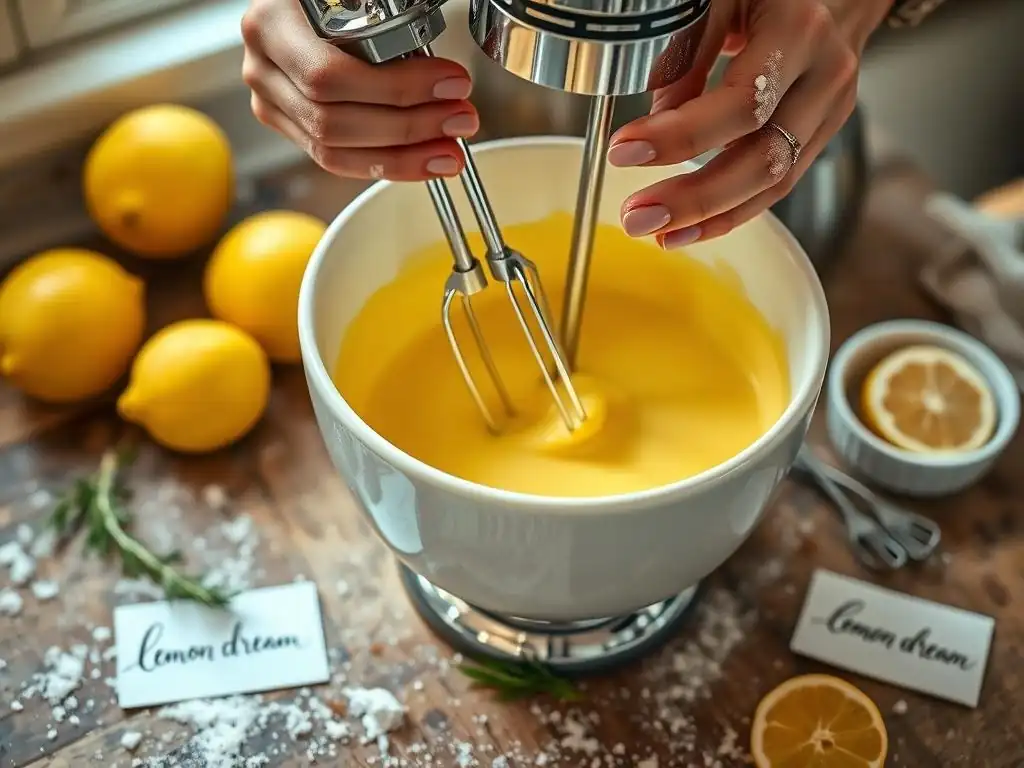
Welcome to BakeWithEase, your trusted guide to the delightful world of baking! Ever wondered if you're truly getting the most out of your trusty kitchen companion? This week, we're diving deep into a baking essential with our Hand Mixer Beginner Usage Guide. Unlock the secrets to perfectly whipped creams, effortlessly blended batters, and consistently delicious results. Intrigued? Read on to discover how to master your hand mixer and elevate your baking game from novice to noteworthy!
- Introduction to Hand Mixers for Baking Beginners
- Step-by-Step Guide: Using Your Hand Mixer Like a Pro
- Hand Mixer Troubleshooting: Common Issues and Solutions
- Advanced Techniques: Beyond Basic Hand Mixer Use
- Hand Mixer Recipes for Beginners: Putting Your Skills to the Test
- Choosing the Right Hand Mixer for Your Needs: A Buyer's Guide
- Conclusion: Elevating Your Baking with Hand Mixer Mastery
-
Frequently Asked Questions
- What is the best way to start using a hand mixer as a beginner?
- What ingredients are best suited for a hand mixer versus a stand mixer?
- How do I properly clean and maintain my hand mixer?
- What are some common mistakes beginners make when using a hand mixer, and how can I avoid them?
- Can a hand mixer be used for kneading dough?
- Final Reflection: The Joy of Whipping Up Success
- Unleash Your Inner Baker: Take the Next Step!
Introduction to Hand Mixers for Baking Beginners
Why Choose a Hand Mixer for Your Baking Needs?
For anyone just starting their baking journey, a hand mixer can feel like a superpower in the kitchen. Unlike bulkier stand mixers, a hand mixer is lightweight, affordable, and incredibly versatile for tackling a wide range of baking tasks. It's the perfect tool for whipping up a small batch of cookies, creating fluffy mashed potatoes, or effortlessly making frosting for a single-layer cake without taking up precious counter space. This makes it an ideal choice for beginner bakers or those with limited kitchen real estate.
The ease of use is another major advantage. Learning the proper hand mixer beginner usage guide is straightforward, allowing you to quickly move from simple tasks like mixing batter to more intricate ones like whipping egg whites to stiff peaks. This accessibility helps build confidence in new bakers, making the process less intimidating and more enjoyable. Whether you're creaming butter and sugar for a classic pound cake or preparing a simple meringue, a hand mixer provides the necessary power and control right in your hand.
Understanding the Basics: Hand Mixer Components and Features
Before you dive into using your hand mixer, it's helpful to know its basic anatomy. A standard hand mixer consists of a motor housing, which contains the motor and controls, a handle for gripping, a speed selector (often a dial or buttons), and a beater release button. The power cord connects it to the electrical outlet. The key attachments are the beaters, which attach to the bottom of the housing.
Most hand mixers come with a pair of standard beaters, designed for general mixing, creaming, and blending. Many models also include a whisk attachment for whipping air into ingredients like cream or egg whites, and some may offer dough hooks for kneading small amounts of yeast dough. Understanding what each part does and how to properly attach and detach the beaters is the first step in mastering your hand mixer beginner usage guide. Basic models typically offer 3-5 speeds, while more advanced ones can have 9 or more, providing finer control over the mixing process.
Step-by-Step Guide: Using Your Hand Mixer Like a Pro
Step 1: Preparing Your Ingredients and Work Area for Hand Mixing
Proper preparation is key to successful baking and efficient hand mixing. Start by gathering all your ingredients and measuring them precisely before you even plug in your mixer. Ensure ingredients like butter and eggs are at the temperature specified in your recipe – room temperature is often crucial for achieving the right texture when creaming. Having everything ready avoids stopping midway through mixing.
Next, prepare your workspace. Clear enough space on your counter for your mixing bowl and the mixer itself. Choose a bowl that is deep enough to contain the ingredients without excessive splattering, especially when working with liquids or dry ingredients like flour. A bowl with a capacity of 2 to 4 quarts is often suitable for most hand mixer tasks. Place your ingredients near the bowl, ensuring easy access as you mix.
Step 2: Attaching the Correct Beaters to Your Hand Mixer
Selecting the right attachment is vital for achieving the desired result with your hand mixer. Most mixers have slots for two beaters. Standard beaters are the most common and are used for general mixing, creaming, and beating batters. They are versatile and work well for cookie dough, cake batter, and frostings.
To attach them, simply align the stem of each beater with the corresponding slot on the mixer and push them firmly until they click into place. Some beaters are designed to fit only in a specific slot, often indicated by a shape or notch; ensure you match them correctly. Always ensure the mixer is unplugged before attaching or removing beaters.
Different Beater Types and Their Uses (Whisks, Beaters, Dough Hooks)
Let's look at the common attachments you might find with your hand mixer:
- Standard Beaters: These are your workhorse beaters. They are paddle-shaped and designed for combining ingredients, creaming butter and sugar, and beating batters. They are excellent at incorporating air into mixtures like cake batter, contributing to a light texture.
- Whisk Attachment: This attachment resembles a miniature balloon whisk. It's specifically designed for whipping air into ingredients like egg whites, heavy cream, or light batters (like for waffles or crepes). Use this when you need to create volume and a light, airy texture, such as for meringues or whipped cream.
- Dough Hooks: These are spiral-shaped hooks. They are intended for kneading small quantities of yeast dough, such as for dinner rolls or a personal pizza crust. While they can handle small batches, they are not as powerful or efficient as stand mixer dough hooks for larger or stiffer doughs.
Step 3: Setting the Speed on Your Hand Mixer
Your hand mixer comes with various speed settings, usually ranging from low to high. The correct speed setting depends entirely on the task at hand and the consistency of your ingredients. Starting on a low speed is almost always recommended, especially when combining dry and wet ingredients, to prevent flour clouds and splattering.
As ingredients become incorporated and the mixture thickens or requires more aeration, you can gradually increase the speed. Recipes often specify the speed needed for different stages, such as "beat on medium speed" or "whip on high speed." Learning to adjust the speed is a crucial part of mastering your hand mixer beginner usage guide.
Understanding Speed Settings: Low, Medium, and High
Here's a general breakdown of how to use different speed settings:
- Low Speed: Use this setting for initially combining ingredients, especially dry ones like flour with wet ingredients. It's also good for gently incorporating delicate additions like chocolate chips or nuts into a finished batter. It minimizes splattering and keeps your workspace cleaner.
- Medium Speed: This speed is versatile and used for many general mixing tasks. It's suitable for beating whole eggs into batter, mixing frostings until smooth, or continuing to mix cake or cookie dough after the initial ingredients are combined.
- High Speed: The highest speed setting is reserved for tasks that require maximum aeration and volume. This includes whipping heavy cream to stiff peaks, beating egg whites for meringue, or achieving a very light and fluffy texture when creaming butter and sugar. Use this speed when the recipe calls for significant air incorporation.
Step 4: Mixing Ingredients Effectively with Your Hand Mixer
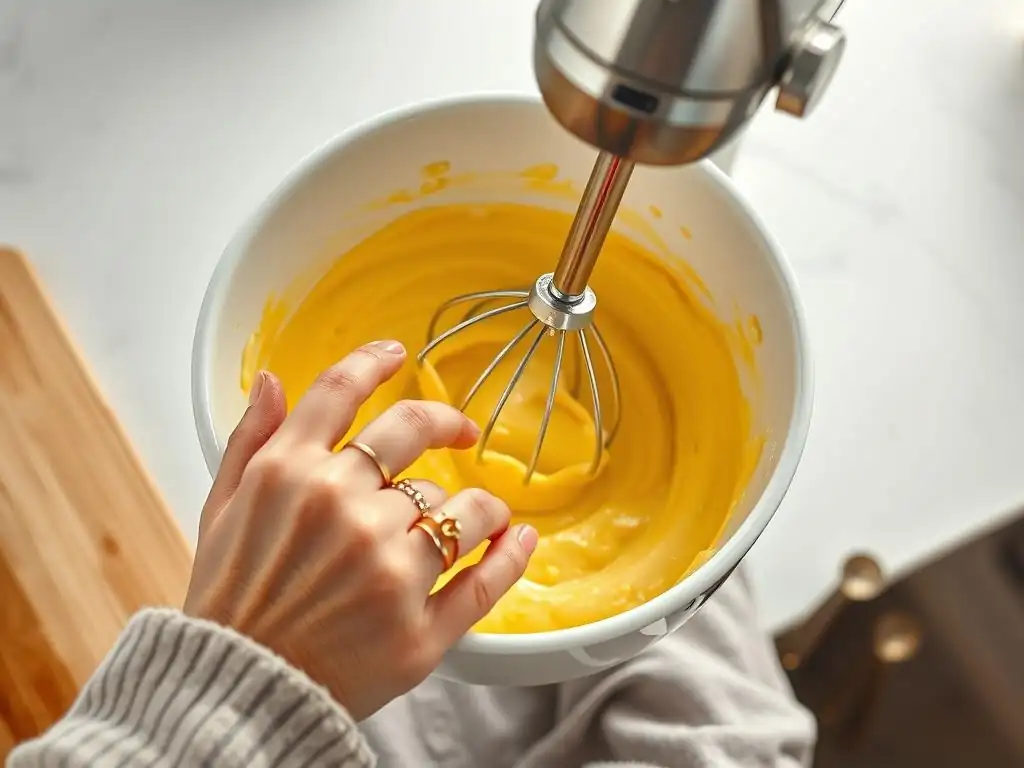
Once your ingredients are prepped and beaters are attached, it's time to mix. Lower the beaters into the bowl before turning the mixer on to prevent splattering. Start on the lowest speed to combine ingredients, then gradually increase to the speed specified in your recipe. Move the mixer around the bowl, ensuring all areas are mixed evenly. Don't leave the mixer stationary in the center.
Periodically scrape down the sides and bottom of the bowl with a spatula. This ensures that no pockets of unmixed ingredients remain and that the entire mixture is uniform. This step is essential for achieving consistent results, whether you're making a smooth batter or a well-combined dough. Proper movement and scraping are key hand mixer tips for even mixing.
Proper Mixing Techniques: Creaming, Whipping, and Folding
Different recipes call for different mixing techniques:
- Creaming: This involves beating softened butter and sugar together until the mixture is light, fluffy, and pale yellow. This process incorporates air, which is vital for the texture of cakes and cookies. Use standard beaters and mix on medium-high speed for typically 3-5 minutes, scraping down the bowl often. The volume should noticeably increase.
- Whipping: Used for egg whites or heavy cream, whipping incorporates a large amount of air to create volume and stiffness. Use the whisk attachment on medium-high to high speed. Whip until soft, medium, or stiff peaks form, depending on the recipe. Be careful not to over-whip cream, or it will turn into butter. Egg whites typically take 5-8 minutes to reach stiff peaks, while heavy cream can take 2-4 minutes.
- Folding: True folding is a gentle technique used to combine delicate mixtures (like whipped egg whites or cream) into a heavier base without deflating the air. A hand mixer is not the ideal tool for this; a rubber spatula is preferred. While you could use the absolute lowest speed on your hand mixer for a quick, light incorporation, it's generally best to switch to manual folding for delicate steps to maintain the airy texture achieved in previous steps.
Step 5: Cleaning and Maintaining Your Hand Mixer for Longevity
Proper cleaning and maintenance will ensure your hand mixer lasts for many baking projects. Always unplug the mixer from the power outlet before cleaning. Press the beater release button to remove the beaters. Wash the beaters immediately in warm, soapy water or place them in the dishwasher if they are dishwasher-safe.
Wipe down the body of the mixer with a damp cloth or sponge. Be careful not to get water inside the motor housing. For stubborn spots, a little mild detergent on the cloth can help. Never immerse the motor housing in water. Once clean and dry, store the beaters and the mixer body together. Some models come with a storage case or clip-on storage for the beaters, which helps keep everything organized and ready for your next baking session. Regularly inspect the power cord for any signs of damage.
Hand Mixer Troubleshooting: Common Issues and Solutions
Even with a simple hand mixer beginner usage guide, you might encounter a few hiccups. Knowing how to troubleshoot common problems can save your bake.
Dealing with Splattering and Messes
Splattering is perhaps the most common issue when using a hand mixer, especially when adding dry ingredients or mixing liquids. To minimize mess, always start on the lowest speed until dry ingredients are just incorporated. Use a deeper mixing bowl, preferably one with tall sides, to contain the ingredients. Some bakers use a splatter guard that fits over the bowl. Ensure ingredients like butter are softened, not melted, as melted butter can cause more liquid splatter.
Addressing Overmixing and Undermixing
Undermixing can leave you with pockets of dry ingredients or an uneven texture. Ensure you mix for the time specified in the recipe and scrape down the sides of the bowl frequently. Mix until the batter or dough looks uniform and smooth, or until the desired stage (like creaming or whipping) is reached.
Overmixing, on the other hand, can develop too much gluten in cakes and muffins, resulting in a tough texture. For tasks like whipping cream or egg whites, overmixing will cause them to collapse or turn into butter (in the case of cream). Pay close attention to the visual cues described in your recipe (e.g., "mix until just combined," "whip until stiff peaks form") and stop mixing as soon as that stage is reached. It's better to slightly undermix delicate batters than to overmix.
What to Do If Your Hand Mixer Overheats
Hand mixers, especially less powerful models, can overheat if used continuously for too long or if mixing very thick doughs. Signs of overheating include the motor housing feeling very hot to the touch or emitting a burning smell. If this happens, turn the mixer off immediately and unplug it. Let it cool down completely before attempting to use it again; this might take 15-30 minutes.
To prevent overheating, avoid running the mixer for extended periods (most basic models aren't designed for continuous use beyond 5-7 minutes). If mixing a thick batter or dough, consider mixing in shorter bursts with brief pauses in between. If overheating persists, there might be an internal issue, and it may be time to consider a repair or replacement.
Advanced Techniques: Beyond Basic Hand Mixer Use
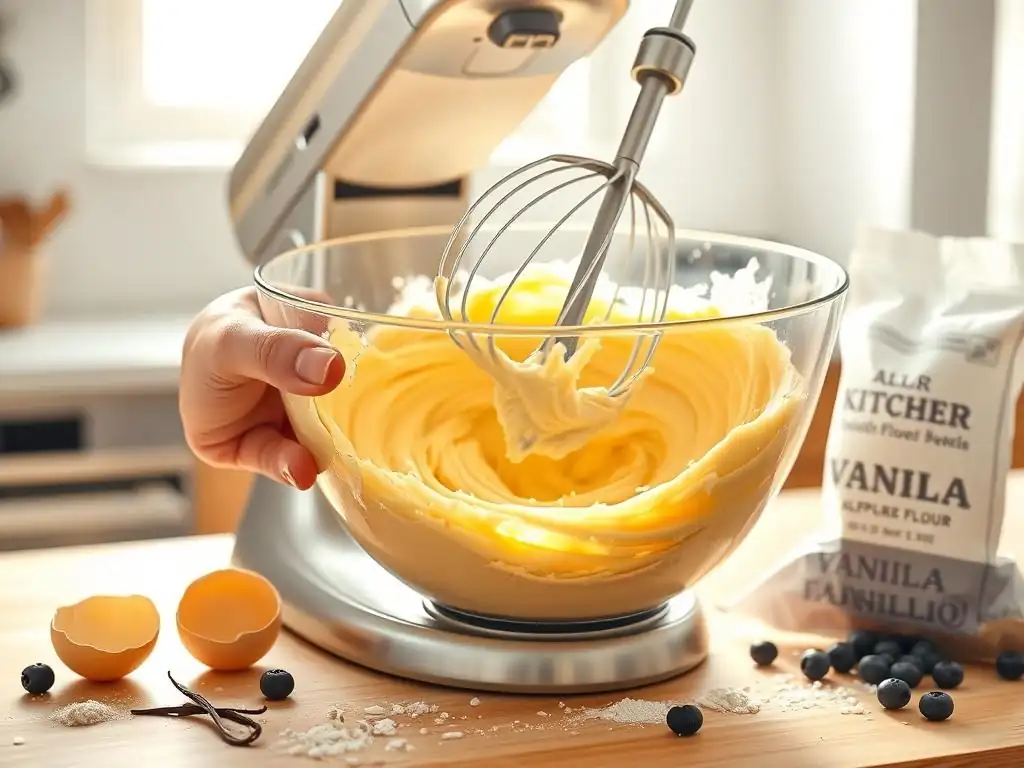
Once you're comfortable with the basic hand mixer beginner usage guide, you can explore more advanced applications. A hand mixer is surprisingly capable for many tasks traditionally associated with stand mixers, especially for smaller batches.
Using a Hand Mixer for Frosting and Icing
A hand mixer is excellent for making a variety of frostings and icings, particularly buttercreams. The standard beaters are perfect for creaming butter and then gradually incorporating powdered sugar. Start on the lowest speed when adding powdered sugar to avoid a cloud of sugar dust, then increase the speed to medium-high to whip the frosting until it's light and fluffy. You can easily achieve a smooth, spreadable consistency ideal for topping cakes and cupcakes.
Incorporating Chocolate Chips and Other Add-Ins
While folding with a spatula is often recommended for delicate add-ins, you can use your hand mixer on the lowest speed setting to quickly incorporate ingredients like chocolate chips, nuts, or dried fruit into cookie dough or muffin batter. Add the mix-ins towards the very end of the process and mix just until they are evenly distributed. This method is faster than hand-stirring but requires careful attention to avoid overmixing or breaking up delicate additions.
Achieving Perfect Whipped Cream with a Hand Mixer
Whipping cream is a classic use for the hand mixer's whisk attachment. Start with very cold heavy cream (ideally between 35-40% milk fat) and a chilled bowl. Begin whipping on medium speed and gradually increase to high. Whip until the cream thickens and soft, medium, or stiff peaks form, depending on your need.
For sweetened whipped cream, gradually add powdered sugar and vanilla extract once the cream starts to thicken (usually after 1-2 minutes). Keep a close eye on it; whipped cream can go from perfect to over-whipped (turning grainy or into butter) in mere seconds. For about 1 cup of heavy cream, achieving stiff peaks typically takes 2-4 minutes.
Hand Mixer Recipes for Beginners: Putting Your Skills to the Test
Ready to put your hand mixer beginner usage guide knowledge into practice? Here are a few simple recipes perfect for getting comfortable with your new tool.
Easy Cake Recipe Using a Hand Mixer
A simple vanilla or chocolate loaf cake is a great starting point. You'll use your hand mixer (with standard beaters) to cream together softened butter and sugar on medium-high speed until light and fluffy (3-5 minutes). Then, you'll beat in the eggs one at a time on medium speed. Finally, you'll add the dry and wet ingredients alternately, using the lowest speed just until everything is combined. This recipe utilizes the core functions of creaming and gentle mixing.
Classic chocolate chip cookies are perfect for hand mixing. Begin by creaming the softened butter and sugars together using standard beaters on medium speed until well combined. Add the eggs and vanilla, beating on medium until incorporated. Switch to low speed to gradually add the dry ingredients (flour, baking soda, salt), mixing just until no dry streaks remain. Finally, use the lowest speed or switch to a spatula to mix in the chocolate chips. This recipe reinforces creaming and careful ingredient incorporation.
Quick Bread Recipe Using a Hand Mixer
Recipes like banana bread or blueberry muffins are ideal for practicing incorporating wet and dry ingredients. Use your hand mixer (standard beaters) to whisk together the wet ingredients (mashed bananas, eggs, oil/butter, sugar, vanilla) in one bowl. In a separate bowl, whisk the dry ingredients (flour, baking powder, salt). Add the dry ingredients to the wet ingredients and mix on the lowest speed just until combined. Overmixing quick breads develops gluten and makes them tough. This highlights the importance of using the correct speed and mixing only until necessary.
Choosing the Right Hand Mixer for Your Needs: A Buyer's Guide
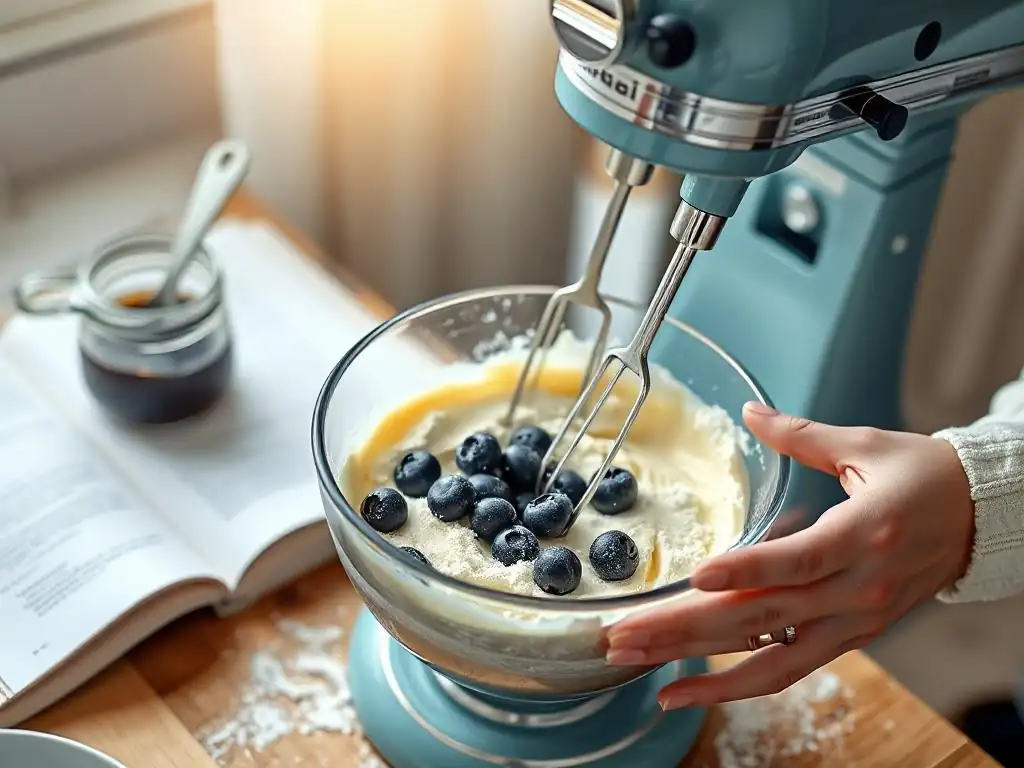
If you're looking to purchase your first hand mixer or upgrade, consider a few key factors to find the best fit for your baking habits. Thinking about how you'll use it most often will inform your choice.
Key Features to Consider When Buying a Hand Mixer
Beyond the basic components, look at features like the number of speed settings (more offer finer control), the included attachments (do you need dough hooks or just standard beaters? ), the cord length and whether it swivels (for easier maneuvering), and if it comes with a storage case or solution to keep everything together. The weight and ergonomic design of the handle can also impact comfort during longer mixing tasks.
Hand Mixer Power and Speed: What to Look For
Hand mixer power is measured in watts. Basic models might have around 200-250 watts, suitable for simple tasks like whipping cream or mixing thin batters. If you plan to tackle thicker cookie doughs or occasional small batches of yeast dough with dough hooks, look for a model with 300 watts or more. More wattage generally means the motor can handle tougher jobs without straining or overheating as quickly. As for speeds, more speeds (7-9+) allow for more precise control, from a very slow stir to a powerful whip.
Hand Mixer Storage Solutions: Keeping Your Mixer Organized
Keeping your hand mixer and its attachments organized prevents misplaced beaters and clutter. Some hand mixers come with a dedicated storage case that holds the mixer body and all attachments neatly. Others might have a snap-on case for the beaters or a simple storage bag. If storage is a concern in your kitchen, look for models that offer a convenient way to keep the mixer and all its parts together in one place.
Conclusion: Elevating Your Baking with Hand Mixer Mastery
Mastering your hand mixer is a significant step in becoming a more confident and capable baker. This simple tool is incredibly versatile, allowing you to easily tackle everything from creaming butter and sugar for delicate cakes to whipping cream for impressive desserts. By understanding the different attachments, practicing proper speed control, and learning essential techniques like creaming and whipping, you unlock a world of baking possibilities.
Using a hand mixer effectively is a fundamental skill in any hand mixer beginner usage guide. With practice and by following the steps outlined, you'll find that achieving smooth batters, fluffy frostings, and perfectly whipped cream is well within your reach. Don't be afraid to experiment with the recipes mentioned and explore others that utilize your hand mixer. Embrace the process, learn from any mistakes, and enjoy the delicious results of your hand mixer mastery.
Frequently Asked Questions
What is the best way to start using a hand mixer as a beginner?
Begin by reading the instruction manual that comes with your hand mixer. Start with a low speed to avoid splattering and gradually increase it as needed.
What ingredients are best suited for a hand mixer versus a stand mixer?
Hand mixers are excellent for lighter tasks like whipping cream or creaming butter and sugar. Stand mixers are better for heavy doughs or large batches requiring consistent mixing for extended periods.
How do I properly clean and maintain my hand mixer?
Always unplug your hand mixer before cleaning. Wash the beaters in warm, soapy water. Wipe down the mixer body with a damp cloth.
What are some common mistakes beginners make when using a hand mixer, and how can I avoid them?
A common mistake is using a speed too high at the beginning, leading to splattering. Also, avoid overmixing your batter, which can result in a tough texture.
Can a hand mixer be used for kneading dough?
While some hand mixers have dough hooks, they are generally not ideal for kneading bread dough. A stand mixer or hand kneading is usually recommended for better gluten development.
Final Reflection: The Joy of Whipping Up Success
Mastering your hand mixer isn't just about fluffy cakes; it's about unlocking a world of culinary creativity. The simple act of understanding this seemingly basic kitchen tool opens doors to countless recipes and the satisfaction of creating something delicious from scratch. This guide aimed to demystify the process, providing a clear pathway for beginners to confidently navigate the world of hand mixers.
The impact of readily available, easy-to-use kitchen appliances like the hand mixer on our daily lives is often underestimated. It's more than just convenience; it's about empowerment. It allows individuals, regardless of their culinary expertise, to participate in the joy of food creation. The best things in life are homemade,
a sentiment often repeated, gains new meaning when we consider the accessibility of tools like the hand mixer. It democratizes the kitchen, making the creation of delightful treats achievable for everyone.
Now, consider your own kitchen. What recipe have you been hesitant to try? What culinary dream have you put on hold? This guide provided the foundation; now it's your turn to build upon it. Pick a recipe, grab your hand mixer, and embrace the process. Don't be afraid to experiment, to make mistakes, and to learn from each whisk. The journey of mastering your hand mixer is a journey of culinary self-discovery, and the rewards are sweeter than any cake.
Unleash Your Inner Baker: Take the Next Step!
Thanks for spending time with us! We hope you now feel confident and excited to whip up delicious creations with your hand mixer. Ready to put your newfound knowledge to the test?
- Try a new recipe today! Challenge yourself with a recipe you've always wanted to try – maybe those delicate macarons or fluffy angel food cake.
- Share your baking journey! Post a picture of your creation on social media using #BakeWithEase and tag us – we love seeing what you bake!
- Explore our recipe library for even more hand mixer-friendly treats. You might discover your new favorite dessert!
What delicious adventure will your hand mixer take you on next?