
Essential Tools That Make Intricate Cake Decorating Easy

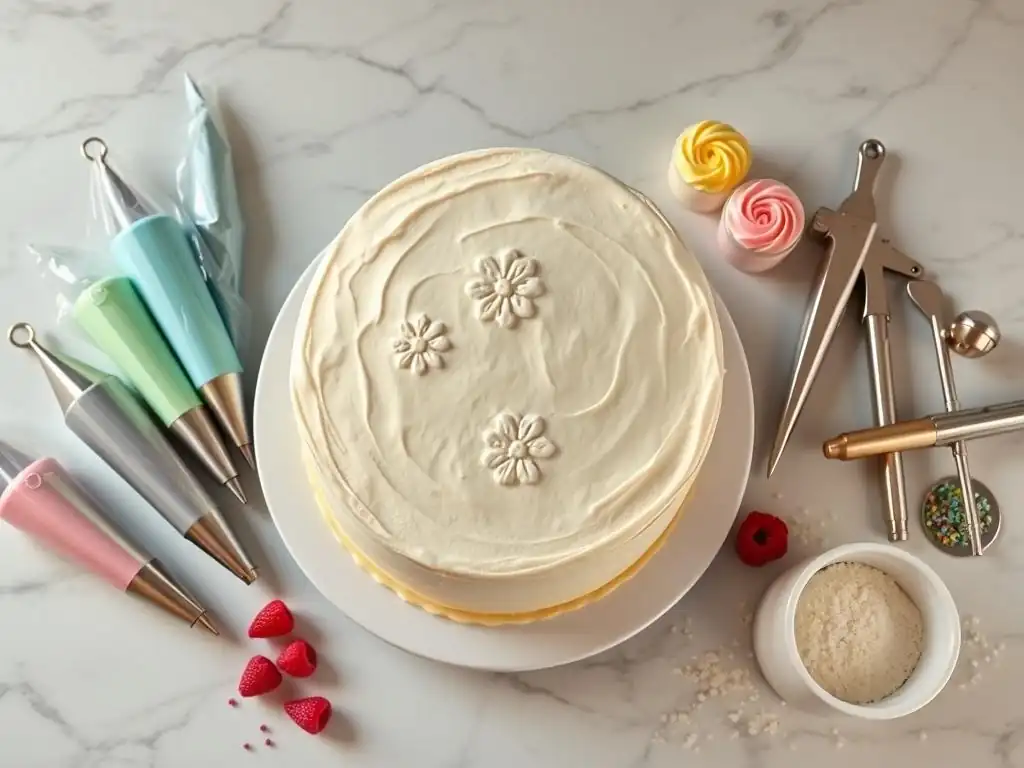
Welcome to BakeWithEase, where we believe everyone can create stunning desserts! Are you ready to transform your cakes from simple to spectacular? This guide dives into the essential cake decorating tools beginners need to get started. Discover how the right equipment can unlock your creativity and make intricate designs surprisingly achievable – are you ready to create your masterpiece?
- Cake Decorating Tools for Beginners: Your BakeWithEase Guide
- Must-Have Cake Decorating Supplies for Beginners: Building Your Toolkit
- Beyond the Basics: Expanding Your Cake Decorating Arsenal
- Cake Decorating Tools Comparison: Choosing the Right Options for You
- Tips and Tricks for Using Cake Decorating Tools Effectively
- Where to Buy Cake Decorating Tools: Recommendations from BakeWithEase
- Conclusion: Start Your Cake Decorating Journey with Confidence
-
Frequently Asked Questions
- What are the absolute must-have cake decorating tools for beginners?
- I'm on a budget; what's the most cost-effective way to build my cake decorating toolkit?
- How do I choose the right piping tips for different cake decorating effects?
- What's the best way to clean and maintain my cake decorating tools?
- What is the purpose of a cake turntable, and is it really necessary for beginner cake decorators?
- Final Reflection: Mastering the Art of Cake Decorating, One Tool at a Time
- Unleash Your Inner Cake Artist!
Cake Decorating Tools for Beginners: Your BakeWithEase Guide
Welcome to Intricate Cake Decorating Made Simple
Welcome to BakeWithEase, where we demystify the world of cake artistry for everyone. Whether you’re aiming to pipe your first rosette or sculpt sugar flowers that rival professional patisseries, cake decorating tools for beginners are your starting point. With the right equipment, you’ll save time, reduce frustration, and achieve crisp, consistent results—every time.
Here, you’ll find step-by-step guides, real-world examples, and precise gear recommendations so you can transform simple sponge cakes into edible masterpieces. Our tutorials assume nothing: from learning how to hold a piping bag to mastering a turntable spin, we cover it all in friendly, jargon-free language.
“Cake decorating is like painting on a canvas—you need the right brushes to bring your vision to life.”
— Michelle Browning, Award-Winning Pastry Chef
Must-Have Cake Decorating Supplies for Beginners: Building Your Toolkit
The Foundation: Essential Cake Decorating Tools
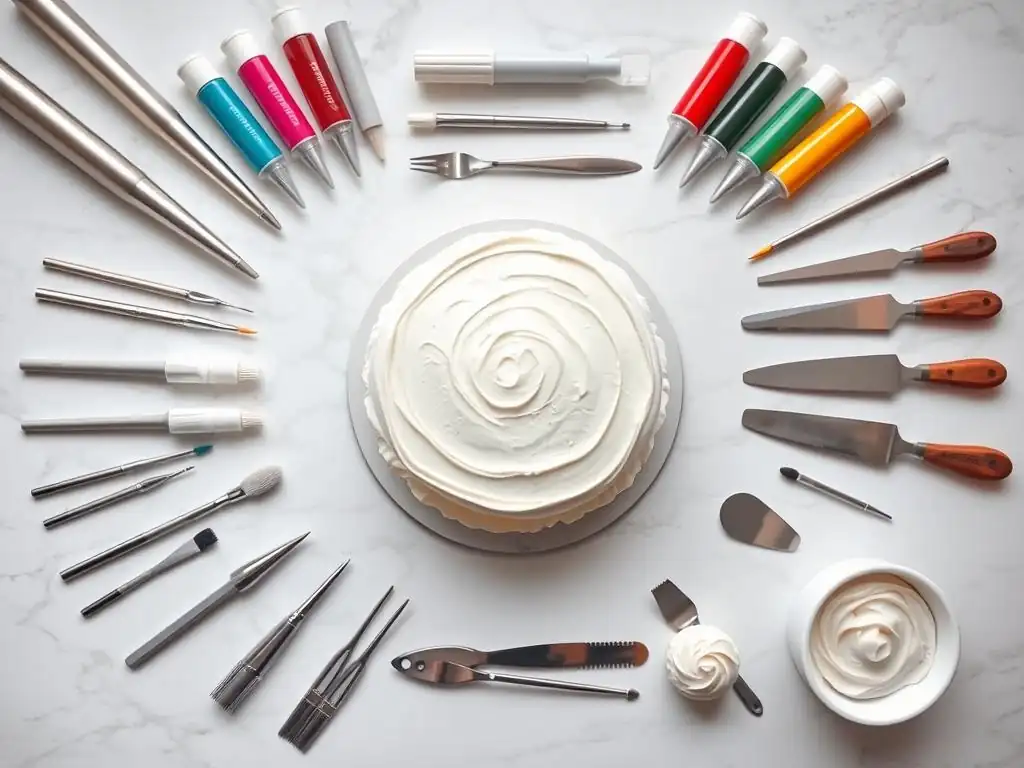
Every artisan starts with basics. For cake decorating tools beginners should prioritize, we recommend:
- Rotating Turntable
- Offset Spatulas
- Cake Scrapers
- Piping Bags & Tips
These four categories form the backbone of your kit. Investing \$50–\$100 upfront in quality versions pays dividends: you’ll work faster, with less crumb interference, and smoother finishes.
Don’t overthink it—buy one reliable item from each category, practice techniques, then upgrade. As you grow, you’ll discover which pieces become your signature tools and which you can shelf for special projects.
Cake Decorating Turntable: The Rotating Stage for Perfect Finishes
An adjustable cake turntable lets you spin your cake 360° while icing, ensuring an even coat. Entry-level models like the Wilton Non-Slip Turntable (approx. \$20) hold up to 10 lbs and feature rubber feet to prevent slippage.
Pro tip: Use a crumb coat, chill for 15 minutes, then apply your final frosting as you gently rotate the turntable. This disciplined approach yields near-professional results with minimal effort.
- Place cake on turntable
- Add crumb coat, chill 15 min
- Smooth final coat while turning
Offset Spatulas: Your Frosting BFF
Offset spatulas (often 5–8 inches long) create smooth layers of frosting without contorting your wrist. The Ateco 5″ Offset Spatula (around \$10) is an industry staple, offering a thin, flexible blade and comfortable handle.
Hold the spatula at a slight angle (about 30°) to the cake’s surface, using steady outward sweeps to remove excess buttercream. Practice the motion on a plate first, then transfer those muscle-memory gains to your cake.
Cake Scrapers: Achieving Smooth Sides and Textures
Cake scrapers are flat, rigid tools—either straight or notched—that glide along your cake’s side to eliminate ridges. A smooth-edge scraper (5–6″ wide) costs roughly \$5; a notched 1 cm version adds texture for striped or waved effects.
Try alternating between a straight scraper for clean panels and a notched scraper for decorative bands. The contrast sets off patterns beautifully under spot-on lighting.
Piping Bags and Tips: The Key to Decorative Details
Classic piping kits include reusable nylon bags or disposable vinyl ones, paired with metal tips (e.g., Wilton #1M for rosettes, #4B for ruffles). A basic set (12 tips + 5 bags) runs \$15–\$25.
Nested lists help you organize:
- Bag Types
- Reusable (nylon, dishwasher-safe)
- Disposable (vinyl, cut-to-size)
- Tip Categories
- Round (dots, lettering)
- Star (rosettes, shells)
- Leaf (leaf shapes)
- Petal (ruffles, flowers)
Beyond the Basics: Expanding Your Cake Decorating Arsenal
Level Up Your Skills with These Specialized Cake Decorating Tools
Once you’ve mastered the essentials, specialized gear lets you push creative boundaries. From ultra-precise fondant work to airbrushed color fades, these tools are your ticket to showstopper designs.
Real-world bakers often add one or two items per season, experimenting on weekend orders or family celebrations. Over time, you’ll build a personalized collection aligned with your signature style.
Fondant Rolling Pin: Creating Smooth Fondant Surfaces
A nonstick, tapered fondant rolling pin ensures even thickness without tearing. The PME Saracino Rolling Pin (14″, about \$18) features graduated ends so you can roll fondant to a consistent 1/8″ thickness.
Roll on a lightly cornstarched surface, turning the pin 90° every few strokes. This cross-pattern technique prevents uneven patches and air pockets beneath your fondant layer.
Fondant Smoother: Achieving a Flawless Fondant Finish
After draping fondant, use a nylon smoother (approx. \$4) to gently buff out creases and air bubbles. For sharper edges, a stainless steel PME Smoother (\$12) lets you define the cake’s corners with precision.
Hold the smoother flush against the cake and apply light pressure—no need to scrape hard. The goal is polish, not erosion.
Gel Food Coloring: Vibrant and Concentrated Color
Gel colors (such as AmeriColor or Chefmaster) pack intense pigments in a small volume— one drop can tint 8 cups of buttercream. A 20 g jar averages \$4 and lasts months, even with weekly practice.
Mix colors on a white plate to see true shades, then transfer to your batch of frosting. Use a toothpick for micro-adjustments: little goes a long way.
Airbrush System for Cakes: Adding Professional Flair
An airbrush kit (compressor + gun + color cups) runs \$80–\$120. Brands like Master Airbrush deliver consistent 20–40 PSI airflow, perfect for color gradients, stenciled motifs, and shimmer effects using edible spray dust.
Practice on parchment paper before hitting your cake. Mask sections with parchment stencils or painters’ tape to achieve crisp lines and ombré fades.
Cake Decorating Tools Comparison: Choosing the Right Options for You
Evaluating Features, Benefits, and Price Points
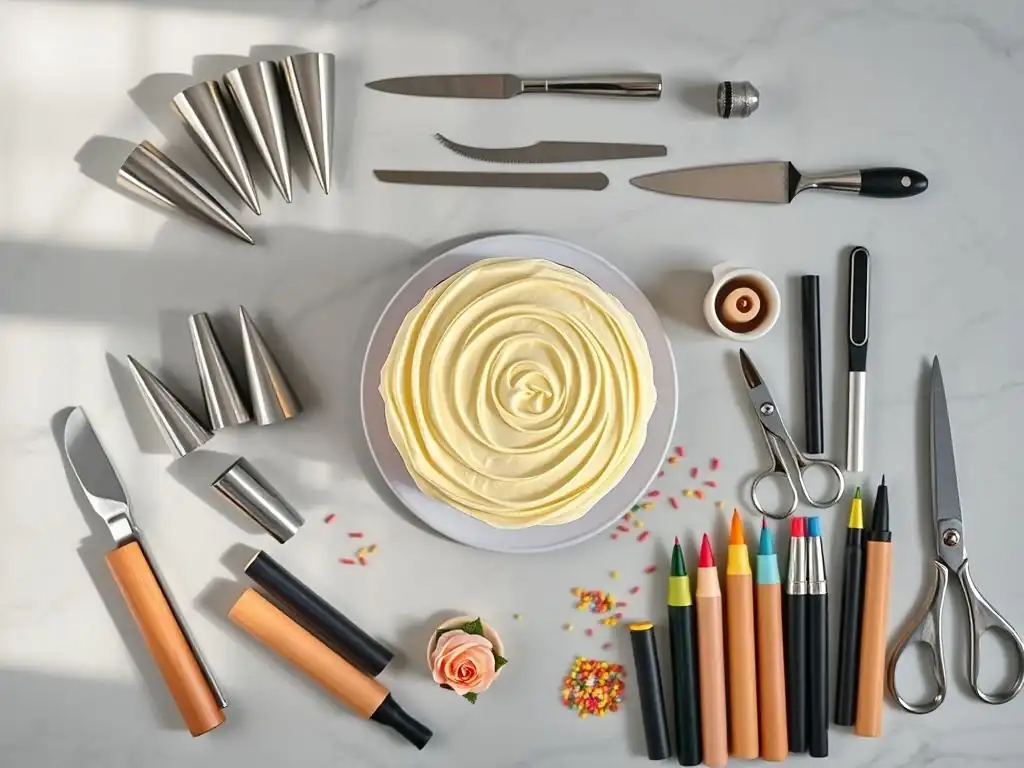
When selecting from multiple brands, consider:
- Durability: Stainless steel vs. plastic
- Grip & Comfort: Ergonomic handles reduce fatigue
- Maintenance: Dishwasher-safe vs. hand-wash only
- Price: Budget (\$5–\$15) vs. pro (\$20–\$50+)
Many home bakers start with mid-range tools (\$10–\$20 each). If you plan to bake daily or for events, bumping up to professional lines ensures longevity and reliability under heavy use.
Tips and Tricks for Using Cake Decorating Tools Effectively
Maximize Your Cake Decorating Potential with These Expert Insights
- [x] Always chill your cake between frosting layers.
- [x] Use a crumb coat to lock in loose crumbs.
- [ ] Invest in a set of practice boards before working on real cakes.
- [ ] Label your piping tips in small zip-lock bags for quick access.
Pro Tip: Warm your offset spatula under hot water, dry it, then apply your final smoothing pass. Heat softens buttercream edges, yielding an ultra-sleek finish.
Where to Buy Cake Decorating Tools: Recommendations from BakeWithEase
Top Retailers and Online Stores for Quality Supplies
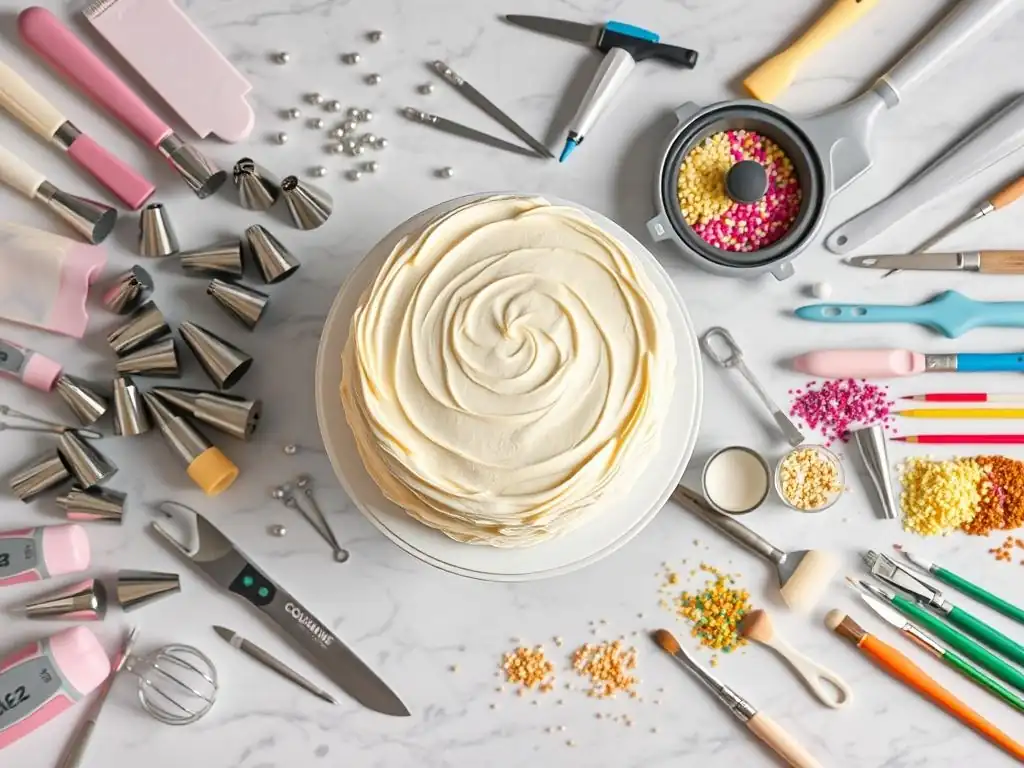
- Local Craft Stores: Michaels and Jo-Ann often have weekly 40% off coupons—ideal for disposable pastry bags and food coloring sets.
- Specialty Baking Shops: Stores like Johnson’s Baking or local pastry boutiques carry premium brands (Wilton Pro, PME, Ateco).
- Online Retailers: Amazon and BakeWithEase’s own shop curate starter kits designed for cake decorating tools beginners, bundling essentials at a slight discount.
Keep an eye on seasonal sales—Black Friday, Cyber Monday, and post-holiday clearances can slash prices by 25–50%.
Conclusion: Start Your Cake Decorating Journey with Confidence
Embrace the Art of Cake Decorating with the Right Tools and Techniques
Building confidence starts with building your toolkit. As cake decorating tools beginners, focusing on a solid foundation—turntable, spatulas, scrapers, piping bags—empowers you to learn techniques faster and with fewer frustrations.
From here, gradually introduce fondant equipment, gel colors, and airbrush systems to expand your creative repertoire. With every swirl, petal, and frosty coating, you’ll develop muscle memory and an eye for detail. So gather your tools, follow our beginner-friendly guides, and get ready to wow friends, family, and clients with cakes that look as good as they taste. Happy baking!
Frequently Asked Questions
What are the absolute must-have cake decorating tools for beginners?
The essential tools include a good turntable for smooth frosting, a set of offset spatulas for even application, and basic piping tips for simple designs.
I'm on a budget; what's the most cost-effective way to build my cake decorating toolkit?
Start with a few versatile piping tips, a small offset spatula, and a cake scraper. These will allow you to achieve a wide range of basic designs without breaking the bank.
How do I choose the right piping tips for different cake decorating effects?
Consider star tips for borders and rosettes, round tips for writing and outlines, and petal tips for creating realistic flower petals. Experimentation is key!
What's the best way to clean and maintain my cake decorating tools?
Wash tools thoroughly with warm soapy water after each use. Dry them completely to prevent rust or damage, especially for piping tips.
What is the purpose of a cake turntable, and is it really necessary for beginner cake decorators?
A cake turntable allows you to rotate the cake smoothly while frosting, ensuring an even and professional finish. While not strictly necessary, it makes the process significantly easier, especially for beginners, and is highly recommended for achieving a polished look.
Final Reflection: Mastering the Art of Cake Decorating, One Tool at a Time
The accessibility of intricate cake decorating is transforming the way we celebrate life's milestones. No longer confined to professional bakeries, the joy of creating stunning, personalized cakes is now within reach for everyone, thanks to the readily available tools and resources discussed in this article. This democratization of cake artistry empowers individuals to express their creativity and share their passion with loved ones.
The journey from a simple frosted cake to a breathtaking masterpiece is a testament to the power of learning and practice. It's a journey I've personally embraced, finding immense satisfaction in the transformation of ingredients into edible art. The tools, while essential, are merely facilitators; the true magic lies in the dedication and the joy of the process. The best things in life are not things.
– Unknown. This quote resonates deeply, as the true reward isn't the finished cake itself, but the journey of creation and the connections forged through sharing it.
Now, it's your turn. Don't be intimidated by the seemingly complex world of cake decorating. Choose one tool from this article, maybe a simple piping tip or a versatile spatula, and start experimenting. Embrace the learning curve, celebrate your successes (and learn from your "mistakes"), and watch as your confidence grows with each beautifully decorated cake. The world awaits your unique creations – go forth and bake!
Unleash Your Inner Cake Artist!
Thanks for joining us on this delicious journey into the world of intricate cake decorating! We hope you've discovered some amazing new tools to simplify your baking process. Ready to take your skills to the next level?
- Master a new decorating technique: Choose one of the tools highlighted in the article and dedicate some time this week to practicing a new skill. Try creating a rose swirl or mastering the perfect piping technique!
- Share your creations: Post a picture of your latest cake masterpiece on social media and tag us! We'd love to see what you bake. #BakeWithEase #CakeDecorating
- Explore our other resources: Dive deeper into cake decorating tips and tricks by checking out our other articles on BakeWithEase.com. You might discover your next favorite technique!
So, what incredible cake are you dreaming up next?