
Keep It Clean, Keep It Easy: Ovens Designed for Simple Maintenance

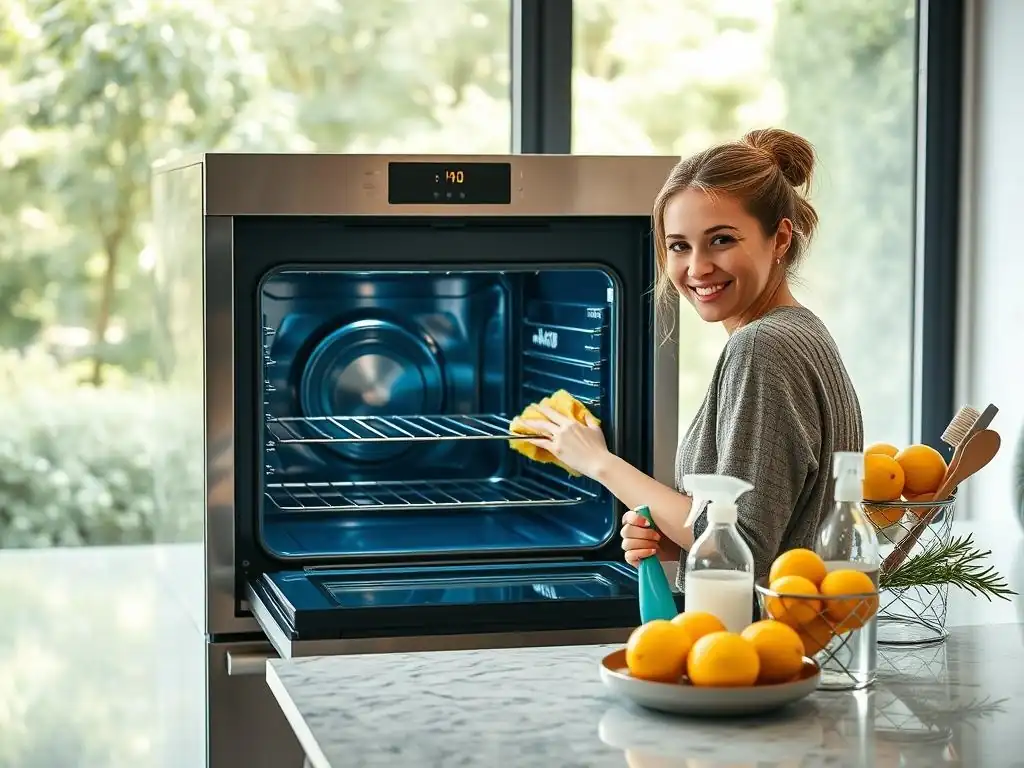
Welcome to BakeWithEase, where baking dreams become delicious realities! Tired of post-baking cleanup nightmares? You've come to the right place. Before diving into your next culinary creation, discover our easy oven cleaning tips that will transform your kitchen routine. Ready to reclaim your time and keep your oven sparkling? Read on – your baking sanctuary awaits!
- Effortless Baking: Finding Ovens with Easy Cleaning Features
- Why Easy Oven Cleaning Matters for Baking Enthusiasts
- Top Ovens with Superior Self-Cleaning Capabilities
- Beyond Self-Cleaning: Oven Features That Simplify Maintenance
- Easy Oven Cleaning Tips: A Step-by-Step Guide for All Ovens
- Natural Oven Cleaning Solutions: Baking Soda and Vinegar Power
- Maintaining Your Oven's Cleanliness: Preventative Measures
- The Bottom Line: Choosing the Right Oven for Easy Maintenance and Delicious Baking.
-
Frequently Asked Questions
- How often should I clean my oven for optimal baking results?
- What are some easy oven cleaning methods I can use?
- Are there any natural alternatives to harsh chemical oven cleaners?
- My oven has a self-cleaning feature. Is that the easiest option?
- What are some tips for preventing oven messes in the first place?
- Final Reflection: The Enduring Appeal of Effortless Cleanliness
- Unleash Your Inner Baker: Effortless Oven Cleaning Awaits!
Effortless Baking: Finding Ovens with Easy Cleaning Features
For any baking enthusiast, the joy of pulling a perfectly golden loaf of bread or a beautifully layered cake from the oven is unparalleled. However, the less glamorous side of baking often involves tackling stubborn grease and baked-on grime. A clean oven isn't just about aesthetics; it's crucial for consistent baking results and the longevity of your appliance. This is where ovens designed with easy cleaning features truly shine, transforming a dreaded chore into a manageable task.
Finding an oven that simplifies maintenance can significantly enhance your baking experience. Modern ovens come equipped with various technologies aimed at reducing the time and effort spent on cleaning. From high-heat self-cleaning cycles that turn spills to ash to innovative coatings that repel grime, manufacturers are increasingly focusing on making oven maintenance less of a hassle. Understanding these features is key to choosing an oven that not only bakes beautifully but also fits seamlessly into a busy baker's life, making easy oven cleaning tips for daily use actually practical.
Why Easy Oven Cleaning Matters for Baking Enthusiasts
The Time-Saving Benefits of Self-Cleaning Ovens
Self-cleaning ovens, particularly those with pyrolytic cycles, offer a significant advantage by drastically cutting down cleaning time. Instead of spending hours on your hands and knees scrubbing with harsh chemicals, you simply activate the cycle. A typical pyrolytic cycle runs at extremely high temperatures, often between 850°F and 900°F (around 450-480°C), incinerating food residue and grease into a fine ash.
While a pyrolytic cycle can take anywhere from 2 to 4 hours, plus cooling time, the active effort required from you is minimal – primarily just wiping away the residual ash afterward. Compare this to manual cleaning, which can involve multiple applications of cleaner, extensive scrubbing, and repeated wiping over several hours, potentially spread across different days for heavily soiled ovens. The time saved allows you to focus more on perfecting your sourdough starter or trying out new pastry techniques, rather than battling baked-on messes.
Maintaining Oven Performance with Regular, Easy Cleaning
A clean oven operates more efficiently and delivers more consistent results. Built-up grease and food particles can act as insulators, interfering with the oven's heating elements or convection fan. This can lead to uneven temperature distribution, causing hot spots or areas where food doesn't brown properly. Over time, significant buildup can even cause the oven's thermostat to read inaccurately, meaning the internal temperature might be higher or lower than your setting.
Regular, easy oven cleaning prevents this performance degradation. When cleaning is simple, you're more likely to do it often, preventing heavy buildup that impacts heating. An oven with features like self-cleaning, steam cleaning, or easy-wipe interiors encourages frequent maintenance, ensuring the oven heats evenly, maintains accurate temperatures, and ultimately helps you achieve consistently excellent baking results. This proactive approach is one of the most effective easy oven cleaning tips you can follow.
The Impact of Oven Cleanliness on Baking Results
Beyond temperature consistency, oven cleanliness directly affects the taste and smell of your baked goods. As spills and grease heat up, they can produce smoke and unpleasant odors that transfer to your food. That faint, slightly acrid smell you sometimes detect when opening a dirty oven? That can subtly (or not so subtly) taint the flavor of your delicate cakes, cookies, and breads.
Furthermore, excessive buildup can lead to increased smoking during baking, which isn't just unpleasant but can also affect the texture and appearance of your food. A clean oven environment ensures that the only aromas influencing your baking are those from your ingredients, allowing the true flavors of your creations to shine through. Prioritizing easy oven cleaning features helps maintain a pristine baking environment.
Top Ovens with Superior Self-Cleaning Capabilities
Miele Ovens: A Deep Dive into Its Pyrolytic Self-Clean Feature
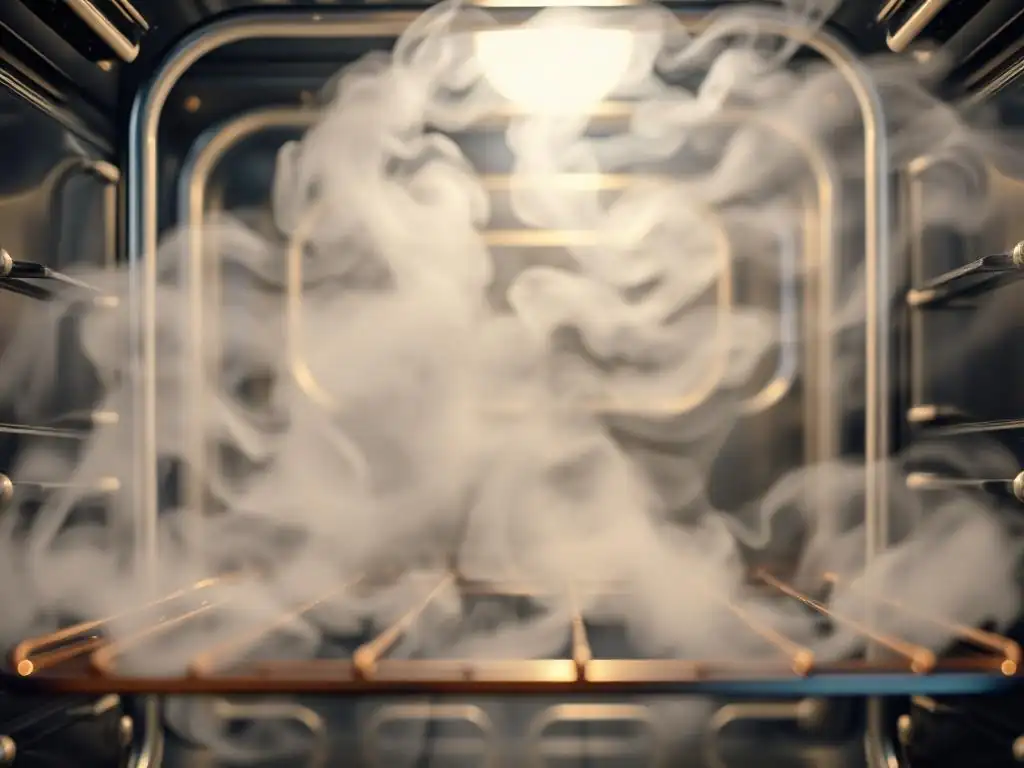
Miele is renowned for its high-quality appliances, and their ovens with pyrolytic self-cleaning are no exception. The Miele pyrolytic cycle is designed for thorough cleaning, reaching temperatures typically exceeding 850°F (450°C). This intense heat effectively carbonizes even the most stubborn, baked-on residues, turning them into a fine ash that is easily wiped away once the oven has cooled.
Many Miele ovens feature catalytic enamel on the sides, which absorbs grease spatters during regular cooking, reducing the need for frequent pyrolytic cycles. The combination of the powerful pyrolytic function for the main cleaning and the catalytic liners for ongoing maintenance makes Miele ovens a top choice for bakers who prioritize minimal manual effort and deep cleaning efficiency.
Whirlpool Ovens: Exploring the Steam Clean Option for Light Cleaning
Whirlpool ovens often feature a steam clean option, which provides a quicker, lower-temperature alternative to traditional high-heat self-cleaning. This method uses water and lower heat, typically around 200-250°F (90-120°C), to loosen light soils and spills in about 30 minutes. It's a great option for tackling fresh spatters before they become heavily baked on.
While steam cleaning is less effective on heavy, old buildup compared to pyrolytic cleaning, it offers a convenient way to perform light, frequent maintenance. For bakers who wipe up spills quickly and want a chemical-free way to handle minor messes, Whirlpool's steam clean feature provides an easy oven cleaning solution between deeper cleans.
LG Ovens: Dual Cleaning Options for Versatile Maintenance
LG ovens frequently offer the best of both worlds with their dual cleaning options: a high-heat self-clean cycle and a lower-temperature steam clean cycle. This versatility allows users to choose the most appropriate cleaning method based on the level of soil. The high-heat cycle handles significant buildup, while the steam clean is perfect for quick touch-ups or spills that haven't had time to bake on.
Having both options provides flexibility for busy bakers. A quick 10-20 minute steam clean can tackle a minor spill after dinner, while the longer pyrolytic cycle can be reserved for tackling accumulated grime every few months. This dual functionality makes LG ovens highly practical for maintaining a consistently clean baking environment with minimal effort.
Beyond Self-Cleaning: Oven Features That Simplify Maintenance
Easy-Wipe Enamel Interiors: Minimizing Scrubbing
Even with self-cleaning functions, some manual wiping is often required, particularly on the door and around gaskets. Modern ovens are increasingly using improved enamel coatings on their interiors that are smoother and less porous than older materials. These surfaces make it harder for food spills and grease to stick and bake on rigidly.
Porcelain enamel interiors designed for easy cleaning allow many fresh spills to be wiped away with just a damp cloth or sponge once the oven is cool. This significantly reduces the need for heavy scrubbing or the use of abrasive cleaners, making routine maintenance much simpler.
Removable Oven Doors and Racks: Simplifying Access for Cleaning
Cleaning the oven door and racks can be one of the most challenging parts of the process. Many newer oven models feature doors that can be easily removed or disassembled to allow access to clean between the glass panels, where drips often accumulate.
Similarly, oven racks that glide smoothly and are easy to remove allow you to clean them separately in a sink or bathtub, making it much easier to tackle baked-on grime without awkward maneuvering inside the oven cavity. This simple feature dramatically improves the accessibility for thorough cleaning.
Traditional oven designs often have the lower heating element exposed at the bottom of the oven cavity. This exposed element is a prime spot for spills to land directly on and burn, creating incredibly tough, baked-on messes.
Ovens with hidden or concealed lower heating elements feature a smooth oven floor covering the element. While the element still heats the cavity, spills land on the flat surface, which is much easier to wipe clean. This design significantly reduces the potential for stubborn buildup on the oven floor, simplifying one of the hardest areas to clean.
Easy Oven Cleaning Tips: A Step-by-Step Guide for All Ovens
The Importance of Regular Cleaning for Optimal Baking
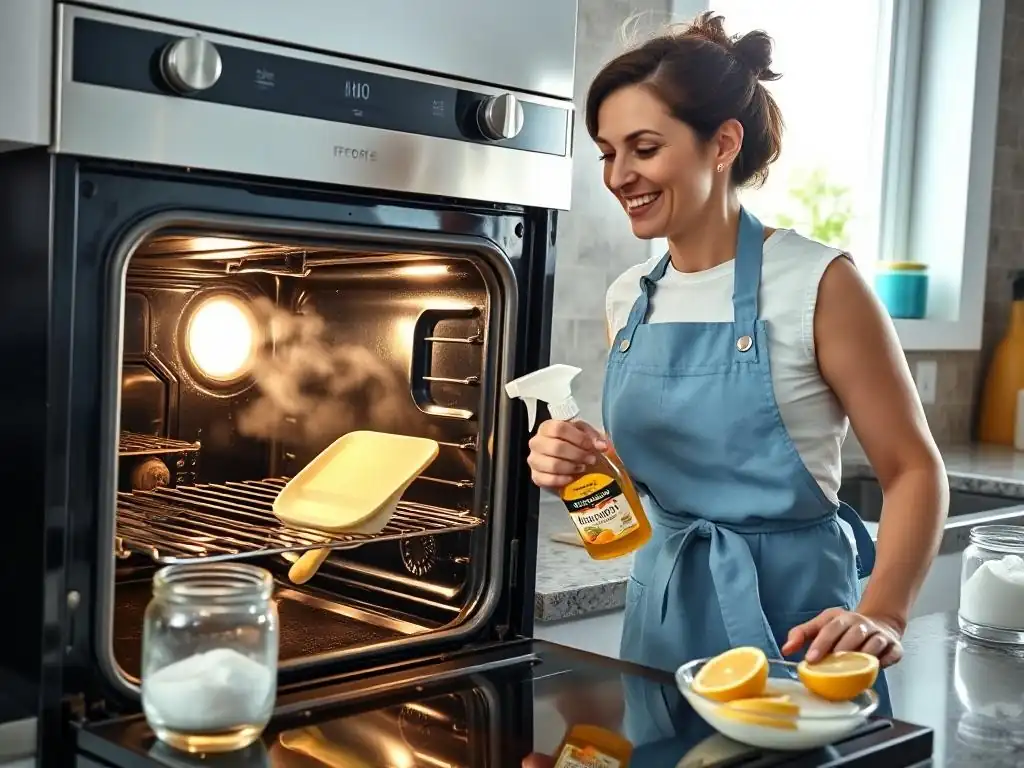
Keeping your oven clean is one of the most important easy oven cleaning tips for any baker. Regular maintenance not only ensures your oven performs consistently and efficiently, but it also makes cleaning easier in the long run by preventing heavy buildup. Tackling small spills as they happen or doing a quick clean every few weeks is far less daunting than facing months of accumulated grime.
A clean oven promotes even heating, prevents smoke and odors from affecting your food, and extends the lifespan of your appliance. Making oven cleaning a regular part of your kitchen routine, rather than a dreaded deep clean, is key to effortless maintenance and better baking results.
Step 1: Gathering Your Cleaning Supplies
Before you begin, ensure you have all the necessary supplies. This typically includes rubber gloves, safety glasses (especially if using strong chemical cleaners), old towels or newspaper to protect the floor, sponges or non-scratch scrubbing pads, a plastic scraper (optional, for loosening large burnt pieces), and your chosen cleaning solution – either a commercial oven cleaner or natural alternatives like baking soda and vinegar.
Having everything ready beforehand saves time and ensures you can complete the cleaning process without interruptions. Make sure the cleaning solution you choose is appropriate for your oven type (e.g., some liners can be damaged by certain chemicals).
Step 2: Preparing Your Oven for Cleaning
Safety first! Ensure your oven is completely cool before starting any cleaning process, whether manual or using a self-cleaning cycle. Remove all oven racks, baking stones, thermometers, or any other accessories from the oven cavity. If your oven door is removable, this is the time to detach it according to your appliance's manual.
Place old towels or newspaper on the floor directly in front of the oven to catch any drips or debris that might fall during the cleaning process. Open windows or ensure good ventilation, especially if using commercial cleaners.
Step 3: Cleaning the Oven Interior
If using a self-cleaning cycle (pyrolytic), follow your oven's instructions to initiate the cycle. Once complete and the oven is cool, simply wipe away the resulting fine ash with a damp cloth. For steam clean, add the specified amount of water to the oven cavity (usually a reservoir or the oven floor) and run the cycle, then wipe loosened grime.
For manual cleaning, apply your chosen cleaner to the interior surfaces, avoiding heating elements (if exposed) and the door gasket. For heavy buildup, allow the cleaner to sit for the time recommended on the product label (often several hours or overnight). Use a sponge or scraper to remove loosened grime, then wipe thoroughly with a clean, damp cloth, rinsing the cloth frequently, until all cleaner residue is removed.
Step 4: Cleaning the Oven Door and Glass
The oven door, particularly the interior glass, is often subject to significant splatters. If your door is removable or can be partially disassembled, do so for easier access. Apply your cleaner to the interior and exterior glass surfaces, avoiding seals or gaskets.
Let the cleaner sit as needed, then scrub with a non-scratch pad. Use a plastic scraper gently on heavily baked-on spots on the glass. Clean between glass panels if possible. Wipe thoroughly with a damp cloth, then dry for a streak-free finish. Don't forget to wipe down the door handle and control panel carefully with a damp cloth (avoiding getting water into electronics).
Step 5: Cleaning the Oven Racks
Oven racks can accumulate significant baked-on grease. One of the easiest oven cleaning tips for racks is to soak them. Fill a bathtub or large sink with hot water and add a generous amount of dish soap, laundry detergent, or a dedicated rack cleaner. Submerge the racks completely and let them soak for several hours or overnight.
After soaking, the grime should be significantly loosened. Use a stiff brush or scouring pad to scrub away any remaining residue. Rinse the racks thoroughly with clean water and dry them completely before returning them to the oven.
Step 6: Reassembling Your Oven
Once the oven interior, door, and racks are clean and dry, it's time to put everything back together. Carefully reinsert the oven racks into their proper positions. If you removed the oven door, reattach it according to your oven's manual, ensuring it is securely in place and closes properly.
Do a final check to ensure no cleaning residue remains inside the oven cavity or on the door seals, as this could cause odors when the oven is next used. Your oven is now clean and ready for your next baking adventure!
Natural Oven Cleaning Solutions: Baking Soda and Vinegar Power
The Science Behind Baking Soda and Vinegar Cleaning
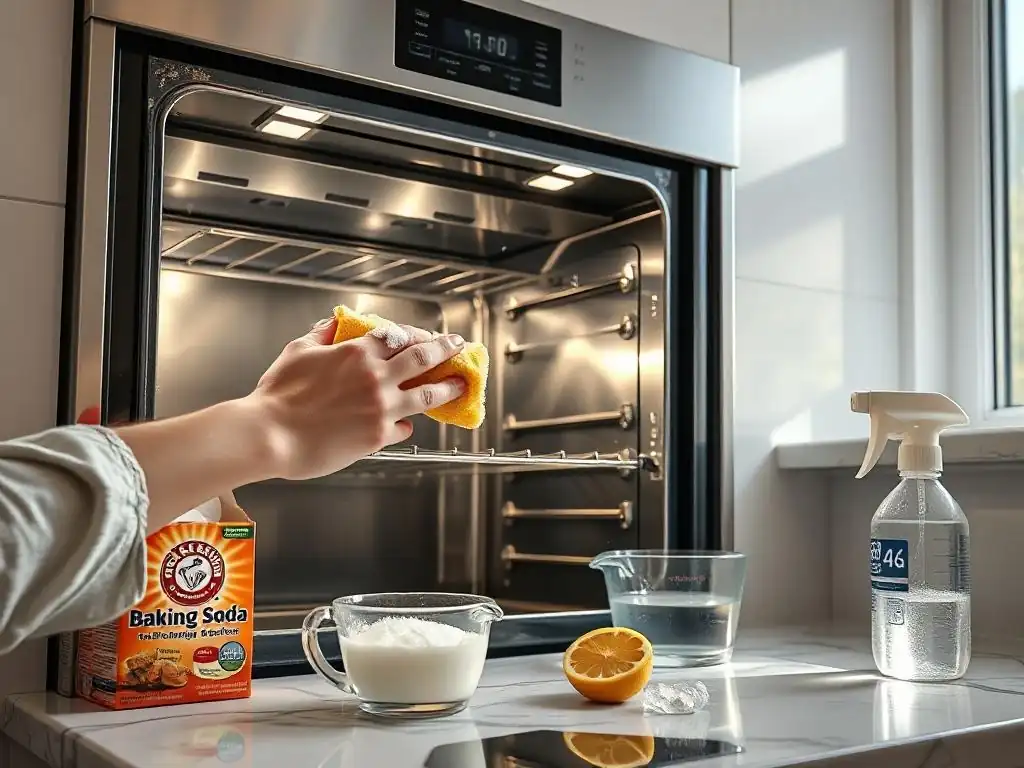
For those preferring to avoid harsh chemicals, baking soda (sodium bicarbonate) and vinegar (acetic acid) offer a powerful, natural cleaning combination. Baking soda acts as a mild abrasive and a base. When mixed with water, it forms a paste that can mechanically lift grime.
Vinegar, an acid, reacts with baking soda. This reaction produces carbon dioxide gas, which creates a fizzing action that helps to loosen and lift baked-on residue. The acidic nature of vinegar also helps to cut through grease and can act as a disinfectant. Together, they form an effective, non-toxic cleaning system.
Step-by-Step Guide to Natural Oven Cleaning
First, make a thick paste by mixing about 1/2 cup of baking soda with a few tablespoons of water. Adjust the water amount until you get a spreadable paste consistency. Remove oven racks and other accessories. Spread the baking soda paste all over the interior surfaces of your oven, avoiding the heating elements and door gasket. Pay extra attention to heavily soiled areas, applying a thicker layer.
Let the paste sit for at least a few hours, or ideally, overnight for best results. The longer it sits, the more it can penetrate and loosen the grime. The next day, use a damp cloth to wipe away the dried paste and loosened grime. For stubborn spots, use a plastic scraper.
Once most of the baking soda is removed, put some white vinegar in a spray bottle and spritz the areas with remaining residue. The vinegar will react with the baking soda, causing it to fizz and lift. Wipe clean with a damp cloth, rinsing frequently, until all residue is gone. Clean racks separately, perhaps with baking soda paste or soaking.
When to Use Natural Cleaning vs. Commercial Cleaners
Natural cleaning methods using baking soda and vinegar are excellent for tackling light to moderate oven buildup and for routine maintenance. They are a great choice for individuals who are sensitive to chemical fumes or prefer an eco-friendly approach. They work well if you clean your oven fairly regularly and don't let grime accumulate heavily.
However, for ovens with years of heavy, baked-on carbonized grease and grime, natural methods may require significantly more effort and repeated applications to achieve the same results as a high-heat self-cleaning cycle or a strong commercial oven cleaner. In cases of extreme soiling, a more powerful method might be necessary, though natural cleaning is always a good first attempt or for maintaining cleanliness after a deep clean.
Maintaining Your Oven's Cleanliness: Preventative Measures
Using Baking Sheets and Liners to Catch Spills
Prevention is key to easy oven cleaning. One simple yet effective preventative measure is to always use baking sheets or liners when cooking items that might bubble over or drip, such as pies, casseroles, or roasting meats. Place a baking sheet or a silicone/foil oven liner on the rack below the dish you are cooking.
This catches any drips or spills before they have a chance to land on the oven floor and bake on. Cleaning a baking sheet or liner is significantly easier than scrubbing the bottom of your oven. This simple habit can drastically reduce the frequency of needing deep cleans.
Cleaning Up Spills Immediately
Another critical preventative tip is to address spills as soon as they occur and the oven is cool. A fresh spill is much easier to wipe away with a damp cloth than one that has been baked on multiple times. Get into the habit of quickly inspecting your oven after each use once it has cooled down.
A quick wipe-down of any visible splatters or drips can save you hours of scrubbing down the line. This proactive approach is one of the most effective easy oven cleaning tips for keeping your oven looking its best with minimal effort.
Regular Light Cleaning to Prevent Heavy Buildup
Implement a routine of light oven cleaning. This doesn't mean a full deep clean every week, but rather quick, targeted cleaning. For instance, after baking something that splattered, wipe down the interior sides and door glass once the oven is cool.
A quick 5-10 minute wipe-down every few uses, or even a monthly quick clean with a natural spray, can prevent the slow accumulation of grime that eventually requires a major cleaning effort. Consistent, light cleaning is far less disruptive and time-consuming than infrequent heavy-duty cleaning sessions.
The Bottom Line: Choosing the Right Oven for Easy Maintenance and Delicious Baking.
Frequently Asked Questions
How often should I clean my oven for optimal baking results?
It's recommended to clean your oven every three to six months depending on usage. More frequent cleaning prevents baked-on messes from affecting oven performance and flavor.
What are some easy oven cleaning methods I can use?
Several methods exist, including using a baking soda paste, a self-cleaning cycle (if your oven has one), or commercially available oven cleaners. Always follow instructions carefully.
Are there any natural alternatives to harsh chemical oven cleaners?
Yes! A popular natural alternative involves a paste of baking soda and water, left to sit overnight. Another option is using a vinegar and water spray.
My oven has a self-cleaning feature. Is that the easiest option?
The self-cleaning cycle is convenient, but it can produce high heat and fumes. Ensure proper ventilation and remove oven racks before using this feature.
What are some tips for preventing oven messes in the first place?
Use oven liners or baking sheets to catch drips. Also, be mindful when filling dishes to prevent spills and immediately wipe up any messes as they occur.
Final Reflection: The Enduring Appeal of Effortless Cleanliness
The pursuit of effortless kitchen cleanliness is not a fleeting trend; it's a fundamental desire reflecting our increasingly busy lives. A clean oven, once a symbol of laborious scrubbing and harsh chemicals, is now achievable with innovative designs and smart cleaning solutions. This shift speaks volumes about our evolving priorities and the importance we place on reclaiming our time and energy.
The impact of easy-to-clean oven technology extends beyond mere convenience; it's reshaping our relationship with household chores. It allows us to focus on what truly matters – spending quality time with loved ones, pursuing hobbies, and enjoying the fruits of our culinary efforts, rather than being bogged down by tedious cleaning. The kitchen is the heart of the home,
and a clean, easily maintained kitchen fosters a sense of calm and well-being. This simple truth underscores the significance of prioritizing design features that promote effortless cleaning.
Now, consider your own kitchen. What small changes could you implement to make oven cleaning less of a burden? Perhaps it's time to research self-cleaning ovens, explore eco-friendly cleaning solutions, or simply adopt a more proactive cleaning routine. Embrace the simplicity; reclaim your time; and rediscover the joy of cooking and sharing meals in a clean, inviting space. The pursuit of effortless cleanliness is not just about convenience; it's about creating a more fulfilling and joyful life.
Unleash Your Inner Baker: Effortless Oven Cleaning Awaits!
Thanks for taking the time to explore the world of easy-to-clean ovens with us! You've now learned how simple maintaining a sparkling clean oven can be. Ready to take the next step?
- Find your perfect easy-clean oven: Browse our detailed reviews and comparisons to discover the model that best suits your baking needs and lifestyle. Don't settle for anything less than effortless cleaning!
- Share your thoughts and experiences: Join our BakeWithEase community and share your favorite cleaning tips or ask questions about oven maintenance. Let's build a supportive network of fellow bakers!
- Try our exclusive oven cleaning checklist: Download our free printable checklist to keep your oven sparkling and ready for any baking adventure. (Imagine never having to dread a deep clean again!)
So, what's your first step towards a cleaner, more enjoyable baking experience?