
Proofing Baskets Explained: Get That Professional Bread Shape

Welcome to BakeWithEase!
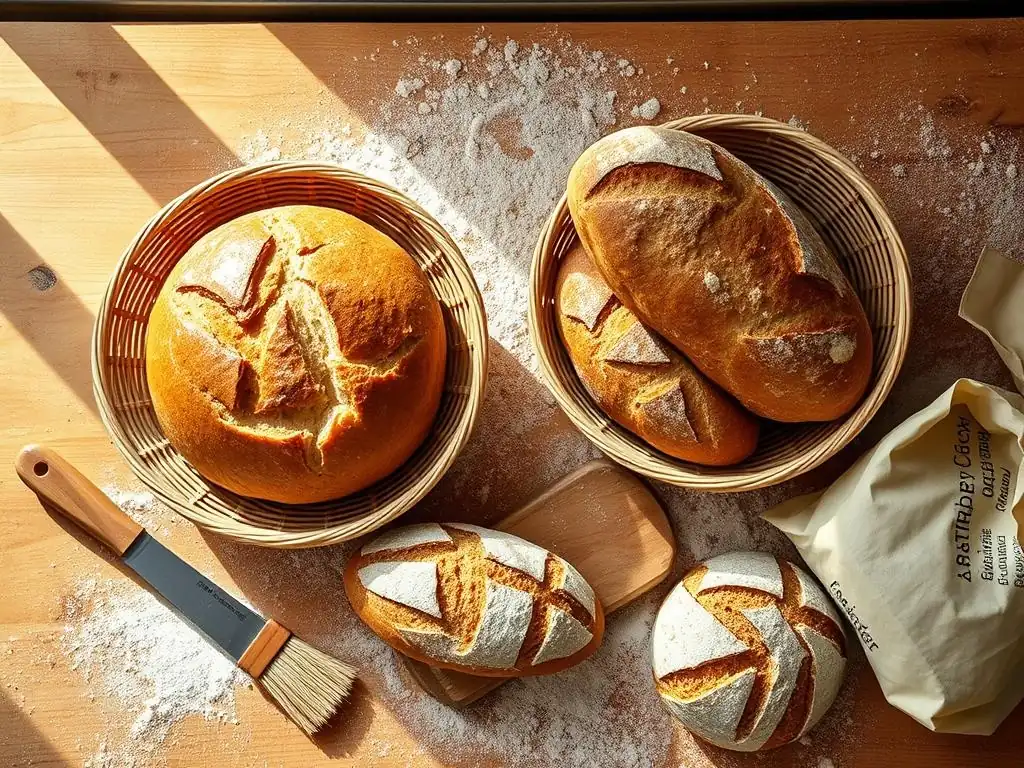
Ever wondered how professional bakers achieve those beautifully shaped sourdough loaves? It all starts with the right technique. Dive into our comprehensive guide to perfecting sourdough bread shaping technique and discover the secrets behind creating artisan-quality loaves at home. We'll explore essential tools like proofing baskets (bannetons), their benefits, and how they can elevate your baking game. Ready to take your sourdough skills to the next level? Let's get shaping!
- Perfecting Sourdough Bread Shaping Technique: A Baker's Guide
- Understanding Proofing Baskets: Bannetons vs. Brotforms
- Preparing Your Proofing Basket for Success: The Key to Non-Stick
- Shaping Techniques for Perfect Proofing
- Proofing Your Dough: Time and Temperature Considerations
- Baking Your Sourdough: Scoring and Baking for Maximum Oven Spring
- Cleaning and Caring for Your Proofing Baskets
- Troubleshooting: Common Problems and Solutions
- Conclusion: Mastering the Art of Sourdough with Proofing Baskets.
-
Frequently Asked Questions
- What exactly is a proofing basket, and what's its primary function?
- How does using a proofing basket contribute to a better sourdough loaf?
- What materials are proofing baskets typically made from, and does the material matter?
- How do I properly prepare and care for my proofing basket to prevent sticking?
- Besides shaping, are there other benefits to using a proofing basket for sourdough bread?
- Final Reflection: The Enduring Art of the Proofing Basket
- Unleash Your Inner Bread Baker: Perfect Loaves Await!
Perfecting Sourdough Bread Shaping Technique: A Baker's Guide
Achieving the Ideal Loaf: Why Proofing Baskets Matter
Perfecting sourdough bread shaping technique is a journey, and a crucial tool in achieving that coveted professional look and structure is the proofing basket. These baskets, often called bannetons or brotforms, provide essential support to your dough during its final rise, preventing it from spreading outwards and instead encouraging it to rise upwards.
This controlled proofing environment helps build tension in the dough's outer layer, which translates directly into better oven spring when you bake. Without adequate support during this critical stage, especially for high-hydration sourdoughs which tend to be quite slack, the dough can flatten, resulting in a dense, wide loaf rather than a tall, well-rounded one with a beautiful crumb structure.
Beyond just shape, using a proofing basket also helps manage moisture on the dough's surface. The natural materials of many baskets, like rattan, wick away a small amount of surface moisture. This slight drying effect creates a 'skin' on the dough. When you invert the dough onto your baking surface, this skin becomes the crust.
It's this firm surface that allows you to make clean, effective scores (cuts) before baking. These scores aren't just for aesthetics; they guide the expansion of the dough during oven spring. A well-shaped, well-proofed loaf from a basket gives you the best canvas for scoring, ensuring your loaf expands predictably and achieves maximum volume, which is key to a successful sourdough bake.
Understanding Proofing Baskets: Bannetons vs. Brotforms
What is a Banneton Basket?
A banneton basket is traditionally a proofing basket made from coiled rattan cane. Originating from France, these baskets are designed specifically to provide structure and shape to bread dough during its final proof. The coils of the rattan leave a distinctive spiral pattern on the surface of the dough, a hallmark of artisan bread.
Bannetons are most commonly used for sourdough and other rustic bread types where a firm crust and controlled rise are desired. They come in various shapes and sizes, such as round (for boules) and oval (for batards), typically accommodating dough weights from 500g up to 1.5kg or more. A standard 9-inch round banneton, for instance, is often perfect for a loaf made with 500g of flour.
The primary function of the banneton is to hold the shape of the dough as it expands, particularly important for wetter doughs. The natural material allows the dough to breathe slightly, preventing the surface from becoming overly wet and sticky, provided the basket is properly prepared. The spiral pattern isn't just decorative; it slightly increases the surface area, potentially aiding in crust development. Using a banneton is a time-honored technique that contributes significantly to achieving the rustic look and desirable structure that many bakers strive for when perfecting sourdough bread shaping technique.
What is a Brotform Basket?
A brotform basket is another type of proofing basket, with origins typically traced back to Germany. While sometimes used interchangeably with "banneton," brotforms can be made from a wider variety of materials than just coiled rattan. Common materials include woven cane, wood pulp, or even plastic. Brotforms often have a smoother internal finish compared to the distinct coils of a rattan banneton, though some are designed to mimic the coiled pattern. Like bannetons, they come in various shapes – rounds, ovals, and sometimes even longer shapes for specific bread types.
Brotforms serve the same core purpose as bannetons: supporting the dough during proofing to help it hold its shape and rise vertically. A wood pulp brotform, for example, is highly absorbent and excellent at wicking away excess moisture from the dough's surface, often resulting in a very dry skin that is easy to score.
Plastic brotforms are non-absorbent and require thorough flouring but are very easy to clean. The choice of material can slightly influence the final crust texture and how easily the dough releases, offering bakers different options when perfecting sourdough bread shaping technique for various recipes and desired outcomes.
Banneton vs Brotform: Which is Right for You?
Choosing between a banneton and a brotform often comes down to personal preference, the type of dough you're working with, and the finish you desire on your loaf. Traditional coiled rattan bannetons are popular for their classic spiral pattern and natural moisture-wicking properties. They are excellent for medium to high hydration sourdoughs, providing good support and helping create a slightly drier surface for scoring. However, they require careful seasoning and maintenance to remain non-stick. A typical 10-inch oval banneton is great for a 750g dough batard.
Brotforms, particularly those made from wood pulp, are highly absorbent and can be easier for beginners as dough tends to stick less if properly floured. They also offer a slightly different surface texture on the baked loaf. Plastic brotforms are the easiest to clean and most durable but require the most diligent flouring.
Consider the hydration level of your typical doughs – very wet doughs might benefit from the higher absorbency of wood pulp or the wicking of rattan. Also, think about ease of cleaning and the aesthetic pattern you prefer. Both types are effective tools for perfecting sourdough bread shaping technique, so trying both might be the best way to find your favorite.
Preparing Your Proofing Basket for Success: The Key to Non-Stick
Seasoning a New Banneton Basket: The Initial Steps
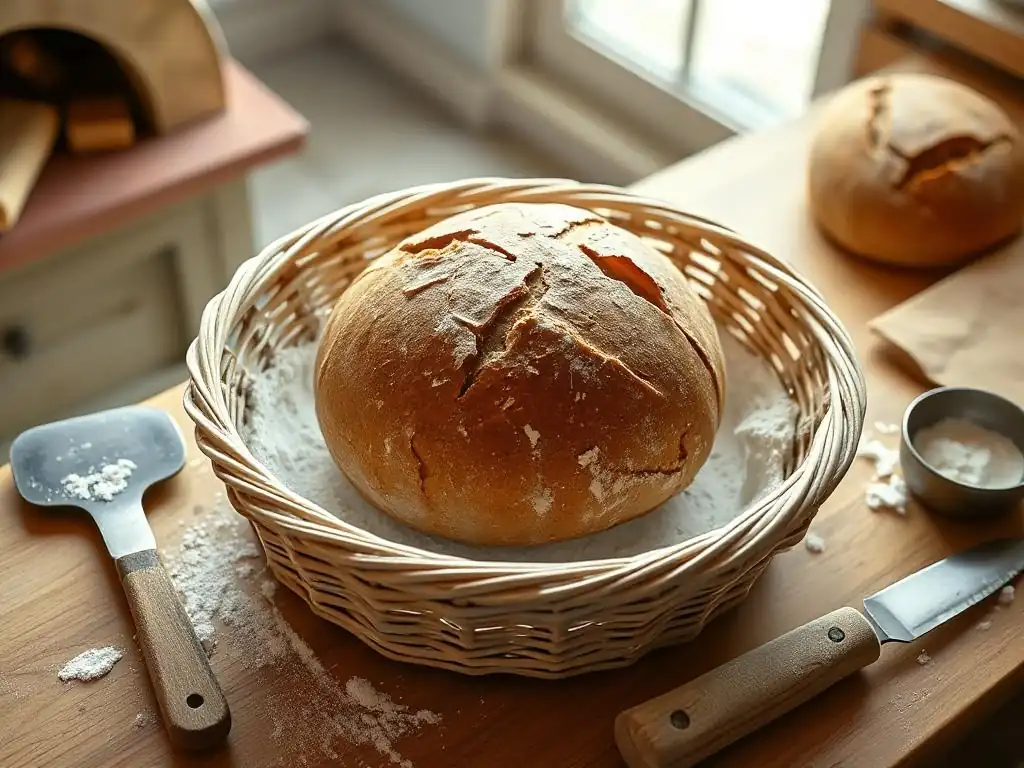
Properly seasoning a new rattan banneton basket is crucial to prevent your precious dough from sticking. Rattan is a natural material and needs to be prepared before its first use. The most common method involves lightly dampening the inside of the basket – just a spritz with a spray bottle, not soaking – and then generously flouring it.
Use a flour that is less likely to absorb moisture quickly, such as rice flour, or a 50/50 mix of rice flour and bread flour. Ensure the flour is worked into all the nooks and crannies of the coils. Some bakers even lightly bake the floured basket in a cooling oven (around 200°F / 93°C) for about 15-20 minutes to help the flour adhere and dry out the rattan, though this step is debated among bakers.
After the initial flouring (and optional baking), let the basket cool completely. Tap out any excess flour. The goal is to create a thin, dry layer of flour embedded in the basket's surface that will act as a barrier between the sticky dough and the rattan.
This seasoning process might need to be repeated a couple of times before the basket is truly non-stick. With each use, provided you flour properly, the basket builds up a fine layer of seasoned flour, making it perform better over time. This initial preparation is a vital step in perfecting sourdough bread shaping technique using a banneton.
Maintaining a Non-Stick Surface: Flouring Techniques
Maintaining a non-stick surface on your proofing basket is an ongoing process that relies heavily on effective flouring techniques before each use. Even seasoned baskets need proper flouring. The best practice is to use rice flour, or a blend containing a significant portion of rice flour (e.g., 50% rice flour, 50% bread flour). Rice flour is less absorbent than wheat flour, meaning it won't hydrate and become sticky when it comes into contact with the moist dough surface. Using a dredge or sifter is the most efficient way to apply the flour evenly.
Generously dust the inside of the basket, ensuring flour gets into all the crevices. Then, gently tap out the excess flour. You want a uniform coating, but not so much that it creates a thick, gummy layer on your dough. Some bakers rub the flour into the basket with their hands or a cloth.
The aim is to create a barrier. If your dough is particularly high hydration (say, 80% or more), you might need a slightly heavier flouring than for a stiffer dough (like 65%). Experimentation is key here. A well-floured basket is your best friend in preventing dough from bonding to the rattan or wood pulp, ensuring a clean release when it's time to bake and contributing to perfecting sourdough bread shaping technique.
Shaping Techniques for Perfect Proofing
Round Loaf Shaping: Achieving a Tight Boule
Achieving a tight, round boule is fundamental to perfecting sourdough bread shaping technique. After bulk fermentation, gently turn your dough out onto a lightly floured surface. The goal is to create surface tension without degassing the dough too much. For a boule, imagine gathering the edges of a circle towards the center. Start by gently stretching one side and folding it over the center. Rotate the dough 90 degrees and repeat. Continue this process, turning and folding, until you have a roughly round shape and the top surface starts to feel taut.
Once the dough is roughly shaped, you need to create final tension. Using lightly floured hands or a bench scraper, cup the dough and gently pull it towards you across the surface. This action tucks the bottom edge under and tightens the top surface. Rotate the dough and repeat this 'dragging' motion a few times until you feel significant tension on the top.
The dough should become a smooth, taut ball. This tension is what helps the loaf hold its shape in the proofing basket and gives it the structure needed for good oven spring. Place the shaped boule seam-side up into a well-floured round banneton or brotform.
Oblong Loaf Shaping: Crafting the Classic Batard
Crafting the classic oblong batard shape requires a slightly different approach to perfect sourdough bread shaping technique. After bulk fermentation, turn the dough out and gently pre-shape it into a loose round or oval and let it rest for 15-20 minutes (this is called bench rest). This allows the gluten to relax. For the final shape, gently flatten the dough into a rectangle or oval. Fold the top third down to the center and press lightly. Then, fold the bottom third up over the folded top edge. You should now have a rough log shape.
Next, rotate the dough so the seam is horizontal relative to you. Starting from the top, roll the dough downwards, sealing the seam with the heel of your hand as you go. Apply gentle pressure to create tension as you roll. Continue rolling until you have a taut log shape with a sealed seam along the bottom. The ends should be tapered. This rolling and sealing action builds the surface tension necessary for the batard to hold its shape. Place the shaped batard seam-side up into a well-floured oval banneton or brotform.
Avoiding Common Shaping Mistakes
When perfecting sourdough bread shaping technique, several common mistakes can hinder your efforts. One frequent issue is using too much flour on the shaping surface, which prevents the dough from gripping the surface and developing tension. You need just enough flour to prevent sticking, but not so much that the dough slides freely. Another mistake is being too rough with the dough, which can degas it excessively, leading to a dense crumb. Be gentle but firm.
A third common error is not creating enough surface tension. The dough should feel significantly tighter after shaping than it did before. Lack of tension means the loaf will spread during proofing and baking. Conversely, being too aggressive can tear the gluten structure you worked hard to develop during kneading and bulk fermentation. Finally, ensure you rest the dough adequately after pre-shaping; skipping the bench rest makes the final shaping much harder as the dough will resist being stretched and molded. Patience and practice are key to overcoming these hurdles and achieving consistently well-shaped loaves.
Proofing Your Dough: Time and Temperature Considerations
Understanding Bulk Fermentation vs. Proofing
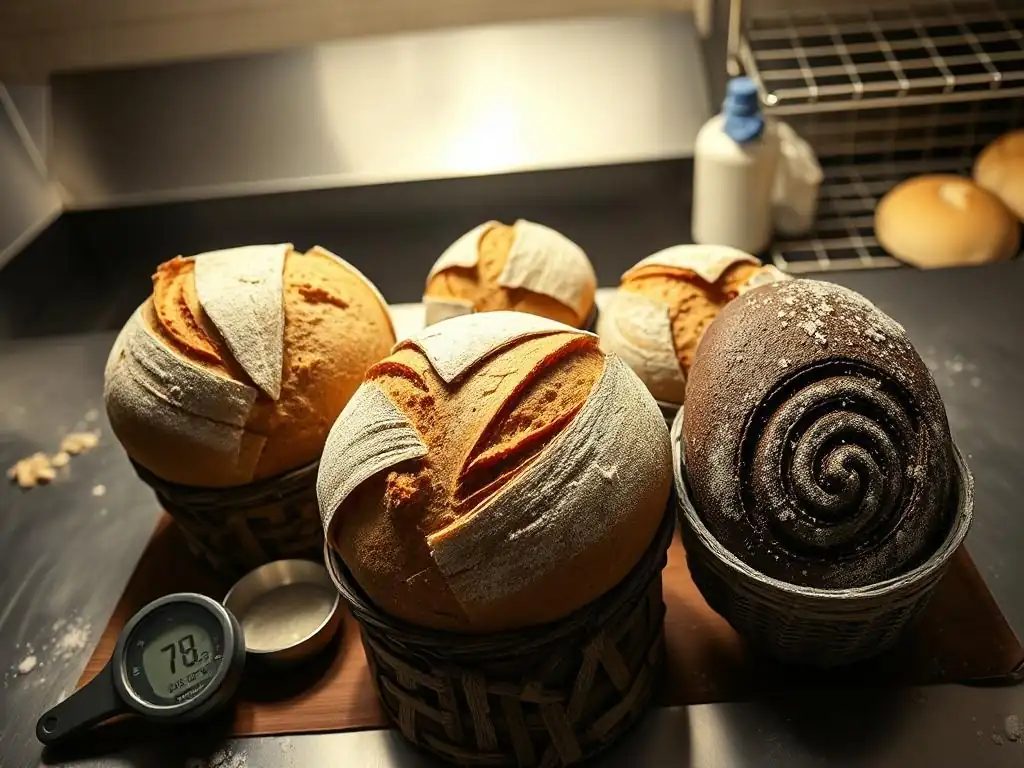
Perfecting sourdough bread shaping technique and baking involves two distinct fermentation stages: bulk fermentation and proofing. Bulk fermentation (or the first rise) occurs after mixing and kneading (or folding) the dough, before it is shaped. During bulk fermentation, the dough develops flavor, structure, and gas.
It typically involves the dough roughly doubling or tripling in volume, often with several sets of folds performed during this period. This stage can take anywhere from 3 to 12+ hours depending on the ambient temperature and the activity of your starter. For example, at 75°F (24°C), bulk might take 4-6 hours, while at 65°F (18°C), it could take 8-12 hours.
Proofing (or the final rise) happens after the dough has been shaped and placed into its proofing basket. The goal of proofing is to allow the dough to build just enough gas to achieve good oven spring, but not so much that the gluten structure is overstretched and collapses. The dough will increase in volume again, but typically not double.
It should feel airy and slightly expanded. Proofing can be done at room temperature or in the refrigerator, and the duration and temperature significantly impact the final loaf. Understanding the difference between these stages is vital for controlling your sourdough process.
Fridge Proofing for Enhanced Flavor and Control
Fridge proofing, also known as cold proofing or retarding, is a highly effective technique for perfecting sourdough bread shaping technique and significantly enhancing flavor. After shaping your dough and placing it seam-side up in its floured proofing basket, you cover it and place it in the refrigerator, typically at temperatures between 38°F and 42°F (3°C-5°C). At these low temperatures, yeast activity slows dramatically, but the lactic acid bacteria in the sourdough starter continue to work, producing more complex acids and alcohols that contribute to a deeper, tangier flavor profile.
Cold proofing also offers incredible flexibility in your baking schedule. Dough can be fridge-proofed for anywhere from 8 hours up to 24-48 hours, sometimes even longer depending on the recipe and desired outcome. This allows you to fit baking around your life.
Furthermore, cold dough is much easier to score cleanly just before baking, which helps achieve better oven spring. A typical fridge proof might be 12-16 hours for a loaf proofed at room temperature for a short initial period (e.g., 30-60 minutes) before chilling. This extended, slow fermentation in the basket provides excellent support, ensuring the dough holds its shape beautifully until it hits the hot oven.
Room Temperature Proofing: When and How
Room temperature proofing is the more traditional method for the final rise and is often used when you want to bake your loaf on the same day you mix it. After shaping your dough and placing it seam-side up in its floured proofing basket, you leave it covered at room temperature, typically between 70°F and 80°F (21°C-27°C). At these temperatures, yeast activity is much higher than in the fridge, so the dough will expand more quickly.
The duration of room temperature proofing is highly dependent on the ambient temperature and how active your starter is, but it typically ranges from 2 to 4 hours. You need to watch the dough, not the clock. The dough is ready when it looks visibly larger and feels soft and airy, but still has some structure and springs back slowly when gently poked (the "poke test").
Over-proofing at room temperature is a common issue; the dough can collapse in the basket or fail to spring in the oven. Room temperature proofing requires closer monitoring than cold proofing but can yield excellent results, especially for doughs that benefit from a faster final rise or when you're in a hurry to bake. It's another tool in your arsenal for perfecting sourdough bread shaping technique and timing.
Baking Your Sourdough: Scoring and Baking for Maximum Oven Spring
Scoring Techniques: Creating Beautiful Patterns
Scoring, or slashing the surface of your dough just before baking, is a critical step after proofing in the basket. It serves both functional and aesthetic purposes. Functionally, scores act as vents, allowing the dough to expand in a controlled manner during oven spring. Without scores, the crust would tear unpredictably as the internal gases expand. Aesthetically, scoring allows you to create beautiful patterns that are unique to your loaf and highlight the expansion. Common tools include a razor blade (lame) or a very sharp knife.
To score, gently invert your proofed dough onto your baking surface. Use a swift, confident motion to make cuts about 1/2 inch deep. For a simple single slash on a batard, hold the lame at about a 30-degree angle to the surface to create a 'ear' as it bakes. For a boule, you might make a cross pattern, a square, or more intricate designs.
Dipping your lame in water between cuts can help prevent sticking. Practice makes perfect; don't be discouraged if your first scores aren't flawless. The key is to make decisive cuts that will guide the dough's expansion effectively, contributing significantly to the final look and structure of your loaf after perfecting sourdough bread shaping technique and proofing.
Baking Methods: Dutch Oven vs. Baking Stone
The baking method significantly impacts the final crust and oven spring of your sourdough, regardless of how perfectly you've executed your sourdough bread shaping technique and proofing. The most popular method for home bakers is using a Dutch oven. A preheated Dutch oven (typically to 450-500°F / 230-260°C) traps steam released by the dough.
This humid environment keeps the crust soft initially, allowing the loaf to expand fully during the first 15-20 minutes of baking (the oven spring phase) before the crust sets. After this initial period, the lid is removed to allow the crust to brown and crisp up.
Alternatively, you can bake on a preheated baking stone or steel. This method requires creating steam in your oven manually, often by placing a tray of water or ice cubes on a rack below the stone when you load the bread. A stone provides intense radiant heat from below, promoting good bottom crust development. While effective, maintaining sufficient steam throughout the critical oven spring phase can be more challenging than with a sealed Dutch oven. Many bakers find the Dutch oven method more reliable for achieving maximum oven spring and a consistently excellent crust, especially when starting out.
Cleaning and Caring for Your Proofing Baskets
Proper Cleaning Techniques for Rattan Bannetons
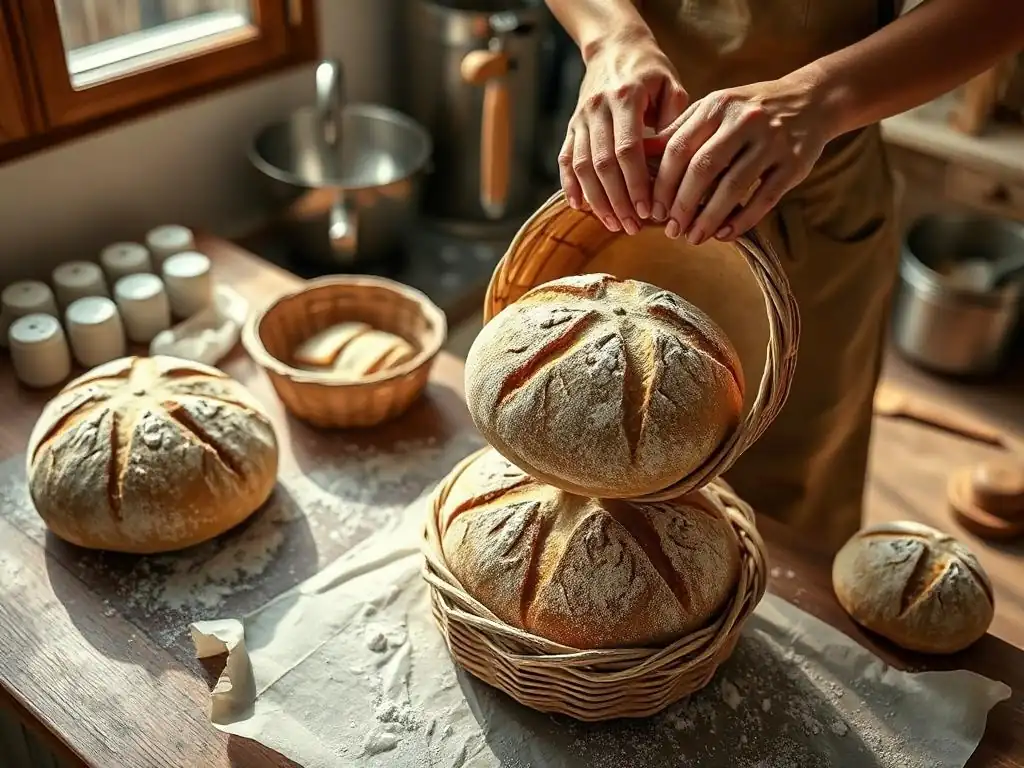
Properly cleaning and caring for your rattan banneton is essential for its longevity and continued non-stick performance. After each use, once the basket is empty, let it air dry completely. Do not wash rattan with water and soap, as this can damage the material, make it harder to maintain a non-stick surface, and potentially lead to mold growth. Once dry, use a stiff brush (like a pastry brush or a dedicated banneton brush) to brush out any excess flour and dough remnants from the coils.
For stubborn bits of dried dough, a bench scraper can be used gently, but be careful not to damage the rattan. After brushing, you can tap the basket vigorously to remove any remaining dust. Store your dry, clean banneton in a well-ventilated area; avoid storing it in plastic bags or humid environments.
If you notice any signs of mold (which indicates excessive moisture), you may need to discard the basket or, for minor cases, scrub with a stiff brush and then bake the empty basket in a low oven (around 250°F / 120°C) for 30-60 minutes to kill any spores, followed by re-seasoning. Regular brushing after each use is the best defense against issues.
Cleaning Brotform Baskets
Cleaning brotform baskets depends on the material they are made from. For wood pulp brotforms, similar to rattan bannetons, avoid washing with water if possible. Let the basket dry completely after use, then use a stiff brush to remove excess flour and dough. Wood pulp is highly absorbent, so getting it wet can cause it to swell and degrade. Store in a dry, airy place.
Plastic brotforms are the easiest to clean. Since they are non-absorbent, they can be washed with warm, soapy water. Rinse thoroughly and dry completely before storing. Woven cane brotforms can often be treated much like rattan bannetons – dry, then brush clean. Always ensure any type of brotform is completely dry before storing to prevent mold. Regular, gentle cleaning ensures your basket remains hygienic and performs well, supporting your efforts in perfecting sourdough bread shaping technique.
Troubleshooting: Common Problems and Solutions
Dough Sticking to the Basket
One of the most frustrating issues when perfecting sourdough bread shaping technique with a proofing basket is the dough sticking. This often happens when the basket wasn't sufficiently floured, the wrong type of flour was used, or the dough was too wet on the surface. The primary solution is prevention: use rice flour or a high-rice flour blend, and be generous when flouring the basket before placing the dough in it. Ensure the flour gets into all the crevices.
If dough does stick, try gently loosening it with your fingers or a flexible bench scraper. Sometimes, chilling the dough further in the freezer for 10-15 minutes before attempting to release it can firm it up and make it easier to detach. For future bakes, consider slightly reducing the dough hydration or giving the shaped dough surface a light dusting of rice flour before placing it into the basket, in addition to flouring the basket itself. Proper seasoning and consistent flouring are the best defenses against this common problem.
Uneven Proofing
Uneven proofing can lead to a loaf that bakes unevenly or lacks symmetry. This can manifest as one side of the loaf rising more than the other in the basket, or a lopsided appearance after baking. Causes can include inconsistent dough temperature during bulk fermentation or proofing, improper shaping that results in uneven tension throughout the dough, or drafts in your proofing area.
To address uneven proofing, ensure your dough maintains a consistent temperature during both bulk and final proof. Use a proofing box or your oven with the light on to create a stable environment if your kitchen temperature fluctuates. Pay close attention during shaping to ensure tension is distributed evenly across the entire surface of the dough, whether you're forming a boule or a batard. Rotate your basket periodically during room temperature proofing if you suspect uneven heat sources. Consistency in temperature and technique is key to achieving uniform expansion and perfecting sourdough bread shaping technique.
Conclusion: Mastering the Art of Sourdough with Proofing Baskets.
Frequently Asked Questions
What exactly is a proofing basket, and what's its primary function?
A proofing basket, also called a banneton or brotform, is a container used to support and shape dough during its final rise. It helps the dough maintain its form and develop a desirable crust texture before baking.
How does using a proofing basket contribute to a better sourdough loaf?
Using a proofing basket contributes to a better loaf by providing structural support for the dough, which can be especially important with high-hydration sourdough. This leads to a better rise in the oven and a more aesthetically pleasing loaf.
What materials are proofing baskets typically made from, and does the material matter?
Proofing baskets are commonly made from natural materials like rattan or wood pulp. The material matters because it impacts moisture absorption; rattan provides good airflow, while other materials may require more dusting.
How do I properly prepare and care for my proofing basket to prevent sticking?
Prepare your proofing basket by dusting it generously with rice flour or a blend of flours. To care for it, allow it to dry completely after each use and occasionally clean it with a brush to remove excess flour.
Besides shaping, are there other benefits to using a proofing basket for sourdough bread?
Yes, beyond shaping, proofing baskets can help regulate the dough's temperature and moisture during proofing. They also create a textured surface on the loaf, adding to its rustic appearance.
Final Reflection: The Enduring Art of the Proofing Basket
The perfect sourdough loaf isn't just about the starter; it's about the careful choreography of shaping and proofing. A flawlessly risen boule, with its tight crumb and elegant ear, is a testament to patience, precision, and a deep understanding of the dough's behavior. This understanding, as we've explored, is significantly enhanced by the humble proofing basket.
The impact of the proofing basket extends far beyond the technical aspects of baking. It represents a connection to a long tradition, a mindful approach to food production, and a celebration of the simple pleasures of handcrafted bread. Bread is the staff of life,
they say, and the careful shaping and proofing, aided by the basket, elevates this staff to an art form. It's a tangible link to generations of bakers who have perfected this technique, a silent conversation across time and cultures. This process, for me, is deeply meditative; the gentle shaping, the anticipation of the rise, the final unveiling of the loaf – it's a rewarding experience that transcends the mere act of baking.
Now, consider your own baking journey. What elements of this process resonate most deeply with you? Perhaps it's the tactile satisfaction of working with the dough, the subtle nuances of the proofing process, or the sheer joy of sharing your perfectly shaped sourdough with loved ones. Whatever it may be, remember the power of the proofing basket – a simple tool that unlocks the potential for truly exceptional bread. Embrace the process, experiment with different techniques, and discover the artistry within yourself. The perfect loaf awaits.
Unleash Your Inner Bread Baker: Perfect Loaves Await!
Thanks for taking the time to explore the world of proofing baskets! You've now learned a crucial technique for achieving beautifully shaped, artisan-style loaves. Ready to put your new knowledge into practice?
- Bake a masterpiece: Try using a proofing basket for your next bread recipe. Notice the difference in rise and crust! This is your chance to truly perfect your loaves.
- Share your success: Post a picture of your perfectly shaped bread on social media and tag us @BakeWithEase! Let's inspire other bakers.
- Explore new flours: Experiment with different types of flour and see how the proofing basket affects the final result.
What unique flour will you use to create your next stunning bread?