
Basic Piping Skills for Beginner Birthday Cake Decorators

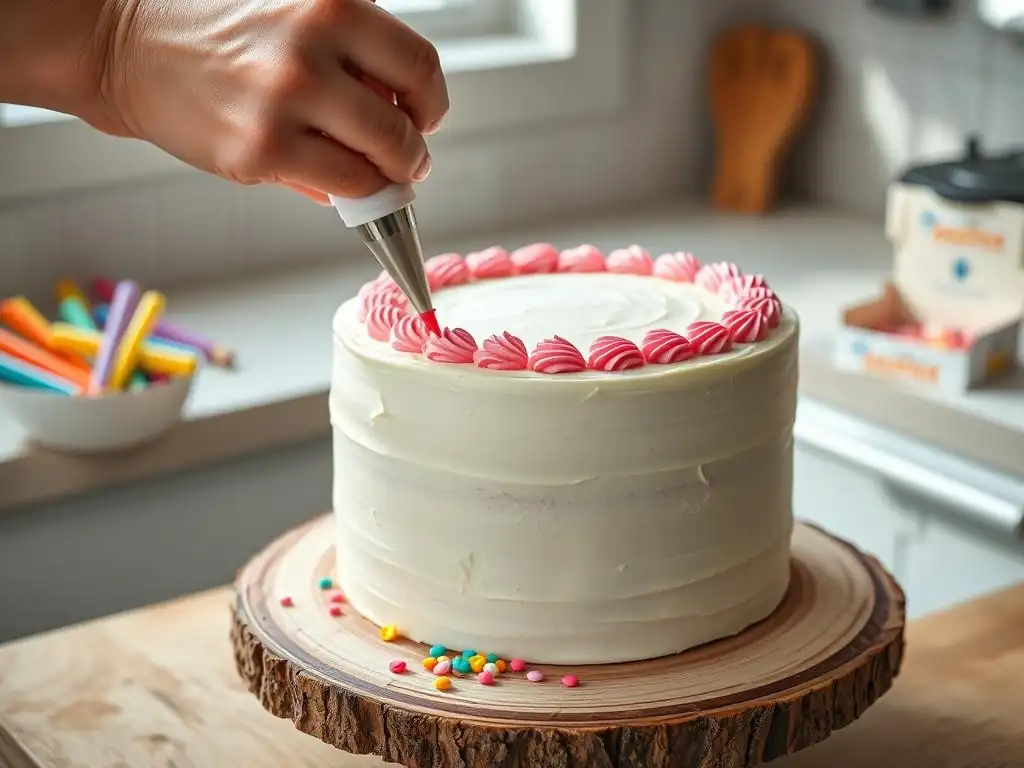
Welcome to BakeWithEase, your secret ingredient to baking bliss! Ever dreamt of creating a show-stopping birthday cake, but felt intimidated by the icing? You're in the right place! This week, we're demystifying the art of easy birthday cake piping, guiding you through essential techniques that will transform your desserts from simple to spectacular. Intrigued? Let's get started and unlock the secrets to beautiful and professional-looking piped decorations!
- Introduction to Easy Birthday Cake Piping for Beginners
- Preparing for Piping: Mastering the Basics
- Essential Piping Techniques for Birthday Cake Decoration
- Practicing Your Piping Skills: Exercises and Tips
- Easy Birthday Cake Piping Designs for Beginners
- Cleaning and Storing Your Piping Equipment
- Conclusion: Unleash Your Creativity with Easy Birthday Cake Piping
-
Frequently Asked Questions
- What basic piping tools are essential for a beginner birthday cake decorator?
- What kind of frosting is best for easy birthday cake piping?
- How do I fill a piping bag without making a mess?
- What are some simple piping techniques I can use to decorate a birthday cake?
- How can I prevent air bubbles from ruining my piped decorations?
- Final Reflection: Mastering the Art of Easy Birthday Cake Piping
- Unleash Your Inner Cake Artist!
Introduction to Easy Birthday Cake Piping for Beginners
Decorating a birthday cake is a wonderful way to add a personal touch and make a celebration truly special. While complex cake designs might seem intimidating at first, mastering basic piping techniques offers a straightforward path to creating beautiful and impressive cakes, even if you're just starting out. Focusing on easy birthday cake piping allows beginners to quickly achieve satisfying results and build confidence in their decorating abilities.
This guide will walk you through the fundamental skills needed to transform a simple frosted cake into a festive centerpiece using just a few basic tools and techniques. We'll cover everything from preparing your frosting and equipment to practicing essential piping motions and exploring simple yet effective designs perfect for your next birthday creation. Get ready to unlock your creativity and impress your loved ones with stunning, homemade birthday cakes!
Why Learn Basic Piping Techniques for Cake Decorating?
Learning basic piping techniques is one of the most impactful steps a beginner baker can take to elevate their cake decorating. Even a simple round cake can be transformed into a professional-looking confection with the addition of a piped border, a few decorative swirls, or a personalized message. This skill set allows you to add texture, dimension, and color in controlled ways, making your cakes visually appealing and memorable.
Beyond aesthetics, mastering piping gives you versatility. You can create everything from elegant dots and lines to simple floral elements and classic borders. This knowledge is applicable not only to birthday cakes but also to cupcakes, cookies, and other desserts. It provides a foundation upon which you can build more advanced skills, opening up a whole new world of creative possibilities in your baking journey.
Essential Tools and Equipment for Cake Piping
To begin your journey into easy birthday cake piping, you'll need a few key pieces of equipment. The good news is that you can start with a very simple setup without breaking the bank. The most fundamental items include piping bags, piping tips, and optionally, a coupler.
- Piping Bags: These come in disposable plastic, reusable plastic, or canvas. Disposable bags are convenient for quick clean-up, especially when using multiple colors. A pack of 100 disposable bags might cost around $5-10. Reusable bags are more eco-friendly but require washing.
- Piping Tips: These metal or plastic nozzles shape the frosting as it's squeezed out. A beginner can start with a small set containing essential shapes like a round tip, a star tip, and perhaps a petal tip. Common sizes for beginners include Wilton tips 1M (open star), 12 (round), and 104 (petal). A basic set of 4-6 tips often costs between $5 and $15.
- Coupler: A coupler allows you to change piping tips on the same bag of frosting without emptying the bag. This is incredibly useful when you want to use different tips with the same color frosting. A basic coupler set typically costs $3-5.
- Spatula: You'll need an offset spatula or a simple rubber spatula to fill your piping bags efficiently.
- Scissors: Useful for snipping the end of the piping bag if you're not using a coupler.
Having these basic tools will equip you to practice and execute a wide range of easy birthday cake piping designs.
Preparing for Piping: Mastering the Basics
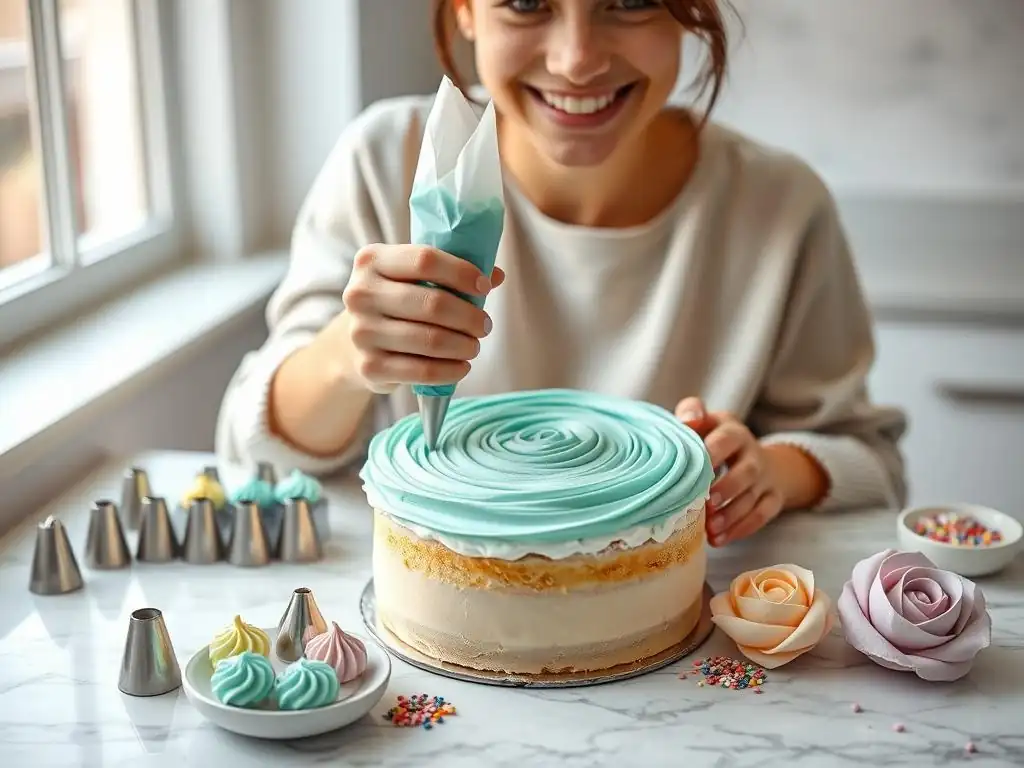
Before you even think about squeezing that bag, getting your materials ready is crucial for successful piping. The consistency and color of your frosting, along with how you fill your piping bag, directly impact the outcome of your piped decorations. Taking the time to prepare properly will save you frustration later and ensure your easy birthday cake piping looks fantastic.
This section covers the foundational steps: making sure your frosting is just right, achieving the perfect colors for your birthday theme, and correctly loading your piping bag. Mastering these preliminary steps is key to smooth and controlled piping, making the decorating process much more enjoyable and effective.
Making the Perfect Buttercream Frosting for Piping
The consistency of your buttercream frosting is paramount for successful piping. Too soft, and your shapes will collapse; too stiff, and it will be difficult to squeeze and may cause the bag to burst. A good standard American buttercream, made from butter and powdered sugar, is an excellent choice for beginners learning easy birthday cake piping. A common ratio is 1 part softened unsalted butter to about 2 to 3 parts powdered sugar, plus a splash of milk or cream and vanilla extract.
To achieve the right piping consistency, start by beating the softened butter until it's smooth and creamy. Gradually add the sifted powdered sugar, alternating with small amounts of liquid (milk, cream, or even water) until the frosting is smooth, holds peaks well, but is still easy to push through a piping bag. If it's too thick, add a tiny bit more liquid; if too thin, beat in a little more powdered sugar. The ideal consistency should be like a thick, scoopable ice cream or firm peanut butter.
How to Color Buttercream Like a Pro for Birthday Cakes
Adding vibrant or pastel colors is essential for creating festive birthday cake designs. Gel food coloring is highly recommended over liquid food coloring for buttercream. Gel colors are much more concentrated, meaning you need less to achieve bright colors, and they won't add excess liquid that could thin your frosting.
To color your buttercream, separate the amount you need into different bowls. Use a toothpick to add a tiny amount of gel color to the frosting. Stir thoroughly with a spatula until the color is evenly distributed. Remember, colors often deepen slightly as they sit, so start with less than you think you need and add more gradually until you reach your desired shade. For very vibrant colors like red or black, you may need to use a significant amount of gel color or purchase specialized "no-taste" red or black colors to avoid a bitter aftertaste.
Filling Your Piping Bag: A Step-by-Step Guide
Properly filling your piping bag is crucial for control and preventing messy leaks. Don't overfill the bag; aiming for about half to two-thirds full is ideal. This leaves room to twist the top closed and gives you better control.
Here’s a simple method:
- Insert your chosen piping tip (or coupler with tip) into the bag and push it down firmly. If not using a coupler, snip the end of the bag just enough for the tip to peek through.
- Fold the top few inches of the piping bag cuff down over your hand. This creates a wide opening and keeps the top edge clean.
- Using a spatula, scoop frosting into the bag, pushing it down towards the tip. Work the frosting in to avoid trapping large air bubbles.
- Unfold the cuff and gently push the frosting down towards the tip.
- Twist the top of the bag tightly closed, just above the level of the frosting. This creates pressure and helps you control the flow.
- Twist the top firmly.
- Push frosting down towards the tip.
- Check for air bubbles near the tip and gently squeeze them out.
Following these steps ensures your bag is ready for easy birthday cake piping without unnecessary mess or frustration.
Essential Piping Techniques for Birthday Cake Decoration
Once your frosting is ready and your bag is filled, it's time to explore some fundamental piping techniques. Mastering just a few basic motions can equip you to create a surprising variety of decorative elements for your birthday cakes. These techniques are the building blocks for more complex designs and are perfect for beginners looking to achieve beautiful results with easy birthday cake piping.
We'll focus on four versatile techniques: the rosette, the star, the drop flower, and simple lines and dots. Each offers a different texture and effect, allowing you to add flair and personality to your cakes. Practice these on a flat surface first before decorating your actual cake.
The Rosette Technique: Creating Classic Birthday Cake Decorations
The rosette is a classic and elegant piping technique that creates beautiful swirls resembling roses or swirls of soft-serve ice cream. It's incredibly versatile and can be used as a main decoration, a border, or scattered accents on a birthday cake. Using an open star tip, like a Wilton 1M, is perfect for creating lovely, defined rosettes.
Piping rosettes adds a touch of sophistication and volume to your cake. They are relatively quick to pipe once you get the hang of the motion and make for stunning, easy birthday cake piping elements that look more complicated than they are.
Piping Rosettes: A Detailed Step-by-Step Guide
Piping rosettes requires a smooth, continuous motion with consistent pressure. Here's how to do it:
- Hold the piping bag with the twisted end securely in your dominant hand and guide the tip with your other hand if needed. Position the tip (e.g., Wilton 1M) perpendicular to the surface of the cake.
- Apply steady pressure to the bag, allowing the frosting to flow out and form a base.
- Without lifting the tip, start piping in a tight circular motion, moving outwards slightly as you go. You can pipe clockwise or counterclockwise.
- Continue the circular motion, overlapping the previous layer of frosting slightly to build the rosette shape.
- Once the rosette is the desired size, stop applying pressure and quickly pull the tip away towards the center of the swirl to create a clean finish.
Practice this motion on parchment paper until you can create consistent, well-formed swirls.
Tips for Perfect Rosettes Every Time
Achieving beautiful, consistent rosettes comes with practice, but a few tips can help:
- Consistent Pressure: Maintain even pressure on the bag throughout the swirl. Uneven pressure will result in lopsided or inconsistent rosettes.
- Steady Hand: Keep your hand steady and the tip close to the cake surface. Wobbly hands lead to wobbly rosettes.
- Correct Frosting Consistency: Your buttercream must be the right consistency – not too soft, not too stiff. If it's too warm or soft, chill it briefly.
- Clean Pull Away: Stop squeezing before you pull the tip away. This minimizes tails or messy endpoints. Pull towards the center of the rosette for the neatest finish.
- Practice Makes Perfect: Seriously, pipe dozens of rosettes on parchment paper, scrape them off, and re-bag the frosting. Repetition is key to mastering the motion for easy birthday cake piping.
The Star Technique: Adding Texture and Dimension
The star technique is perhaps the most fundamental piping skill and incredibly versatile for easy birthday cake piping. Using a star tip (open or closed), you can create individual stars, textured fills, or classic star borders. It's a simple press-and-lift motion that instantly adds texture and visual interest to any cake design.
Star tips come in various sizes, allowing for different effects. Small stars can fill areas or create delicate accents, while larger stars are perfect for bold borders or covering the entire cake surface with texture. Mastering this basic technique opens up many possibilities for quick and effective decoration.
Creating Star Borders and Accents
Star borders are a staple of birthday cake decoration, providing a clean, finished edge around the top or bottom of the cake. To pipe a star border:
- Hold the piping bag with a star tip perpendicular to the cake surface (for top border) or at a slight angle (for bottom border).
- Apply firm, consistent pressure to the bag, allowing the frosting to flow out and form a star shape.
- Stop applying pressure and quickly lift the tip straight up.
- Repeat the process, piping the next star right next to or slightly overlapping the previous one to create a continuous border.
You can also pipe individual stars scattered randomly or in specific patterns across the cake surface for accents. This simple technique is effective and forgiving, making it ideal for easy birthday cake piping.
Varying Star Sizes and Shapes
The type and size of the star tip you use will significantly impact the appearance of your stars.
- Open Star Tips (e.g., Wilton 1M, 21, 32): These produce stars with defined ridges and points. The larger the tip number (e.g., 1M is large, 21 is smaller), the larger the star. They are great for bold borders and rosettes.
- Closed Star Tips (e.g., Wilton 2D, 199): These produce stars with petals that curl inward slightly. They give a different, sometimes more ruffled, appearance compared to open stars.
Experiment with different star tips to see the variety of textures and sizes you can create. A cake decorated with a mix of large and small stars can be visually dynamic. Remember to maintain consistent pressure for uniform star shapes, which is key to successful easy birthday cake piping.
The Drop Flower Technique: Simple and Elegant
Drop flowers are a charming and incredibly easy way to add floral elements to your birthday cake. Using a petal tip or certain closed star tips, you simply apply pressure, give a slight twist, and lift. The result is a simple flower shape that looks lovely, especially when piped in clusters or along borders.
This technique is perfect for beginners because it doesn't require complex hand movements or intricate details. It's a quick way to add a touch of elegance or whimsy, making it a fantastic addition to your easy birthday cake piping repertoire.
Piping Drop Flowers: A Beginner-Friendly Approach
Drop flowers are created with a simple, almost intuitive motion. A small petal tip (like Wilton 104) or certain closed star tips (like Wilton 2D) work well.
- Hold the piping bag with the tip perpendicular to the cake surface. If using a petal tip, the wider end should be flat against the surface.
- Apply steady pressure to the bag, letting the frosting spread slightly to form the base of the flower.
- While still applying pressure, give your wrist a small, quick twist (about a quarter turn).
- Stop applying pressure and lift the tip straight up.
This motion creates a small, flat flower shape. You can add a dot of contrasting color in the center using a small round tip for a more finished look.
Creating Beautiful Drop Flower Patterns
Drop flowers are most effective when used in groups or patterns.
- Clusters: Pipe several drop flowers close together to create a small bouquet effect. Varying the angle slightly for each flower can make the cluster look more natural.
- Borders: Pipe a row of drop flowers along the top or bottom edge of the cake. Overlapping them slightly creates a fuller border.
- Filling Space: Use drop flowers to fill in empty areas on the cake, perhaps around a central message or image.
Combining drop flowers with simple leaves piped using a leaf tip (e.g., Wilton 352) adds another layer of detail with minimal effort, enhancing your easy birthday cake piping designs.
The Line and Dot Technique: Versatile Cake Decorating
Simple lines and dots are fundamental building blocks in cake decorating. While seemingly basic, these techniques are incredibly versatile and can be used to create borders, geometric patterns, outlines, and even write messages. Using various sizes of round tips allows for different line thicknesses and dot sizes.
Mastering consistent pressure and control for lines and dots is essential for neat and professional-looking results. These techniques are foundational for learning more intricate piping work but are also powerful on their own for easy birthday cake piping.
Piping Straight Lines and Decorative Borders
Piping straight lines requires a steady hand and consistent pressure. Use a round tip (e.g., Wilton 3, 5, or 12 depending on desired thickness).
- Hold the piping bag with the tip just slightly above the cake surface.
- Apply consistent pressure to start the line.
- As you squeeze, move the tip smoothly and steadily across the cake in the desired direction. Don't drag the tip on the surface; let the frosting fall onto the cake.
- To end the line, stop applying pressure and quickly pull the tip away.
For decorative borders, you can pipe multiple parallel lines, wavy lines, or use lines to outline shapes or sections of the cake. Piping a simple string of dots along a border is also a very effective and easy birthday cake piping technique.
Creating Perfect Dots and Swirls
Dots are arguably the easiest piping technique and can be used to add simple accents, create patterns, or form the centers of flowers. Use a round tip.
- Hold the piping bag with the tip perpendicular to the cake surface.
- Apply a quick squeeze of pressure.
- Stop squeezing and lift the tip straight up. The frosting should break cleanly, leaving a dot.
Vary the amount of pressure and the size of the round tip to create dots of different sizes. For simple swirls (like small dollops), apply pressure while making a tiny circular motion, then stop squeezing and lift. Dots and swirls are perfect for filling small spaces or adding pops of color in your easy birthday cake piping designs.
Practicing Your Piping Skills: Exercises and Tips
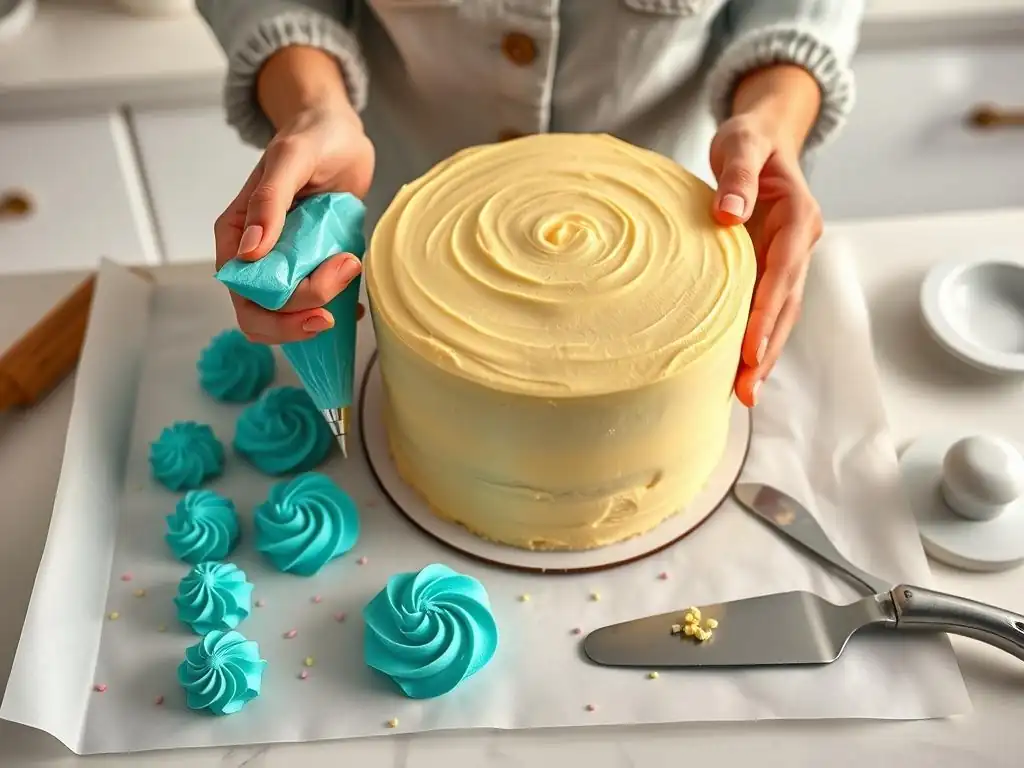
Like any skill, mastering piping requires practice. Don't expect perfect results on your first try! Dedicating a little time to simple exercises will significantly improve your control, consistency, and confidence. You can practice without wasting frosting by piping onto parchment paper, a cutting board, or the back of a baking sheet. Once you're done practicing, you can scrape the frosting back into the bowl, re-whip it if needed, and put it back in the bag.
Consistent practice is the fastest way to become proficient at easy birthday cake piping. Aim for short, regular practice sessions rather than one long, infrequent one. Even 10-15 minutes a few times a week can make a big difference.
Simple Piping Exercises to Improve Control
Here are a few basic exercises to help you develop a steady hand and consistent pressure:
- Straight Lines: Practice piping parallel lines, trying to keep them straight and evenly spaced. Vary the length and thickness.
- Zigzags: Pipe continuous zigzags, focusing on sharp turns and consistent line thickness.
- Dots: Pipe rows and grids of dots, aiming for uniform size and spacing. Practice making dots of different sizes.
- Swirls: Pipe small, simple swirls (like mini soft-serve dollops). Try to make them consistent in size and shape.
- Stars: Practice piping rows of stars, focusing on the press-and-lift motion for clean definition.
- Practice lines and zigzags.
- Practice rows of uniform dots.
- Practice consistent swirls.
- Practice stars with clean edges.
These exercises build muscle memory and control, essential for executing beautiful easy birthday cake piping designs.
Troubleshooting Common Piping Problems
Even with practice, you might encounter a few common issues. Knowing how to troubleshoot them will save you frustration.
- Air Bubbles: Air trapped in the bag can cause breaks in your piped lines or shapes. Before piping, gently squeeze the bag to push frosting down towards the tip, helping to eliminate large bubbles. If you see one forming while piping, stop, gently squeeze the bubble up the bag, and continue.
- Inconsistent Frosting Flow: This is often due to inconsistent pressure on the bag or frosting that is too stiff or has lumps. Ensure your frosting is smooth and at the right consistency. Practice maintaining even pressure.
- Messy Starts/Stops: This happens when you don't stop squeezing before you lift the tip. Practice stopping pressure and quickly pulling away for clean endpoints.
- Frosting Too Soft: If your frosting is too warm or soft, your shapes will lose definition or melt. Chill your frosting in the fridge for 10-15 minutes to firm it up.
Addressing these common problems will make your easy birthday cake piping experience much smoother and more successful.
Tips for Consistent and Clean Piping Results
Achieving consistent and clean piping goes beyond just practice; it involves attention to detail in your setup and technique.
- Use the Right Consistency: As mentioned, frosting consistency is key. Ensure your buttercream is smooth, lump-free, and holds its shape well.
- Don't Overfill the Bag: An overfilled bag is hard to control and puts stress on the seams. Fill only half to two-thirds full.
- Twist the Top Tightly: Keep the twisted end of the bag secure in your hand to maintain consistent pressure.
- Hold the Bag Correctly: Use your dominant hand to apply pressure at the twisted end and your other hand to guide the tip.
- Keep the Tip Clean: Periodically wipe the tip clean with a damp cloth or paper towel, especially when piping techniques that involve touching the cake surface. This prevents smudges and ensures clean lines and shapes in your easy birthday cake piping.
Easy Birthday Cake Piping Designs for Beginners
Now that you've practiced the basic techniques, let's explore how to combine them into simple yet stunning birthday cake designs. These designs are perfect for beginners and focus on using the fundamental skills you've learned to create a festive and visually appealing cake. The beauty of easy birthday cake piping is that simple elements can have a significant impact.
These design ideas serve as a starting point. Feel free to mix and match techniques, experiment with colors, and add your own creative touches. The goal is to have fun and create a cake that celebrates the occasion joyfully.
Simple Border Designs for Birthday Cakes
Borders are one of the easiest ways to finish a cake and give it a polished look. They define the edges and can add texture and color contrast.
- Star Border: Using a medium star tip (like Wilton 21 or 32), pipe a continuous row of stars around the top and/or bottom edge of the cake. You can make the stars touch or overlap slightly.
- Shell Border: This classic border is made with a star tip and a slightly different motion than a simple star. Pipe a star, then drag the tip slightly downwards and release pressure. Repeat, overlapping the tail of the previous shell.
- Dot Border: Use a round tip to pipe uniform dots closely together along the edge.
- Rope Border: A slightly more advanced but still achievable border using a star tip, creating a twisted rope effect. Practice this one on parchment first!
A simple star or dot border is a fantastic way to start with easy birthday cake piping borders.
Easy Floral Arrangements for Birthday Cakes
Adding simple piped flowers can make a birthday cake look incredibly cheerful and festive.
- Rosette Clusters: Pipe clusters of rosettes (using Wilton 1M) on top of the cake, perhaps concentrated in one corner or scattered across the surface.
- Drop Flower Meadow: Cover the top of the cake with a scattering of drop flowers (using Wilton 2D or 104), varying the colors. Add small green leaves (using a leaf tip like Wilton 352) piped with green frosting among the flowers.
- Border with Flowers: Pipe a simple star or dot border around the base, then add a few drop flowers or rosettes along the top edge or around the message area.
These floral designs are charming and rely on the basic techniques you've practiced, making them perfect for easy birthday cake piping.
Creating Personalized Messages with Piping
Piping a personalized message like "Happy Birthday" or the recipient's name is a classic way to make a cake special. Use a small round tip (like Wilton 3 or 5) for writing.
- Ensure your frosting for writing is smooth and maybe slightly softer than your piping frosting.
- Practice writing the message on parchment paper first to get the spacing and sizing right.
- Hold the bag with the tip just above the cake surface.
- Apply steady, light pressure and move the tip smoothly to form the letters. Let the frosting fall onto the cake rather than dragging the tip through the frosting.
- Lift the tip cleanly at the end of each stroke or letter.
Starting with shorter names or "Happy B-Day" is a good way to get comfortable with piping letters for easy birthday cake piping.
Cleaning and Storing Your Piping Equipment
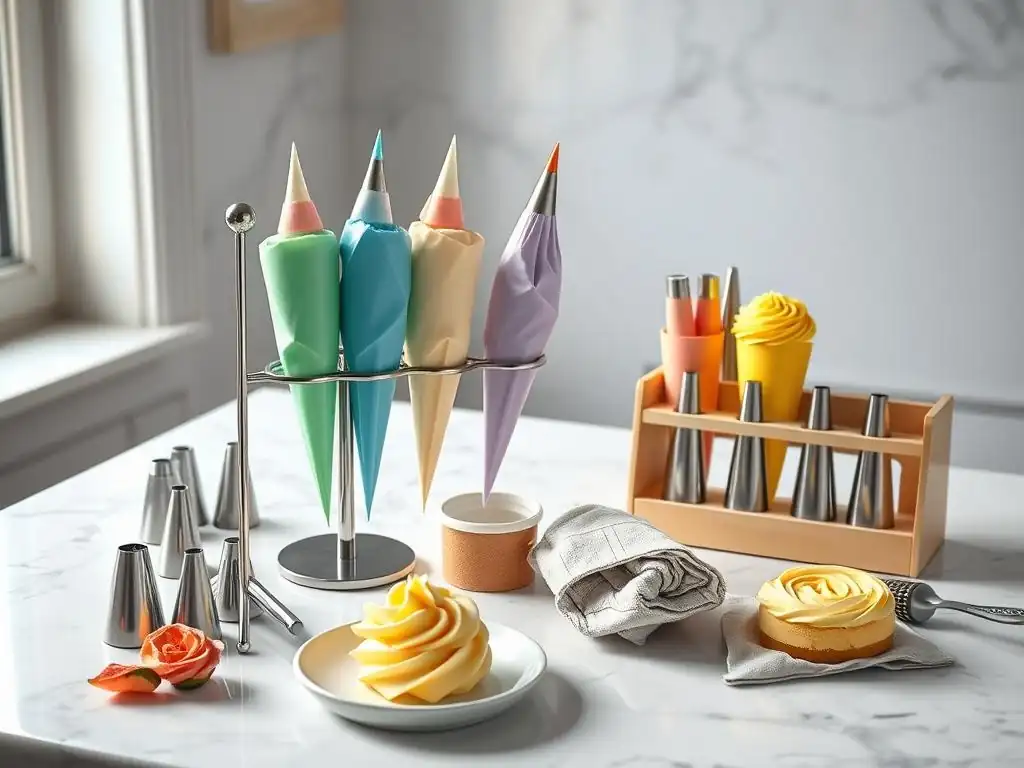
Properly cleaning and storing your piping equipment is essential for hygiene and extending the life of your tools. Buttercream can be sticky and hard to remove once dried, so cleaning soon after use is recommended. Taking care of your tools makes your next easy birthday cake piping session much smoother.
Storing leftover buttercream correctly also ensures you can use it for future projects, reducing waste and saving time.
Proper Cleaning Techniques for Piping Bags and Tips
Cleaning piping bags and tips promptly after use is key.
- Disposable Bags: Scrape out as much excess frosting as possible into the trash. Rinse the bag under warm running water, turn it inside out to clean thoroughly, and then discard.
- Reusable Bags (Plastic/Canvas): Scrape out excess frosting. Rinse thoroughly with warm, soapy water, turning inside out to scrub all surfaces. Use a small brush (like a bottle brush or an old toothbrush) to clean inside the tip adapter and tight corners. Rinse well and hang to air dry completely before storing.
- Piping Tips: Rinse off excess frosting immediately. Soak tips in warm, soapy water for a few minutes. Use a small brush (a tip brush is helpful, or a pipe cleaner) to clean inside the narrow end and remove any stubborn frosting from the ridges. Rinse thoroughly and lay them on a paper towel or drying rack to air dry completely.
Ensure everything is completely dry before storing to prevent mold or mildew growth.
Storing Buttercream Frosting for Future Use
Leftover buttercream can be stored and reused, which is great for practicing easy birthday cake piping or decorating cupcakes later.
- Scrape the leftover buttercream into an airtight container.
- Press a piece of plastic wrap directly onto the surface of the frosting to prevent a crust from forming.
- Seal the container tightly with a lid.
- Store in the refrigerator for up to 1-2 weeks, or in the freezer for up to 3 months.
To reuse refrigerated frosting, let it come to room temperature for an hour or two, then re-whip it with a mixer for a few minutes until it's smooth and fluffy again. For frozen frosting, thaw overnight in the refrigerator before bringing to room temperature and re-whipping. You may need to add a tiny splash of milk or cream if it seems too stiff after re-whipping.
Conclusion: Unleash Your Creativity with Easy Birthday Cake Piping
You now have the foundational knowledge and basic techniques to start creating beautiful birthday cakes with piping. Remember that mastering easy birthday cake piping is a journey that involves practice, patience, and a willingness to experiment. Don't be discouraged by imperfections; every cake is a learning opportunity.
Start with simple designs, focus on consistent technique, and gradually build your skills. The ability to add piped decorations opens up a world of possibilities for personalizing your cakes and making every birthday celebration extra special. So grab your piping bag, whip up some buttercream, and start creating! Your friends and family will be amazed by what you can achieve with just a few basic piping skills.
Frequently Asked Questions
What basic piping tools are essential for a beginner birthday cake decorator?
You'll need a piping bag, a few basic piping tips (like a star and round tip), and a coupler to easily switch between tips.
What kind of frosting is best for easy birthday cake piping?
A stable buttercream frosting is ideal, as it holds its shape well. American buttercream is a good starting point because it's easy to make and quite forgiving.
How do I fill a piping bag without making a mess?
Fold the top of the bag over your hand to create a cuff. Then, spoon the frosting into the bag, filling it no more than two-thirds full. Unfold the cuff and twist the top to seal.
What are some simple piping techniques I can use to decorate a birthday cake?
Practice making stars, rosettes, and simple borders. These are easy to learn and can create a beautiful and festive cake.
How can I prevent air bubbles from ruining my piped decorations?
Burp the piping bag by gently squeezing it to release any trapped air before you start piping. This will ensure a smooth and consistent flow of frosting.
Final Reflection: Mastering the Art of Easy Birthday Cake Piping
The simple act of piping buttercream onto a cake transcends mere decoration; it's a gateway to joy, creativity, and the celebration of life's sweetest moments. This article explored the foundational piping techniques essential for beginner cake decorators, focusing on accessibility and ease of learning. The skills outlined here aren't just about creating visually appealing cakes; they're about empowering individuals to express themselves artistically and create personalized, memorable treats for loved ones.
The impact of simple cake decorating skills extends far beyond the kitchen. It fosters a sense of accomplishment and pride, connecting us to a rich tradition of culinary artistry. Learning these basic techniques opens doors to countless possibilities, from simple swirls to intricate designs. As the saying goes, The best things in life are homemade,
and this sentiment rings especially true when it comes to the joy of creating a beautiful, personalized cake. The ability to decorate a cake with simple piping techniques allows for a deeper connection with the recipient, transforming a store-bought cake into a truly heartfelt gift.
Now, it's your turn. Don't be intimidated by the seemingly complex world of cake decorating. Pick up a piping bag, choose your favorite frosting, and experiment! Start with the simple techniques outlined in this article, and let your creativity flow. Remember, every perfectly piped rose, every elegant swirl, begins with a single, confident squeeze. Embrace the process, celebrate your successes, and most importantly, have fun creating beautiful cakes that bring joy to yourself and others.
Unleash Your Inner Cake Artist!
Thanks for taking the time to explore the world of piping with us! We hope you've gained some valuable skills to elevate your cake decorating game. Ready to put your new knowledge into practice?
- Master a new piping technique: Choose your favorite from the tutorial and spend some time practicing – even simple swirls can look amazing with a bit of dedication! Aim for a perfect rose, or maybe conquer the star tip.
- Share your creations: Show us your piped masterpieces! Post a picture on social media and tag us – we’d love to see what you’ve baked.
- Challenge yourself with a themed cake: Now that you have new skills, plan a special cake for a friend or family member using your newfound piping expertise.
What unique design will you create with your newly mastered piping skills?