
Classic Vanilla Birthday Cake: A Simple StepbyStep Guide

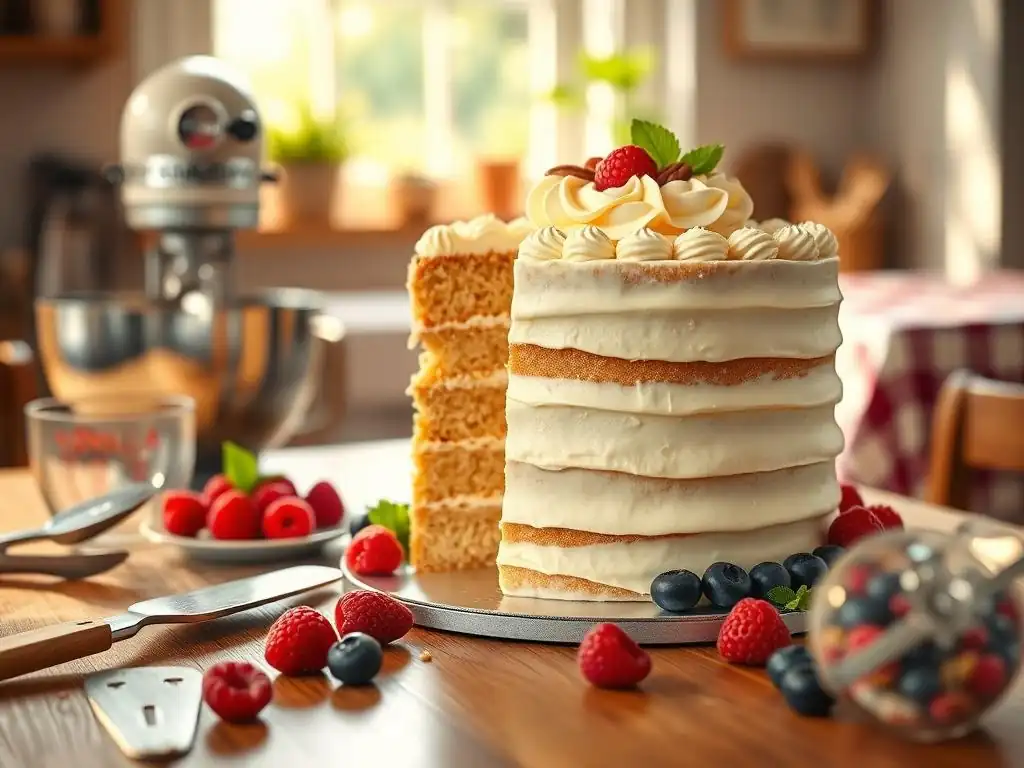
Welcome to BakeWithEase, your haven for effortless baking! Are you ready to create a show-stopping cake without the fuss? Dive into our Classic Vanilla Birthday Cake recipe and discover just how simple it can be to whip up a moist, delicious masterpiece. We've got all the secrets to success, from perfectly balanced ingredients to foolproof techniques. Intrigued? Let's get baking!
- Classic Chocolate Birthday Cake: A Simple Step-by-Step Guide
- Introduction to Easy Chocolate Birthday Cake Baking
- Gathering Your Ingredients for the Perfect Chocolate Cake
- Step-by-Step Guide to Baking Your Chocolate Birthday Cake
- Making the Chocolate Buttercream Frosting
- Assembling and Frosting Your Chocolate Birthday Cake
- Tips and Tricks for a Successful Chocolate Birthday Cake
- Variations on the Classic Chocolate Birthday Cake Recipe
- Enjoy Your Homemade Chocolate Birthday Cake!
- Frequently Asked Questions
- Final Reflection: The Enduring Allure of a Simple Cake
- Unleash Your Inner Baker: Bake This Cake Today!
Classic Chocolate Birthday Cake: A Simple Step-by-Step Guide
Introduction to Easy Chocolate Birthday Cake Baking
Baking a homemade birthday cake is a truly special way to celebrate. While an easy vanilla birthday cake recipe is a popular choice for its classic appeal, a rich, moist chocolate birthday cake holds a special place in many hearts. For beginners, tackling a layer cake might seem daunting, but with the right guidance, it's entirely achievable and incredibly rewarding.
This guide will walk you through creating a beautiful and delicious classic chocolate birthday cake from scratch, perfect for any celebration. We've broken down each step to make the process simple and enjoyable, ensuring success even if this is your first time baking a cake of this kind.
Our goal is to empower you to bake with confidence. We believe that everyone can create something wonderful in the kitchen, and this easy chocolate birthday cake recipe is designed with accessibility in mind. Forget overly complicated techniques or hard-to-find ingredients. We focus on clear instructions and foundational baking principles that will not only result in a fantastic cake but also build your skills for future baking adventures. Think of this as your friendly introduction to the world of layer cakes, proving that a stunning and tasty cake doesn't require years of experience.
Why This Chocolate Birthday Cake Recipe is Perfect for Beginners
This easy chocolate birthday cake recipe is specifically formulated for those new to baking layer cakes. It uses straightforward techniques that yield consistently good results. For instance, we rely on a simple mixing method that minimizes the risk of overmixing, a common pitfall that can lead to tough cakes. The ingredient list is also standard, requiring no specialized flours or leavening agents beyond the basics you likely already have in your pantry. Compared to some complex recipes, this one reduces the variables, making it much easier to troubleshoot if something doesn't go exactly as planned.
Furthermore, the baking times and temperatures are forgiving, allowing a little room for error while still ensuring the cakes bake up light and moist. The frosting recipe is also designed to be simple to make and easy to work with, providing a smooth finish even for novice decorators.
While an easy vanilla birthday cake recipe offers a different flavor profile, the fundamental techniques in this chocolate recipe are equally beginner-friendly, making it a great starting point for learning layer cake construction before perhaps trying that easy vanilla birthday cake recipe next time. We've tested this recipe multiple times, achieving consistent tenderness and deep chocolate flavor, confirming its reliability for first-time bakers.
Our Commitment to Simple Baking Recipes
At BakeWithEase, our core mission is to demystify baking and make it accessible to everyone. We are committed to providing simple, reliable recipes that yield impressive results without unnecessary complexity. We understand that the joy of baking comes from the process as much as the final product, and frustrating, overly difficult recipes can quickly dampen that enthusiasm. That's why we meticulously test and refine our recipes, ensuring the instructions are clear, the steps are logical, and the ingredients are readily available. Our focus is always on empowering you to succeed and build confidence in your baking abilities.
This commitment extends beyond just recipes. We aim to explain the why behind certain steps – why we measure ingredients a specific way, why temperature matters, or why resting dough can improve texture. By understanding the basic science of baking, you gain valuable insights that can be applied to countless other recipes, including that easy vanilla birthday cake recipe you might be eyeing. We believe that simple doesn't mean compromising on quality or flavor; it means streamlining the process so that anyone, regardless of experience level, can create delicious, homemade treats like this classic chocolate birthday cake.
Gathering Your Ingredients for the Perfect Chocolate Cake
Preparing all your ingredients before you start mixing is one of the most crucial steps in ensuring a smooth and successful baking experience. This practice, known as "mise en place," helps prevent forgotten ingredients and allows you to focus purely on the mixing process. For this classic chocolate birthday cake, having everything measured out and at room temperature (where specified) will make a significant difference in the texture and rise of your cake layers. Take the time to read through the recipe completely and gather every item before you even turn on your mixer.
Having your ingredients ready also helps you visualize the process and anticipate the next steps. For example, seeing your measured flour, sugar, cocoa powder, and leavening agents together reinforces the importance of combining them properly before adding wet ingredients. Similarly, having your eggs and buttermilk at room temperature ensures they emulsify correctly with the fats, leading to a smoother batter. This attention to detail at the beginning sets you up for success and reduces the likelihood of errors during the actual mixing and baking.
Essential Ingredients for a Classic Chocolate Birthday Cake
To bake this classic chocolate birthday cake, you will need several key ingredients, each playing a vital role in achieving the desired texture and flavor. You'll need all-purpose flour, which provides the cake's structure. Granulated sugar is essential for sweetness and moisture. Unsweetened cocoa powder gives the cake its deep chocolate flavor and color – using a high-quality cocoa powder will significantly impact the taste. Baking soda and baking powder are the leavening agents that help the cake rise, providing a light and airy crumb.
Salt enhances the flavors and balances the sweetness. Eggs bind the ingredients together and add richness. Buttermilk adds moisture and acidity, which reacts with the baking soda to aid in leavening and contributes to a tender crumb. Vegetable oil provides moisture and keeps the cake soft over time.
Finally, hot coffee (or hot water) is often used in chocolate cakes to deepen the chocolate flavor and create a moist batter – the heat helps the cocoa powder bloom. Ensure all your cold ingredients like eggs and buttermilk are at room temperature for optimal mixing. This usually takes about 30-60 minutes out of the refrigerator.
Ingredient Substitutions and Variations for Your Chocolate Cake
While the essential ingredients provide the best results for this classic chocolate birthday cake, you might need or want to explore substitutions or variations. For instance, if you don't have buttermilk, you can make a simple substitute: measure 1 cup of milk (dairy or non-dairy) and stir in 1 tablespoon of white vinegar or lemon juice. Let it sit for 5-10 minutes until it curdles slightly.
This works well in most recipes. For the hot coffee, if you don't drink coffee, you can simply use hot water; the coffee primarily enhances the chocolate flavor but isn't strictly necessary for the cake to work.
If you're out of baking powder but have baking soda, remember that baking soda requires an acid (like buttermilk or cocoa powder, which is slightly acidic) to activate fully, while baking powder contains both acid and base and just needs liquid and heat. You generally can't swap them 1:1 without adjusting other ingredients or the recipe might fail. For a richer flavor, you could swap some of the vegetable oil for melted unsalted butter, though oil typically yields a moister cake that stays soft longer.
Regarding flour, using cake flour instead of all-purpose can result in an even finer, more tender crumb, though it's not essential for this easy chocolate birthday cake recipe. Similarly, while this recipe focuses on chocolate, the foundational techniques are similar to those used in an easy vanilla birthday cake recipe, where you'd swap cocoa for more flour and add vanilla extract.
Step-by-Step Guide to Baking Your Chocolate Birthday Cake
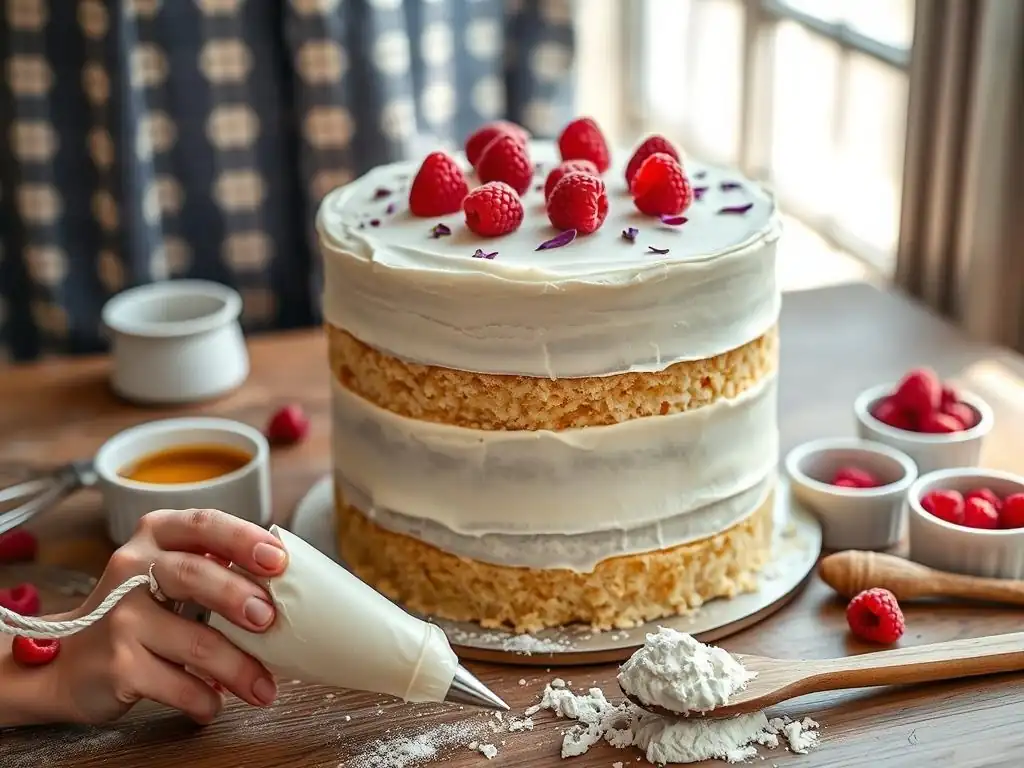
Baking a layer cake involves a series of precise steps, but don't let that intimidate you. Each step builds upon the last, and by following the instructions carefully, you'll navigate the process successfully. We've broken it down into manageable stages, from preparing your pans to cooling the finished cake layers. Patience is key, especially during the cooling phases, as rushing these steps can compromise the cake's structure and make frosting much more difficult.
Remember that baking is a science, but it's also an art. Pay attention to the visual cues mentioned in the steps – how the batter looks, how the cakes rise, how they feel when tested for doneness. These observations will help you understand the process better and adjust slightly based on your specific oven and ingredients. This step-by-step approach is designed to make the journey from raw ingredients to baked cake layers as clear and stress-free as possible, mirroring the simplicity we aim for in an easy vanilla birthday cake recipe as well.
Step 1: Preparing Your Baking Pans for a Flawless Cake
Proper pan preparation is crucial for ensuring your beautiful chocolate cake layers release easily after baking. Skipping this step can lead to frustrating moments where cake sticks to the pan, potentially tearing or breaking your layers. The most common method involves greasing and flouring the pans. Start by applying a thin, even layer of butter or baking spray to the bottom and sides of your cake pans. Ensure you get into all the corners and crevices.
Once greased, add a tablespoon or two of all-purpose flour to each pan. Tilt and rotate the pan, tapping it gently to coat the entire greased surface with a thin layer of flour. Once coated, invert the pan and tap out any excess flour. For chocolate cakes, some bakers prefer using cocoa powder instead of flour to avoid white marks on the cake edges. If using cocoa powder, follow the same process: grease the pan, add cocoa powder, coat thoroughly, and tap out the excess. For this easy chocolate birthday cake, we recommend using two 8-inch round cake pans.
Step 2: Combining Dry Ingredients
The next important step is accurately measuring and combining your dry ingredients. This ensures that the leavening agents, flavorings (like cocoa), and structure-builders (like flour) are evenly distributed throughout the batter. Start by using the correct measuring technique for flour: gently spoon the flour into your measuring cup and level it off with a straight edge (like the back of a knife). Do not scoop the flour directly from the bag, as this compacts it and results in using too much flour, leading to a dry cake.
In a large mixing bowl, whisk together the measured all-purpose flour, granulated sugar, unsweetened cocoa powder, baking soda, baking powder, and salt. Whisking serves two purposes: it helps to combine the ingredients thoroughly and aerates the mixture slightly, which contributes to a lighter cake texture. Whisk for about 30-60 seconds until you see no streaks of cocoa powder or clumps of leavening agents. This step is fundamental whether you're making this easy chocolate birthday cake or tackling an easy vanilla birthday cake recipe.
Step 3: Combining Wet Ingredients
While your dry ingredients are prepped, it's time to combine the wet components. This mixture provides the necessary moisture and richness for the cake batter. Ensure your eggs and buttermilk are at room temperature, as mentioned earlier. Room temperature ingredients emulsify much better than cold ones, leading to a smoother, more uniform batter texture.
In a separate medium bowl, whisk together the room temperature eggs, room temperature buttermilk, and vegetable oil. Whisk until the mixture is well combined and looks uniform. In a separate cup or small bowl, measure out your hot coffee (or hot water). This hot liquid will be added at a later stage, but having it ready is part of the "mise en place." The combination of buttermilk and oil is key to this recipe's moistness, providing a lovely contrast to the deep chocolate flavor.
Step 4: Combining Wet and Dry Ingredients for a Smooth Batter
Now it's time to bring the wet and dry mixtures together. This is where the batter for your easy chocolate birthday cake starts to take shape. Create a well in the center of your bowl of dry ingredients. Pour the combined wet ingredients (eggs, buttermilk, oil) into this well.
Next, pour the hot coffee (or water) directly into the bowl as well. Using a whisk or a rubber spatula, start mixing from the center, gradually incorporating the dry ingredients into the wet. Mix until just combined. The batter will be quite liquidy – this is expected and contributes to the cake's moistness. Be careful not to overmix. Overmixing develops the gluten in the flour too much, which can result in a tough or dense cake. A few small lumps are acceptable; it's better to have a slightly lumpy batter than an overmixed one.
Step 5: Baking the Chocolate Cake Layers to Golden Perfection
With your batter ready and pans prepared, it's time to bake! Preheat your oven to the specified temperature (typically 350°F or 175°C). It's a good idea to use an oven thermometer to ensure your oven is accurately heated, as oven temperatures can vary significantly. Divide the batter evenly between your two prepared cake pans. You can eyeball it, or for more precision, you can weigh the batter and divide the weight by two.
Gently tap the pans on the counter a couple of times to release any large air bubbles. Place the pans in the preheated oven, ideally on the center rack, ensuring they are not touching each other or the oven walls. Bake for the time specified in the recipe, which is typically around 30-35 minutes for 8-inch layers.
The cakes are done when a wooden skewer or toothpick inserted into the center comes out clean or with just a few moist crumbs attached. The edges of the cake will also start to pull away slightly from the sides of the pan.
Step 6: Cooling the Cakes for Easy Frosting
Cooling the cake layers properly is a critical step that is often rushed, leading to crumbled cakes during frosting. Once the cakes are out of the oven, let them cool in their pans on a wire rack for about 10-15 minutes. This allows the cakes to firm up slightly within the structure of the pan.
After this initial cooling period, carefully invert the cakes onto the wire rack. Remove the pans completely. Allow the cakes to cool completely on the wire rack before attempting to frost them. This can take anywhere from 1 to 2 hours, depending on your environment.
Frosting warm cakes will melt the buttercream, creating a messy and unstable result. Ensure the centers are no longer warm to the touch. For the best results, you can even wrap the cooled layers tightly in plastic wrap and chill them in the refrigerator for an hour or freeze them for 30 minutes; cold cakes are much easier to handle and frost neatly. This applies whether you're frosting this easy chocolate birthday cake or an easy vanilla birthday cake recipe.
Making the Chocolate Buttercream Frosting
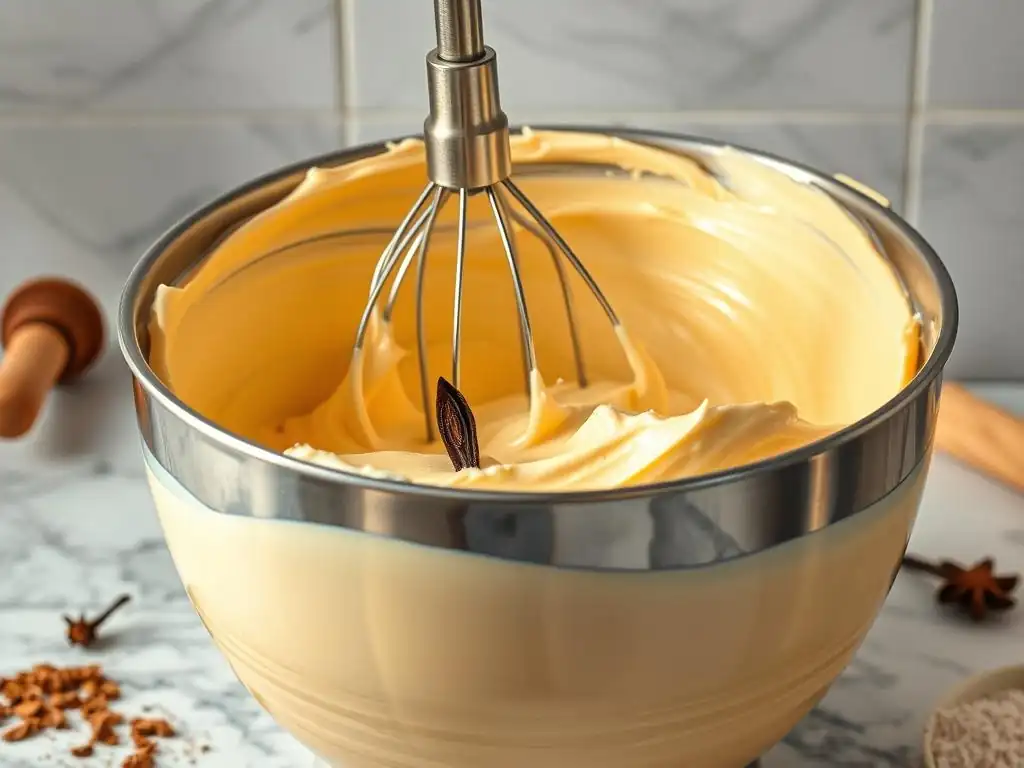
A classic chocolate birthday cake wouldn't be complete without a smooth, luscious chocolate buttercream frosting. This recipe is simple to whip up and provides the perfect complement to the moist chocolate cake layers. Making your own buttercream allows you to control the sweetness and consistency, tailoring it exactly to your preference. It's a fundamental frosting technique that is versatile enough for many different cakes and cupcakes.
Buttercream is essentially a mixture of fat (usually butter), sugar, and a liquid (like milk or cream), flavored as desired. The key to a good buttercream is creaming the butter and sugar together properly and adding enough liquid to achieve a spreadable consistency. This recipe uses a standard American buttercream method, which is quick and easy for beginners and pairs wonderfully with the rich flavor of the chocolate cake.
Ingredients for a Smooth Chocolate Buttercream
To make a smooth and delicious chocolate buttercream for your easy chocolate birthday cake, you will need a few basic ingredients. The foundation is unsalted butter, which should be softened but not melted. Softened butter creams together easily with sugar and incorporates air, which makes the frosting light and fluffy. You'll need a significant amount of powdered sugar (also known as confectioners' sugar or icing sugar), which provides sweetness and structure.
Unsweetened cocoa powder is added for the chocolate flavor. Using a good quality cocoa will make a noticeable difference in the final taste. You will also need a liquid, such as milk, cream, or even brewed coffee, to achieve the desired consistency. Vanilla extract enhances the flavors of both the chocolate and the butter. A pinch of salt can also be added to balance the sweetness. Ensure your butter is genuinely soft – you should be able to easily indent it with your finger, but it shouldn't be greasy or shiny.
Step-by-Step Instructions for Perfect Buttercream
Making this chocolate buttercream is straightforward. Start by beating the softened unsalted butter in a large mixing bowl using an electric mixer (stand mixer or hand mixer) on medium speed until it is pale and fluffy, about 3-5 minutes. This creams the butter and incorporates air, which is essential for a light texture.
Next, gradually add the sifted powdered sugar, about 1 cup at a time, mixing on low speed until incorporated before increasing the speed slightly to beat it in fully. Sifting the powdered sugar helps prevent lumps. Once all the sugar is added and mixed in, the mixture will be very thick and crumbly. Now, add the unsweetened cocoa powder and vanilla extract.
Mix on low speed until combined. Finally, add the milk, cream, or coffee, 1 tablespoon at a time, beating on medium-high speed until the frosting reaches your desired consistency – spreadable but not too runny. This process is similar to making frosting for an easy vanilla birthday cake recipe, just swapping cocoa for extra sugar or flavorings.
Tips for Achieving the Ideal Buttercream Consistency
Achieving the perfect buttercream consistency is key to easy frosting and a beautiful cake finish. The goal is a frosting that is smooth and spreadable, holding its shape without being too stiff or too soft. If your buttercream is too thick after adding the initial amount of liquid, add more liquid (milk, cream, or coffee) 1 teaspoon at a time, beating well after each addition, until it reaches the right consistency.
If your buttercream is too thin, you can beat in a little more sifted powdered sugar, 1 tablespoon at a time, until it thickens up. The consistency can also be affected by the temperature of your kitchen; warm environments can make buttercream too soft. If this happens, chill the buttercream in the refrigerator for 10-15 minutes, then re-whip it before use.
Conversely, if it's too stiff from being chilled, let it sit at room temperature for a bit and then whip it again until smooth. A well-beaten buttercream will be light, fluffy, and easy to spread or pipe onto your easy chocolate birthday cake.
Assembling and Frosting Your Chocolate Birthday Cake
Assembling and frosting the cake is the final stage where your baked layers transform into a celebratory masterpiece. This process involves stacking the layers, applying a crumb coat to lock in any loose crumbs, and then finishing with a smooth or decorative final layer of frosting. While it takes a little practice to get perfectly smooth sides, focusing on the basic steps will result in a beautiful and delicious easy chocolate birthday cake.
Patience and having the right tools (like an offset spatula and a cake turntable, if you have one) can make this process much easier. However, you can certainly frost a cake successfully with just a regular knife or spatula. Remember, the goal is to create a cake that tastes great and looks inviting, not necessarily a perfectly smooth, professional finish on your first try.
Leveling the Cake Layers for a Professional Finish
Before stacking, it's often helpful to level your cake layers, especially if they have domed significantly during baking. Leveling creates flat surfaces, which makes stacking easier and results in a more stable, straight cake. You can level cakes using a long serrated knife or a cake leveler tool.
If using a serrated knife, place the cake layer flat on a stable surface. Hold the knife parallel to the counter and carefully slice off the domed top with a gentle sawing motion, keeping your hand steady. Aim to remove just enough to create a flat surface. If using a cake leveler, adjust it to the desired height and gently saw through the cake. These removed cake tops are often called "cake scraps" and are delicious for snacking or making cake pops! Leveling is a simple technique that greatly improves the final appearance of your easy chocolate birthday cake.
Crumb Coating: The Secret to a Perfect Cake
The crumb coat is an essential step for achieving a clean, smooth final layer of frosting, especially with moist cakes like this easy chocolate birthday cake which can produce a lot of crumbs. A crumb coat is a very thin layer of frosting applied to the entire cake before the final frosting layer. Its purpose is to trap any loose crumbs, sealing them into the first layer of frosting.
To apply a crumb coat, place the first leveled cake layer on your serving plate or cake stand. Apply a small amount of buttercream to the top center and spread it evenly. Place the second cake layer on top. Apply a thin layer of frosting to the top and sides of the entire stacked cake, using an offset spatula to spread it thinly and evenly.
Don't worry about making it look neat; the goal is just to cover the cake completely with a thin layer. Once coated, chill the cake in the refrigerator for at least 30 minutes (or the freezer for 15 minutes) until the crumb coat is firm. This locks in the crumbs and provides a stable base for the final frosting.
Frosting the Cake with Chocolate Buttercream
Once your crumb-coated cake is chilled and firm, it's time for the final layer of frosting. This is where you apply a thicker, more generous layer of your chocolate buttercream to achieve the desired look. Take the chilled cake out of the refrigerator. Apply a generous dollop of frosting to the top of the cake and spread it outward towards the edges, using an offset spatula or knife.
Once the top is covered, apply frosting to the sides of the cake. Use your spatula to spread the frosting evenly around the sides, adding more as needed until the entire cake is covered. For a smooth finish, hold your spatula at a slight angle against the side of the cake and rotate the cake (if using a turntable) or move the spatula smoothly around the cake, removing excess frosting as you go.
You can dip your spatula in warm water and dry it for an extra smooth finish. Don't strive for absolute perfection on your first try; even a rustic swirl looks beautiful on an easy chocolate birthday cake!
Decorating Your Classic Chocolate Birthday Cake [Chocolate Shavings and Fresh Raspberries]
Decorating your easy chocolate birthday cake adds the final festive touch! For a classic and elegant look, chocolate shavings and fresh raspberries are a wonderful combination that complements the rich chocolate flavor. To make chocolate shavings, you can use a vegetable peeler or a knife to shave pieces from a block of chocolate (baking chocolate or a good quality chocolate bar works well). For approximately 100-150 grams of chocolate, hold the block firmly and carefully run the peeler or knife along the edge to create curls or shavings.
Once the cake is frosted, gently press chocolate shavings onto the sides and sprinkle them over the top. Arrange fresh raspberries artfully around the top edge or scattered across the top of the cake. The deep red of the raspberries provides a lovely visual contrast to the dark chocolate frosting and adds a burst of fresh flavor. This simple decoration is visually appealing and easy for beginners, making your easy chocolate birthday cake look as good as it tastes. Other simple options include sprinkles, chocolate chips, or simple piped borders using a piping bag and tip.
Tips and Tricks for a Successful Chocolate Birthday Cake
Even with a simple recipe like this easy chocolate birthday cake, a few tips and tricks can help ensure your success and make the baking process smoother. Attention to detail in measuring, temperature, and timing can make a significant difference in the final outcome. Don't be afraid to consult reliable resources or seek advice if you encounter issues; baking is a skill that improves with practice and learning from others.
One fundamental tip is to read the entire recipe from start to finish before you even begin gathering ingredients. This helps you understand the flow of the recipe and anticipate each step. Another crucial element is ingredient temperature – as mentioned, room temperature eggs and dairy are important for proper emulsification. Using fresh leavening agents (baking soda and baking powder) is also key, as expired leaveners won't provide the necessary lift.
Troubleshooting Common Chocolate Cake Baking Issues
Even experienced bakers encounter issues sometimes! If your easy chocolate birthday cake sinks in the middle, it could be due to several factors: opening the oven door too early during baking (especially in the first 20-25 minutes), overmixing the batter, using expired leavening agents, or the oven temperature being too high. Ensure your oven temperature is accurate with a thermometer and avoid peeking too early.
If the cake is dry, you might have overmeasured your flour (scooping instead of spooning and leveling) or overbaked the cake. Check for doneness at the lower end of the suggested baking time. If the cake is dense or tough, it's likely due to overmixing the batter, which overdevelops the gluten. Mix only until the ingredients are just combined.
If your frosting is grainy, your powdered sugar might not have been sifted, or it wasn't mixed long enough. Beat the buttercream for a few minutes longer on medium speed to help dissolve the sugar. These troubleshooting steps can also apply to an easy vanilla birthday cake recipe.
Storing and Serving Your Delicious Chocolate Cake
Proper storage will keep your easy chocolate birthday cake fresh and moist. If the cake is frosted with buttercream, it can typically be stored at room temperature in an airtight container for 2-3 days. Ensure it is covered to prevent it from drying out. If your kitchen is very warm (above 75°F or 24°C) or if the frosting contains fresh cream or perishable fillings, it's best to store the cake in the refrigerator.
When storing in the refrigerator, place the cake in an airtight container or cover it loosely with plastic wrap, then tightly once the frosting has firmed up. To serve a refrigerated cake, allow it to sit at room temperature for 30-60 minutes before slicing. This allows the frosting and cake layers to soften slightly, improving the texture and flavor.
For longer storage, unfrosted cake layers can be wrapped tightly in plastic wrap and then foil and frozen for up to 2-3 months. Thaw them overnight in the refrigerator before frosting. A frosted cake can also be frozen, though the texture might change slightly; freeze it uncovered until firm, then wrap tightly.
Variations on the Classic Chocolate Birthday Cake Recipe
While this easy chocolate birthday cake recipe is fantastic as is, it also serves as a great base for exploring different flavor combinations. By slightly altering the frosting or adding extra elements, you can create exciting new versions perfect for different tastes and occasions. These variations keep the core simplicity of the cake layers but introduce new dimensions of flavor.
Exploring variations is a fun way to get creative in the kitchen and customize your baking for the person you're celebrating. Just like an easy vanilla birthday cake recipe can be paired with various fruit fillings or different frostings, this chocolate cake is incredibly versatile. Here are a few popular ideas to get you started.
Mocha Chocolate Birthday Cake
For coffee lovers, transforming this into a mocha chocolate birthday cake is simple and adds a wonderful depth of flavor. The cake layers already use hot coffee, which enhances the chocolate, but you can amplify the coffee flavor in the frosting. In the chocolate buttercream recipe, instead of using milk or cream as the liquid, use cooled, strong brewed coffee or espresso. Start with the same amount (e.g., 2-3 tablespoons) and add more if needed to reach the desired consistency.
You can also add about 1-2 teaspoons of instant espresso powder directly to the dry ingredients in the cake batter along with the cocoa powder, or dissolve it in the hot coffee before adding it to the batter. This infuses the cake layers themselves with a subtle coffee note. The combination of rich chocolate cake and coffee-infused buttercream creates a sophisticated "mocha" flavor profile that is absolutely delicious.
Chocolate Birthday Cake with Salted Caramel
Pairing chocolate with salted caramel is a beloved combination that elevates this easy chocolate birthday cake. You can make a simple salted caramel sauce from scratch or use a high-quality store-bought version. To incorporate it, you have a few options. You can drizzle salted caramel sauce between the cake layers before adding the top layer.
Alternatively, you can swirl salted caramel sauce into the chocolate buttercream frosting just before frosting the cake. Apply the chocolate buttercream as usual, then drizzle ribbons of salted caramel over the top and down the sides of the finished cake. You can also add a pinch of sea salt to the chocolate buttercream itself for a salty-sweet kick. This variation adds a gooey, rich element that contrasts beautifully with the moist chocolate cake.
Chocolate Birthday Cake with Peanut Butter Frosting
Chocolate and peanut butter are a classic pairing that is incredibly popular. To create this variation, you'll keep the easy chocolate birthday cake layers the same but swap the chocolate buttercream for a creamy peanut butter frosting. A simple peanut butter frosting can be made by creaming together softened butter, creamy peanut butter, powdered sugar, a splash of milk or cream, and a little vanilla extract, similar to the chocolate buttercream method.
Ensure your peanut butter is a smooth, processed variety (like Jif or Skippy) for the best frosting consistency; natural peanut butter tends to separate and can make the frosting oily. Frost the cooled chocolate cake layers generously with the peanut butter buttercream. You can decorate the top with chopped roasted peanuts or a drizzle of melted chocolate or peanut butter. This variation is a guaranteed crowd-pleaser, offering that irresistible sweet and salty combination.
Enjoy Your Homemade Chocolate Birthday Cake!
You've done it! You've successfully baked and assembled a beautiful and delicious classic chocolate birthday cake from scratch. Take a moment to appreciate your accomplishment. Baking, especially a layer cake, is a wonderful skill, and mastering this easy chocolate birthday cake recipe is a great stepping stone. Whether you're celebrating a birthday or just enjoying a treat, sharing a homemade cake is incredibly rewarding.
Slice into your creation and savor the moist chocolate cake paired with the smooth buttercream. Remember the journey from simple ingredients to this festive centerpiece. We hope this guide has made the process enjoyable and accessible. This recipe is a fantastic addition to your baking repertoire, sitting comfortably alongside classics like a simple easy vanilla birthday cake recipe. Happy baking, and enjoy every single bite!
Frequently Asked Questions
What makes this vanilla birthday cake recipe "easy"?
This recipe focuses on simple instructions and uses easily accessible ingredients that most bakers already have on hand, making it perfect for beginners.
Can I substitute ingredients in this vanilla cake recipe?
While the recipe is designed for optimal results, you can often substitute ingredients like using milk alternatives or different types of flour, but be aware it may impact the final texture.
How can I prevent my vanilla cake from being dry?
Avoid overbaking! Use an oven thermometer to ensure accurate temperature and be sure to measure your ingredients accurately. Proper mixing is also crucial.
What kind of frosting is best for this classic vanilla birthday cake?
A classic vanilla buttercream is recommended for a complementary flavor, but you can also use chocolate buttercream, cream cheese frosting, or even a simple glaze for a delicious and versatile cake.
How should I store leftover vanilla birthday cake?
Store leftover cake in an airtight container at room temperature for up to three days or in the refrigerator for up to a week. Proper storage helps maintain moisture and flavor.
Final Reflection: The Enduring Allure of a Simple Cake
The classic vanilla birthday cake, a seemingly simple dessert, holds a power far beyond its ingredients. Its enduring appeal lies not just in its ease of preparation, as detailed in this step-by-step guide, but in its ability to evoke powerful memories and feelings of joy, celebration, and connection. This recipe, therefore, is more than just a collection of instructions; it's a gateway to creating cherished moments.
The vanilla birthday cake's influence on our cultural landscape is undeniable. It's the quintessential celebratory dessert, appearing at countless birthdays, anniversaries, and family gatherings across generations. Its simplicity allows for personalization and creativity, making it a blank canvas for individual expression. A cake is a celebration of life, a symbol of joy and togetherness.
This simple truth underscores the cake's enduring power to bring people together and create lasting memories. The act of baking itself, following the steps outlined in this guide, becomes a meditative and rewarding experience, connecting us to a long tradition of culinary craftsmanship.
Now, consider the possibilities. You've learned the fundamentals of creating a perfect vanilla birthday cake – a skill that can be adapted and expanded upon. Don't just bake a cake; bake a memory. Experiment with frostings, fillings, and decorations. Share your creations with loved ones, and watch as a simple dessert transforms into a celebration of connection and joy. The journey of baking, just like life itself, is about the process and the shared experience. Embrace the simplicity, and let the sweet aroma of vanilla fill your home with warmth and happiness.
Unleash Your Inner Baker: Bake This Cake Today!
Thanks for joining us on this delicious journey! We hope you've gained the confidence to tackle a classic vanilla cake. Now it's time to put your newfound skills to the test.
- Bake your own masterpiece! Grab those ingredients and follow the recipe – we know you can do it!
- Share your baking journey: Post a picture of your cake on social media using #BakeWithEase and tag us – we'd love to see your creation!
- Challenge a friend: Nominate a friend to bake this cake and share their results. Let's see who makes the most amazing vanilla cake!
Ready to create some sweet memories? What flavor will you add next time to make this cake your own?