
Simple Techniques for Perfectly Layering a Birthday Cake

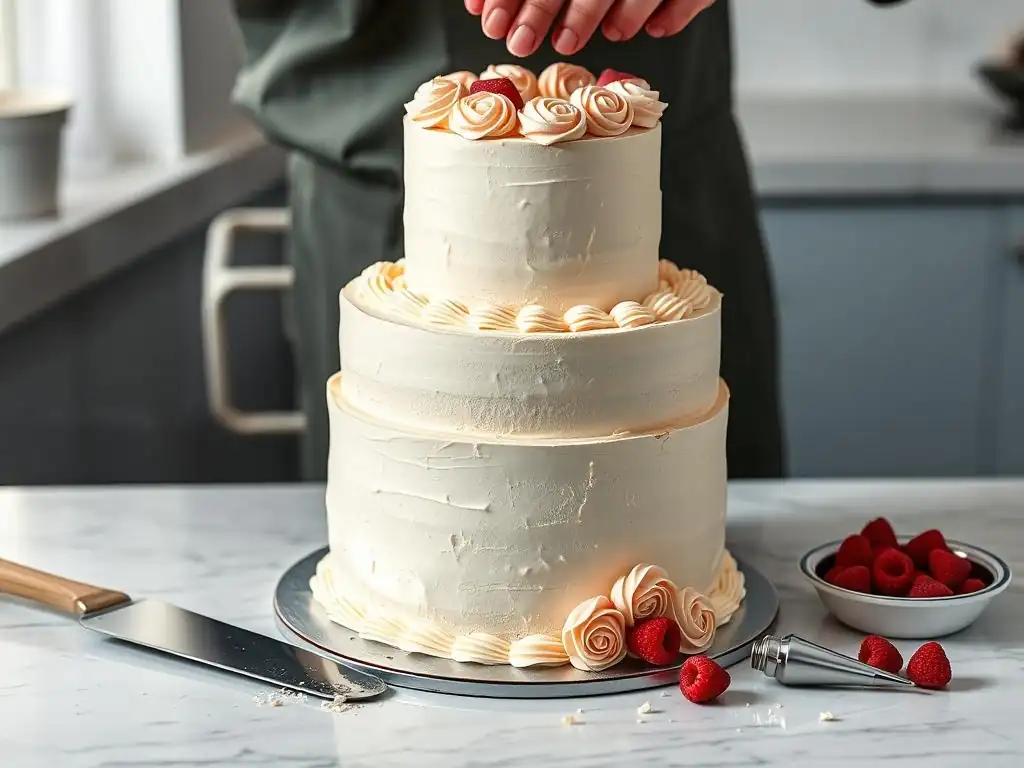
Welcome to BakeWithEase, your haven for unlocking baking brilliance! Ever dreamed of crafting a birthday cake that's not just delicious, but a visual masterpiece? Discover the secrets within, as we unveil simple techniques for perfectly layering a birthday cake, transforming your baking from good to unforgettable. Intrigued? Let's get started and create a cake that's as stunning as it is scrumptious!
- Introduction to Perfectly Layered Birthday Cake Techniques
- Essential Tools and Ingredients for Layering Birthday Cakes
- Preparing Cake Layers for a Flawless Birthday Cake
- Step-by-Step Techniques for Building a Perfectly Layered Birthday Cake
- Advanced Tips and Tricks to Enhance Layered Birthday Cake Presentation
- Common Challenges and How to Overcome Them in Layering Birthday Cakes
- Decorating Ideas That Complement Perfectly Layered Birthday Cakes
- Conclusion: Achieving Bakery-Quality Layered Birthday Cakes at Home
- Frequently Asked Questions
- Final Reflection: The Art and Joy of Perfectly Layered Cakes
- Unleash Your Inner Cake Artist: Layer Like a Pro!
Introduction to Perfectly Layered Birthday Cake Techniques
Why Mastering Layering Techniques Elevates Birthday Cake Baking
Mastering perfectly layered birthday cake techniques is a game-changer for any home baker. It's the difference between a simple single-layer cake and a stunning centerpiece that wows guests and makes the birthday person feel extra special. Think of a classic vanilla bean cake with luscious strawberry filling and smooth buttercream – its visual appeal comes directly from those neat, even layers.
Beyond aesthetics, proper layering ensures a balanced bite, where each forkful contains a harmonious mix of cake, filling, and frosting. This careful construction prevents the cake from collapsing and makes slicing and serving effortless, allowing you to present a professional-looking dessert right from your own kitchen.
Moreover, understanding layering techniques opens up a world of creative possibilities. You can experiment with different flavor combinations in each layer or filling, create dramatic height, or even incorporate surprise elements like sprinkles or candies hidden within a layer. While it might seem daunting at first, especially for beginners, these simple techniques for layering birthday cakes perfectly are entirely achievable with a little practice. By focusing on foundational steps like preparing even layers and applying fillings smoothly, you'll build confidence and skill, transforming your birthday cake projects from good to truly exceptional.
Overview of Simple Techniques for Layering Birthday Cakes Perfectly
Achieving a perfectly layered birthday cake relies on a few core principles that are easy to learn. The journey begins with preparing your cake layers properly – baking them evenly and allowing them to cool completely are crucial first steps. Once cooled, the next key technique involves leveling the layers to create flat surfaces, which ensures stability when stacking. Tools like a serrated knife or cake leveler make this surprisingly simple.
The process continues with applying fillings and frosting between the layers. The goal is to create a consistent, even layer of filling right to the edge (or slightly in from the edge, depending on your desired look) to prevent gaps and ensure a stable stack. Finally, stacking the layers carefully, ensuring they are centered and level, completes the basic structure. These are the fundamental simple techniques for layering birthday cakes perfectly that provide a solid foundation for any design, whether it's a two-layer classic or a towering multi-tiered creation.
Essential Tools and Ingredients for Layering Birthday Cakes
Must-Have Baking Tools for Precise Cake Layering
Having the right tools makes all the difference when aiming for a perfectly layered birthday cake. A quality set of cake pans, ideally two or three of the same size (commonly 6-inch, 8-inch, or 9-inch round), is essential for baking multiple layers simultaneously. A serrated knife or a dedicated cake leveler is indispensable for trimming the domed tops off cakes to create flat, even surfaces – a critical step for stable stacking. For instance, a basic 8-inch cake might rise about 1 to 1.5 inches higher in the center; a leveler helps remove this dome uniformly.
Other helpful tools include an offset spatula for spreading frosting and fillings smoothly, a bench scraper or straight edge for smoothing the sides of the frosted cake, and a turntable (lazy Susan) which allows you to rotate the cake effortlessly while frosting and layering. Using parchment paper to line the bottom of your pans ensures the cakes release cleanly, minimizing breakage. While not strictly necessary for basic layering, having a few piping bags and tips (like a round tip for piping a frosting dam) can greatly assist in containing softer fillings, further enhancing your layering techniques.
Choosing the Right Cake Batter and Fillings for Layered Cakes
The success of a perfectly layered birthday cake also depends heavily on your choice of cake batter and fillings. For the cake layers themselves, a sturdy yet tender crumb is ideal. Recipes labeled as "layer cake" recipes are often formulated to be less prone to crumbling and dense enough to support the weight of upper layers and fillings. Classic butter cakes, pound cakes, or even some sturdier sponge cakes work well. Avoid overly delicate or crumbly cakes, especially when starting out, as they are harder to handle and level without breaking.
When it comes to fillings, variety is key, but stability is crucial. Buttercreams, ganaches, and stable fruit curds (like lemon or passionfruit curd) are excellent choices as they set up firm enough to support the layers above.
Softer fillings like whipped cream or fresh fruit can be used, but they often require a "frosting dam" – a ring of firmer frosting piped around the edge of the layer to act as a barrier and prevent the softer filling from squeezing out when stacked. Considering the overall moisture content is also important; too much moisture from a filling can make the bottom layer soggy over time, affecting the stability and texture of your perfectly layered birthday cake.
Preparing Cake Layers for a Flawless Birthday Cake
How to Bake Even Cake Layers Every Time
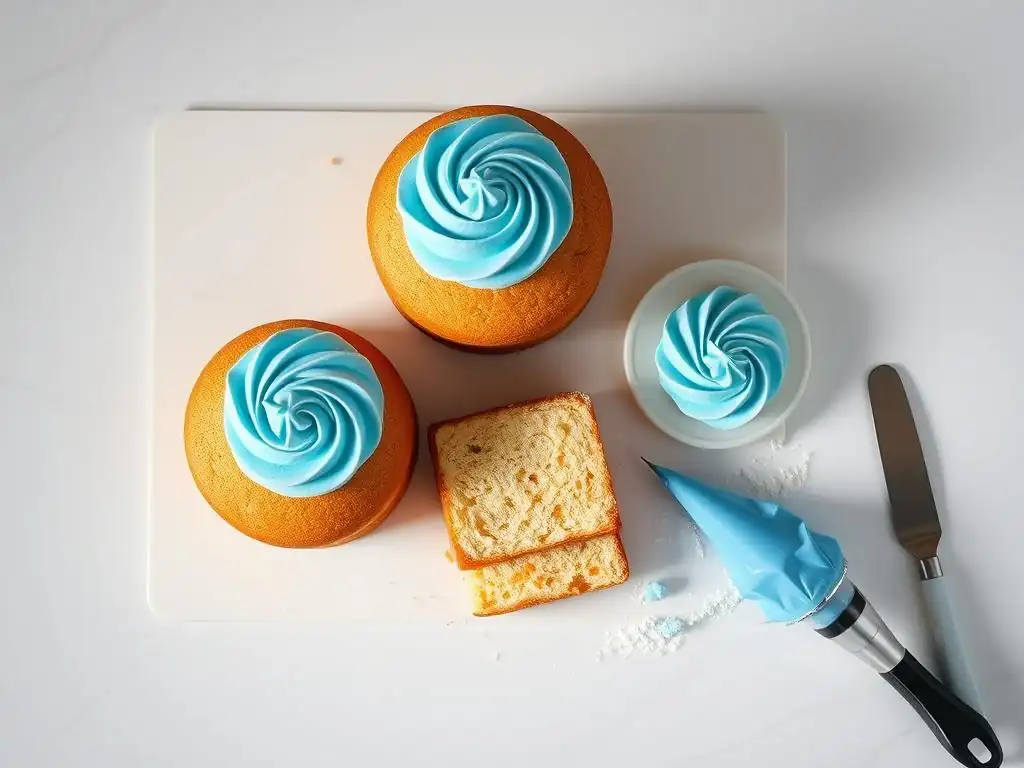
Baking even cake layers is the foundational step towards achieving a perfectly layered birthday cake. A common issue is cakes doming in the center, which requires trimming. To minimize this, ensure your oven temperature is accurate – using an oven thermometer can help verify this. Overheating is a major culprit of uneven rising. Another tip is to avoid overmixing the batter, which can develop too much gluten, leading to a tougher texture and potentially an uneven rise.
Using cake strips (wet fabric strips wrapped around the outside of the pan) can help the cakes bake more evenly by insulating the edges, causing the cake to rise more flatly. For instance, using cake strips on an 8-inch round pan typically reduces the dome height by about 50-75% compared to baking without them.
Filling your cake pans consistently to the same level is also vital for uniform thickness across layers. Aim to fill pans about two-thirds full; this allows room for the cake to rise without overflowing, contributing to more consistent results for your perfectly layered birthday cake techniques.
Tips for Cooling and Handling Cake Layers to Prevent Crumbling
Properly cooling and handling cake layers is critical to prevent breakage and crumbling, which can ruin your efforts towards a perfectly layered birthday cake. Once your cakes are baked, let them cool in their pans on a wire rack for about 10-15 minutes. This allows the cake to firm up slightly before you attempt to remove it. Trying to unmold too soon is a common mistake that leads to cracks or the cake sticking to the pan.
After the initial cooling period in the pan, invert the cakes onto a wire rack to cool completely. Ensure the rack allows air circulation around the entire cake. It's best to let them cool for at least 2-3 hours at room temperature, or even chill them in the refrigerator or freezer for a short period (30-60 minutes) once fully cooled.
Chilling makes the cake firmer and much easier to handle, level, and frost without crumbling, significantly improving the outcome of your layering techniques. Always handle cooled layers gently, supporting them fully with your hand or a cake board when moving them.
Step-by-Step Techniques for Building a Perfectly Layered Birthday Cake
Leveling and Trimming Cake Layers for Uniform Thickness
Leveling and trimming are essential steps for creating a stable and perfectly layered birthday cake. Once your cake layers are completely cooled (chilling them beforehand makes this much easier), place one layer flat on a work surface. Using a long serrated knife or a cake leveler, carefully slice off the domed top to create a flat, even surface. If using a knife, keep it parallel to the counter surface and use a gentle sawing motion, rotating the cake as you go. A cake leveler offers adjustable height settings and helps ensure a consistent cut across the entire layer.
Repeat this process for all layers. The goal is for each layer to have a consistent thickness, ideally around 1 to 1.5 inches, depending on your recipe and desired height. Uniform layers not only look better but also stack more securely, preventing leaning or instability in your perfectly layered birthday cake. Any trimmed-off cake scraps can be saved for cake pops or just enjoyed as a chef's treat!
Applying Fillings and Frosting Between Layers Without Mess
Applying fillings and frosting neatly between layers is key to a clean and stable perfectly layered birthday cake. Place your first leveled cake layer (often the bottom layer, which might be slightly sturdier) on your cake board or serving plate. If using a soft filling like fruit compote, pipe a dam of firmer frosting (like buttercream) around the outer edge of the layer, about 1/2 inch in from the edge. This dam acts as a wall to contain the softer filling and prevent it from oozing out under the weight of the upper layers.
Fill the center area within the frosting dam with your chosen filling, spreading it evenly with an offset spatula. If using a firm filling like buttercream or ganache, you can simply spread an even layer across the entire surface of the cake layer, right to the edge. Aim for a consistent thickness of filling, usually between 1/4 and 1/2 inch, depending on your preference and the type of filling. Too much filling can make the cake unstable. This careful application is fundamental to achieving a beautiful and perfectly layered birthday cake.
Stacking Cake Layers Securely to Avoid Slipping or Tilting
Securely stacking the layers is the final assembly step for a perfectly layered birthday cake structure. Once the first layer is filled, carefully place the next leveled cake layer on top. Ensure it is centered directly over the layer below. Gently press down slightly to help the layers adhere to the filling. Repeat the process of adding filling and stacking layers until all cake layers are used.
For multi-layer cakes (three or more layers), it's helpful to chill the cake for 15-30 minutes after stacking a few layers to allow the filling to firm up, increasing stability before adding more layers. This pause in your layering techniques can prevent the cake from tilting. Once all layers are stacked, perform a crumb coat – a thin layer of frosting applied all over the cake to seal in crumbs.
Chill the cake again (at least 30 minutes, preferably longer) until the crumb coat is firm. This creates a stable base for the final frosting layer and helps ensure your perfectly layered birthday cake remains straight and doesn't slip.
Advanced Tips and Tricks to Enhance Layered Birthday Cake Presentation
Creating Smooth and Even Frosting Surfaces on Layered Cakes
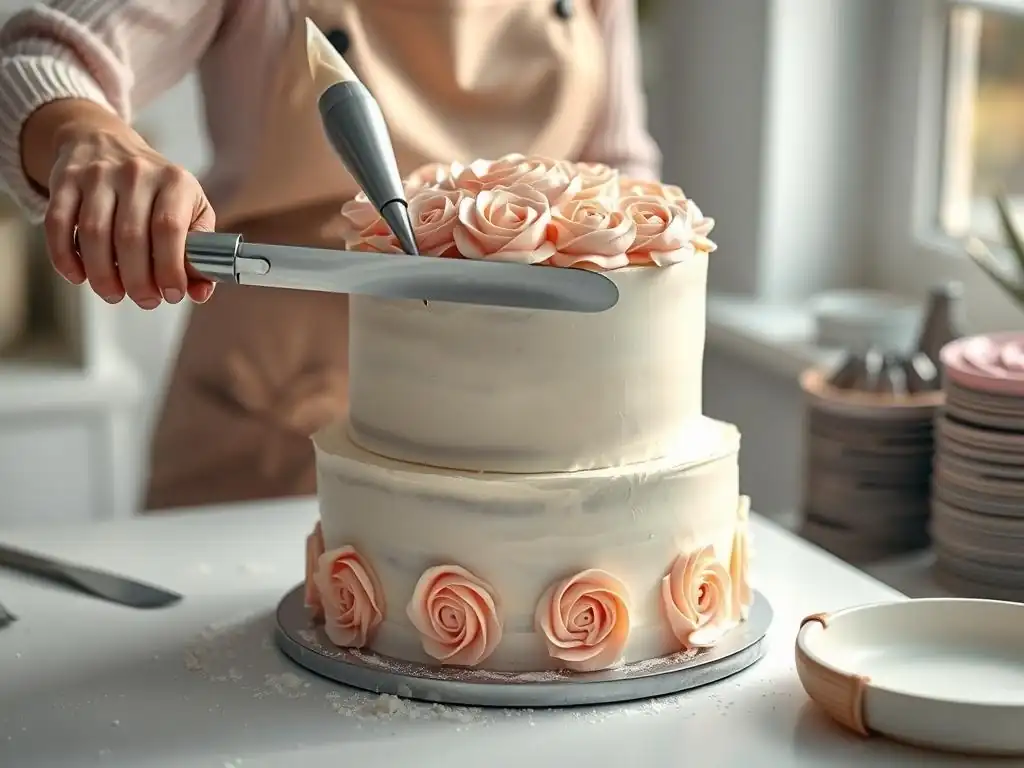
Achieving a smooth and even frosting surface is the finishing touch that elevates a perfectly layered birthday cake to bakery-quality status. After applying and chilling the crumb coat, apply a thicker final layer of frosting. Use an offset spatula to apply frosting generously to the top and sides, ensuring you have enough to work with. Then, using a bench scraper or a long, straight spatula held at a 45-degree angle against the side of the cake, rotate the turntable to smooth the sides. Apply gentle, consistent pressure.
For the top, use an offset spatula to smooth the surface, working from the outside edge towards the center, cleaning the spatula as needed. For extra smooth results, especially with buttercream, you can use the "hot knife" technique: dip a metal spatula in hot water, wipe it dry, and quickly run it over the frosting surface. This briefly melts the very outer layer of frosting, creating a glass-like finish. Mastering these layering techniques for frosting application truly makes your perfectly layered birthday cake visually stunning.
Using Support Structures for Multi-Tier Layered Birthday Cakes
For multi-tier perfectly layered birthday cakes, using internal support structures is not just an advanced tip, but a necessity for stability and safety. Each tier that is placed on top of another needs support to prevent it from crushing the layer below. This is typically achieved using dowels or cake pillars. For example, if placing an 8-inch cake tier on top of a 10-inch tier, you would insert several food-safe dowels (plastic or wooden) into the 10-inch cake, positioning them slightly inside where the 8-inch cake will sit.
The dowels should be cut to the exact height of the bottom cake layer's frosting surface. A good rule of thumb is to use one dowel for every 2-3 inches in diameter of the tier being supported (e.g., 3-4 dowels for an 8-inch cake sitting on a 10-inch base). A central dowel can also be hammered through all tiers and the cake board for added security, especially for transporting the cake. Implementing these structural layering techniques ensures your impressive, multi-level perfectly layered birthday cake stands tall and proud throughout the celebration.
Common Challenges and How to Overcome Them in Layering Birthday Cakes
Preventing Cake Layers from Sliding or Collapsing
Preventing layers from sliding or collapsing is a common concern when creating a perfectly layered birthday cake. The primary culprit is often an unstable base or inadequate support. Ensure your cake board is sturdy and appropriately sized for the bottom tier. Using a small dollop of frosting to "glue" the first layer to the board can help prevent it from moving. As mentioned earlier, chilling the cake layers before leveling and stacking makes them much more rigid and easier to handle.
Overfilling with soft fillings is another major cause of instability. Using a frosting dam is crucial for containing softer fillings like jams or custards. For taller cakes (three layers or more), chilling the cake after every two layers allows the frosting and filling to firm up, creating a more stable structure before adding subsequent layers.
If you are building a very tall cake (4+ layers), consider using internal dowels even within a single tier for extra support, similar to multi-tier construction. Applying these preventative layering techniques significantly reduces the risk of your perfectly layered birthday cake becoming a leaning tower.
Fixing Uneven Layers and Imperfect Fillings
Even with careful planning, you might encounter uneven layers or imperfect fillings when practicing perfectly layered birthday cake techniques. If, after leveling, a layer is still slightly uneven or has a dip, you can strategically add a bit more frosting or filling in that area when stacking to help level it out. For minor dips, a slightly thicker layer of filling can compensate. If a layer breaks during handling, don't despair! You can often piece it back together on the cake board, using frosting as glue. Once chilled and frosted, minor breaks are usually invisible.
If a filling has squeezed out unevenly during stacking, carefully use an offset spatula to scrape away the excess before applying the crumb coat. For significant oozing, it might indicate your filling was too soft or your frosting dam was insufficient. Make a note for your next attempt at layering birthday cakes. Remember that the crumb coat and final frosting layer are incredibly forgiving; they cover a multitude of sins beneath. Focus on making the outside smooth and even, and most minor imperfections in the layers or filling won't be noticeable in the final perfectly layered birthday cake.
Decorating Ideas That Complement Perfectly Layered Birthday Cakes
Simple and Elegant Decoration Styles for Layered Birthday Cakes
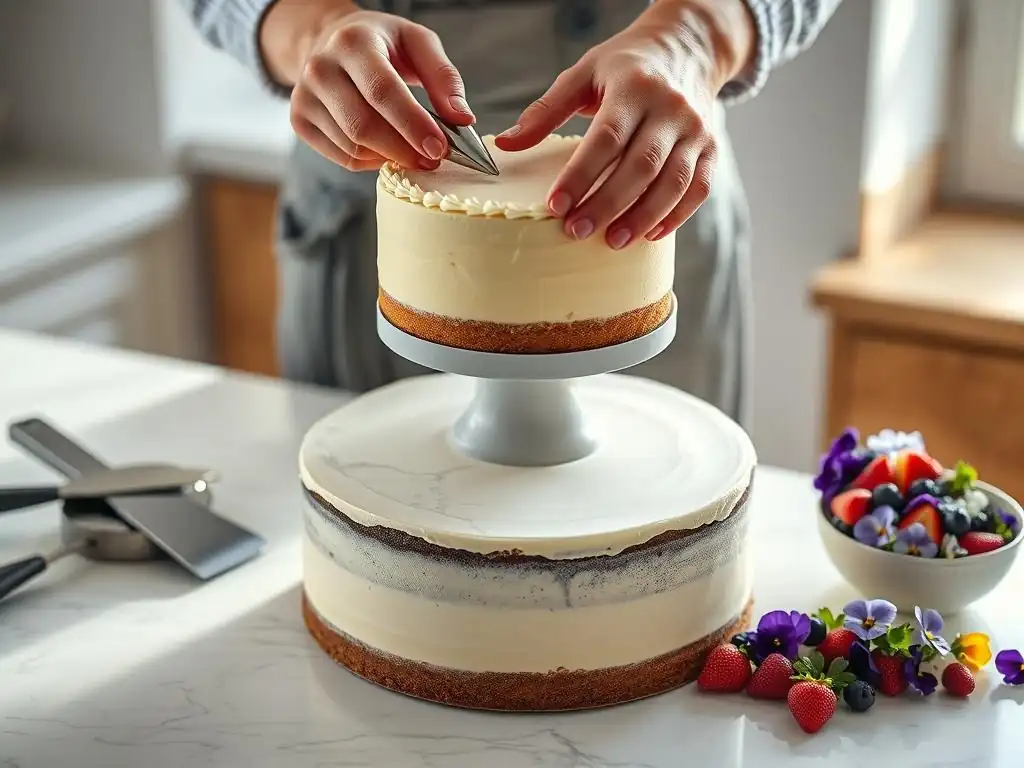
Once you've mastered the perfectly layered birthday cake techniques, simple and elegant decoration styles can showcase your beautiful structure. A classic approach is a smooth frosting finish (as discussed earlier) adorned with minimal decorations. Consider a simple border piped around the top or bottom edge using a star or shell tip. Fresh flowers (ensure they are food-safe or protected with floral tape), fresh berries, or a dusting of powdered sugar can add a touch of elegance without overpowering the clean lines of the layered cake.
Another simple yet effective style is a semi-naked or naked cake, where the frosting is applied thinly or only between layers, allowing the cake layers themselves to be partially visible. This style explicitly highlights your successful layering techniques and the uniform thickness of your layers. Drip cakes, where ganache or glaze is poured over the top edge to create drips down the sides, also pair beautifully with layered cakes, adding visual interest while keeping the overall design relatively simple and focused on the height and structure achieved through proper layering birthday cakes.
How to Incorporate Themes and Colors Seamlessly with Layering
Perfectly layered birthday cake techniques provide a fantastic canvas for incorporating birthday themes and colors. The height and multiple layers allow for creative use of color both within the cake and on the exterior. You can tint different cake layers with food coloring to create a rainbow effect when sliced, or use different colored fillings between layers. For example, a superhero cake might have blue, red, and yellow layers, while a princess cake could feature layers of pink and purple.
On the exterior, the smooth, tall sides of a well-layered cake are perfect for applying frosting in themed colors, creating gradients, or using techniques like ombré frosting. The top layer provides space for intricate decorations like fondant figures, candles, or themed toppers that tie into the party's motif. By thinking about how colors and themes can be integrated into both the internal structure and external decoration, you can use your layering techniques to create a cohesive and memorable perfectly layered birthday cake that perfectly matches the celebration.
Conclusion: Achieving Bakery-Quality Layered Birthday Cakes at Home
Recap of Key Techniques for Perfectly Layered Birthday Cakes
Creating a perfectly layered birthday cake at home is entirely within reach when you focus on a few key techniques. It starts with baking even cake layers, minimizing domes through careful oven temperature and potentially using cake strips. Proper cooling and gentle handling are crucial to prevent crumbling before leveling. Leveling the layers to uniform thickness provides the stable foundation needed for stacking.
Applying fillings and frosting neatly, using a frosting dam for softer fillings, and ensuring even coverage between layers are vital steps for both stability and taste. Finally, stacking the layers carefully, centering each one, and utilizing a crumb coat followed by chilling are essential layering techniques for a straight, sturdy cake ready for its final decoration. Mastering these steps builds the core skill set for achieving beautiful, bakery-quality results when layering birthday cakes.
Encouragement to Experiment and Personalize Layering Methods
Now that you have a solid understanding of the fundamental perfectly layered birthday cake techniques, the best way to improve is to practice and experiment! Don't be discouraged if your first attempt isn't absolutely perfect. Each cake is a learning opportunity. Try different cake recipes, experiment with various filling combinations, and practice your leveling and frosting skills. Perhaps you'll find that chilling your cakes for a longer period works best for you, or you'll discover a favorite type of filling that holds up perfectly.
Feel free to personalize these layering techniques to suit your style and the specific cake you're making. Maybe you prefer very thin layers of filling, or perhaps you love a thick layer of ganache. The beauty of baking at home is the freedom to customize. So, gather your tools, choose a delicious recipe, and enjoy the process of creating a stunning and delicious perfectly layered birthday cake that will be the highlight of any birthday celebration.
Frequently Asked Questions
How important is chilling cake layers before layering?
Chilling the cake layers is crucial for achieving perfectly layered cakes. It prevents the cake from crumbling and makes it easier to handle when applying frosting.
What kind of frosting works best for layering a birthday cake?
A stable and relatively firm frosting, such as buttercream or ganache, is ideal. Avoid overly runny frostings, as they can cause layers to slide and become unstable.
What's the best way to ensure each cake layer is even?
Using a cake leveler or a serrated knife is highly recommended. This helps create flat, even surfaces for consistent layering and a professional finish.
How much frosting should I use between each cake layer?
Aim for a consistent and generous layer of frosting, usually about 1/4 to 1/2 inch thick. This ensures adequate moisture and flavor in every bite.
How can I prevent the cake from sliding while I'm layering it?
Place a small dab of frosting on your cake board before adding the first layer. This acts as "glue" to secure the cake and prevent it from moving during assembly.
Final Reflection: The Art and Joy of Perfectly Layered Cakes
The pursuit of the perfectly layered birthday cake transcends mere baking; it's a testament to precision, patience, and the enduring power of creating something beautiful. In a world often dominated by instant gratification, the meticulous process of achieving flawlessly level layers speaks to a deeper appreciation for craftsmanship and the satisfaction of a job well done. This careful attention to detail elevates a simple dessert into a celebration, a symbol of care and effort that resonates far beyond the taste.
The impact of a beautifully layered cake extends beyond the immediate enjoyment; it's a visual feast that captures attention and evokes feelings of joy and celebration. It's a tradition passed down through generations, a symbol of shared moments and cherished memories. As we strive for perfection in our layering techniques, we also connect with a rich history of baking and the enduring human desire to create something special. A cake is a celebration of life, a symbol of joy and happiness.
This simple truth underscores the significance of our efforts in mastering the art of perfectly layered cakes.
Now, consider your own baking journey. Perhaps you've experienced the frustration of uneven layers or the triumph of achieving that perfectly smooth, level surface. Remember the feeling of accomplishment, the pride in your creation. Don't be afraid to experiment, to refine your techniques, and to embrace the learning process. The next time you bake a birthday cake, remember the principles outlined in this article, and let the joy of creation guide your hand. Let your perfectly layered cake be a testament to your skill, your patience, and the enduring power of celebrating life's special moments.
Unleash Your Inner Cake Artist: Layer Like a Pro!
Thanks for joining us on this delicious journey into cake layering! We hope you now feel confident and excited to create stunning, multi-layered cakes. Ready to put your newfound skills to the test?
- Bake your masterpiece! Use the techniques we've shared to create your dream layered cake. Don't forget to share a picture of your creation with us on social media using #BakeWithEaseLayeredCakes!
- Experiment with different flavors and fillings. The possibilities are endless! What unique combinations will you try?
- Challenge a friend to a cake-decorating duel! See who can create the most impressive layered cake.
Now, tell us: What exciting flavor combinations are you planning to experiment with for your next layered cake creation?