
Why Your Dough Rises: Demystifying Yeast Activity

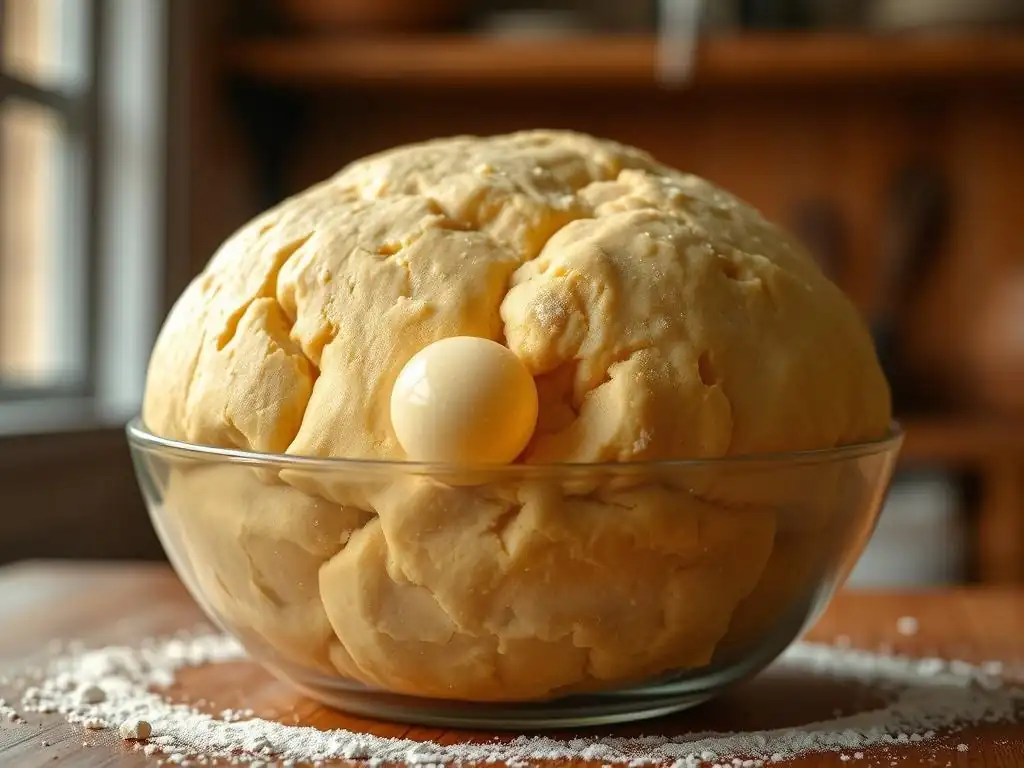
Welcome to BakeWithEase, where we unravel the secrets behind perfect bakes! Ever wondered why your dough magically transforms from a dense lump to a light, airy delight? This week, we're diving deep into the fascinating world of yeast activity and rising dough. Discover the science behind this crucial step and unlock the key to consistent, delicious results. Are you ready to understand the power within those tiny organisms? Let's get started!
- Understanding the Science Behind Rising Bread
- What is Yeast and How Does it Work in Bread?
- Factors Affecting Yeast Activity in Bread
- Troubleshooting Common Bread Rising Problems
- Tips for Maximizing Yeast Activity for Perfect Bread
- Baking With Ease: Recipes for Success
- Conclusion: Mastering Yeast Activity for Baking Success
-
Frequently Asked Questions
- What exactly is yeast activity, and why is it essential for baking?
- How can I test if my yeast is active before adding it to my dough?
- What factors can negatively affect yeast activity and prevent my dough from rising?
- How does temperature impact yeast activity, and what's the ideal temperature range for rising dough?
- What are some signs that my dough has risen sufficiently and is ready to be baked?
- Final Reflection: The Wonder of Rising Dough, A Microcosm of Life
- Unleash Your Inner Baker: Master Yeast & Rise to the Occasion!
Understanding the Science Behind Rising Bread
Baking bread is often described as an art, but at its heart, it's a fascinating science experiment. The magic that transforms a simple mixture of flour and water into a light, airy loaf is primarily due to the activity of a microscopic organism: yeast. Understanding the science behind yeast activity rising dough is fundamental to consistent baking success.
The process isn't just about adding yeast and waiting; it involves a complex interplay of biological and chemical reactions influenced by ingredients, temperature, and time. Getting these factors right ensures vigorous yeast activity, leading to a well-leavened and flavorful loaf. This section delves into the core scientific principles that make your bread dough expand.
The Crucial Role of Yeast in Baking
Yeast, a single-celled fungus, is the traditional powerhouse behind leavened bread. Unlike chemical leaveners that create gas instantly upon mixing or heating, yeast works biologically through a process called fermentation. This living organism consumes sugars present in the dough and, in the absence of sufficient oxygen, produces carbon dioxide gas and alcohol.
The primary role of yeast in baking is to leaven the dough by producing carbon dioxide. This gas gets trapped within the dough's structure, causing it to expand and rise. Beyond providing volume, yeast activity also contributes significantly to the flavor and aroma of the finished bread. The longer and slower the fermentation, the more complex the flavor compounds developed by the yeast.
Yeast Activity and Dough Leavening Explained
Leavening is the process of introducing gas into a dough or batter to make it lighter and more open in texture. In yeast bread, this is achieved through the biological process of fermentation driven by yeast activity. As yeast consumes sugars, it releases carbon dioxide (CO2) gas as a byproduct.
This CO2 gas forms tiny bubbles throughout the dough. The elastic network created by gluten development (when flour proteins are hydrated and kneaded) is crucial because it traps these gas bubbles. As more CO2 is produced, these trapped bubbles expand, causing the entire mass of dough to increase in volume – this is the visible process of rising dough. The rate and efficiency of this gas production are directly linked to the level of yeast activity within the dough.
What is Yeast and How Does it Work in Bread?
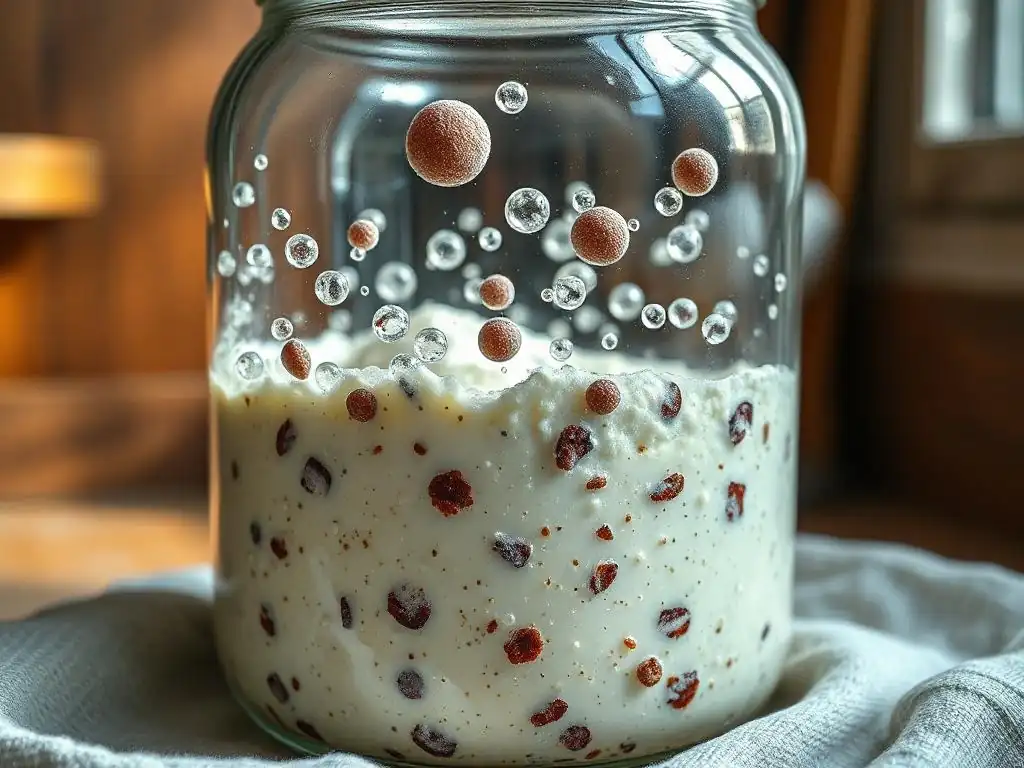
Yeast is a fascinating microorganism, specifically a type of fungus from the Saccharomyces cerevisiae species, which has been used in baking for thousands of years. It exists in various forms for bakers, each with slightly different characteristics and handling requirements. Regardless of the type, their fundamental job in bread making remains the same: to ferment sugars and produce gas.
Understanding the different types of yeast available and the science of how fermentation works provides bakers with the knowledge to choose the right yeast for a recipe and troubleshoot issues. It demystifies the process and helps you appreciate the living nature of your ingredients.
Types of Yeast Used in Baking: A Baker's Guide
Home bakers typically encounter three main types of yeast: active dry, instant, and fresh. While they all perform the same basic function, their preparation, speed of yeast activity, and shelf life differ, making certain types more suitable for specific recipes or baking habits.
Choosing the right yeast and understanding its behavior is the first step in ensuring successful yeast activity rising dough. Each type requires slightly different handling to awaken its full potential and contribute effectively to your bread.
Active Dry Yeast: Characteristics and Usage
Active dry yeast consists of dehydrated yeast cells encased in a thick, protective cell wall. This dormancy gives it a relatively long shelf life when stored properly. However, this protective layer means it requires rehydration, or "blooming," in warm liquid before being mixed with other ingredients.
To use active dry yeast, dissolve it in a small amount of warm water, typically between 105°F and 115°F (40°C to 46°C), often with a pinch of sugar. After 5-10 minutes, the mixture should become foamy and bubbly; this indicates the yeast is alive and active, ready to contribute to rising dough. If it doesn't foam, the yeast is likely dead and should be discarded.
Instant Yeast: Benefits and Application
Instant yeast, also known as rapid-rise or quick-rise yeast, has smaller granules and a more porous structure than active dry yeast. This allows it to hydrate more quickly and easily, eliminating the need for the initial blooming step. It can typically be mixed directly with the dry ingredients.
Instant yeast is engineered for faster yeast activity, often resulting in a quicker rise compared to active dry yeast. This makes it convenient for recipes where speed is a priority. It also has a good shelf life, similar to active dry yeast, especially when stored in an airtight container away from moisture and heat.
Fresh Yeast: Working with Live Cultures
Fresh yeast, also called cake yeast, is sold as a moist, compressed block. It contains live yeast cells and requires refrigeration due to its high moisture content, giving it a very short shelf life, typically only one to two weeks. Professional bakers often prefer fresh yeast for its consistent yeast activity and subtle flavor contributions.
Working with fresh yeast involves crumbling it directly into the liquid ingredients of the dough. Because it's already active and moist, it doesn't require blooming like active dry yeast. However, its perishability means it must be purchased close to when you plan to bake and stored carefully in the refrigerator to maintain its viability and ensure effective rising dough.
The Science of Yeast Fermentation: A Deep Dive
At a molecular level, yeast fermentation is a biochemical process where yeast enzymes convert sugars into different substances. In the context of bread baking, this process is primarily anaerobic, meaning it occurs in the absence of significant oxygen, which is quickly depleted in a dense dough environment.
This fascinating conversion process provides the energy yeast needs to survive and reproduce while simultaneously producing the critical byproducts that transform dough into bread. Understanding these steps reveals the mechanics behind successful yeast activity rising dough.
Breaking Down Sugars: The Fermentation Process
Yeast feeds on simple sugars like glucose and fructose. While these sugars can be added directly to dough (e.g., table sugar, honey, molasses), flour itself also contains complex carbohydrates (starches). Flour contains naturally occurring enzymes, like amylase, which break down some of these starches into simpler sugars that yeast can consume.
Once inside the yeast cell, these simple sugars undergo a series of enzymatic reactions. In the anaerobic environment of dough, the primary metabolic pathway is alcoholic fermentation. This process efficiently extracts energy for the yeast's life functions while producing the key byproducts necessary for leavening and flavor development in rising dough.
Producing Carbon Dioxide: The Key to Rising
The most important byproduct of yeast fermentation for bread is carbon dioxide (CO2) gas. As the yeast metabolizes sugars, CO2 is released. This gas is initially dissolved in the liquid within the dough but quickly saturates it and begins to form tiny bubbles wherever pockets or nuclei exist within the gluten network.
These bubbles expand as more CO2 is produced and as the dough warms during proofing. The elastic nature of the developed gluten traps these expanding gas pockets, causing the dough to inflate. The volume and texture of the final loaf are a direct result of the amount of CO2 produced and the dough's ability to retain it – a clear indicator of successful yeast activity and proper rising dough.
Alcohol Production: A Byproduct of Fermentation
Alongside carbon dioxide, ethanol (alcohol) is the other major byproduct of anaerobic yeast fermentation. While CO2 provides the lift, ethanol contributes significantly to the complex flavors and aromas characteristic of fermented bread. The longer and slower the fermentation, the more nuanced these flavor compounds become.
During the baking process, the high temperatures in the oven cause the ethanol to evaporate almost completely. You won't end up with alcoholic bread. However, the volatile compounds created with the ethanol during fermentation, such as esters and aldehydes, remain in the bread, enhancing its overall taste profile and adding depth beyond simple flour and water, showcasing another facet of yeast activity.
Factors Affecting Yeast Activity in Bread
Yeast is a living organism, and like all living things, its activity is highly sensitive to its environment. Several factors within the dough and its surroundings can either promote or inhibit yeast activity, directly impacting the rate and extent of the rising dough. Controlling these variables is essential for predictable and successful baking outcomes.
Understanding how temperature, sugar, moisture, and salt interact with yeast allows bakers to manipulate fermentation speed for desired results, from a quick weeknight loaf to a slow-fermented artisan bread.
Temperature's Impact on Yeast Fermentation
Temperature is arguably the most critical factor influencing yeast activity. Yeast metabolism, like the activity of many enzymes, is highly dependent on temperature. There is an optimal range where yeast is most productive, and temperatures outside this range can significantly slow down or even kill the yeast.
Controlling the temperature of your ingredients and your proofing environment is paramount for managing the rate of rising dough. Even a few degrees difference can significantly alter the fermentation time required for your bread.
Optimal Temperatures for Yeast Growth and Activity
Yeast is most active and ferments sugars efficiently within a specific temperature range. Generally, the sweet spot for optimal yeast activity in dough is between 75°F and 85°F (24°C to 30°C). Within this range, yeast cells are metabolically vigorous, producing a steady stream of CO2.
Proofing dough in this temperature range typically results in a relatively quick rise, often doubling in size within 1-2 hours, depending on the amount of yeast used and the recipe. Maintaining a consistent temperature within this optimal range ensures reliable and predictable rising dough for many standard bread recipes.
The Effects of Cold Temperatures on Yeast
When exposed to cold temperatures, yeast activity slows down dramatically. Below 50°F (10°C), yeast becomes largely dormant, effectively pausing fermentation. This property is intentionally used in baking through a technique called "retarding," where dough is refrigerated for extended periods (e.g., 12-48 hours).
While cold temperatures slow the rise considerably, this extended, slow fermentation allows for greater development of complex flavors and aromas. The reduced yeast activity means less CO2 is produced in the short term, but the prolonged contact time between yeast, enzymes, and dough components results in a more nuanced final product compared to a rapid, warm rise.
The Effects of High Temperatures on Yeast
Conversely, high temperatures can accelerate yeast activity to an undesirable rate or even kill the yeast. Temperatures above 100°F (38°C) can cause fermentation to become excessively fast, potentially leading to over-proofing before the dough's structure is fully developed.
Crucially, yeast cells are killed at temperatures above approximately 130°F to 140°F (55°C to 60°C). Using water that is too hot to activate yeast, or proofing dough in an environment that becomes too hot (like a hot car or oven left on), will kill the yeast, permanently halting all yeast activity and preventing the dough from rising.
Sugar's Role in Fueling Yeast
Sugar is the essential food source for yeast. Without fermentable sugars, yeast activity would cease, and the dough would not rise. While yeast can eventually access sugars produced from the enzymatic breakdown of flour starches, adding a small amount of sugar initially provides a readily available fuel source to kickstart fermentation.
The presence and type of sugar significantly influence the rate and extent of yeast activity. Ensuring sufficient, but not excessive, sugar is available is key to a healthy and vigorous rising dough.
The Importance of Sugar for Yeast Activation
Adding a small quantity of sugar to the liquid used to activate active dry yeast (the blooming process) or incorporating it into the dough mixture provides the yeast with immediate sustenance. This initial readily available fuel source helps wake up the dormant yeast cells and encourages rapid initiation of fermentation.
While yeast can eventually ferment sugars derived from flour starch, providing direct sugar ensures yeast activity begins promptly and robustly. Think of it as giving the yeast a quick energy drink to get the rising dough process underway efficiently.
Different Types of Sugars and Their Impact
Yeast can directly ferment simple sugars like glucose and fructose. It also possesses enzymes to break down disaccharides like sucrose (common table sugar) into these simpler forms. Maltose, a disaccharide produced during starch breakdown in flour, is also readily fermentable by baker's yeast.
However, more complex sugars or artificial sweeteners cannot be metabolized by yeast. For example, lactose (milk sugar) is a disaccharide that baker's yeast cannot ferment. Therefore, while milk adds richness and tenderness to dough, the lactose it contains does not contribute to yeast activity or leavening. The type and quantity of fermentable sugar directly influence the potential for rising dough.
Moisture Content and Yeast Hydration
Water is fundamental for yeast activity. Yeast cells must be hydrated to become metabolically active. Water serves as the medium through which yeast cells absorb nutrients (sugars) and expel waste products (CO2 and ethanol). The overall hydration level of the dough impacts the mobility of yeast cells and their access to food sources.
Ensuring proper hydration for the yeast itself, and maintaining adequate moisture in the dough, are crucial steps for facilitating robust yeast activity and achieving a successful rise.
The Ideal Moisture Level for Yeast to Thrive
Yeast requires sufficient water to function. In a dry environment or a very stiff dough, the yeast cells can become dehydrated, which severely inhibits their metabolic processes and thus reduces yeast activity. Conversely, in a very wet dough, yeast has abundant water for hydration and nutrient transport.
While the ideal dough hydration varies greatly depending on the type of bread, ensuring there is enough free water available for the yeast is paramount. Doughs that are too dry will ferment slowly, resulting in sluggish rising dough, even if other conditions are optimal.
How to Properly Hydrate Yeast
For active dry yeast, proper hydration is achieved through the blooming process described earlier: dissolving the granules in warm water (105-115°F / 40-46°C) for several minutes until foamy. This step ensures the dormant cells absorb enough water to become fully active before encountering the flour.
Instant yeast, with its smaller size and porous structure, typically hydrates sufficiently from the liquid already present in the dough ingredients. While some recipes still recommend dissolving it, it's usually not strictly necessary, making it more convenient for direct mixing and immediate yeast activity within the rising dough.
Salt's Influence on Yeast Activity
Salt (sodium chloride) is a vital ingredient in bread for flavor enhancement and strengthening the gluten structure. However, salt also has a significant, often inhibitory, effect on yeast activity. Understanding this interaction is key to using salt correctly to achieve optimal fermentation.
Salt's ability to control the rate of fermentation, while potentially slowing the rise, is actually beneficial for developing better flavor and structure in the final loaf. It's a delicate balance to strike for perfect rising dough.
Salt's Role in Controlling Fermentation
Salt slows down yeast activity through osmosis. It draws water out of the yeast cells, disrupting their metabolic processes. While excessive salt can kill yeast, the amount typically used in bread dough simply moderates the rate of fermentation, preventing it from proceeding too quickly and uncontrollably.
This controlled slowing allows the dough to develop flavor compounds over a longer period and gives the gluten network time to strengthen properly. A slow, steady production of CO2 into a strong gluten network results in a more even crumb structure and better overall loaf volume, demonstrating how salt influences the quality of the rising dough by managing yeast activity.
The Correct Amount of Salt for Optimal Results
Using the correct amount of salt is crucial. Too little salt (e.g., below 1.5% of flour weight) results in rapid, often uncontrolled fermentation, leading to a fast but potentially uneven rise and a bland-tasting loaf with a weak crust. The yeast activity is too vigorous, and the rising dough can become over-proofed quickly.
Too much salt (e.g., above 2.5-3% of flour weight) can severely inhibit or even kill the yeast, preventing the dough from rising at all. The osmotic pressure becomes too high for the yeast to survive. A typical salt percentage in bread recipes falls between 1.8% and 2.2% of the flour weight, offering the ideal balance for flavor, structure, and controlled yeast activity.
Troubleshooting Common Bread Rising Problems
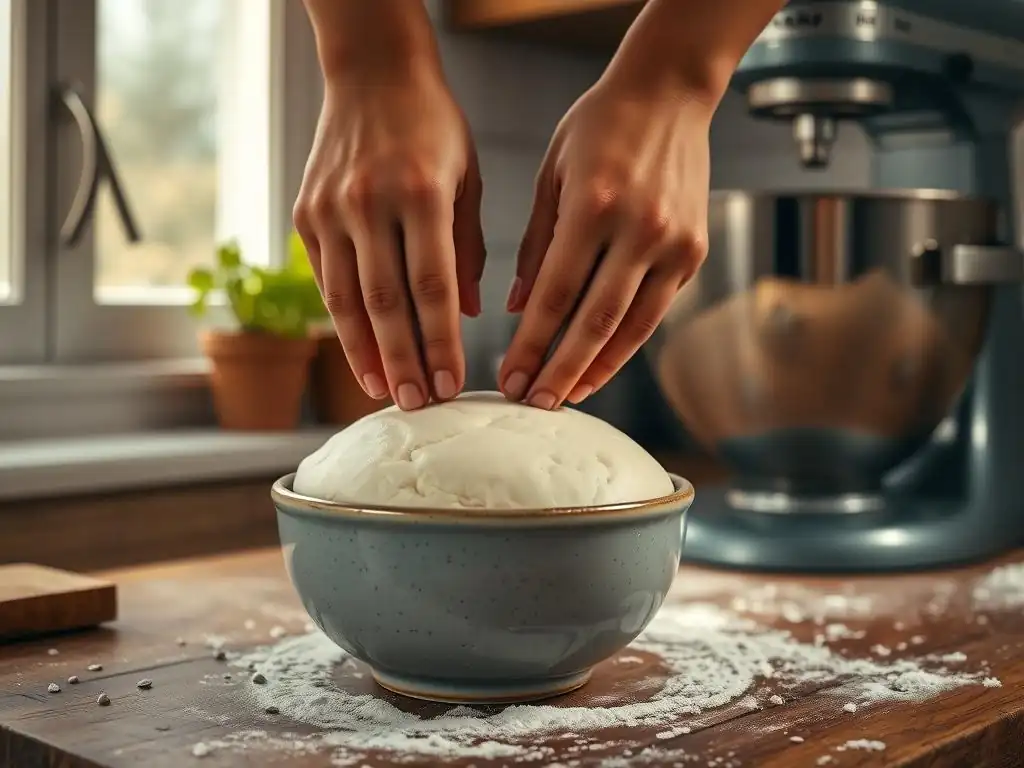
Even experienced bakers occasionally encounter issues with their dough not rising or rising too quickly. These problems are almost always related to the factors affecting yeast activity. By understanding the potential causes, you can diagnose the issue and take steps to fix it or prevent it in the future.
Identifying the root cause of poor or excessive rising dough involves checking the variables we've discussed: the yeast itself, water temperature, sugar, salt, and the proofing environment.
Bread Not Rising: Potential Causes and Solutions
A dough that fails to rise is one of the most frustrating baking mishaps. The primary culprit is usually inactive or dead yeast, but other factors can also severely inhibit yeast activity. Don't despair – often, the cause is simple and fixable in future bakes.
Systematically checking the common reasons for inhibited yeast activity can help you pinpoint why your dough isn't achieving the desired rising dough.
Inactive or Expired Yeast: Testing and Replacement
The most common reason dough doesn't rise is that the yeast is no longer alive or active. Yeast is a living organism and has a shelf life. If your yeast is old, stored improperly, or past its expiration date, its viability may be compromised.
To test active dry yeast, perform the blooming test in warm water with sugar. If it doesn't become foamy within 10 minutes, the yeast is dead. For instant yeast, while you can mix it directly, if your dough consistently fails to rise, the instant yeast could be the issue. Always check expiration dates and consider buying fresh yeast if yours is old. Replacing inactive yeast is the simplest solution for ensuring proper yeast activity.
Incorrect Water Temperature: Achieving the Right Balance
Using water that is too hot or too cold is a frequent cause of poor rising dough. As discussed, water above 140°F (60°C) will kill yeast instantly, while water below 70°F (21°C) will result in very sluggish or no activation.
Always use a thermometer to verify the water temperature when activating yeast or mixing your dough, especially if you're using active dry yeast. Aim for the recommended temperature range (typically 105-115°F / 40-46°C for blooming active dry yeast or often lukewarm for mixing directly into dough depending on the recipe) to ensure optimal yeast activity.
Insufficient Sugar: Adding the Necessary Fuel
Yeast needs sugar to ferment and produce CO2. While flour provides some sugars, many recipes rely on a small amount of added sugar to ensure vigorous yeast activity. If your recipe is very lean (no added sugar) or if the flour's enzymes aren't effectively breaking down starch, the yeast may be starved.
Ensure your recipe includes at least a small amount of sugar. If you suspect lack of sugar is inhibiting your rising dough, you can try gently kneading a tablespoon of sugar dissolved in a teaspoon of water into the dough. This can sometimes give the yeast the fuel it needs to become active.
Too Much Salt: Adjusting the Recipe
Excessive salt is another common inhibitor of yeast activity. If you accidentally double the amount of salt or use a quantity significantly higher than the recommended 1.8-2.2% of flour weight, the salt can draw too much water out of the yeast cells, severely slowing or stopping fermentation.
Always measure salt accurately. If you've added too much salt, it's often difficult to correct without affecting the dough consistency. In cases of significant salt excess, it may be best to discard the dough and start over with correct measurements to ensure proper yeast activity and a successful rising dough.
Bread Rising Too Quickly: Preventing Over-Proofing
Sometimes the opposite problem occurs – the dough rises too fast. While a rapid rise might seem efficient, it can lead to issues like a weak gluten structure, poor flavor development, and ultimately, a loaf that collapses during baking or has a dense crumb. This is usually a result of yeast activity being too vigorous.
Understanding the causes of overly rapid rising dough helps you control the fermentation speed for better results.
Warm Temperatures: Monitoring and Adjusting
The most frequent cause of dough rising too quickly is a proofing environment that is too warm. Temperatures significantly above the optimal 85°F (30°C) accelerate yeast activity dramatically, leading to rapid CO2 production.
While a warm environment is good, excessive heat can cause the dough to double in size very quickly, potentially before the gluten structure is strong enough to support the expansion. Monitor your dough closely in warm conditions. If it's rising too fast, move it to a cooler spot (e.g., a room-temperature counter around 70-75°F / 21-24°C) to slow down the rising dough.
Excessive Yeast: Using the Correct Amount
Using too much yeast for the quantity of flour is another reason dough might rise too quickly. More yeast cells mean more fermentation happening simultaneously, leading to a faster rate of CO2 production and thus quicker rising dough.
Always measure your yeast accurately according to the recipe. Using the recommended amount ensures that yeast activity occurs at a controlled pace, allowing for adequate flavor development and gluten strengthening alongside the rise. Doubling the yeast might halve the rising time, but it can compromise the final bread quality.
Understanding the Importance of Gluten Development on Yeast Activity
While yeast activity produces the gas that makes dough rise, the ability of the dough to hold that gas depends on the gluten network. Gluten is formed when proteins in wheat flour (glutenin and gliadin) are hydrated and kneaded or allowed to develop over time. This network provides the elasticity and structure needed to trap the CO2 bubbles.
If the gluten is not sufficiently developed, the dough will be weak and unable to hold the gas produced by the yeast. Even with vigorous yeast activity, the CO2 will escape, resulting in a dense, flat loaf. Therefore, proper kneading or a long fermentation period to develop gluten is just as crucial as active yeast for achieving successful rising dough.
Tips for Maximizing Yeast Activity for Perfect Bread
Achieving consistently well-risen bread involves creating the optimal environment for your yeast to thrive and ferment effectively. By controlling the factors that influence yeast activity, you can guide the rising dough process for the best possible outcome: a light, airy, and flavorful loaf.
Implementing good proofing techniques and proper yeast storage are key steps in maximizing yeast activity and ensuring your baking efforts are rewarded.
Proofing Techniques for Optimal Bread Rise
Proofing is the final rise of the dough before baking. It's during this stage that the dough achieves most of its volume. Providing the right conditions during proofing is crucial for the yeast to continue its work effectively and for the dough to develop its final structure.
Creating a warm, draft-free environment is the goal of good proofing techniques. This consistency allows for even yeast activity throughout the dough mass, leading to a uniform and substantial rising dough.
The Importance of a Warm, Draft-Free Environment
Yeast performs best in a warm environment, typically 75-85°F (24-30°C), during proofing. This temperature range ensures steady yeast activity and predictable CO2 production. Consistency is key; fluctuations in temperature can lead to uneven rising.
Equally important is protecting the dough from drafts. Drafts can cause the surface of the dough to dry out and form a skin. This skin inhibits expansion and can result in a lopsided rise or a dense layer just beneath the crust. Covering the dough helps maintain moisture and allows the rising dough to expand freely.
Using a Proofing Box or Warm Oven
Home bakers can easily create an ideal proofing environment. A simple method is to use your oven (turned off). If your kitchen is cool, you can preheat the oven to its lowest setting (around 100°F / 38°C) for a few minutes, then turn it off completely before placing the covered dough inside.
For added humidity, place a pan of hot water on the rack below the dough. This creates a warm, moist, and stable microclimate perfect for encouraging optimal yeast activity and achieving a beautiful, even rising dough. Dedicated proofing boxes are also available and offer precise temperature and humidity control.
Signs of Properly Proofed Bread: What to Look For
Knowing when your dough has proofed correctly is a critical skill. Over-proofing can lead to collapse, while under-proofing results in a dense loaf. The appearance and feel of the dough are your best indicators of sufficient yeast activity during proofing.
Properly proofed dough will have significantly increased in volume, often doubled or nearly tripled, and will look visibly lighter and puffier. It should feel soft and airy to the touch, indicating that the CO2 bubbles have successfully expanded the dough, a clear sign of effective rising dough driven by robust yeast activity.
Storing Yeast Properly to Maintain Potency
Yeast is a living organism, and its viability diminishes over time, especially if not stored correctly. Proper storage ensures that when you're ready to bake, your yeast is potent and ready to perform its job of leavening your dough.
Both active dry and instant yeast should be stored in an airtight container away from heat, light, and moisture. For maximum longevity, particularly after opening, storing your yeast in the refrigerator or freezer is highly recommended. Cold temperatures keep the yeast dormant, preserving its life force and ensuring reliable yeast activity for months, guaranteeing your future rising dough success.
Baking With Ease: Recipes for Success
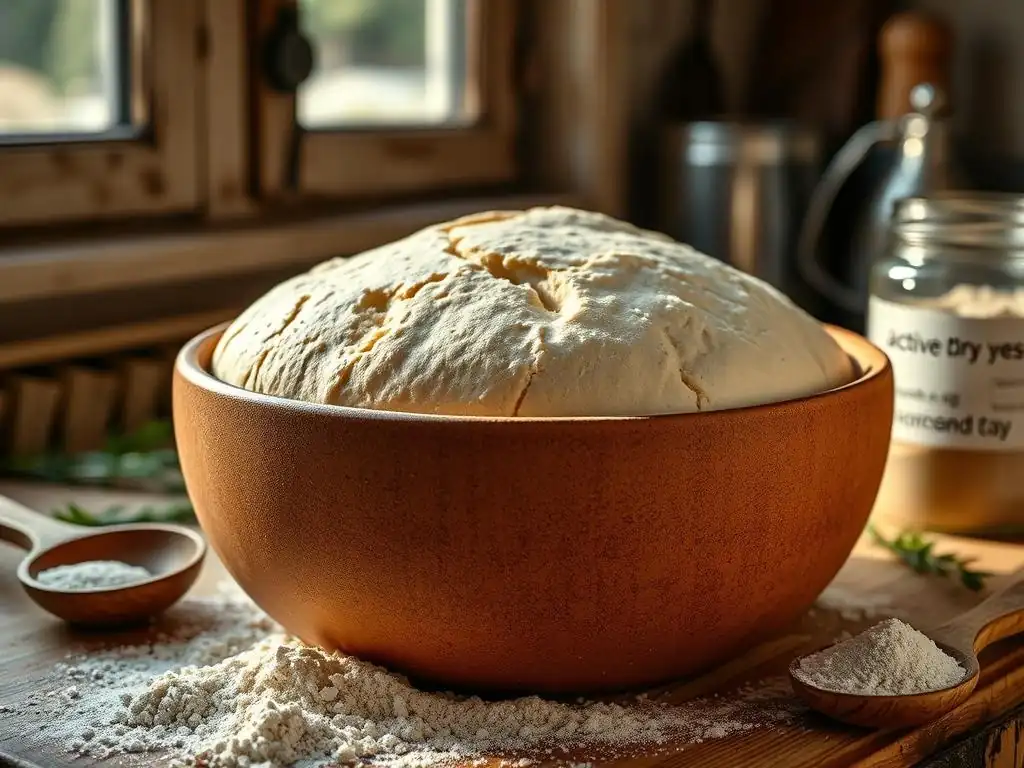
Applying your understanding of yeast activity rising dough is best done through practice. Starting with simple, reliable recipes allows you to observe the principles in action and build confidence in managing fermentation.
These foundational recipes clearly demonstrate how proper ingredient ratios, temperature control, and proofing techniques translate into successful yeast activity and delicious results.
Simple White Bread: Utilizing Yeast Activity for Delicious Bread
A basic white bread recipe is an excellent vehicle for observing and understanding yeast activity. By combining flour, water, yeast, and salt, you create the perfect environment for fermentation. Following the steps, you'll see the dough transform from a dense mass into a light, airy cushion during the initial rise and final proof.
Watching the dough double in volume is a direct visual representation of the CO2 gas produced by the yeast being trapped by the gluten network. This tangible demonstration of yeast activity rising dough makes the science feel real and achievable, laying a solid foundation for more complex baking projects.
Mastering Pizza Dough with Proper Yeast Fermentation
Mastering pizza dough offers another perspective on controlling yeast activity. While the goal isn't massive volume, yeast fermentation is crucial for developing the crust's flavor and texture. Many authentic pizza dough recipes utilize a longer, slower fermentation, often involving refrigeration for 24 to 72 hours.
This extended cold fermentation allows yeast activity to proceed slowly, developing complex flavor compounds that quick-rise doughs lack. The slow production of gas also helps create a desirable internal structure in the crust. Experimenting with different fermentation times for pizza dough highlights how manipulating yeast activity impacts the final taste and texture, showcasing the versatility of controlled rising dough.
Conclusion: Mastering Yeast Activity for Baking Success
Understanding yeast activity rising dough is the key to unlocking consistent and delicious bread. It's not just about following a recipe; it's about understanding the living organism at work and providing the optimal conditions for it to perform.
By controlling temperature, providing adequate fuel (sugar), ensuring proper hydration, managing salt levels, and creating the right proofing environment, you can confidently guide the fermentation process. Troubleshooting common issues becomes easier when you know why your dough behaves the way it does. Embrace the science, practice your techniques, and enjoy the rewarding process of transforming simple ingredients into beautiful, perfectly risen bread, all thanks to the incredible power of yeast.
Frequently Asked Questions
What exactly is yeast activity, and why is it essential for baking?
Yeast activity refers to the biological process where yeast consumes sugars and produces carbon dioxide gas. This gas is what makes dough rise, giving baked goods their light and airy texture.
How can I test if my yeast is active before adding it to my dough?
You can perform a simple test by mixing yeast with warm water and sugar. If the mixture foams or bubbles within 5-10 minutes, it indicates the yeast is active and viable.
What factors can negatively affect yeast activity and prevent my dough from rising?
Several factors can inhibit yeast, including expired yeast, water that's too hot or cold, and excessive salt in the dough mixture. Make sure to check expiration dates.
How does temperature impact yeast activity, and what's the ideal temperature range for rising dough?
Yeast thrives in a warm environment. The ideal temperature range for rising dough is generally between 75-85°F (24-29°C). Colder temperatures slow down the process.
What are some signs that my dough has risen sufficiently and is ready to be baked?
A well-risen dough will have doubled in size, feel light and airy, and leave a slight indentation when gently pressed. This indicates sufficient gluten development.
Final Reflection: The Wonder of Rising Dough, A Microcosm of Life
The seemingly simple act of bread rising is, in reality, a complex and fascinating biological process that mirrors larger principles of growth and transformation. Understanding yeast activity isn't just about baking a perfect loaf; it's about appreciating the intricate workings of nature and the power of microscopic life. This knowledge, once confined to the kitchens of experienced bakers, is now readily accessible, empowering a new generation to understand and appreciate the magic within their own kitchens.
The impact of yeast, both literally and metaphorically, is profound. It's a testament to the power of small beginnings and the potential for exponential growth. We see this reflected not only in the expanding dough but also in countless other areas of life, from the spread of ideas to the growth of communities. The greatest discovery of all time is that a person can change his future by merely changing his attitude.
– Oprah Winfrey. This quote resonates deeply with the transformative power of understanding yeast activity; by understanding the process, we can better control the outcome, mirroring our ability to shape our own futures through understanding and action.
Consider the implications of this knowledge. You now possess a deeper understanding of a fundamental process, one that connects you to centuries of baking tradition and the wonders of the natural world. Take this newfound knowledge and apply it not just to your baking, but to your life. Embrace the potential for growth, nurture the small beginnings, and watch with wonder as your own endeavors rise to meet their full potential. The next time you see a loaf of bread rising, remember the magic within, and the power of understanding the seemingly simple.
Unleash Your Inner Baker: Master Yeast & Rise to the Occasion!
Thanks for diving into the world of yeast with us! We hope you now feel more confident understanding the magic behind a perfect rise. Ready to put your newfound knowledge into practice?
- Bake a masterpiece: Try out one of your favorite yeast-based recipes today and pay close attention to the fermentation process. Notice the difference!
- Share your baking journey: Post a picture of your creation on social media and tag us – we love seeing your results! Use #BakeWithEaseYeast.
- Challenge yourself: Try a new, complex yeast recipe, like sourdough, and let us know how it goes!
What unexpected discovery will you make on your next baking adventure?