
Troubleshooting Slow Dough Rise: Fixing Fermentation Issues

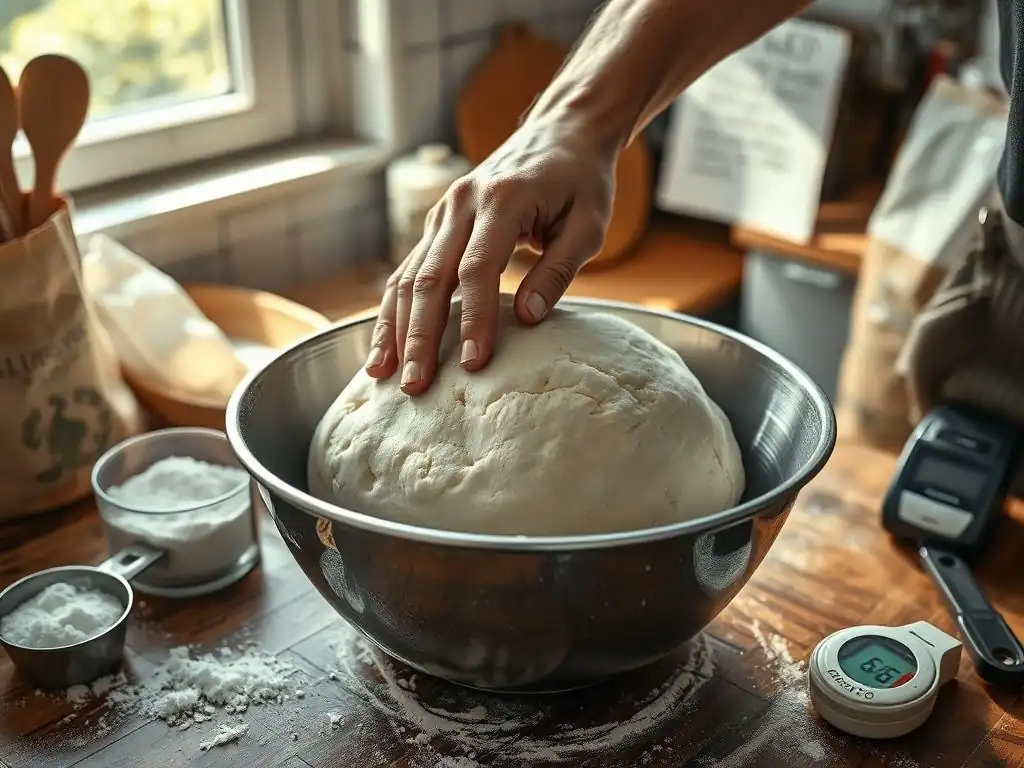
Welcome to BakeWithEase, where we unravel the mysteries of baking! Ever stared at a slow dough stubbornly refusing to rise and wondered what went wrong? You're not alone! In this Baking Science Deep Dive, we'll explore the secrets to achieving perfect fermentation, diagnosing common issues, and rescuing your dough. Get ready to unlock the keys to a successful bake – let's get started and banish those baking frustrations forever!
- Troubleshooting Slow Dough Rise: Fixing Fermentation Issues for Perfect Baking
- Understanding Why Your Dough Isn't Rising: A BakeWithEase.com Guide
-
Identifying the Common Culprits Behind Slow Dough Rise
- Inactive or Expired Yeast: The Number One Suspect
- Incorrect Dough Temperature: How Temperature Impacts Yeast Activity
- Cold Kitchen Environment: Creating the Ideal Fermentation Climate
- Improper Hydration Levels: The Role of Water in Dough Fermentation
- Insufficient Kneading: Developing Gluten for Proper Dough Structure
- Problems with Flour: Flour Type and Gluten Development
- Diagnosing Your Slow-Rising Dough: A Step-by-Step Approach
-
Solutions for Fixing Slow Dough Fermentation
- Revitalizing Inactive Yeast: Tips and Tricks
- Adjusting Dough Temperature: Warming Up Your Dough Safely
- Creating a Warm Proofing Environment: DIY Proofing Solutions
- Optimizing Hydration: Adding or Reducing Water in the Dough
- Refining Your Kneading Technique: Mastering Gluten Development
- Choosing the Right Flour: Selecting the Best Flour for Your Baking Needs
-
Preventing Slow Dough Rise: Proactive Fermentation Strategies
- Best Practices for Yeast Storage: Extending Yeast Shelf Life
- Maintaining Optimal Dough Temperature During Fermentation
- Creating a Consistent Proofing Environment: Avoiding Temperature Fluctuations
- Accurate Measurement of Ingredients: Ensuring Proper Hydration
- Mastering the Art of Kneading: Developing Strong Gluten
- Advanced Troubleshooting: When Your Dough Still Won't Rise
- Achieving the Perfect Rise: Your Path to Baking Success with BakeWithEase.
- Frequently Asked Questions
- Final Reflection: The Patience and Power of a Slow Rise
- Unleash Your Inner Baker: Perfecting Your Slow Dough Rise
Troubleshooting Slow Dough Rise: Fixing Fermentation Issues for Perfect Baking
Understanding Why Your Dough Isn't Rising: A BakeWithEase.com Guide
There are few things more frustrating in baking than expecting a beautifully risen dough and finding a sad, flat mass hours later. When your slow dough won't rise, it's usually a sign that the microscopic powerhouses responsible – yeast – aren't happy or active. Yeast fermentation is a delicate biological process influenced by several factors, and understanding these can help you diagnose and fix the problem.
This guide from BakeWithEase.com will walk you through the common reasons why your slow dough won't rise and provide practical, step-by-step solutions. We'll explore everything from the health of your yeast to the temperature of your kitchen, empowering you to achieve that perfect rise every time. Don't despair if your dough is taking its time; with a little knowledge and patience, you can get it back on track.
Identifying the Common Culprits Behind Slow Dough Rise
Inactive or Expired Yeast: The Number One Suspect
Yeast is a living organism, and like all living things, it has a shelf life and requires specific conditions to thrive. If your yeast is old, improperly stored, or has been killed by too-hot liquid, it simply won't produce the carbon dioxide gas needed to make your dough rise. This is the most frequent reason why slow dough won't rise as expected.
Checking the expiration date on your yeast packet or jar is a crucial first step. Even if it's not expired, poor storage (like exposure to air, moisture, or heat) can significantly reduce its viability. Active dry yeast, for instance, is typically sold in airtight packets or jars and should be stored in a cool, dry place, ideally the refrigerator or freezer, after opening to maintain its potency. Instant yeast is slightly more forgiving but also benefits from cool storage.
Incorrect Dough Temperature: How Temperature Impacts Yeast Activity
Yeast activity is highly sensitive to temperature. There's a sweet spot where yeast ferments efficiently, typically between 75°F and 85°F (24°C to 29°C). If your dough is too cold, the yeast becomes sluggish and fermentation slows down dramatically, resulting in a slow dough won't rise scenario. Think of it like trying to run a marathon in freezing temperatures – it's possible, but much harder and slower.
Conversely, if your dough gets too hot, you risk killing the yeast entirely. Temperatures above 130°F (54°C) are generally lethal to yeast. This can happen if you use water that is too hot to activate the yeast initially or if you try to rush proofing in an oven that's too warm. Finding and maintaining the correct dough temperature is vital for successful fermentation.
Cold Kitchen Environment: Creating the Ideal Fermentation Climate
Even if your dough starts at the right temperature, a cold ambient environment can quickly cool it down, inhibiting yeast activity. Yeast works best in a warm, consistent temperature. A drafty kitchen or a cold countertop can significantly slow down the fermentation process, causing your slow dough won't rise issues.
Ideally, your kitchen temperature should be comfortable, but specific proofing environments often provide the most reliable results. A room temperature of around 70-75°F (21-24°C) is generally acceptable, but creating a slightly warmer, draft-free spot can accelerate and improve the rise. We'll discuss some easy ways to create such an environment later.
Improper Hydration Levels: The Role of Water in Dough Fermentation
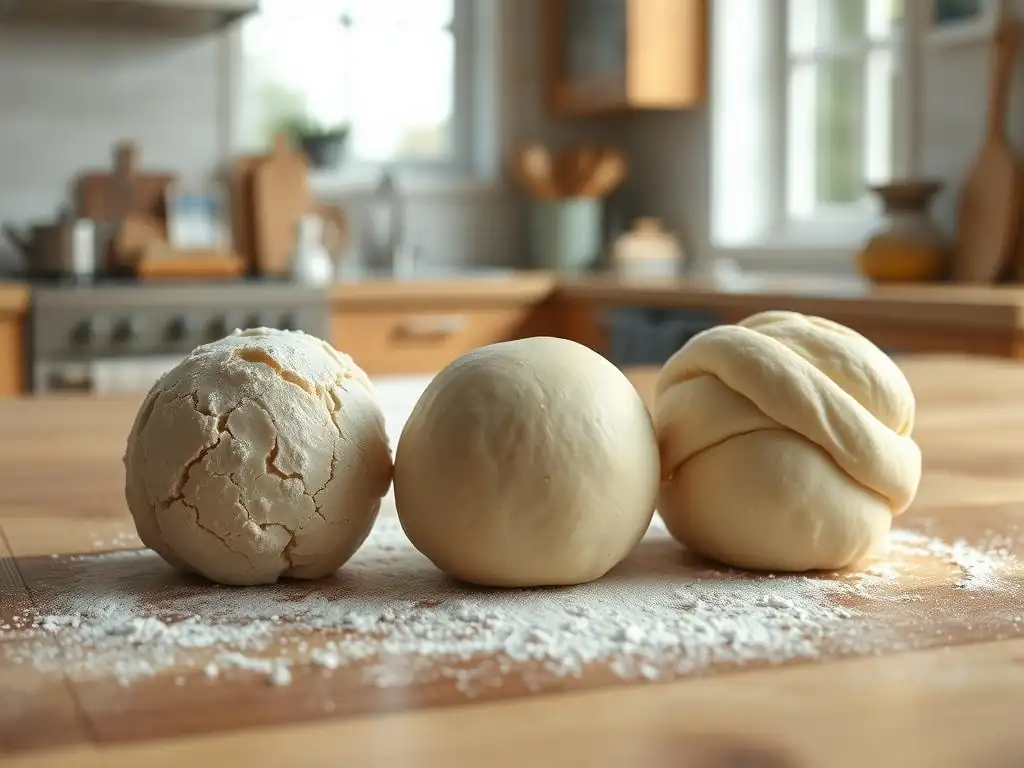
Hydration, the ratio of water to flour, plays a significant role in dough consistency and fermentation. Water is essential for yeast to dissolve and become active, and it allows enzymes to break down starches into sugars that the yeast can consume. Dough that is too dry can impede yeast mobility and slow down fermentation.
On the other hand, overly wet dough can be difficult to handle and may not develop sufficient gluten structure to hold the gas produced by the yeast, potentially leading to a dough that spreads rather than rises upwards. Achieving the correct hydration level for your specific recipe and flour type is key to supporting healthy yeast activity and developing a dough that will rise properly.
Insufficient Kneading: Developing Gluten for Proper Dough Structure
Kneading develops the gluten network in the dough. Gluten, formed from proteins in the flour when hydrated and worked, creates an elastic structure that traps the carbon dioxide gas produced by the yeast. This trapped gas is what causes the dough to rise and expand. If the dough is not kneaded enough, the gluten network will be weak and unable to hold the gas, resulting in a dense loaf and a slow dough won't rise problem.
Proper kneading ensures that the dough has the strength and elasticity needed to expand without collapsing. The dough should feel smooth, elastic, and pass the "windowpane test" (which we'll explain later) when adequately kneaded. Both hand kneading and stand mixer kneading aim to achieve this crucial structural development.
Problems with Flour: Flour Type and Gluten Development
Not all flours are created equal when it comes to baking with yeast. Different types of flour have varying protein content, which directly impacts gluten development. Bread flour, for example, has a higher protein content (typically 12-14%) compared to all-purpose flour (10-12%) or cake flour (7-9%). This higher protein means bread flour can develop a stronger gluten network, better suited for capturing gas and achieving a substantial rise.
Using a flour with too low a protein content for a recipe designed for high-protein flour can hinder gluten development, leading to a dough that struggles to rise. Additionally, whole wheat flour and other non-wheat flours (like rye or spelt) contain components that can interfere with gluten formation or contain enzymes that break down the gluten structure, often requiring adjustments to hydration and kneading time, and sometimes resulting in a slower or less dramatic rise compared to white bread flour.
Diagnosing Your Slow-Rising Dough: A Step-by-Step Approach
When your slow dough won't rise, don't panic. You can systematically troubleshoot the issue by examining the most common factors. This step-by-step approach will help you pinpoint the problem and take corrective action.
Start by considering the most likely culprits first – usually related to the yeast itself or the temperature. Then, move on to evaluating the dough's physical characteristics like hydration and gluten development. Taking these steps will guide you toward understanding why your slow dough won't rise and how to fix it.
Step 1: Check Your Yeast's Viability
The first and most critical step when your slow dough won't rise is to confirm that your yeast is alive and active. You can't bake successfully with dead yeast. Even if the expiration date looks okay, if the yeast hasn't been stored properly, its activity may be compromised.
This check is quick and easy and can immediately tell you if the yeast is the source of your problem. If the yeast doesn't activate, you know you need to start with fresh yeast before attempting the recipe again.
The Simple Yeast Proofing Test: Determining Yeast Activity
To test active dry yeast, add 1 teaspoon of sugar to 1/2 cup of warm water (about 105-115°F or 40-46°C). Sprinkle 2 1/4 teaspoons (one standard packet) of active dry yeast over the top. Do not stir initially; let the yeast rehydrate for 5-10 minutes. After this time, stir gently. Within 5-10 more minutes, the mixture should become foamy and bubbly, significantly increasing in volume. This foam is proof that the yeast is alive and actively feeding on the sugar.
For instant yeast, this test isn't strictly necessary as it's designed to be added directly to dry ingredients, but you can perform a similar test with slightly cooler water (around 100°F or 38°C) just to see if it becomes bubbly. If your active dry yeast mixture doesn't get foamy after 15 minutes, or your instant yeast shows no activity, your yeast is dead or inactive, and this is why your slow dough won't rise.
Step 2: Verify Dough Temperature and Room Temperature
Once you've confirmed your yeast is active, the next most likely issue when your slow dough won't rise is temperature. Both the initial temperature of your liquids and the ambient temperature of your proofing environment matter immensely.
Cold temperatures are the most common cause of slow fermentation. Yeast activity slows dramatically below 70°F (21°C), and fermentation can virtually stop below 50°F (10°C). Ensure your dough isn't sitting in a cold spot or that your initial liquid wasn't too cold.
Using a Thermometer for Accurate Dough Temperature Readings
While you can estimate, using an instant-read thermometer is the most reliable way to check your dough's temperature. Gently insert the probe into the center of the dough mass. Aim for a dough temperature between 75°F and 85°F (24°C to 29°C) for optimal fermentation speed.
If your dough is significantly colder than this range, it will rise very slowly or not at all. If it's much warmer, you risk over-proofing quickly or even killing the yeast if it gets too hot. Knowing the actual temperature helps you decide if you need to warm it up or move it to a cooler spot.
Optimizing Your Kitchen Environment for Fermentation
Assess the ambient temperature where your dough is proofing. Is it near a drafty window? Is your kitchen particularly cold? An ideal proofing environment is warm and free from drafts. A temperature between 75-85°F (24-29°C) is perfect.
If your kitchen is cooler, consider finding a warmer spot. This could be on top of your refrigerator (which often gives off heat), inside a microwave (turned off, of course), or in a slightly warmed oven (turned off, perhaps after being used for something else, or just warmed briefly to 80-90°F and then turned off). Creating a consistent, warm environment is key when slow dough won't rise due to cold.
Step 3: Evaluate Hydration and Flour Type
If yeast viability and temperature seem fine, look at your dough's composition. The amount of water relative to flour (hydration) and the type of flour used significantly impact the dough's ability to ferment and rise properly.
Dough that is too stiff may indicate low hydration, which can impede yeast function and gluten development. Dough that is excessively wet might lack the structure to hold gas. The flour type determines the dough's protein content and its capacity for gluten formation.
Adjusting Hydration Levels for Different Flour Types
Different flours absorb water differently. Whole wheat flour absorbs more water than white all-purpose flour due to the bran and germ content. Rye flour contains pentosans, which absorb large amounts of water and create a sticky dough with limited gluten development. A recipe calling for 65% hydration with bread flour might need 70-75% hydration with whole wheat flour to achieve a similar consistency.
If your dough feels very dry and stiff, you may need to add a little more water during kneading, a teaspoon at a time, until it reaches the desired consistency described in the recipe (often slightly sticky but manageable). If it's too wet and slack, you might carefully work in a tablespoon or two of flour during the final stages of kneading.
Choosing the Right Flour for Your Recipe
Ensure you are using the type of flour specified in the recipe. If a recipe calls for bread flour and you use cake flour, the lower protein content will result in a weaker gluten network and a poor rise. If you substitute flours, be aware that adjustments to hydration, kneading time, and potentially even yeast quantity might be necessary.
For typical yeasted bread recipes, using bread flour or good quality all-purpose flour (with at least 11% protein) will provide the necessary gluten structure for a good rise. If you're working with alternative flours, research their properties and how they behave in yeasted doughs. This understanding is crucial when your slow dough won't rise and you suspect the flour is the issue.
Step 4: Assess Kneading Technique and Gluten Development
Even with active yeast, proper temperature, and correct ingredients, insufficient kneading is a major reason why slow dough won't rise well. Kneading develops the gluten, creating the elastic network that captures the gas produced by the yeast.
A poorly kneaded dough will feel dense, tear easily, and lack elasticity. It won't stretch thin without breaking. This indicates a weak gluten structure, which means the dough won't be able to expand significantly during fermentation or baking.
Windowpane Test: Gauging Gluten Strength
The windowpane test is a common method to check if your dough is sufficiently kneaded. Take a small piece of dough (about the size of a golf ball) and gently stretch it between your fingers. If you can stretch it thin enough to see light through it (like a windowpane) without it tearing, the gluten is well-developed.
If the dough tears quickly when you try to stretch it, it needs more kneading. This test is a reliable indicator of whether your dough has the structural integrity required for a good rise.
Adjusting Kneading Time Based on Dough Consistency
Kneading time is not a fixed rule; it depends on your flour, hydration, and method (hand vs. mixer). A general guideline for dough in a stand mixer is 8-10 minutes after the ingredients are combined, but this can vary. By hand, it might take 15-20 minutes or even longer.
Instead of relying solely on time, focus on the dough's feel and the windowpane test. If the dough is still sticky and tearing after the recommended time, continue kneading until it becomes smooth, elastic, and passes the windowpane test. This ensures the gluten is strong enough to prevent your slow dough won't rise problem related to structure.
Solutions for Fixing Slow Dough Fermentation
Once you've diagnosed why your slow dough won't rise, you can implement solutions. Often, a simple adjustment is all that's needed to get your dough back on track and fermenting properly.
These solutions address the common issues identified in the previous section. By applying the correct fix based on your diagnosis, you can rescue your dough and proceed with your baking project successfully.
Revitalizing Inactive Yeast: Tips and Tricks
If your yeast proofing test failed, the yeast is the problem. Unfortunately, you cannot "revitalize" truly dead yeast. The solution here is straightforward: discard the old yeast and start the recipe over with fresh, active yeast.
To prevent this in the future, ensure you store yeast properly (cool, dry, airtight, refrigerated after opening) and always check the expiration date before use. Consider buying yeast from a store with good turnover to ensure freshness.
Adjusting Dough Temperature: Warming Up Your Dough Safely
If your dough is too cold, you need to gently warm it up. Avoid sudden, intense heat, which can kill the yeast. Place the dough in a warmer spot, such as on top of the refrigerator, in a turned-off oven with the light on (the light bulb provides gentle warmth), or in a proofing box if you have one.
For a faster fix, you can place the dough bowl in a larger bowl of warm water (not hot!). Ensure the water level is below the rim of the dough bowl. Cover the dough and let it sit for 15-30 minutes, checking the temperature with a thermometer periodically until it reaches the desired 75-85°F (24-29°C) range.
Creating a Warm Proofing Environment: DIY Proofing Solutions
If your kitchen is consistently cool, create a dedicated warm proofing spot. One simple method is the "oven with light on" trick mentioned above. Another is to heat a cup of water in the microwave until steaming, then place the dough bowl inside the microwave with the hot water (do not turn the microwave on). Close the door to trap the warmth and humidity.
You can also use a cooler or insulated box with a warm water bottle placed beside the dough bowl. The goal is a consistent, warm, draft-free environment, ideally between 75-85°F (24-29°C), to encourage yeast activity when your slow dough won't rise in standard conditions.
Optimizing Hydration: Adding or Reducing Water in the Dough
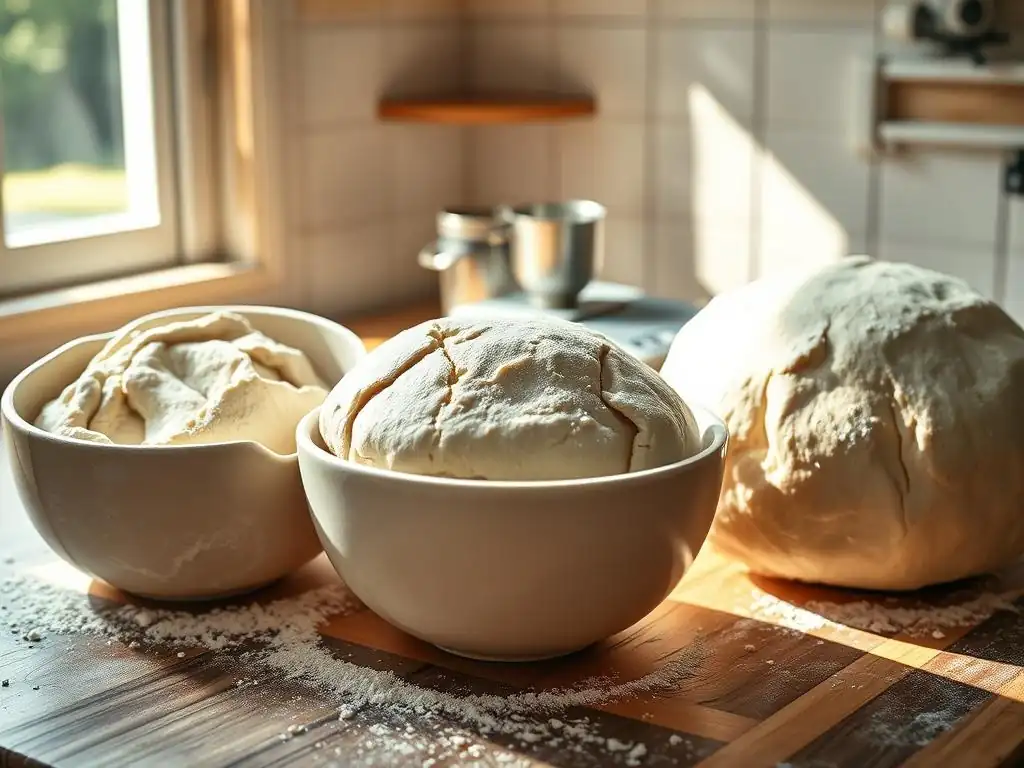
If your dough is too dry and stiff, sprinkle a teaspoon of water over the dough and knead it in. Repeat this process, adding only a little water at a time, until the dough reaches the correct consistency – pliable, slightly sticky, but not shaggy or dry.
If your dough is too wet and slack, knead in a tablespoon of flour at a time. Be cautious not to add too much flour, as this can make the dough stiff. Knead until the dough is manageable and can hold its shape reasonably well. Adjusting hydration improves the environment for yeast and gluten development, helping when slow dough won't rise due to texture issues.
Refining Your Kneading Technique: Mastering Gluten Development
If insufficient kneading was the issue when your slow dough won't rise, you need to continue kneading. If kneading by hand, keep going until the dough is smooth, elastic, and passes the windowpane test. This might take longer than initially expected.
If using a stand mixer, increase the speed slightly (e.g., to medium) and continue mixing until the dough pulls away from the sides of the bowl and forms a smooth ball. Check the windowpane test. Proper gluten development is fundamental to achieving a good rise.
Choosing the Right Flour: Selecting the Best Flour for Your Baking Needs
Ensure you're using the appropriate flour type for your recipe. If a recipe specifically calls for bread flour, using all-purpose flour might result in a weaker rise. If you must substitute, be aware of the protein content difference and how it affects gluten development.
For recipes where a strong rise is paramount (like artisanal breads), using bread flour with its higher protein content (12-14%) is recommended. If you're using whole wheat or other alternative flours, research their properties and look for recipes specifically formulated for those flours, or be prepared to make adjustments to hydration and kneading.
Preventing Slow Dough Rise: Proactive Fermentation Strategies
Prevention is often easier than troubleshooting. By adopting best practices, you can minimize the chances of facing a slow dough won't rise situation in the first place. Consistency and attention to detail are key.
Implementing these strategies ensures that your yeast is healthy, the environment is optimal, and your dough has the structure it needs to ferment and rise successfully every time you bake.
Best Practices for Yeast Storage: Extending Yeast Shelf Life
Proper storage is crucial for maintaining yeast viability. Store active dry and instant yeast in an airtight container in the refrigerator or freezer after opening. Before opening, store in a cool, dry place. Yeast is sensitive to moisture, heat, and air.
Freezing yeast can extend its shelf life considerably, often for a year or more past the printed date. When using yeast from the freezer, let it come to room temperature for about 15-30 minutes before using it in your recipe. Following these steps greatly reduces the risk of your slow dough won't rise because of inactive yeast.
Maintaining Optimal Dough Temperature During Fermentation
Start with liquids at the correct temperature for activating your yeast (105-115°F for active dry, 100°F for instant, or as specified by the yeast producer or recipe). Once the dough is mixed and kneaded, aim to keep it within the ideal fermentation temperature range of 75-85°F (24-29°C).
Use a thermometer to check the dough temperature. If your kitchen is cool, use one of the DIY proofing methods described earlier to maintain this temperature throughout the first rise. Consistent temperature ensures steady yeast activity.
Creating a Consistent Proofing Environment: Avoiding Temperature Fluctuations
Sudden temperature changes can stress the yeast and affect the rise. Choose a proofing location that maintains a stable temperature. Avoid placing dough near open windows, drafty doors, or directly in front of a heating or cooling vent.
Using a proofing box, a turned-off oven with the light on, or a microwave with hot water can provide a more controlled environment than just leaving the dough on the counter in a variable kitchen temperature. A consistent environment is vital for a reliable rise when slow dough won't rise is a recurring issue.
Accurate Measurement of Ingredients: Ensuring Proper Hydration
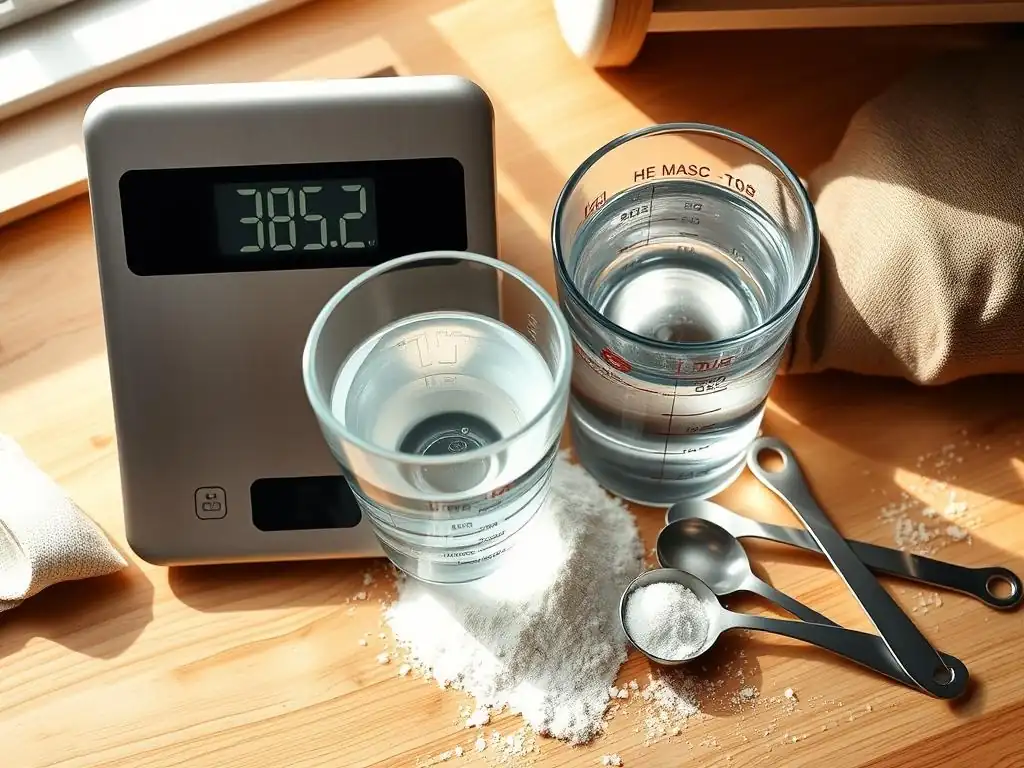
Baking is often a science, and accurate measurement is critical, especially for flour and water. Using a kitchen scale to weigh ingredients is far more accurate than using volume measurements (cups), particularly for flour, which can be packed differently each time.
Weighing ensures you achieve the correct hydration ratio specified in the recipe, leading to dough with the intended consistency. This proper balance of water and flour is essential for yeast function and gluten development.
Mastering the Art of Kneading: Developing Strong Gluten
Pay attention to the kneading process and the dough's feel. Knead until the dough is smooth, elastic, and passes the windowpane test. Don't just rely on the clock. The time needed can vary based on factors like humidity, flour type, and how vigorously you are kneading.
Properly developed gluten provides the structure needed for the dough to expand significantly when the yeast produces gas. A strong gluten network is key to preventing your slow dough won't rise due to structural weakness.
Advanced Troubleshooting: When Your Dough Still Won't Rise
Sometimes, even after checking the basics, your slow dough won't rise as expected. This can happen with more complex doughs or specific types of starters.
Exploring factors like high sugar/fat content or issues with sourdough starters requires a slightly different approach to troubleshooting.
Dealing with Heavily Enriched Dough: Fat and Sugar's Impact on Fermentation
Doughs rich in sugar, fat (like butter or oil), and eggs, such as brioche, challah, or cinnamon rolls, ferment more slowly than lean doughs (like baguette or pizza dough). Sugar in high concentrations can actually draw water out of yeast cells, inhibiting their activity. Fat coats the gluten strands, hindering their development and ability to trap gas.
These doughs often require more yeast, longer fermentation times, and cooler proofing temperatures (sometimes proofing overnight in the refrigerator is recommended) to allow the yeast time to work without the dough becoming greasy or collapsing. Be patient with enriched doughs; a slow rise is often normal.
Troubleshooting Sourdough Starter Issues: Maintaining a Healthy Starter
If you're working with sourdough, a slow dough won't rise issue often points back to the starter itself. Sourdough relies on wild yeasts and bacteria. An inactive starter is the primary reason for a poor rise.
Ensure your starter is active and bubbly after feeding before using it in a recipe. Factors like feeding ratio, temperature, and feeding frequency affect starter health. If your starter is sluggish, try feeding it more frequently, adjusting the ratio (e.g., 1:1:1 starter:flour:water ratio by weight), or keeping it in a warmer spot (75-80°F or 24-27°C) for a few days to strengthen it before attempting to bake.
The Impact of Dough Enhancers on Yeast Activity
Dough enhancers or conditioners are ingredients added to improve dough handling, volume, and shelf life. Some contain enzymes (like amylase) that break down starches into sugars, providing more food for the yeast, potentially speeding up fermentation. Others contain ascorbic acid (Vitamin C), which strengthens the gluten network, helping the dough hold more gas.
While generally beneficial, using too much of certain enhancers, or using them in a recipe that doesn't require them, could potentially affect the balance of fermentation. However, it's far less likely to be the primary cause of a slow dough won't rise compared to issues with yeast viability, temperature, or hydration.
Achieving the Perfect Rise: Your Path to Baking Success with BakeWithEase.
Frequently Asked Questions
Why is my slow dough not rising as expected?
A slow dough rise is often due to temperature issues, either too cold or too hot. Also, the yeast may be old or inactive.
How can I tell if my yeast is still active?
You can test your yeast by mixing it with warm water and sugar. If it foams within 5-10 minutes, it's active.
What's the ideal temperature for dough to rise properly?
The ideal temperature for dough fermentation is generally between 70-80°F (21-27°C). A slightly warm environment is best.
What if I've already added too much salt to my dough?
Excess salt can inhibit yeast activity, slowing the rise. Unfortunately, it's difficult to correct, but you can try adding a small amount of fresh yeast to compensate.
Can over-kneading cause a slow dough rise?
While not the primary cause, over-kneading can sometimes hinder the rise. It creates tight gluten that can be difficult for the yeast to work through, especially if the yeast is already struggling.
Final Reflection: The Patience and Power of a Slow Rise
The quest for the perfect slow-fermented loaf is a journey, not a race, and understanding the nuances of dough rise is key to baking success. Many bakers, frustrated by a stubbornly uncooperative dough, find themselves searching for answers online. This article aimed to provide those answers, demystifying the process and empowering home bakers to troubleshoot their slow-rising doughs.
The impact of slow fermentation extends far beyond just a perfectly risen loaf. It's a testament to the power of patience and observation in the culinary arts. The subtle shifts in flavor and texture achieved through slow fermentation are a testament to the artistry involved. It's a process that demands attention to detail, mirroring the mindful approach we should strive for in other aspects of our lives. The best things in life are worth waiting for,
a sentiment perfectly applicable to the slow, rewarding process of bread making.
Now, consider your own baking journey. Have you experienced the frustration of a slow rise? What did you learn from that experience? I encourage you to embrace the challenges, to observe your dough carefully, and to experiment with different techniques. Remember, every failed loaf is a lesson learned, bringing you closer to mastering the art of slow fermentation and baking the bread of your dreams. The journey is as important as the destination, and the rewards of patience are immeasurable.
Unleash Your Inner Baker: Perfecting Your Slow Dough Rise
Thanks for taking the time to explore the world of slow dough fermentation! We hope you gained valuable insights into troubleshooting those pesky rise issues. Now, let's put that knowledge into action.
- Master the Art of the Perfect Rise: Try adjusting your dough's hydration or temperature based on the tips we've shared – you might be surprised at the difference! This is the most crucial next step.
- Share Your Success (or Challenges!): Tell us about your slow dough journey in the comments below. We love hearing from our baking community!
- Experiment with Different Flours: Explore how different flours impact your dough's rise. This is a fun way to continue your baking journey!
Ready to transform your baking game? What small adjustment will you make to your next slow dough recipe?