
Understanding Yeast Activity Levels for Consistent Baking

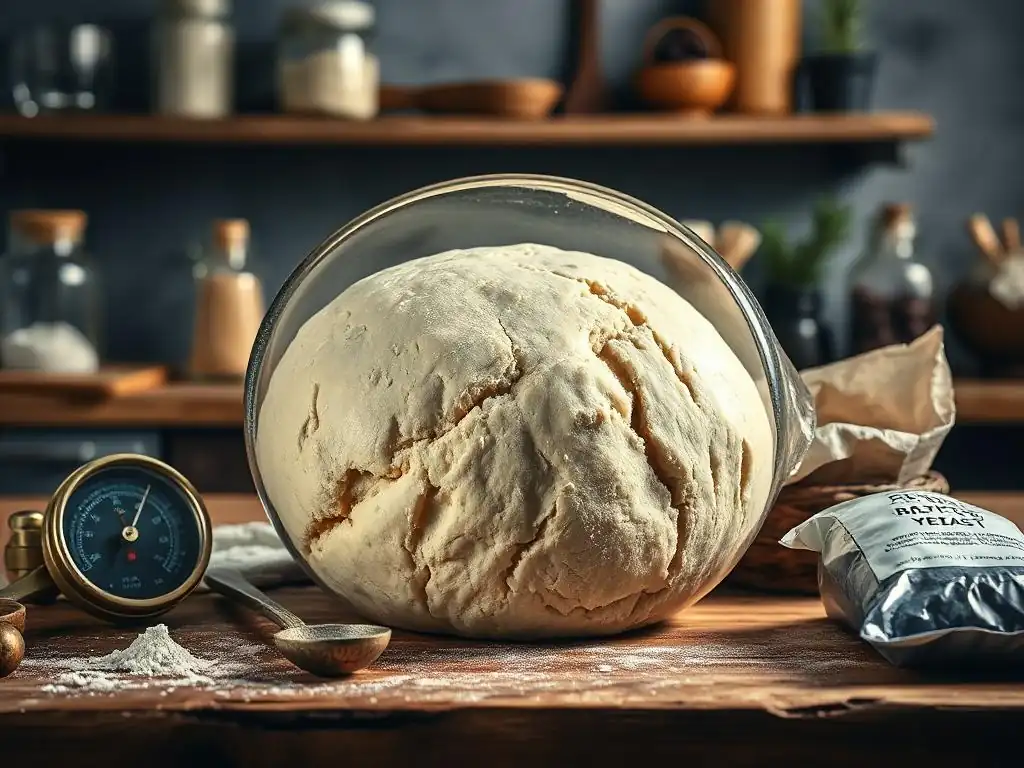
Welcome to BakeWithEase, where we demystify the science behind deliciousness! Ever wondered why your dough sometimes rises perfectly, and other times… well, doesn't? Today, we're diving deep into a crucial element of baking success: understanding yeast activity levels. Unlock the secrets to consistent baking and say goodbye to baking disappointments as we explore how to ensure your yeast is always ready to work its magic. Ready to rise to the occasion?
- Introduction to Yeast Activity in Baking
- The Science Behind Yeast Fermentation
- Measuring Yeast Activity
- Troubleshooting Common Yeast Problems
- Types of Yeast and Their Activity
- Optimizing Yeast Activity for Different Baked Goods
- Advanced Techniques for Controlling Yeast Activity
- Recipes that Showcase Yeast Activity
- Conclusion: Mastering Yeast Activity for Baking Perfection
- Frequently Asked Questions
- Final Reflection: The Unseen Power of Yeast in Baking
- Unlock Your Baking Potential: Master Yeast Activity!
Introduction to Yeast Activity in Baking
Why Yeast Activity Levels Matter for Baking Success
Understanding yeast activity levels baking is fundamental to achieving consistent and delicious results in your kitchen. Yeast is a living organism, and its performance in dough directly impacts the rise, texture, flavor, and even the crust development of your baked goods. When yeast is optimally active, it produces carbon dioxide gas at the right rate, creating the airy structure we desire in breads and other leavened items. Inconsistent activity leads to unpredictable outcomes – dough that doesn't rise, results in dense loaves, or overproofed dough that collapses.
Mastering the nuances of yeast activity levels baking allows you to control the fermentation process, adapting to variables like ambient temperature, ingredient ratios, and desired baking times. For instance, knowing how to adjust for cooler kitchen temperatures might mean allowing more time for the dough to rise, while understanding the effect of sugar helps you anticipate fermentation speed in sweet doughs. This knowledge empowers you to troubleshoot common baking issues and confidently tackle a wide range of recipes, ensuring your efforts consistently yield light, flavorful, and perfectly risen baked creations.
The Science Behind Yeast Fermentation
What is Yeast and How Does it Work in Bread Making?
Yeast is a single-celled fungus, specifically Saccharomyces cerevisiae (brewer's yeast), which is most commonly used in baking. Its primary role in bread making is fermentation. When yeast is provided with moisture, warmth, and food (sugars, either added directly or derived from the breakdown of starches in the flour), it begins to metabolize these sugars. This metabolic process yields two main byproducts: ethanol (alcohol) and carbon dioxide gas.
The carbon dioxide gas gets trapped within the gluten network of the dough, causing it to expand and rise – this is the leavening action. The ethanol contributes to the complex flavors that develop during fermentation and baking, though most of it evaporates during the baking process. The activity level of the yeast, or how quickly and effectively it performs this fermentation, is crucial for the dough's development and the final texture and taste of the baked good. Controlling yeast activity levels baking is essentially managing this gas production and flavor development process.
Factors Affecting Yeast Activity
Temperature's Role in Yeast Fermentation
Temperature is one of the most critical factors influencing yeast activity levels baking. Yeast is most active within a specific temperature range. Generally, yeast fermentation proceeds optimally between 75°F and 85°F (24°C to 30°C). Within this range, yeast consumes sugars and produces gas at a steady, predictable rate, leading to good dough development and flavor. Temperatures significantly outside this range can dramatically alter the fermentation speed and outcome.
Below approximately 50°F (10°C), yeast activity slows down considerably, which is why cold proofing dough in the refrigerator (usually around 35-40°F or 2-4°C) is used to retard fermentation, allowing for longer, slower flavor development. Conversely, temperatures above 100°F (38°C) can begin to stress the yeast, causing it to become hyperactive and potentially produce off-flavors. Yeast is killed at temperatures above 140°F (60°C), which is why very hot water should never be used to activate it. Understanding and controlling dough temperature is paramount for managing yeast activity levels baking.
The Impact of Sugar on Yeast Activity
Sugar serves as the primary food source for yeast, providing the fuel for fermentation. In small quantities, such as the natural sugars present in flour or a teaspoon added during activation, sugar gives yeast a quick energy boost, stimulating its activity. This is why recipes often call for a pinch of sugar when proofing active dry yeast – it helps confirm viability and kickstarts fermentation. However, the relationship between sugar and yeast activity is not linear, especially in richer doughs.
When sugar is present in high concentrations, such as in brioche or sweet rolls (often containing 10-20% or more sugar relative to flour weight), it can actually inhibit yeast activity. This is due to osmosis: the high concentration of sugar outside the yeast cells draws water out, dehydrating them and slowing down their metabolic processes. Doughs with high sugar content may require more yeast, longer fermentation times, or a different type of yeast (like osmotolerant yeast) to achieve the desired rise. Managing sugar content is key to predicting and controlling yeast activity levels baking.
Moisture and its Influence on Yeast Activation
Moisture is absolutely essential for yeast activation and activity. Yeast is a dormant organism in its dry form (like active dry or instant yeast). It requires hydration to become metabolically active and begin consuming sugars. Water allows the yeast cells to rehydrate, awaken, and start the biochemical processes of fermentation. The amount of water available in the dough (hydration level) directly impacts how easily and quickly yeast can access its food source (sugars) and nutrients in the flour.
A dough with sufficient hydration (e.g., 60-70% hydration for a standard bread dough) provides an optimal environment for yeast to thrive and produce gas. Very dry doughs, while potentially still rising, might experience slower or less vigorous fermentation because the yeast has less access to water and nutrients. Conversely, overly wet doughs, while sometimes beneficial for gluten development and texture, can also make it harder to visually track yeast activity and may require adjustments in fermentation time. Ensuring proper hydration is a fundamental step in managing yeast activity levels baking effectively.
Measuring Yeast Activity
Visual Cues: Recognizing Active Yeast
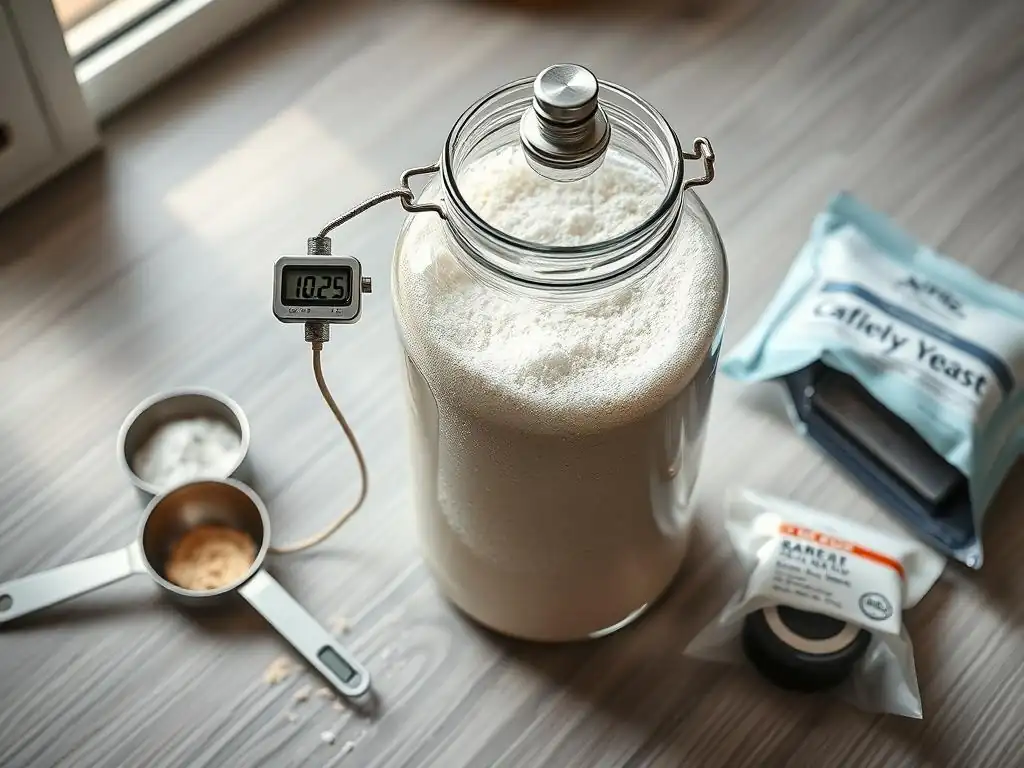
Observing visual cues is one of the simplest and most reliable ways to gauge yeast activity levels baking, especially when proofing active dry yeast or assessing dough fermentation. When active dry yeast is mixed with warm water (around 105-115°F or 40-46°C) and a pinch of sugar, healthy, active yeast will begin to produce carbon dioxide within 5-10 minutes. This activity manifests as a foamy, bubbly layer on the surface of the liquid, often referred to as a "bloom." A significant bloom indicates the yeast is alive and ready to work.
During dough fermentation, visual cues are equally important. As the yeast consumes sugars and produces gas, the dough will increase in volume. A well-fermented dough typically doubles in size (or sometimes more, depending on the recipe and desired outcome). You might also see small bubbles on the surface or throughout the dough when gently handled. Pressing a finger gently into the dough (the "poke test") can also indicate activity: if the indentation slowly springs back only halfway, the dough is likely well-proofed and yeast activity levels baking are optimal for shaping.
The Float Test: Checking Yeast Viability
The float test is a classic method specifically used to check the viability of active dry yeast before incorporating it into your dough. It's a simple yet effective way to confirm that your yeast is alive and capable of fermentation, preventing the disappointment of a flat loaf caused by inactive yeast. To perform the float test, measure out the amount of warm water specified in your recipe (typically between 105-115°F or 40-46°C – check your yeast package for the ideal temperature).
Pour the warm water into a small bowl or measuring cup. Sprinkle the active dry yeast over the surface of the water. Optionally, stir in a pinch of sugar, which helps feed the yeast and accelerates visible activity. Let the mixture stand undisturbed for 5 to 10 minutes.
If the yeast is alive and active, it will absorb the water, and you will see a thick, bubbly, or foamy layer form on the surface. This "bloom" indicates that the yeast is producing gas and is ready to be used. If no foam appears, or if the yeast just sinks to the bottom without any activity, it's likely inactive and should not be used. This simple test is crucial for ensuring successful yeast activity levels baking.
Using a Thermometer: Monitoring Temperature
Monitoring temperature with a thermometer is a precise way to control and understand yeast activity levels baking, especially concerning water temperature for activation and dough temperature during fermentation. For activating active dry yeast, using a thermometer to ensure the water is between 105°F and 115°F (40°C to 46°C) is critical. Water that is too cool (below 100°F or 38°C) will result in slow or incomplete activation, while water that is too hot (above 120°F or 49°C) can damage or kill the yeast cells.
Beyond activation, monitoring the dough temperature during bulk fermentation and proofing provides valuable insight into how quickly yeast is working. An instant-read thermometer inserted into the center of the dough can tell you if your dough is in the optimal temperature range (typically 75-85°F or 24-30°C) for steady fermentation. If the dough is cooler, you know yeast activity will be slower, requiring more time. If it's warmer, activity will be faster, and you'll need to adjust fermentation times downwards. Consistent temperature monitoring helps predict and manage yeast activity levels baking, leading to more reliable results.
Troubleshooting Common Yeast Problems
Inactive Yeast: Causes and Solutions
Encountering inactive yeast is a common frustration that can derail a baking project. The primary cause is usually expired yeast; like any living organism, yeast has a shelf life, and its viability decreases over time, especially if not stored properly (ideally in an airtight container in the refrigerator or freezer). Another frequent culprit is using water that is either too hot or too cold during activation; as discussed, extreme temperatures can kill or shock the yeast. Insufficient food (sugar) or using water with high levels of chlorine can also inhibit activity.
If your yeast fails the float test or your dough doesn't rise after a reasonable time, the yeast is likely inactive. The solution is straightforward: discard the inactive yeast and start over with fresh yeast. Ensure your new yeast is within its expiration date and has been stored correctly.
Use a thermometer to verify your water temperature is within the recommended range (105-115°F or 40-46°C for active dry). If your tap water has high chlorine, let it sit out for 30 minutes or use filtered water. By addressing these potential issues, you can ensure optimal yeast activity levels baking in your next attempt.
Overactive Yeast: Slowing Down Fermentation
While inactive yeast is frustrating, yeast that is too active can also cause problems, leading to dough that proofs too quickly, potentially resulting in a collapsed structure or yeasty off-flavors. Overactivity is often caused by an environment that is too warm, using too much yeast for the recipe, or excessive amounts of easily available sugar. A dough that is rising much faster than expected in a warm kitchen is a classic sign of overactive yeast activity levels baking.
If you notice your dough is rising too rapidly, the simplest solution is to slow down the fermentation by lowering the temperature. Placing the dough in a cooler spot in your kitchen, moving it to a slightly cooler room, or even refrigerating it for a period (known as retarding) will significantly decrease yeast activity.
Punching down the dough can also temporarily redistribute the yeast and slow down gas production. For future bakes, ensure you're using the correct amount of yeast specified in the recipe and consider the ambient temperature – you may need to reduce the amount of yeast slightly on a very hot day or if using a proofing box set to a high temperature.
Using Salt to Control Yeast Activity
Salt is a crucial ingredient in most bread recipes, not just for flavor but also for its impact on yeast activity levels baking and gluten development. Salt has an inhibitory effect on yeast fermentation; it slows down the rate at which yeast consumes sugars and produces gas. This controlled inhibition is beneficial because it allows for a slower, more even rise, which contributes to better dough structure, finer crumb texture, and more complex flavor development as other enzymatic processes in the dough can catch up.
While salt slows yeast activity, using too much salt can severely inhibit or even kill the yeast through osmosis, similar to how high sugar concentrations work. This is why salt is typically added later in the mixing process or kept separate from the yeast during initial hydration. Most bread recipes use salt in a concentration of around 1.8% to 2.2% of the total flour weight. This range provides the desired balance of flavor enhancement, gluten strengthening, and controlled yeast activity. Understanding salt's role is key to mastering yeast activity levels baking.
Types of Yeast and Their Activity
Active Dry Yeast: Activation Process
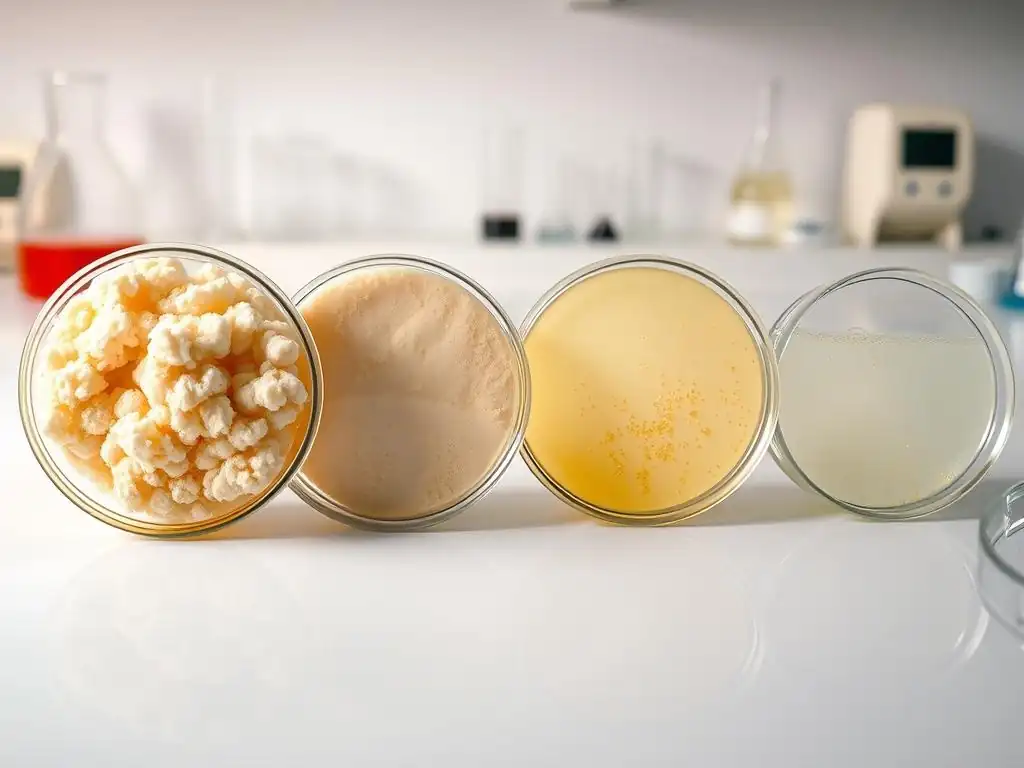
Active Dry Yeast is one of the most common forms of yeast available to home bakers. It consists of small granules of yeast that have been dehydrated, rendering them dormant. To become active and usable, this type of yeast must be rehydrated in warm liquid before being combined with the rest of the ingredients. This step is often called "proofing" or "activating" the yeast.
The activation process typically involves dissolving the active dry yeast in a small amount of warm water, usually between 105-115°F (40-46°C), for 5-10 minutes. Adding a pinch of sugar helps confirm viability and gives the yeast a head start. A successful activation is indicated by the formation of a foamy layer on the surface. This process ensures the yeast is alive and ready to work, contributing to predictable yeast activity levels baking. If the yeast doesn't foam, it's inactive and should be discarded.
Instant Yeast: Direct Incorporation
Instant Yeast, also known as rapid-rise or quick-rise yeast, is another popular dry yeast form. Unlike active dry yeast, instant yeast granules are smaller and more porous, allowing them to be rehydrated much faster. This means instant yeast can typically be added directly to the dry ingredients (like flour and salt) without the need for prior activation in liquid. The moisture from the dough ingredients is sufficient to activate it.
Instant yeast is engineered for faster and more vigorous activity compared to active dry yeast. This often results in shorter rising times, making it convenient for quick recipes. Because it's more efficient, you generally use about 25% less instant yeast than active dry yeast when substituting (e.g., 1 teaspoon instant yeast instead of 1.25 teaspoons active dry). Its ease of use and reliable yeast activity levels baking make it a favorite for many everyday baking projects.
Fresh Yeast (Cake Yeast): Handling and Activation
Fresh Yeast, also called compressed or cake yeast, is a moist, block-like form of yeast that is highly active and fast-acting. It has a shorter shelf life than dry yeasts and must be stored in the refrigerator. Fresh yeast is prized by some bakers for the subtle flavors it can impart and its rapid fermentation speed.
To use fresh yeast, it's typically crumbled into small pieces and dissolved in warm liquid (around 80-90°F or 27-32°C) before being added to the dough. It doesn't require the "foaming" proofing step like active dry yeast to check viability, as its freshness is usually guaranteed if stored correctly and used within its expiration date.
However, ensuring it's fully dissolved is key for even distribution and consistent yeast activity levels baking throughout the dough. Because it is more potent by weight than dry yeasts, recipes designed for fresh yeast will call for a larger quantity (typically about 2-3 times the weight of active dry yeast).
Yeast Conversion Chart
Converting between different types of yeast is often necessary when adapting recipes. While precise conversions can vary slightly depending on the brand and specific recipe context, the following approximate ratios are commonly used to help maintain similar yeast activity levels baking:
- 1 part Fresh Yeast ≈ 0.4 parts Active Dry Yeast ≈ 0.33 parts Instant Yeast (by weight)
- 1 teaspoon Instant Yeast ≈ 1.25 teaspoons Active Dry Yeast ≈ 0.6 ounces (17g) Fresh Yeast
- 1 tablespoon Active Dry Yeast ≈ 0.8 tablespoons Instant Yeast ≈ 1.8 ounces (50g) Fresh Yeast
| Yeast Type     | Approx. Equivalence (by weight) | Approx. Equivalence (by volume, for dry yeasts) | Notes                                   |
| :------------- | :-------------------------------- | :-------------------------------------------- | :-------------------------------------- |
| Fresh Yeast    | 1 part                            | N/A                                           | Highly perishable, needs refrigeration. |
| Active Dry     | 0.4 parts                         | 0.8 parts (or 1.25 tsp per 1 tsp Instant)   | Needs activation in warm liquid.        |
| Instant Yeast  | 0.33 parts                        | 1 part (or 1 tsp per 1.25 tsp Active Dry)   | Can be mixed directly with dry ingredients. |
Remember these are approximations. Always check recipe notes and adjust based on dough behavior.
Using these conversion guidelines helps you substitute yeast types while aiming for comparable yeast activity levels baking, though slight adjustments to fermentation time might still be needed based on the specific recipe and conditions.
Optimizing Yeast Activity for Different Baked Goods
Yeast Activity in Bread Dough
Optimizing yeast activity levels baking for standard bread doughs (like lean loaves made from flour, water, yeast, and salt) typically involves aiming for a steady, moderate rate of fermentation. This allows sufficient time for gluten development and complex flavor compounds to form. The ideal dough temperature is often targeted between 75-80°F (24-27°C) during bulk fermentation. At this temperature, yeast activity is vigorous enough to double the dough volume within 1-2 hours for standard yeast amounts (around 1-2% of flour weight for instant yeast), but not so fast that flavor development is rushed.
For longer, slower fermentation methods, such as those used for artisan loaves, the amount of yeast is often reduced significantly (sometimes down to 0.1-0.5% of flour weight), and the dough is fermented at cooler temperatures, perhaps around 65-70°F (18-21°C) or even cold-proofed in the refrigerator. This lower temperature slows yeast activity levels baking dramatically, extending the fermentation time to many hours (8-24+), which allows enzymes in the flour to break down starches into sugars that yeast can consume over time, contributing to a richer flavor profile and improved crust development.
Managing both yeast quantity and temperature is key to controlling the pace of fermentation in bread dough.
Yeast Activity in Sweet Breads
Sweet breads, such as brioche, challah, or cinnamon rolls, present a different challenge for yeast activity levels baking due to their high content of sugar, fat, and sometimes eggs. As mentioned earlier, high sugar concentrations can inhibit yeast activity through osmosis. Fats and eggs also tend to coat the yeast cells and interfere with gluten development, which is necessary to trap the gas produced by yeast. Consequently, sweet doughs typically require more yeast than lean bread doughs to achieve a proper rise, sometimes using 2-3% or more instant yeast relative to flour weight.
Fermentation in sweet doughs is often slower and can take longer compared to lean doughs, even with increased yeast quantity. The optimal temperature range might be similar (75-85°F or 24-30°C), but the visual cues for readiness might differ slightly, as the richness of the dough can make it less prone to dramatic volume increases or developing large bubbles.
Bakers often rely more on timing and feel (the dough becoming airy and puffy) when assessing proofing for sweet doughs. Understanding these factors is crucial for achieving good rise and texture in enriched doughs, ensuring yeast activity levels baking are sufficient despite the challenging environment.
Yeast Activity in Pizza Dough
Optimizing yeast activity levels baking for pizza dough varies widely depending on the desired crust type and fermentation time. For a quick, same-day pizza dough, you might use a standard amount of yeast (around 1% instant yeast) and ferment at room temperature (70-75°F or 21-24°C) for just a few hours until the dough doubles. Yeast activity is relatively fast here, focusing on leavening for a lighter crust.
For traditional Neapolitan-style or artisan pizza doughs, the approach often involves much lower yeast quantities (sometimes as little as 0.1-0.5% instant yeast) combined with extended, cold fermentation, often lasting 24-72 hours in the refrigerator (35-40°F or 2-4°C). At these low temperatures, yeast activity is drastically slowed.
This long, slow fermentation allows enzymes to break down starches and proteins, developing complex flavors and creating a dough that is easier to stretch and results in a crust with a desirable open crumb structure and characteristic blistering when baked at high temperatures. Controlling both the small amount of yeast and the low temperature is key to managing yeast activity levels baking for these specific pizza styles.
Advanced Techniques for Controlling Yeast Activity
Using a Starter (Levain): Natural Fermentation
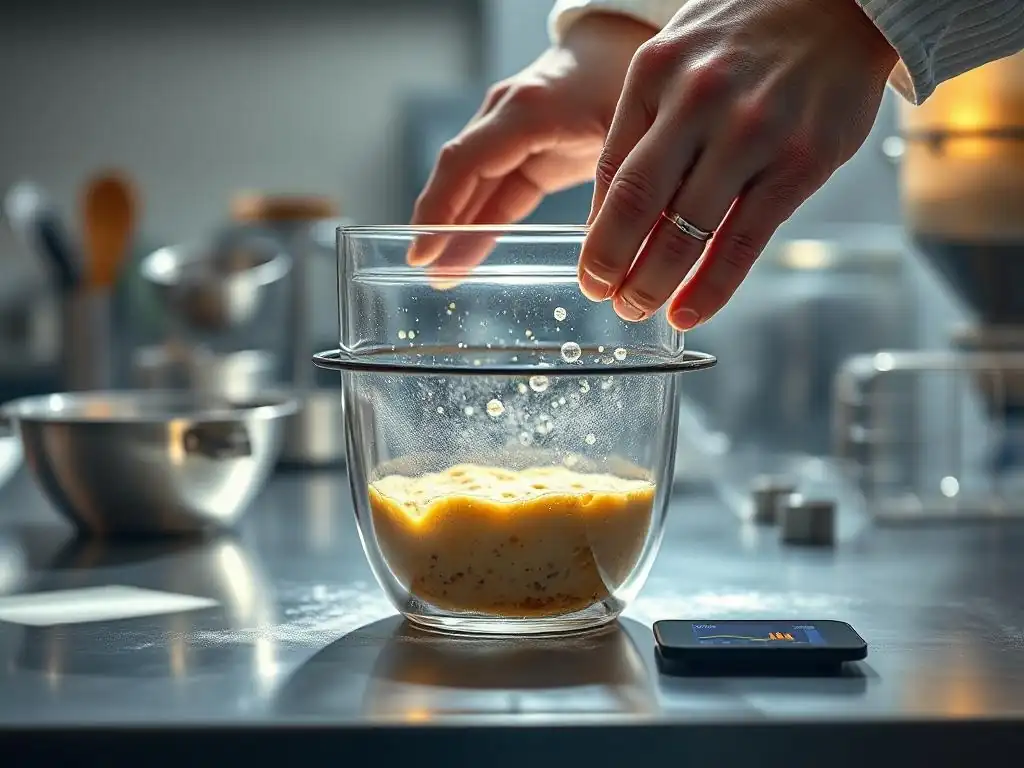
Using a starter, often called a levain or sourdough starter, is an advanced technique that relies on natural fermentation by wild yeast and lactic acid bacteria present in flour and the environment, rather than commercial yeast. A starter is a living culture, typically a mixture of flour and water, that is fed regularly. The wild yeast in the starter consumes sugars and produces carbon dioxide, while the bacteria produce lactic and acetic acids, contributing unique flavors and aromas.
The activity level of a starter is influenced by its feeding schedule, hydration level, and temperature. A warm, frequently fed starter will be very active, doubling or tripling in size within a few hours. A cooler, less frequently fed starter will be less active but can develop more complex sour flavors.
When used in dough, the wild yeast in a starter works similarly to commercial yeast but often more slowly, requiring longer bulk fermentation and proofing times. Mastering starter maintenance and understanding its activity is key to successful sourdough baking and controlling yeast activity levels baking in this natural leavening method.
Retarding Dough: Slowing Down Fermentation
Retarding dough, or cold proofing, is a technique used to deliberately slow down yeast activity levels baking by placing the dough in a cool environment, typically the refrigerator (35-40°F or 2-4°C). At these low temperatures, the metabolic rate of yeast is significantly reduced, drastically slowing down gas production. While yeast activity slows, enzymatic activity within the dough continues at a slower pace, breaking down starches into more complex sugars and proteins into peptides.
This slow breakdown process during retarding contributes significantly to flavor development, creating more nuanced and less 'yeasty' tastes. It also allows for better hydration of the flour and relaxation of the gluten network, often resulting in a dough that is easier to handle and shape after it warms up slightly. Retarding can extend bulk fermentation or proofing times from hours to days, offering bakers flexibility in their schedule and control over the final flavor and texture of breads, rolls, and pizza dough. It's a powerful method for manipulating yeast activity levels baking to achieve desired outcomes.
Pre-ferments and Their Effect on Yeast
Pre-ferments, such as poolish (equal parts flour and water, plus a small amount of yeast), biga (a stiff dough with a small amount of yeast), or pate fermentée (a piece of dough reserved from a previous batch), are mixtures of flour, water, and yeast that are allowed to ferment for several hours or overnight before being added to the main dough. They are used to give yeast a head start, develop flavor, and improve dough handling and crumb structure.
By fermenting a portion of the flour and water beforehand, pre-ferments allow yeast activity to begin and develop complex flavors before being diluted into the full batch of dough. When the pre-ferment is added to the final dough, the yeast within it is already active and primed for fermentation, leading to a more vigorous and sometimes faster bulk fermentation. Using a pre-ferment effectively jumpstarts and influences the overall yeast activity levels baking in the final dough, contributing to a more mature flavor profile and often a more open crumb structure compared to doughs mixed all at once.
Recipes that Showcase Yeast Activity
Sourdough Bread Recipe
Sourdough bread perfectly showcases natural yeast activity levels baking driven by a wild yeast starter (levain). Unlike commercial yeast, the wild yeast in a starter works in symbiosis with lactic acid bacteria, resulting in a slower fermentation process but yielding complex tangy flavors and a characteristic open crumb. A typical sourdough process involves feeding the starter, mixing the main dough (flour, water, starter, salt), a long bulk fermentation (often 4-12 hours at room temperature, or longer in the fridge), shaping, and then a final proof (often 2-4 hours at room temp or 8-16 hours cold).
The slow, prolonged fermentation allows the wild yeast to produce gas steadily while the bacteria generate organic acids. This balance of gas production and acid development is crucial for the dough's rise and the bread's signature flavor and texture. Understanding the ripeness and activity level of your starter is key to success, as it directly dictates the pace of the entire fermentation process. Mastering sourdough is mastering the control of natural yeast activity levels baking.
Brioche Recipe
Brioche is an enriched bread characterized by its high content of butter, eggs, and sugar. These rich ingredients significantly impact yeast activity levels baking. The high sugar content initially inhibits yeast, requiring either a larger quantity of yeast or a longer fermentation time to achieve sufficient leavening. The fat from butter and eggs can also interfere with gluten development, making it harder for the dough to trap gas effectively.
Despite these challenges, yeast fermentation is essential for brioche's light, tender crumb. Recipes often call for a longer, slower bulk fermentation, sometimes including an overnight rest in the refrigerator to allow flavors to develop and the rich ingredients to firm up, making the dough easier to handle.
The yeast works more slowly in this rich environment, but given enough time and the right temperature (often slightly warmer than lean doughs, around 78-82°F or 26-28°C, if not cold-proofing), it will eventually produce enough gas to create the desired airy texture. Managing yeast activity in brioche is a careful balance against the richness of the dough.
Neapolitan Pizza Dough Recipe
Neapolitan pizza dough is a prime example of how controlled, minimal yeast activity levels baking over an extended period can yield exceptional results. Authentic recipes often use a very small amount of fresh or instant yeast (sometimes less than 0.5% of flour weight) and undergo a long fermentation, typically 24 hours or more, with a significant portion of that time spent in refrigeration.
This long, slow, cool fermentation allows enzymes to work extensively, breaking down starches into simple sugars that the minimal yeast can consume over time. This slow process develops complex flavors and aromas that are characteristic of traditional Neapolitan pizza. It also allows the gluten network to relax and become highly extensible, making the dough easy to stretch thinly without tearing.
When baked in a very hot oven (like a wood-fired oven at 800-900°F or 425-480°C), the rapid expansion of gases from the yeast (and steam) creates the iconic airy, blistered crust (cornicione). The careful control of yeast quantity and temperature is fundamental to achieving the specific qualities of Neapolitan pizza dough through precise management of yeast activity levels baking.
Conclusion: Mastering Yeast Activity for Baking Perfection
Key Takeaways for Consistent Yeast Activity
Mastering yeast activity levels baking is a cornerstone of successful bread making and yeasted doughs. The key takeaways for achieving consistent results involve understanding yeast as a living organism and controlling the environment in which it works. Always ensure your yeast is fresh and stored correctly, whether it's active dry, instant, or fresh. When using active dry yeast, take the time to properly activate it in warm water to confirm its viability.
Temperature is perhaps the most influential factor; aim for optimal dough temperatures (typically 75-85°F or 24-30°C) for standard fermentation and adjust accordingly for slower or faster rises. Be mindful of how ingredients like sugar and salt impact yeast – sugar feeds it in small amounts but inhibits in large, while salt slows activity. Pay attention to visual cues during fermentation, like doubling in size and the poke test. By consistently monitoring and controlling these factors, you gain the ability to predict and manage yeast activity levels baking, leading to perfectly risen, flavorful, and beautifully textured baked goods every time.
Frequently Asked Questions
What is yeast activity and why is it important in baking?
Yeast activity refers to the yeast's ability to produce carbon dioxide, which causes dough to rise. Inconsistent yeast activity can lead to uneven or failed baking results.
How can I test the activity of my yeast before baking?
You can perform a simple test by mixing yeast with warm water and sugar. If the mixture foams or bubbles within 5-10 minutes, the yeast is active.
What factors can affect yeast activity levels?
Several factors influence yeast activity, including temperature, sugar levels, and the age of the yeast. Avoid extremely hot or cold temperatures.
What are the different types of yeast and how do their activity levels differ?
Common types include active dry yeast, instant yeast, and fresh yeast. Instant yeast usually has higher activity than active dry and may not require proofing.
What should I do if my yeast doesn't seem active?
If your yeast doesn't activate, it's likely expired or inactive. You'll need to replace it with fresh yeast to ensure proper dough rising and successful baking.
Final Reflection: The Unseen Power of Yeast in Baking
Understanding yeast activity levels is not just a technical detail; it's the key to unlocking consistent, delicious baked goods. The seemingly simple act of baking relies on a complex biological process, and mastering the nuances of yeast activity directly translates to the success – or failure – of your creations. Ignoring this fundamental aspect can lead to unpredictable results, from flat loaves to disappointingly dense pastries.
The impact of yeast on our culinary landscape is profound, extending far beyond the simple rise of bread. It's a silent partner in countless recipes, shaping textures, flavors, and ultimately, our cultural experiences. From the crusty sourdoughs of France to the fluffy bao buns of Asia, yeast's influence is undeniable. Bread is the staff of life,
a simple phrase that belies the intricate science and artistry involved in its creation, a science deeply intertwined with understanding the life within the dough. This understanding allows us to appreciate the craft even more deeply and to approach baking with a newfound respect for the tiny organisms that make it all possible.
Now, consider your own baking journey. What have you learned about yeast activity? Have you experienced the frustration of inconsistent results? I encourage you to experiment, to observe, and to truly understand the power you hold in your hands – the power to nurture life and transform simple ingredients into something truly magical. Embrace the science, appreciate the artistry, and unlock the secrets of consistently perfect baked goods. The journey of understanding yeast activity is a rewarding one, leading to a deeper connection with the process and the delicious results it yields.
Unlock Your Baking Potential: Master Yeast Activity!
Thanks for diving into the world of yeast and consistent baking! You've now got the knowledge to elevate your bread-making game. Ready to put your new skills to the test?
- Bake your dream loaf today! Use what you've learned to try a new recipe, focusing on carefully managing your yeast.
- Share your baking journey! Post a picture of your creation on social media and tag #BakeWithEase – let's see those beautiful results!
- Challenge yourself: Try a sourdough starter – it’s a deeper dive into yeast activity and a rewarding experience.
So, what delicious creation will you tackle first?