
From Seed to Slice: The Journey of German Rye Bread

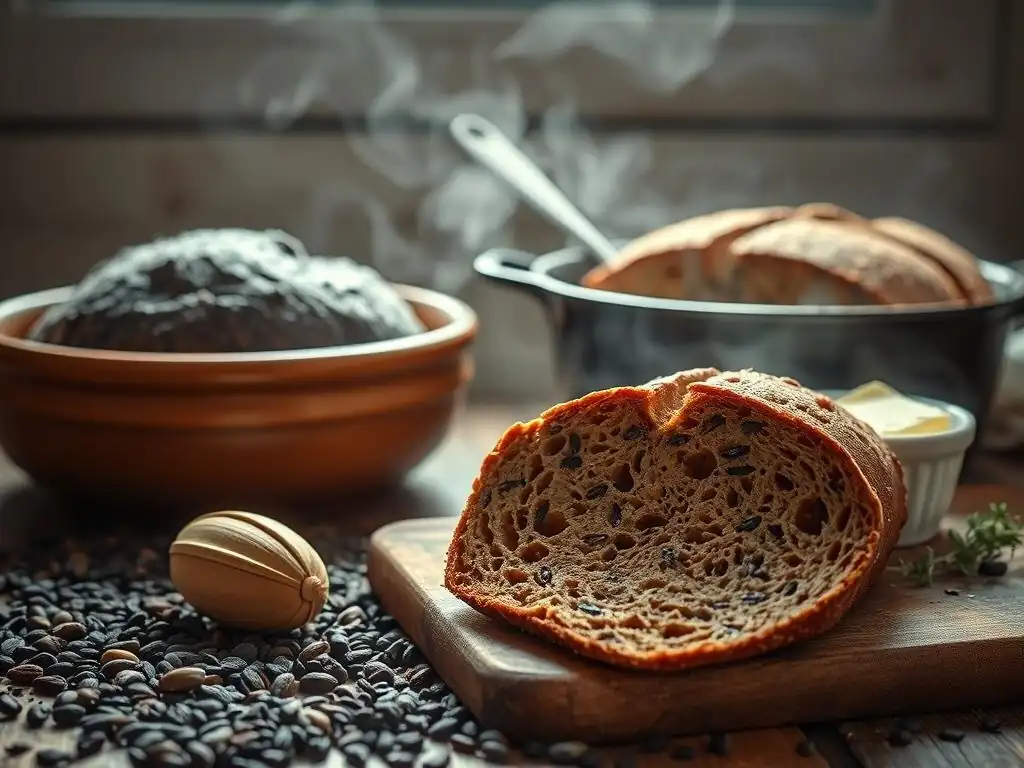
Welcome to BakeWithEase, your passport to a world of delicious possibilities! Ever dreamt of crafting authentic, hearty bread that fills your kitchen with warmth and the comforting aroma of tradition? Dive into our world of baking tourism and experiences, starting with our guide, "From Seed to Slice: The Journey of German Rye Bread." Uncover the secrets and techniques behind an easy German rye bread recipe, and discover how simple ingredients can yield extraordinary results. What if you could bake a loaf that tastes like it came straight from a German bakery? Keep reading to embark on this flavorful journey!
- Unlocking Authentic German Rye Bread: An Easy Recipe for Home Bakers
- Sourcing the Essentials: Key Ingredients for Your German Rye
-
Mastering the Technique: An Easy German Rye Bread Recipe
- Step 1: Building the Rye Sourdough Levain
- Step 2: Mixing the Dough: Achieving the Perfect Consistency
- Step 3: Bulk Fermentation: Time and Temperature Considerations
- Step 4: Shaping the Loaf: Crafting the Perfect Form
- Step 5: Proofing the Dough: The Final Rise
- Step 6: Baking to Perfection: Achieving a Dark, Crusty Crust
- Step 7: Cooling and Slicing: The Grand Finale
- Troubleshooting Your German Rye: Common Baking Problems and Solutions
- Beyond the Recipe: Enjoying Your Homemade German Rye
-
Frequently Asked Questions
- What makes German Rye Bread different from other rye breads?
- Is it difficult to make German Rye Bread at home, especially the sourdough starter?
- What kind of rye flour is best for this recipe?
- Can I substitute any of the ingredients in the German Rye Bread recipe?
- How long does it take to make German Rye Bread from start to finish?
- Final Reflection: The Enduring Power of Simple Bread
- Unleash Your Inner Baker: Craft Your Own Rye Loaf!
Unlocking Authentic German Rye Bread: An Easy Recipe for Home Bakers
The Allure of German Rye: Why Bake Your Own?
There's something undeniably special about German rye bread. Its dense texture, complex flavor profile, and signature dark crust evoke images of traditional German bakeries and hearty meals. Unlike many wheat-based loaves, rye bread offers a unique tanginess and a robust structure that makes it perfect for open-faced sandwiches or simply slathered with butter. While it might seem intimidating, mastering a German rye bread recipe easy enough for home bakers is incredibly rewarding. Baking it yourself allows you to control the quality of ingredients, experiment with flavors, and fill your kitchen with that irresistible aroma.
Beyond the sensory pleasure, baking your own German rye bread provides nutritional benefits. Rye flour is known for its high fiber content compared to wheat, contributing to a lower glycemic index. A typical slice of whole grain rye bread can contain around 3-4 grams of fiber. Creating your own loaf ensures you're getting the full benefits of the grain, free from commercial additives often found in store-bought versions. This easy German rye bread recipe focuses on simplicity without sacrificing authenticity, bringing a taste of Germany right to your table.
Sourcing the Essentials: Key Ingredients for Your German Rye
The Heart of the Rye: Choosing the Right Rye Flour
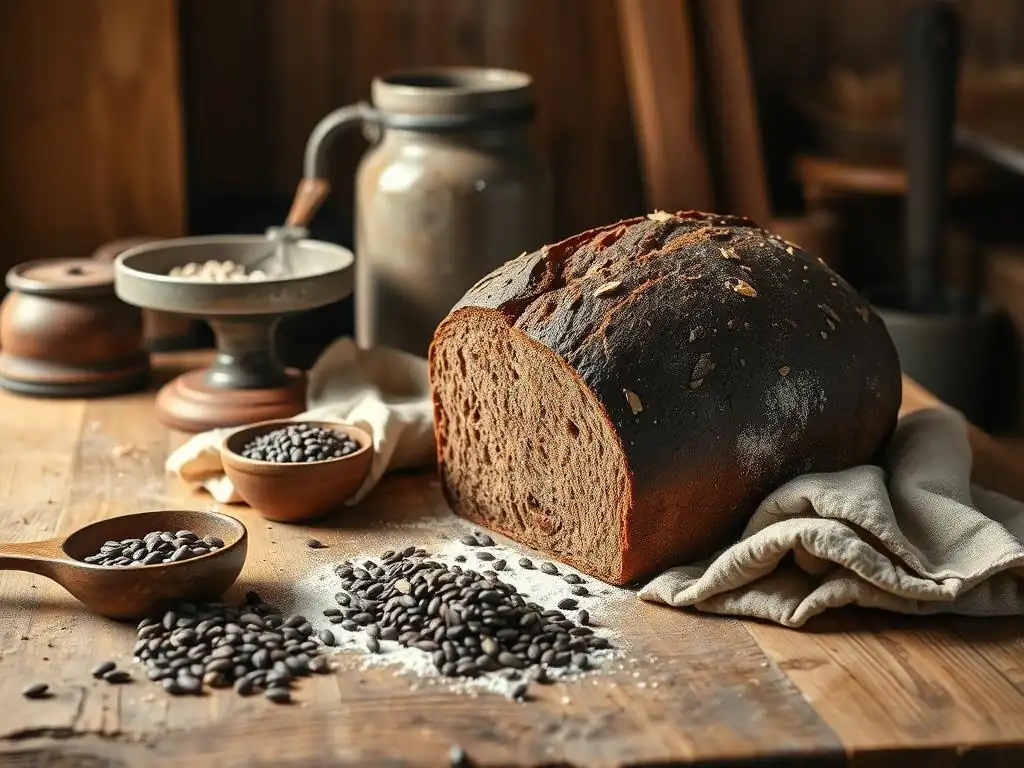
The foundation of any great German rye bread is, naturally, rye flour. The type you choose significantly impacts the final texture and flavor. Light rye flour (Type 815 or 997 in Germany) results in a lighter crumb, while medium rye flour (Type 1150) offers more flavor and color. For a true, dark, full-flavored loaf, whole grain rye flour (Roggenvollkornmehl, Type 1370 or higher) is often preferred. This whole grain flour includes the bran, germ, and endosperm, providing maximum nutrition and that characteristic deep rye taste.
When selecting your rye flour for this easy German rye bread recipe, consider starting with a medium or dark rye flour. These provide a good balance of flavor and work well in recipes designed for home bakers. Look for stone-ground varieties if possible, as they often retain more of the grain's natural oils and flavor compounds.
The hydration absorption of rye flour is different from wheat; it contains pentosans which absorb significant amounts of water, contributing to the dense, moist crumb characteristic of German rye. Expect to use a hydration level that might seem high compared to wheat bread, potentially ranging from 75% to over 90% relative to the rye flour weight.
Activating the Flavor: The Importance of a Rye Sourdough Starter
A traditional German rye bread recipe often relies on a rye sourdough starter, also known as Roggen Sauerteig. This isn't just for leavening; the starter is crucial for developing the complex, slightly tangy flavor profile synonymous with authentic German rye. Rye contains enzymes that break down starch more readily than wheat, and the acidic environment created by the sourdough starter helps to control this process, preventing a gummy texture. The lactic and acetic acids produced by the starter's fermentation provide the characteristic sourness and depth of flavor.
Using an active rye sourdough starter is key to success with this easy German rye bread recipe. An active starter should be bubbly, have a pleasant, slightly tangy aroma, and roughly double in size a few hours after being fed. The ratio of flour and water used to feed the starter (often 1:1:1 starter:flour:water) influences the balance of acids produced; a stiffer starter (less water) tends to produce more acetic acid (vinegary), while a wetter starter produces more lactic acid (creamy tang). For a balanced flavor typical of many German ryes, a 100% hydration rye starter is commonly used.
Optional: Cultivating Your Own Rye Sourdough Starter
Creating your own rye sourdough starter is a rewarding process, though it requires patience, typically taking 7-14 days to become strong enough for baking. You begin by mixing equal parts (by weight) of whole grain rye flour and water in a jar. For example, start with 50 grams of rye flour and 50 grams of water. Mix well, cover loosely, and leave at room temperature (ideally between 20-25°C).
Each day, discard a portion (usually half) of the starter and feed it with fresh rye flour and water. This process, known as feeding, helps to cultivate the desirable wild yeasts and bacteria while managing the starter's volume. Within a few days, you should start seeing bubbles and a slight increase in volume.
After about a week to ten days, the starter should consistently show significant activity, doubling or tripling in size within 4-6 hours after feeding, indicating it's ready to be used in your easy German rye bread recipe. Maintaining a regular feeding schedule keeps your starter healthy and active.
Binding It All Together: Other Necessary Ingredients
While rye flour and sourdough starter are the stars, other ingredients play vital supporting roles in an easy German rye bread recipe. Water is essential for hydration, activating the gluten (even the limited gluten in rye) and allowing the fermentation process to occur. The quality of your water can subtly affect flavor; filtered water is often recommended. Salt is crucial for flavor enhancement, controlling fermentation rate, and strengthening the dough structure. Typically, salt is added at a rate of 1.8% to 2.2% of the total flour weight.
Some German rye bread variations might include a small percentage of wheat flour (like bread flour or strong white flour) to aid in gluten development and make the dough slightly easier to handle, especially for beginners tackling an easy German rye bread recipe. However, pure rye breads (often 80-100% rye) are also common. Other additions can include caraway seeds for a traditional aroma and flavor, or sometimes malt extract or molasses to enhance color and sweetness. Understanding the role of each ingredient helps ensure success when crafting your simple German rye bread recipe.
Mastering the Technique: An Easy German Rye Bread Recipe
Baking German rye bread at home can be straightforward with the right approach. This easy German rye bread recipe breaks down the process into manageable steps.
Step 1: Building the Rye Sourdough Levain
About 12-16 hours before you plan to mix your main dough, you'll prepare a levain (or preferment) using your active rye sourdough starter. This step ensures you have a strong, active culture ready to leaven your bread. A common ratio is 1 part starter, 2-3 parts rye flour, and 2-3 parts water. For example, mix 20g active rye starter with 60g rye flour and 60g water in a small bowl.
Mix the ingredients thoroughly until no dry flour remains. The mixture should be thick but pourable or scoopable. Cover the bowl loosely and let it ferment at room temperature (around 20-24°C). The levain is ready when it has significantly increased in volume (often doubling or tripling), is bubbly, and smells pleasantly tangy. This typically takes 8-12 hours depending on room temperature and starter activity. Using an active levain is crucial for successful leavening in this easy German rye bread recipe.
Step 2: Mixing the Dough: Achieving the Perfect Consistency
Rye dough behaves very differently from wheat dough. It's sticky and doesn't develop gluten in the same elastic way. In a large mixing bowl, combine your mature rye levain with the remaining rye flour, water, and salt. If your recipe includes a small amount of wheat flour, add it now.
Mix everything together using a sturdy spoon or a stand mixer with a dough hook on low speed. Mix only until all the ingredients are just combined and there are no dry pockets of flour. Avoid overmixing, as excessive agitation won't develop gluten in rye and can lead to a sticky, unmanageable dough. The dough will be very wet and sticky, more like a thick batter or paste than a traditional bread dough. This is normal for an easy German rye bread recipe.
Step 3: Bulk Fermentation: Time and Temperature Considerations
Bulk fermentation, also known as the first rise, allows the sourdough culture to start its work on the main dough. Because rye develops less gluten structure, the visual cues for fermentation are different from wheat doughs. You won't see a dramatic doubling in size. Instead, look for a slight increase in volume (perhaps 20-30%), the appearance of small bubbles on the surface, and a noticeable tangy aroma.
Transfer the mixed dough to a lightly oiled bowl or container. Cover tightly to prevent drying. Allow the dough to ferment at room temperature (around 20-24°C) for approximately 2-4 hours. The exact time will depend heavily on the temperature of your kitchen and the activity of your levain. Warmer temperatures speed up fermentation, while cooler temperatures slow it down. Monitor the dough rather than relying solely on the clock. For this easy German rye bread recipe, err on the side of slightly shorter fermentation if unsure, as over-fermented rye can become overly sour and difficult to handle.
Step 4: Shaping the Loaf: Crafting the Perfect Form
Shaping rye dough requires a different technique than shaping wheat dough due to its stickiness and lack of elastic structure. Instead of traditional kneading and folding, shaping rye is more about consolidating the dough into a cohesive mass. Lightly flour your work surface and your hands with rye flour.
Gently scrape the dough out of the bulk fermentation container. Using a bench scraper and floured hands, carefully shape the dough into a log or round shape. Avoid excessive handling or degassing. The goal is to create a smooth outer surface with some tension.
For a log shape, fold the sides into the center and then roll it up. For a round, gently cup and rotate the dough with the bench scraper to create a taut surface. Place the shaped dough seam-side up into a well-floured proofing basket (banneton) or a loaf pan lined with parchment paper. This simple shaping method is part of making a German rye bread recipe easy for beginners.
Step 5: Proofing the Dough: The Final Rise
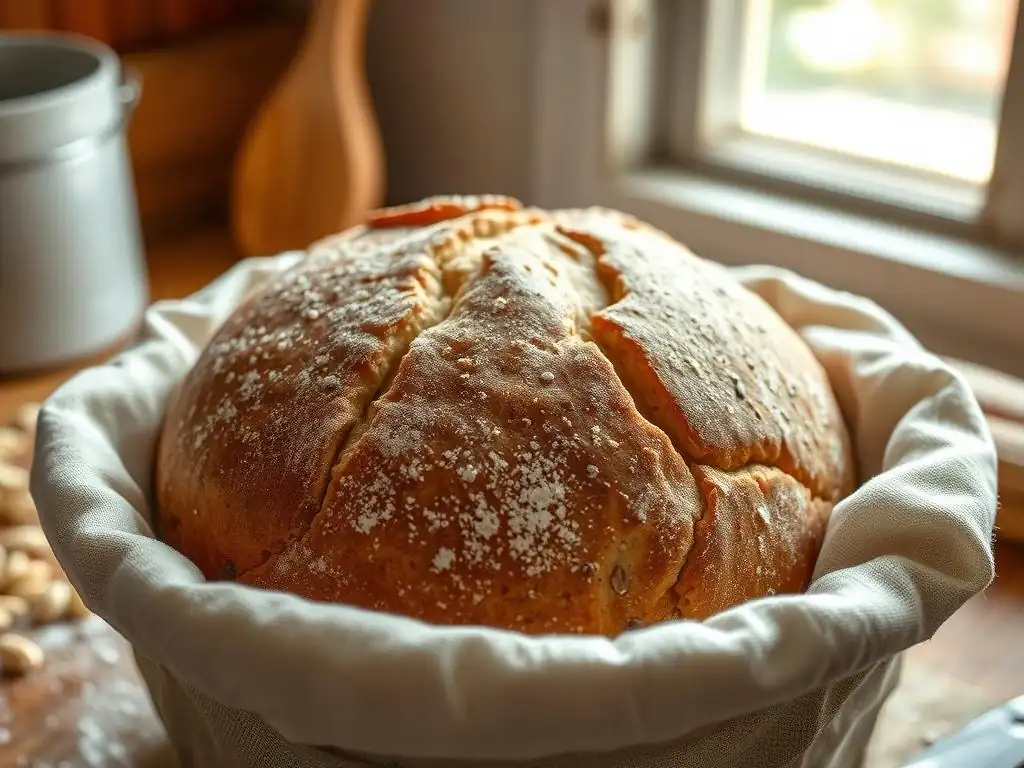
Proofing, or the final rise, is where the shaped loaf gains its final volume before baking. Again, rye dough won't double in size during proofing like wheat dough. Look for a noticeable increase in volume (perhaps 30-50%) and a feeling of lightness when gently pressed. If using a proofing basket, the dough should fill the basket nicely.
Cover the proofing basket or loaf pan with a damp towel or plastic wrap to prevent the surface from drying out. Proof at room temperature (around 20-24°C) for approximately 1-3 hours. Alternatively, for a longer, slower proof that can develop more flavor, you can retard the dough in the refrigerator for 8-12 hours.
The dough is properly proofed when it looks visibly expanded but hasn't started to collapse. Pressing it gently should leave a small indentation that slowly springs back. Over-proofing can lead to a dense loaf, so pay close attention during this step of your easy German rye bread recipe.
Step 6: Baking to Perfection: Achieving a Dark, Crusty Crust
Preheat your oven with a baking stone, Dutch oven, or loaf pan inside to a high temperature, typically 240-250°C (465-480°F), for at least 30-45 minutes. This initial high heat helps the loaf spring and develops a good crust. If using a proofing basket, carefully invert the dough onto a piece of parchment paper or directly into your hot vessel. If using a loaf pan, simply place the pan in the oven.
For a classic crust, steam is often used in the first part of the bake. If baking on a stone, you can create steam by pouring hot water into a tray placed on the bottom rack of the oven. If using a Dutch oven, the lid traps the steam released by the dough. Bake at the high temperature for 15-20 minutes with steam (or lid on).
Then, reduce the oven temperature to 200-220°C (390-430°F), remove the steam source (or lid), and continue baking for another 30-40 minutes, or until the loaf is deeply browned and sounds hollow when tapped on the bottom. The internal temperature should reach around 95-100°C (205-210°F). This baking method is essential for achieving the signature dark, robust crust of a German rye bread recipe easy to replicate at home.
Step 7: Cooling and Slicing: The Grand Finale
Once your German rye bread is baked to perfection, resist the urge to slice into it immediately! This is a crucial step, especially for high-rye loaves. As the bread cools, the internal structure sets, and the moisture distributes evenly throughout the crumb. Slicing too early can result in a gummy or sticky texture.
Carefully transfer the hot loaf to a wire cooling rack. Allow it to cool completely, which can take anywhere from 2 to 4 hours, or even longer for very large or dense loaves. The internal temperature needs to drop significantly. Once fully cooled, use a sharp serrated knife to slice your homemade German rye bread. Enjoy the fruits of your labor – your very own delicious, easy German rye bread recipe success!
Troubleshooting Your German Rye: Common Baking Problems and Solutions
Dense Bread: Identifying and Correcting the Issue
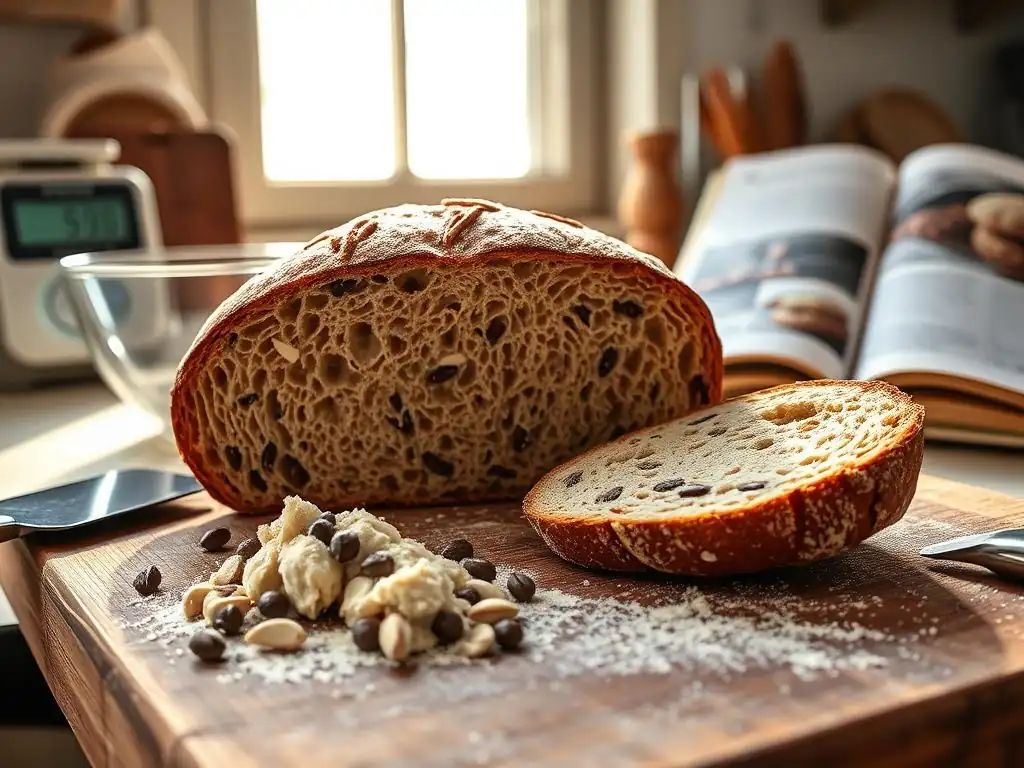
A common challenge when baking German rye bread is ending up with a loaf that is too dense, sometimes described as brick-like. This can be caused by several factors. One primary reason is an inactive or weak sourdough starter or levain. If your starter isn't strong enough to produce sufficient carbon dioxide during fermentation, the dough won't rise properly. Ensure your starter is bubbly and active, ideally doubling within a few hours of feeding, before building your levain.
Another frequent cause of density is insufficient fermentation time, either during bulk fermentation or proofing. While rye dough doesn't rise dramatically, it still needs adequate time for the sourdough culture to work. Ensure your kitchen is warm enough (around 20-24°C is ideal) and allow sufficient time for the dough to show signs of activity (slight volume increase, surface bubbles). Conversely, over-proofing can also lead to a dense loaf as the structure weakens and collapses. Learning to recognize the subtle signs of proper fermentation is key to avoiding dense results in your easy German rye bread recipe.
Sour Taste: Adjusting Sourdough Fermentation
While a characteristic tang is desirable in German rye bread, an overly sour or vinegary taste can be off-putting. This is typically related to the fermentation process and the balance of acids produced by your sourdough starter. Longer, cooler fermentation times, especially in the refrigerator, tend to produce more acetic acid (vinegary notes). Warmer, shorter fermentation times favor lactic acid production (creamy, yogurt-like tang).
If your bread is too sour, try adjusting your fermentation strategy. Use a warmer proofing temperature (closer to 24°C) and shorten the fermentation times slightly. You can also try feeding your starter more frequently or using a higher ratio of flour and water in your levain build (e.g., 1:3:3 instead of 1:2:2) to encourage faster, less acidic fermentation before baking your easy German rye bread recipe. Conversely, if you want more tang, a longer cold proof in the refrigerator can help develop those flavors.
Crumbly Texture: Achieving the Right Hydration
A crumbly or dry texture in rye bread often indicates insufficient hydration or improper handling. Rye flour requires a higher hydration level than wheat flour due to its pentosan content. If the dough is too stiff, the resulting loaf will be dry and crumbly rather than moist and cohesive. Ensure you are using the amount of water specified in your easy German rye bread recipe, and don't be afraid if the dough seems very wet and sticky – this is usually necessary for a good rye crumb.
Another factor can be slicing the bread before it has fully cooled. As mentioned earlier, rye bread needs a significant amount of time to cool completely for the internal structure to set and moisture to redistribute. Slicing a warm rye loaf will often result in a gummy, crumbly texture. Always wait the recommended cooling time, even if it feels long. If your recipe consistently yields crumbly bread, consider slightly increasing the water percentage in your next attempt, perhaps by 5-10 grams per 500 grams of flour, until you achieve a moist, non-crumbly crumb.
Beyond the Recipe: Enjoying Your Homemade German Rye
Serving Suggestions: Pairing Your Rye with Delicious Toppings
Your freshly baked easy German rye bread is incredibly versatile and forms a perfect base for a variety of toppings, both sweet and savory. In Germany, it's traditionally served with hearty accompaniments. Think slices of cold cuts like ham or salami, various cheeses (especially strong, flavorful ones like Limburger or aged Gouda), or smoked fish like salmon or herring.
For a simple yet classic experience, try it with just good quality butter and a sprinkle of sea salt. It also pairs wonderfully with liverwurst or Schmalz (rendered pork fat, sometimes with cracklings). For a taste of German breakfast, enjoy it with jam or honey. Don't forget the classic open-faced sandwiches ( Butterbrot or Belegtes Brot) piled high with your favorite ingredients. The robust flavor of the rye stands up beautifully to strong toppings.
Storing Your Rye Bread: Keeping It Fresh Longer
Proper storage is key to keeping your homemade easy German rye bread fresh and delicious. Unlike many wheat breads that can dry out quickly, the density and moisture content of rye bread help it stay fresh for several days. Once completely cooled, the best way to store it is wrapped in a clean linen towel or placed in a paper bag at room temperature.
Avoid storing rye bread in plastic wrap or airtight containers on the counter for extended periods, as this can trap moisture and encourage mold growth. If you won't finish the loaf within 3-4 days, it freezes exceptionally well. Slice the cooled loaf, wrap the slices tightly in plastic wrap or foil, and place them in a freezer bag. Frozen rye bread can last for several months. Thaw slices as needed at room temperature or toast directly from frozen.
Exploring German Baking Culture: More Bread Adventures
Baking this easy German rye bread recipe is just the beginning of exploring the rich and diverse world of German bread. Germany boasts over 3,000 different types of bread, ranging from light rolls ( Brötchen) to dense whole grain loaves. Many regional specialties exist, like Pumpernickel from Westphalia (a very dense, dark, long-baked rye bread) or Bavarian pretzel rolls.
If you enjoyed baking this rye loaf, consider trying other German bread styles. Many involve sourdough or preferments and utilize various grains like spelt or wheat alongside rye. Exploring these recipes can deepen your understanding of traditional German baking techniques and expand your repertoire beyond this simple German rye bread recipe. Visiting a traditional German bakery, if you have the chance, is an inspiring experience, showcasing the incredible variety and quality of their bread heritage.
Frequently Asked Questions
What makes German Rye Bread different from other rye breads?
German Rye Bread often uses a higher proportion of rye flour compared to wheat flour, resulting in a denser, more complex flavor. It frequently utilizes a sourdough starter for its characteristic tang.
Is it difficult to make German Rye Bread at home, especially the sourdough starter?
While making sourdough can seem intimidating, BakeWithEase provides easy-to-follow instructions for creating and maintaining a starter. Our German Rye Bread recipe simplifies the process for home bakers.
What kind of rye flour is best for this recipe?
We recommend using dark rye flour for an authentic German flavor and texture. You can also experiment with medium rye flour, but the flavor will be slightly milder.
Can I substitute any of the ingredients in the German Rye Bread recipe?
While substitutions are possible, they can affect the final result. We suggest sticking to the recipe for your first attempt, then experimenting with variations like adding caraway seeds or using different types of flour.
How long does it take to make German Rye Bread from start to finish?
The entire process, including sourdough starter preparation (if needed), mixing, proofing, and baking, can take several days. However, the active baking time is relatively short; most of the time is spent waiting for the dough to rise.
Final Reflection: The Enduring Power of Simple Bread
The humble loaf of German rye bread, far from being a mere culinary item, represents a rich tapestry of history, tradition, and enduring human connection. Its simple ingredients belie the complex process and deep cultural significance woven into each slice. In a world increasingly dominated by fast food and processed ingredients, rediscovering the joy of making – and appreciating – this classic bread offers a powerful counterpoint.
The enduring appeal of German rye bread lies not just in its delicious, tangy flavor, but in its ability to connect us to generations past. The rhythmic kneading, the satisfying aroma of baking bread, these are experiences that transcend mere sustenance; they foster a sense of mindful creation and connection to something larger than ourselves. Bread is the staff of life,
a simple phrase, yet it encapsulates the profound role bread has played throughout history, nourishing bodies and souls alike. The process of making German rye bread, even with a simplified recipe, allows us to participate in this timeless tradition.
Now, consider your own kitchen. Imagine the warmth of the oven, the fragrant steam rising from a freshly baked loaf. This isn't just about following a recipe; it's about embracing a process, connecting with your heritage (even if it's a newly adopted one!), and sharing the simple pleasure of homemade bread with loved ones. Try your hand at this recipe. Embrace the journey from seed to slice, and discover the enduring satisfaction of creating something delicious and meaningful with your own two hands.
Unleash Your Inner Baker: Craft Your Own Rye Loaf!
Thanks for joining us on this delicious journey through the world of German rye bread! We hope you've gained a new appreciation for the artistry and tradition behind this iconic loaf. Now it's time to put your newfound knowledge to the test.
- Bake your own rye bread! This is your chance to experience the satisfaction of creating something truly special from scratch. Don't be intimidated – even a small batch is a rewarding accomplishment.
- Share your baking journey! Snap a picture of your creation and post it on social media using #BakeWithEaseRye. Let's inspire each other!
- Explore other traditional bread recipes on BakeWithEase.com (this is a placeholder – no link is needed) to continue your baking adventure!
Ready to transform your kitchen into a German bakery? What unique twist will you add to your first rye bread masterpiece?