
Bake Perfect Muffins on Your First Try

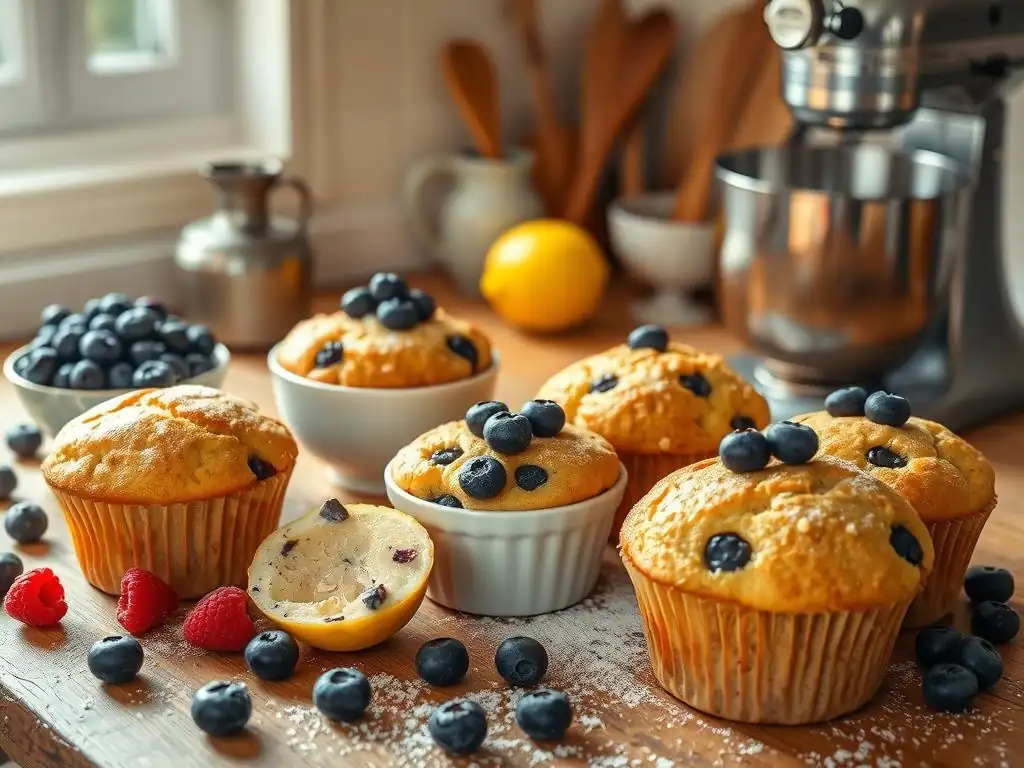
Welcome to BakeWithEase, your kitchen companion for all things baking! Ever dreamed of crafting those perfect muffins you see in magazines, but worried about getting it right on your first try? Unlock the secrets to effortless, delicious muffins with our step-by-step guide. Discover the easy-to-follow recipe and techniques inside, and prepare to impress yourself (and everyone else!). Let's get baking!
- Mastering Classic Blueberry Muffins: The BakeWithEase Guide
- Introduction: Achieve Blueberry Muffin Perfection
- Essential Ingredients for Your Batch of Blueberry Muffins
- Step-by-Step: The Classic Blueberry Muffin Recipe
- Troubleshooting Common Muffin Baking Problems
- Expert Tips for Baking the Best Blueberry Muffins
- Variations on the Classic Blueberry Muffin Recipe
- Storing Your Freshly Baked Muffins
- Conclusion: Enjoy Your Delicious Blueberry Muffins!
-
Frequently Asked Questions
- What makes BakeWithEase's muffin recipe different from other recipes?
- What are the key ingredients I need to bake perfect muffins on the first try?
- What crucial techniques should I master for muffin success?
- How can I prevent my muffins from sticking to the pan?
- What are some common mistakes to avoid when baking muffins?
- Final Reflection: The Sweet Science of Perfect Muffins
- Unlock Your Inner Muffin Master!
Mastering Classic Blueberry Muffins: The BakeWithEase Guide
Introduction: Achieve Blueberry Muffin Perfection
Welcome to Blueberry Muffin Baking Made Easy!
Embarking on your baking journey, or perhaps looking to perfect a classic? You've come to the right place! Baking blueberry muffins is a delightful experience, and with the right guidance, achieving bakery-quality results at home is entirely within reach. This guide is designed to walk you through each step, ensuring that even if it's your very first attempt, you can create moist, flavorful muffins bursting with blueberries. Forget complicated techniques; our focus is on simplicity and reliability, providing a perfect muffins first try recipe that builds confidence.
We understand that starting out can feel daunting, but baking is fundamentally a science combined with a little art. By following this clear, step-by-step method, you'll not only learn how to bake delicious blueberry muffins but also gain foundational skills applicable to many other quick bread recipes. From accurately measuring ingredients to understanding the subtle cues of a perfectly baked muffin, we'll cover everything you need to know to make your first batch a resounding success.
Why This Recipe Guarantees Delicious Results
This recipe is specifically formulated to be forgiving and consistent, minimizing common pitfalls beginners face. It balances leavening agents for a good rise, uses a specific mixing method to prevent tough muffins, and incorporates standard ingredient ratios known to produce a tender crumb and moist interior. We've tested and refined this approach to make sure it delivers reliably good results, even if you've never baked anything from scratch before. It's truly designed as a perfect muffins first try recipe.
One key aspect of this recipe's reliability lies in its emphasis on proper technique, particularly when combining wet and dry ingredients. We highlight the importance of not overmixing, which is a primary cause of tough muffins. Additionally, the specific baking temperature and time recommended are calibrated to ensure the muffins bake through evenly, developing a beautiful golden-brown exterior without drying out the inside. Trust the process, and you'll be enjoying warm, delicious blueberry muffins in no time.
Essential Ingredients for Your Batch of Blueberry Muffins
Key Ingredients for Flavor and Texture
The foundation of great blueberry muffins lies in using quality, standard ingredients. For a batch yielding approximately 12 standard muffins, you'll typically need about 1 and 1/2 cups (180g) of all-purpose flour, which provides the structure. Sugar, around 3/4 cup (150g), contributes sweetness and helps with moisture retention and browning. Leavening agents like baking powder (about 2 teaspoons) and sometimes a touch of baking soda ensure a light, airy texture and a good rise.
Moisture and richness come from sources like milk (around 1 cup or 240ml), eggs (1 large), and melted butter or vegetable oil (about 1/2 cup or 120ml). Using melted butter adds a rich flavor, while oil results in a slightly more tender and moist muffin. And, of course, the star: blueberries! About 1 to 1 and 1/2 cups (150-225g) of fresh or frozen blueberries are needed. A pinch of salt (about 1/4 teaspoon) balances the sweetness, and vanilla extract (1 teaspoon) enhances the overall flavor profile.
Ingredient Substitutions and Adjustments for Dietary Needs [Gluten-Free Option]
Adapting recipes for dietary needs is often simpler than it seems. For a gluten-free version of this perfect muffins first try recipe, you can substitute the all-purpose flour with a 1-to-1 gluten-free baking blend. Look for blends that contain xanthan gum, which helps replicate the elasticity that gluten provides, preventing crumbly muffins. The quantity needed is typically the same as the all-purpose flour, around 1 and 1/2 cups (180g). Ensure your other ingredients like baking powder and vanilla extract are also certified gluten-free if needed.
For dairy-free muffins, swap the milk for a non-dairy alternative like almond milk, soy milk, or oat milk in the same 1 cup (240ml) quantity. If the recipe calls for butter, use a plant-based butter substitute or vegetable oil. The quantity usually remains the same (about 1/2 cup or 120ml). Egg allergies can be addressed by using an egg substitute like a flax egg (1 tablespoon ground flaxseed mixed with 3 tablespoons water, let sit for 5-10 minutes) or commercial egg replacers, though texture may vary slightly. Always check ingredient labels to ensure they meet specific dietary requirements.
Step-by-Step: The Classic Blueberry Muffin Recipe
Preparing the Batter: A Detailed Guide
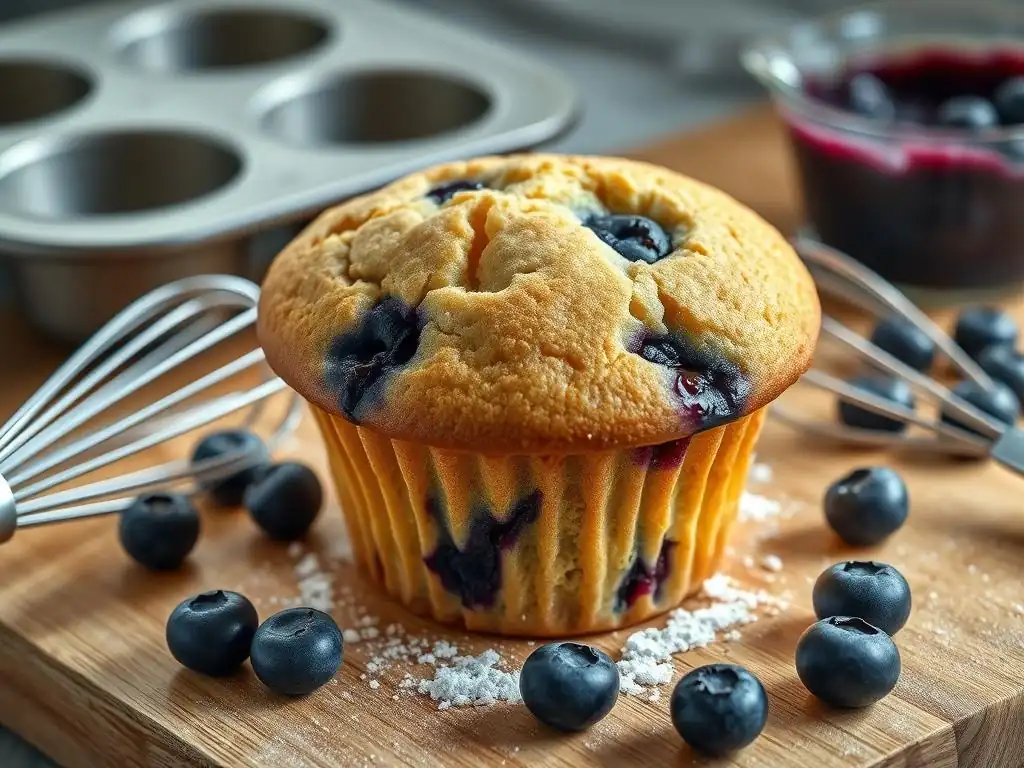
Before you start mixing, it's crucial to prepare your ingredients and equipment. Preheat your oven to 400°F (200°C). This slightly higher initial temperature helps the muffins rise quickly, creating a nice dome. Line a standard 12-cup muffin tin with paper liners or grease it thoroughly with baking spray or butter and flour. In a large bowl, whisk together the dry ingredients: flour, sugar, baking powder, and salt. Make sure these are well combined to distribute the leavening evenly.
In a separate medium bowl, whisk together the wet ingredients: milk, melted and slightly cooled butter or oil, egg, and vanilla extract. Whisk until everything is well combined and the egg is fully incorporated. Having your ingredients pre-measured and ready to go, often referred to as mise en place, makes the mixing process much smoother and less prone to errors. This preparation is key to achieving that perfect muffins first try recipe result.
Mixing Wet and Dry Ingredients for Optimal Results
The key to tender muffins is in how you combine the wet and dry ingredients. Create a well in the center of your dry ingredients. Pour the wet ingredients into this well. Now, using a spatula or a wooden spoon, gently fold the ingredients together. The goal is to mix just until the dry ingredients are incorporated into the wet. The batter should look lumpy and a few streaks of flour should still be visible.
Mixing Tip:
Do NOT overmix! Overmixing develops the gluten in the flour too much, leading to tough, chewy muffins instead of light, tender ones. Aim for minimal stirring, just enough to combine.
Overmixing is one of the most common mistakes in quick bread baking. A rough guideline is to mix for no more than 10-15 seconds after the wet ingredients are added. A lumpy batter is a good sign for muffins! This minimal mixing technique is fundamental to this perfect muffins first try recipe.
Gently Folding in the Blueberries: Preventing Color Bleeding
Once the batter is just combined, it's time to add the blueberries. If using fresh blueberries, rinse them gently and pat them dry. If using frozen blueberries, do not thaw them; add them directly to the batter from the freezer. Some bakers like to toss fresh or frozen blueberries with a tablespoon of flour before adding them to the batter; this can help prevent them from sinking, although with a properly thickened batter, it's not always strictly necessary.
Add the blueberries to the lumpy batter. Using your spatula, gently fold them in with just a few strokes, about 5-10 folds. The goal is to distribute the blueberries somewhat evenly without crushing them or overmixing the batter further. Over-handling the batter at this stage, especially with frozen blueberries, can cause their color to bleed into the batter, turning your muffins purple. Gentle folding keeps the berries intact and the batter color clean.
Filling the Muffin Tin: Achieving Consistent Size
Using an ice cream scoop or two spoons, divide the batter evenly among the prepared muffin cups. Filling each cup about two-thirds to three-quarters full is standard for muffins that rise nicely into a dome without overflowing. Aim for consistency in the amount of batter in each cup. This ensures that all muffins in the batch bake at roughly the same rate.
For those aiming for larger, bakery-style domes, you can fill the cups closer to the top, about three-quarters full. However, be mindful that this increases the chance of overflow if your leavening is particularly active or the oven temperature is off. For a guaranteed perfect muffins first try recipe, sticking to the two-thirds full guideline is a safe bet for predictable results.
Baking Time and Temperature for Golden Brown Muffins
Place the filled muffin tin in the preheated oven at 400°F (200°C). Bake for an initial period, often around 5 minutes, before reducing the temperature to 375°F (190°C) for the remainder of the baking time. This initial blast of high heat helps the muffins rise rapidly, creating that desirable domed top, while the lower temperature ensures they cook through without burning.
The total baking time typically ranges from 20 to 25 minutes. However, oven temperatures can vary, so it's essential to start checking for doneness around the 20-minute mark. The muffins are ready when they are golden brown on top, the edges look set, and a toothpick inserted into the center of a muffin (avoiding a blueberry) comes out clean. Overbaking will result in dry muffins, so keep a close eye during the final minutes.
Troubleshooting Common Muffin Baking Problems
My Muffins Are Flat: Identifying and Fixing the Issue
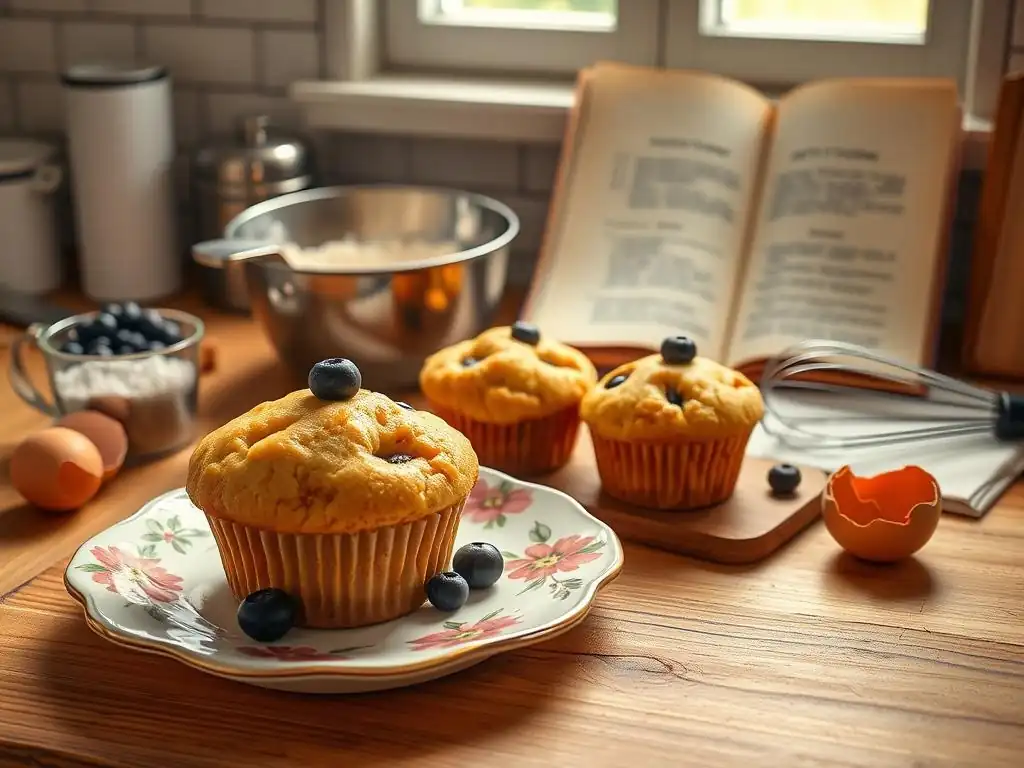
Flat muffins are often a sign of insufficient leavening or an oven temperature issue. Ensure your baking powder is fresh; baking powder loses its potency over time, typically after 6-12 months once opened. Test its freshness by putting a teaspoon in hot water – it should fizz vigorously. If it doesn't, replace it. Using the correct amount specified in the perfect muffins first try recipe is also vital; too little baking powder will result in a dense, flat muffin.
Another cause could be an oven that isn't reaching the correct temperature. An oven thermometer is a simple and inexpensive tool that can confirm if your oven is heating accurately. If the oven is too cool, the muffins won't get the initial burst of heat needed for a good rise. Ensure your oven is fully preheated before putting the muffins in. Also, opening the oven door too frequently during the initial baking phase can cause the temperature to drop and affect the rise.
My Muffins Are Dry: Hydration Solutions for Moist Muffins
Dry muffins are usually the result of overbaking or an incorrect ratio of wet to dry ingredients. Baking for too long at too high a temperature evaporates too much moisture from the batter. Always bake for the minimum recommended time initially and check for doneness. Remember, muffins continue to cook slightly from residual heat after being removed from the oven.
Using the right amount of fat (butter or oil) and liquid (milk, egg) specified in the perfect muffins first try recipe is crucial for moisture. Ensure you are measuring accurately, especially the flour. Too much flour is a common culprit for dry baked goods. Spoon the flour into your measuring cup and level it off with a straight edge, rather than scooping directly from the bag, which can pack the flour down and result in using more than intended.
My Muffins Are Tough: Mastering the Mixing Technique
Tough muffins are almost always due to overmixing the batter. When wet and dry ingredients are combined, gluten begins to develop. In quick breads like muffins, we want minimal gluten development for a tender texture. Mixing for too long, too vigorously, or mixing after the flour has been fully incorporated activates too much gluten, leading to a rubbery or tough result.
Stick to the "mix just until combined" principle mentioned in the recipe steps. A lumpy batter with visible streaks of flour is perfectly acceptable and desired. When folding in blueberries, do so gently and only for a few turns. Think of it as coaxing the ingredients together rather than beating them into submission. Mastering this gentle touch is fundamental to achieving the tender crumb of a perfect muffins first try recipe.
My Blueberries Sank to the Bottom: Preventing Fruit Settling
Fruit sinking to the bottom of muffins can happen, especially with larger or heavier fruits like blueberries. This is often related to the consistency of the batter and how the fruit is added. A batter that is too thin or overmixed is less likely to suspend the fruit effectively. Ensure your batter is thick enough – it should be scoopable, not pourable.
As mentioned earlier, tossing the blueberries (especially fresh ones) with a tablespoon of flour before folding them into the batter can provide a slight coating that helps them adhere to the batter and stay suspended during baking. Another trick is to add about half of the blueberries to the batter, fold gently, then sprinkle the remaining blueberries on top of the batter once it's in the muffin cups. This ensures you have plenty of berries visible on the surface and helps distribute them throughout.
Expert Tips for Baking the Best Blueberry Muffins
Using the Right Muffin Tin for Even Baking
The material and color of your muffin tin can impact baking results. Dark-colored metal tins absorb and distribute heat more quickly than lighter-colored ones, which can lead to faster browning and potentially drier edges if not monitored closely. Light-colored metal tins are generally recommended for more even baking, as they conduct heat more gently.
Regardless of color, a standard 12-cup metal muffin tin is a reliable choice. Silicone muffin pans are also popular as muffins release easily, but they may not promote browning as well as metal and can sometimes result in slightly less structured muffins. Using paper liners is a good way to ensure easy cleanup and consistent results, as they prevent sticking and protect the muffin edges from direct contact with the hot metal.
Preheating Your Oven Properly
Proper oven preheating is non-negotiable for successful muffin baking, especially for a perfect muffins first try recipe. Ovens take time to reach and stabilize at the set temperature, often longer than the preheat indicator light suggests. Giving your oven at least 15-20 minutes after it signals it's ready ensures the internal temperature is consistent throughout the baking cavity.
Baking muffins in a properly preheated oven, particularly starting at a slightly higher temperature like 400°F (200°C) as this recipe suggests, provides the necessary initial heat shock. This activates the leavening agents rapidly, giving the muffins a quick lift and helping them form those desirable domed tops before the crust sets. An oven that isn't fully preheated will result in slower, less vigorous rising and potentially flatter muffins.
The Toothpick Test: Knowing When Your Muffins Are Done
The toothpick test is a classic and reliable method for checking if your muffins are baked through. After the recommended baking time (around 20-25 minutes for this recipe), gently insert a toothpick into the center of one of the muffins in the middle of the tin (where they tend to bake slowest). Be careful to avoid hitting a blueberry, as the juice will give a false wet reading.
If the toothpick comes out clean or with a few moist crumbs attached, the muffins are done. If it comes out with wet batter clinging to it, they need more time. Check again in 2-3 minute intervals. Overbaking will lead to dry muffins, so err on the side of slightly underdone if you're unsure – residual heat will continue to cook them slightly as they cool.
Cooling Your Muffins: Preventing Soggy Bottoms
Proper cooling is just as important as the baking itself for achieving perfect muffins. Once removed from the oven, let the muffin tin sit on a wire rack for just a few minutes, say 5-10 minutes. This allows them to cool slightly and firm up in the tin.
After this initial cooling period, carefully transfer the muffins from the tin to the wire rack to cool completely. Leaving them in the hot tin for too long can cause the bottoms to become steamy and soggy due to trapped heat and moisture. Cooling them on a wire rack allows air to circulate around all sides, ensuring the bottoms stay firm and the overall texture is pleasant. This step is crucial for that perfect muffins first try recipe outcome.
Variations on the Classic Blueberry Muffin Recipe
Adding a Streusel Topping for Extra Flavor
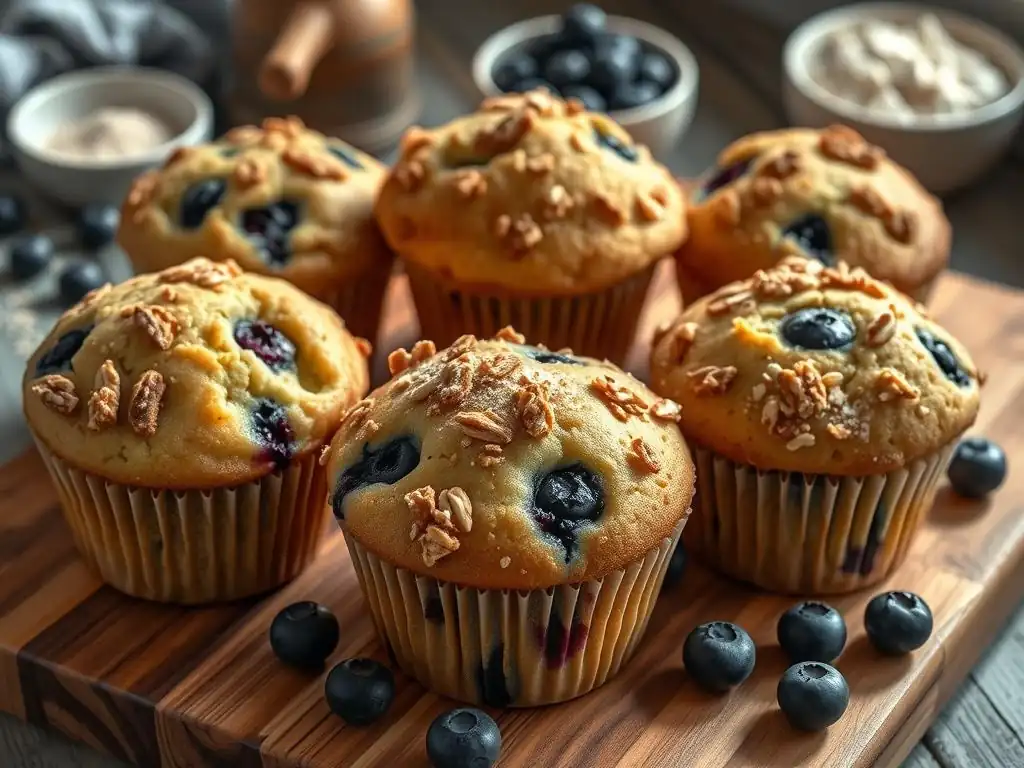
A streusel topping adds wonderful texture and a boost of sweet, buttery flavor to blueberry muffins. To make a simple streusel for 12 muffins, combine about 1/2 cup (60g) all-purpose flour, 1/4 cup (50g) granulated sugar, 1/4 cup (50g) brown sugar, and 1/4 teaspoon ground cinnamon in a small bowl. Cut in 1/4 cup (50g) cold unsalted butter, cubed, using a pastry blender or your fingertips until the mixture resembles coarse crumbs.
Once the muffin cups are filled with batter, generously sprinkle the streusel topping over the top of each muffin before baking. The streusel will bake into a crumbly, slightly crisp layer that contrasts beautifully with the soft muffin underneath. This simple addition elevates the classic perfect muffins first try recipe to something extra special.
Exploring Different Types of Blueberries
While cultivated highbush blueberries are the most common and readily available, exploring different types can offer subtle variations in flavor and texture. Wild blueberries, for example, are smaller, more intensely flavored, and have a higher skin-to-pulp ratio, which means you get more bursts of berry flavor throughout the muffin. Because they are smaller, they also tend to distribute more evenly in the batter.
Using a mix of fresh and frozen blueberries can also work, though be mindful of the extra moisture frozen berries release as they bake. If using frozen, adding them directly from the freezer is key. For a twist, consider adding other berries alongside or instead of some of the blueberries, such as raspberries or chopped strawberries, adjusting quantities as needed.
Lemon Zest for Enhanced Flavor
Lemon and blueberry are a classic flavor pairing for a reason! The bright, zesty notes of lemon perfectly complement the sweet-tartness of blueberries. Adding the zest of one medium lemon to your muffin batter can significantly enhance the overall flavor profile, making your perfect muffins first try recipe even more vibrant.
Finely grate the zest using a microplane zester, ensuring you only get the yellow part of the peel and avoid the bitter white pith underneath. Add the lemon zest to the wet ingredients before combining them with the dry ingredients. This helps distribute the lemon oils evenly throughout the batter. The result is a muffin that tastes wonderfully fresh and aromatic, a delightful variation on the classic.
Storing Your Freshly Baked Muffins
Keeping Muffins Fresh: Proper Storage Techniques
To maintain the freshness, moisture, and texture of your freshly baked blueberry muffins, proper storage is essential. Once the muffins have cooled completely on the wire rack – this is important to prevent condensation – store them at room temperature. The best way to store them is in an airtight container.
Place a paper towel on the bottom of the container, arrange the muffins in a single layer if possible, and place another paper towel on top before sealing the lid. The paper towels help absorb any excess moisture that might cause the muffins to become soggy. Stored this way, your muffins should stay fresh and delicious for 2-3 days. Avoid refrigerating muffins, as this tends to dry them out quickly.
Freezing Muffins for Later Enjoyment
If you won't be eating your entire batch of perfect muffins first try recipe within a few days, freezing is an excellent option for long-term storage. Ensure the muffins are completely cooled before freezing. Wrap each individual muffin tightly in plastic wrap, then place the wrapped muffins in a freezer-safe bag or airtight container.
Frozen muffins can be stored for up to 2-3 months. To thaw, simply remove the desired number of muffins from the freezer and let them sit at room temperature for a few hours. For a quick warm treat, you can also reheat a frozen muffin in the microwave for 30-60 seconds or in a toaster oven at a low temperature until warmed through.
Conclusion: Enjoy Your Delicious Blueberry Muffins!
Celebrate Your Muffin Baking Success!
Congratulations! You've successfully baked a batch of delicious, moist, and perfectly domed blueberry muffins using our perfect muffins first try recipe. Take a moment to appreciate your accomplishment. Baking is a rewarding skill, and mastering a classic like blueberry muffins is a fantastic milestone. Whether you're enjoying them warm from the oven, with a dollop of butter, or saving them for later, you've created something wonderful from scratch.
This recipe was designed to be straightforward and reliable, proving that baking doesn't have to be intimidating. You've learned key techniques like gentle mixing, proper baking temperature management, and checking for doneness – skills that will serve you well in many future baking endeavors. Share your muffins with friends and family, or savor them yourself; you've earned it!
Further Baking Adventures with BakeWithEase
Now that you've experienced the joy of baking perfect muffins on your first try, why stop here? BakeWithEase.com is filled with resources to help you explore the vast world of baking. From more easy muffin and scone recipes to beginner-friendly guides for cakes, cookies, and even simple breads, there's always something new to learn and bake.
Consider trying our other easy quick bread recipes, experiment with different fruit muffins, or venture into making your own scones. Each recipe is crafted with clear instructions and helpful tips to ensure your continued success in the kitchen. Keep practicing, keep exploring, and keep baking with ease!
Frequently Asked Questions
What makes BakeWithEase's muffin recipe different from other recipes?
Our recipe focuses on simple techniques and easy-to-find ingredients, ensuring even beginners can bake perfect muffins. We provide step-by-step guides to avoid common pitfalls.
What are the key ingredients I need to bake perfect muffins on the first try?
You'll need basic baking staples like flour, sugar, baking powder, eggs, milk (or a substitute), and oil. The key is using fresh baking powder for proper rise.
What crucial techniques should I master for muffin success?
Avoid overmixing the batter, as this leads to tough muffins. Gently fold the wet and dry ingredients together until just combined. Also, be sure to preheat your oven properly.
How can I prevent my muffins from sticking to the pan?
Always use muffin liners or grease the muffin tin thoroughly with cooking spray or butter. Ensure the pan is evenly coated for easy release.
What are some common mistakes to avoid when baking muffins?
Overmixing, overbaking, and using expired baking powder are common errors. Follow the recipe closely and check for doneness with a toothpick.
Final Reflection: The Sweet Science of Perfect Muffins
The pursuit of the perfect muffin, once a seemingly simple culinary quest, has evolved into a testament to the power of precision and understanding. Achieving consistently flawless muffins on your first attempt isn't just about following a recipe; it's about mastering the fundamental principles of baking, from the careful measurement of ingredients to the nuanced understanding of oven temperatures and baking times. This knowledge empowers you to confidently tackle any baking challenge.
The journey to mastering muffin-making has profoundly impacted my own approach to cooking. It's taught me the importance of patience, attention to detail, and the rewarding feeling of creating something delicious from scratch. More than just a recipe, it's a process of discovery, a testament to the transformative power of culinary exploration. The best things in life are homemade.
This simple phrase encapsulates the joy and satisfaction derived from creating something perfect with your own hands, and muffins, in their seemingly simple form, perfectly embody this sentiment.
Now, it's your turn. Don't be intimidated by the prospect of baking perfect muffins. Embrace the challenge, experiment with different flavors and techniques, and most importantly, enjoy the process. The satisfaction of biting into a perfectly golden-brown, moist, and flavorful muffin, made entirely by you, is a reward in itself. So, gather your ingredients, preheat your oven, and embark on your own journey to muffin mastery. The perfect muffin awaits.
Unlock Your Inner Muffin Master!
Thanks for joining us on this delicious journey into the world of perfect muffins! We hope you gained valuable tips and tricks to elevate your baking game. Ready to put your newfound skills to the test?
- Bake a batch of your favorite muffins today! Use the techniques we shared to achieve that golden-brown crust and perfectly moist crumb. Experiment with different flavors and share your results!
- Share your muffin masterpieces on social media! Use #BakeWithEase to connect with our community and inspire others.
- Try a new, unusual muffin recipe – maybe even one with unexpected ingredients! Let us know how it turns out.
What unexpected flavor combination are you going to try in your next muffin creation?