
The Easiest Way to Frost a Simple Cake

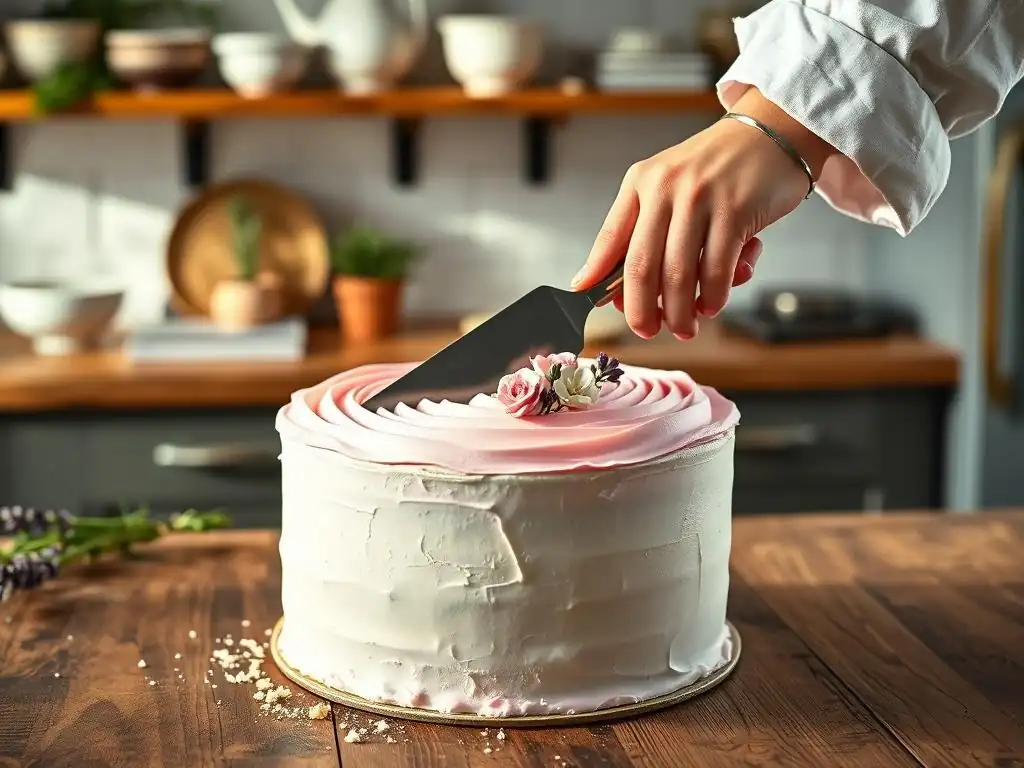
Welcome to BakeWithEase, your ultimate destination for mastering the delightful art of baking! If you've ever found yourself wondering how to achieve the perfect finish on your baked creations, you're in for a treat. Our Easy Cake Frosting Tutorial is designed to take the guesswork out of frosting, offering you step-by-step guidance that even the most novice bakers can follow with confidence.
Whether you’re looking to elevate your cake game or simply want to learn a new technique, our treasure trove of simple recipes and tips will inspire you to get creative in the kitchen. So grab your spatula, and let’s dive into the sweet world of baking together!
- Mastering Buttercream Frosting: A Beginner's Guide
- Introduction to Buttercream Frosting
- Essential Tools & Ingredients for Buttercream Frosting
- Step-by-Step: Buttercream Frosting Tutorial
- Troubleshooting Buttercream Problems
- Storing Your Frosted Cake
- Beyond the Basics: Expanding Your Frosting Skills
- Conclusion: Congratulations on Mastering Buttercream!
-
Frequently Asked Questions
- What is considered the easiest method for frosting a cake, according to BakeWithEase?
- What kind of frosting is recommended in the "Easy Cake Frosting Tutorial"?
- Are there any specific tools needed for this easy cake frosting method?
- Does the "Easy Cake Frosting Tutorial" cater to beginner bakers?
- What if I want to add flavor or color to my easy buttercream frosting?
- Final Reflection: The Sweet Simplicity of Frosting
- Unlock Your Inner Cake Artist: Frosting Made Easy!
Mastering Buttercream Frosting: A Beginner's Guide
Introduction to Buttercream Frosting
Welcome to Home Baking Simplified: Your Guide to Perfect Cakes
Embarking on the journey of cake decorating can feel daunting, but with the right guidance, it's incredibly rewarding. At BakeWithEase, our goal is to demystify baking processes, turning complex tasks into simple, achievable steps for home bakers of all levels. This guide specifically focuses on one of the most fundamental and versatile skills: frosting a cake with buttercream.
We'll walk you through every stage, from gathering your tools to applying that final flourish, ensuring that even if you've never piped a swirl before, you'll finish with a beautifully frosted cake. Think of this as your friendly, easy cake frosting tutorial designed to build confidence and deliver delicious results.
Learning to frost a cake properly is a foundational skill that opens up a world of possibilities in home baking. It's not just about covering imperfections; it's about adding flavor, texture, and visual appeal. Mastering a simple buttercream allows you to elevate a basic cake into a celebration centerpiece.
We've seen countless bakers transform their simple bakes using just a few key techniques, proving that you don't need to be a professional to create stunning desserts. This comprehensive guide aims to equip you with the knowledge and confidence to tackle your next cake project with ease, making this the easy cake frosting tutorial you'll return to again and again.
Why Buttercream is the Foundation of Cake Decorating
Buttercream is arguably the most popular frosting choice for cakes, and for good reason. Its creamy texture is perfect for spreading smoothly, holding piped shapes beautifully, and it serves as an excellent canvas for decorations. Unlike some other frostings, traditional American buttercream, made primarily from butter and powdered sugar, is relatively stable and simple to make, requiring just a few common ingredients and minimal technique compared to more temperamental options like Swiss meringue buttercream. This makes it the ideal starting point for anyone looking for an easy cake frosting tutorial to begin their decorating journey.
The versatility of buttercream is another key factor in its prominence. It can be flavored in countless ways, colored with food gels to match any theme, and used to create a wide range of decorative effects, from rustic swirls to smooth, polished finishes. Its forgiving nature means that small mistakes can often be easily corrected, which is a huge plus for beginners. Learning to work with buttercream provides a solid foundation that translates well to other frosting types and decorating techniques, making this easy cake frosting tutorial a valuable investment in your baking skills.
Essential Tools & Ingredients for Buttercream Frosting
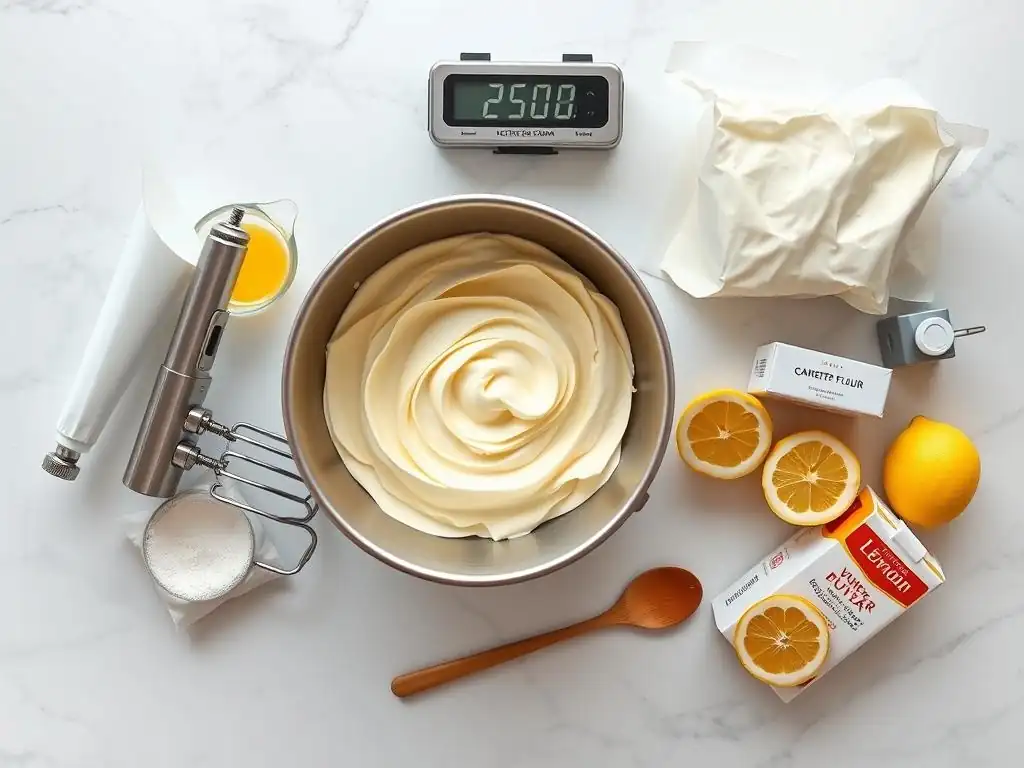
Must-Have Frosting Tools
Having the right tools can make a significant difference in the ease and outcome of frosting a cake. While you don't need a professional bakery's worth of equipment, a few specific items will simplify the process immensely. A good set of offset spatulas is indispensable; the offset handle keeps your knuckles from dragging in the frosting, allowing for smoother application and leveling.
You'll typically want both a small one (around 4-6 inches) for details and tight spots and a larger one (8-10 inches) for covering the sides and top of the cake quickly. These spatulas are crucial for achieving that smooth finish often desired in an easy cake frosting tutorial.
Another essential tool is a bench scraper or cake scraper. This flat, straight-edged tool is used to smooth the sides of the cake once the frosting is applied. Holding it against the side of the cake while rotating a turntable (another highly recommended, though not strictly essential, tool for beginners) helps create perfectly straight and smooth sides with minimal effort.
For adding simple decorations or swirls, piping bags (reusable silicone or disposable plastic) and basic piping tips (like a large round tip or a star tip) are very useful. Having these tools readily available before you start is key to a stress-free and easy cake frosting tutorial experience.
Simple Buttercream Ingredients: What You'll Need
Classic American buttercream relies on just a few basic ingredients that are likely already in your pantry. The core components are unsalted butter, powdered sugar (also known as confectioners' sugar or icing sugar), a liquid (like milk, cream, or water), and flavoring (typically vanilla extract). The ratio of butter to sugar is key to achieving the right consistency – generally, it's about one part butter to three or four parts powdered sugar by weight or volume, though this can vary.
Using unsalted butter allows you to control the salt level yourself, which is important for balancing the sweetness of the frosting. Ensure your butter is softened to room temperature before beginning; this is critical for achieving a smooth, lump-free buttercream, a vital step in any easy cake frosting tutorial.
The liquid is added gradually to reach the desired consistency. A tablespoon or two is often enough to make the buttercream spreadable without being too thin. Whole milk or heavy cream will produce a richer frosting, while water or a clear extract can be used if you're aiming for pure white frosting. Vanilla extract is the standard flavoring, but feel free to experiment with almond extract, lemon zest, or even melted chocolate once you're comfortable with the basic recipe. The quality of your ingredients, especially the butter and extract, will impact the final flavor of your easy cake frosting.
Step-by-Step: Buttercream Frosting Tutorial
Step 1: Preparing Your Cake for Frosting
Before you even think about applying frosting, your cake needs a little prep work. First, ensure your cake layers are completely cooled. Frosting a warm cake is a recipe for disaster; the heat will melt the butter in the frosting, causing it to slide right off.
Once cool, place your cake layers on a flat surface or a cake board. If your cake has a domed top, you'll want to level it to create a flat surface for stacking. This is a simple step that makes a big difference in the final look of your frosted cake, especially when following an easy cake frosting tutorial aimed at smooth results.
Leveling Your Cake Layers
Leveling a cake simply means removing the domed top so you have a flat surface. You can do this with a serrated knife, a cake leveler tool, or even a long piece of dental floss. Place the cake on a flat surface and, using a serrated knife, gently saw back and forth horizontally through the cake dome, keeping the knife as level as possible.
Alternatively, a cake leveler tool can be adjusted to your desired height and simply pulled through the cake. This step ensures your stacked cake is straight and stable, providing a perfect base for your easy cake frosting tutorial.
The Crumb Coat: Your First Layer of Defense
The crumb coat is a thin layer of frosting applied directly to the cooled cake layers before the final layer of frosting. Its primary purpose is to trap any loose crumbs, preventing them from getting into your final, smooth frosting layer. Apply a thin, even layer of buttercream all over the cake – top and sides – using an offset spatula.
It doesn't need to be perfectly smooth, just covered. Once applied, chill the cake in the refrigerator for 20-30 minutes, or until the crumb coat is firm to the touch. This step is crucial for achieving a clean, smooth final finish and is a non-negotiable part of any effective easy cake frosting tutorial.
Step 2: Making Classic Buttercream Frosting
Now for the star of the show: the buttercream! Making classic American buttercream is quite straightforward once you understand the process. It involves creaming softened butter, gradually adding powdered sugar, incorporating a liquid, and finishing with flavoring. The key is to start with properly softened butter – it should be pliable but not melted. Using cold butter will result in lumpy frosting, which no one wants in their easy cake frosting tutorial.
Recipe: Simple Vanilla Buttercream
Here is a basic recipe for a single batch, usually enough for a two-layer 8-inch cake:
Ingredients:
- 1 cup (2 sticks) unsalted butter, softened
- 4 cups (about 1 pound or 450g) powdered sugar, sifted
- 2-4 tablespoons milk, cream, or water
- 1-2 teaspoons vanilla extract
- Pinch of salt (optional, to balance sweetness)
Instructions:
- In a large bowl, beat the softened butter with an electric mixer (handheld or stand mixer) on medium speed until light and fluffy, about 3-5 minutes.
- Gradually add the sifted powdered sugar, about a cup at a time, mixing on low speed until combined after each addition. Scrape down the sides of the bowl as needed. The mixture will be thick and crumbly.
- Add the milk or liquid, one tablespoon at a time, mixing until the frosting reaches your desired consistency.
- Stir in the vanilla extract and optional salt.
- Increase the mixer speed to medium-high and beat for another 2-3 minutes. This helps to whip air into the frosting, making it lighter and creamier. This vigorous mixing step is important for achieving a smooth texture in your easy cake frosting tutorial.
Achieving Perfect Buttercream Consistency
The ideal consistency for buttercream depends on how you plan to use it. For spreading a smooth finish on the sides and top of the cake, you want it to be soft enough to spread easily but firm enough to hold its shape. This usually requires adding just enough liquid to make it pliable. If it's too stiff, add another teaspoon of liquid; if it's too thin, add a tablespoon or two more sifted powdered sugar and mix well. Remember, consistency is key for a successful easy cake frosting tutorial outcome.
For piping decorations, you generally want a slightly firmer consistency so the shapes hold well. This might mean using slightly less liquid or adding a bit more powdered sugar. Test the consistency by scooping some onto a spoon – it should hold its shape without dripping. If you're struggling, don't worry! You can always adjust it. Too thick? Add more liquid. Too thin? Add more sugar. This flexibility is part of what makes buttercream great for beginners learning an easy cake frosting tutorial.
Step 3: Applying the Buttercream
With your crumb-coated cake chilled and your buttercream ready, it's time for the final layer of frosting. Apply a generous amount of buttercream to the top of the cake first, spreading it outwards towards the edges using your large offset spatula. Don't worry about getting it perfect yet, just ensure there's enough frosting to cover the top completely.
Next, apply buttercream to the sides of the cake. The easiest way is often to apply large dollops or vertical stripes of frosting all around the sides. Then, use your offset spatula to spread it evenly, covering the crumb coat completely. Aim for a consistent layer of frosting all around. This step sets the stage for smoothing, a key technique in any easy cake frosting tutorial.
How to Achieve a Smooth Finish
Achieving a smooth finish requires patience and practice, but it's definitely achievable for beginners. Once the cake is fully covered with buttercream, use your large offset spatula to smooth the top, gently sweeping from the center towards the edges, removing excess frosting as you go. For the sides, hold your bench scraper or cake scraper vertically against the side of the cake, keeping it at a slight angle (about 45 degrees) and applying gentle, even pressure. While rotating the cake (ideally on a turntable), keep the scraper still.
This will shave off excess frosting and fill in gaps, leaving a smooth surface. Scrape off the excess frosting from your tool into the bowl as needed. Repeat this process until the sides are as smooth as you'd like. This smoothing technique is a fundamental skill taught in an easy cake frosting tutorial.
Don't get discouraged if it's not perfectly smooth on your first try! Even professional bakers take time to achieve flawless finishes. For a super smooth finish, you can chill the cake again for about 10-15 minutes until the outer layer of frosting is firm, then gently smooth it again with a warm, dry spatula or scraper. Dip your tool in hot water, wipe it completely dry, and then use it to smooth the chilled frosting. The warmth helps glide over the surface.
Simple Buttercream Swirl Techniques
If the perfectly smooth look feels intimidating, or you prefer a more rustic or decorative finish, simple buttercream swirls are a fantastic and easy option. Once the cake is covered with a basic layer of frosting, you can use an offset spatula to create texture. Drag the tip of the spatula through the frosting in arcs or waves on the top and sides for a simple textured look.
For classic swirls using a piping bag, fit a piping bag with a large tip (like a round tip or an open star tip). Fill the bag about two-thirds full with buttercream. Starting at the center of the cake's top, pipe a spiral outwards towards the edge. For the sides, pipe vertical lines or small rosettes using a star tip. Piping is a fun way to add flair and is often included as an optional step in an easy cake frosting tutorial.
Step 4: Easy Cake Decorations
Once your cake is frosted, the fun part begins: decorating! You don't need fancy tools or techniques to make a cake look special. Simple decorations can elevate your cake from lovely to show-stopping with minimal effort. This is where your creativity can shine, building on the foundation of your easy cake frosting tutorial.
Simple Decoration Ideas
One of the easiest ways to decorate is by adding a border around the top and/or bottom edge of the cake using a piping bag fitted with a star tip. Pipe simple shells, stars, or dots for a classic look. You can also use the remaining buttercream to pipe a simple message on top if you have a steady hand and a small round tip.
Fresh fruit, like berries or sliced citrus, arranged attractively on top of the cake, adds color, freshness, and requires no special skills beyond arranging. Another simple yet effective technique is to press chopped nuts, shredded coconut, or chocolate shavings onto the sides of the cake. These simple additions are perfect for enhancing your easy cake frosting tutorial creation.
Using Sprinkles and Edible Glitter
Sprinkles are a beginner's best friend! They come in countless colors, shapes, and sizes and instantly add a festive touch. You can scatter them over the top of the cake, press them into the sides (this works best when the frosting is still soft), or create patterns using stencils. Edible glitter or dust can be brushed or sprinkled onto the frosting for a touch of sparkle, perfect for birthdays or celebrations. Using sprinkles is perhaps the simplest decoration method, making it ideal for anyone following an easy cake frosting tutorial and wanting a quick win.
Troubleshooting Buttercream Problems
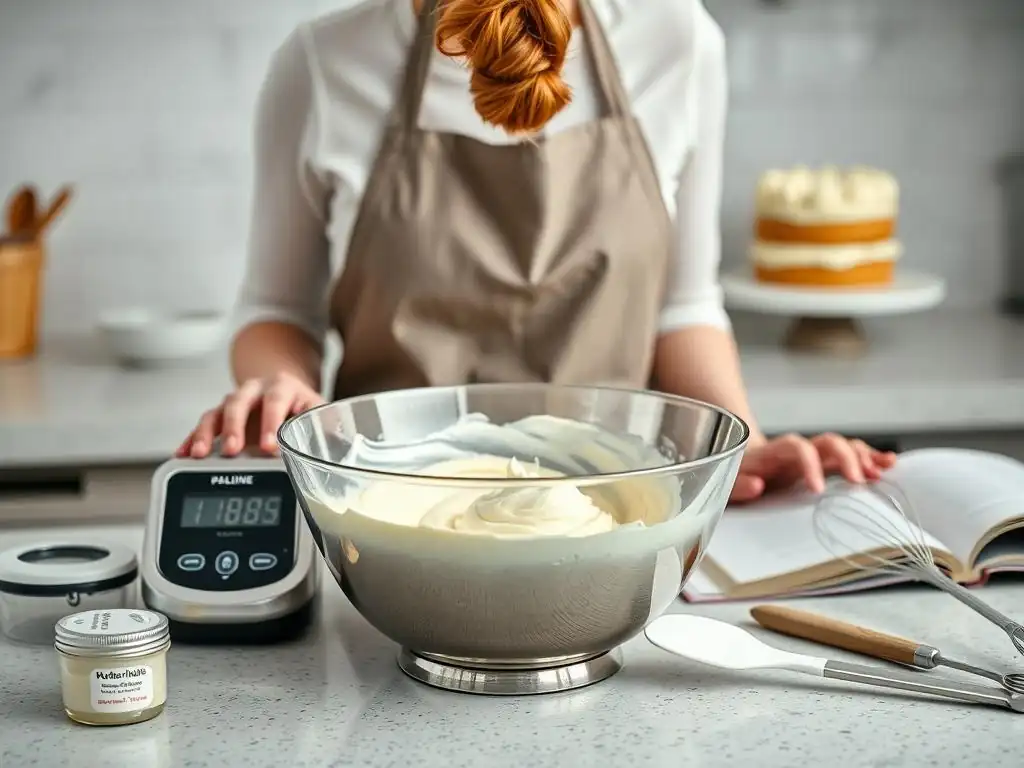
Even with an easy cake frosting tutorial, sometimes things don't go exactly as planned. Don't worry, most common buttercream issues are easily fixable!
Dealing with Runny Buttercream
If your buttercream is too soft or runny, it's likely too warm or has too much liquid. The easiest fix is to chill it. Place the entire bowl of buttercream in the refrigerator for 15-20 minutes, then re-whip it. If it's still too soft, gradually add more sifted powdered sugar, a tablespoon or two at a time, while mixing on low speed until the desired consistency is reached. Ensure your kitchen isn't excessively warm, as heat can quickly turn perfect buttercream into a runny mess, frustrating your easy cake frosting tutorial efforts.
Fixing Grainy Buttercream
Grainy buttercream is usually caused by undissolved powdered sugar or butter that wasn't properly softened or creamed. If the sugar is the culprit, try mixing the buttercream on medium speed for several minutes longer. The friction from the mixer can help dissolve the sugar crystals.
If the butter wasn't soft enough to start, it's harder to fix completely, but beating the buttercream for an extended period (5-10 minutes) can sometimes help break down the butter chunks and incorporate air, making it smoother. Sifting your powdered sugar before you start is a crucial preventative step mentioned in most easy cake frosting tutorial guides.
Preventing Air Bubbles
Air bubbles can appear in buttercream, especially after prolonged mixing. To minimize them, use your mixer on a lower speed for the final mixing stage. If you still have bubbles, you can often remove them by stirring the buttercream vigorously by hand with a spatula for a few minutes after mixing. Press the buttercream against the sides of the bowl with your spatula; this helps force the air pockets out. For a super smooth finish, gentle hand stirring is key after the mechanical mixing, helping to perfect the results of your easy cake frosting tutorial.
Storing Your Frosted Cake
Once your beautiful cake is frosted, proper storage is essential to keep it fresh and delicious.
How to Store a Frosted Cake
A cake frosted with buttercream can typically be stored at room temperature for 1-2 days, provided it's covered properly to prevent it from drying out. Use a cake dome, an airtight cake carrier, or invert a large bowl over the cake on its serving plate. If your kitchen is warm (above 70°F or 21°C) or humid, or if your frosting contains perishable ingredients like fresh cream cheese (beyond the standard milk/cream in buttercream), refrigeration is recommended. Proper storage ensures your hard work on this easy cake frosting tutorial lasts.
Refrigerating and Freezing Buttercream Cake
For longer storage, refrigeration is necessary. Place the uncovered cake in the refrigerator for about 15-20 minutes until the buttercream is firm. Then, cover it tightly with plastic wrap, being careful not to dent the frosting. A frosted cake can last 3-4 days in the refrigerator. To serve, let it sit at room temperature for 30-60 minutes before slicing; this allows the buttercream to soften back to a creamy consistency.
For even longer storage, buttercream cakes freeze exceptionally well. Once the frosting is firm from refrigeration, wrap the cake tightly in several layers of plastic wrap, followed by a layer of aluminum foil or place it in a freezer-safe container. Frozen frosted cake can last for 2-3 months. Thaw it overnight in the refrigerator, then bring it to room temperature for serving. Freezing is a great way to preserve your easy cake frosting tutorial masterpiece for a future occasion!
Beyond the Basics: Expanding Your Frosting Skills
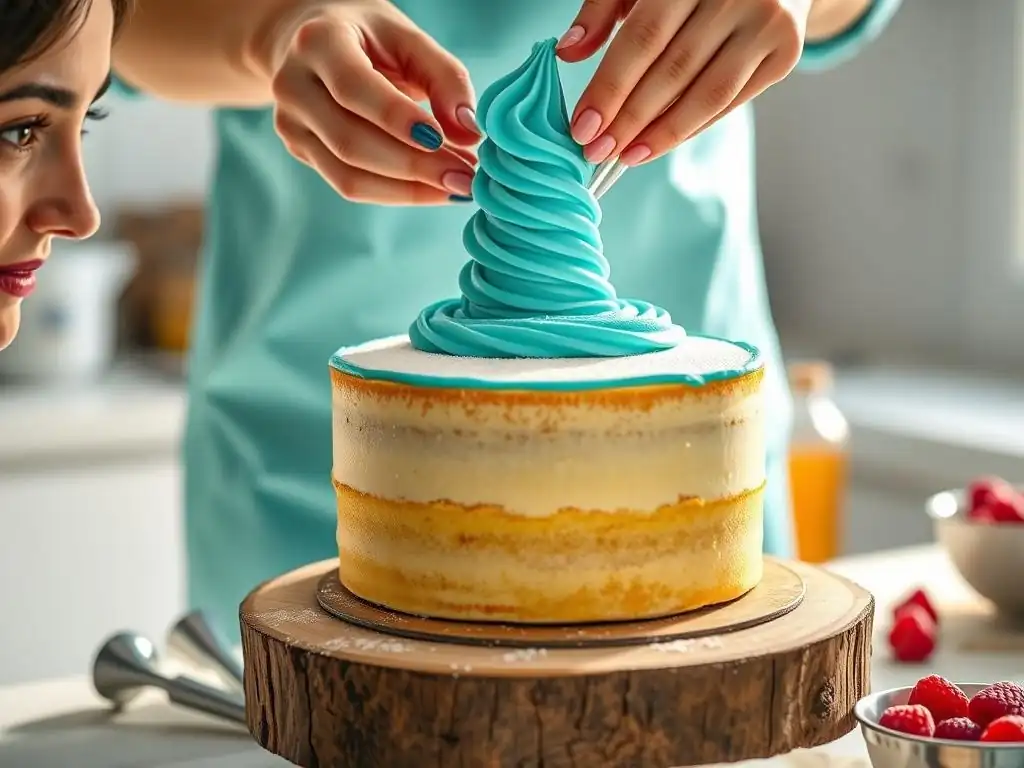
You've mastered the basics of our easy cake frosting tutorial! But the world of buttercream is vast and exciting.
Exploring Different Buttercream Flavors
Don't stop at vanilla! Once you're comfortable with the basic technique, try flavoring your buttercream. You can easily add cocoa powder (sifted) for chocolate buttercream, fruit purees (reduce liquid slightly), coffee extract, citrus zest or juice, or even melted, cooled chocolate. Ensure any additions are well-mixed and don't significantly alter the consistency. Experimenting with flavors is a fun next step after completing this easy cake frosting tutorial.
Introduction to Piping Techniques
This easy cake frosting tutorial covered simple swirls, but piping bags and tips can do so much more! There are hundreds of different piping tips that create everything from leaves and petals to intricate basketweave patterns. Learning a few basic piping techniques, like shells, rosettes, or leaves, can dramatically enhance the look of your cakes. You can find many resources and videos online to guide you through specific piping techniques, building on the skills you gained here.
Conclusion: Congratulations on Mastering Buttercream!
You've done it! You've successfully navigated this easy cake frosting tutorial, from preparing your cake to applying and smoothing that delicious buttercream. Whether you opted for a perfectly smooth finish, charming swirls, or a sprinkle explosion, you've taken a significant step in your baking journey.
Celebrate Your Baking Success!
Take a moment to admire your work. You've transformed a simple cake into a work of art (and a tasty one at that!). Share your creation with friends and family, or simply enjoy a slice yourself. Every cake you frost will be a learning experience, and you'll get better with each one. Remember the techniques from this easy cake frosting tutorial, keep practicing, and most importantly, have fun with it! Happy Baking!
Frequently Asked Questions
What is considered the easiest method for frosting a cake, according to BakeWithEase?
The easiest method focuses on a simple buttercream recipe and using an offset spatula for smooth, even application. It prioritizes speed and minimal tools.
What kind of frosting is recommended in the "Easy Cake Frosting Tutorial"?
The tutorial recommends a basic buttercream frosting because it's easy to make, versatile, and forgiving for beginners. It's the foundation for many other frosting types.
Are there any specific tools needed for this easy cake frosting method?
Yes, a turntable (optional but helpful) and an offset spatula are highly recommended. These tools make achieving a smooth, professional-looking finish much easier.
Does the "Easy Cake Frosting Tutorial" cater to beginner bakers?
Absolutely! The tutorial is designed with beginner bakers in mind. It provides step-by-step instructions and focuses on simplicity and achievable results.
What if I want to add flavor or color to my easy buttercream frosting?
The tutorial encourages experimentation with flavors and colors. Add extracts, fruit purees, or food coloring after the buttercream base is prepared for easy customization.
Final Reflection: The Sweet Simplicity of Frosting
The art of frosting a cake, once perceived as a daunting culinary feat, is now readily accessible to everyone. This simple act, mastered with a few easy steps, transforms a plain cake into a delightful centerpiece, capable of bringing joy to any occasion. The ease of the process, as detailed in this tutorial, empowers even the most novice baker to create something beautiful and delicious.
The impact of accessible baking tutorials extends far beyond the kitchen. It fosters a sense of accomplishment and creativity, reminding us that even seemingly complex tasks can be broken down into manageable steps. This resonates deeply with me, as I've witnessed firsthand the joy that baking brings, not just in the final product, but in the process itself. Baking is at once child's play and adult joy. And love.
– Alma Flor Ada. This quote perfectly captures the essence of what this simple act of frosting represents: a blend of playful creativity and profound satisfaction.
Now, I invite you to take what you've learned here and apply it. Don't be afraid to experiment, to personalize your frosting, to let your creativity flow. The next time you bake a cake, remember the simplicity of this process, and the immense satisfaction that comes with creating something beautiful with your own hands. Embrace the sweet simplicity, and let the frosting be a symbol of your own creative potential.
Unlock Your Inner Cake Artist: Frosting Made Easy!
Thanks for taking the time to learn the easiest way to frost a cake! We hope you gained confidence and are ready to create beautiful, delicious desserts. Now it's time to put your newfound skills into action.
- Frost your dream cake today! Gather your ingredients and try out the technique – we bet you'll be amazed at how simple it is.
- Share your frosted masterpiece with us on social media using #BakeWithEase! We'd love to see your creations.
- Explore other simple baking recipes on BakeWithEase.com – maybe you'll discover your next favorite dessert!
What flavor frosting will you create first? Let us know in the comments below!