
Your First Perfect Dessert: An Easy NoBake Guide

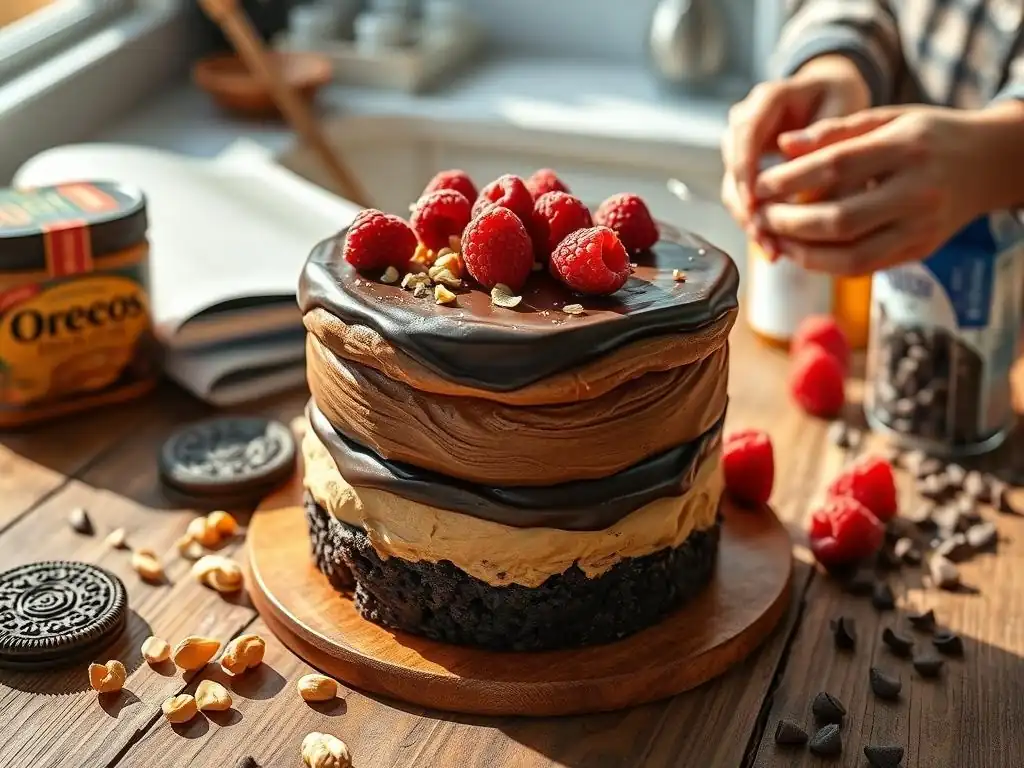
Welcome to BakeWithEase, your kitchen companion for all things baking!
Ever dreamt of creating a show-stopping dessert without even turning on the oven? You're in the right place. Dive into our guide to effortless elegance with Nobake dessert recipes beginners will adore. Discover the secrets to crafting delightful treats that are as easy to make as they are delicious. Curious to know how you can whip up a perfect dessert in minutes? Let's get started!
- Introduction to No-Bake Desserts for Beginners: BakeWithEase
- Essential Equipment and Ingredients for Nobake Dessert Recipes Beginners
- Recipe 1: Classic Chocolate Fridge Cake – A Beginner's Delight
- Recipe 2: Easy No-Bake Cheesecake Parfaits – Individual Dessert Cups
- Recipe 3: Simple No-Bake Energy Bites – Healthy and Delicious
- Troubleshooting Common Issues in No-Bake Desserts
- Advanced Tips for Elevating Your No-Bake Desserts
- Conclusion: Mastering Nobake Dessert Recipes Beginners with BakeWithEase
-
Frequently Asked Questions
- What is the easiest type of no-bake dessert for beginners to make?
- Where can I find no-bake dessert recipes specifically designed for beginners?
- What are some essential ingredients to have on hand for making no-bake desserts?
- How can I avoid common mistakes when making no-bake desserts?
- Are no-bake desserts suitable for all dietary restrictions?
- Final Reflection: The Sweetness of Simplicity
- Unleash Your Inner Pastry Chef!
Introduction to No-Bake Desserts for Beginners: BakeWithEase
Why Choose No-Bake Recipes? The Perfect Start for Beginner Bakers
Embarking on your baking journey can feel daunting, especially when faced with complex techniques like tempering chocolate or achieving the perfect yeast rise. This is precisely where no-bake dessert recipes for beginners shine. They offer a fantastic entry point into the world of sweet treats without the need for an oven, significantly reducing the margin for error and the potential for kitchen disasters like burnt bottoms or sunken cakes. Think of it as your low-stakes introduction to dessert making, allowing you to build confidence and learn foundational skills like mixing, chilling, and layering.
Beyond their simplicity, no-bake recipes are incredibly versatile and quick to prepare. Many require minimal ingredients, often utilizing pantry staples you might already have. This makes them ideal for spontaneous cravings or last-minute gatherings. Furthermore, the primary requirement, chilling time, allows you to prepare ahead, freeing up your time when you need it most. For anyone starting out, mastering a few easy no-bake dessert recipes for beginners is a smart move, providing delicious results with less stress than traditional baked goods.
BakeWithEase: Your Partner in Easy Dessert Creations
At BakeWithEase, our mission is to demystify baking and make it accessible and enjoyable for everyone, particularly beginners. We understand that stepping into the kitchen to create your first dessert can be intimidating, which is why we focus on providing clear, simple, and foolproof recipes. Our collection of no-bake dessert recipes for beginners is curated specifically to help you achieve success on your very first try, building a positive and encouraging experience right from the start.
We don't just provide recipes; we offer guidance, tips, and explanations to help you understand the 'why' behind each step. Our aim is to empower you with the knowledge to confidently tackle more complex recipes as you grow. By choosing BakeWithEase, you're not just getting a recipe; you're gaining a supportive partner committed to helping you discover the joy of creating delicious desserts, starting with incredibly easy no-bake options perfect for anyone new to the kitchen.
Essential Equipment and Ingredients for Nobake Dessert Recipes Beginners
Must-Have Tools for Effortless No-Bake Desserts
You don't need a professional kitchen setup to create amazing no-bake desserts. For most no-bake dessert recipes beginners will try, a few basic tools are sufficient. A set of mixing bowls in various sizes (a medium bowl and a large bowl are usually enough) is essential for combining ingredients. You'll also need a good whisk for whipping cream or mixing batters, and a sturdy spatula or rubber scraper for folding and ensuring everything is well combined from the sides of the bowl.
Other helpful items include measuring cups and spoons for accurate ingredient proportions – precision is still important even in easy recipes! Depending on the specific no-bake dessert recipes beginners choose, you might also need a hand mixer (especially useful for whipping cream quickly), a food processor or rolling pin to crush biscuits or nuts, and serving dishes like individual glasses, a pie dish, or a square baking pan. Having these fundamental tools ready will make the process smooth and enjoyable.
Key Ingredients for Delicious and Simple No-Bake Treats
The beauty of many no-bake dessert recipes for beginners lies in their reliance on readily available ingredients. Common staples include biscuits (like digestive biscuits or graham crackers) for crusts, butter (usually melted) to bind the crust, and some form of dairy like cream cheese, heavy cream (double cream), or condensed milk for fillings. Sweeteners such as powdered sugar or granulated sugar are also fundamental.
You'll often find ingredients like cocoa powder or melted chocolate for chocolatey variants, fruit (fresh or frozen) for flavor and color, and sometimes gelatin or cornstarch as setting agents, though many easy no-bake dessert recipes for beginners avoid these for simplicity. Having a well-stocked pantry with these items means you're often just a few steps away from whipping up a delightful dessert, making no-bake creations incredibly convenient for anyone starting out.
Recipe 1: Classic Chocolate Fridge Cake – A Beginner's Delight
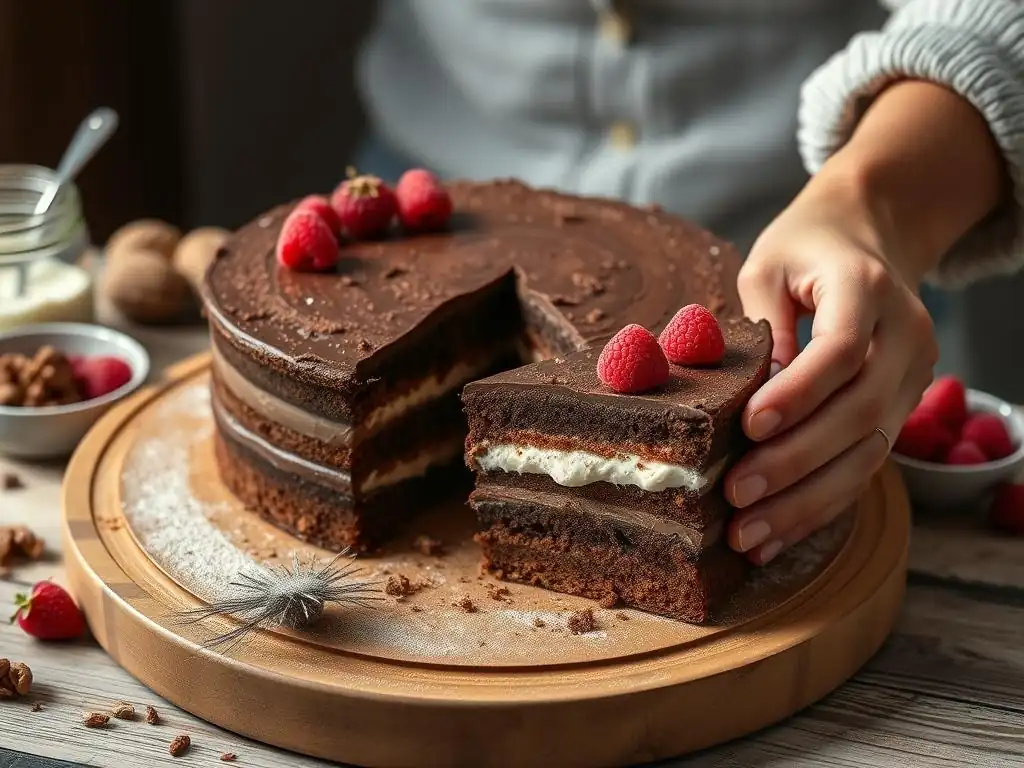
Ingredients for the Chocolate Fridge Cake
This classic no-bake chocolate fridge cake is perfect for no-bake dessert recipes beginners are looking for because it requires minimal effort and yields impressive results. You'll need approximately 200-250 grams of digestive biscuits or similar plain sweet biscuits. For the rich chocolate base, gather about 100-150 grams of unsalted butter, roughly 200 grams of good quality dark chocolate (or a mix of milk and dark), and about 50-75 grams of golden syrup or corn syrup. Optional additions include dried fruit like raisins (around 50g) or chopped nuts (about 50g) for added texture and flavor.
Ensure your ingredients are at room temperature where applicable, especially the butter if you're not melting it directly with the chocolate. The quantity of biscuits can be adjusted slightly depending on how chunky you like your cake. Using a mix of chocolates can also alter the sweetness and intensity, allowing you to tailor the recipe to your preference as you become more comfortable with no-bake dessert recipes beginners friendly.
Step-by-Step Instructions: Making the Chocolate Fridge Cake
- Prepare the biscuits: Place the biscuits in a large zip-top bag and crush them using a rolling pin until they are broken into a mix of crumbs and small chunks. Alternatively, pulse them briefly in a food processor. Aim for varying sizes, not uniform dust.
- Melt the chocolate mixture: In a heatproof bowl set over a pan of simmering water (or carefully in a microwave in 30-second bursts), melt the butter, chocolate, and golden syrup together. Stir until smooth and glossy. Remove from the heat and let it cool slightly for a few minutes.
- Combine ingredients: Add the crushed biscuits and any optional additions (dried fruit, nuts) to the melted chocolate mixture. Stir gently but thoroughly with a spatula until all the biscuit pieces are coated in chocolate.
- Assemble and chill: Line a loaf tin or a small square baking pan (approx. 20cm) with baking paper, leaving some overhang to help with removal. Spoon the mixture into the lined tin and press it down firmly and evenly using the back of a spoon or spatula.
- Chill: Place the tin in the refrigerator for at least 2-3 hours, or preferably until fully set. This chilling time is crucial for the cake to firm up properly, a key step in many no-bake dessert recipes beginners need to follow carefully.
- Serve: Once set, use the baking paper overhang to lift the cake out of the tin. Slice into portions using a sharp knife. You can dust with a little cocoa powder or icing sugar before serving if desired.
Tips for Perfecting Your Chocolate Fridge Cake: Avoiding Common Mistakes
One common pitfall when making chocolate fridge cake, and other no-bake dessert recipes beginners might attempt, is not allowing enough chilling time. Rushing this step will result in a soft, unmanageable cake that doesn't hold its shape. Ensure you give it the full recommended time, or even longer if your fridge isn't very cold. A minimum of 2-3 hours is essential, but overnight is even better for a truly firm set.
Another tip is to avoid overheating the chocolate mixture. Melting gently over simmering water or in short bursts in the microwave prevents the chocolate from seizing or burning. Also, ensure the mixture cools slightly before adding the biscuits; adding them to a very hot mixture can make them soggy quickly. Finally, don't crush the biscuits into a fine powder; leaving some larger chunks provides a delightful texture contrast in the finished cake, enhancing the experience of making no-bake dessert recipes beginners will love.
Recipe 2: Easy No-Bake Cheesecake Parfaits – Individual Dessert Cups
Ingredients for No-Bake Cheesecake Parfaits
Creating individual no-bake cheesecake parfaits is a fantastic way to make elegant desserts with minimal fuss, perfect for no-bake dessert recipes beginners want to impress with. For the base, you'll need about 100-150 grams of crushed biscuits (like graham crackers or digestives) mixed with 50-75 grams of melted butter. The creamy filling typically requires 200-250 grams of cream cheese, softened at room temperature, about 50-100 grams of powdered sugar (icing sugar), 1 teaspoon of vanilla extract, and 200-250 ml of cold heavy cream (double cream), whipped to stiff peaks.
Optional additions for layering or topping include fresh berries (strawberries, raspberries, blueberries work well), fruit compote, chocolate shavings, or a drizzle of caramel sauce. The quantities listed are approximate and can yield about 4-6 individual parfaits, depending on the size of your serving glasses. Ensure your cream cheese is soft for a smooth filling, a crucial detail for creamy no-bake dessert recipes beginners should note.
Assembling the Cheesecake Parfaits: A Simple Guide
Assembling no-bake cheesecake parfaits is straightforward and fun, making them ideal for no-bake dessert recipes beginners can easily master. Start by spooning about 1-2 tablespoons of the crushed biscuit base into the bottom of each serving glass or jar. Press down gently with the back of a spoon.
Next, prepare the filling: in a medium bowl, beat the softened cream cheese with the powdered sugar and vanilla extract until smooth and creamy. In a separate bowl, whip the cold heavy cream until stiff peaks form. Gently fold the whipped cream into the cream cheese mixture until just combined – be careful not to overmix. Spoon or pipe the cheesecake filling over the biscuit base in each glass.
You can add layers of fruit or compote between the filling layers if desired. Finish with another layer of filling or a topping. Chill the parfaits in the refrigerator for at least 1-2 hours before serving to allow them to set slightly and flavors to meld.
Variations and Add-ins for Your Cheesecake Parfaits
The beauty of no-bake cheesecake parfaits lies in their adaptability, allowing you to easily experiment with variations, a great feature of many no-bake dessert recipes beginners can customize. Instead of a plain biscuit base, try using crushed Oreos for a chocolate version, or ginger snaps for a spicier twist. You can also add a pinch of cinnamon or nutmeg to the biscuit base mixture.
For the filling, consider adding citrus zest (lemon or lime) for a tangy flavor, or a tablespoon of cocoa powder for a chocolate cheesecake. Swirl in fruit puree or melted chocolate before chilling. The layering possibilities are endless: fresh fruit is always a winner, but you could also use chopped nuts, granola, chocolate chips, or a drizzle of fruit syrup or chocolate sauce on top. These simple changes allow you to create a wide variety of no-bake dessert recipes beginners will enjoy personalizing.
Recipe 3: Simple No-Bake Energy Bites – Healthy and Delicious
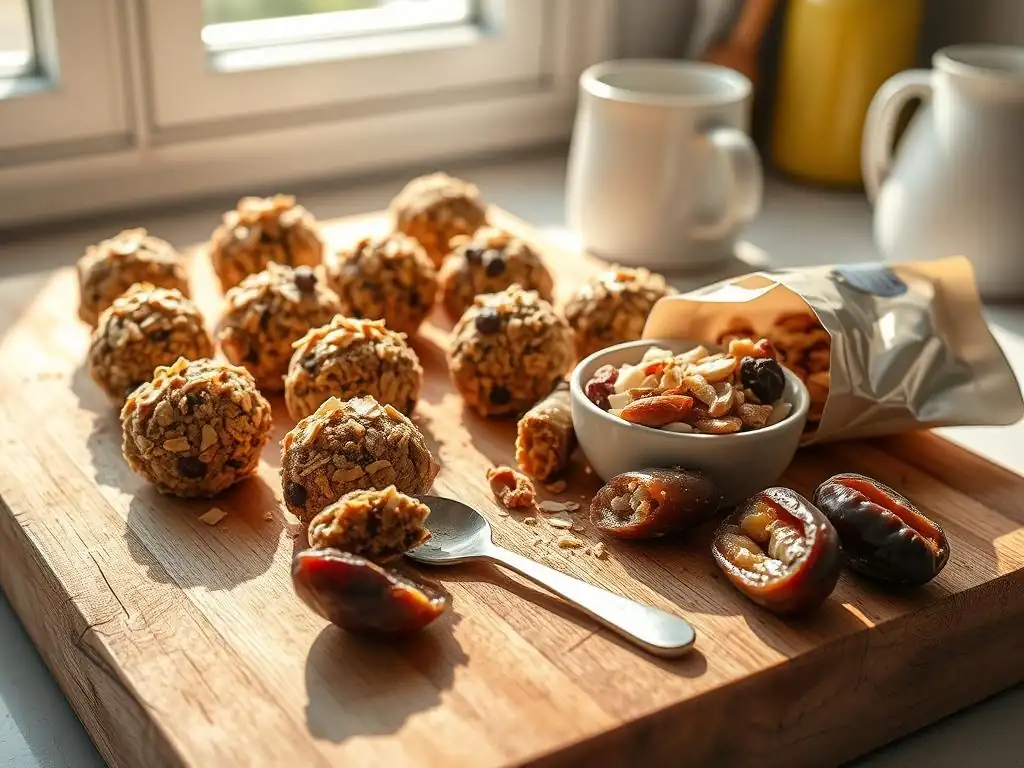
Ingredients for Quick No-Bake Energy Bites
No-bake energy bites are a fantastic option for a healthier treat or snack, and their simplicity makes them perfect no-bake dessert recipes beginners can whip up in minutes. The base often includes rolled oats (about 150-200 grams), a binder like peanut butter or almond butter (around 100-150 grams), and a sweetener like honey or maple syrup (about 50-75 grams). These three ingredients form the core of most recipes.
You can then add a variety of mix-ins for flavor and texture. Popular choices include shredded coconut (about 50g), mini chocolate chips (about 50g), chia seeds (about 2 tablespoons), flax seeds (about 2 tablespoons), or chopped nuts (about 50g). The flexibility in additions makes these some of the most adaptable no-bake dessert recipes beginners can experiment with using pantry leftovers.
Mixing and Shaping Your Energy Bites: A Hands-On Experience
Making no-bake energy bites is incredibly simple and requires no special equipment, making it an ideal task for no-bake dessert recipes beginners might feel hesitant about. In a large bowl, combine the rolled oats, nut butter, and liquid sweetener (honey or maple syrup). Mix well with a sturdy spoon or spatula until everything is thoroughly combined and sticky.
Now, add your desired mix-ins – shredded coconut, chocolate chips, seeds, or nuts. Stir again to distribute them evenly throughout the mixture. Once everything is combined, take small portions of the mixture (about a tablespoon or two) and roll them between your palms to form bite-sized balls. If the mixture is too sticky, you can lightly dampen your hands. If it seems too dry, add a tiny bit more nut butter or sweetener. This hands-on process is part of the fun of making these straightforward no-bake dessert recipes beginners will find satisfying.
Storing and Serving Your No-Bake Energy Bites
One of the great advantages of no-bake energy bites, typical of many no-bake dessert recipes beginners will appreciate, is how well they store. Once rolled, place the energy bites in an airtight container. You can layer them between pieces of parchment paper to prevent sticking, although this isn't always necessary.
Store the container in the refrigerator for up to 1-2 weeks. The cold helps them firm up and maintain their shape. They are typically served chilled, straight from the fridge. These bites are perfect for a quick breakfast on the go, a mid-afternoon snack, or a healthy post-dinner treat. Their portability and ease of storage make them a practical option among no-bake dessert recipes beginners can easily incorporate into their routine.
Troubleshooting Common Issues in No-Bake Desserts
My No-Bake Dessert Isn't Setting: What to Do?
A common frustration with no-bake dessert recipes beginners encounter is when the finished product doesn't set firmly. The primary reason for this is usually insufficient chilling time. Most no-bake desserts rely heavily on cold temperatures to solidify fats (like butter in crusts or cream cheese in fillings) or to activate setting agents if used. Ensure you are chilling the dessert for the full time specified in the recipe, often a minimum of 2-4 hours, or even overnight for best results, especially for larger or denser desserts.
If you've chilled it for the recommended time and it's still too soft, check your ingredient measurements. Using too little binder (like butter in a crust) or not enough stabilizer (like whipped cream or cream cheese in a filling) can lead to a soft texture. Ensure your cream cheese was full-fat, as low-fat versions contain more water and can make the dessert less firm. Placing the dessert in the freezer for 30-60 minutes can sometimes help salvage a slightly-too-soft dessert, a quick fix for no-bake dessert recipes beginners might need in a pinch.
Adjusting Sweetness Levels in No-Bake Recipes
Finding the perfect sweetness can be subjective, and sometimes no-bake dessert recipes beginners try might taste too sweet or not sweet enough. Adjusting sweetness in no-bake recipes is generally easier than in baked goods because you can often taste and adjust before the final chilling. If a mixture tastes too sweet, you can try adding a pinch of salt to balance the flavor, or incorporating a slightly acidic element like lemon juice or zest, especially in cream cheese-based fillings.
If the dessert isn't sweet enough, you can carefully stir in a little more powdered sugar or liquid sweetener (like maple syrup or honey) into the filling or mixture before it sets. Be cautious not to add too much liquid sweetener, as it can affect the texture. For already set desserts, you can add sweetness through toppings like a dusting of powdered sugar, a drizzle of chocolate or caramel sauce, or by serving with naturally sweet fresh fruit. Learning to adjust flavor is a valuable skill when exploring various no-bake dessert recipes beginners might come across.
Dealing with Lumpy or Grainy Textures
Achieving a smooth texture is key to many no-bake desserts, and encountering lumps or graininess can be disappointing for no-bake dessert recipes beginners. Lumps in a cream cheese filling, for example, are usually due to the cream cheese being too cold or not beaten enough initially. Always ensure your cream cheese is softened to room temperature before beating it, and beat it thoroughly on its own until completely smooth before adding other ingredients.
Graininess can sometimes occur if sugar hasn't dissolved properly, particularly granulated sugar in recipes that aren't heated. Using powdered sugar (icing sugar) is often recommended in no-bake fillings precisely because it dissolves easily, creating a smooth texture. If your mixture is grainy after combining, try beating it for a bit longer to see if the sugar dissolves. For crusts, ensure your melted butter is fully incorporated into the crumbs. Addressing texture issues helps improve the overall quality of no-bake dessert recipes beginners create.
Advanced Tips for Elevating Your No-Bake Desserts
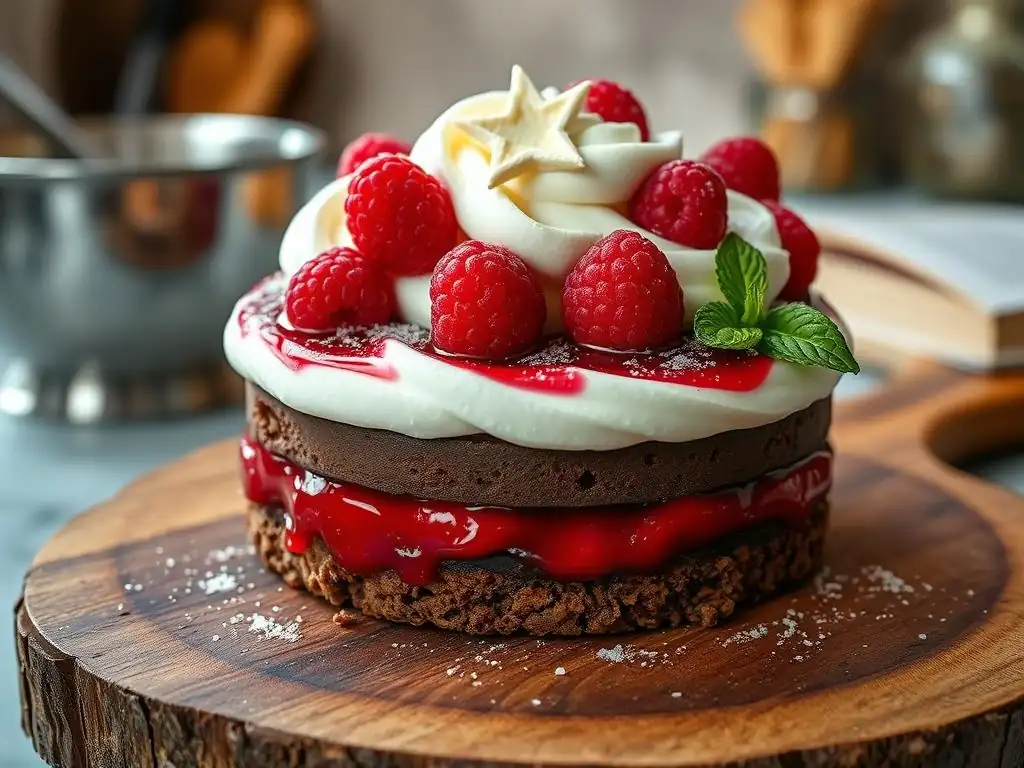
Incorporating Fresh Fruit for Added Flavor and Texture
Adding fresh fruit is a simple yet effective way to elevate no-bake dessert recipes beginners have mastered. Fruits like berries (strawberries, raspberries, blueberries), sliced bananas, or diced mango can add vibrant color, natural sweetness, and refreshing acidity, balancing the richness of creamy fillings or chocolate bases.
Consider folding fresh fruit into fillings just before chilling (being mindful that some fruits release liquid) or, more commonly, using them as beautiful and delicious layers or toppings. For instance, layering sliced strawberries and blueberries in a no-bake cheesecake parfait adds visual appeal and bursts of fresh flavor with every spoonful. Using fruit compotes or sauces is another option, providing concentrated fruit flavor and a smoother texture than fresh pieces. Experimenting with different fruits expands the possibilities for no-bake dessert recipes beginners can create.
Experimenting with Different Chocolate Varieties
For chocolate-based no-bake dessert recipes beginners love, like the fridge cake, experimenting with different types of chocolate can significantly impact the final flavor profile. Using dark chocolate will result in a more intense, less sweet dessert, while milk chocolate will yield a sweeter, creamier taste. A combination of dark and milk chocolate can offer a balanced richness.
Beyond basic varieties, consider using white chocolate for a different flavor dimension, or trying chocolates with varying cocoa percentages (e.g., 60% cocoa vs. 80% cocoa) in dark chocolate recipes. You can also incorporate flavored chocolates, like orange or mint chocolate, for an extra twist. Melting high-quality chocolate chips or chopped chocolate bars will give a better result than using chocolate melts or compound chocolate, enhancing the overall taste of your no-bake dessert recipes beginners are exploring.
Layering Techniques for Visually Stunning Desserts
Presentation is part of the dessert experience, and mastering layering techniques can make even simple no-bake dessert recipes beginners create look professionally made. Individual glasses or jars are excellent for showcasing layers. When assembling parfaits or trifles, alternate layers of crust or cake pieces, creamy filling, and fruit or other additions.
Use a piping bag (even a zip-top bag with a corner snipped off) to neatly pipe creamy layers, which helps keep the sides of the glass clean and creates distinct lines. For layered cakes in a pan, ensure each layer is spread evenly before adding the next. Consider contrasting colors and textures in your layers – a dark biscuit base, a light cream filling, and bright red berries, for instance. Taking a little extra time with layering transforms standard no-bake dessert recipes beginners into visually appealing treats.
Conclusion: Mastering Nobake Dessert Recipes Beginners with BakeWithEase
Celebrate Your Baking Success!
Congratulations! By tackling no-bake dessert recipes beginners friendly, you've taken a significant and delicious step into the world of dessert making. Whether you successfully created a classic chocolate fridge cake, elegant cheesecake parfaits, or healthy energy bites, you've proven that making wonderful sweet treats doesn't always require an oven or complex skills. Each successful attempt builds confidence and excitement for future kitchen adventures. At BakeWithEase, we believe every baking journey starts somewhere, and mastering easy no-bake dessert recipes for beginners is a fantastic foundation.
Take a moment to appreciate your creation, share it with friends and family, and savor the satisfaction of making something delightful from scratch. Remember the steps you took, the ingredients you used, and the techniques you learned. This initial success with straightforward no-bake dessert recipes beginners can make is just the beginning of what you can achieve in the kitchen.
Next Steps: Exploring More No-Bake Dessert Ideas
Now that you've dipped your toes into the world of no-bake dessert recipes beginners can easily master, why stop there? The no-bake universe is vast and full of exciting possibilities waiting for you to explore. Look for recipes featuring different flavors and textures, like key lime pie, banoffee pie, or even more complex layered mousses and terrines.
BakeWithEase offers a wide range of no-bake options that build slightly on the skills you've already developed. Consider trying recipes that introduce simple setting agents like gelatin or agar-agar, or those that involve making a quick sauce or caramel. Keep practicing, keep exploring, and keep the joy of creating delicious no-bake dessert recipes beginners can be proud of alive!
Frequently Asked Questions
What is the easiest type of no-bake dessert for beginners to make?
The easiest no-bake desserts for beginners often involve layering ingredients. Think of things like fruit parfaits or simple chocolate bark, requiring minimal skill.
Where can I find no-bake dessert recipes specifically designed for beginners?
Websites like BakeWithEase.com, and many other online recipe platforms, offer dedicated sections or filters for beginner-friendly no-bake desserts. Look for recipes with clear instructions.
What are some essential ingredients to have on hand for making no-bake desserts?
Common ingredients include graham crackers, cream cheese, chocolate, and condensed milk. These are versatile and frequently used in easy no-bake recipes.
How can I avoid common mistakes when making no-bake desserts?
Carefully follow the recipe's instructions, especially regarding chilling times and ingredient measurements. Make sure your ingredients are fresh and of good quality.
Are no-bake desserts suitable for all dietary restrictions?
Many no-bake desserts can be adapted to accommodate dietary restrictions like gluten-free or vegan. Look for recipes that specifically cater to these needs.
Final Reflection: The Sweetness of Simplicity
The ease of no-bake desserts isn't just a culinary convenience; it's a gateway to unlocking joy in the kitchen for everyone. This guide has explored the surprisingly simple world of no-bake recipes, proving that delicious treats don't require hours of oven time or complex techniques. We've debunked the myth that baking is an exclusive club, showing that anyone, regardless of experience, can create stunning desserts.
The impact of accessible recipes extends beyond individual kitchens. It fosters a sense of accomplishment and creativity, empowering individuals to share homemade treats with loved ones. This act of sharing, of creating something beautiful and delicious from simple ingredients, strengthens bonds and builds memories. As Julia Child wisely said, People who love to eat are always the best people.
This sentiment rings truer than ever when considering the joy of creating and sharing these easy-to-make desserts.
Now, it's your turn. Don't let the fear of failure or perceived complexity hold you back. Choose a recipe from this guide, gather your ingredients, and embark on your own culinary adventure. Embrace the simplicity, savor the process, and most importantly, enjoy the sweet reward of your first perfect no-bake dessert. The journey is as rewarding as the destination, and the memories you create will be even sweeter.
Unleash Your Inner Pastry Chef!
Thanks for joining us on this delicious journey into no-bake dessert bliss! You've just unlocked the secrets to creating effortlessly elegant treats. Ready to take your baking skills to the next level?
- Master your first no-bake masterpiece: Try the recipe from the article – we promise it’s easier than you think! Imagine the compliments you'll receive!
- Share your creation: Post a picture of your finished dessert on social media and tag us @BakeWithEase (this is optional). Let's see your delicious results!
- Explore our other no-bake recipes: Dive into our recipe collection for even more inspiration – there are so many exciting flavors to discover!
So, what incredible no-bake treat will you be making first?