
NoFail Brownies: Your Simple StepbyStep Guide to Gooey Goodness

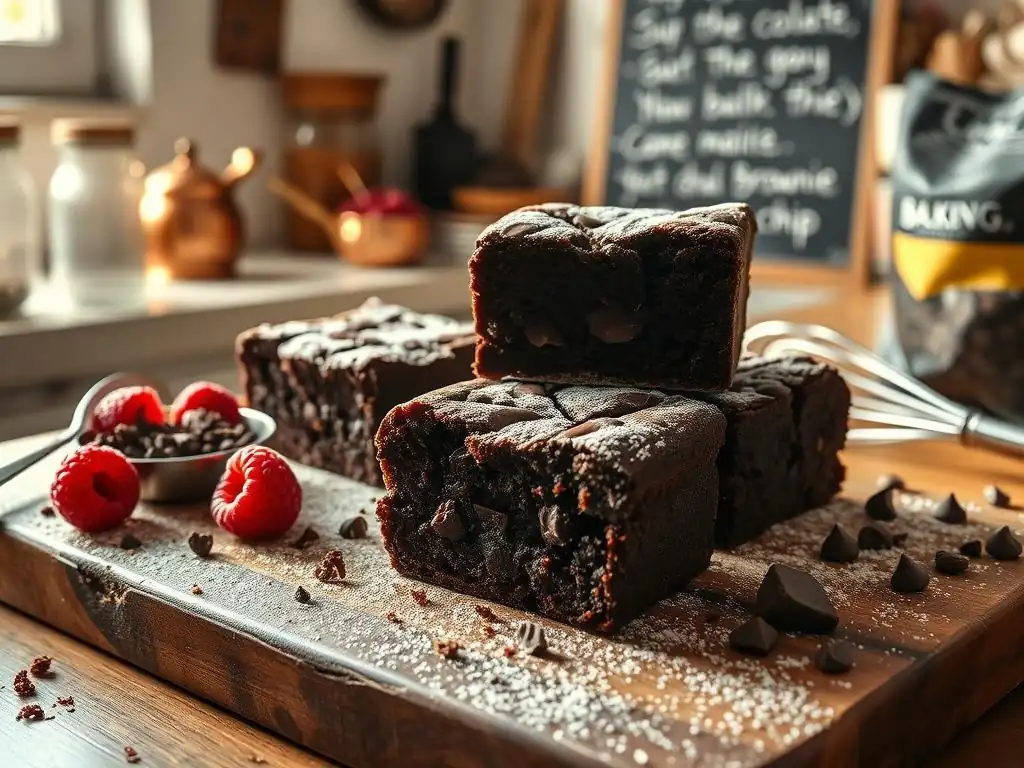
Welcome to BakeWithEase, your haven for effortless baking! Ever dreamt of perfectly chewy brownies that never fail? You're in the right place! Dive into our Nofail chewy brownie recipe and unlock the secrets to gooey, decadent goodness, even if you're just starting your baking journey. What makes these brownies truly special? Keep reading to discover the secret ingredient and easy steps to baking success!
- The Ultimate Chewy Brownie Recipe: A Beginner's Guide
- Why This Recipe Delivers Perfect Brownies Every Time
-
Step-by-Step: Mastering the Chewy Brownie Recipe
- Step 1: Gathering Your Ingredients for Perfect Brownies
- Step 2: Preparing Your Baking Pan
- Step 3: Melting the Chocolate and Butter
- Step 4: Mixing the Wet Ingredients
- Step 5: Incorporating the Dry Ingredients
- Step 6: Adding Your Favorite Mix-ins (Optional)
- Step 7: Baking Your Brownies
- Step 8: Cooling and Cutting
- Troubleshooting Your Chewy Brownies
- Variations on the Brownie Theme
- Storing Your Delicious Brownies
- Enjoy Your Homemade Chewy Brownies!
- Frequently Asked Questions
- Final Reflection: The Enduring Allure of the Perfect Brownie
- Unlock Your Inner Brownie Boss!
The Ultimate Chewy Brownie Recipe: A Beginner's Guide
Welcome to your new favorite no-fail chewy brownie recipe! Whether you're taking your very first steps in the kitchen or looking for a reliable treat that consistently delivers that perfect, gooey center and irresistible chewy edge, this guide is designed for you. We'll walk you through every stage, from gathering simple ingredients to mastering the baking time, ensuring your brownies turn out beautifully every single time. Get ready to impress yourself and everyone around you with these delightfully rich and chocolatey squares.
Baking brownies should be a joyful experience, not a stressful one. This particular no-fail chewy brownie recipe is specifically crafted with beginners in mind, utilizing common pantry staples and straightforward techniques. We'll demystify the process, explaining the 'why' behind each step so you understand how simple ingredients transform into a decadent dessert. Forget dense, cakey disappointments or burnt edges – follow this guide, and you'll unlock the secret to consistently perfect, chewy brownies that are rich, fudgy, and utterly satisfying.
Why This Recipe Delivers Perfect Brownies Every Time
Understanding the Secrets to Chewy, Fudgy Brownies
Achieving that sought-after chewy and fudgy texture in a brownie isn't magic; it's science! A great no-fail chewy brownie recipe balances the key structural components. Unlike cakey brownies which rely on more leavening (like baking powder) and a higher flour-to-fat ratio, chewy brownies minimize leavening and often use melted butter or chocolate, contributing to a denser, more decadent crumb. The amount and type of sugar also play a crucial role; a higher proportion of brown sugar can add moisture and chewiness due to its molasses content, while granulated sugar helps create that slightly crackly top.
Another secret lies in the egg ratio and mixing technique. Using more egg yolks relative to whites can increase richness and chewiness. Crucially, avoiding overmixing the batter after adding the flour is paramount. Overmixing develops gluten, which is desirable in bread but leads to a tougher, less tender brownie. By gently folding in the dry ingredients just until combined, you keep the gluten development minimal, resulting in that soft, fudgy, and delightfully chewy interior that defines a truly great brownie.
Perfect for Beginner Bakers: Simple Ingredients, Delicious Results
This no-fail chewy brownie recipe is specifically chosen for its simplicity and accessibility, making it ideal for anyone new to baking. The ingredient list features common items you likely already have in your pantry: flour, sugar (both granulated and brown), cocoa powder, butter, eggs, vanilla extract, and chocolate (either chips or chopped). There are no obscure ingredients or complex techniques required, reducing the barrier to entry and building confidence from your very first batch.
Beyond the simple ingredients, the steps themselves are straightforward and easy to follow. From melting the butter and chocolate to combining wet and dry ingredients, each stage is intuitive. We focus on clear instructions and helpful tips to avoid common pitfalls, such as overmixing or overbaking. This approach ensures that even with minimal baking experience, you can confidently create a batch of these amazing chewy brownies, enjoying the process and, most importantly, the delicious outcome.
Step-by-Step: Mastering the Chewy Brownie Recipe
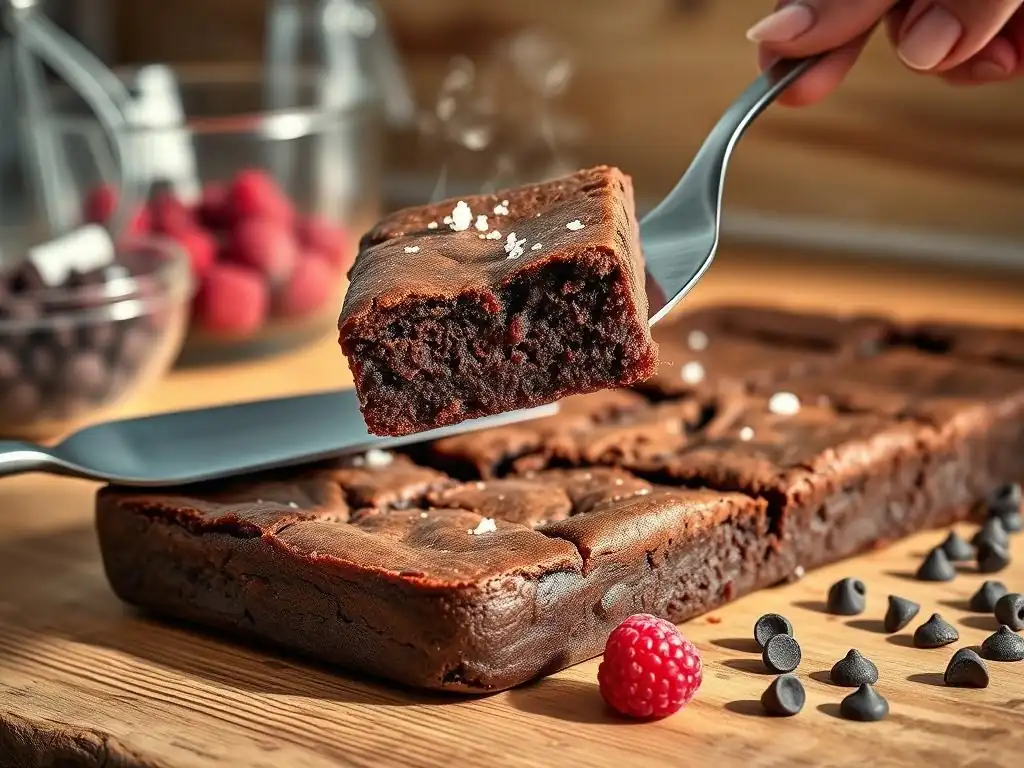
Step 1: Gathering Your Ingredients for Perfect Brownies
The journey to perfect, gooey brownies begins with having all your ingredients measured and ready before you start. This mise en place approach, as the pros call it, minimizes stress and ensures you don't forget anything crucial mid-process.
For a standard 8x8 inch pan, you'll typically need about 1/2 cup of unsalted butter, around 1 cup of granulated sugar, 1/2 cup of packed light brown sugar, 2 large eggs, 1 teaspoon of vanilla extract, 1/2 cup of all-purpose flour, 1/3 cup of unsweetened cocoa powder, and a pinch of salt (about 1/4 teaspoon). Having everything prepped means you can move smoothly through each step, preventing mistakes and ensuring a consistent result for your no-fail chewy brownie recipe.
Essential Ingredients for the Chewy Brownie Base
Here are the core components you'll need:
- Butter (preferably unsalted)
- Granulated Sugar
- Light Brown Sugar
- Large Eggs
- Vanilla Extract
- All-Purpose Flour
- Unsweetened Cocoa Powder
- Salt
These ingredients form the foundation of your fudgy, chewy base. The combination of sugars is key for texture and moisture, while the cocoa powder provides that deep chocolate flavor without the need for melting solid chocolate for the main base (though we'll get to that!). Eggs bind everything together and contribute to richness, and a little salt enhances all the sweet flavors.
Optional Add-ins: Customize Your Brownies!
Once you have the basic batter, the fun really begins with customization. While the core no-fail chewy brownie recipe is fantastic on its own, adding mix-ins can elevate them even further. Popular choices include:
- Chocolate chips (milk, semi-sweet, or dark)
- Chopped nuts (walnuts, pecans)
- White chocolate chunks
- Peanut butter swirls
- Caramel bits
- Candy pieces
About 1/2 cup to 1 cup of your favorite mix-ins is usually a good amount for an 8x8 inch pan. Decide what you want to add before you start mixing the batter, so they are ready to go when it's time to incorporate them.
Step 2: Preparing Your Baking Pan
Proper pan preparation is a small step that makes a huge difference, especially when aiming for that perfect, clean cut and easy removal of your no-fail chewy brownie recipe. An 8x8 inch square metal baking pan is ideal for achieving the correct thickness and baking time for a chewy interior. Avoid glass or dark-coated pans if possible, as they can affect baking time and heat distribution, potentially leading to overcooked edges before the center is done. Light-colored metal pans conduct heat more evenly.
Once you have your pan, the next crucial step is lining it. Greasing the pan alone isn't enough for easy release. Lining the pan with parchment paper or foil allows you to lift the entire cooled brownie slab out of the pan before cutting, resulting in much cleaner slices and preventing any sticking. It's a simple technique that saves frustration later and ensures your beautiful chewy brownies come out intact.
Lining the Pan for Easy Brownie Removal
To line your pan effectively, first lightly grease the pan with butter or non-stick spray. This helps the parchment or foil adhere smoothly. Then, cut a piece of parchment paper or aluminum foil that is long enough to cover the bottom and extend up two opposite sides of the pan, creating "handles." You can also cut a second piece to cover the other two sides if you want complete coverage, or simply press the first piece into the corners. Ensure the paper or foil is pressed snugly into the corners and up the sides of the pan.
This lining method is particularly helpful for this no-fail chewy brownie recipe because the fudgy, dense texture can be prone to sticking. By creating these liftable handles, you can easily remove the entire batch of cooled brownies onto a cutting board. This not only makes cutting easier and cleaner but also prevents scratching your baking pan with a knife.
Foil or Parchment Paper: Which is Best?
Both aluminum foil and parchment paper work well for lining a brownie pan, but they have slight differences. Parchment paper is generally non-stick on its own and provides a smoother surface, which can lead to a slightly neater brownie bottom. It's heat resistant and prevents sticking beautifully without needing additional grease on the paper itself (though greasing the pan first helps it stay put).
Aluminum foil is also effective, especially if you don't have parchment. However, it's recommended to grease the foil generously before adding the batter, as foil itself isn't inherently non-stick. Foil can also sometimes wrinkle more easily than parchment, potentially leaving slight indentations on the bottom of the brownies. For the smoothest, easiest release and a perfectly flat bottom, parchment paper is often the preferred choice for a no-fail chewy brownie recipe.
Step 3: Melting the Chocolate and Butter
This step is where the rich, chocolatey base of your no-fail chewy brownie recipe truly begins to form. Combining melted butter and chocolate (or just butter if using only cocoa powder, but adding melted chocolate boosts flavor and fudginess) creates a luxurious foundation for the batter. Melting them together ensures they are fully incorporated and creates a smooth, glossy mixture that will distribute evenly throughout the batter, contributing significantly to the final texture and intense flavor.
The key is to melt the ingredients gently and slowly. Overheating butter can cause it to separate or burn, and chocolate is notoriously easy to scorch, developing an unpleasant bitter taste. Using a double boiler or the microwave with careful attention are the best methods to ensure a smooth, perfectly melted mixture without compromising the flavor or texture of your brownies.
Achieving the Perfect Chocolatey Base
If your recipe includes melting solid chocolate (beyond just cocoa powder), combine your measured butter and chopped chocolate (if using) in a heatproof bowl. Place this bowl over a saucepan containing about an inch or two of simmering water, ensuring the bottom of the bowl doesn't touch the water. The steam from the simmering water will gently and indirectly heat the bowl's contents, slowly melting the butter and chocolate into a smooth, glossy liquid. Stir occasionally with a rubber spatula until completely melted and combined.
Alternatively, you can use the microwave, but this requires more vigilance. Combine butter and chocolate in a microwave-safe bowl and heat in short intervals, typically 30 seconds at a time, stirring thoroughly after each interval. Continue microwaving and stirring until the mixture is mostly melted, then stir just with the residual heat until fully smooth. This prevents hot spots and ensures the chocolate doesn't burn. Whichever method you choose, aim for a smooth, homogeneous mixture with no lumps.
Avoiding Burned Chocolate: Tips and Tricks
Burning chocolate is a common pitfall that can ruin a batch of brownies. The best way to avoid it is to use low, indirect heat. The double boiler method is nearly foolproof because the water's temperature won't exceed boiling point, providing a gentle heat source. If using the microwave, always use short bursts of power and stir diligently between each. Chocolate retains heat, so it will continue to melt even after it's out of the microwave; stirring is essential to distribute the heat and complete the melting process gently.
Never melt chocolate directly over high heat on the stovetop, as it will scorch instantly. Also, avoid getting any water into the melting chocolate, as this can cause it to "seize" and become a lumpy, unusable mess. If using the double boiler method, ensure the water is only simmering gently, not boiling violently, and that the bowl fits snugly over the pan to prevent steam from entering. By following these simple precautions, you'll achieve a perfect, glossy chocolate-butter base for your no-fail chewy brownie recipe.
Step 4: Mixing the Wet Ingredients
With your melted chocolate and butter mixture slightly cooled (it shouldn't be hot enough to cook the eggs), it's time to combine it with the other wet ingredients: sugars, eggs, and vanilla extract. This step incorporates air into the mixture and dissolves the sugars, which is vital for both texture and that desirable crackly top on your no-fail chewy brownie recipe. The order of mixing often starts with creaming the sugars and eggs, or simply whisking them together until well combined.
The goal here is to create a smooth, cohesive base before adding the dry ingredients. Whisking helps to emulsify the mixture, ensuring the fat (from the butter and chocolate) and the liquid (from the eggs and vanilla) are fully integrated. This prevents separation and contributes to the overall structure and moistness of the final brownie.
Combining Sugar, Eggs, and Vanilla
In a large mixing bowl, whisk together the granulated sugar, light brown sugar, and eggs. Whisk vigorously for about 1-2 minutes until the mixture becomes lighter in color and slightly thickened. This process incorporates air and begins to dissolve the sugar crystals, which helps create a tender crumb and that characteristic shiny, crackly top. Stir in the vanilla extract at this stage.
Once the sugar-egg mixture is light and combined, gradually whisk in the slightly cooled melted butter and chocolate mixture. Whisk until everything is thoroughly incorporated and the batter is smooth and glossy. Don't rush this step; ensure there are no streaks of unincorporated butter or chocolate. This creates a stable, flavorful wet base ready to receive the dry ingredients for your no-fail chewy brownie recipe.
The Importance of Room Temperature Ingredients
While not strictly necessary for a no-fail chewy brownie recipe, using room temperature eggs can make a noticeable difference in the final texture. Room temperature eggs emulsify more easily with the other ingredients, creating a smoother, more homogeneous batter. They also incorporate air better when whisked with sugar, contributing to a lighter texture within the fudgy structure and helping achieve that signature crackly crust.
If your eggs are cold, you can quickly bring them to room temperature by placing them in a bowl of warm (not hot) water for 5-10 minutes. Using room temperature ingredients generally leads to a more consistent and predictable outcome in baking because they combine more readily and evenly, preventing lumps or uneven distribution of fat and moisture.
Step 5: Incorporating the Dry Ingredients
This is perhaps the most critical step for ensuring your brownies are chewy and not cakey. The dry ingredients typically consist of all-purpose flour, cocoa powder, and salt. The goal is to combine these with the wet ingredients just enough to form a batter, without developing too much gluten. Overmixing at this stage is the most common culprit behind tough, dry, or cakey brownies.
Gentle handling is key. You want to hydrate the flour and cocoa powder and distribute them evenly, but stop mixing as soon as there are no visible streaks of dry ingredients left. A rubber spatula or a wooden spoon is preferable to an electric mixer at this stage, as it gives you more control and makes it easier to avoid overworking the batter.
Gentle Mixing for a Tender Crumb
In a separate small bowl, whisk together the flour, cocoa powder, and salt until they are well combined and there are no lumps of cocoa powder. Then, add this dry mixture to the wet ingredients. Using a rubber spatula, gently fold the dry ingredients into the wet ingredients. Use a motion that scrapes the bottom and sides of the bowl and folds the batter over itself.
Continue folding just until you no longer see any dry streaks of flour or cocoa powder. It's okay if there are a few small lumps; they will often disappear during baking. The batter should be thick and glossy. Resist the urge to keep mixing "just a little more" – stop as soon as it's combined. This gentle approach is fundamental to achieving the desired tender, chewy texture in your no-fail chewy brownie recipe.
Preventing Overmixing: A Key to Chewy Brownies
Understanding why overmixing is detrimental is key to mastering this no-fail chewy brownie recipe. Flour contains proteins called glutenin and gliadin. When these proteins are hydrated (by the wet ingredients) and agitated (by mixing), they form gluten, a network that provides structure and elasticity. In bread making, gluten development is desired for chewiness. However, in brownies, excessive gluten makes them tough and cake-like rather than soft and fudgy.
By mixing the dry ingredients in gently and only until just combined, you minimize gluten formation. The batter will look thick and perhaps slightly lumpy, but that's exactly what you want. As soon as you stop seeing dry flour, put the spatula down. This simple technique is one of the most powerful secrets to achieving consistently chewy, fudgy brownies.
Step 6: Adding Your Favorite Mix-ins (Optional)
If you've decided to add optional ingredients like chocolate chips, nuts, or candy pieces to your no-fail chewy brownie recipe, now is the time to fold them in. Adding them at this stage ensures they are evenly distributed throughout the batter. While optional, mix-ins can add layers of flavor, texture, and visual appeal to your brownies.
Be mindful of the type and amount of mix-ins you add, as they can slightly affect the baking time and the structure of the brownie. For instance, adding a large quantity of heavy mix-ins like nuts can cause them to sink if the batter isn't thick enough. For this no-fail chewy brownie recipe, the batter is quite thick, which helps keep mix-ins suspended.
Evenly Distributing Chocolate Chips, Nuts, or Swirls
Gently fold your chosen mix-ins into the prepared brownie batter using a spatula. Stir just until they are dispersed throughout the batter. Avoid vigorous mixing, which could further develop gluten or break up delicate additions like cookie pieces. If you're adding chocolate chips or nuts, a quick fold or two is usually sufficient.
For swirls, like peanut butter or caramel, dollop spoonfuls of the swirl ingredient over the top of the batter once it's in the prepared pan. Then, use a knife or skewer to gently swirl it through the batter. Be careful not to over-swirl, or you'll lose the distinct ribbons. Aim for just a few passes to create beautiful patterns.
Creative Brownie Customization Ideas
Beyond the basic chocolate chips and nuts, feel free to get creative with your no-fail chewy brownie recipe! Consider adding crushed peppermint candies for a holiday twist, dried cherries or cranberries for a fruity note, or even a layer of cookie dough or cheesecake batter swirled on top. A sprinkle of flaky sea salt on top just before baking can also enhance the chocolate flavor beautifully.
Think about complementary flavors: coffee pairs wonderfully with chocolate (try adding a teaspoon of espresso powder to the dry ingredients), as do raspberries, orange zest, or even a hint of spice like cayenne pepper for a subtle kick. The robust base of this chewy brownie recipe can handle a variety of additions, allowing you to personalize each batch.
Step 7: Baking Your Brownies
Baking is where the magic happens, but it's also the stage where many brownie batches go wrong, particularly when it comes to texture. The ideal baking time and temperature are crucial for achieving that perfect balance between a set edge and a gooey, slightly underbaked center that characterizes a truly chewy brownie. Overbaking is the enemy of chewiness and fudginess, leading to dry, cakey results.
For this no-fail chewy brownie recipe, baking at a moderate temperature allows the edges to set and the center to cook through without becoming dry. Paying close attention to the visual cues and using the toothpick test correctly will help you determine exactly when your brownies are done to perfection.
Achieving the Ideal Baking Time and Temperature
Preheat your oven to a temperature typically around 350°F (175°C). Place the prepared pan on the center rack of the preheated oven. The baking time for an 8x8 inch pan is usually between 25 and 35 minutes, but this can vary significantly depending on your oven and the pan material. Start checking around the 25-minute mark.
Baking brownies at this temperature allows the edges to set and slightly pull away from the sides of the pan while the center remains softer. The sugars and fats melt and meld, creating that dense, fudgy texture. Keep a close eye on them as they bake, as the difference between perfectly baked and overbaked can be just a few minutes.
The Toothpick Test: When Are My Brownies Done?
The toothpick test for brownies is different from testing a cake. For a no-fail chewy brownie recipe, you don't want the toothpick to come out perfectly clean. Insert a toothpick or a thin skewer into the center of the pan.
- If it comes out with wet batter, it needs more time.
- If it comes out with moist crumbs attached, or a few gooey streaks, it's likely done.
- If it comes out completely clean, your brownies are probably overbaked and may be cakey or dry.
The edges should look set, but the center should still look slightly soft and perhaps a little shiny. Remember, the brownies will continue to cook slightly from residual heat after they are removed from the oven. Pulling them out when the toothpick has moist crumbs ensures they will be perfectly fudgy and chewy once cooled.
Step 8: Cooling and Cutting
Patience is a virtue, especially when it comes to cutting perfect brownies. While tempting to dive in immediately, allowing your no-fail chewy brownie recipe to cool completely is essential for achieving clean cuts and letting the texture fully develop. Warm brownies are soft and fragile, prone to crumbling and sticking.
Cooling allows the fats to re-solidify and the structure to set, making the brownies firm enough to slice cleanly. This step is just as important as the baking itself for achieving the desired results.
Allowing Brownies to Cool Completely for Best Results
Once removed from the oven, place the pan on a wire rack to cool. Let the brownies cool in the pan for at least 1-2 hours, or until they are at room temperature. For the cleanest cuts and firmest texture, some bakers even recommend refrigerating them for an hour or two after they've cooled to room temperature.
Resist the urge to cut them warm. Cutting warm brownies will result in messy, uneven squares and a lot of crumbs. The patience during the cooling period will be rewarded with beautifully structured, fudgy, and chewy brownies that hold their shape.
Tips for Cleanly Cutting Brownies
After the brownies are completely cooled (and ideally chilled slightly), lift the entire slab out of the pan using the parchment or foil handles. Place the slab on a cutting board. For the cleanest cuts, use a large, sharp knife. Heat the knife by dipping it in hot water and wiping it dry between each cut.
Slice the edges off for perfectly uniform squares, or leave them on if you prefer the chewy edge pieces. Cut the slab into your desired size squares. Cleaning the knife blade between each cut is the secret to getting those professional-looking, sharp edges on your no-fail chewy brownie recipe.
Troubleshooting Your Chewy Brownies
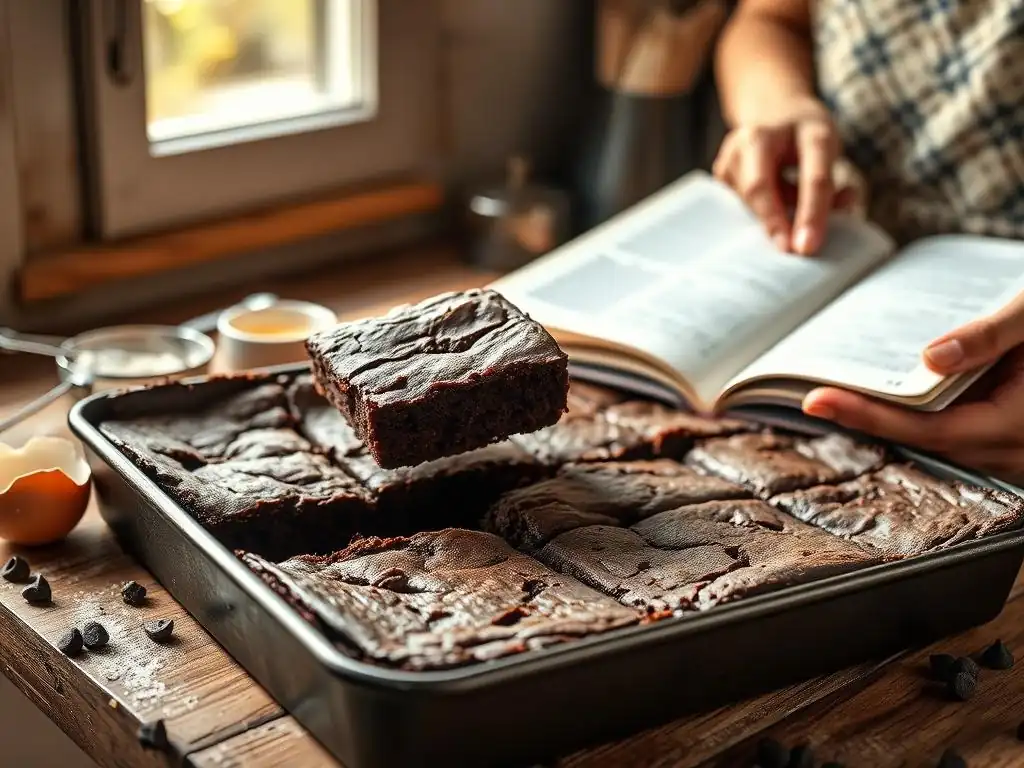
Even with a no-fail chewy brownie recipe, sometimes things don't go exactly as planned. Don't worry! Baking is a learning process, and understanding common issues can help you adjust for next time. Most brownie problems relate back to ingredient ratios, mixing, or baking time.
We'll cover a few of the most frequent problems and their likely causes, so you can identify what might have gone wrong and ensure your next batch of chewy brownies is absolutely perfect.
Common Brownie Baking Problems and Solutions
My Brownies Are Too Cakey: What Went Wrong?
If your brownies turned out more like cake than fudgy squares, the most common culprits are usually too much flour, too much leavening (if your recipe included it, though this one minimizes it), or overmixing. Too much flour or leavening provides structure that lifts the batter like a cake. Overmixing develops excess gluten, which creates a bread-like chewiness rather than a dense, fudgy one.
Solution: Ensure you measured the flour correctly (spoon it into the measuring cup and level off, don't scoop directly from the bag). Double-check the recipe for leavening agents; this no-fail chewy brownie recipe relies on eggs and fat for texture, not baking powder/soda. Most importantly, fold the dry ingredients in gently and stop as soon as no dry streaks remain.
My Brownies Are Too Fudgy: How to Adjust the Recipe
While "too fudgy" might sound like a good problem to have for some, perhaps they are too gooey and don't hold their shape well. This can happen if they are significantly underbaked, have too high a fat-to-dry ingredient ratio, or if ingredients weren't measured accurately.
Solution: Ensure you are baking them long enough for the edges to set and the toothpick test to show moist crumbs, not wet batter. Verify your ingredient measurements, particularly the flour and cocoa powder. If consistently too fudgy, you might try adding a tablespoon or two more flour in your next batch, or slightly increasing the baking time by 2-3 minutes, checking carefully.
My Brownies Are Dry: Preventing Dryness
Dry brownies are often the result of overbaking or having too much dry ingredient (flour/cocoa) relative to wet ingredients (butter/eggs/sugar). Baking too long at too high a temperature evaporates too much moisture.
Solution: Use an oven thermometer to ensure your oven temperature is accurate. Always start checking for doneness at the minimum recommended baking time. Remember the toothpick test should have moist crumbs, not be perfectly clean. If you suspect your measurements were off, double-check them for the next batch, ensuring you spoon and level dry ingredients. Storing brownies properly (in an airtight container) also prevents them from drying out after baking.
Variations on the Brownie Theme
Once you've mastered the basic no-fail chewy brownie recipe, you can easily adapt it to create exciting new flavors. The robust chocolate base provides a perfect canvas for various additions and swirls. Here are a few popular and delicious variations to try:
Espresso Brownies: A Coffee Infusion
Adding coffee enhances the chocolate flavor beautifully, making it deeper and more intense. To make espresso brownies, simply add about 1-2 teaspoons of instant espresso powder (or instant coffee granules) to the dry ingredients (flour, cocoa, salt) and whisk to combine before adding them to the wet mixture.
The coffee dissolves into the batter during mixing and baking, leaving no gritty texture, just a wonderful boost to the chocolate. You can also add a sprinkle of chocolate-covered espresso beans as a mix-in for an extra kick and crunch. This simple variation takes your no-fail chewy brownie recipe to a sophisticated new level.
Raspberry Swirl Brownies: A Fruity Twist
For a delightful combination of sweet and tart, swirl raspberry puree or jam into your brownie batter. This adds a burst of fruity flavor that cuts through the richness of the chocolate. You can use seedless raspberry jam or reduce fresh or frozen raspberries with a little sugar until thick, then strain out the seeds if desired.
Pour about half of the brownie batter into the prepared pan. Dollop spoonfuls of the raspberry swirl over the batter. Top with the remaining brownie batter, then dollop more swirl on top. Use a knife or skewer to gently swirl the raspberry through the batter, creating beautiful patterns. Don't overmix; just a few swirls are enough.
Cream Cheese Brownies: A Tangy Delight
Cream cheese swirls add a rich, tangy contrast to the deep chocolate flavor of brownies. To make cream cheese brownies, prepare a simple cream cheese mixture by beating softened cream cheese (about 4-6 ounces) with a few tablespoons of sugar and one egg yolk until smooth. You can add a splash of vanilla extract as well.
After pouring the brownie batter into the pan, dollop the cream cheese mixture over the top. Use a knife or skewer to gently swirl the cream cheese through the chocolate batter. Bake as directed for your no-fail chewy brownie recipe. The cream cheese layer will set beautifully, creating a striking visual and a delicious flavor combination.
Storing Your Delicious Brownies
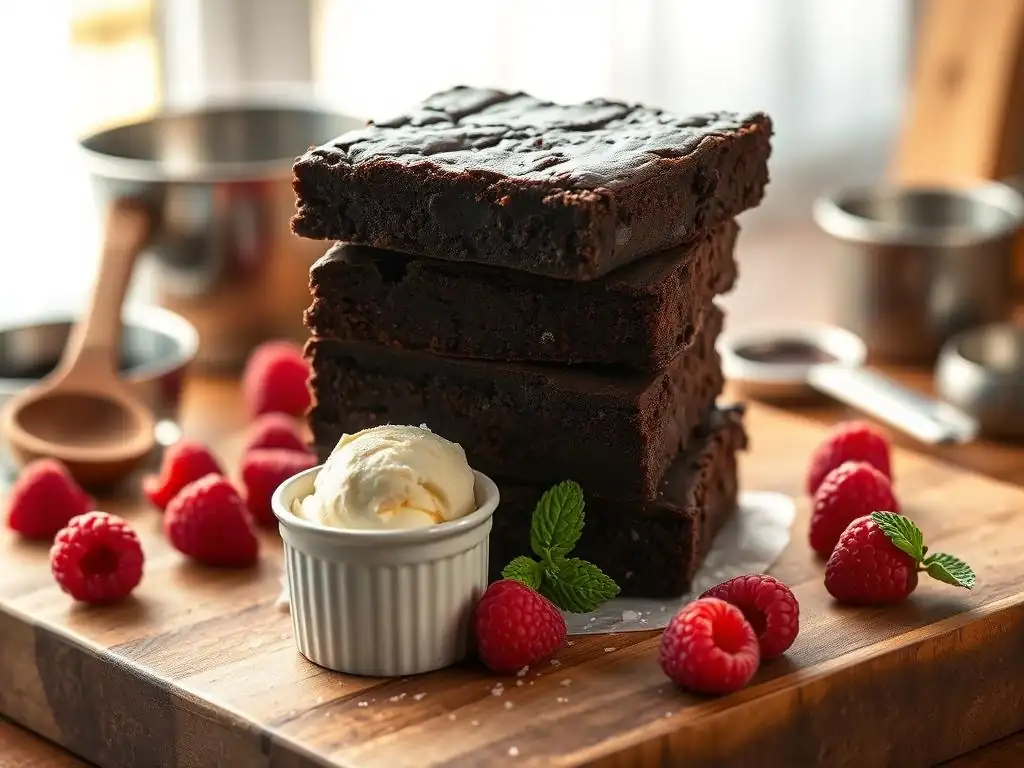
Once you've baked and cooled your perfect no-fail chewy brownie recipe, proper storage is key to keeping them fresh and delicious for as long as possible. While they rarely last long, knowing how to store them ensures you can enjoy their wonderful texture and flavor for days.
Keeping air away from the brownies is the main goal, as exposure to air is what causes them to dry out and lose their chewiness.
Keeping Brownies Fresh for Days
After your brownies are completely cooled and cut, store them in an airtight container at room temperature. Layering them with parchment paper between layers can prevent sticking if stacking them. Stored this way, they should remain fresh, fudgy, and chewy for 3 to 4 days.
Avoid refrigerating brownies unless they contain perishable fillings like cream cheese or fresh fruit, as refrigeration can actually dry them out and make them less chewy. If you do need to refrigerate them, bring them back to room temperature before serving for the best texture.
Freezing Brownies for Later Enjoyment
Brownies freeze exceptionally well, allowing you to bake a batch of your no-fail chewy brownie recipe and save some for later cravings. Ensure the brownies are completely cooled before freezing. You can freeze them as a whole slab, cut squares, or even individual portions.
Wrap the brownies tightly in plastic wrap, then wrap again in aluminum foil, or place them in a freezer-safe zip-top bag or container. This double layer of protection helps prevent freezer burn. Frozen brownies can be kept for up to 2-3 months. To thaw, simply place them on the counter at room temperature for a few hours.
Enjoy Your Homemade Chewy Brownies!
Frequently Asked Questions
What makes this brownie recipe "Nofail"?
This recipe is considered "Nofail" because it uses simple, readily available ingredients and provides a clear, step-by-step guide, minimizing potential errors. It's designed for consistent, delicious results.
What kind of chocolate is best for achieving a "chewy" texture?
For a chewy brownie, using a combination of semi-sweet chocolate chips or chunks and unsweetened cocoa powder is ideal. The balance provides richness and the desired texture.
Can I substitute ingredients in this Nofail brownie recipe?
While some substitutions are possible, be cautious. Changes to fat content or sugar levels can significantly affect the final texture. Consider the impact on the brownies' structure before making adjustments.
How do I know when the brownies are perfectly baked?
The perfect brownie is slightly underbaked. Look for a shiny, crackled top and edges that are set, with the center still slightly gooey. A toothpick inserted near the center should come out with moist crumbs attached.
What are some variations I can try with this Nofail chewy brownie recipe?
You can add nuts, chocolate chunks, or a swirl of peanut butter for variations. Consider adding a pinch of sea salt to enhance the chocolate flavor.
Final Reflection: The Enduring Allure of the Perfect Brownie
The pursuit of the perfect brownie is more than just a culinary quest; it's a testament to the power of simple ingredients transformed into pure, unadulterated joy. This seemingly straightforward recipe, designed to deliver consistently delicious results, speaks to a deeper human desire for reliable comfort and predictable success in a world often characterized by uncertainty. The ease of the "No-Fail" method allows even novice bakers to experience the satisfaction of creating something truly special.
The impact of a perfectly executed brownie recipe extends far beyond the individual experience. It's a shared moment, a symbol of celebration, a comforting presence at gatherings large and small. The simple act of baking, and the subsequent sharing of the results, fosters connection and creates lasting memories. As Julia Child famously said, Find something you're passionate about and keep tremendously interested in it.
For many, that passion lies in the creation and enjoyment of delicious baked goods, and the brownie, in its perfect, chewy form, holds a special place in that culinary heart.
Now, I invite you to consider your own relationship with baking. Perhaps this recipe will inspire you to try your hand at creating your own batch of "No-Fail" brownies, or maybe it will spark a memory of a cherished brownie-related experience. Regardless, I hope this guide has not only provided you with a reliable recipe but also a renewed appreciation for the simple pleasures and profound connections that can be found in the kitchen, one perfectly chewy brownie at a time.
Unlock Your Inner Brownie Boss!
Thanks for joining us on this delicious journey to brownie bliss! We hope you've gained the confidence to bake up a batch of gooey, fudgy perfection. Now it's time to put your new skills to the test!
- Bake a batch of your own No-Fail Brownies today! Use our recipe as a starting point, but don't be afraid to experiment with different mix-ins – nuts, chocolate chips, even a swirl of peanut butter!
- Share your brownie creations! Tag us on social media and show off your baking prowess. We'd love to see your masterpiece!
- Consider surprising a friend or neighbor with a warm, freshly baked brownie – the ultimate act of kindness (and deliciousness! ).
What unexpected ingredient will you add to your next batch of No-Fail Brownies? Let us know in the comments below!