
Recognizing When Beginner Classic Cookies Are Done Perfectly

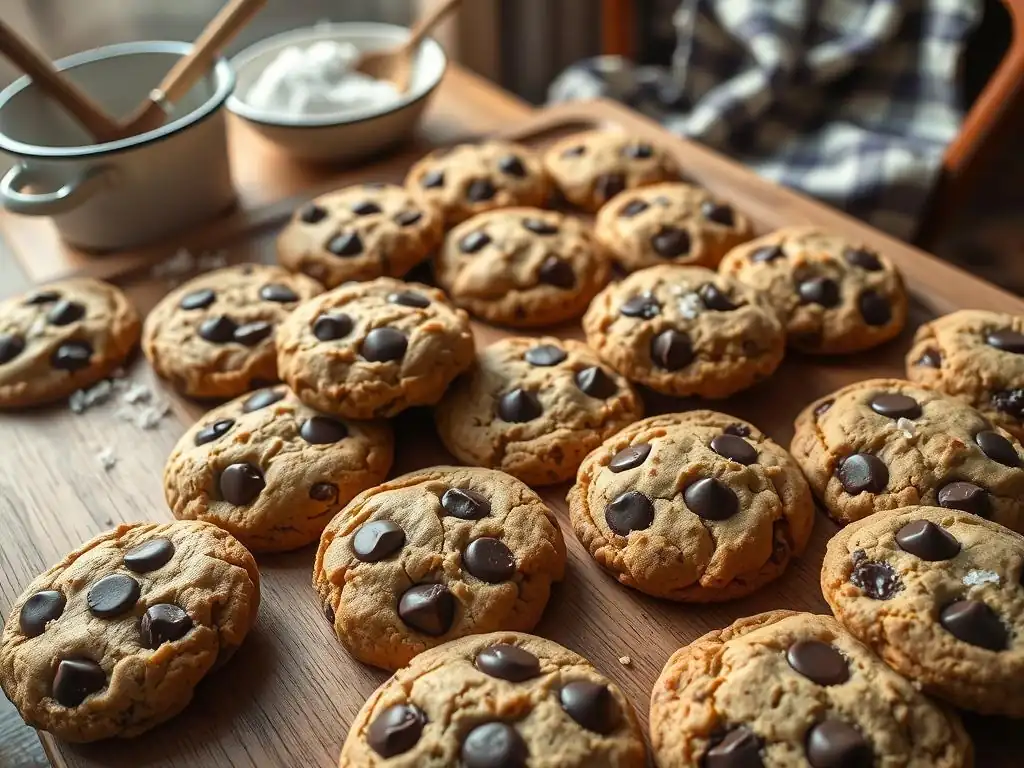
Welcome to BakeWithEase, your trusted companion on your baking journey! Are you ready to unlock the secrets to perfectly baked treats? Many beginners struggle with knowing exactly when their cookies are done, but fear not! This article dives deep into the art of achieving perfectly baked beginner classic cookies, offering foolproof tips and tricks to guarantee delicious results every time. Let's transform your baking from guesswork to gourmet! Intrigued? Read on to discover the telltale signs of cookie perfection!
- Recognizing When Cookies Are Done Perfectly
- Achieving Baking Perfection with Cookies
- Why Knowing When Your Cookies Are Perfectly Baked Matters
- Key Visual Cues for Perfectly Baked Cookies
- Texture Clues: How Cookies Feel When Done
- Specific Doneness Indicators for Different Types of Cookies
- Advanced Techniques for Assessing Cookie Doneness
- Troubleshooting: What to Do if Your Cookies Aren't Baking Evenly
- Tips and Tricks for Consistently Perfect Cookies
- Storing Your Perfectly Baked Cookies
- Frequently Asked Questions
- Final Reflection: The Sweet Science of Perfectly Baked Cookies
- Unleash Your Inner Baker: Perfect Cookies Await!
Baking cookies is a delightful journey, especially when you're starting out. There's immense satisfaction in creating delicious treats from simple ingredients. For beginner bakers, mastering the art of recognizing when your classic cookies are perfectly baked is a crucial skill. It’s the difference between a chewy delight and a hard, overcooked disc, or worse, an undercooked, crumbly mess. Understanding the subtle cues your cookies give you in the oven is key to consistent success.
This guide will walk you through the essential signs that indicate your beginner classic cookies have reached their optimal state of doneness. We'll explore visual indicators, tactile tests, and even discuss specific considerations for popular cookie types like chocolate chip and sugar cookies. By paying close attention to these details, you'll confidently pull your cookies from the oven at just the right moment, ensuring they are perfectly baked every single time, setting you on the path to becoming a confident baker.
Understanding the precise moment your cookies are done is fundamental to achieving the desired texture and flavor profile. Baking is a science as much as an art, and timing is paramount. Even a difference of one or two minutes in the oven can drastically alter the outcome, turning soft, chewy centers into dry, brittle interiors. For beginner bakers, this knowledge is empowering, helping you avoid disappointment and build confidence with every batch of perfectly baked beginner classic cookies you create.
Knowing when to stop baking is also crucial for food safety, especially with recipes containing eggs. While most cookie dough reaches safe temperatures relatively quickly, ensuring the ingredients are properly cooked is important. Beyond safety, it’s about taste and texture – the hallmarks of truly delicious cookies. A perfectly baked cookie offers the ideal balance of flavors, with sugars caramelized just right and fats melted and distributed evenly, resulting in that irresistible texture we all crave.
The doneness of a cookie directly dictates its final texture and structure. For instance, a chocolate chip cookie intended to be chewy relies on being slightly underbaked in the center when it first comes out of the oven, allowing residual heat to finish the job as it cools. Pulling it out too early means it might collapse or be doughy, while leaving it in too long results in a uniformly crisp texture, perhaps not the desired outcome for that specific recipe.
Recipe writers often specify visual cues or baking times, but oven temperatures vary, and factors like baking sheet material and altitude play a role. Relying only on time can lead to inconsistent results. Learning to read the signs your cookies are giving you – their color, edges, and surface – is far more reliable. This skill ensures that whether you're baking classic sugar cookies or robust oatmeal raisin, you achieve the intended result, batch after batch.
Two of the most frequent pitfalls for beginner cookie bakers are pulling cookies out too soon or leaving them in too long. Undercooked cookies, often pale with unset centers, can be too soft, fall apart easily, or have a raw, floury taste. While some recipes call for a slightly gooey center (like certain types of brownies or lava cakes), classic cookies generally require enough structure to hold their shape.
Overcooked cookies, on the other hand, are typically dark brown around the edges, hard, and dry throughout. The delicate sugars can burn, leading to a bitter taste. For many classic cookie types, like a simple butter cookie or shortbread, overbaking destroys the tender, melt-in-your-mouth texture. Recognizing the specific doneness cues discussed later is the best defense against these common mistakes, helping you consistently produce perfectly baked beginner classic cookies.
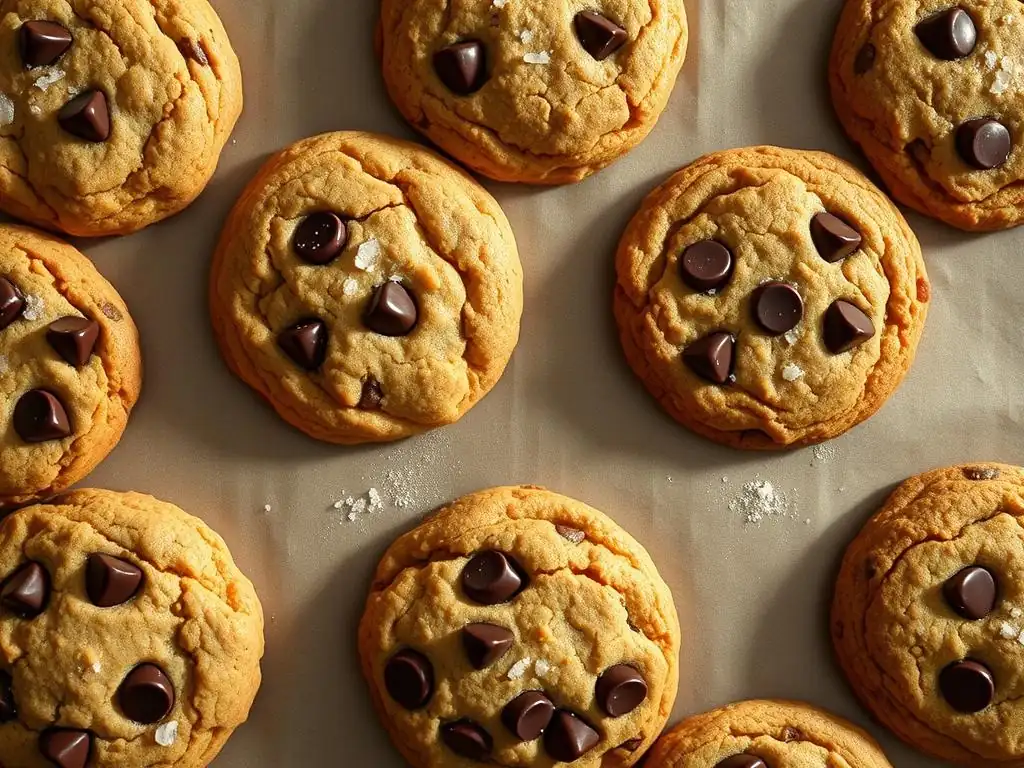
Color is often the first and most reliable visual indicator of cookie doneness. Most classic cookie recipes aim for a light golden-brown hue around the edges, gradually fading to a paler color towards the center. This golden color signifies that the sugars have caramelized, contributing to both flavor and structure. The exact shade of "golden" can vary depending on the ingredients; cookies with more butter or brown sugar might brown faster and darker than those made primarily with granulated sugar.
Keep a close eye on the edges as they begin to change color. For many cookie types, like basic drop cookies, when the edges turn a noticeable golden-brown and the center still looks slightly pale but not wet, they are likely done. This is particularly true for cookies baked at standard temperatures, around 350°F (175°C). Baking sheets can affect this; darker sheets absorb more heat and can lead to faster bottom browning than lighter sheets.
Edges: Observing the Crispness and Browning
Beyond just color, the appearance of the edges provides critical information. Perfectly baked beginner classic cookies usually show edges that are set, firm, and slightly pulled away from the baking sheet. They should look distinct from the softer center. This crispness at the edge indicates that moisture has evaporated sufficiently in that area, and the structure is firming up.
Compare the edges to the center. If the edges are deeply browned while the center is still very pale or appears wet, the heat distribution might be uneven, or the cookies might be too large. Conversely, if the entire cookie is the same pale color, it's likely not done yet, and the edges haven't had enough time to crisp and set. Observing this contrast is key to judging doneness, especially for drop cookies.
Surface: Spotting the Subtle Shine
The surface of a cookie also offers visual clues, though they can be more subtle. As cookies bake, the surface often loses its raw, wet appearance and takes on a slightly duller or sometimes a very subtle, even shine, depending on the fat and sugar content. The surface should look set and not wet or doughy. For some cookies, like snickerdoodles, cracks may appear on the surface, which is a normal part of their structure development during baking.
Avoid cookies with a completely flat, wet-looking surface, as this indicates they are likely underbaked. The surface should appear 'dry' and set. For perfectly baked beginner classic cookies, the surface should have a finished look, perhaps with slight doming or spreading, depending on the recipe. A shiny or greasy surface after cooling might indicate too much fat or insufficient baking time for the fat to properly integrate into the structure.
The Gentle Touch Test: Softness and Firmness
While visual cues are primary, a very gentle touch can offer additional insight, if done carefully and quickly. Immediately upon removing from the oven, perfectly baked beginner classic cookies will still be quite soft and delicate, especially in the center. The edges, however, should feel slightly firm when gently poked. Caution: This test requires a very light touch to avoid misshaping or burning yourself.
If the entire cookie feels uniformly soft and doesn't hold its shape when gently nudged with a spatula, it likely needs another minute or two. If it feels hard and brittle straight out of the oven, it's likely overbaked. The goal is usually edges that are set but pliable, and a center that yields slightly but doesn't feel liquid or raw. Remember, cookies continue to cook and firm up as they cool on the baking sheet.
One of the most important texture rules for perfectly baked beginner classic cookies is understanding what happens after they leave the oven. Most cookies need to cool on the hot baking sheet for a few minutes (typically 2 to 5 minutes) before being transferred to a wire rack to cool completely. During this time, residual heat from the baking sheet continues to bake the cookie gently, allowing the structure to set and the center to firm up.
If you try to move cookies too soon, they may break apart because they haven't finished setting. If you leave them on the hot sheet for too long, the bottoms can overcook and become too hard or even burn. Observing how the cookie transitions from very soft out of the oven to slightly firmer on the sheet, then to fully set on the cooling rack, is key to understanding its final texture and confirming it was perfectly baked.
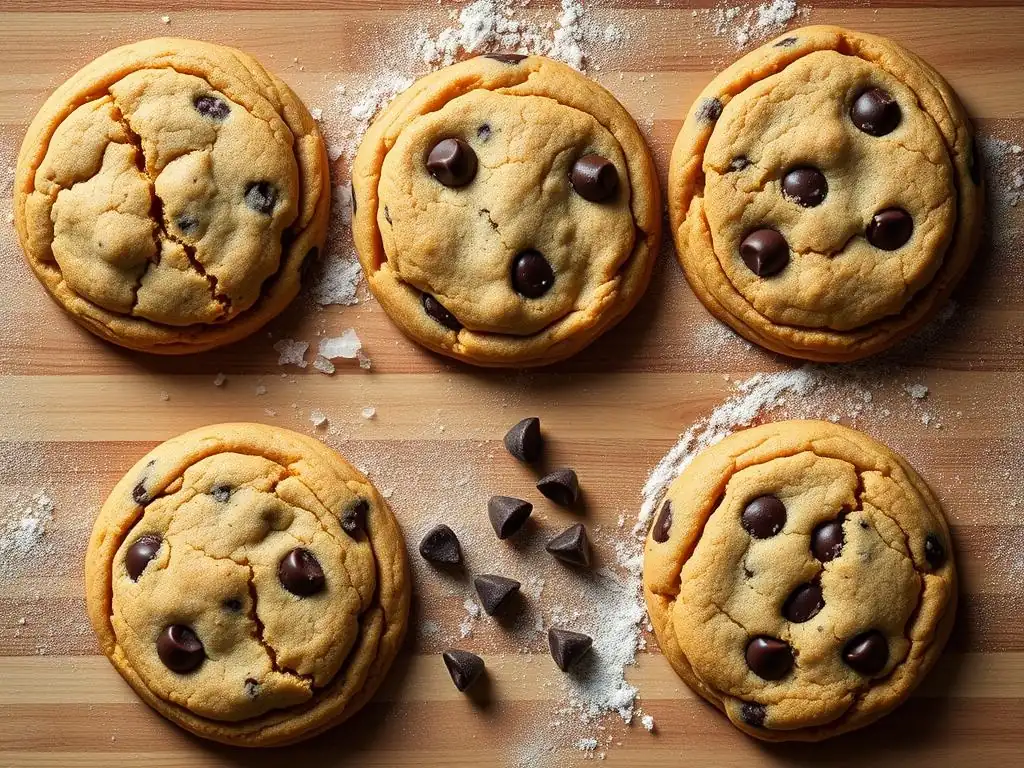
For classic chocolate chip cookies, the goal is often a slightly chewy center and slightly crisp edges. Perfectly baked beginner classic cookies of this type will typically have edges that are golden brown, while the center remains lighter and may still look slightly soft or even a tiny bit underbaked. When you gently press the center, it should offer a slight resistance but not feel liquid or raw.
The key is that the perimeter is set and golden, and the center is opaque (not shiny or wet dough) but still soft. As they cool on the baking sheet for 2-3 minutes, the residual heat will finish setting the middle. If you wait until the center is fully browned in the oven, they will be hard and crunchy once cooled. Aim for that delicate balance – set edges, soft but not gooey center.
Traditional peanut butter cookies often have a distinct crosshatch pattern pressed into them before baking. As these cookies bake, they spread and these cracks become more pronounced. Perfectly baked beginner classic cookies of the peanut butter variety are done when the edges appear set and lightly golden, and the cracks on the surface look dry and defined.
They don't typically spread as much as drop cookies like chocolate chip, and they tend to be more uniformly firm throughout when done. The surface should look matte, not shiny. If they still look wet or greasy in the cracks, they need more time. They should feel firm to the touch around the edges when they come out, and firm up considerably as they cool.
Sugar cookies, especially cutout varieties, require careful attention to color to maintain their appearance and prevent burning. Perfectly baked beginner classic sugar cookies are often desired to be quite pale, sometimes with just a whisper of golden color only around the very bottom edge. The surface should look set and dry, without any wet spots.
Overbaking is easy with sugar cookies and results in a hard, brittle texture and potentially burnt edges. If you see significant browning on the top surface or deep browning around the edges, they are likely overdone. The key is to look for the point where the surface is set and no longer looks wet, and the edges are just starting to lose their raw appearance, perhaps turning a very light blonde color.
Oatmeal raisin cookies are often prized for their chewy texture. To achieve perfectly baked beginner classic cookies that are chewy, you'll look for similar cues to chocolate chip cookies: golden-brown edges and a center that still appears slightly soft. The oats themselves will look less raw and more integrated into the cookie structure.
The surface should be set and not wet. If the entire cookie, including the center, is deeply browned and looks uniformly crisp in the oven, it will likely be hard and crunchy when cooled, not chewy. Aim for that contrast between the set, slightly darker edge and the softer, lighter center. The raisins will look plumped and slightly caramelized, not shriveled or burnt.
The Toothpick Test: A Reliable Method
While not as commonly used for thin cookies, the toothpick test, familiar from cakes and muffins, can be adapted for thicker, denser cookies like certain types of shortbread or bar cookies. Insert a toothpick into the center of the cookie (avoiding chocolate chips or large nuts). If the toothpick comes out with moist crumbs attached, it's likely done. If it comes out with wet batter, it needs more time.
If the toothpick comes out completely clean, the cookie might be slightly overdone, especially if you're aiming for a soft or chewy texture. This test is less useful for thin, spreading cookies where the center sets quickly after removal from the oven, but for types with a more substantial crumb structure, it can be a helpful confirmation alongside visual cues.
Internal Temperature: Using a Thermometer for Accuracy
For the ultimate precision, though perhaps overkill for most beginner classic cookies, an instant-read thermometer can be used. A cookie is generally considered fully baked when its internal temperature reaches approximately 190-200°F (88-93°C). This temperature range indicates that the structure-forming proteins and starches have set.
This method requires inserting the thermometer probe into the thickest part of the cookie without touching the baking sheet. It's a technique more often employed in professional settings or for very specific recipes where exact doneness is critical. For the home baker making classic drop cookies, relying on visual and tactile cues, combined with understanding cooling time, is usually sufficient for achieving perfectly baked beginner classic cookies.
Oven Temperature Calibration: Ensuring Accuracy
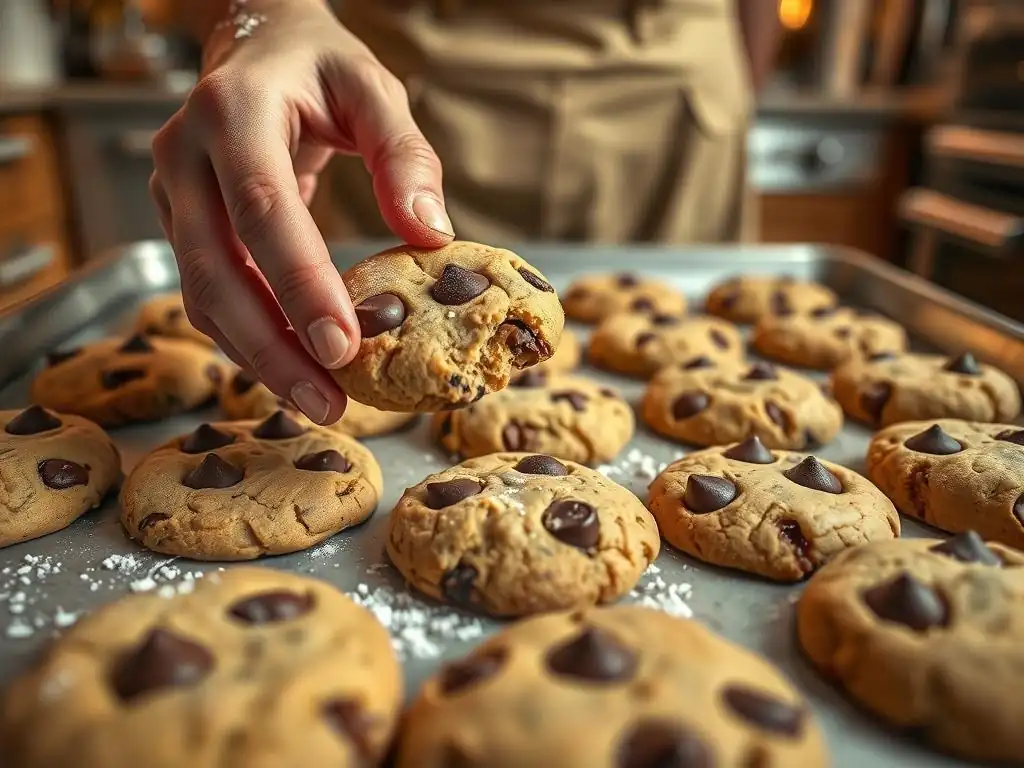
One of the most common reasons for uneven baking is an oven that isn't calibrated correctly. The temperature displayed might be different from the actual temperature inside. An inexpensive oven thermometer placed inside your oven can verify its accuracy. If it's off by more than 15-20°F (about 8-11°C), you may need to adjust your oven's temperature setting accordingly or consider professional calibration.
Baking at the correct temperature is vital for perfectly baked beginner classic cookies. Too hot, and the edges burn before the center cooks; too cool, and they spread too much and remain pale and undercooked. Checking your oven's true temperature is a simple step that can dramatically improve consistency.
Baking Sheet Placement: Optimizing Heat Distribution
The position of your baking sheet in the oven significantly impacts how evenly your cookies bake. For most ovens, the most even heat distribution is on the middle rack. If you're baking multiple sheets at once, avoid crowding the oven, as this restricts airflow and leads to uneven baking. Ideally, bake one sheet at a time on the middle rack.
If you must bake two sheets, place them on the upper-middle and lower-middle racks, and rotate them halfway through the baking time (swapping their positions and turning the sheets around) to promote even cooking. This simple practice helps ensure all cookies on both sheets receive similar heat exposure, leading to more uniform, perfectly baked beginner classic cookies.
Uneven cookie sizes are a major culprit for inconsistent doneness. Smaller cookies will bake faster than larger ones. To ensure all cookies on a single sheet are done at the same time, make sure they are as close to the same size and thickness as possible. Using a cookie scoop is an excellent way to achieve this uniformity.
Aiming for consistent size, perhaps using a standard 1.5 or 2-tablespoon scoop for classic drop cookies, helps predict baking time and ensures that when the visual cues indicate doneness for one cookie, they apply to the entire batch. This consistency is key to reliably producing perfectly baked beginner classic cookies.
Chill the Dough: Enhancing Flavor and Texture
Chilling cookie dough before baking is a simple step that yields significant benefits in both flavor and texture, contributing to perfectly baked beginner classic cookies. Chilling allows the fats to firm up, which means the cookies spread less during baking, resulting in thicker, chewier centers. It also gives the flavors more time to meld and deepen.
Even a short 30-minute chill can make a difference, but chilling for several hours or even a day can dramatically improve the outcome. Chilled dough also makes handling easier, especially for scoop or roll-and-cut cookies. This step is highly recommended for achieving optimal results.
Use Parchment Paper: Preventing Sticking and Over-Browning
Lining your baking sheets with parchment paper is a simple but effective trick. It prevents cookies from sticking, making transfer easy. More importantly, it helps regulate the temperature the bottom of the cookie is exposed to, reducing the risk of over-browning or burning the bottoms before the tops are done.
Parchment paper creates a slight insulating layer between the hot metal and the cookie dough. This promotes more even baking from top to bottom, contributing to that ideal texture where the bottom is set but not overly hard. It's an easy way to help ensure your cookies are perfectly baked.
Rotate Baking Sheets: Promoting Even Baking
As mentioned earlier in troubleshooting, rotating your baking sheets halfway through the baking time is a crucial step for even results. Even in well-calibrated ovens, there are often hotter and cooler spots. By rotating the sheet 180 degrees and, if using two sheets, swapping their rack positions, you expose all sides of the cookies to similar heat conditions.
This simple practice prevents one side or one sheet of cookies from being significantly more or less done than the others. It helps ensure that when you pull the sheet out based on your visual cues, all the cookies on that sheet are uniformly perfectly baked beginner classic cookies.
Maintaining Freshness: Proper Storage Techniques
Once your cookies are perfectly baked and cooled completely, proper storage is essential to maintain their freshness and texture. Allow cookies to cool completely on a wire rack before storing. Storing warm cookies traps moisture, leading to sogginess and potential spoilage.
Store different types of cookies separately, as flavors and textures can transfer. Crisp cookies should be stored in loosely covered containers to maintain their crispness, allowing some air circulation. Chewy or soft cookies are best stored in airtight containers to retain moisture. Using wax paper or parchment paper between layers can prevent sticking.
Extending Shelf Life: Preventing Staling
To extend the shelf life of your perfectly baked beginner classic cookies, store them in a cool, dry place, away from direct sunlight. Most cookies will stay fresh at room temperature for 3-5 days when stored correctly. For longer storage, cookies can be frozen.
To freeze baked cookies, first freeze them in a single layer on a baking sheet until solid (about 30-60 minutes). Then, transfer the frozen cookies to an airtight freezer-safe container or bag, using parchment paper between layers. Properly frozen cookies can last for several months. Thaw at room temperature before enjoying your perfectly baked treats again.
Frequently Asked Questions
Beginner classic cookies are simple, easy-to-make cookies that are perfect for those new to baking. They often include basic ingredients and straightforward techniques, making them ideal for beginners.
You can recognize when cookies are perfectly baked by looking for a golden-brown edge and a slightly soft center. They should not look shiny or wet on top, indicating they are ready to come out of the oven.
To achieve perfectly baked cookies, use room temperature ingredients, measure accurately, and keep an eye on the baking time. Following the recipe closely will help you achieve the best results.
Yes, you can freeze your cookie dough! Wrap it tightly in plastic wrap or use an airtight container. This allows you to enjoy freshly baked cookies whenever you want, just by thawing and baking.
Absolutely! You can add chocolate chips, nuts, or dried fruits to customize your cookies. Experimenting with flavors and textures is a great way to make classic recipes your own!
The pursuit of the perfectly baked beginner classic cookie is more than just a culinary quest; it's a metaphor for mastering any new skill. Achieving that golden-brown perfection, that delicate crispness on the outside and soft chewiness within, requires patience, attention to detail, and a willingness to learn from both successes and failures. This journey, as detailed in this article, is a testament to the rewarding nature of perseverance.
The impact of mastering even a simple recipe like classic cookies extends far beyond the kitchen. It instills confidence, a sense of accomplishment, and a deeper appreciation for the process of creation. This resonates deeply with me, as I remember the pride I felt in baking my first batch of truly perfect cookies. It's a feeling that transcends the simple act of baking; it's about achieving something tangible and delicious, proving to yourself that you are capable of more than you might initially think. The best things in life are homemade.
This simple phrase encapsulates the joy and satisfaction derived from creating something with your own hands.
Now, I invite you to take this knowledge and apply it to your own life. Whether it's baking cookies, learning a new language, or tackling a challenging project, remember the principles outlined here: patience, attention to detail, and a willingness to experiment. Don't be afraid to make mistakes; they are valuable learning opportunities. Embrace the process, savor the journey, and revel in the sweet taste of success, however small it may seem at first. The perfectly baked cookie is just the beginning; the real reward lies in the journey of mastering your craft.
Thanks for taking the time to explore the art of baking perfect classic cookies! We hope you now feel confident in your ability to achieve that golden-brown, perfectly chewy texture. Ready to put your newfound skills to the test?
- Bake a batch today! Use your newfound knowledge to create a delicious batch of cookies – and don't forget to experiment with different flavors!
- Share your baking journey! Post a picture of your creations on social media and tag us – we'd love to see your results! Use #BakeWithEasePerfectCookies.
- Try a variation! Challenge yourself to adapt the recipe; experiment with different flours, extracts, or add-ins.
What unique twist will you add to your next batch of perfect cookies?