
Simple Cupcakes for Beginners Your StepbyStep Guide

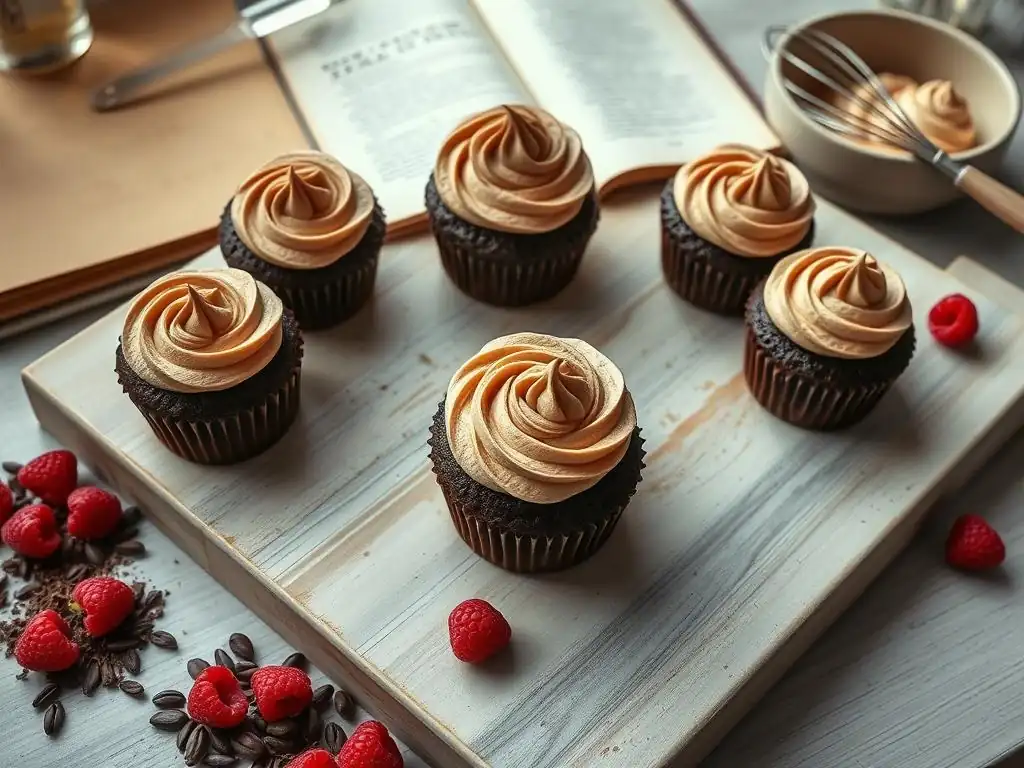
Welcome to BakeWithEase, your kitchen companion for all things baking! Ever dreamt of creating melt-in-your-mouth treats without the fuss? You've come to the right place. Get ready to embark on a delicious journey, starting with our easy beginner chocolate cupcake recipe – a perfect introduction to the joy of baking. Discover the secrets to light, fluffy cupcakes and learn how simple ingredients can create truly exceptional results. Intrigued? Let's get baking!
- Classic Vanilla Cupcakes: A Beginner's Guide
- Baking Bliss: The Easiest Vanilla Cupcake Recipe
- Why This Vanilla Cupcake Recipe is Ideal for New Bakers
- Step-by-Step Guide to Making Classic Vanilla Cupcakes
- Frosting Your Classic Vanilla Cupcakes
- Tips and Tricks for Baking Perfect Vanilla Cupcakes
- Troubleshooting Your Classic Vanilla Cupcake Recipe
- Enjoy Your Delicious Classic Vanilla Cupcakes!
-
Frequently Asked Questions
- What makes this chocolate cupcake recipe easy for beginners?
- What are the essential ingredients needed for this beginner chocolate cupcake recipe?
- Can I substitute any of the ingredients in the easy beginner chocolate cupcake recipe?
- How do I know when my chocolate cupcakes are perfectly baked using this beginner recipe?
- What's the best way to store these easy beginner chocolate cupcakes?
- Final Reflection: The Sweet Simplicity of Baking
- Unleash Your Inner Baker: Create Delicious Cupcakes Today!
Classic Vanilla Cupcakes: A Beginner's Guide
Baking Bliss: The Easiest Vanilla Cupcake Recipe
Welcome, new bakers, to the wonderful world of cupcakes! If you've ever felt intimidated by baking, this guide is designed just for you. We're going to walk through creating classic vanilla cupcakes, a perfect starting point for anyone learning their way around the kitchen. Forget complex techniques and hard-to-find ingredients; this simple approach focuses on fundamental steps that build confidence and lead to delicious results. Think of this as your first successful venture into making delightful treats from scratch.
Mastering an easy beginner vanilla cupcake recipe is a foundational skill. It teaches you the basic chemistry of combining wet and dry ingredients, the importance of precise measurements, and the magic that happens when heat transforms simple batter into fluffy cakes. This particular recipe is forgiving and reliable, making it an ideal choice for your initial baking adventures. By the end of this guide, you'll have a batch of beautiful, tasty vanilla cupcakes ready to enjoy, proving that baking truly can be easy and incredibly rewarding.
Why This Vanilla Cupcake Recipe is Ideal for New Bakers
An Introduction to Baking: Mastering Simple Vanilla Cupcakes
This recipe serves as a gentle introduction to the core principles of baking. It demystifies the process, breaking it down into manageable steps that are easy to follow, even if you've never turned on an oven before. You'll learn essential techniques like creaming butter and sugar, properly combining dry and wet ingredients, and understanding how oven temperature affects your bake. It’s structured to help you understand why each step is important, not just what to do, building a solid foundation for future baking projects.
Moreover, starting with an easy beginner vanilla cupcake recipe allows you to focus on fundamental skills without getting overwhelmed by complicated flavors or intricate decorations. You'll gain confidence in measuring accurately, mixing correctly, and achieving that perfect cake texture. Success with this simple recipe is a powerful motivator, encouraging you to try more challenging bakes down the line. It’s about building positive baking habits from the very beginning.
Simple Ingredients, Delicious Results: The Essence of Easy Baking
One of the greatest advantages of this classic vanilla cupcake recipe is its reliance on everyday pantry staples. You won't need specialty flours or exotic extracts; just basic ingredients like flour, sugar, butter, eggs, milk, baking powder, salt, and vanilla extract. These items are readily available at any grocery store, making spontaneous baking sessions possible. The simplicity of the ingredient list directly contributes to the recipe's ease and accessibility for beginners.
Despite the simplicity, these ingredients combine to create a remarkably delicious and tender cupcake. The magic lies in the proper ratio and technique, which this guide outlines clearly. For instance, using softened butter (around 65-70°F or 18-21°C) is crucial for creaming, a step that incorporates air and contributes to the cupcake's light texture. Similarly, using room temperature eggs and milk helps the batter emulsify properly, leading to a smoother, more uniform crumb. It's proof that you don't need fancy ingredients to achieve fantastic flavor and texture.
Baking Bliss's Promise: Consistent Cupcakes Every Time
This easy beginner vanilla cupcake recipe has been tested and refined to ensure reliability. Our goal at BakeWithEase is to provide recipes that work consistently, helping you avoid common pitfalls and achieve successful results on your very first try. By following the precise measurements and step-by-step instructions, you minimize the variables that can lead to baking failures. This consistency is key for beginners, as it builds confidence and makes the learning process enjoyable rather than frustrating.
We promise that with a little care and attention to detail, you can achieve beautifully risen, moist, and flavorful vanilla cupcakes every time you make this recipe. We've accounted for common beginner errors in the instructions, offering tips on what to watch out for. For example, we'll emphasize using a light hand when mixing and being precise with leavening agents like baking powder, which are critical for the cupcakes' rise and texture. Trust the process, and you'll be rewarded with consistent baking bliss.
Step-by-Step Guide to Making Classic Vanilla Cupcakes
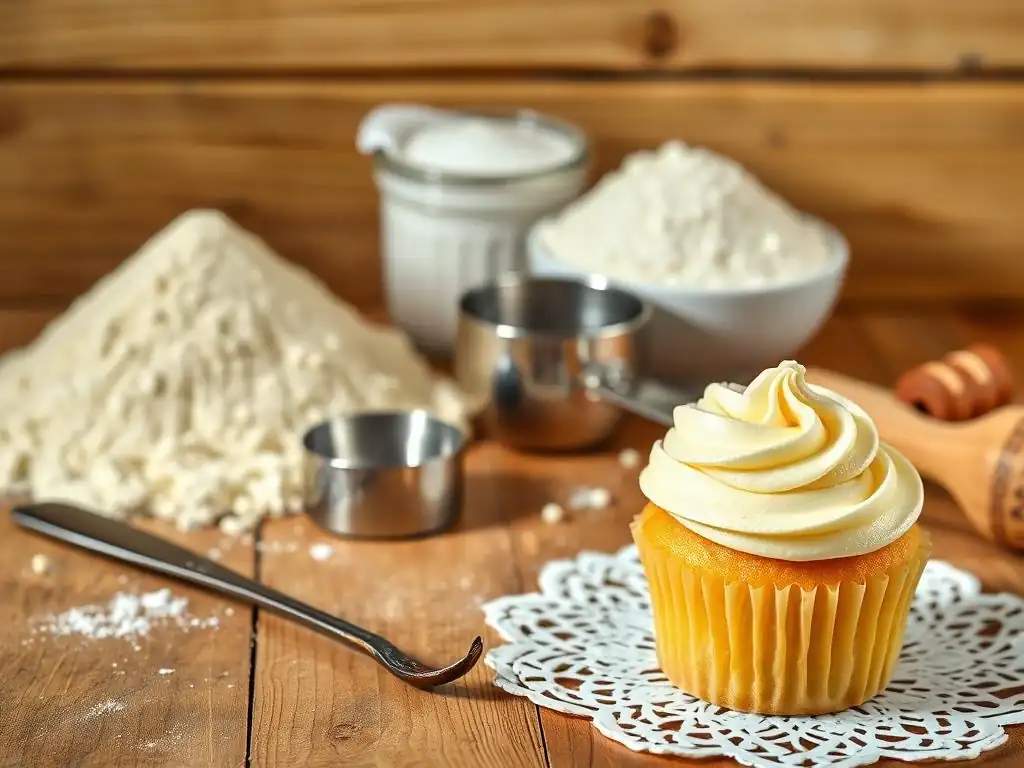
Step 1: Gathering Your Ingredients for Vanilla Cupcakes
Before you even turn on your mixer, the first and most important step is to gather all your ingredients. This practice, often called "mise en place" in professional kitchens, ensures you have everything you need before you start mixing, preventing frantic searches mid-recipe.
For this easy beginner vanilla cupcake recipe, you'll need about 1 and 3/4 cups (220g) all-purpose flour, 1 and 1/4 cups (250g) granulated sugar, 1 and 1/2 teaspoons baking powder, 1/2 teaspoon salt, 1/2 cup (113g) unsalted butter, softened, 2 large eggs, at room temperature, 1 teaspoon pure vanilla extract, and 3/4 cup (180ml) milk, at room temperature.
It's crucial that your cold ingredients, like butter, eggs, and milk, are at room temperature. Cold ingredients don't emulsify as well with the other ingredients, potentially leading to a denser or less uniform batter. To quickly bring eggs to room temperature, place them in a bowl of warm water for 5-10 minutes. For butter, leave it on the counter for about 30-60 minutes, or until it yields slightly when pressed but isn't greasy. Room temperature milk can be achieved by microwaving it for about 15-20 seconds. Having everything prepped and ready sets you up for success.
Key Ingredients for Perfect Vanilla Cupcakes
Let's look closer at some key players in this easy beginner vanilla cupcake recipe. Flour provides the structure; using all-purpose flour is straightforward and reliable for beginners. Baking powder is your primary leavener, creating the airy texture; ensure yours isn't expired by testing a pinch in hot water – it should fizz vigorously. Sugar sweetens the cupcakes and also contributes to moisture and tenderization.
Butter is essential for flavor and texture. Using unsalted butter gives you control over the salt level. Softened butter is key for creaming, as mentioned before. Eggs bind the ingredients together and add richness. Vanilla extract is where the classic flavor comes from; use pure vanilla extract for the best taste, not imitation. Milk adds moisture and helps activate the baking powder. Understanding the role of each ingredient helps you appreciate the recipe's design.
Gluten-Free Vanilla Cupcake Adaptation
While the core recipe uses all-purpose flour, you can adapt this easy beginner vanilla cupcake recipe to be gluten-free. The simplest method for beginners is to substitute the all-purpose flour with a good quality all-purpose gluten-free flour blend that contains xanthan gum. You would typically use a 1:1 substitution ratio by weight, so approximately 220g of the gluten-free blend.
Keep in mind that gluten-free flours can absorb liquids differently. You might find the batter slightly thicker or thinner than the original. It's best to follow the package instructions on your specific gluten-free blend, as some might recommend slightly different liquid amounts or resting times for the batter. Baking times might also vary slightly. While the texture might differ slightly from traditional cupcakes, you can still achieve delicious results with careful substitution.
Step 2: Preparing Your Baking Equipment
Having the right tools ready makes the baking process smoother. For this easy beginner vanilla cupcake recipe, you'll need a standard 12-cup muffin tin, cupcake liners, measuring cups and spoons, a large mixing bowl, a whisk, a rubber spatula, and either a hand mixer or a stand mixer fitted with the paddle attachment. Preheat your oven to 350°F (175°C). Ensuring your oven is fully preheated before you put the cupcakes in is vital for proper rising.
Additionally, having an oven thermometer is highly recommended for beginners. Oven temperatures can vary significantly from the dial setting, sometimes by as much as 25-50°F (15-30°C). An accurate thermometer helps you confirm your oven is at the correct temperature, preventing issues like uneven baking or cupcakes that don't rise properly due to insufficient heat. This small investment can dramatically improve your baking consistency.
Optimizing Your Oven for Baking
Preheating your oven for at least 15-20 minutes is crucial. This allows the oven to reach and stabilize at the target temperature of 350°F (175°C). Opening the oven door frequently can cause temperature drops, so try to minimize this during baking. For even heat distribution, place your muffin tin on the center rack. Avoid placing it too close to the top or bottom heating elements, which can cause the bottoms or tops of your cupcakes to burn.
If you notice your oven bakes unevenly (some cupcakes brown faster than others), you might rotate the muffin tin halfway through the baking time. This is a common issue, especially in older ovens. Using an oven thermometer helps confirm if the temperature is stable throughout the baking cycle. Consistency in oven temperature is a key factor in achieving uniformly baked cupcakes.
Selecting the Best Cupcake Liners
Cupcake liners, also known as paper cups or baking cups, serve multiple purposes. They make it easy to remove cupcakes from the tin, keep them moist, and add a decorative touch. Standard paper liners are perfectly fine for this easy beginner vanilla cupcake recipe. They come in various colors and patterns, allowing you to personalize your batch.
For a slightly cleaner look and easier peeling after baking, you can opt for foil liners or greaseproof paper liners. These tend to hold their shape better and prevent grease from soaking through the paper. While not strictly necessary for this recipe's success, using good quality liners can enhance the final presentation and make the cupcakes easier to handle and store. Make sure the liners fit snugly in your muffin tin cups.
Step 3: Mixing the Vanilla Cupcake Batter
Now for the fun part – mixing! Start by whisking together your dry ingredients: the flour, baking powder, and salt in a medium bowl. Whisking helps to aerate the flour and distribute the leavening evenly, preventing pockets of baking powder that can cause uneven rising. Set this bowl aside.
In your large mixing bowl, cream the softened butter and sugar together using your mixer on medium speed. Beat for 2-3 minutes until the mixture is light, fluffy, and pale yellow. This step incorporates air bubbles into the batter, which expand during baking and contribute to the cupcake's tender crumb. Scrape down the sides of the bowl periodically to ensure everything is evenly combined.
Combining Dry Ingredients for Uniform Baking
As mentioned, whisking the dry ingredients together is a simple yet critical step. Flour can become compacted, and whisking breaks up clumps. More importantly, it ensures that the baking powder and salt are evenly distributed throughout the flour. If these aren't spread out, some parts of your cupcakes might not rise properly, or you could end up with uneven pockets of saltiness.
Think of this step as prepping the foundation for your cupcakes. A well-combined dry mix ensures that when liquids are added, the leavening agents can react consistently throughout the batter, leading to a uniform rise and texture across all your cupcakes. It takes less than a minute but makes a significant difference in the final outcome of your easy beginner vanilla cupcake recipe.
Incorporating Wet Ingredients for a Moist Result
After creaming the butter and sugar, you'll add the eggs, one at a time, beating well after each addition until fully incorporated. This helps build structure and richness. Next, beat in the vanilla extract. Now comes the part where you alternate adding the dry ingredients and the milk.
Begin and end with the dry ingredients. Add about one-third of the dry mixture to the butter/sugar/egg mixture and mix on low speed until just combined. Then add half of the milk and mix on low until just combined. Repeat with another third of the dry ingredients, then the remaining milk, and finally the last third of the dry ingredients.
Alternating wet and dry ingredients helps the batter emulsify properly, creating a smooth consistency and preventing overmixing (which we'll discuss next). Mixing on low speed is important during this stage to avoid developing too much gluten, which can make cupcakes tough. Ensure each addition is just combined before adding the next.
The Importance of Avoiding Overmixing
This is perhaps the most common pitfall for beginners: overmixing the batter once the dry ingredients are added. When flour is mixed with liquid, gluten begins to develop. Gluten provides structure in bread, but for tender cupcakes, you want minimal gluten development. Overmixing toughens the batter, resulting in dense, rubbery cupcakes.
As soon as you add the dry ingredients, mix only until you no longer see streaks of dry flour. Stop the mixer and finish combining with a rubber spatula, gently folding any remaining flour into the batter. The batter might still look slightly lumpy – that's okay! A slightly lumpy batter is far better than an overmixed one. This gentle mixing is key to achieving that light, fluffy texture promised by an easy beginner vanilla cupcake recipe.
Step 4: Filling the Cupcake Liners for Vanilla Cupcakes
With your batter mixed, it's time to fill the cupcake liners. Place the liners in the cups of your muffin tin. For uniform cupcakes, fill each liner about two-thirds full. This leaves enough space for the cupcakes to rise without overflowing the liners and creating messy "muffin tops" that spill over the sides of the tin.
A handy tool for filling is an ice cream scoop (about a 1/4 cup size) or a large spoon. Using a scoop helps ensure you put roughly the same amount of batter into each liner, leading to cupcakes that are all similar in size and bake evenly.
Achieving Uniform Cupcake Size
Consistency in size is important for even baking. If some cupcakes are much larger than others in the same tin, the smaller ones will likely overbake by the time the larger ones are done. Using a scoop is the easiest way to achieve this uniformity. A standard ice cream scoop (size 16 or 20) is usually perfect for filling cupcake liners about two-thirds full.
Alternatively, you can use two spoons, one to scoop the batter and the other to push it into the liner. Whichever method you choose, aim for roughly the same amount of batter in each cup. For a standard muffin tin and this recipe, filling each cup to about 2/3 capacity typically uses most or all of the batter and yields 12 uniform cupcakes.
Clean Cupcake Filling Techniques
Filling liners can sometimes be a bit messy. To keep the edges of your liners clean, which looks nicer and prevents batter from baking onto the tin, you can use a piping bag fitted with a large round tip (or just snip off the end). Simply fill the bag with batter and pipe it into the liners. This is particularly useful if you're striving for a professional look.
If using a scoop or spoon, wipe away any drips on the top edge of the liner or the muffin tin before baking. Baked-on batter is difficult to clean. Taking a moment to clean up ensures your easy beginner vanilla cupcake recipe looks as good as it tastes straight out of the oven.
Step 5: Baking Your Classic Vanilla Cupcakes
Place the filled muffin tin into your preheated 350°F (175°C) oven. Bake for 18-22 minutes. Baking time can vary slightly depending on your oven and the exact amount of batter in each cup. Start checking around the 18-minute mark.
You'll know the cupcakes are done when they are lightly golden around the edges, the tops spring back gently when lightly touched, and a toothpick inserted into the center of a cupcake comes out clean.
The Toothpick Test: Determining Doneness
The toothpick test is a classic and reliable method for checking if your cupcakes are fully baked. Gently insert a clean wooden toothpick into the center of one of the middle cupcakes (these often take slightly longer to bake than those on the edges). If the toothpick comes out clean, with no wet batter clinging to it, the cupcakes are done.
If the toothpick has wet batter on it, the cupcakes need more time. Check again in 1-2 minute increments. If it comes out with a few moist crumbs attached, that's usually fine – it indicates a moist cupcake, not underbaking. Avoid overbaking, as this will result in dry cupcakes.
Baking Time and Temperature Recommendations
As mentioned, the recommended baking temperature for this easy beginner vanilla cupcake recipe is 350°F (175°C), and the time is typically 18-22 minutes. Baking at the correct temperature is crucial for the proper chemical reactions of the leavening agents. Too low, and they might not rise properly; too high, and the outsides can burn before the inside is cooked through.
Using an oven thermometer helps confirm your oven is accurate. If your oven runs hot or cold, you might need to adjust the temperature slightly. For instance, if your oven thermometer reads 375°F when set to 350°F, you might set your dial lower, around 325°F, to achieve the correct internal temperature. Note your oven's quirks for future baking success!
Step 6: Cooling and Frosting Preparation
Once the cupcakes are baked and pass the toothpick test, remove the tin from the oven. Let the cupcakes cool in the tin for 5-10 minutes. This allows them to set slightly before you attempt to remove them. Trying to remove them too soon can cause them to break apart.
After this initial cooling period in the tin, carefully transfer the cupcakes to a wire cooling rack to cool completely. Allowing them to cool on a rack ensures air circulates around them, preventing the bottoms from becoming soggy from trapped heat and moisture. They must be completely cool before frosting, which usually takes about 30-60 minutes.
Preventing Soggy Cupcakes: Proper Cooling
Soggy bottoms are a common issue if cupcakes are left in the hot tin for too long or cooled on a flat surface. The residual heat in the tin and the lack of air circulation can trap steam, making the paper liners cling and the bottoms mushy. Transferring them to a wire rack allows the steam to escape, ensuring a light and tender texture throughout.
Cooling completely before frosting is non-negotiable. Applying frosting to warm cupcakes will cause the frosting to melt and slide right off, creating a sticky mess. Patience during the cooling step is rewarded with perfectly frosted cupcakes.
Making Frosting While Cupcakes Cool
While your classic vanilla cupcakes are cooling on the rack, you can use this time efficiently by preparing your frosting. This is a great way to multi-task and speeds up the overall process. A simple vanilla buttercream is a perfect complement to these cupcakes and is also easy for beginners.
Gather your frosting ingredients – typically softened butter, powdered sugar, milk or cream, and vanilla extract – and follow your chosen frosting recipe. By the time your cupcakes are cool, your frosting will be ready to go, making the transition to the fun part – decorating – seamless.
Frosting Your Classic Vanilla Cupcakes
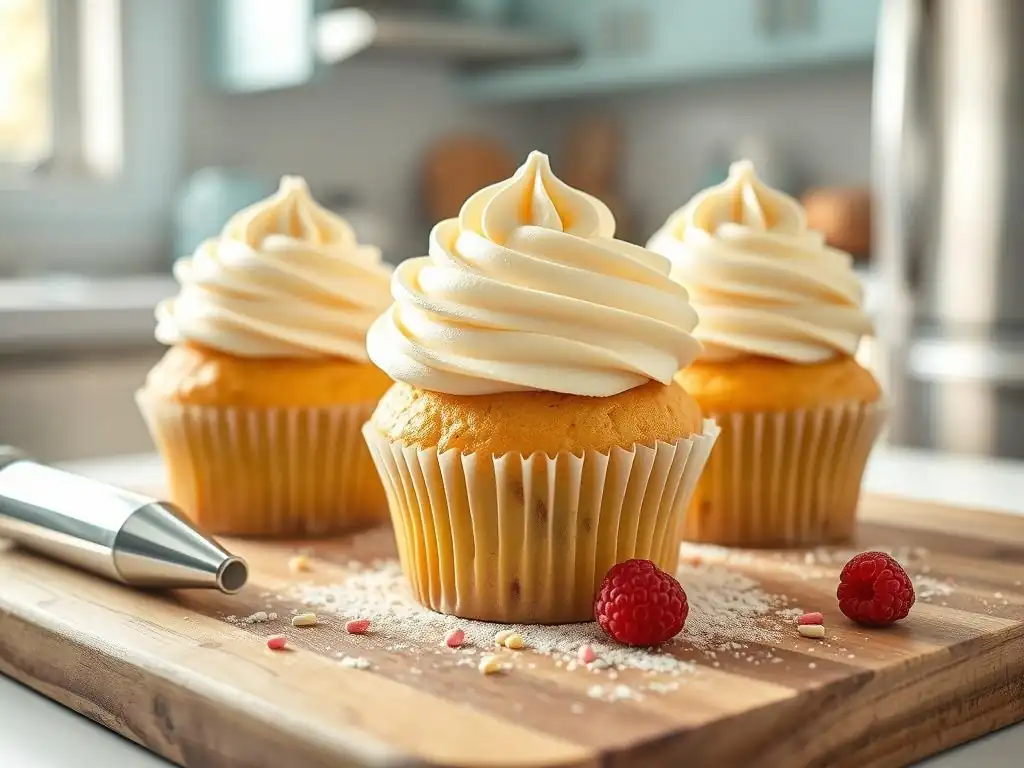
Frosting is the crown jewel of a cupcake! For your easy beginner vanilla cupcake recipe, a simple buttercream is ideal. It's forgiving, delicious, and easy to work with.
Simple Vanilla Buttercream Frosting Recipe
Here's a basic outline for a simple vanilla buttercream:
- 1/2 cup (113g) unsalted butter, softened
- 3-4 cups (360-480g) powdered sugar, sifted
- 1/4 cup (60ml) milk or heavy cream
- 1 teaspoon pure vanilla extract
- Pinch of salt (optional, helps balance sweetness)
Beat the softened butter in a large bowl with a mixer until creamy. Gradually add the sifted powdered sugar, alternating with the milk/cream and vanilla extract, mixing on low speed initially to avoid a cloud of sugar dust, then increasing to medium speed. Beat until smooth and fluffy, adding more powdered sugar for a thicker consistency or a little more liquid for a thinner one. The consistency should be spreadable or pipeable.
Lemon Buttercream Variation
For a simple twist on your easy beginner vanilla cupcake recipe, try a lemon buttercream. Substitute the milk/cream and vanilla extract with about 3-4 tablespoons of fresh lemon juice and 1-2 teaspoons of lemon zest. The acidity of the lemon cuts through the sweetness of the butter and sugar, providing a bright, refreshing flavor that pairs wonderfully with vanilla cake.
Simply add the lemon juice and zest gradually to the butter and powdered sugar mixture until you reach your desired consistency and tanginess. This variation adds a touch of complexity without adding difficulty, making it a great next step after mastering the basic vanilla frosting.
Easy Frosting Techniques
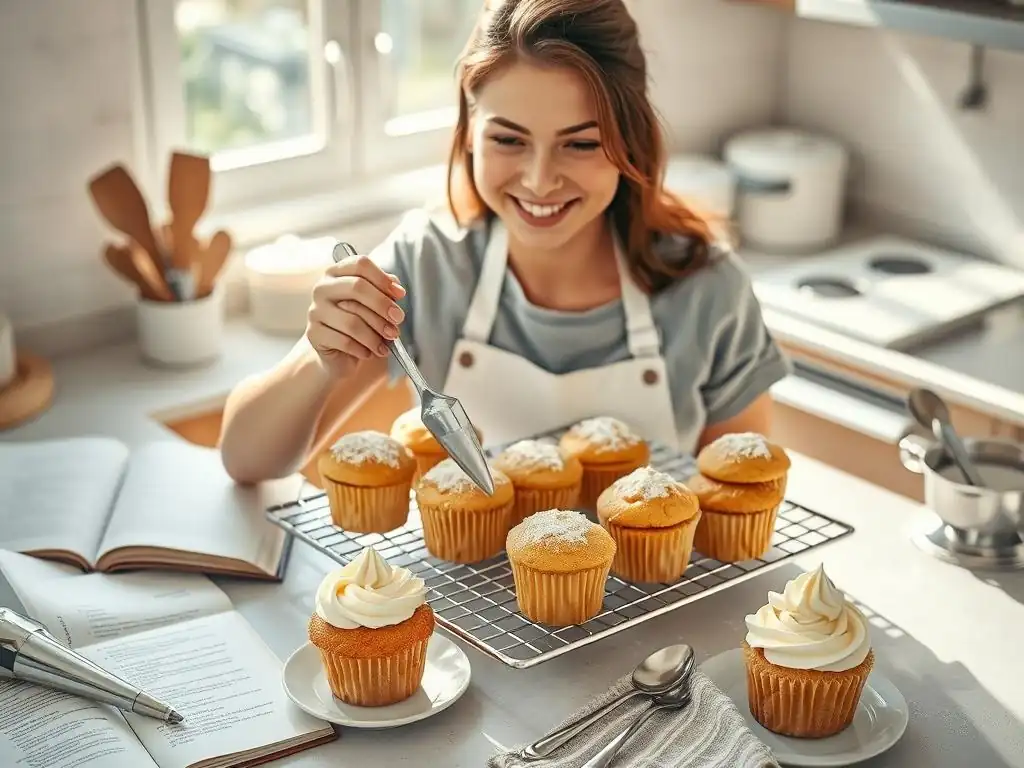
Once your cupcakes are completely cool and your buttercream is ready, it's time to frost. For beginners, the simplest technique is spreading. Use an offset spatula or a butter knife to apply a dollop of frosting onto the center of the cupcake and gently spread it outwards, swirling or smoothing the top as you go. Don't worry about perfection; a rustic, spread look is charming!
If you want to try something slightly more decorative, you can use a resealable plastic bag. Fill the bag with frosting, push it towards one corner, twist the top to seal, and snip off a small amount of the corner. You can then pipe simple swirls or dollops onto the cupcakes. This requires minimal equipment and gives a neater finish than spreading.
Piping Techniques for Decorated Cupcakes
If you have piping bags and tips, you can create more elaborate designs. For a classic swirl on your easy beginner vanilla cupcake recipe, use a large star tip (like a 1M or 2D). Fill a piping bag fitted with the tip about two-thirds full of frosting. Starting at the outer edge of the cupcake, pipe a spiral motion towards the center, overlapping slightly as you go.
Practice on a piece of parchment paper first to get a feel for the pressure and movement. Don't overfill the piping bag, as it makes it harder to control. Piping adds a professional touch and is a fun skill to develop as you get more comfortable with baking.
Simple Spreading for a Casual Look
The simplest and most approachable method for beginners is spreading the frosting. Grab an offset spatula or even just a knife. Place a generous scoop of frosting on the center of the cooled cupcake. Gently spread the frosting towards the edges, leaving a nice thick layer. You can smooth the top flat or create peaks and swirls by gently lifting and swirling the spatula.
This technique requires no special tools beyond what's likely already in your kitchen. It’s quick, easy, and results in a lovely, homemade look that's perfect for casual get-togethers or just enjoying your easy beginner vanilla cupcake recipe creations yourself. Embrace the simplicity!
Tips and Tricks for Baking Perfect Vanilla Cupcakes
Here are a few extra pointers to help ensure your easy beginner vanilla cupcake recipe turns out perfectly every time.
Common Baking Errors and Prevention
- Overmixing: As highlighted earlier, overmixing develops gluten, leading to tough cupcakes. Mix wet and dry ingredients just until combined.
- Incorrect Measuring: Especially for flour, dipping a measuring cup directly into the bag can compact the flour, resulting in too much. Spoon flour into the measuring cup and level it off with a straight edge. Using a kitchen scale for accuracy is even better! For example,
1 cupall-purpose flour should weigh around125g. - Using Cold Ingredients: Ensure butter, eggs, and milk are at room temperature for proper emulsification and texture.
- Oven Temperature Issues: Use an oven thermometer to verify accuracy and preheat fully.
- Overfilling Liners: Filling more than two-thirds full leads to overflow and uneven baking.
By being mindful of these common mistakes, you significantly increase your chances of success with your easy beginner vanilla cupcake recipe.
Proper Cupcake Storage for Freshness
To keep your classic vanilla cupcakes fresh, store them in an airtight container at room temperature. If frosted with buttercream made with butter, they can typically sit at room temperature for 2-3 days. If your frosting contains cream cheese or fresh cream, it's best to refrigerate them.
Place a slice of bread in the container with unfrosted cupcakes to help keep them moist. The cupcakes will absorb moisture from the bread. Frosted cupcakes are best stored in a single layer or with parchment paper between layers to prevent the frosting from sticking. For longer storage, unfrosted cupcakes can be frozen for up to 2-3 months; thaw at room temperature before frosting.
Enhancing Your Cupcakes: Decorations and Fillings
Once you're comfortable with the basic easy beginner vanilla cupcake recipe and frosting, you can explore simple enhancements. Sprinkles are an easy way to add color and fun – just sprinkle them over the wet frosting. You can also add a simple filling. Use an apple corer or a knife to remove a small plug from the center of the cooled cupcake, fill the cavity with jam, lemon curd, or even a little extra frosting, then replace the cake plug before frosting the top.
For slightly more advanced decoration, try adding a maraschino cherry or a simple candy melt drizzle. These small additions make your classic vanilla cupcakes feel extra special without requiring complex skills.
Troubleshooting Your Classic Vanilla Cupcake Recipe
Even with an easy beginner vanilla cupcake recipe, sometimes things don't go exactly as planned. Here are solutions to a few common issues.
Addressing Dry Cupcakes
If your cupcakes turn out dry, it's usually due to one or more of the following:
- Too much flour: Did you measure correctly? Spooning and leveling is key.
- Overmixing: This develops gluten, making them tough and dry.
- Overbaking: Baking for too long at too high a temperature dries them out. Use the toothpick test and an oven thermometer.
- Insufficient fat or liquid: Double-check your measurements for butter, eggs, and milk.
Ensure ingredients are at room temperature, measure accurately (preferably by weight), avoid overmixing, and bake just until the toothpick comes out clean.
Addressing Flat Cupcakes
Cupcakes that don't rise properly or sink in the middle can be frustrating. Common causes include:
- Expired leavening: Baking powder loses potency over time. Test yours.
- Oven not hot enough: Use an oven thermometer. The oven needs to be fully preheated to
350°F (175°C). - Overmixing: While overmixing makes them tough, it can also prevent a good rise by developing too much gluten structure too early.
- Opening oven door too soon: Checking too early can cause drastic temperature drops, making them sink. Wait until close to the minimum bake time before checking.
Ensure your baking powder is fresh, your oven is accurate and preheated, and you are not overmixing the batter or checking the oven too frequently.
Addressing Frosting Consistency Issues
Sometimes buttercream can be too stiff or too runny.
- Too Stiff: Add liquid (milk, cream, or even a tiny bit of water) one teaspoon at a time, beating well after each addition, until it reaches the desired consistency.
- Too Runny: This usually means too much liquid was added, or the butter was too soft (or even melted). Add more sifted powdered sugar, a quarter cup at a time, beating until thickened. If the butter was too soft, refrigerating the frosting for 15-20 minutes can help firm it up.
Adjusting frosting consistency is usually quite simple. Just add a little more liquid for stiff frosting or a little more powdered sugar for runny frosting, mixing well each time until it's just right for spreading or piping.
Enjoy Your Delicious Classic Vanilla Cupcakes!
Congratulations! You've successfully baked your first batch of classic vanilla cupcakes following an easy beginner vanilla cupcake recipe. Take a moment to appreciate your accomplishment. These simple yet delightful treats are a testament to your newfound baking skills. Whether you've spread the frosting simply or attempted a swirl, the most important part is the delicious result you've created with your own hands.
Share them with friends and family, pack them for a picnic, or simply enjoy one (or two!) with a cup of tea or coffee. Baking is meant to be enjoyed, both the process and the product. We hope this guide has made your first baking experience a positive and empowering one.
We love seeing what our community bakes! Share photos of your classic vanilla cupcakes on social media. Tag us or use relevant hashtags so we can celebrate your success. Tell us about your experience with this easy beginner vanilla cupcake recipe – what did you find easiest? What did you learn? Your journey helps inspire others who are just starting out.
Remember, every baking adventure is a learning experience. Don't be discouraged if your first batch isn't absolutely perfect. Keep practicing, try new recipes from BakeWithEase, and most importantly, have fun in the kitchen. Happy Baking!
Frequently Asked Questions
What makes this chocolate cupcake recipe easy for beginners?
This recipe focuses on simple ingredients and straightforward instructions, eliminating complex techniques that can intimidate new bakers. It's designed for guaranteed success even on your first try!
What are the essential ingredients needed for this beginner chocolate cupcake recipe?
You'll primarily need flour, sugar, cocoa powder, baking powder, milk, oil, and eggs. These are common pantry staples, making the recipe easily accessible.
Can I substitute any of the ingredients in the easy beginner chocolate cupcake recipe?
While substitutions are possible, it's best to follow the recipe closely for your first attempt. However, you can often substitute dairy-free milk or oil alternatives with minimal impact.
How do I know when my chocolate cupcakes are perfectly baked using this beginner recipe?
Insert a toothpick into the center of a cupcake. If it comes out clean or with only a few moist crumbs, the cupcakes are perfectly baked. Avoid overbaking, which can lead to dryness.
What's the best way to store these easy beginner chocolate cupcakes?
Store the cupcakes in an airtight container at room temperature for up to three days. For longer storage, you can freeze them for up to two months.
Final Reflection: The Sweet Simplicity of Baking
The accessibility of baking, once perceived as a daunting task, is now within everyone's reach. This simple guide to chocolate cupcakes proves that creating delicious treats doesn't require years of culinary school or a professional kitchen. The joy of baking, and the satisfaction of sharing homemade goodies, is a powerful experience that deserves to be more widely accessible.
The enduring appeal of baking, particularly for beginners, lies in its ability to connect us to simpler times and foster a sense of accomplishment. It's a tangible way to express creativity and care, a feeling beautifully captured by the words of Julia Child: If you're afraid of butter, use cream.
This sentiment, while humorous, speaks to the heart of baking – a willingness to experiment, embrace imperfections, and find joy in the process, regardless of the outcome. The simple act of creating something delicious from scratch is a powerful antidote to the complexities of modern life.
Now, it's your turn. Don't be intimidated by the prospect of baking. Grab your apron, gather your ingredients, and embark on your own culinary adventure. Remember the steps outlined in this guide, but most importantly, remember to have fun! The perfect cupcake is not the goal; the journey of creating it, the shared laughter, and the sweet taste of success are what truly matter. So, go on, bake those cupcakes and share the joy!
Unleash Your Inner Baker: Create Delicious Cupcakes Today!
Thanks for joining us on this cupcake adventure! We hope you gained the confidence to tackle baking, even if it's your first time. Now it's time to put your new skills to the test!
- Bake your first batch of amazing cupcakes: Grab your ingredients, follow your favorite recipe (or ours! ), and get baking! This is your chance to experience the joy of creating something delicious from scratch.
- Share your creations: Post a picture of your cupcakes on social media and tag us @BakeWithEase – we'd love to see your baking journey!
- Explore our other beginner-friendly recipes: Dive into our recipe collection to find your next baking challenge – from cookies to cakes, there's a world of deliciousness waiting!
What unique flavor combination will you create for your next batch of cupcakes?