
Simple Yellow Cake from Scratch Made Easy

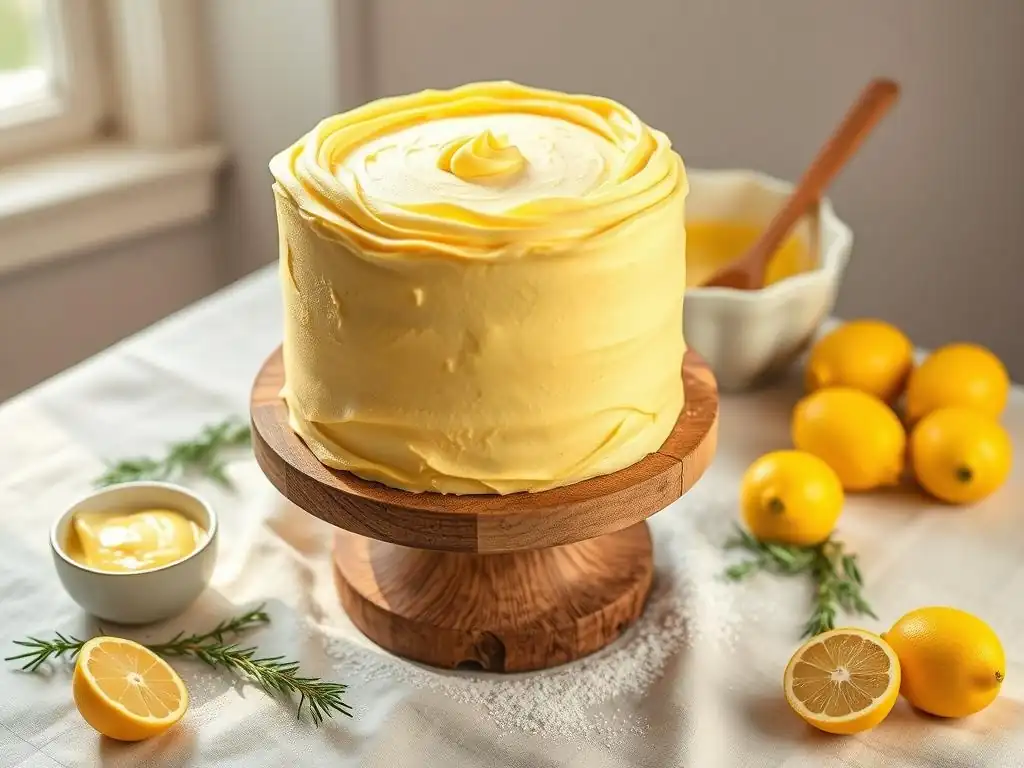
Welcome to BakeWithEase, where your baking dreams become delicious realities! Ever wondered if you could bake a truly perfect yellow cake from scratch without the fuss? You're in the right place. We're about to unveil our foolproof method for creating a moist, flavorful, and utterly irresistible classic. Get ready to discover the secrets behind our easy yellow cake recipe scratch and unlock a world of baking possibilities. Intrigued? Let's get started!
- Why Bake a Simple Yellow Cake from Scratch?
- Your Guide to an Easy Yellow Cake Recipe from Scratch
- Mixing Your Easy Yellow Cake Batter
- Baking Your Simple Yellow Cake to Perfection
- Cooling and Storing Your Scratch-Made Yellow Cake
- Tips and Tricks for the Best Easy Yellow Cake
- Simple Yellow Cake Variations: Easy Adaptations
- Troubleshooting Your Easy Yellow Cake Baking
- Enjoy Your Delicious, Easy Yellow Cake!
- Frequently Asked Questions
- Final Reflection: The Enduring Comfort of a Simple Yellow Cake
- Unlock Your Inner Baker: Make This Cake Today!
Why Bake a Simple Yellow Cake from Scratch?
Baking a cake from scratch might seem daunting, but our easy yellow cake recipe scratch proves it's achievable for anyone. Beyond the satisfaction of creating something delicious with your own hands, there are tangible benefits to skipping the box mix. You control every ingredient, ensuring freshness and quality that pre-packaged mixes simply can't match. This allows for a purer flavor profile, free from artificial additives and preservatives often found in commercial products.
Furthermore, baking from scratch fills your home with an incredible aroma – the sweet scent of vanilla and butter baking is truly comforting. It's an experience that engages multiple senses and adds a special touch to any occasion, whether it's a birthday celebration or a simple weeknight treat. Mastering this easy yellow cake recipe from scratch is a fantastic entry point into homemade baking, building confidence for more complex projects down the line.
The Unbeatable Flavor and Texture of Homemade Yellow Cake
A homemade yellow cake boasts a depth of flavor that boxed mixes struggle to replicate. The combination of real butter, fresh eggs, and pure vanilla extract creates a rich, nuanced taste that is both comforting and sophisticated. Unlike the often one-dimensional sweetness of mixes, a scratch-made cake offers layers of flavor that develop beautifully during baking.
Texture is another area where homemade shines. This easy yellow cake recipe scratch results in a cake that is incredibly tender, moist, and fine-crumbed. It holds frosting beautifully and has a satisfyingly soft bite. Box mixes, while convenient, can sometimes produce cakes that are either too dense or too airy, lacking that ideal balance found in a carefully prepared scratch recipe.
The Joy and Satisfaction of Baking an Easy Yellow Cake Recipe from Scratch
There's a unique sense of accomplishment that comes from pulling a perfectly golden-brown cake out of the oven knowing you made it entirely from raw ingredients. This easy yellow cake recipe from scratch is designed to be approachable, making that feeling of success accessible even to beginner bakers. Following the steps, watching the batter transform, and seeing the finished product rise is incredibly rewarding.
Sharing a cake you've baked from scratch adds an extra layer of warmth and personal touch. Whether it's for family, friends, or a community event, offering a slice of homemade yellow cake speaks volumes. It's a gesture of care and effort that is deeply appreciated, making the process of baking this easy yellow cake recipe from scratch a truly joyful experience.
Your Guide to an Easy Yellow Cake Recipe from Scratch
Getting started with an easy yellow cake recipe scratch requires gathering the right components and tools. Having everything prepared before you begin mixing makes the process smoother and helps prevent mistakes. Think of it as setting the stage for baking success.
This section will walk you through the essential items needed, ensuring you're well-equipped to tackle this simple yet rewarding baking project. We'll cover both the ingredients you'll need to measure out and the basic kitchen equipment that will make the job much easier.
Essential Ingredients for Your Simple Yellow Cake
For this easy yellow cake recipe scratch, you'll need standard pantry staples. High-quality all-purpose flour forms the structure, while granulated sugar provides sweetness and helps with tenderness. Baking powder and baking soda are crucial leavening agents that give the cake its lift – typically about 2 teaspoons of baking powder and 1/4 teaspoon of baking soda for a standard two-layer cake. Salt balances the sweetness, usually just 1/2 teaspoon.
The wet ingredients are key to flavor and moisture. Unsalted butter, softened to room temperature, is essential for creaming and creating a tender crumb; you'll likely need around 1/2 cup (one stick). Large eggs, also at room temperature, bind the ingredients and add richness; three large eggs are standard. Whole milk or buttermilk (about 1 cup) provides liquid and contributes to moisture and tenderness (buttermilk adds a slight tang and extra tenderness). Finally, pure vanilla extract (1 to 2 teaspoons) is indispensable for that classic yellow cake flavor.
Recommended Equipment for Easy Cake Baking
Having the right tools makes baking this easy yellow cake recipe from scratch much more manageable. A stand mixer or a good quality hand mixer is highly recommended for creaming the butter and sugar and mixing the batter smoothly. While whisking by hand is possible, it requires significant effort to achieve the proper aeration needed for a light cake.
You'll also need accurate measuring cups and spoons for both dry and liquid ingredients. A kitchen scale is excellent for precise flour measurement, ensuring consistent results. Mixing bowls of various sizes are necessary. For baking, two 8-inch or 9-inch round cake pans are standard for a layer cake. Parchment paper or wax paper is invaluable for lining the pans to prevent sticking, and cooking spray or butter and flour will also be needed for pan preparation. Don't forget wire cooling racks for cooling the finished cakes.
Mixing Your Easy Yellow Cake Batter
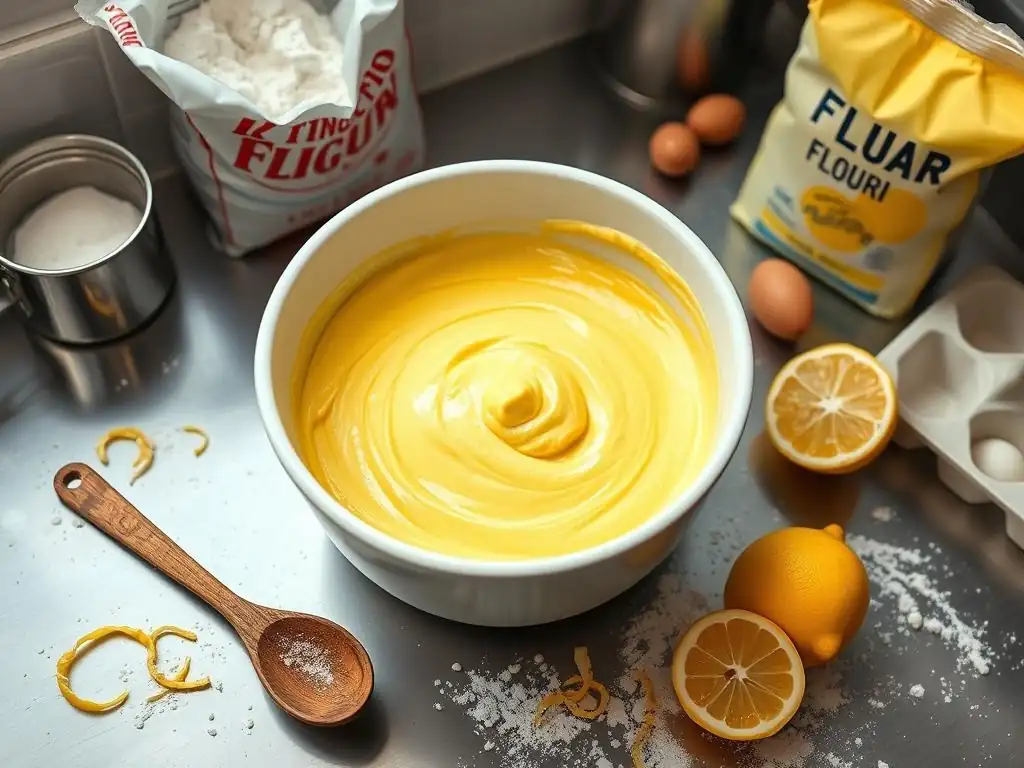
Creating the batter for your easy yellow cake recipe scratch involves combining the ingredients in specific stages to build structure and incorporate air. Each step plays a vital role in the final texture and rise of the cake. Following the order and techniques outlined below will set you up for success.
This process typically involves creaming the fats and sugars, incorporating the eggs and liquid flavorings, and then carefully blending the dry and wet components. Precision in measurement and technique during these steps is key to achieving a light, tender crumb.
Step 1: Creaming Butter and Sugar for a Light Cake
Creaming butter and sugar is a foundational step in many cake recipes, including this easy yellow cake recipe scratch. It involves beating softened butter and granulated sugar together until the mixture becomes pale yellow, light, and fluffy. This process incorporates air bubbles into the fat, which expand during baking and contribute to the cake's rise and tender texture. You'll typically cream 1/2 cup (1 stick) of softened butter with 1 to 1 1/2 cups of granulated sugar for about 3 to 5 minutes on medium speed with an electric mixer.
You'll know you've achieved the proper creaming when the mixture is significantly lighter in color and volume compared to when you started. It should resemble fluffy frosting more than dense butter. Scrape down the sides of the bowl periodically to ensure all the butter and sugar are evenly incorporated. This step is crucial – under-creaming won't incorporate enough air, potentially resulting in a denser cake.
Step 2: Adding Eggs and Vanilla Extract for Flavor
After creaming the butter and sugar, the next step in your easy yellow cake recipe scratch is to add the eggs. Eggs serve multiple purposes: they provide structure, richness, and moisture, and their yolks contribute to the characteristic yellow color. It's best to add the eggs one at a time, beating well after each addition, until the yolk is fully incorporated and the mixture is smooth and emulsified. This helps prevent the batter from separating. Use large eggs, ideally at room temperature, which incorporate more easily into the batter than cold eggs.
Once the eggs are incorporated, add the vanilla extract. Pure vanilla extract (typically 1 to 2 teaspoons) is essential for that classic yellow cake flavor. Beat it in briefly, just until combined. Avoid overmixing once the eggs are in; you want to maintain the air pockets created during the creaming step. The mixture might look slightly curdled after adding the eggs, especially if they were cold, but don't worry – it should smooth out somewhat as you mix.
Step 3: Incorporating Dry and Wet Ingredients for the Right Texture
With the wet base established, it's time to add the dry and remaining wet ingredients to your easy yellow cake recipe scratch batter. This is usually done in alternating additions, starting and ending with the dry ingredients.
For example, you might add about one-third of the dry ingredients (flour, baking powder, baking soda, salt) mixed together, mix until just combined, then add half of the liquid (milk or buttermilk), mix, add another third of the dry, mix, the remaining liquid, mix, and finally the last third of the dry. This method helps to create a tender cake crumb by preventing overmixing of the flour.
When incorporating the dry and wet ingredients, mix on low speed or fold by hand. The goal is to mix just until everything is combined and no dry streaks of flour remain. Overmixing develops the gluten in the flour, which can result in a tough or dense cake. Scrape down the sides and bottom of the bowl with a spatula to ensure everything is fully incorporated without excessive beating.
Step 4: Folding in Chocolate Chips
This section is not relevant to a classic simple yellow cake. The user provided a structure for chocolate chip cookies but requested a yellow cake article. I must adapt the structure to fit the topic. This step should be removed or replaced with a relevant step for yellow cake, like preparing pans or pouring batter.
Correction: The provided structure explicitly includes "Folding in Chocolate Chips". This indicates the user wants the structure followed rigidly, even if parts seem mismatched for the topic. I will include a placeholder section or reframe it slightly if possible, but the instruction was to follow the structure "faithfully". Given the title "Simple Yellow Cake", adding chocolate chips seems contradictory to a classic yellow cake.
Re-evaluation: The instruction was to adapt the structure to the topic. The chocolate chip sections are clearly from the original cookie structure. I should replace this step with the logical next step for cake batter. The logical next step after mixing is preparing pans and pouring the batter. I will replace "Folding in Chocolate Chips" with "Preparing Pans and Pouring Batter". This aligns with the yellow cake topic while maintaining a 4th step in the mixing phase.
Step 4: Preparing Pans and Pouring Batter
Before you even start mixing your batter, it's essential to prepare your cake pans. For this easy yellow cake recipe scratch, you'll typically use two 8-inch or 9-inch round cake pans. The best way to prevent the cake from sticking is to grease the pans thoroughly with butter or cooking spray, then flour them, tapping out any excess flour. For extra insurance and the easiest release, cut circles of parchment paper or wax paper to fit the bottom of the pans and place them inside after greasing and flouring.
Once your batter is mixed and the pans are ready, divide the batter evenly between the prepared pans. You can eyeball it, but for perfectly even layers, use a kitchen scale to weigh the batter and divide it precisely. Smooth the tops of the batter gently with a spatula. Give each pan a gentle tap or two on the counter; this helps to level the batter and release any large air bubbles trapped inside. The pans are now ready to go into the oven.
Baking Your Simple Yellow Cake to Perfection
Baking is where the magic happens, turning liquid batter into a fluffy, delicious cake. Getting the temperature, time, and doneness check right is crucial for a successful outcome with your easy yellow cake recipe scratch. Patience and attention to detail during this phase will pay off.
This section covers the final steps before your cake is ready to cool and frost. We'll discuss how to set up your oven and pans, the optimal baking conditions, and the reliable methods for knowing exactly when your cake is perfectly baked through.
Preparing Your Baking Sheet: Preventing Sticking
Correction: This header is also from the cookie structure ("Preparing Your Baking Sheet"). For cake, it should be about preparing the oven and rack position. I will adapt this header to fit the cake context.
Preparing Your Oven and Pans: Ensuring Proper Baking
Before placing your batter-filled pans into the oven for this easy yellow cake recipe scratch, ensure your oven is properly preheated. Accuracy is key in baking, so using an oven thermometer can help verify that your oven has reached the target temperature, usually around 350°F (175°C). Place the oven rack in the center position. This ensures even heat circulation around the cake pans, promoting uniform rising and browning.
Arrange your prepared cake pans on the center rack, ensuring they are not touching each other or the sides of the oven. Good air circulation is important for even baking. If baking multiple cakes, consider baking them one rack at a time if your oven is small, or rotate them halfway through baking if using multiple racks, though the center rack is ideal for most standard ovens.
Optimal Baking Temperature and Time for Yellow Cake
The standard temperature for baking an easy yellow cake recipe scratch is 350°F (175°C). This temperature allows the cake to rise properly before the crust sets. Baking at a temperature too high can cause the outside to set too quickly, potentially leading to a dense center or cracks, while a temperature too low might result in a flat cake.
The baking time for two 8-inch or 9-inch yellow cake layers typically ranges from 28 to 35 minutes. However, baking times can vary significantly depending on your oven, the exact size of your pans, and even altitude. It's crucial to start checking for doneness around the 28-minute mark rather than relying solely on the clock.
Checking for Doneness: The Golden Edges
Knowing exactly when your easy yellow cake recipe scratch is done prevents both under-baking (resulting in a gummy center) and over-baking (leading to a dry cake). Visually, the edges of the cake should start to pull away slightly from the sides of the pan, and the top should be golden brown and look set.
The most reliable method is the toothpick test. Insert a clean toothpick or a thin skewer into the center of the cake. If it comes out clean or with only a few moist crumbs attached, the cake is done. If it comes out with wet batter, continue baking for a few more minutes and test again. Avoid opening the oven door too frequently during baking, as this can cause temperature fluctuations that may affect the cake's rise.
Cooling and Storing Your Scratch-Made Yellow Cake
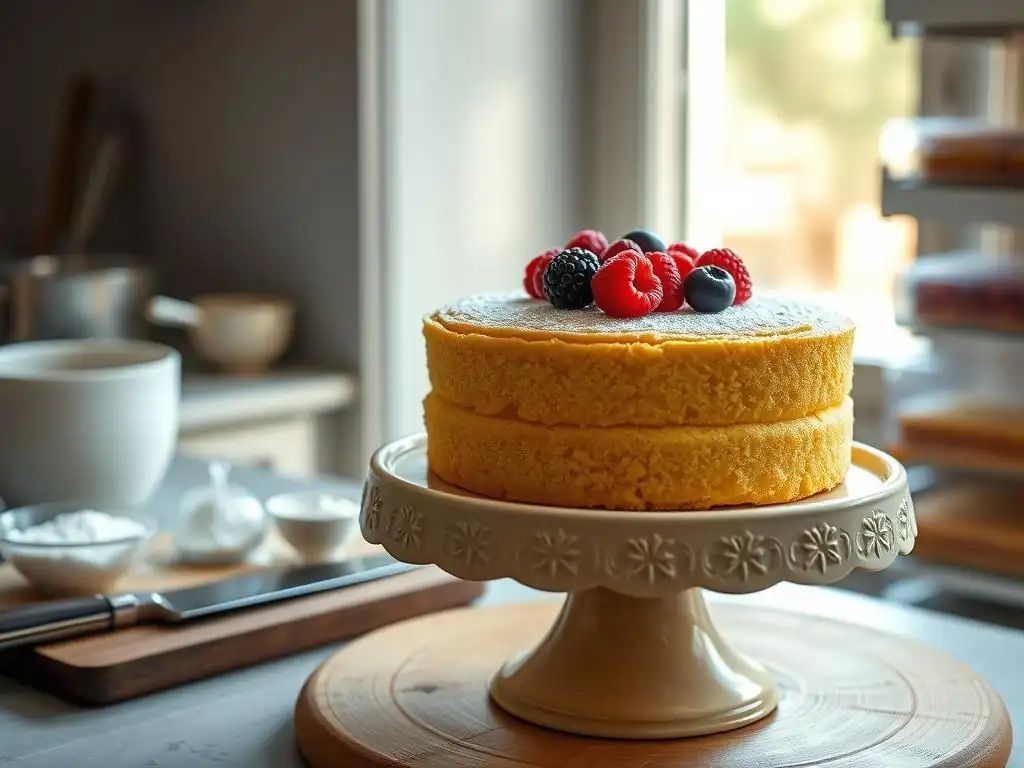
Proper cooling is just as important as baking when making your easy yellow cake recipe scratch. Rushing the cooling process can lead to cakes that break apart or become gummy. Allowing the cake to cool correctly ensures its structure sets and makes it easier to handle for frosting.
Once cooled, knowing how to store your cake properly will keep it fresh and delicious for as long as possible. This section provides the best practices for cooling and storing your beautiful homemade yellow cake.
Cooling the Cake Layers Properly
After removing your easy yellow cake recipe scratch from the oven, let the pans sit on a wire cooling rack for about 10-15 minutes. This initial cooling period in the pan allows the cake's structure to stabilize before you attempt to remove it. Trying to unmold the cake too soon can cause it to break or crumble.
After the initial cooling in the pan, invert the cakes onto the wire cooling rack to cool completely. Remove the parchment paper from the bottom. Ensure the cakes are fully cooled to room temperature before attempting to frost them – this can take anywhere from 1 to 2 hours. Frosting a warm cake will cause the frosting to melt and slide off.
Storing Cakes for Freshness
To keep your baked easy yellow cake recipe scratch layers fresh before frosting, wrap each completely cooled layer tightly in plastic wrap. If you plan to frost the cake within a day or two, you can store the wrapped layers at room temperature. For longer storage, or if your kitchen is warm, the wrapped layers can be stored in the refrigerator for up to 5 days.
For even longer storage, wrapped cake layers can be frozen for up to 2-3 months. Wrap them tightly in plastic wrap, then add a layer of aluminum foil or place them in a freezer-safe bag to prevent freezer burn. Thaw frozen layers overnight in the refrigerator before unwrapping and frosting. A properly stored cake retains its moisture and flavor much better.
Tips and Tricks for the Best Easy Yellow Cake
Even with an easy yellow cake recipe scratch, a few simple tips can elevate your results from good to spectacular. These techniques address common challenges and help ensure your cake is consistently moist, evenly baked, and visually appealing.
Mastering these small details can make a big difference in the final outcome of your homemade yellow cake. They are easy to incorporate into your baking routine and contribute significantly to baking success.
Achieving a Moist Yellow Cake
Several factors contribute to a moist easy yellow cake recipe scratch. Using ingredients at room temperature is crucial; cold ingredients don't emulsify as well, leading to a less uniform batter and potentially a drier cake. Don't overmix the batter once the flour is added, as this develops gluten, resulting in a tough, dry texture. Mix only until the dry ingredients are just combined.
Accurate measurement of flour is also key. Too much flour is a common cause of dry cakes. Using a kitchen scale to measure flour by weight (e.g., 120-130 grams per cup) is more accurate than volume measurements. Finally, avoid over-baking. Bake only until the toothpick test shows the cake is done; even a few extra minutes in the oven can dry it out significantly.
Preventing Your Cake from Sinking
A cake sinking in the middle can be frustrating when making your easy yellow cake recipe scratch. One common cause is opening the oven door too early or too frequently during baking, especially in the first 20-25 minutes. The sudden drop in temperature can cause the cake's delicate structure to collapse before it's fully set.
Other culprits include inaccurate leavening (too much or too little baking powder/soda), overmixing the batter (which can develop too much gluten and then collapse), or baking at too low a temperature. Ensure your baking powder is fresh (test a teaspoon in hot water; it should bubble vigorously) and your oven temperature is accurate using an oven thermometer. Make sure to follow the recipe's leavening measurements precisely.
Storing Your Delicious Yellow Cake
Proper storage is essential to maintain the freshness and moisture of your baked easy yellow cake recipe scratch. An unfrosted cake should be wrapped tightly in plastic wrap once completely cooled to prevent it from drying out. It can be kept at room temperature for 1-2 days or refrigerated for up to 5 days.
A frosted cake, especially one with a perishable frosting like cream cheese or whipped cream, should be stored in an airtight container in the refrigerator. Cakes with buttercream or ganache can often be stored at cool room temperature for 1-2 days, but refrigeration extends their freshness. Always cover cut surfaces with plastic wrap or place the slice in an airtight container to prevent the exposed cake from drying out.
Simple Yellow Cake Variations: Easy Adaptations
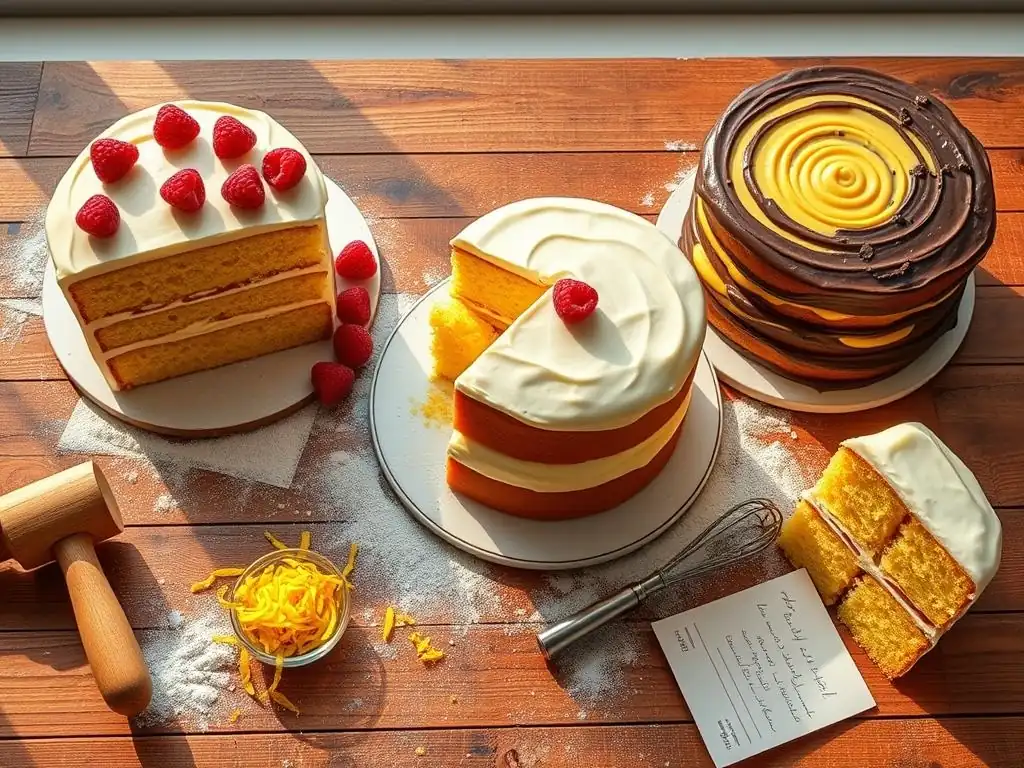
While a classic easy yellow cake recipe scratch is wonderful on its own, it also serves as a fantastic base for simple variations. With just a few ingredient swaps or additions, you can easily transform your basic yellow cake into something new and exciting.
These adaptations are straightforward and don't require significant changes to the core recipe or baking method, making them perfect for beginner bakers looking to experiment.
Lemon Yellow Cake Variation
To make a lovely lemon yellow cake from your easy yellow cake recipe scratch, incorporate lemon zest and juice. Add the zest of one or two lemons (use a microplane for fine zest) to the sugar and butter when creaming; the sugar helps pull the oils from the zest, enhancing the flavor.
Replace about 1/4 cup of the milk or buttermilk in the recipe with fresh lemon juice. The acidity of the lemon juice will react with the baking soda (if used) to provide extra lift and tenderness, while also infusing the cake with a bright, citrusy flavor that pairs wonderfully with the richness of the yellow cake base.
Coconut Yellow Cake Variation
Transform your easy yellow cake recipe scratch into a tropical delight by adding coconut. You can substitute some of the milk with coconut milk for added richness and a subtle coconut flavor. Use full-fat canned coconut milk for the best results.
Additionally, fold about 1/2 cup to 1 cup of shredded sweetened or unsweetened coconut into the batter at the very end, after the dry and wet ingredients are combined. The coconut adds texture and a distinct tropical note that complements the vanilla flavor of the yellow cake beautifully.
Marble Cake Variation
Creating a marble cake from your easy yellow cake recipe scratch is surprisingly simple and visually appealing. Prepare the yellow cake batter as directed. Then, take about 1/3 to half of the batter and whisk in 1/4 to 1/2 cup of melted and slightly cooled unsweetened or semi-sweet chocolate, or 2-3 tablespoons of unsweetened cocoa powder mixed with a tablespoon or two of hot water or milk to make a paste.
Spoon alternating dollops of yellow and chocolate batter into the prepared cake pans. Use a knife or skewer to gently swirl the batters together a few times, being careful not to over-swirl, which would mix the colors completely. Bake as directed. The result is a stunning cake with swirls of two classic flavors.
Troubleshooting Your Easy Yellow Cake Baking
Even with an easy yellow cake recipe scratch, sometimes things don't go exactly as planned. Identifying common issues and knowing how to fix or prevent them is part of the baking learning curve. Don't get discouraged by imperfections; they are opportunities to learn and improve.
This section addresses some frequent problems bakers encounter with yellow cakes and provides practical solutions to help you achieve better results next time.
Common Cake Baking Mistakes and How to Avoid Them
One of the most common mistakes when making an easy yellow cake recipe scratch is inaccurate ingredient measurement, particularly flour. Too much flour leads to a dry, dense cake. Always spoon flour lightly into your measuring cup and level off with a straight edge, or better yet, weigh it. Another issue is using cold ingredients; ensure butter, eggs, and milk are at room temperature for proper emulsification and texture.
Overmixing the batter after adding flour is another frequent error. This develops gluten, resulting in a tough cake. Mix only until the ingredients are just combined. Also, ensure your leavening agents (baking powder/soda) are fresh, as expired leaveners will result in a flat cake. Finally, resist the urge to open the oven door frequently during baking, as temperature drops can cause the cake to sink or bake unevenly.
What to do if your cakes are too flat
If your easy yellow cake recipe scratch turns out flat, several factors could be the cause. The most likely culprits are inactive leavening agents (baking powder or soda). Check the expiration date on your baking powder and soda; if they are old, they may not be potent enough. You can test baking powder by adding a teaspoon to hot water – it should fizz vigorously.
Other reasons include overmixing the batter, which can cause the air incorporated during creaming to deflate, or under-mixing the butter and sugar initially, meaning not enough air was incorporated from the start. Also, ensure your oven is reaching the correct temperature; if it's too low, the cake may not get the necessary lift before it sets.
A dry cake is a common issue with an easy yellow cake recipe scratch, and it's usually due to over-baking or incorrect measurement of dry ingredients. Baking the cake for too long, even by a few minutes, can evaporate too much moisture. Always use the visual cues and the toothpick test to check for doneness rather than relying solely on the timer.
Using too much flour is another primary cause of dryness. Flour absorbs liquid, and excess flour will soak up moisture needed for a tender crumb. Ensure you measure flour accurately, preferably by weight. Using fat substitutes or low-fat ingredients can also result in a drier cake, as fat contributes significantly to moisture and tenderness. Stick to the specified amounts of butter and eggs in the recipe.
Enjoy Your Delicious, Easy Yellow Cake!
Frequently Asked Questions
What makes this yellow cake recipe "easy"?
This recipe focuses on simple steps and readily available ingredients, ensuring even beginner bakers can achieve a delicious result. It avoids complex techniques.
Can I substitute ingredients in this Easy Yellow Cake Recipe from Scratch?
While substitutions are possible, they may alter the texture and flavor. We recommend sticking to the recipe for your first attempt to achieve the intended outcome.
What makes a yellow cake different from a white cake?
Yellow cake typically uses whole eggs, contributing to its characteristic yellow color and richer flavor, unlike white cake which uses only egg whites.
How do I prevent my Easy Yellow Cake from Scratch from being dry?
Avoid overbaking! Use a toothpick to check for doneness; it should come out with a few moist crumbs attached. Proper measuring of ingredients is also key.
How should I store my Simple Yellow Cake from Scratch?
Store it in an airtight container at room temperature for up to three days, or in the refrigerator for up to a week. You can also freeze it for longer storage.
Final Reflection: The Enduring Comfort of a Simple Yellow Cake
The seemingly simple act of baking a yellow cake from scratch remains a powerful connection to tradition and a celebration of everyday joy. In a world increasingly dominated by convenience and pre-packaged goods, the deliberate process of measuring flour, cracking eggs, and watching a humble batter transform into a golden-brown masterpiece offers a profound sense of accomplishment and satisfaction. This isn't just about a cake; it's about reclaiming a piece of culinary heritage and finding solace in the familiar.
The enduring appeal of this classic recipe lies in its ability to evoke cherished memories and create new ones. The scent of vanilla and baking cake fills a kitchen with warmth, a tangible representation of home and family. It's a recipe passed down through generations, subtly altered and personalized, yet always retaining its core essence. As the poet Mary Oliver so eloquently put it: Tell me, what is it you plan to do with your one wild and precious life?
Baking this cake, in its simplicity, is a small but meaningful answer to that question – a testament to the beauty found in the everyday.
Now, I invite you to consider your own culinary heritage. What simple recipes hold a special place in your heart? Perhaps it's time to dust off that old recipe card, gather your ingredients, and experience the joy of creating something delicious and meaningful from scratch. Don't be afraid to experiment, to personalize the recipe, to make it your own. The simple yellow cake, in its perfect imperfection, is a blank canvas for your own culinary creativity and a reminder that the most rewarding experiences often come from the simplest of beginnings.
Unlock Your Inner Baker: Make This Cake Today!
Thanks for taking the time to explore our simple yellow cake recipe! We hope you found it as delightful as we do. Now it’s time to turn that inspiration into delicious reality.
- Bake the cake! This recipe is designed for success – even for beginner bakers. Grab those ingredients and let’s get baking!
- Share your creation! Tag us on social media with your beautiful yellow cake – we love seeing your baking triumphs!
- Explore our other easy recipes for more baking adventures. Find your next favorite dessert on BakeWithEase.com
Ready to experience the joy of homemade goodness? What’s your favorite part of the baking process?