
Stop Your Drop Cookies From Spreading Too Much

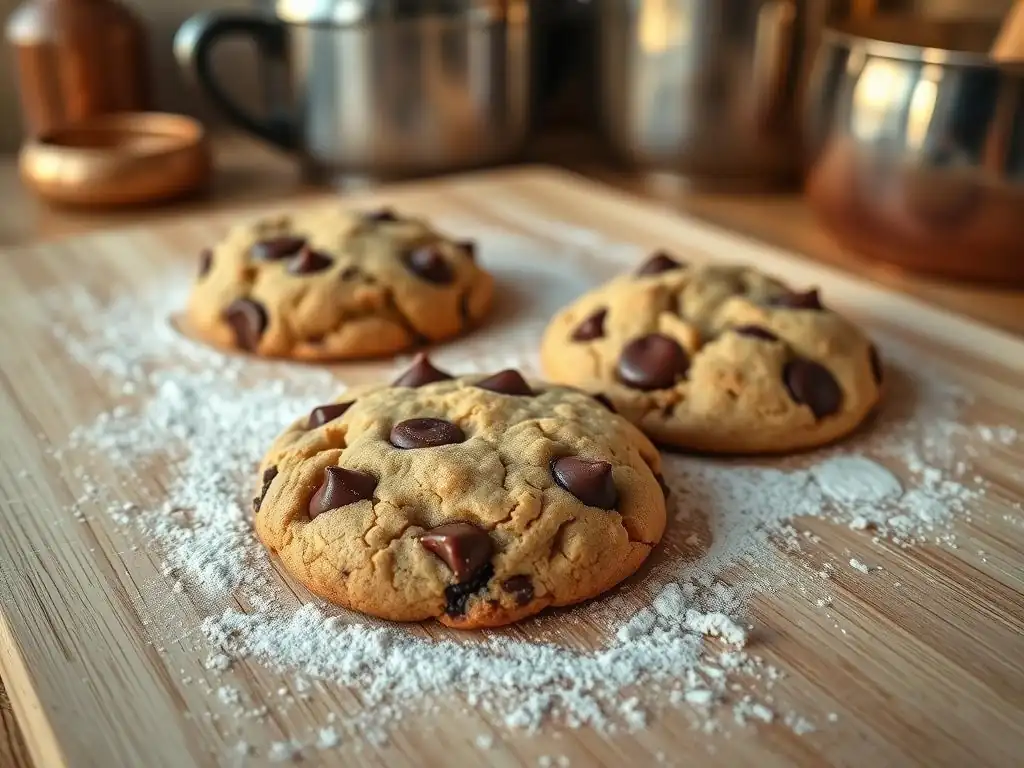
Welcome to BakeWithEase, your kitchen companion for delightful baking adventures! Tired of flat, uninspired cookies? You've come to the right place. This week we're diving deep into the secrets of perfect drop cookies. Discover the simple tricks to stop your drop cookies from spreading too much and unlock a world of perfectly shaped, irresistibly delicious treats. Eager to learn the surprisingly easy solution? Let's get baking!
- Stop Your Drop Cookies From Spreading Too Much: BakeWithEase Guide
- Understanding Why Your Easy Drop Cookies Spread
- Common Mistakes That Cause Drop Cookie Spreading
- Simple Solutions to Prevent Drop Cookie Spreading
- Troubleshooting Common Drop Cookie Spreading Issues
- BakeWithEase's Top Tips for Perfectly Shaped Drop Cookies
- Mastering Drop Cookies: Beyond Spreading Prevention
-
Frequently Asked Questions
- Why are my drop cookies spreading too much during baking?
- What is the ideal consistency of drop cookie dough to prevent spreading?
- How does the type of fat used affect cookie spreading?
- Can the oven temperature cause my drop cookies to spread?
- Does the baking sheet material matter when trying to prevent drop cookies from spreading?
- Final Reflection: The Perfect Drop Cookie, A Testament to Precision
- Unlock the Secret to Perfectly Shaped Cookies!
Understanding the fundamental science is key to mastering the art of baking and preventing excessive easy drop cookie spreading. When cookie dough is placed in a hot oven, several things happen simultaneously that contribute to its shape. First, the fat (usually butter) in the dough melts. This melting fat acts as a lubricant, allowing the dough to relax and spread outwards. As the temperature continues to rise, moisture in the dough turns into steam, causing some leavening, and sugars begin to liquefy and eventually caramelize, which also influences the spread and helps set the cookie structure.
Simultaneously, proteins from the flour (gluten) and eggs begin to coagulate, and leavening agents (like baking soda or powder) produce gases that help the cookie rise. The rate at which these setting processes occur relative to the rate at which the fat melts and allows spreading determines the final thickness and diameter of your cookie. If the fat melts and spreads before the structure sets, you get flat, wide cookies. Controlling this delicate balance is essential for preventing unwanted easy drop cookie spreading.
The ratio and state of your ingredients are paramount in controlling easy drop cookie spreading. Small adjustments can lead to drastically different results. Understanding how butter, sugar, and flour interact is the first step in troubleshooting flat cookies.
Let's break down the specific roles of these core ingredients and how their manipulation can prevent your easy drop cookies from spreading too much. Getting these right is often the simplest fix for common spreading issues.
Butter: Temperature and Type Affecting Cookie Shape
The temperature and type of butter are critical factors influencing easy drop cookie spreading. Cold, firm butter melts slower in the oven compared to soft or melted butter. This slower melting gives the cookie's structure more time to set before the fat fully liquefies and allows significant spread. Using butter that is just softened (cool to the touch but pliable) is generally recommended for creaming with sugar, as it incorporates air for leavening, but its temperature still matters.
Furthermore, the fat content can vary slightly between butter types (like European vs. American style, which often has higher fat). Butter is typically around 80-82% fat and 16-18% water. Margarine or butter substitutes often have different fat-to-water ratios and melting points, which will significantly alter spread. For minimal easy drop cookie spreading, using cool, high-quality butter is often the best starting point.
Sugar: How Sugar Content Influences Spreading
Sugar plays a dual role in cookie spread: it contributes to tenderness and moisture, but it also liquefies at oven temperatures, promoting spread. Granulated sugar, with its larger crystals, contributes more to spread than superfine or powdered sugar because it takes longer to dissolve and melts at a specific temperature, causing the dough to relax around it. Brown sugar, which contains molasses, adds moisture and acidity; the acidity can react with baking soda to promote more spread and a chewier texture compared to using only granulated sugar.
A higher proportion of sugar in a recipe generally leads to more easy drop cookie spreading. This is because there's more material liquefying and less structural component (like flour or egg) to hold the shape against the melting fat. Reducing the sugar content slightly (e.g., by 10-20g in a standard batch) can help control spread, although this will also affect sweetness and texture.
Flour: The Role of Flour in Preventing Excessive Spread
Flour provides the structural foundation for your easy drop cookies. It contains proteins that form gluten when mixed with liquid and agitated. Gluten develops into a network that holds the cookie together as it bakes. A higher ratio of flour to fat and sugar generally results in less spread because there is more structure to resist the dough relaxing outwards as the fat melts.
Different types of flour have varying protein contents. All-purpose flour is standard for most drop cookies, typically containing 10-12% protein. Using a lower protein flour like cake flour (around 7-9% protein) would likely result in more spread, while a higher protein flour like bread flour (12-14% protein) might result in less spread and a tougher cookie. Ensuring you measure your flour accurately is crucial; too little flour is a common cause of excessive easy drop cookie spreading.
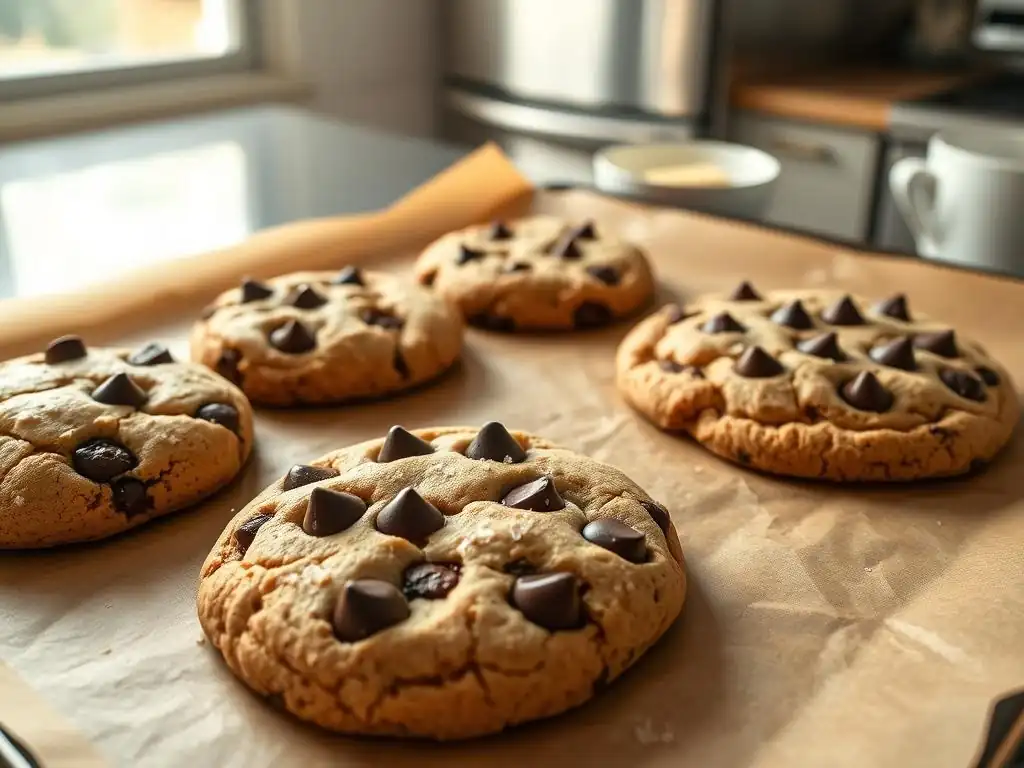
Understanding the science is one thing, but execution matters just as much when trying to stop easy drop cookie spreading. Several common errors made during the mixing and baking process can sabotage your efforts and leave you with flat, unappealing cookies.
Identifying these pitfalls is the next step in perfecting your drop cookie technique. Often, a simple adjustment to your method can make a world of difference in preventing excessive easy drop cookie spreading.
Using Melted Butter Instead of Softened Butter
A frequent culprit behind excessive easy drop cookie spreading is using butter that is too soft, or worse, melted. Recipes typically call for "softened" butter, which means it should be pliable enough to indent easily with your finger but still cool and hold its shape. This temperature is ideal for creaming with sugar to incorporate air bubbles, which contribute to leavening and texture.
Melted butter, on the other hand, bypasses this creaming step and eliminates those crucial air pockets. More importantly, it's already in a liquid state before it even goes into the oven. When the dough hits the heat, there's no solid fat structure to maintain shape initially; the dough simply spreads out rapidly as the liquid fat heats up, leading to significant easy drop cookie spreading. Always ensure your butter is at the correct softened consistency specified by the recipe.
While gluten is necessary for structure (as discussed earlier), overmixing cookie dough can lead to excessive gluten development, resulting in tougher cookies. However, in the context of spread, overmixing can also sometimes contribute to the problem, albeit less directly than butter or sugar issues. Overmixing can sometimes incorporate too much air initially, which then collapses in the oven, or it can simply lead to a dough structure that doesn't bake up as intended.
More significantly, overmixing, especially after adding flour, can change the dough's consistency, making it more pliable and prone to spreading. Once the flour is added, mixing should be kept to a minimum – just until the dry ingredients are incorporated. For example, after adding flour, mixing for more than 30-60 seconds on a stand mixer or more than a minute or two by hand can develop too much gluten and potentially affect how the dough holds its shape against easy drop cookie spreading forces in the oven.
Baking at the wrong oven temperature is a major cause of easy drop cookie spreading issues. If your oven temperature is too low, the butter in the dough melts and the dough spreads significantly before the cookie's structure has a chance to set from the heat. This results in thin, flat cookies.
Conversely, if the oven is too hot, the edges of the cookie may set too quickly, sometimes before the center has a chance to cook through or the leavening can fully lift the dough. While this might limit outward spread, it can lead to unevenly baked cookies – burnt edges and raw centers. Using an oven thermometer is highly recommended to ensure your oven is accurately calibrated to the temperature specified in the recipe, typically 350°F (175°C) or 375°F (190°C) for most drop cookies.
Baking on a Hot Baking Sheet: Avoiding Rapid Spreading
Placing cookie dough onto a hot baking sheet is another common mistake that encourages easy drop cookie spreading. If you're baking multiple batches, resist the urge to reuse a hot sheet immediately after removing a batch from the oven. The residual heat from the hot sheet will cause the butter in the new dough portion to start melting instantly upon contact, even before the sheet goes into the oven.
This premature melting leads to rapid, uncontrolled easy drop cookie spreading as soon as the sheet enters the oven's heat. Always allow baking sheets to cool completely between batches. Having two or three baking sheets on hand allows you to cycle them through the oven efficiently while others cool down, ensuring consistent results and preventing unnecessary spread.
Now that we've explored the 'why' behind excessive easy drop cookie spreading and identified common mistakes, let's focus on practical, easy-to-implement solutions. These techniques are simple yet incredibly effective in helping you achieve perfectly shaped cookies every time.
Implementing these steps requires minimal effort but yields significant improvements in controlling the spread of your easy drop cookies. Try one or a combination of these methods to see which works best for your specific recipe.
Chilling cookie dough is perhaps the single most effective way to prevent excessive easy drop cookie spreading. When the dough is chilled, the fat (butter) solidifies. When this cold dough is placed in a hot oven, the butter takes much longer to melt compared to room-temperature or warm dough.
This delay in the fat melting provides crucial time for the other structural components of the cookie – the proteins from flour and eggs – to set in the heat. As the structure sets before the fat fully melts and allows spreading, the cookie holds its shape better, resulting in thicker cookies with less easy drop cookie spreading. Chilling also allows the flavors in the dough to meld, often resulting in a more delicious cookie.
How Long to Chill Dough for Optimal Results
The optimal chilling time can vary depending on the recipe and the dough's initial temperature, but a general guideline is anywhere from 30 minutes to 2 hours in the refrigerator. For very sticky or soft doughs prone to significant easy drop cookie spreading, chilling for 24 hours or even up to 72 hours can yield even better results, leading to minimal spread and enhanced flavor.
For a quick fix, even 15-20 minutes in the freezer can help firm up the dough enough to reduce immediate spread. However, chilling for at least 30 minutes allows the butter to firm up thoroughly. You'll notice the dough is much easier to handle and portion after chilling. Don't skip this step if you're struggling with easy drop cookie spreading!
Use Parchment Paper or Silicone Baking Mats
While chilling is key, baking surface also matters. Baking directly on a greased baking sheet can sometimes contribute to easy drop cookie spreading. The grease acts as a lubricant, allowing the dough to slip and spread more easily as it heats up.
Using parchment paper or a silicone baking mat (like Silpat) provides a surface that the cookie dough is less likely to stick to initially, but also offers a slight grip once the dough warms, which can help control the spread. These surfaces also promote more even heat distribution, preventing hot spots that could cause uneven easy drop cookie spreading. Plus, they make cleanup a breeze!
Adjusting Your Recipe to Reduce Spreading
If you've tried chilling and adjusting your technique but still experience excessive easy drop cookie spreading, the issue might lie in the recipe's ratios. Some recipes are simply designed to produce thinner cookies. However, you can make minor adjustments to encourage less spread.
These adjustments involve tweaking the balance between ingredients that promote spread (like butter and sugar) and those that provide structure (like flour). Remember to make small changes, perhaps 10-20% at a time, as drastically altering ratios can change the cookie's texture and flavor profile significantly.
Reducing Butter or Sugar Content
As discussed earlier, both butter and sugar promote easy drop cookie spreading when they liquefy in the oven. Reducing the amount of either ingredient can help minimize this effect. If a recipe calls for 200g of butter and 150g of granulated sugar, you might try reducing the butter to 180g or the sugar to 130g in your next batch.
Reducing butter will result in a less rich cookie, while reducing sugar will make it less sweet and potentially less tender. It's a trade-off, but a slight reduction can often control spread without sacrificing too much flavor or texture. Experiment with one reduction at a time to see the impact on your easy drop cookie spreading.
Adding More Flour to Thicken the Dough
Increasing the amount of flour adds more structural material to the dough, helping it resist the tendency to spread as the fat melts. If your dough seems excessively soft or wet before baking, this is a strong indicator that adding a little more flour could help prevent easy drop cookie spreading.
Start by adding just a tablespoon or two (around 15-30g) of extra flour per standard batch of dough. Mix it in just until combined. This small addition can significantly change the dough's consistency and reduce spread without making the cookies dry or tough. Be cautious not to add too much flour, as this can result in dense, cakey, or dry cookies instead of tender ones.
Baking at the Right Temperature: Finding Your Oven's Sweet Spot
Ensuring your oven is accurately preheated and maintaining the correct temperature is paramount for controlling easy drop cookie spreading. As mentioned before, low temperatures equal more spread. Most drop cookie recipes call for temperatures between 350°F (175°C) and 375°F (190°C).
Using an oven thermometer is the most reliable way to know your oven's true temperature. Preheating your oven for at least 15-20 minutes after it indicates it has reached the target temperature is also important, as the internal elements and walls need time to heat evenly. Baking cookies on the middle rack usually provides the most consistent heat distribution, further helping to control easy drop cookie spreading.

Even with the best practices, you might encounter specific issues related to easy drop cookie spreading. Here are some common problems and how to address them, providing practical solutions for real-world baking challenges.
Don't get discouraged if your first few batches aren't perfect. Baking is a skill that improves with practice and understanding how to troubleshoot common easy drop cookie spreading problems.
If you've chilled your dough for the recommended time (say, 1-2 hours) and your easy drop cookies are still spreading excessively, it suggests the issue might be more fundamental than just dough temperature. Revisit the recipe and your ingredient measurements.
- Check Butter: Was the butter truly softened (cool) or was it closer to room temperature or even warmer? Was it high-quality dairy butter, or a spread/margarine with a lower melting point or different fat content?
- Check Sugar/Flour Ratio: Does the recipe inherently have a high fat/sugar ratio compared to flour? Consider adding 1-2 tablespoons (15-30g) of extra flour per batch.
- Check Oven Temperature: Is your oven thermometer confirming the correct temperature? A low oven is a major contributor to easy drop cookie spreading that chilling alone can't fully counteract.
- Check Leavening: While less common, too much baking soda can sometimes contribute to spread due to increased pH affecting gluten structure. Ensure accurate leavening measurement.
If you've baked your cookies and they turned out flat and spread too much, you can't "fix" that specific batch's shape. However, you can learn from the experience and adjust for the next batch.
- Assess: Look at the cookies. Are they uniformly thin? Did they spread into each other?
- Identify Cause: Based on the troubleshooting points above (butter temperature, dough temp, oven temp, ingredient ratios), try to determine the most likely cause of the excessive easy drop cookie spreading.
- Adjust Next Batch: Implement one or more of the solutions: chill the dough longer (e.g., 24 hours), add a little more flour, ensure butter is cool-softened, verify oven temperature with a thermometer, bake on parchment. Keep track of the changes you make to see which has the desired effect on preventing easy drop cookie spreading.
Even if your cookies aren't excessively flat, they might spread just enough to touch and merge during baking if they are placed too close together on the baking sheet. This is a common issue, especially with easy drop cookie spreading.
The simple solution is proper spacing. Leave adequate room between dough portions on the baking sheet. For most standard-sized drop cookies (using about 1.5 to 2 tablespoons of dough), placing them about 2 inches (roughly 5 cm) apart is usually sufficient to allow for typical easy drop cookie spreading without them touching. If you know a particular recipe tends to spread more, increase the spacing to 2.5 or 3 inches (6-8 cm). Don't overcrowd the sheet; bake in batches if necessary.
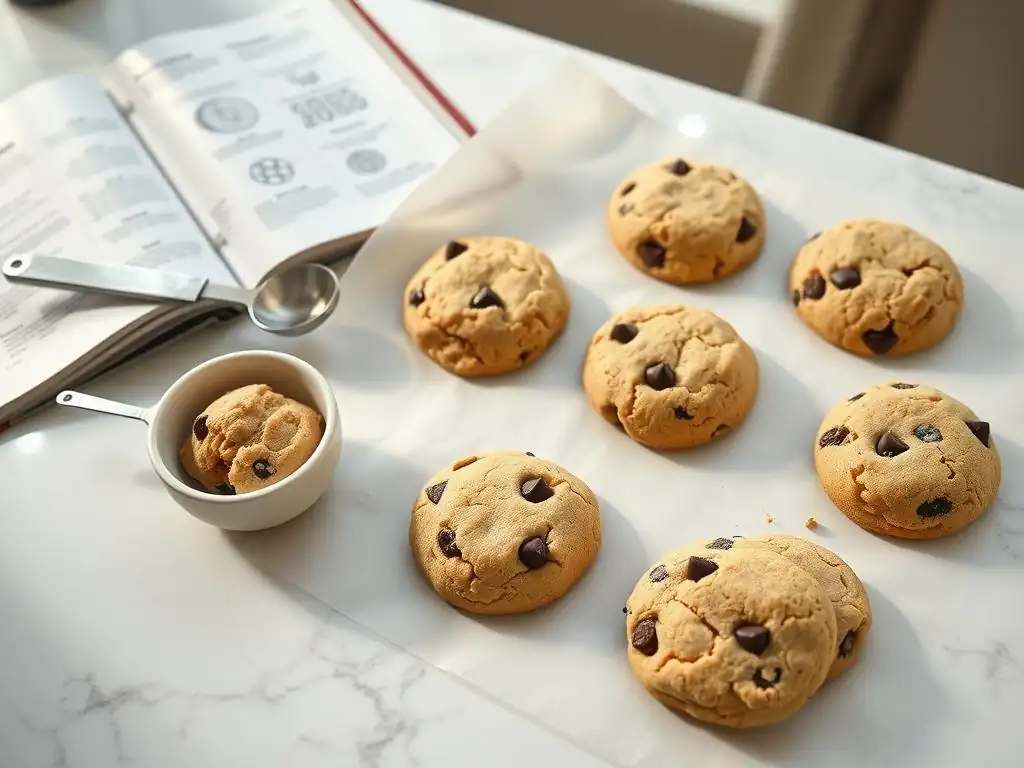
Achieving consistently perfect, non-spreading easy drop cookies involves attention to detail throughout the entire process. Here are our top tips to help you master your drop cookie game and prevent that frustrating easy drop cookie spreading.
These tips cover fundamental baking practices that go beyond just preventing spread, contributing to the overall success and deliciousness of your easy drop cookies.
Measuring Ingredients Accurately for Consistent Results
Baking is often described as a science, and precision in measuring ingredients is fundamental. Inaccurate measurements are a leading cause of baking failures, including excessive easy drop cookie spreading. Too little flour, too much sugar, or too much butter will all contribute to flatter cookies.
- Weighing is Best: Using a kitchen scale to weigh your ingredients (especially flour, sugar, and butter) is the most accurate method. For example, a cup of all-purpose flour can vary from 120g to 140g depending on how it's scooped and leveled. Weighing ensures you use the exact amount intended by the recipe developer.
- Spoon and Level: If using volume measurements (cups), use the "spoon and level" method for flour: gently spoon flour into the measuring cup until it overflows, then level off the excess with a straight edge without compacting the flour. Never scoop directly from the bag, as this compacts the flour and results in too much.
Using the Right Baking Sheet for Even Baking
The type and color of your baking sheet can impact how your easy drop cookies bake and spread. Shiny, light-colored aluminum baking sheets are generally recommended for cookies. They reflect heat, leading to more even baking and less browning on the bottoms, which helps prevent edges from setting too quickly while the center is still spreading.
Darker baking sheets absorb more heat and can cause the bottoms and edges of cookies to brown or even burn faster. This can sometimes limit spread slightly but often results in unevenly baked cookies. Insulated baking sheets, which consist of two layers with air in between, slow down heat transfer and can result in less browning and sometimes slightly less spread, but they may also extend baking time. A standard, light-colored aluminum sheet is a reliable choice for controlling easy drop cookie spreading.
Properly storing cookie dough, especially when chilling or making ahead, is important. Dough stored in the refrigerator can be kept for 3-5 days, or frozen for several months.
- Airtight Container: Always store dough in an airtight container or wrapped tightly in plastic wrap to prevent it from drying out or absorbing odors from the fridge.
- Portion Before Chilling (Optional): For easier baking later and guaranteed consistency, you can scoop the dough into portions (balls or discs) before chilling. Place the portions on a parchment-lined plate or small baking sheet and chill them. Once firm, transfer the dough balls to an airtight container or freezer bag. Baking from pre-portioned, chilled dough ensures consistent size and temperature, directly helping to control easy drop cookie spreading.
Once you've conquered the challenge of easy drop cookie spreading and are consistently producing beautifully shaped cookies, you can explore the wider world of drop cookie variations and fine-tune textures.
Preventing excessive easy drop cookie spreading is a major hurdle, but it's just one aspect of baking perfect cookies. With these foundational skills in place, you can confidently adapt recipes and experiment.
The principles for controlling easy drop cookie spreading apply to a vast array of recipes. From classic chocolate chip and peanut butter cookies to oatmeal raisin, snickerdoodles, and beyond, understanding the role of ingredients and technique allows you to tackle any drop cookie recipe.
Each variation might have slightly different ratios or ingredients (like peanut butter, oats, or molasses) that inherently affect spread. For instance, peanut butter cookies tend to spread less due to the protein and fat structure of the peanut butter itself, while some thin and crispy cookie recipes are designed for significant spread. Apply the techniques learned here – especially chilling and accurate measurement – to improve consistency across all your favorite easy drop cookie recipes.
Now that you understand how ingredients like butter, sugar, and flour impact easy drop cookie spreading, you can use this knowledge to slightly adapt recipes to achieve your preferred texture.
- Thicker, Chewier Cookies: Often require chilling, potentially a slightly higher flour-to-fat ratio, and maybe more brown sugar than granulated sugar. Baking at 350°F (175°C) might allow more time for the center to stay soft while edges set.
- Thinner, Crispier Cookies: Might use more granulated sugar than brown sugar, softer or melted butter (though this increases spread dramatically), and potentially be baked at a slightly higher temperature like 375°F (190°C) to encourage faster setting and crisping.
By understanding the relationship between ingredients, temperature, and technique, you can move beyond simply preventing easy drop cookie spreading to intentionally controlling the outcome and creating cookies exactly how you like them.
Frequently Asked Questions
Drop cookies often spread due to several factors, including too much butter or sugar in the dough, using room-temperature butter instead of cold, or insufficient chilling of the dough before baking.
The ideal consistency should be firm enough to hold its shape when dropped onto the baking sheet. Chilling the dough helps achieve this, as does using the correct ratio of wet to dry ingredients.
The type of fat significantly impacts spreading. Melted butter promotes spreading, while cold or solid fats like shortening tend to result in thicker cookies that spread less.
Yes, oven temperature plays a role. A too-low oven temperature allows the butter to melt slowly, causing the cookies to spread excessively before the structure sets.
Yes, the material matters. Light-colored baking sheets reflect heat and prevent over-browning, while dark-colored sheets absorb more heat, potentially causing faster spreading.
Mastering the art of the drop cookie isn't just about baking; it's about control, precision, and the delightful satisfaction of a perfectly formed treat. The seemingly simple act of dropping cookie dough onto a baking sheet holds a surprising amount of scientific nuance, as we've explored throughout this article. Understanding the interplay of ingredients, chilling techniques, and baking temperatures allows you to achieve that coveted, picture-perfect cookie every single time.
The quest for the ideal drop cookie transcends mere culinary skill; it reflects our desire for order and predictability in a world often characterized by chaos. The meticulous process of measuring, mixing, and chilling becomes a meditative practice, a small act of creation that yields tangible results. As the great Julia Child once said, Find something you're passionate about and keep tremendously interested in it.
For many, that passion lies in the simple joy of baking, and perfecting the drop cookie is a significant step on that journey.
Now, consider your own baking journey. What small adjustments can you make to your recipe or technique to achieve even greater control over your drop cookies' spread? Perhaps it's a slight reduction in butter, a longer chilling period, or a careful adjustment of your oven temperature. Don't be afraid to experiment, to embrace the imperfections, and to learn from each batch. The perfect drop cookie isn't a destination, but a continuous process of refinement, a testament to your dedication and passion for baking. Embrace the challenge, and enjoy the delicious rewards.
Thanks for taking the time to learn how to prevent those frustratingly flat cookies! We hope you now feel empowered to bake with confidence. Ready to put your new skills to the test?
- Bake a batch of your favorite cookies tonight, using the tips we've shared, and marvel at the perfectly formed results!
- Share your baking triumph with us on social media – we'd love to see your perfectly shaped cookies! Use #BakeWithEasePerfection.
- Experiment with different flours and chilling times to see how they affect your cookie spread.
What's your favorite cookie recipe, and what's your biggest baking challenge? Let's chat in the comments!