
Achieving Consistency: Advanced Techniques for Reproducible Results


Welcome to BakeWithEase, your companion in the delightful world of baking! Are you tired of inconsistent results despite following recipes to the letter? Unlock the secrets to reproducible baking techniques consistently and elevate your bread baking skills. Prepare to delve into advanced methods that will transform your kitchen endeavors, ensuring perfect loaves every single time. Ready to bake with confidence? Let's get started!
- Achieving Baking Consistency: Advanced Techniques for Reproducible Pizza Dough Results
- Advanced Techniques for Baking Pizza Dough Consistently
- Fine-Tuning Your Baking Process for Reproducible Pizza Dough
- Troubleshooting Common Pizza Dough Consistency Problems
- Advanced Pizza Dough Recipes for Reproducible Results
- Conclusion: Baking Reproducible Pizza Dough Consistently
- Frequently Asked Questions
- Final Reflection: The Sweet Science of Consistent Baking
- Unlock Your Baking Potential: Master Consistent Results!
Achieving Baking Consistency: Advanced Techniques for Reproducible Pizza Dough Results
Introduction: The Quest for Reproducible Pizza Dough
Baking pizza dough might seem simple – just flour, water, yeast, salt, and maybe a little oil. However, achieving consistent results, batch after batch, is the mark of a skilled baker. The difference between a mediocre crust and a truly exceptional one often lies in the subtle nuances of technique and control. This journey toward reproducible baking techniques consistently requires a deeper understanding of the ingredients and the process itself.
For home bakers and professionals alike, the ability to replicate a successful outcome is paramount. It means you can reliably produce the same delicious, perfectly textured pizza crust every time, whether you're making a classic Neapolitan or a sturdy New York style. This guide explores advanced techniques and scientific principles that will help you master the variables and achieve truly reproducible pizza dough results.
Understanding the Science Behind Consistent Baking Outcomes
The Role of Precise Measurements in Pizza Dough
Precision is the cornerstone of achieving reproducible baking techniques consistently. Unlike cooking, where a pinch of this or a dash of that can work, baking relies on chemical reactions that require specific ratios. Using a digital scale to measure ingredients by weight, rather than volume, is crucial. Flour density can vary significantly depending on how it's scooped, leading to inconsistencies of 10-20% or more in volume measurements, whereas 500 grams of flour is always 500 grams.
Consider a typical pizza dough recipe calling for 500g flour, 325g water (65% hydration), 10g salt (2%), and 2g instant yeast (0.4%). If you measure flour by volume and end up with only 450g but still add 325g of water, your hydration jumps to over 72%. This significant change in water content drastically alters the dough's handling properties, fermentation rate, and final texture, making it nearly impossible to achieve reproducible outcomes. Weighing ensures the ratios remain constant, providing a reliable starting point for every batch.
Temperature's Influence on Dough Development
Temperature plays a profound role in every stage of pizza dough development, from the initial mixing to the final bake, and is critical for reproducible baking techniques consistently. The temperature of your ingredients, especially water, directly impacts the dough's initial temperature, known as the desired dough temperature (DDT). This DDT is a critical factor in controlling the rate of yeast activity and enzyme function during fermentation. A common target DDT for many pizza doughs is around 24-26°C (75-79°F).
Maintaining consistent temperatures during bulk fermentation and proofing is equally vital for achieving reproducible results. Yeast is highly sensitive to temperature; activity roughly doubles for every 8-10°C (15-18°F) increase within its optimal range. Fermenting dough at a consistent 21°C (70°F) for 18 hours will yield a vastly different result than fermenting it at 27°C (80°F) for the same duration. Using a thermometer to check water and dough temperatures, and controlling ambient fermentation temperatures, are essential steps for achieving reliable consistency.
Gluten Development: Key to Reproducible Texture
Gluten, the protein network formed when water interacts with proteins in flour (glutenin and gliadin) and is developed through mixing and kneading, is fundamental to pizza dough's structure and texture. Consistent gluten development provides the dough with elasticity and extensibility, allowing it to be stretched thin without tearing and trapping the gases produced during fermentation, resulting in a light, airy crust with a good chew. Insufficient or excessive gluten development leads to inconsistent results – a weak dough that tears easily or a tough, dense crust.
Achieving reproducible gluten development depends on factors like flour protein content, hydration level, mixing time, and technique. A high-protein bread flour typically develops gluten more readily than a lower-protein all-purpose flour. Higher hydration doughs often require longer mixing or specific techniques like the autolyse method (mixing flour and water and letting it rest before adding other ingredients) to fully develop gluten. Standardizing your mixing time and method, whether by hand or machine, and learning to recognize the visual and tactile cues of properly developed dough (passing the "windowpane test") are essential reproducible baking techniques.
Advanced Techniques for Baking Pizza Dough Consistently
Mastering Dough Hydration for Predictable Results
Calculating Baker's Percentage for Hydration Control
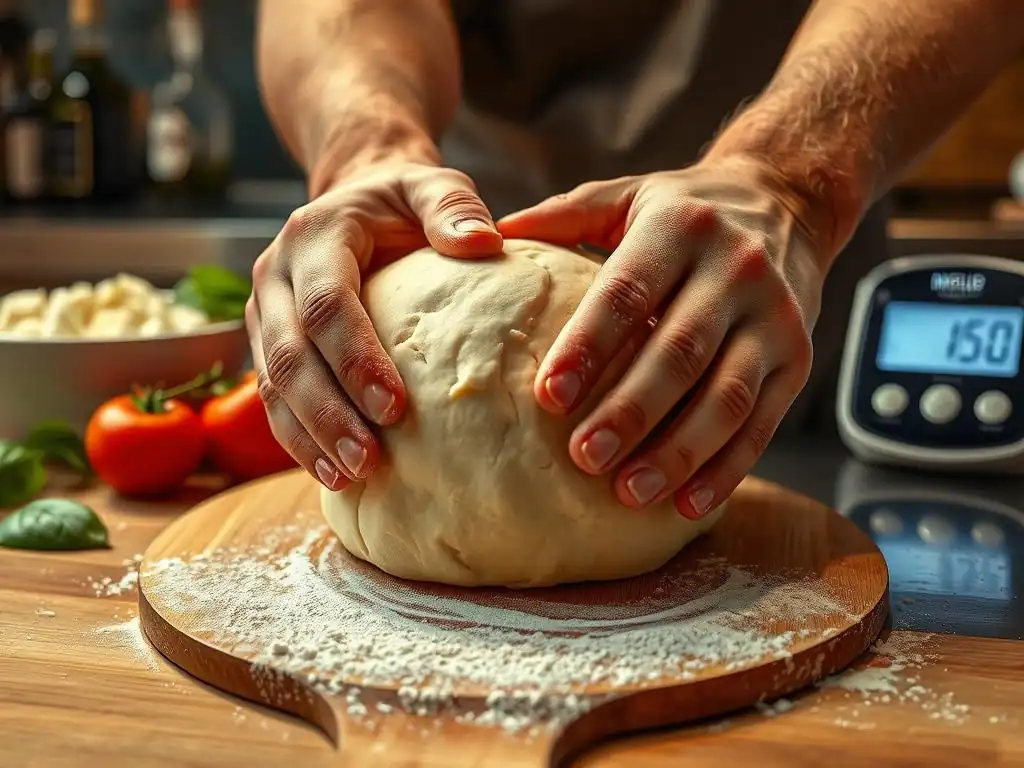
Baker's percentage is an indispensable tool for achieving reproducible baking techniques consistently. It expresses each ingredient's weight as a percentage of the flour's weight, which is always considered 100%. This standardized system allows bakers to scale recipes up or down easily and, more importantly, understand and control ratios like hydration precisely, regardless of the batch size. The hydration percentage is simply the weight of water divided by the weight of flour, multiplied by 100.
Using baker's percentage, a recipe with 500g flour and 325g water has a hydration of (325g / 500g) * 100 = 65%. If you want to make a larger batch using 1000g of flour, you know you need 65% of that weight in water, which is 650g. This method eliminates guesswork and provides a clear, objective way to track and adjust hydration, a key factor in dough handling and final texture, thereby ensuring reproducible results batch after batch.
Adjusting Hydration Based on Flour Type
Not all flours absorb water equally, and understanding this is key to mastering hydration and achieving reproducible baking techniques consistently. Factors like protein content, grind size, and how the flour was milled affect its absorption capacity. High-protein bread flour, for instance, typically absorbs more water than lower-protein all-purpose flour or delicate Italian "00" flour. Environmental factors like humidity can also play a minor role.
To achieve consistent dough consistency, you may need to slightly adjust your target hydration based on the specific flour brand and type you are using. If a recipe calls for 65% hydration with a high-absorption bread flour, you might find you need to drop the hydration to 60-62% when using a lower-absorption "00" flour to achieve the same dough feel and handling characteristics. Keeping notes (a baking journal is excellent for this) on how different flours behave at specific hydrations will help you make these informed adjustments for reproducible outcomes.
Achieving Reproducible Fermentation
Controlling Yeast Activity Through Temperature Management
Controlling yeast activity is perhaps the most critical factor in achieving reproducible fermentation and, consequently, reproducible pizza dough results. Yeast produces carbon dioxide gas, which makes the dough rise, and also creates flavor compounds. The rate at which yeast works is heavily dependent on temperature. Warmer temperatures accelerate activity, while colder temperatures slow it down.
For consistent fermentation, aim to control the dough's temperature throughout the process. This starts with the desired dough temperature (DDT) during mixing, influenced by water temperature, flour temperature, and friction from mixing. During bulk fermentation and proofing, placing the dough in a consistent environment, such as an oven with the light on (often around 24-27°C/75-80°F) or a temperature-controlled proofing box, minimizes variability. Cold fermentation in the refrigerator (typically 2-4°C/35-40°F) is another method that provides very stable, slow fermentation, excellent for developing flavor and achieving highly reproducible results over longer periods (1-3 days or more).
Understanding Proofing Times and Their Impact
Proofing, the final rise of the shaped dough before baking, is a critical stage for achieving the desired crust texture and oven spring. The duration of proofing depends heavily on the dough's temperature, the amount of yeast used, and the overall fermentation plan. Under-proofed dough may result in a dense, chewy crust with poor volume, while over-proofed dough can collapse, lack structure, and result in a pale crust with little oven spring.
Achieving reproducible proofing requires careful observation and, ideally, temperature control. Instead of relying solely on time, learn to assess the dough's readiness by visual cues and the "poke test" – gently pressing the dough; if the indentation slowly springs back halfway, it's likely ready. However, for true reproducibility, especially with consistent temperatures, tracking optimal proofing times for specific dough types and temperatures is essential. For example, a dough might proof perfectly in 60-90 minutes at 24°C (75°F) but take 2-3 hours at 18°C (65°F). Documenting these times based on temperature and yeast percentage is a key reproducible baking technique.
Using a Dough Proofer for Consistent Fermentation
While home methods like using an oven with the light on can work, a dedicated dough proofer offers unparalleled temperature and humidity control, making it an excellent tool for achieving reproducible fermentation consistently. These devices maintain a precise, stable environment, eliminating variables caused by fluctuating room temperatures or drafts. This means that if your recipe development shows a 12-hour bulk ferment at 21°C (70°F) is optimal, a proofer can reliably provide that exact condition every time.
Commercial bakeries and serious home bakers often use proofers to ensure consistent dough development regardless of external conditions. Some advanced home ovens even have a "proof" setting. By providing a stable, controlled environment, a proofer allows you to hit specific fermentation targets repeatedly, leading directly to more reproducible pizza dough results in terms of flavor development, gas production, and dough structure before it even hits the oven.
Consistent Kneading Methods for Pizza Dough
The Importance of Proper Kneading Time
Kneading develops the gluten structure in the dough, transforming a shaggy mass into a smooth, elastic network. The duration and intensity of kneading significantly impact the final dough's strength and texture. Under-kneading results in a weak dough that's difficult to stretch and yields a dense crust. Over-kneading can tear the gluten structure, leading to a sticky, slack dough that doesn't hold its shape well. Finding the sweet spot is crucial for reproducible baking techniques.
The optimal kneading time varies depending on factors like hydration level, flour type, and whether you're kneading by hand or machine. A dough with 60% hydration might require 8-10 minutes of hand kneading, while a 75% hydration dough might need 15-20 minutes or longer using specific techniques like the slap-and-fold method.
Using a stand mixer typically shortens the time, perhaps 5-8 minutes on medium speed. Consistently hitting the right level of gluten development, often checked with the windowpane test, is more important than adhering to a rigid time, but tracking time for specific recipes and methods helps establish a baseline for reproducibility.
Techniques for Hand Kneading Consistency
Hand kneading is a tactile process, but employing consistent techniques helps achieve reproducible gluten development. The goal is to stretch and fold the dough repeatedly to align the gluten strands. Common techniques include the push-and-fold method, where you push the dough away with the heel of your hand and then fold it back onto itself, rotating the dough with each cycle. The slap-and-fold (or French fold) is effective for higher hydration doughs, involving lifting the dough, slapping it onto the surface, and folding it over itself.
To ensure consistency when hand kneading, focus on maintaining a steady rhythm and pressure. Avoid adding excessive bench flour, which can lower the dough's hydration and alter the intended outcome. Learn to feel how the dough changes over time – it will become less sticky, smoother, and more elastic. While hand kneading offers less mechanical consistency than a machine, developing a consistent technique through practice is key to achieving reproducible results when relying solely on your hands.
Using a Stand Mixer for Reproducible Kneading
A stand mixer provides a highly reproducible method for kneading dough, as it applies consistent mechanical action. Using the dough hook attachment, the mixer folds and stretches the dough efficiently. This consistency makes it easier to replicate the same level of gluten development batch after batch compared to manual methods, contributing significantly to reproducible baking techniques consistently.
For most pizza doughs, kneading in a stand mixer typically takes between 5 and 10 minutes on medium speed (e.g., speed 2 or 3 on a KitchenAid mixer). The exact time depends on the mixer's power, the dough's hydration, and the type of flour. Start by mixing on low speed until the ingredients are combined, then increase to medium speed. Knead until the dough clears the sides of the bowl and passes the windowpane test. Timing your kneading and noting the dough's appearance and temperature after mixing helps establish a reproducible process.
Fine-Tuning Your Baking Process for Reproducible Pizza Dough
Flour Selection and its Impact on Consistency
Understanding Different Flour Types for Pizza Dough
The type of flour you choose is perhaps the single biggest determinant of your pizza crust's texture and consistency. Different flours have varying protein contents, which directly impact gluten development and water absorption. For instance, a high-protein bread flour (typically 12-14% protein) develops strong gluten, ideal for chewy, structured crusts like New York style. Italian "00" flour, despite its low protein (often 10-12.5%), is finely milled and processes protein differently, excelling in creating the light, airy, and crispy crust of Neapolitan pizza when combined with high heat.
Using the same type and brand of flour consistently is fundamental for reproducible baking techniques. Switching between flours, even those labeled similarly (e.g., two different brands of "bread flour"), can introduce significant variability due to differences in protein content, milling process, and absorption rates. Once you find a flour that gives you the desired results for a specific recipe, stick with it to maintain consistency batch to batch.
Mill Consistency: What to Look For
Beyond the type of flour (bread, 00, etc. ), the consistency of the milling process itself can affect reproducible baking techniques. Different mills may produce flour with slight variations in particle size distribution, starch damage, and moisture content, even within the same flour type specification. These subtle differences can impact how the flour absorbs water and how the dough behaves during mixing, fermentation, and baking.
For serious home bakers aiming for maximum reproducibility, using flour from a reputable mill known for consistent quality is advisable. Look for flours that specify protein content and potentially ash content (an indicator of how much of the grain is included). While most widely available consumer flours are reasonably consistent, artisan or specialty flours might have more batch-to-batch variation. Storing your flour properly (in a cool, dry, airtight container) also prevents changes in moisture content that could impact your reproducible results.
Oven Temperature Control for Consistent Baking
Calibrating Your Oven for Accurate Temperatures
Oven temperature is paramount for achieving the desired char, crispness, and rise in pizza crust. However, many home ovens are notoriously inaccurate, often varying by 10-25°C (20-50°F) or more from the set temperature. This inconsistency makes achieving reproducible baking techniques challenging. An oven thermometer is an essential tool to verify your oven's actual temperature.
To calibrate your oven, place an oven thermometer inside and preheat the oven to a target temperature, say 250°C (480°F). Let it preheat for at least 30-60 minutes to stabilize. Check the thermometer reading. If it consistently reads lower or higher than the set temperature, you know the discrepancy. For instance, if you set it to 250°C but it only reaches 230°C, you know you need to set it to 270°C to potentially hit your target (though significant discrepancies might require professional calibration or adjustment). Baking at a verified, consistent temperature is vital for reproducible outcomes.
Baking Stone vs. Baking Steel: Which is More Consistent?
Using a thermal mass like a baking stone or steel is crucial for transferring heat efficiently to the pizza crust, promoting a rapid rise and crispy bottom. Both provide more consistent heat than a standard oven rack, but they differ in heat transfer properties, impacting reproducible baking techniques. A baking stone (ceramic or cordierite) heats up slower but retains heat well. A baking steel (steel or iron) heats up much faster and conducts heat more efficiently, providing a more intense burst of heat to the crust.
For sheer reproducibility, a baking steel often offers an advantage, especially for high-temperature pizza like Neapolitan. Steel's high thermal conductivity means it recovers temperature faster between pizzas compared to a stone, reducing variability if you're baking multiple pies consecutively. Whichever you choose, ensure it is thoroughly preheated – typically 45-60 minutes at your maximum oven temperature – to guarantee consistent heat transfer for reproducible results.
Documenting Your Process for Reproducible Results
Creating a Baking Journal: Tracking Key Variables
A baking journal is an invaluable tool for any baker serious about achieving reproducible baking techniques consistently. It's a logbook where you record the details of each baking session. Key variables to track for pizza dough include:
- Date and time
- Recipe used (or baker's percentages)
- Specific flour brand and type
- Hydration percentage
- Water temperature
- Desired Dough Temperature (DDT)
- Ambient temperature during fermentation
- Bulk fermentation start time, temperature, and duration
- Any folds or shaping done during bulk ferment
- Proofing start time, temperature, and duration
- Oven temperature (measured with a thermometer)
- Bake time
- Observations on dough handling (sticky, slack, stiff?)
- Observations on final crust (color, texture, rise, flavor)
By meticulously recording these details, you create a database of your baking history. This allows you to identify patterns, understand what worked well (or didn't), and make informed adjustments for future batches. For example, if a batch was under-proofed, checking your journal might reveal the room temperature was lower than usual, indicating you need to extend the proofing time at that temperature or find a warmer spot.
Analyzing Your Results and Making Adjustments
Simply recording data isn't enough; the power of a baking journal for reproducible baking techniques lies in analyzing the results. After each bake, compare the outcome to your goals and previous successful batches. Was the crust too pale? Perhaps your oven temperature wasn't as high as intended, or the bake time was too short. Was the texture too dense? Maybe the dough was under-proofed, or gluten development was insufficient.
Use the data from your journal to pinpoint potential causes for deviations from your desired outcome. Based on your analysis, make specific, targeted adjustments for the next bake. For instance, if your dough is consistently too sticky at 65% hydration with a specific flour, try reducing the hydration to 63% for the next batch and note the difference. By systematically testing variables and recording the results, you refine your process, moving closer to consistently reproducible pizza dough.
Troubleshooting Common Pizza Dough Consistency Problems
Addressing Sticky Dough Issues
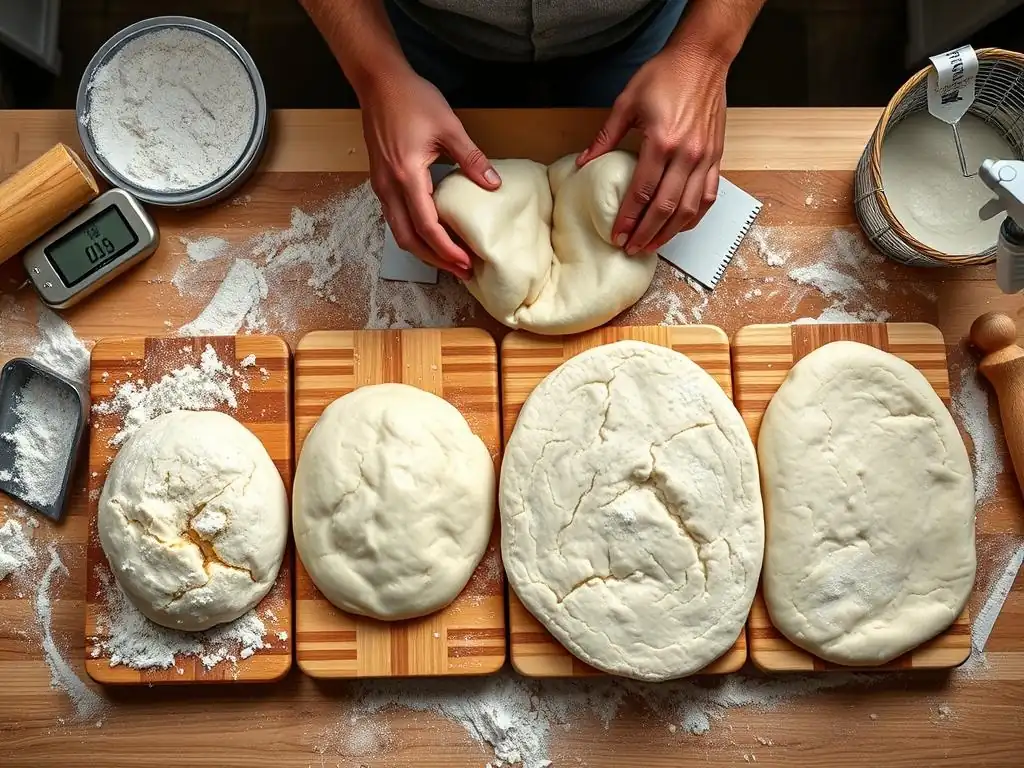
Sticky pizza dough is a common frustration that hinders reproducible baking techniques. While some stickiness is normal, excessively sticky dough is difficult to handle, shape, and stretch, leading to inconsistent crusts. The most frequent cause is hydration that is too high for the specific flour used or insufficient gluten development. Different flours absorb water differently; a hydration that works for one flour might be too much for another.
- Check Hydration: Verify your measurements using a scale and baker's percentage. If the hydration seems appropriate for the flour type, the issue might be elsewhere.
- Increase Kneading: Sticky dough often needs more kneading to fully develop the gluten structure, which helps the dough become less sticky and more manageable. Knead until the dough passes the windowpane test.
- Adjust Flour: If consistently sticky, try reducing the hydration slightly in your next batch (e.g., drop from 65% to 63%) or try a flour with higher absorption capacity.
- Use Bench Flour Sparingly: While a little bench flour helps with handling, adding too much changes the hydration ratio and can make the crust tough. Use just enough to prevent sticking.
Correcting Dry and Crumbly Dough
At the other end of the spectrum is dry, crumbly dough, which lacks elasticity, tears easily when stretched, and results in a dense, tough crust. This issue directly impacts your ability to achieve reproducible baking techniques consistently. The primary cause is usually insufficient hydration.
- Check Hydration: Ensure you measured correctly by weight. If using volume, switch to a scale for accuracy.
- Increase Hydration: For your next batch, increase the hydration percentage slightly (e.g., from 60% to 62%). Add water gradually during mixing if unsure.
- Check Flour Absorption: Some flours are drier than others. If you switched flours, this might be the cause.
- Proper Mixing: Ensure ingredients are fully incorporated. Dry patches can occur if mixing isn't thorough.
- Over-Kneading (less common cause): While rare, extreme over-kneading can sometimes break down gluten, leading to a strange, sometimes crumbly texture, though it's more often slack.
Managing Over-Proofed or Under-Proofed Dough
Incorrect proofing significantly impacts the final crust texture and oven spring, making reproducible baking techniques difficult. Over-proofed dough has exhausted most of its fermentation power; it may collapse when handled and results in a pale, flat crust. Under-proofed dough hasn't developed enough gas; it's dense, hard to stretch, and yields a heavy crust with poor rise and large, uneven bubbles.
- Control Temperature: Fermentation rate is highly temperature-dependent. Use a consistent temperature environment (proofer, oven with light on, or refrigerator for cold ferment) to manage speed.
- Adjust Yeast: If dough consistently over-proofs too quickly, reduce the amount of yeast. If it's too slow, slightly increase yeast. Note these adjustments in your journal.
- Learn the Poke Test: Gently press the dough with a floured finger. Under-proofed dough springs back immediately. Properly proofed dough springs back slowly halfway. Over-proofed dough leaves a permanent indentation.
- Adjust Time: Based on temperature and yeast level, determine the optimal proofing time for your recipe and conditions. Use your journal to track what works. For example, a dough might be perfectly proofed in 2 hours at 24°C (75°F) but need 12-18 hours in the refrigerator at 4°C (40°F).
Advanced Pizza Dough Recipes for Reproducible Results
Neapolitan Pizza Dough: Achieving Consistency with High Hydration
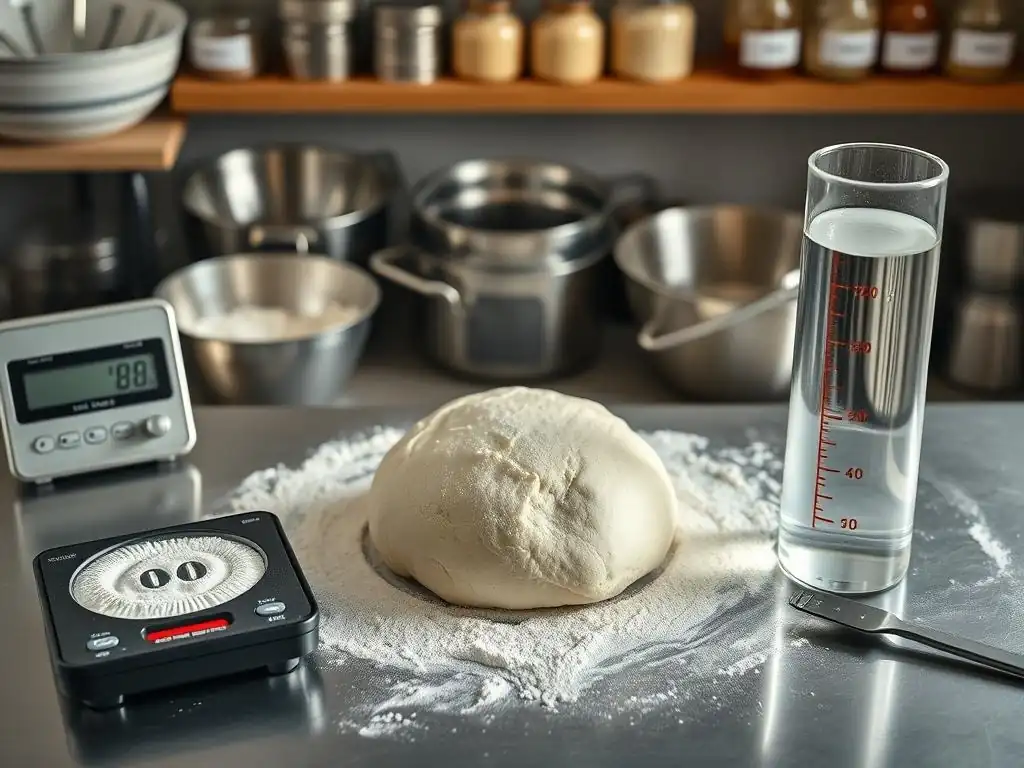
Authentic Neapolitan pizza dough is known for its high hydration (often 60-65% relative to the flour, sometimes higher if calculated differently), minimal ingredients (flour, water, yeast, salt), and rapid fermentation followed by baking in extremely hot ovens (450-500°C / 850-950°F). Achieving reproducible baking techniques with this dough requires precision in hydration, fermentation control, and handling. The high hydration contributes to the light, airy crust and characteristic blistering.
Detailed Recipe Steps and Tips
- Ingredients (Baker's Percentage):
100%Tipo "00" Flour,60-65%Water (cool, ~18-20°C/64-68°F),2-3%Salt,0.1-0.5%Fresh Yeast (or 0.05-0.25% Active Dry/Instant, adjust based on desired fermentation time). - Mixing: Combine water and yeast in a bowl. Add flour and most of the salt (reserve a little). Mix by hand or machine until a shaggy dough forms. Let rest 10-20 minutes (autolyse). Add remaining salt and mix/knead until smooth and elastic (windowpane test). Dough temperature should be ~24-26°C (75-79°F).
- Bulk Fermentation: Place dough in a lightly oiled container. Ferment at room temperature (20-22°C / 68-72°F) for 8-12 hours, or until doubled. Some recipes use a shorter room temp ferment followed by a cold ferment for 1-3 days for more flavor.
- Dividing and Shaping: Gently turn dough onto a floured surface. Divide into balls (typically 200-250g). Shape each into a smooth ball using tension.
- Proofing: Place dough balls in proofing boxes or containers, leaving space between them. Proof at room temperature (22-24°C / 72-75°F) for 4-8 hours, or until significantly increased in volume and airy. Dough should be soft and easily stretchable.
- Baking: Preheat oven with baking steel/stone to highest possible temperature (ideally 450°C+/850°F+). Gently stretch dough, top, and bake for 60-90 seconds.
Tips for Consistency: Use a scale for all ingredients. Monitor dough temperature throughout. Use a consistent proofing environment. Practice gentle handling to avoid degassing.
New York Style Pizza Dough: Consistent Results with Cold Fermentation
New York style pizza dough is known for its sturdy yet chewy crust with a crispy bottom. It typically uses a lower hydration (58-62%) bread flour for strength and relies heavily on a long, slow cold fermentation in the refrigerator (2-4°C / 35-40°F) for flavor development and consistent handling. This method is excellent for achieving reproducible baking techniques consistently due to the stable temperature of the cold environment.
Detailed Recipe Steps and Tips
- Ingredients (Baker's Percentage):
100%High-Gluten or Bread Flour,58-62%Water (cool, ~15-18°C/60-64°F),1.75-2%Salt,0.2-0.5%Instant Dry Yeast,1-2%Olive Oil (optional, for tenderness). - Mixing: Combine water, yeast, and oil (if using). Add flour and salt. Mix by hand or machine until dough comes together. Knead until smooth and elastic (passes windowpane test). Dough temperature ~23-25°C (73-77°F).
- Bulk Fermentation: Place dough in a lightly oiled container. Rest at room temperature for 1-2 hours, or until slightly puffy.
- Cold Fermentation: Transfer dough to the refrigerator (2-4°C / 35-40°F) for 24-72 hours (1-3 days). This slow fermentation develops flavor and makes the dough very easy to handle.
- Dividing and Shaping: Remove dough from refrigerator 2-3 hours before baking to temper (come closer to room temperature). Divide into balls (typically 300-450g for large pies). Shape into smooth balls.
- Proofing: Let shaped balls rest at room temperature for 60-90 minutes before stretching. They should be relaxed and easy to stretch.
- Baking: Preheat oven with baking steel/stone to 230-260°C (450-500°F). Stretch dough into a large, thin circle. Top and bake for 8-15 minutes, depending on thickness and toppings, until crust is golden brown and cheese is melted/bubbly.
Tips for Consistency: Use a reliable oven thermometer. Ensure dough is properly tempered before stretching. Cold fermentation provides a stable, reproducible environment. Use consistent dough ball weight for uniform pizza size.
Conclusion: Baking Reproducible Pizza Dough Consistently
Achieving consistently reproducible pizza dough results is a rewarding skill that elevates your homemade pizzas from good to great. It moves baking from an unpredictable art to a more controlled science. By focusing on precision in measurements, understanding and controlling temperature, mastering gluten development, and utilizing techniques like baker's percentage and cold fermentation, you gain significant control over the process.
Implementing advanced techniques such as using a baking journal, calibrating your oven, and understanding how different flours behave empowers you to troubleshoot effectively and refine your methods. While practice is essential, a systematic approach, guided by the principles discussed here, provides a clear path to reliably produce delicious, perfectly textured pizza crusts every time. Embrace these reproducible baking techniques, and enjoy the consistency they bring to your baking journey.
Frequently Asked Questions
What are reproducible baking techniques?
Reproducible baking techniques refer to methods and practices that allow bakers to achieve the same delicious results repeatedly. By following these consistent approaches, you can ensure your baked goods turn out perfectly every time.
How can I improve my baking consistency?
To improve your baking consistency, focus on measuring ingredients accurately, using the right oven temperature, and following step-by-step instructions. These factors are essential for achieving reproducible results in your baking endeavors.
Are there specific recipes that emphasize consistency?
Yes, many recipes on BakeWithEase.com are designed to highlight reproducible baking techniques consistently. These recipes often include detailed guidance, ensuring that bakers of all levels can achieve the desired outcome.
What tools do I need for consistent baking?
Essential tools for consistent baking include a digital kitchen scale, measuring cups and spoons, and a reliable oven thermometer. These tools help maintain accuracy and precision, which are crucial for reproducible results.
Can beginners master advanced baking techniques?
Absolutely! With the right resources, such as those provided by BakeWithEase, beginners can learn and master advanced baking techniques. Start with basic practices and gradually incorporate more complex methods to achieve consistency in your baking.
Final Reflection: The Sweet Science of Consistent Baking
The pursuit of perfectly reproducible baking results isn't just about following a recipe; it's about mastering the scientific principles that underpin culinary success. This quest for consistency, as explored throughout this article, is more relevant than ever in a world of increasingly sophisticated home bakers and the ever-growing demand for reliable, repeatable results. The ability to consistently produce high-quality baked goods, whether for personal enjoyment or professional endeavors, is a skill that translates far beyond the kitchen.
The journey towards mastering reproducible baking techniques has profoundly impacted my own approach to cooking and problem-solving. It's taught me the importance of meticulous measurement, precise timing, and a deep understanding of the chemical reactions occurring within the batter or dough. This attention to detail extends beyond baking, influencing my approach to other aspects of life where precision and consistency are key. The difference between ordinary and extraordinary is that little extra.
This quote, while often attributed to Jimmy Johnson, perfectly encapsulates the spirit of achieving consistent results – it's the small, often overlooked details that elevate the outcome from good to exceptional.
Now, it's your turn. Consider the techniques discussed – from precise weighing and temperature control to understanding the impact of humidity and ingredient quality – and apply them to your own baking endeavors. Don't be afraid to experiment, to meticulously document your process, and to learn from both successes and failures. Embrace the scientific method in the kitchen, and you'll unlock a world of consistent, delicious, and truly satisfying baking experiences. The journey towards mastery is ongoing, but the rewards are undeniably sweet.
Unlock Your Baking Potential: Master Consistent Results!
Thanks for taking the time to explore the world of consistent baking! You've now armed yourself with advanced techniques to achieve truly impressive results. Ready to put your new knowledge into practice?
- Bake your signature recipe again, focusing on precise measurements and timing. This is your chance to truly master the techniques you’ve learned! Notice the difference?
- Share your baking journey with fellow enthusiasts on our BakeWithEase community forum – let's inspire each other!
- Challenge yourself: Try a new recipe from our collection, incorporating the precision techniques you've just learned.
What exciting culinary creations will you bake next?