
Achieving Consistent Results in GlutenFree Bread Baking

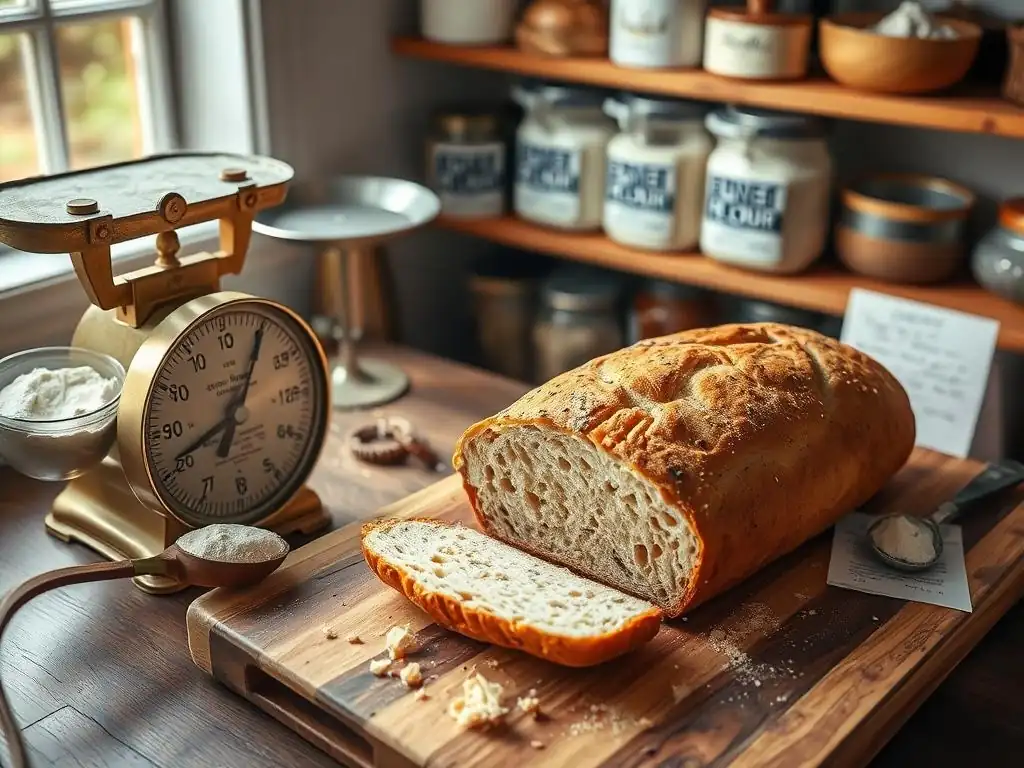
Welcome to BakeWithEase, your trusted companion in the delightful world of baking! Are you ready to unlock the secrets to consistently delicious gluten-free bread? Baking gluten-free bread can feel like a daunting task, but fear not! We're here to guide you through the process with proven gluten-free bread baking tips that will transform your loaves from frustrating flops to flawless triumphs. Eager to learn how to achieve that perfect rise and texture, every single time? Let's dive in and discover the keys to success!
- Achieving Consistent Results in Gluten-Free Bread Baking (BakeWithEase)
- Mastering Gluten-Free Bread Baking: Your Path to Success
- Understanding the Challenges of Gluten-Free Bread
- Essential Gluten-Free Bread Baking Tips for Consistent Results
- Troubleshooting Common Gluten-Free Bread Baking Problems
- Advanced Techniques for Gluten-Free Bread Perfection
- Gluten-Free Bread Baking: Recipe Adaptations and Conversions
- Conclusion: Baking Delicious and Consistent Gluten-Free Bread
-
Frequently Asked Questions
- How important is using the correct flour blend for gluten-free bread?
- What role does xanthan gum play in gluten-free bread baking?
- How does hydration differ between gluten-free and regular bread dough?
- What are some common mistakes to avoid when baking gluten-free bread?
- How can I improve the rise of my gluten-free bread?
- Final Reflection: The Enduring Quest for Perfect Gluten-Free Bread
- Unlock Your Gluten-Free Baking Potential!
Achieving Consistent Results in Gluten-Free Bread Baking (BakeWithEase)
Mastering Gluten-Free Bread Baking: Your Path to Success
Baking gluten-free bread can sometimes feel like a different universe compared to traditional wheat-based baking. Without the elastic structure provided by gluten, achieving that perfect rise, soft crumb, and chewy crust requires understanding new ingredients and techniques. But don't worry, mastering gluten-free bread baking is absolutely achievable! It's all about learning the unique properties of gluten-free flours and how to compensate for the absence of gluten. With the right approach and some key glutenfree bread baking tips, you can consistently produce delicious loaves right in your own kitchen.
Consistency is often the biggest challenge when you start baking gluten-free bread. One day you might get a beautiful loaf, and the next, a dense brick. This variability isn't a sign of failure, but rather an indication that subtle factors like ingredient ratios, hydration levels, or oven temperature have a magnified impact in gluten-free recipes. By focusing on precision and understanding the science behind gluten-free baking, you'll build the skills needed to troubleshoot issues and replicate your successes. These glutenfree bread baking tips are designed to give you the foundation for reliable results every time.
Understanding the Challenges of Gluten-Free Bread
Baking without gluten presents a unique set of hurdles. Gluten, a protein composite found in wheat and related grains, provides elasticity, structure, and chewiness to traditional bread. It's what allows dough to trap gas produced by yeast, causing it to rise, and gives baked bread its characteristic texture and shape. When you remove gluten, you're left with flours that behave very differently, lacking that inherent structure and ability to stretch and hold.
The absence of gluten means gluten-free doughs are often stickier, less pliable, and more prone to crumbling. They require alternative methods to build structure and achieve a desirable texture. This is why simply substituting gluten-free flour cup-for-cup in a traditional recipe rarely works well. Successful gluten-free bread baking tips always emphasize adapting recipes and techniques to suit the unique properties of gluten-free ingredients.
The Unique Properties of Gluten-Free Flours
Gluten-free flours come from a wide variety of sources, including grains (rice, corn, sorghum, millet, oats), legumes (chickpea, lentil), seeds (buckwheat, quinoa), roots (tapioca, potato), and nuts (almond, coconut). Each of these flours has distinct characteristics in terms of flavor, nutrient content, and, crucially, how they absorb liquid and contribute to structure. For example, rice flour tends to be drier and can give a slightly gritty texture if not combined with other flours, while tapioca starch is highly absorbent and provides chewiness.
The varying absorption rates of gluten-free flours are a major factor in gluten-free bread baking. A recipe calling for a specific blend might work perfectly, but substituting one flour within that blend for another, even in a small amount, can drastically alter the dough's consistency and the final bread's texture. Some flours, like brown rice flour, absorb water slower than others, like white rice flour or starches. This variability necessitates careful measurement, often by weight rather than volume, and attention to the dough's feel.
Common Pitfalls in Gluten-Free Bread Recipes
One of the most common pitfalls is inadequate hydration. Gluten-free flours often require significantly more liquid than wheat flour, sometimes up to 80-90% hydration relative to the flour weight, compared to 60-70% for traditional bread. If the dough is too dry, the bread will be dense, crumbly, and won't rise well because there isn't enough moisture for the starches to gelatinize properly during baking and for the yeast to work effectively.
Another frequent issue is the lack of sufficient binding. Without gluten, something else needs to hold the dough together. Omitting or using too little of a binder like xanthan gum or psyllium husk can result in a loaf that falls apart easily. Conversely, using too much binder can lead to a gummy, unpleasant texture. Getting the binder ratio just right is a critical glutenfree bread baking tip that significantly impacts the final loaf.
Essential Gluten-Free Bread Baking Tips for Consistent Results
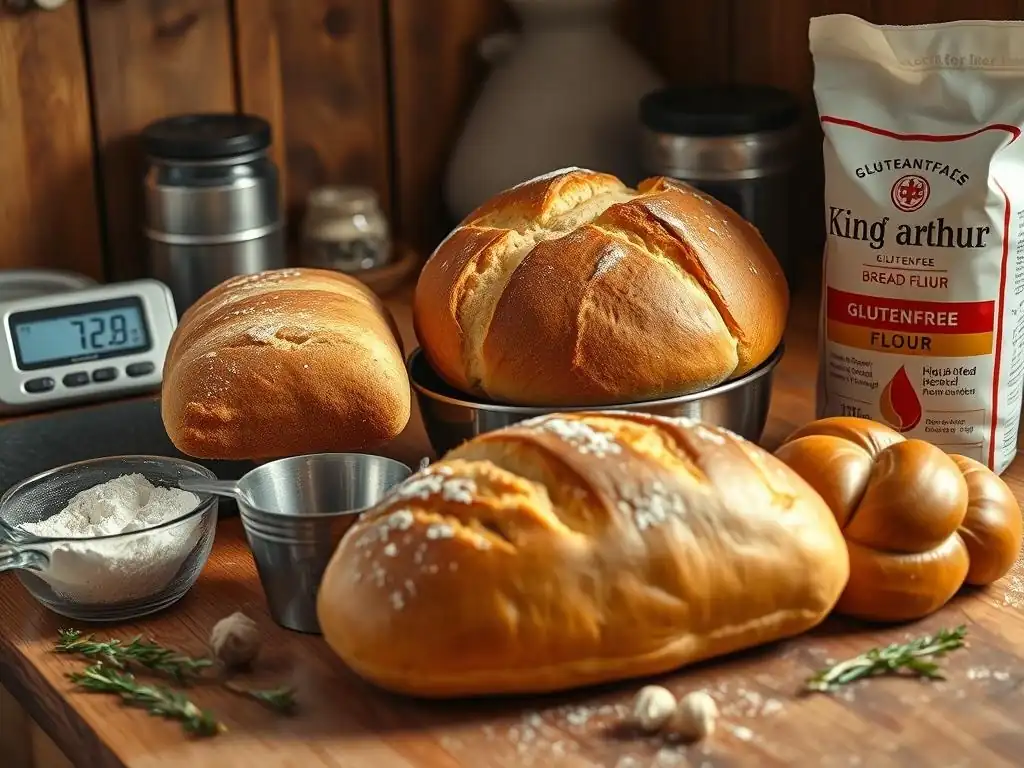
Achieving consistent results in gluten-free bread baking hinges on understanding and controlling a few key factors. Precision in measurement, careful ingredient selection, and attention to technique are paramount. These glutenfree bread baking tips will guide you toward more reliable outcomes every time you bake.
From selecting the right flour blend to mastering hydration and temperature, each step plays a vital role. By focusing on these essential elements, you'll gain confidence and control over your gluten-free baking process, leading to loaves that are not only edible but truly delicious.
Tip 1: Choosing the Right Gluten-Free Flour Blend
Selecting the appropriate flour blend is perhaps the most foundational of all glutenfree bread baking tips. A single gluten-free flour, like almond flour or coconut flour, rarely provides the structure and balance needed for a good bread loaf. Instead, successful gluten-free bread relies on a combination of different flours and starches, each contributing unique properties to the final texture and structure.
Commercial gluten-free bread blends are available and can be a good starting point, but their composition varies widely. Understanding the role of different flours allows you to choose a blend that suits your recipe or even create your own. A typical effective blend often includes a mix of whole-grain flours (like brown rice, sorghum, or millet for structure and flavor), lighter flours (like white rice or oat flour), and starches (like tapioca, potato, or cornstarch for softness and binding).
Understanding Single vs. Blended Gluten-Free Flours
Single gluten-free flours, like almond flour, coconut flour, or chickpea flour, are excellent for specific applications such as cakes, cookies, or flatbreads where less structure is needed. Almond flour, for instance, is popular for its flavor and moisture but doesn't provide the elasticity required for a yeasted loaf to hold its shape and rise significantly on its own. Coconut flour is extremely absorbent and requires a lot of liquid and often extra eggs, making it challenging for standard bread recipes.
For yeasted gluten-free bread baking, blends are almost always necessary. These blends are formulated to mimic the properties of wheat flour by combining the strengths of different gluten-free ingredients. A blend might use brown rice flour for structure, white rice flour for lightness, tapioca starch for chewiness, and potato starch for tenderness. Using a well-balanced blend is one of the most effective glutenfree bread baking tips for beginners and experienced bakers alike.
Recommended Gluten-Free Flour Blends for Bread Baking
Many bakers have found success with DIY blends that combine different flour types. A common approach is a mix of 40% whole-grain flour (like brown rice or sorghum), 30% starch (tapioca, potato, or cornstarch), and 30% lighter flour (white rice or oat). This ratio provides a good balance of structure, tenderness, and binding. For example, a blend might consist of 400g brown rice flour, 300g tapioca starch, and 300g white rice flour.
Specific commercial blends are also highly regarded for bread. Brands known for reliable bread blends often list their ingredients, allowing you to see the combination of different flours and starches they use. When choosing a commercial blend, look for one specifically marketed for bread or yeast baking, as these are typically formulated with the right balance of ingredients to provide structure and promote a good rise. Reading reviews from other gluten-free bread bakers can also be helpful.
Tip 2: The Importance of Binders in Gluten-Free Bread
Binders are non-negotiable in gluten-free bread baking; they are the ingredients that hold everything together in the absence of gluten. They function by absorbing water and forming a gel-like substance that provides elasticity and structure to the dough, trapping the gases released by the yeast and preventing the bread from crumbling. Using the correct type and amount of binder is a fundamental glutenfree bread baking tip.
Without a binder, gluten-free dough would be loose and sandy, incapable of rising properly or holding its shape during baking. The right binder ensures a cohesive dough that can be handled (even if sticky) and transforms into a loaf with a pleasant crumb structure.
Exploring Different Binders: Xanthan Gum, Guar Gum, Psyllium Husk
The most common binders used in gluten-free baking are xanthan gum, guar gum, and psyllium husk. Xanthan gum is produced by fermenting sugar with a microorganism and is widely available. It's very effective at providing elasticity and structure. Guar gum, derived from guar beans, works similarly but is often preferred for cold applications like ice cream, though it can be used in baking. Some bakers find guar gum can cause digestive upset in larger quantities.
Psyllium husk, derived from the seeds of the Plantago ovata plant, is increasingly popular in gluten-free bread, particularly for those seeking a texture closer to traditional wheat bread. It absorbs a significant amount of water (up to 10-15 times its weight) and creates a strong, gel-like network that provides excellent structure and chewiness. Using psyllium husk often results in a less crumbly texture compared to xanthan or guar gum alone.
How Much Binder to Use for Optimal Texture
The correct amount of binder is crucial – too little and the bread will be crumbly; too much and it will be gummy or dense. General guidelines exist, but the exact amount can vary depending on the specific flour blend used and the desired texture. For xanthan or guar gum in bread recipes, a common starting point is about 1 teaspoon per cup (or 240ml) of gluten-free flour blend. However, some recipes might call for slightly more, up to 1.5 teaspoons per cup, especially if the blend is very starchy.
When using psyllium husk, the ratio is different because it's typically used by weight or a larger volume measurement. A common recommendation is about 10-15 grams of whole psyllium husk (or 8-10 grams of psyllium husk powder) per 500 grams of gluten-free flour blend. It's vital to follow the specific recipe's recommendation, as the hydration level is often adjusted to accommodate the psyllium's high absorbency. Getting this ratio right is a key glutenfree bread baking tip for achieving a good crumb.
Tip 3: Hydration is Key: Mastering the Art of Gluten-Free Dough
Hydration level is one of the most critical factors influencing the success of gluten-free bread. Gluten-free flours absorb liquids differently and often require significantly more moisture than wheat flour to prevent a dry, crumbly loaf. The water hydrates the starches in the flour, allowing them to swell and gelatinize during baking, which contributes to a soft, moist crumb. Insufficient hydration is a primary cause of dense, dry gluten-free bread.
Unlike wheat dough, which becomes elastic and smooth as gluten develops, gluten-free dough typically remains quite wet, sticky, and more like a thick batter or paste than a traditional kneadable dough. This high hydration can feel counterintuitive if you're used to wheat baking, but it's essential for achieving a good texture and rise.
Understanding Water Absorption in Gluten-Free Flours
The absorption rate varies significantly among gluten-free flours and starches. Starches like tapioca and potato starch absorb water quickly and contribute to gel formation. Whole-grain flours like brown rice or sorghum absorb water more slowly but contribute structure and flavor. Commercial blends are formulated with these varying absorption rates in mind, but even slight differences in humidity or how you measure (scooping vs. spooning flour) can impact the dough's consistency.
A recipe might call for 400g of flour blend and 350g of water, resulting in a hydration level of 87.5% (350/400). This is much higher than typical wheat bread hydration (around 60-70%). Pay close attention to the recipe's specified liquid amount and adjust slightly if your dough seems excessively dry or wet based on the expected consistency described in the recipe or shown in photos.
Techniques for Achieving the Perfect Dough Consistency
Since gluten-free dough is often too wet to knead like wheat dough, specific techniques are used. Many recipes involve simply mixing the ingredients until well combined, sometimes using a stand mixer with a paddle attachment or even a heavy-duty whisk. The goal is to ensure all the flour is fully hydrated and the binder is evenly distributed. Overmixing is generally not a concern in the same way it is with wheat dough, as there's no gluten structure to toughen.
The 'perfect' consistency for gluten-free dough is typically thick and sticky, often described as resembling thick porridge, cake batter, or even mashed potatoes. It should hold its shape somewhat but not be stiff. When scooped with a spoon or spatula, it should fall slowly and heavily rather than stretching. Visual cues in a recipe or online tutorials showing the expected dough texture are incredibly helpful glutenfree bread baking tips.
Tip 4: The Role of Yeast in Gluten-Free Bread Baking
Yeast is the leavening agent in many gluten-free bread recipes, responsible for producing carbon dioxide gas that makes the bread rise. Its function is the same as in wheat bread – it feeds on sugars in the dough and releases gas. However, without the strong gluten network to trap this gas efficiently, the way yeast works and how the dough rises differs significantly in gluten-free baking.
Ensuring your yeast is active and providing the right conditions for it to produce gas are crucial glutenfree bread baking tips. The dough relies heavily on the initial rise (proofing) and oven spring to achieve a good volume and light texture.
Activating Yeast Properly for Gluten-Free Recipes
Just as with wheat baking, it's essential to ensure your yeast is alive and active. If your recipe uses active dry yeast, it's best practice to proof it first. Dissolve the yeast (e.g., 7g or 2.25 tsp) in a small amount of warm liquid (usually water or milk, around 40-45°C or 105-115°F) specified in the recipe, along with a pinch of sugar. Wait 5-10 minutes. If the mixture becomes foamy and bubbly, your yeast is active and ready to use. If not, discard it and use fresh yeast.
Instant yeast (or rapid-rise yeast) can often be mixed directly with the dry ingredients in gluten-free recipes. However, for greater assurance, especially if you've had issues with rising, you can also proof instant yeast in warm liquid. The temperature of the liquid is important – too hot will kill the yeast, too cold will slow it down significantly.
Proofing Gluten-Free Dough: Patience is a Virtue
Proofing gluten-free dough is different from proofing wheat dough. Because the structure is weaker, gluten-free dough won't typically double in size or develop a smooth, pillowy surface like wheat dough. Instead, look for a noticeable increase in volume, perhaps 50-75%, and the surface might look slightly puffy or aerated. Over-proofing is a common issue; if the dough rises too much and then collapses, the final bread will be dense.
The ideal proofing time varies depending on the recipe, yeast amount, and ambient temperature, but it's often shorter than for wheat bread, sometimes just 30-60 minutes for the first rise (if applicable, though many recipes have only one rise in the loaf pan). Pay attention to visual cues rather than strict time. Place the dough in a warm, draft-free place (like a turned-off oven with the light on) to encourage rising.
Tip 5: Temperature Control: Baking Gluten-Free Bread to Perfection
Baking temperature and time are just as important for gluten-free bread as for traditional loaves. The high heat of the oven provides the final rise (oven spring), sets the structure, and develops the crust and flavor. Incorrect temperature can lead to dense bread (too low) or dry, burnt bread (too high). Mastering oven temperature is a key glutenfree bread baking tip for achieving a beautiful crumb and crust.
Because gluten-free doughs are often very wet, they can take longer to bake through than wheat bread. It's crucial to bake the bread long enough to fully cook the interior and set the structure. An underbaked gluten-free loaf will be gummy and dense in the center.
Optimal Oven Temperature for Gluten-Free Bread
Most gluten-free bread recipes call for baking at a relatively high temperature, often between 190°C and 220°C (375°F and 425°F). The initial high heat helps maximize oven spring before the crust sets. Some recipes might even recommend starting at a higher temperature for the first 10-15 minutes (e.g., 220°C/425°F) and then reducing it (e.g., to 190°C/375°F) for the remainder of the baking time to ensure the inside cooks thoroughly without the crust burning.
Preheating your oven properly is non-negotiable. An accurate oven thermometer is a valuable tool, as oven thermostats can be off by as much as 25-50°F (15-30°C). Ensuring the oven is fully preheated to the correct temperature before the bread goes in guarantees consistent baking conditions, which is vital for reproducible results.
Using a Thermometer to Ensure Doneness
Relying solely on visual cues like crust color isn't sufficient to determine if gluten-free bread is fully baked, especially given the risk of a gummy interior. The most reliable way to check for doneness is to use an instant-read thermometer. Carefully insert the thermometer into the center of the loaf.
Gluten-free bread is typically done when the internal temperature reaches between 93°C and 100°C (200°F and 212°F). Baking until it reaches the higher end of this range, closer to 100°C (212°F), often results in a drier crumb and less risk of gumminess. If the crust is browning too quickly before the interior reaches temperature, you can loosely tent the loaf with aluminum foil for the remaining baking time.
Troubleshooting Common Gluten-Free Bread Baking Problems
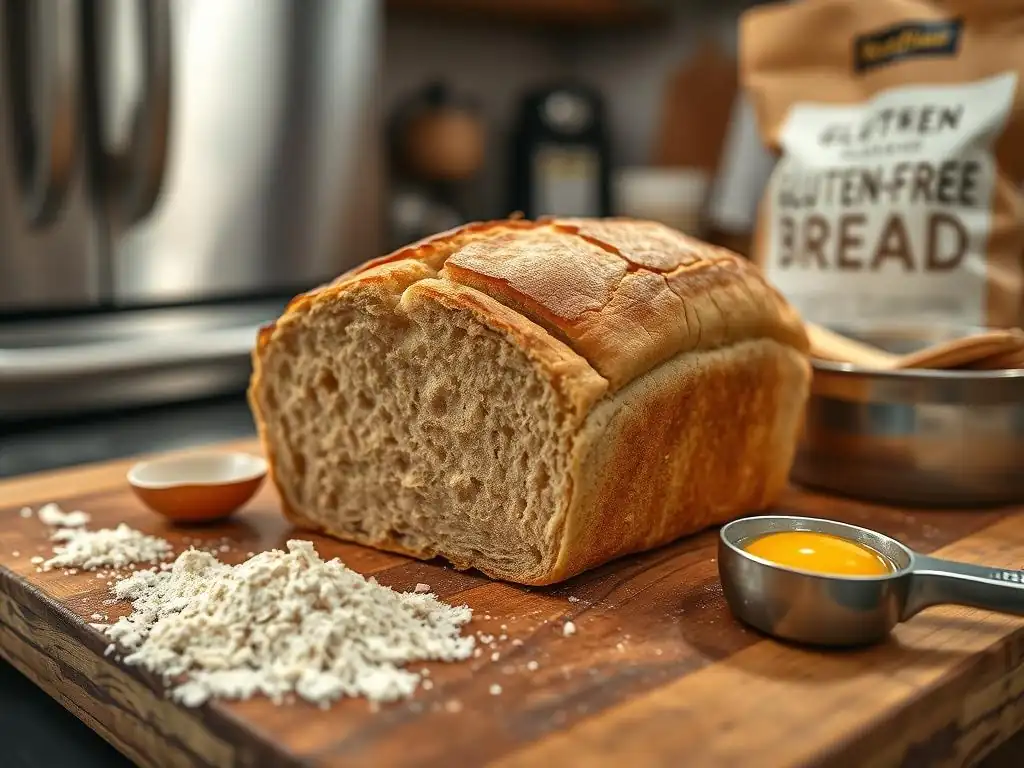
Even with the best glutenfree bread baking tips, you might encounter issues. Troubleshooting is a normal part of the learning process. Understanding the common problems and their likely causes will help you adjust your technique and ingredients for future bakes.
Identifying the symptoms (dense crumb, no rise, crumbling, etc.) allows you to pinpoint the potential culprits, whether it's related to hydration, binder, yeast activity, or baking temperature.
Dense and Gummy Bread: Identifying the Cause
Dense and gummy texture is arguably the most common complaint in gluten-free bread baking. This often indicates that the starches in the flour blend did not fully gelatinize or that the loaf was underbaked. Insufficient hydration is a frequent cause; if there isn't enough liquid, the starches can't absorb enough water to swell properly during baking.
Other causes include using too much binder (especially xanthan gum), which can create an overly sticky or gummy texture, or not baking the bread long enough or at a high enough temperature for the interior to cook through. Using a thermometer to ensure the internal temperature reaches 98-100°C (208-212°F) is a key step to prevent gumminess. Sometimes, allowing the bread to cool completely before slicing is also necessary, as the internal structure continues to set as it cools.
Bread That Doesn't Rise: Yeast and Proofing Issues
A loaf that doesn't rise, or rises minimally, points towards problems with the yeast or the proofing process. The yeast might be inactive; check its freshness date and always proof active dry yeast as a test. The liquid used to activate the yeast might have been too hot or too cold, killing or inhibiting the yeast activity.
Proofing conditions are also critical. The dough needs a warm, draft-free environment to rise. If the room is too cold, the yeast activity will be slow. Conversely, if it's too hot, the yeast might become overly active initially and then exhaust itself before baking, leading to a collapse. Ensure the dough isn't over-proofed, as mentioned earlier; a slight increase in volume (50-75%) is often sufficient for gluten-free dough.
Dry and Crumbly Bread: Hydration and Binder Adjustments
Dryness and excessive crumbling usually indicate insufficient hydration or binder. Gluten-free flours are inherently less cohesive than wheat flour, so they need enough moisture and something to hold them together. If the dough was too dry initially, the final bread will likely be dense and fall apart easily.
Review the recipe's liquid amount and consider if your flour blend might require more water. Ensure you are using the correct amount of binder (xanthan gum, psyllium husk, etc.) as specified in the recipe. Too little binder means there isn't enough structure to hold the crumb together. Sometimes, using a blend with more high-absorption starches or adding ingredients like applesauce or yogurt can also help retain moisture.
Sinking Bread: Starch Issues and Oven Temperature
Bread that rises nicely in the oven but then sinks in the center after baking can be caused by several factors. One common reason is underbaking; the structure hasn't fully set, and it collapses as it cools. Using a thermometer to ensure the internal temperature is high enough (98-100°C / 208-212°F) is crucial here.
Another cause can be using a flour blend with too many starches and not enough structural flours, or an imbalance in the binder. The rise might be impressive initially due to gas production, but the weak structure can't support itself. Rapid temperature changes after removing the bread from the oven can also sometimes cause sinking; letting the loaf cool gradually on a wire rack in a draft-free spot is recommended.
Advanced Techniques for Gluten-Free Bread Perfection
Once you've mastered the basics and are consistently baking good gluten-free loaves, you might want to explore advanced techniques to enhance flavor, texture, and complexity. These methods build upon core glutenfree bread baking tips and can take your baking to the next level.
From incorporating sourdough starters to adding unique flavorings, experimentation is key to discovering new favorites and perfecting your signature gluten-free bread.
Using a Starter or Sourdough in Gluten-Free Bread
Using a gluten-free sourdough starter can add wonderful depth of flavor and improved texture to your bread. A gluten-free starter is cultivated similarly to a wheat starter, typically using a blend of gluten-free flours (like brown rice or sorghum) and water. The wild yeasts and bacteria in the starter produce lactic acid, which contributes a characteristic tangy flavor, and carbon dioxide, which helps leaven the bread.
Baking with a gluten-free sourdough starter requires understanding its activity level and adjusting proofing times accordingly, as it's often slower than commercial yeast. Sourdough can also help break down starches, potentially improving texture and digestibility. Many experienced gluten-free bakers find that sourdough provides a superior crumb structure compared to yeast-only recipes.
Adding Flavor Enhancers to Gluten-Free Bread
Beyond the basic flour, water, and yeast, incorporating other ingredients can significantly boost the flavor and appeal of your gluten-free bread. Seeds (like poppy, sesame, sunflower, or pumpkin seeds) add crunch and nutty flavor. Nuts (walnuts, pecans) provide richness. Herbs (rosemary, thyme) or spices (caraway, fennel) can lend aromatic notes perfect for savory loaves.
Sweet additions like dried fruits (cranberries, raisins) or a touch of honey or maple syrup can create delicious sweet breads. Even incorporating ingredients like mashed potato, pumpkin puree, or yogurt can add moisture, tenderness, and subtle flavor variations. Experimenting with these additions allows you to customize your gluten-free bread recipes.
Experimenting with Different Gluten-Free Bread Recipes
Don't stop at just one recipe! The world of gluten-free bread is vast, with recipes for everything from simple sandwich loaves to rustic boules, focaccia, and enriched breads like challah or brioche (adapted, of course). Each recipe might use a different blend of flours, varying hydration levels, or different leavening methods (yeast, sourdough, or even baking powder for quick breads).
Trying out different recipes allows you to experience how different ingredients and techniques impact the final result. Pay attention to the specific types and quantities of flours and binders used, the hydration percentage, and the proofing and baking instructions. Each bake is an opportunity to learn more about gluten-free bread baking tips and improve your skills.
Gluten-Free Bread Baking: Recipe Adaptations and Conversions
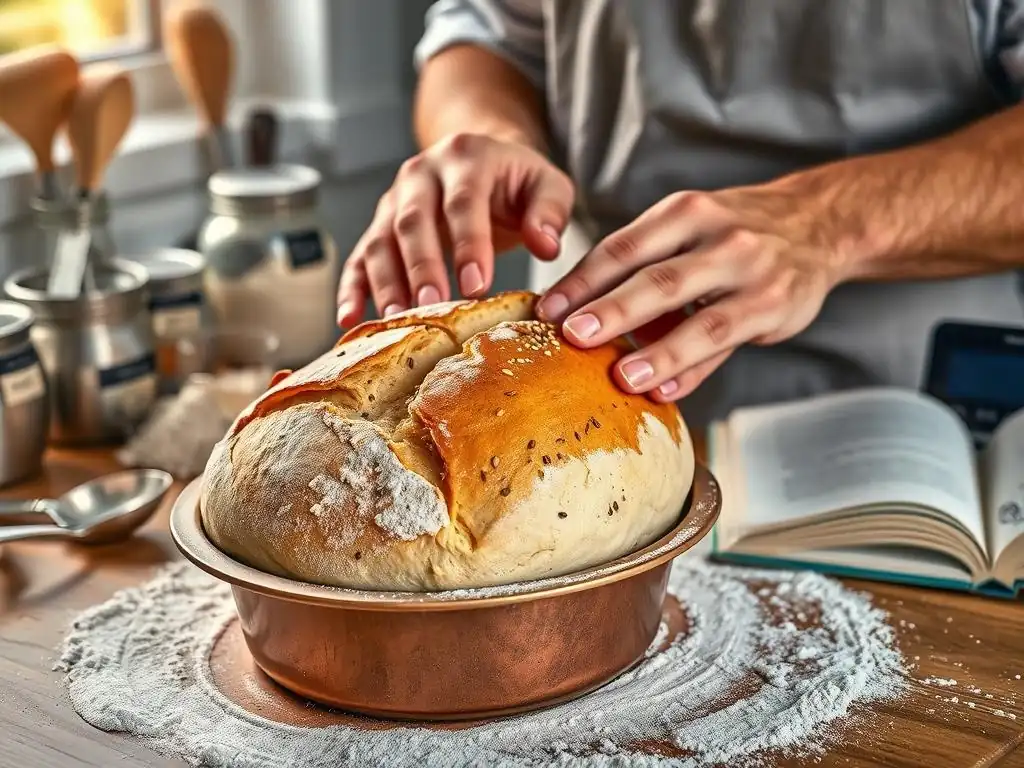
Sometimes you might find a traditional bread recipe you love and want to convert it to gluten-free, or you might need to adjust a gluten-free recipe based on available ingredients. While not always a simple cup-for-cup substitution, understanding how to adapt recipes is a valuable skill for any gluten-free baker.
Converting recipes requires more than just swapping flour; it involves adjusting liquid, adding binders, and potentially changing mixing, proofing, and baking times.
Converting Traditional Bread Recipes to Gluten-Free
Converting a traditional wheat bread recipe to gluten-free requires careful consideration. A general rule of thumb is that you'll need a gluten-free flour blend specifically designed for bread and a binder. For every cup (about 120-140g) of wheat flour, substitute with the same volume (or slightly more by weight, depending on the blend) of a gluten-free bread blend. Then, add a binder – typically 1 to 1.5 teaspoons of xanthan gum or the equivalent amount of psyllium husk per cup of flour blend.
Crucially, you will almost certainly need to increase the liquid. Gluten-free flours absorb more liquid than wheat flour, and the dough needs to be much wetter. Start by increasing the liquid by about 20-30% of the original amount and be prepared to add more if the dough seems too stiff, aiming for that thick, sticky batter consistency. You'll also need to adjust mixing technique (no kneading for gluten development) and potentially proofing times.
Adjusting Baking Times and Temperatures for Gluten-Free Bread
Because gluten-free doughs are often wetter and denser, they typically require a longer baking time than comparable wheat loaves. While a wheat loaf might bake in 30-40 minutes, a gluten-free loaf of the same size could take 50-70 minutes or even longer. The internal temperature is the most reliable indicator of doneness, aiming for 98-100°C (208-212°F).
You might also need to adjust the baking temperature or method. As mentioned earlier, starting at a higher temperature to encourage oven spring and then reducing it can be beneficial. Baking in a covered pot or Dutch oven for the first portion of the bake can also help trap steam, which keeps the crust soft initially allowing for better rise, and prevents the exterior from browning too quickly before the interior is cooked.
Conclusion: Baking Delicious and Consistent Gluten-Free Bread
Achieving consistent results in gluten-free bread baking is a journey that involves understanding new ingredients and mastering specific techniques. While it presents unique challenges compared to traditional baking, it is absolutely rewarding. By focusing on the key glutenfree bread baking tips discussed, you can significantly improve your outcomes and bake delicious loaves consistently.
Remember that practice makes perfect. Don't be discouraged by early failures; each bake is a learning opportunity. Keep experimenting, pay attention to the details, and celebrate your successes along the way!
Recap of Key Gluten-Free Bread Baking Tips
To recap, here are the most impactful glutenfree bread baking tips for achieving consistency:
- Choose the Right Flour Blend: Use a blend specifically formulated for bread, combining different flours and starches for structure and texture.
- Use Binders Correctly: Add the appropriate amount of xanthan gum, psyllium husk, or other binder to provide essential structure and prevent crumbling.
- Master Hydration: Gluten-free dough needs significantly more liquid than wheat dough; aim for a thick, sticky batter-like consistency.
- Ensure Yeast Activity & Proper Proofing: Use fresh, active yeast and proof the dough in a warm, draft-free place, watching for a modest (50-75%) increase in volume rather than doubling.
- Control Temperature & Ensure Doneness: Bake at the correct oven temperature and use a thermometer to ensure the internal temperature reaches 98-100°C (208-212°F) for a fully cooked, non-gummy interior.
By focusing on these fundamentals, you'll lay a strong foundation for consistent gluten-free bread baking success.
Continued Learning and Experimentation in Gluten-Free Baking
The world of gluten-free baking is constantly evolving, with new ingredients, blends, and techniques emerging. Continue to read recipes, watch tutorials, and learn from other gluten-free bakers. Explore different types of gluten-free bread, from simple sandwich loaves to enriched or sourdough varieties.
Don't be afraid to tweak recipes based on your experiences and preferences. Perhaps your oven runs hot, or your climate is particularly dry – making small adjustments to temperature or hydration can make a big difference. Embrace experimentation as a way to deepen your understanding and discover what works best for you and your kitchen. With patience and practice, you'll be baking delicious, consistent gluten-free bread loaves that you and your loved ones will enjoy.
Frequently Asked Questions
How important is using the correct flour blend for gluten-free bread?
Using the correct flour blend is absolutely essential for achieving consistent results. Different blends have varying ratios of starches and flours that impact the texture and structure of the bread.
What role does xanthan gum play in gluten-free bread baking?
Xanthan gum acts as a gluten substitute, providing elasticity and binding to the dough. It helps to create a structure that traps air, resulting in a less dense bread.
How does hydration differ between gluten-free and regular bread dough?
Gluten-free flours tend to absorb more liquid than wheat flour. You'll generally need more hydration for gluten-free dough to achieve the desired consistency and prevent a dry crumb.
What are some common mistakes to avoid when baking gluten-free bread?
Overmixing the dough is a common mistake, as it can lead to a gummy texture. Also, using expired ingredients or not measuring accurately can negatively impact the final product.
How can I improve the rise of my gluten-free bread?
Ensuring your yeast is active and using a warm environment for proofing is crucial. You can also add ingredients like apple cider vinegar or lemon juice to improve the dough's acidity and promote rising.
Final Reflection: The Enduring Quest for Perfect Gluten-Free Bread
The pursuit of consistently delicious gluten-free bread remains a vital challenge for home bakers, a testament to the complexities of recreating the familiar texture and taste without gluten's inherent binding properties. This article has explored various techniques and troubleshooting strategies, aiming to empower home bakers to overcome common pitfalls and achieve consistently satisfying results. The journey, however, is far from over, and the quest for the perfect loaf continues to inspire innovation and experimentation.
The impact of gluten-free baking extends beyond the simple act of creating bread; it represents a significant shift in dietary habits and culinary creativity. It's a testament to human ingenuity, our ability to adapt and overcome challenges, and a reflection of the growing awareness of dietary needs and preferences. The greatest glory in living lies not in never falling, but in rising every time we fall.
– Nelson Mandela. This quote perfectly encapsulates the spirit of gluten-free baking – a process filled with learning, experimentation, and the rewarding feeling of success after overcoming setbacks.
Now, it's your turn. Consider the techniques and tips discussed within these pages. Don't be discouraged by initial failures; embrace them as learning opportunities. Experiment with different flours, starches, and techniques, and most importantly, trust your intuition. The journey to mastering gluten-free bread baking is a personal one, filled with unique discoveries and the immense satisfaction of creating something delicious and nourishing from seemingly challenging ingredients. The perfect loaf awaits – go forth and bake!
Unlock Your Gluten-Free Baking Potential!
Thanks for taking the time to explore the world of consistently delicious gluten-free bread! We hope you gained valuable insights and feel more confident in your baking abilities. Now it's time to put your newfound knowledge into action.
- Bake your best loaf yet! Try out one of the recipes mentioned in the article, paying close attention to the techniques discussed. This is your chance to experience the difference firsthand.
- Share your baking journey! Snap a photo of your creation and post it on social media using #BakeWithEaseGlutenFree. Let's inspire others!
- Explore our other resources: Dive deeper into the world of gluten-free baking with our comprehensive recipe index. You might discover your new favorite bread!
What unique twist will you add to your next gluten-free bread masterpiece?