
The Importance of Resting Dough in Baguette Making

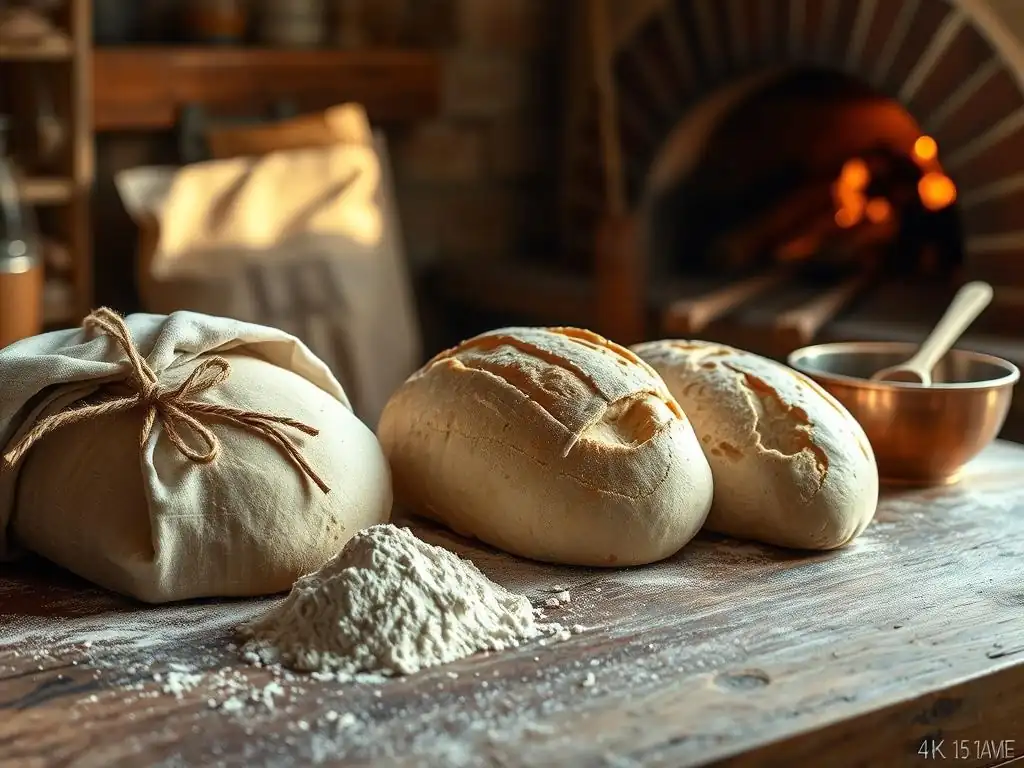
Welcome to BakeWithEase, your culinary companion on the journey to baking brilliance! Ever wondered how to achieve that perfect, airy crumb in your homemade baguette? It all starts with a crucial, often overlooked step: resting the dough. Dive into our article and discover the secrets behind resting baguette dough properly and unlock the full potential of your baking skills. Prepare to be amazed by the difference a little patience can make!
- The Importance of Dough Resting in Sourdough Bread Making
- Introduction to Sourdough Dough Resting
- Understanding the Science Behind Dough Resting for Sourdough
- The Benefits of Resting Sourdough Dough Properly
- Different Resting Techniques for Sourdough Dough
- Common Mistakes to Avoid When Resting Sourdough Dough
- Tips for Optimizing Sourdough Dough Resting for Best Results
- Troubleshooting Sourdough Dough Resting Issues
- Resting Sourdough Dough Properly: A Summary
- Frequently Asked Questions
- Final Reflection: The Unsung Hero of a Perfect Baguette
- Unleash Your Inner Boulanger: Perfect Baguettes Await!
The Importance of Dough Resting in Sourdough Bread Making
Introduction to Sourdough Dough Resting
Why Dough Resting is Crucial for Sourdough Baking Excellence
Resting dough is the silent hero behind a loaf’s volume, flavor, and structure. During this pause, gluten strands align and relax, allowing gas bubbles from fermentation to expand uniformly. In artisan baguette techniques, for instance, resting baguette dough properly can mean the difference between a tight, dense crumb and an open, airy interior reminiscent of Parisian boulangeries. Industry bakers often allow a 20- to 30-minute bench rest to achieve ideal extensibility.
“Patience in dough resting yields depth of flavor and precision in crumb,” notes master baker Chad Robertson of Tartine Bakery.
This phase also permits microbial activity to develop organic acids and alcohols, lending sourdough its signature tang. By honoring resting times, you encourage lactic and acetic acid production, which can increase by up to 30% during a 4-hour bulk fermentation at 24 °C. As a result, your sourdough gains complexity, resilience, and enhanced digestibility.
A Guide to Perfecting Sourdough Dough Relaxation
Achieving ideal relaxation begins with monitoring dough temperature and hydration. Aim for a dough temperature (DT) around 24 °C, measured with an instant-read probe thermometer. If your dough exceeds 26 °C, enzymatic activity accelerates too quickly, risking overproofing; below 20 °C, fermentation slows drastically. Adjust room temperature or cool water to hit your target DT precisely.
A practical approach is the “stretch and fold” method during bulk fermentation. Every 30–45 minutes, gently lift and fold the dough four to six times. This not only redistributes gases but also reinforces gluten networks. Use a task list like the following to stay organized:
- [ ] Measure dough temperature (
dough.temp) - [ ] Perform first stretch-and-fold at 30 minutes
- [ ] Repeat until bulk fermentation completes
- [ ] Bench rest or pre-shape after final fold
This regimen fosters consistent dough tension, making shaping artisanal baguettes or boules far more predictable and manageable.
Understanding the Science Behind Dough Resting for Sourdough
Gluten Development and Relaxation in Sourdough Dough
Gluten, the protein matrix formed from gliadin and glutenin in wheat flour, is vital for gas retention. During mixing, these proteins hydrate and bond, creating elastic networks. However, freshly mixed dough is often tense; yeast and bacteria need time to produce byproducts that soften these bonds. Proper resting permits protease enzymes to cleave peptide chains, reducing elasticity and preventing springback when shaping.
In a typical 75% hydration sourdough, resting for 20–30 minutes achieves significant relaxation without compromising structure. Research shows that gluten strength can drop by up to 15% after a single 30-minute autolyse (flour + water rest). This controlled relaxation ensures the dough remains extensible enough for long baguette shaping without tearing.
The Role of Enzymes and Microbial Activity During Sourdough Dough Resting
Two main enzymes—amylase and protease—work in harmony during dough rest. Amylase breaks starch into fermentable sugars, feeding yeast and lactobacilli. In a 4-hour bulk fermentation, amylase activity increases available maltose by roughly 20%, augmenting yeast health and carbon dioxide production. Protease, on the other hand, weakens gluten bonds over time, a process essential for dough extensibility.
Microbial activity also climbs during resting. Temperature-controlled fermentation encourages Lactobacillus sanfranciscensis to produce lactic and acetic acids. A 12-hour cold retard at 4 °C can boost acetic acid levels by 25%, creating tangy flavor notes. By understanding these microscopic processes, bakers can tweak resting times to craft baguettes with nuanced taste and superb crumb.
How Temperature Affects Sourdough Dough Relaxation
Temperature is the throttle for enzymatic and microbial processes. At 28 °C, protease activity may peak quickly, yielding over-relaxed dough in just 1–2 hours—often too slack for shaping elongated baguettes. Conversely, at 18 °C, resting slows dramatically; bulk fermentation may take 6–8 hours, which can be impractical in busy home kitchens.
Maintaining a dough temperature between 22 °C and 24 °C strikes the optimal balance. If ambient temperature climbs, cool your mixing water by 2–3 °C. In cooler seasons, pre-heat your mixing bowl by running hot water around its exterior, then discarding before combining ingredients. These small adjustments ensure consistent dough resting and predictable gluten relaxation.
The Benefits of Resting Sourdough Dough Properly
Improved Flavor Development Through Dough Resting
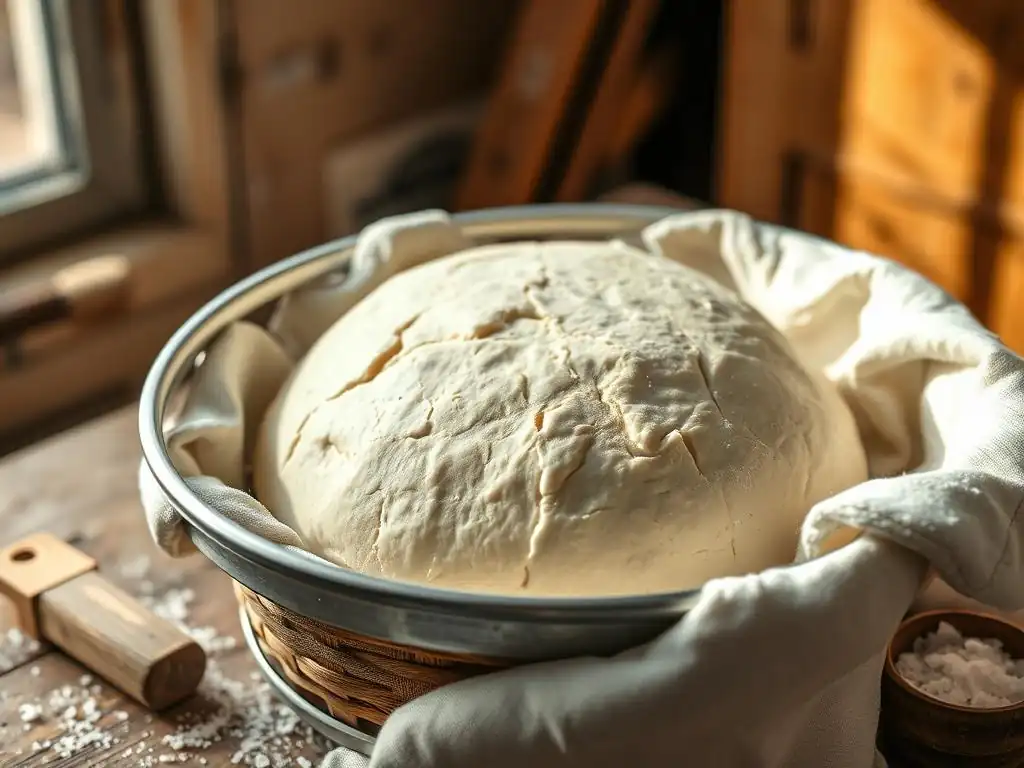
Flavor compounds in sourdough—organic acids, esters, alcohols—are byproducts of microbial fermentation. Resting dough for 3–4 hours at room temperature and an additional 12–24 hours in refrigeration can amplify these compounds. For instance, a 24-hour retard can increase lactic acid concentration from 0.3% to 0.45%, heightening the mild tang without veering into overt sourness.
Professional bakeries often adopt a “long cold ferment” to deepen complexity. A single batch of 1 kg flour may yield bread with a bouquet of fruity esters reminiscent of pineapple or green apple, attributable to slow fermentation and enzyme interplay. These nuanced flavors set artisan baguettes apart from mass-produced loaves.
Enhanced Texture and Crumb Structure in Sourdough
Dough resting influences crumb openness and uniformity. Gas bubbles have time to coalesce and stabilize within the gluten matrix, forming well-distributed air pockets. A properly rested dough can exhibit 40–60% larger mean bubble diameter compared to under-rested dough, translating to the characteristic irregular crumb prized in artisan sourdough.
Resting also reduces tunnel structuring—a phenomenon where large voids dominate. By timing your bench rest and proof accurately, you foster a balanced crumb that’s both tender and chewy. Whether slicing for bruschetta or serving alongside charcuterie, the texture becomes a hallmark of your skill in resting dough effectively.
Better Dough Handling and Shaping After Resting
A rested dough feels pliable, allowing you to execute smooth, tensioned shapes. Baguette making, in particular, benefits from this property: tight shaping creates surface tension that supports oven spring. If dough hasn't relaxed, it resists stretching, leading to tears and suboptimal rise.
When you rest baguette dough properly, each stretch-and-fold increases dough strength while bench rests relieve tension. The result is consistent shaping: slender batards with uniform width and dramatic ears upon scoring. Mastering this dance of tension and relaxation transforms home baking into an artisan pursuit.
Different Resting Techniques for Sourdough Dough
Bulk Fermentation: The First Rest for Sourdough Dough
Bulk fermentation is when dough rests undisturbed (save for periodic folds) after mixing. This stage is chiefly about building volume and flavor. In a typical home kitchen at 24 °C, bulk fermentation takes 3–4 hours with folds every 30–45 minutes. This method is favored by Le Pain Quotidien, which reports a 20% increase in loaf volume by employing four folds during bulk fermentation.
Folding also redistributes yeast and bacteria, promoting even fermentation. Use a lightly oiled bowl, cover the dough to prevent skinning, and follow a consistent fold schedule. The interplay of gluten development and microbial growth here sets the stage for all subsequent shaping and flavor outcomes.
Bulk Fermentation Time for Optimal Sourdough Dough Development
Aim for 3–4 hours at 24 °C with 75% hydration. If your kitchen is cooler (around 20 °C), extend to 5–6 hours. Conversely, shorten to 2–3 hours in warmer environments (26–28 °C). Adjust based on how your dough looks and feels: it should expand by about 50% and pass the finger-poke test (indentation springs back slowly).
Proofing: The Final Rest Before Baking Sourdough
Proofing (or final fermentation) is the last chance for dough to mature before hitting the oven. Typically lasting 45–90 minutes at 24 °C, this phase fine-tunes volume and structure. A lightly floured couche or proofing basket helps maintain shape, especially for baguettes where gravity can flatten the loaf.
During proofing, enzymatic activity continues, albeit at a slower pace than bulk fermentation. The goal is to achieve about 80% rise before baking; underproofed dough yields dense crumb, while overproofed lacks oven spring. Visual cues—such as slight doming and an indentation that slowly rebounds—are key indicators of readiness.
Achieving the Perfect Proof for Light and Airy Sourdough
- Watch for a 70–80% volume increase.
- Perform the “poke test”: the dough should spring back gently in 3–4 seconds.
- Keep proofing environment at 24 °C–26 °C for balanced activity.
Use a timer and dough thermometer to synchronize your bake with desired crumb results consistently.
Retarding Sourdough Dough: Cold Fermentation for Enhanced Flavor
Retarding, or cold fermentation, involves storing dough at 2 °C–5 °C for 12–48 hours after bulk fermentation or shaping. This extended rest slows yeast but allows lactobacilli to thrive, intensifying flavor. Professional artisan bakers often cold retard baguettes for 18 hours, reporting a 30% boost in flavor complexity and a slightly crisper crust post-bake.
Cold dough is also easier to score: the firmer surface holds blades cleanly, creating pronounced ears. Moreover, retarded dough benefits home bakers by offering scheduling flexibility—bake fresh bread in the morning without losing control over fermentation.
Using the Refrigerator for Slow Dough Resting
- Place shaped loaves in proofing baskets lined with a floured cloth.
- Cover tightly with plastic to prevent drying.
- Store at 2 °C–5 °C for 12–24 hours.
- Bake directly from cold, adding ~5 minutes to baking time.
Common Mistakes to Avoid When Resting Sourdough Dough
Over-Proofing Sourdough Dough: Signs and Solutions
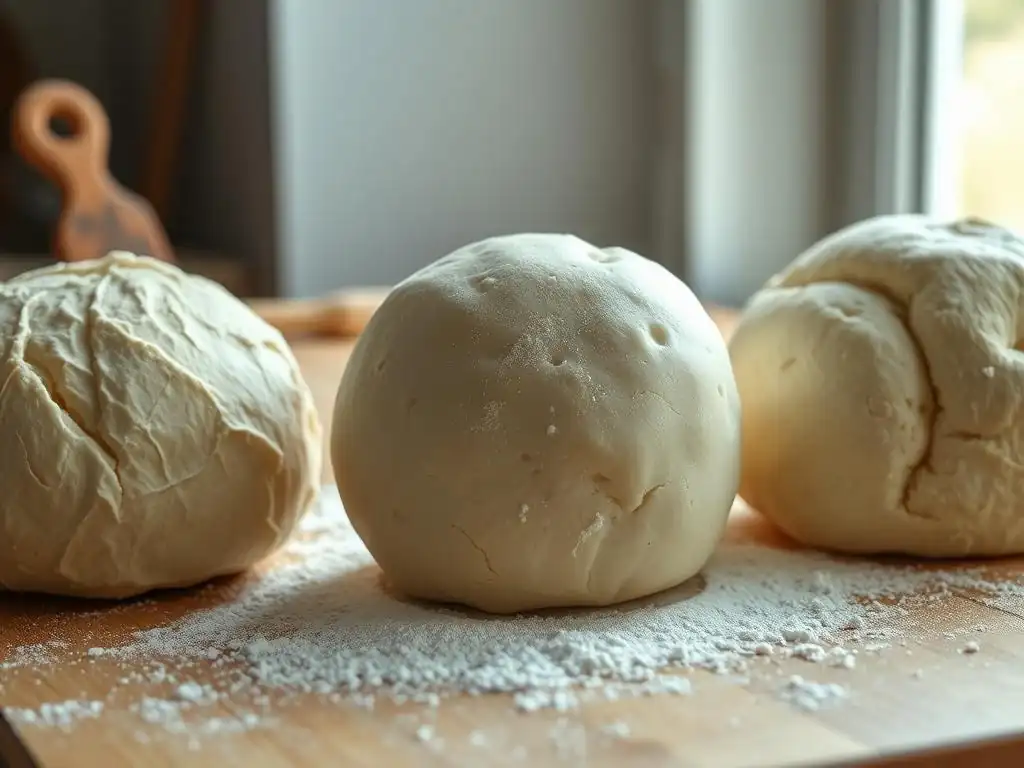
Over-proofed dough collapses under its own weight, yielding a flat crust and gummy crumb. You may notice large tunnels and a wet, sticky interior. To fix this:
- Shorten proofing time by 10–20%.
- Lower dough temperature by 2 °C–3 °C.
- Increase salt by 1–2 g per 500 g flour to slow fermentation.
Re‐shape gently and bake immediately if you detect overproofing to rescue some oven spring.
Under-Proofing Sourdough Dough: What to Look For
Under-proofed loaves exhibit small gas pockets and limited volume, often bursting unpredictably in the oven. The crust can crack along weak spots. Remedies include:
- Extending bulk fermentation by 30–60 minutes.
- Allowing a longer bench rest post-fold.
- Ensuring your dough temperature stays above 20 °C.
Using a dough thermometer helps you confirm that fermentation proceeds as intended.
Temperature Control: Maintaining the Ideal Resting Environment
Fluctuating temperatures jeopardize consistent fermentation. If your kitchen oscillates between 18 °C and 26 °C, consider:
- Creating a proofing box using an oven with the light on (maintains ~25 °C).
- Using warm water (up to 40 °C) to raise initial dough temperature.
- Employing a dough thermometer to monitor throughout bulk and proof phases.
A stable environment yields uniform resting and predictable results.
Tips for Optimizing Sourdough Dough Resting for Best Results
Using a Dough Thermometer for Accurate Temperature Monitoring
An instant-read probe thermometer is indispensable. Aim for:
- Mixing water temperature = 2 × DT − (flour temp + room temp)
- Checking DT after mixing to ensure 24 °C ± 1 °C
- Monitoring dough surface temperature during bulk and proof
Consistency in DT reduces fermentation variability by up to 30%, translating to fewer failed bakes.
Employing the Windowpane Test to Assess Gluten Development
The windowpane test gauges gluten strength. Take a small dough ball after bulk fermentation and gently stretch:
- If you see a translucent membrane without tearing, gluten is well developed.
- If it tears quickly, continue gentle folds or extend bulk fermentation by 30 minutes.
This simple check ensures your dough can trap gases effectively.
Autolyse: Resting Flour and Water Before Adding Starter
Autolyse combines flour and water for 20–60 minutes before adding salt and starter. Benefits include:
- 10–15% enhanced gluten extensibility
- 20% reduction in mixing time
- Improved starch breakdown, feeding yeast more efficiently
Include this step to streamline dough resting and elevate your sourdough baguettes.
Troubleshooting Sourdough Dough Resting Issues
Dough Not Rising: Potential Causes and Fixes
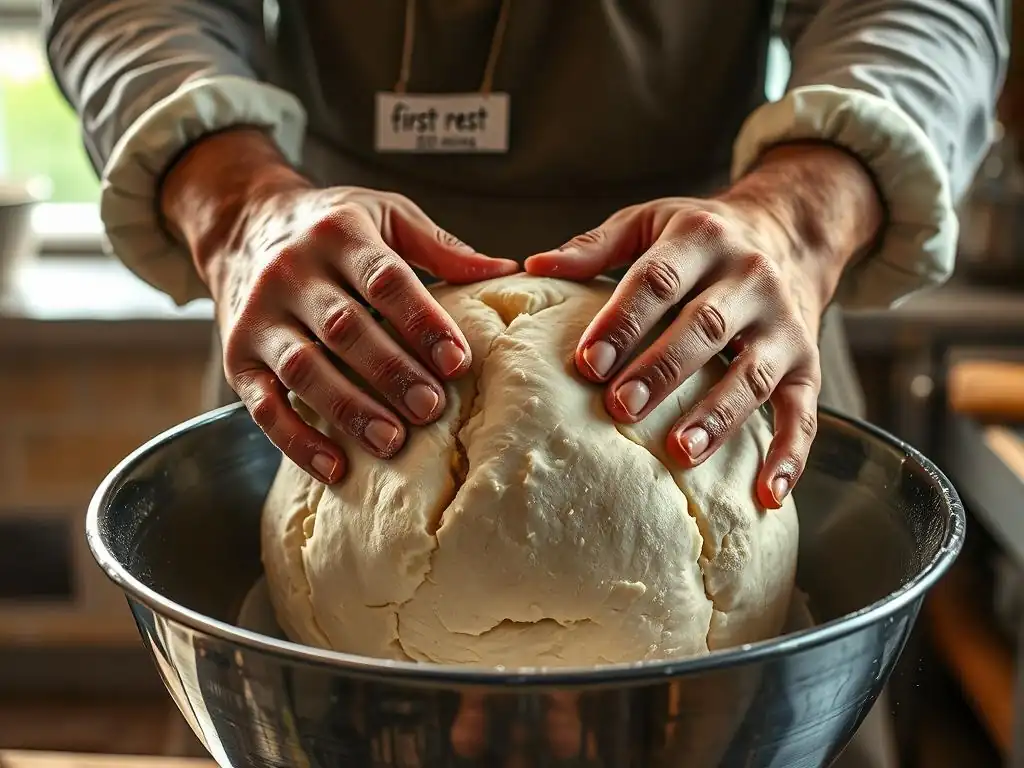
If dough remains flat after hours of rest, consider:
- Old starter: Refresh one or two feedings before mixing.
- Low ambient temperature: Move dough to a warmer spot (24 °C–26 °C).
- Excessive salt: Keep salt at 2% of flour weight to avoid yeast inhibition.
Document your adjustments in a baker’s journal to refine your process over time.
Sticky Dough After Resting: Addressing Hydration Imbalances
Sticky dough often indicates over-hydration or insufficient gluten development. Remedies:
- Dust hands and work surface with 1–2% of flour weight.
- Add flour in 1-tsp increments during shaping until manageable.
- Extend bulk fermentation with additional folds to strengthen gluten.
A balance of absorption and structure ensures a workable dough for perfect baguettes.
Inconsistent Crumb: Adjusting Resting Time and Temperature
Variations in crumb often stem from uneven fermentation. To correct:
- Standardize bulk fermentation times (3–4 hours at 24 °C).
- Use consistent folding intervals.
- Ensure proofing baskets are evenly floured to support shape.
These measures harmonize both internal structure and aesthetic appeal.
Resting Sourdough Dough Properly: A Summary
Key Takeaways for Achieving Optimal Sourdough Dough Relaxation
Resting dough is more than idle time; it’s where gluten relaxes, flavors mature, and structure forms.
- Maintain dough temperature around 24 °C for balanced enzyme activity.
- Employ bulk fermentation, bench rests, and cold retard in sequence.
- Use tools like a dough thermometer, windowpane test, and proofing baskets.
By mastering these techniques, your artisan baguettes will boast an open crumb, crisp crust, and complex flavor every time.
Explore Sourdough Recipes and Techniques
Ready to apply these resting strategies?
- Try our 100% whole-wheat sourdough baguette recipe with a 12-hour cold retard.
- Experiment with a 65% rye sourdough boule, proofed in a banneton for 60 minutes.
- Watch your loaf transform when you execute proper resting and shaping.
At BakeWithEase.com, we have step-by-step guides to help you rest baguette dough properly and craft artisan breads with confidence and flair.
Frequently Asked Questions
What exactly does "resting" baguette dough mean?
Resting baguette dough refers to a period after mixing, where the dough is left undisturbed. This allows the gluten to relax and the fermentation process to begin, leading to improved texture.
Why is resting so crucial for a good baguette?
Resting is vital because it allows the gluten network to develop and become more extensible. This results in a baguette with a lighter, airier crumb and a better crust.
How long should I rest my baguette dough?
The ideal resting time varies, but generally, a first rest of 1-2 hours at room temperature followed by a longer, colder rest in the refrigerator (12-24 hours) yields the best results.
What happens if I don't rest the baguette dough adequately?
Insufficient resting can lead to a tough, dense baguette. The dough won't have developed enough gluten strength, resulting in a poor texture and flavor.
Can I over-rest baguette dough, and what are the signs?
Yes, over-resting can cause the dough to become sour and weak. Signs include a collapsed dough, excessive stickiness, and a strong, acidic smell.
Final Reflection: The Unsung Hero of a Perfect Baguette
The art of baking the perfect baguette isn't just about technique; it's about understanding the subtle power of patience. A perfectly crisp crust and airy crumb aren't achieved through frantic kneading alone, but through the often-overlooked process of resting the dough. This seemingly simple step is the cornerstone of a truly exceptional baguette, impacting every aspect of the final product.
The influence of proper resting on the final texture and flavor of a baguette is profound. It's a lesson in allowing nature to take its course, a reminder that sometimes the best results come from slowing down and letting the ingredients work their magic. Patience is a virtue, and in baking, it's the key ingredient to unlocking the full potential of your dough.
This simple truth applies not just to baguettes, but to life itself; allowing time for growth and development yields far richer rewards.
Now, consider your own life. Are you allowing yourself the necessary "rest" to fully develop your own potential? Just as a rushed dough produces a dense, flavorless baguette, neglecting periods of rest and rejuvenation can lead to burnout and diminished results. I encourage you to reflect on your own rhythms, to identify those moments where patience and rest are needed, and to embrace the transformative power of allowing time to work its magic, both in your baking and in your life.
Unleash Your Inner Boulanger: Perfect Baguettes Await!
Thanks for taking the time to explore the art of resting dough! You've now unlocked a key to achieving truly amazing baguettes. Ready to put your newfound knowledge into practice?
- Bake a masterpiece: Try making a baguette today using the resting techniques we discussed. Note the difference in texture and flavor!
- Share your success (or questions!): Post a picture of your baguette creation on social media – we'd love to see your results! Use #BakeWithEaseBaguette.
- Explore advanced techniques: Dive deeper into sourdough starters and other advanced baking methods by exploring our other articles on bakewithease.com.
What unique twist will you add to your next baguette baking experience?