
Overcoming Sticky Baguette Dough: Handling High Hydration

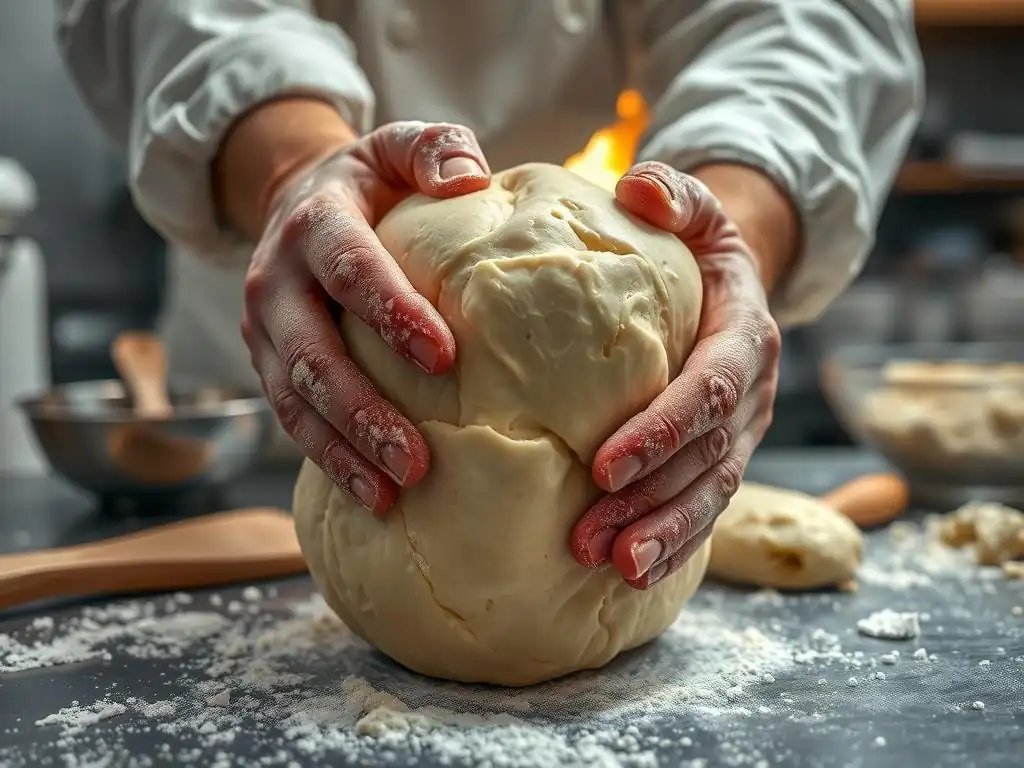
Welcome to BakeWithEase, your haven for baking mastery! Ever wrestled with a frustratingly sticky baguette dough? You're not alone! This guide dives deep into sticky baguette dough troubleshooting tips, offering practical solutions to tame even the most hydrated dough. Discover the secrets to handling high hydration doughs and finally achieve that perfect, airy crumb and crisp crust you've been dreaming of. Let's unlock the art of the baguette, together!
- Understanding Sticky Baguette Dough and High Hydration
-
Sticky Baguette Dough Troubleshooting Tips: Mastering the Technique
- Tip 1: Precise Measurement of Ingredients for Baguette Success
- Tip 2: Developing Strength Through Proper Mixing Techniques
- Tip 3: Mastering the Art of Folding Baguette Dough
- Tip 4: Cold Fermentation: A Game Changer for Sticky Dough
- Tip 5: Flour Choice Matters: Selecting the Right Flour for Baguettes
- Tip 6: Gentle Handling: The Key to Shaping Sticky Baguette Dough
- Baking with Sticky Baguette Dough: Tips for a Perfect Crust and Crumb
- Preventing Sticky Baguette Dough in the Future: Best Practices
- Achieving Baguette Perfection: Overcoming the Stickiness Challenge
- Frequently Asked Questions
- Final Reflection: The Transformative Power of Patience in Baking
- Unlock Your Baguette Baking Potential!
Understanding Sticky Baguette Dough and High Hydration
The Allure of High Hydration Baguettes: Why Bakers Love It
High hydration dough, typically meaning dough with a water content of 75% or more relative to the flour weight (e.g., 750g water per 1000g flour), is highly sought after by many bakers for its potential to produce baguettes with an exceptionally open, airy crumb and a thin, crispy crust. This higher water content allows for more gluten development and expansion during fermentation and baking, leading to those coveted large, irregular holes characteristic of artisan bread.
While a standard baguette recipe might use around 65-70% hydration, pushing towards 80% or even 85% can dramatically enhance the texture, offering a lighter, more complex result.
The challenge, of course, is that this increased hydration makes the dough significantly stickier and harder to handle compared to lower hydration doughs. However, the superior textural qualities achieved – the delicate balance between a shatteringly crisp crust and a tender, almost custardy interior – make mastering high hydration well worth the effort for many home and professional bakers alike. It's a journey that refines technique and deepens understanding of dough dynamics, leading to a truly rewarding baking experience and loaves that stand out.
Why Baguette Dough Becomes Sticky: The Science Behind Hydration
Stickiness in baguette dough is primarily a direct consequence of its hydration level. Water plays a crucial role in activating gluten development. When flour and water are mixed, proteins like glutenin and gliadin absorb water and begin to form the gluten network. In high hydration dough, there is simply more free water present that isn't fully bound up by the flour or the developing gluten structure. This excess water acts as a lubricant, making the dough feel wet and sticky to the touch.
Furthermore, the type of flour used impacts how much water it can absorb. Different flours have varying protein and starch contents, which affect their water absorption capacity. A flour with lower absorption capacity will feel stickier at the same hydration level than one with higher absorption. The enzymatic activity within the dough during fermentation also contributes; enzymes break down starches into sugars, which can also influence the dough's consistency and stickiness over time. Understanding this interplay between water, flour, and time is fundamental to effective sticky baguette dough troubleshooting tips.
Common Causes of Excessively Sticky Baguette Dough
Beyond the inherent stickiness of high hydration, several factors can exacerbate the issue, leading to dough that is almost impossible to handle without significant frustration. One common cause is simply inaccurate measurement, particularly of water or flour. Even a slight excess of water or a deficiency of flour can push the hydration higher than intended, resulting in a much stickier dough than anticipated. For example, if a recipe calls for 75% hydration (750g water for 1000g flour) but you accidentally add 780g of water, your hydration jumps to 78%, making the dough noticeably stickier.
Another frequent culprit is insufficient gluten development. If the dough hasn't been mixed, folded, or kneaded adequately, the gluten network won't be strong enough to hold the water effectively. The dough remains weak, slack, and excessively sticky because the structure needed to manage the high hydration hasn't formed. Additionally, using flour with insufficient protein content (like cake flour instead of bread flour) can lead to a weak gluten structure unable to support high hydration. Over-fermentation can also cause dough to become weak and sticky as the gluten structure starts to degrade.
Sticky Baguette Dough Troubleshooting Tips: Mastering the Technique
Tip 1: Precise Measurement of Ingredients for Baguette Success
The Importance of Accurate Flour Measurement in Baguettes
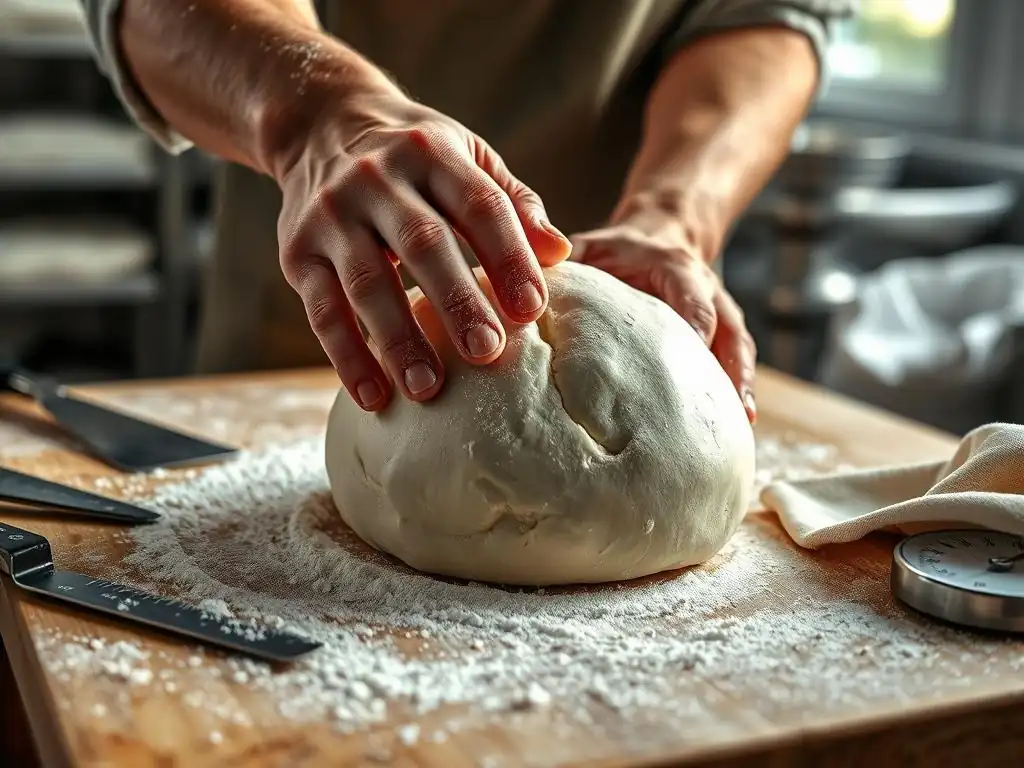
Achieving the correct hydration level, which is fundamental to managing sticky baguette dough, starts with precise measurement, especially of flour. Using a kitchen scale is absolutely essential; volume measurements (cups) are notoriously inaccurate for flour due to variations in how it's scooped and settled. For instance, a cup of all-purpose flour can weigh anywhere from 120g to 150g depending on how it's measured. In a recipe calling for 500g of flour, a small measurement error could significantly alter the final hydration percentage when combined with a fixed amount of water.
Using a scale ensures consistency batch after batch. Weighing your flour means you know exactly how much dry ingredient you're working with, allowing you to calculate and control the hydration percentage accurately. This eliminates one of the primary variables that can lead to unexpectedly sticky dough. For reliable sticky baguette dough troubleshooting tips, starting with accurate measurements provides a solid foundation.
Water Temperature and Hydration Levels: Getting it Right
While the amount of water dictates hydration, the temperature of the water also plays a critical, though indirect, role in managing stickiness by influencing dough temperature and fermentation rate. Warmer water (say, 80-85°F or 27-29°C) helps activate yeast quickly and speeds up initial gluten development, which can make the dough slightly easier to handle sooner. However, if the water is too warm, it can lead to excessively rapid fermentation, potentially causing the dough to become slack and sticky later on.
Conversely, using cooler water (around 60-65°F or 15-18°C) slows fermentation, giving you more time to develop strength through mixing and folding before the dough becomes too active and potentially sticky. This is often preferred for high hydration doughs or when using techniques like autolyse. The key is to use water temperature as a tool to control the pace of fermentation and dough development, ensuring the gluten structure is strong enough to manage the high hydration without the dough becoming uncontrollably sticky too quickly.
Tip 2: Developing Strength Through Proper Mixing Techniques
Autolyse: The Key to Manageable High-Hydration Dough
Autolyse is a simple yet powerful technique that can dramatically improve the handling of sticky baguette dough. It involves mixing just the flour and water from your recipe and letting the mixture rest for 20 minutes to an hour (or even longer). During this resting period, the flour fully hydrates, and enzymatic activity begins to break down starches and start gluten development without the interference of salt or yeast.
The benefits for sticky dough are significant: the dough becomes noticeably less shaggy and more extensible, making subsequent mixing or kneading much easier. The gluten structure starts forming on its own, requiring less mechanical work later. This initial hydration and relaxation phase helps manage the high water content more effectively from the outset, laying a strong foundation for a dough that is still sticky but far more manageable to work with. Many bakers find autolyse indispensable for perfecting their sticky baguette dough troubleshooting tips.
Effective Kneading Techniques for Sticky Dough: French Knead & More
Kneading is crucial for developing the gluten network needed to give high-hydration dough structure and manage its stickiness. Traditional kneading on a floured surface can be frustrating with very wet dough as it tends to just spread and stick. This is where techniques specifically designed for sticky dough shine. The French Fold (or Slap and Fold) is excellent: you pick up the dough, slap it onto the counter, stretch it towards you, fold it over itself, and repeat. This motion develops gluten rapidly without adding much flour, which would lower hydration.
Alternatively, using a stand mixer with a dough hook can effectively develop high-hydration dough. Start on a low speed to combine ingredients, then increase speed to medium (e.g., speed 3-4 on a KitchenAid) and let it knead for 8-15 minutes until the dough passes the windowpane test (a small piece can be stretched thin enough to see light through). While the dough will still be sticky, it should become cohesive and elastic, pulling away from the sides of the bowl. These techniques are vital sticky baguette dough troubleshooting tips for building the necessary strength.
Tip 3: Mastering the Art of Folding Baguette Dough
Why Folding is Essential for High-Hydration Baguettes
Folding is arguably the most critical technique for developing strength and structure in high-hydration dough after the initial mixing or kneading phase. Unlike kneading, which is more vigorous, folding is a gentler process performed periodically during the bulk fermentation. It redistributes the yeast, equalizes temperature, and, most importantly, builds tension and aligns the gluten strands.
For sticky baguette dough, which lacks the inherent structure of lower hydration doughs, these folds are vital. They help the dough build the internal framework needed to hold its shape and trap gases produced by fermentation. Without sufficient folding, high-hydration dough remains slack, spreads out, and is very difficult to shape into a baguette. A typical schedule might involve 3-5 sets of folds spaced 30-60 minutes apart during the initial bulk fermentation phase.
Folding Techniques: Strengthening the Dough Structure
Several folding techniques can be employed, all aimed at tightening the dough and developing tension. A common method involves wetting your hands slightly (to prevent sticking) and gently lifting one side of the dough from the bowl or container, stretching it up, and folding it back over the rest of the dough. You then rotate the container and repeat this process 3-4 times, effectively folding the dough into a neat package.
Another technique is the 'stretch and fold' where you gently stretch a portion of the dough upwards and fold it onto itself. This is repeated around the circumference of the dough. The goal is to feel the dough resisting and tightening with each fold. As you perform subsequent sets of folds, the dough will become progressively stronger, smoother, and less sticky, transforming from a shaggy mass into a cohesive, elastic ball. Mastering these folds is a key part of sticky baguette dough troubleshooting tips.
Tip 4: Cold Fermentation: A Game Changer for Sticky Dough
The Benefits of Retarding Baguette Dough in the Fridge
Cold fermentation, also known as retarding, involves placing the dough in the refrigerator for an extended period, typically 12 to 48 hours or even longer. This dramatically slows down yeast activity but allows enzymes to continue working slowly, breaking down complex carbohydrates into simpler sugars and amino acids. For sticky baguette dough, cold fermentation offers multiple benefits.
Firstly, the cold temperature makes the dough much firmer and significantly less sticky and easier to handle when it comes time to shape. The gluten structure also continues to strengthen over the long, slow fermentation. Secondly, the extended cold period develops more complex flavors in the bread, resulting in a more nuanced taste profile. Finally, it offers incredible scheduling flexibility, allowing bakers to fit bread making into busy lives. It's a powerful tool in the arsenal of sticky baguette dough troubleshooting tips.
Managing Cold Fermentation for Optimal Dough Handling
To effectively use cold fermentation for managing sticky dough, place the dough in a lightly oiled container after the initial bulk fermentation and folding steps are complete. Ensure the container is airtight to prevent a skin from forming. The dough should be placed in the coldest part of your refrigerator, typically the bottom shelf.
The duration of cold fermentation depends on your schedule and desired flavor development. A minimum of 12 hours is usually recommended, but 24-48 hours often yields the best results in terms of handling and flavor. When you're ready to shape, remove the dough from the fridge. While some bakers shape cold, others prefer to let it warm up slightly at room temperature for 30-60 minutes to increase pliability, which can sometimes make handling easier, though it might feel slightly stickier as it warms. Experimentation will help you find the optimal timing for your specific dough and refrigerator.
Tip 5: Flour Choice Matters: Selecting the Right Flour for Baguettes
High-Protein Flour for Baguette Structure
The type of flour used is a critical factor in managing sticky baguette dough. For high-hydration dough, a flour with a relatively high protein content is generally preferred. Bread flour, typically containing 12-14% protein, is ideal because its higher protein level allows for the development of a strong, elastic gluten network capable of absorbing and holding more water without becoming excessively slack or unmanageable.
Using a lower protein flour, like all-purpose flour (typically 10-12% protein), is possible but often requires slightly lower hydration or more careful handling and development to achieve sufficient strength. While artisan bakers sometimes use a blend of flours, including some lower-protein or specialty flours for flavor, ensuring a significant portion of your blend is a strong bread flour provides the structural backbone needed to support high hydration. Selecting the right flour is a foundational sticky baguette dough troubleshooting tip.
Understanding Flour Absorption Rates
Beyond protein content, different flours have varying water absorption rates due to differences in starch composition and milling process. Even within the category of "bread flour," absorption rates can vary. For example, certain organic or freshly milled flours might absorb more water than standard commercially processed flours. This means that a recipe calling for 75% hydration might feel less sticky with one brand of flour compared to another, even if both are labeled "bread flour."
Experienced bakers sometimes adjust hydration slightly based on the specific flour they are using. If you consistently find your dough too sticky at a given hydration level using a specific flour, it might indicate that flour has a lower absorption rate than the one the recipe developer used. Keeping notes on how different flours perform in your recipes can help you anticipate and adjust hydration levels, making sticky baguette dough troubleshooting easier in the future.
Tip 6: Gentle Handling: The Key to Shaping Sticky Baguette Dough
Minimizing Stickiness During Shaping
Even with proper development and cold fermentation, high-hydration baguette dough will still be sticky compared to lower hydration doughs. The key to shaping it successfully is using minimal flour and employing techniques that reduce contact time and friction with surfaces and your hands. Excess flour incorporated during shaping will negatively impact the crust and crumb texture.
Instead of dusting your surface heavily, try using a very light dusting, or better yet, slightly wetting your hands and your work surface with water. A thin film of water prevents sticking more effectively than flour without changing the dough's composition. Working relatively quickly and confidently also helps; hesitant movements give the dough more time to adhere to everything it touches. These are crucial sticky baguette dough troubleshooting tips when you reach the shaping stage.
Tools and Techniques for Shaping High-Hydration Baguettes
Specific tools and techniques make shaping sticky baguette dough significantly easier. A bench scraper is indispensable; it allows you to portion the dough and maneuver it on the counter without having to pick up the entire sticky mass. Use the scraper to help fold and gather the dough.
When shaping the baguette itself, work with tension. Gently pre-shape the dough into a rough rectangle or oval after dividing, let it rest briefly (10-20 minutes), then proceed to the final shaping. For the final shape, gently degas the dough, fold the top edge down, then the bottom edge up, sealing the seam. Finally, roll the dough to lengthen it, applying gentle pressure from the center outwards, using your bench scraper to help maintain tension and prevent sticking to the counter. Transfer the shaped loaves to a floured couche or proofing basket using the bench scraper.
Baking with Sticky Baguette Dough: Tips for a Perfect Crust and Crumb
Preheating Your Oven: Achieving Optimal Baking Temperatures
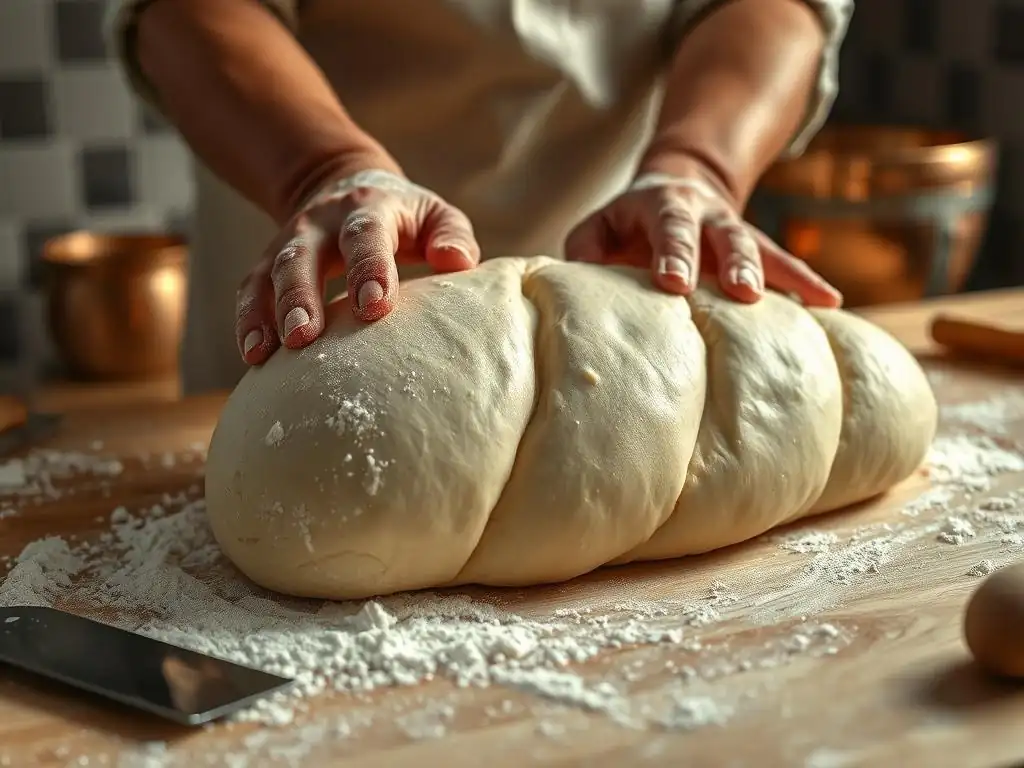
Properly preheating your oven is non-negotiable for achieving a great baguette, especially with high-hydration dough. A hot oven provides the necessary initial burst of heat (oven spring) that allows the dough to expand rapidly before the crust sets. This is crucial for developing an open crumb structure. Aim for a high temperature, typically between 450°F and 500°F (230°C to 260°C).
It's not enough just to reach the target air temperature; your baking surface (baking stone, steel, or Dutch oven) also needs to be thoroughly heated. This can take 45 minutes to an hour or even longer after the oven signals it's preheated. Baking on a properly preheated surface transfers heat efficiently to the base of the loaf, promoting good oven spring and a well-formed crust. A powerful initial heat source is vital for managing the wetness of sticky baguette dough during the critical first few minutes of baking.
Creating Steam: The Secret to a Crispy Baguette Crust
Creating a steamy environment in your oven during the initial phase of baking is perhaps the most critical factor for developing a thin, crispy baguette crust. Steam keeps the surface of the dough moist and pliable longer, allowing the loaf to expand fully (achieve maximum oven spring) before the crust hardens. Without sufficient steam, the crust forms too quickly, restricting expansion and resulting in a denser loaf with a thicker, often dull crust.
There are several methods for creating steam in a home oven. One common technique is to place a baking tray or cast iron pan on the bottom rack during preheating and carefully pouring hot water into it just as you load the loaves, quickly closing the oven door to trap the steam. Another effective method is baking in a Dutch oven or a cloche, which traps the moisture released by the dough itself.
Maintaining steam for the first 15-20 minutes of baking is essential before venting the oven to allow the crust to crisp up. This step is key after successfully handling sticky baguette dough through shaping.
Monitoring the Baking Process: Achieving the Desired Color and Texture
Once the initial steamy phase is complete (usually 15-20 minutes), you'll typically remove the steam source or vent the oven and continue baking at a slightly lower temperature (perhaps 425-450°F or 220-230°C) to allow the crust to brown and crisp. Monitoring the baking process is crucial during this stage. The color of the crust is a good indicator of doneness and flavor development. A well-baked baguette should have a deep golden-brown to reddish-brown crust. Pale crusts often indicate underbaking or insufficient caramelization.
Baking time for baguettes varies depending on size and oven, but typically ranges from 20 to 30 minutes total. You can check for doneness by tapping the bottom of the loaf; it should sound hollow. An internal temperature of around 200-210°F (93-99°C) also indicates it's done. Don't be afraid to bake until you achieve a rich color, as this contributes significantly to the flavor and texture of the final loaf. Patient monitoring ensures your efforts in handling sticky baguette dough result in a perfectly baked baguette.
Preventing Sticky Baguette Dough in the Future: Best Practices
Refining Your Baguette Recipe for Consistent Results
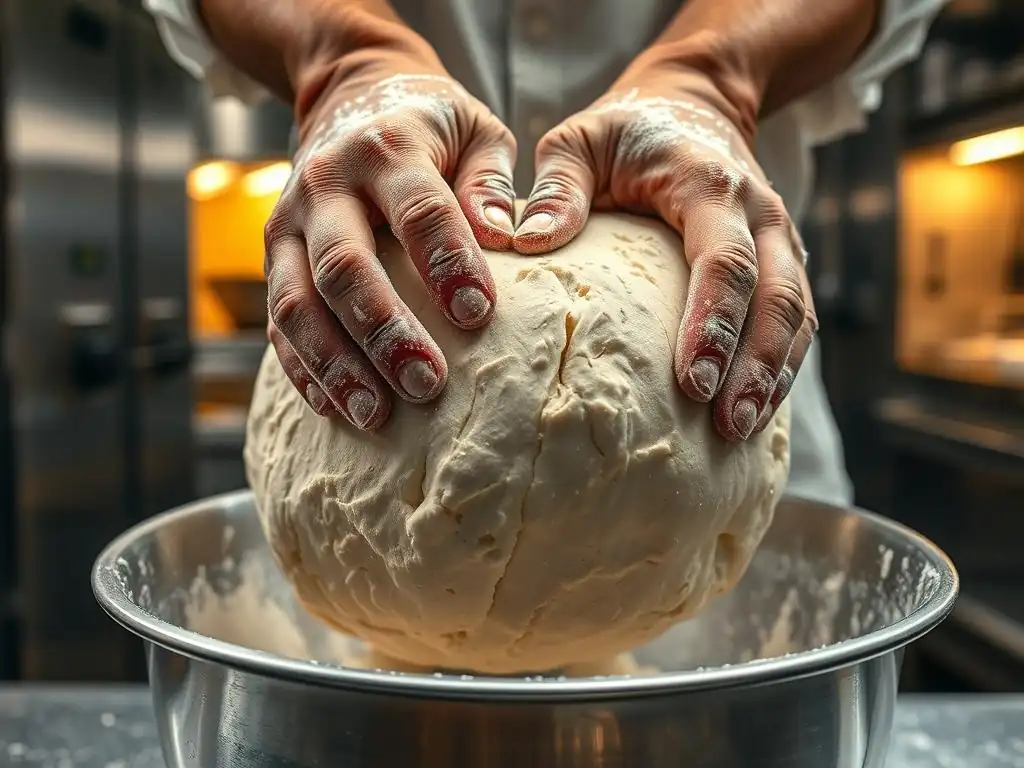
Achieving consistent results with high-hydration baguette dough often involves fine-tuning your specific recipe and process. This means paying close attention to the details: the exact weight of ingredients, the temperature of your water and dough throughout the process, the timing and feel of your folds, and the duration and temperature of your fermentation steps (bulk and cold).
Consider keeping a baking journal. Note down the flour used, hydration percentage, mixing times, fermentation times and temperatures, number of folds, and the outcome (how sticky was the dough, how was the final loaf). Over time, this documentation will reveal patterns and help you identify what works best for your environment and ingredients.
You might find that slightly adjusting the hydration up or down by just 1-2% makes a significant difference in handling without sacrificing crumb structure, or that adding an extra fold at a specific stage helps manage stickiness. Continuous small adjustments based on observation are key to refining your approach.
Continual Practice and Observation: Learning from Each Bake
Mastering high-hydration baguette dough, and thus becoming proficient in sticky baguette dough troubleshooting tips, is a skill that develops with practice. Each bake offers a learning opportunity. Pay attention to how the dough feels at different stages: how sticky is it after the initial mix? Does it gain strength and become less sticky with each fold? How does it feel coming out of cold fermentation? How does it behave during shaping?
If a bake didn't go as planned – maybe the dough was still too sticky to shape, or the final crumb was dense – review your notes and consider what might have contributed. Was the kitchen warmer than usual, speeding up fermentation? Was the flour different? Did you skip a fold? Embrace the learning process. Even experienced bakers encounter challenges with high hydration dough. Patience, observation, and consistent practice are your greatest assets in turning sticky dough into beautiful baguettes.
Achieving Baguette Perfection: Overcoming the Stickiness Challenge
Troubleshooting common baguette problems: Uneven crumb, dense texture, pale crust
Successfully navigating sticky baguette dough troubleshooting tips directly impacts common baguette problems. An uneven crumb (large holes in some areas, dense in others) or a dense texture throughout can often be traced back to insufficient gluten development or poor shaping technique when handling sticky dough. If the dough wasn't properly strengthened through mixing and folding, it lacks the structure to hold gas evenly, leading to collapse or an underdeveloped crumb. Similarly, rough or excessive handling during shaping can degas the dough too much.
A pale crust, even after addressing initial stickiness, usually indicates insufficient heat or steam during baking. If the oven isn't hot enough, or there isn't enough steam, the crust sets prematurely and doesn't caramelize properly. It can also result from under-fermentation, where there aren't enough sugars available for browning. By applying the sticky baguette dough troubleshooting tips – precise measurement, proper development, cold fermentation, gentle handling, and effective baking – you build a robust process that minimizes these common issues and helps you achieve that coveted artisan baguette perfection.
Frequently Asked Questions
What makes baguette dough so sticky in the first place?
Baguette dough often has a high hydration level, meaning a larger proportion of water to flour. This increased water content can lead to a sticky dough that is difficult to handle if not properly developed.
How can I tell if my baguette dough is too sticky?
If the dough is sticking excessively to your hands, the counter, and your tools, even after proper kneading, it's likely too sticky. A properly developed dough should be smooth and elastic, not a liquid mess.
What are some troubleshooting tips for handling sticky baguette dough?
Use cold water in your dough to slow gluten development and reduce stickiness. Also, autolyse the flour and water before adding yeast for better hydration.
Can adding more flour fix sticky baguette dough?
While adding flour seems like a quick fix, it can alter the final texture of your baguette, making it dense and dry. Instead, focus on proper kneading techniques and handling the dough gently.
What tools can help me manage sticky baguette dough?
A dough scraper is essential for lifting and folding sticky dough. Also, using a lightly floured surface and keeping your hands slightly damp can minimize sticking.
Final Reflection: The Transformative Power of Patience in Baking
Mastering high-hydration dough isn't just about technique; it's a journey of understanding, patience, and ultimately, the rewarding taste of a perfectly crafted baguette. The frustration of sticky dough is a common hurdle for many bakers, but as this article has explored, with the right approach and a willingness to learn, even the stickiest dough can be transformed into a culinary masterpiece. This isn't just about baking bread; it's about embracing the process and finding satisfaction in overcoming challenges.
The struggle with high-hydration dough mirrors many aspects of life. The initial stickiness, the feeling of things being out of control, the temptation to give up – these are all experiences we can relate to beyond the kitchen. The reward of a thing well done is to have done it.
This quote resonates deeply, as the final product, a perfectly crisp and airy baguette, is a testament to the perseverance and attention to detail invested in the process. The journey itself, with its challenges and triumphs, is as valuable as the destination.
Now, consider your own "sticky dough" moments. What challenges in your life require the same patience, understanding, and careful technique that mastering high-hydration dough demands? Perhaps it's a challenging project at work, a difficult relationship, or a personal goal that seems insurmountable. Remember the lessons learned here: patience, attention to detail, and a willingness to adapt are key to overcoming any obstacle. Embrace the stickiness, learn from the process, and savor the sweet reward of success.
Unlock Your Baguette Baking Potential!
Thanks for taking the time to explore the world of high-hydration baguette dough! We hope you gained valuable insights into mastering this challenging, yet rewarding, baking technique. Now it's time to put your newfound knowledge into action.
- Bake your perfect baguette: Use the techniques we discussed to create your own high-hydration masterpiece. Don't be afraid to experiment—each loaf is a journey of discovery!
- Share your success (or even your struggles!): Join our BakeWithEase community on social media and share photos of your creations. Let's learn from each other!
- Explore advanced techniques: Consider researching different flour types or experimenting with sourdough starters to further refine your baguette baking skills.
What unique ingredient or technique will you try next to elevate your baguette game?