
Unlock the Secret to Perfect Baguette Shaping

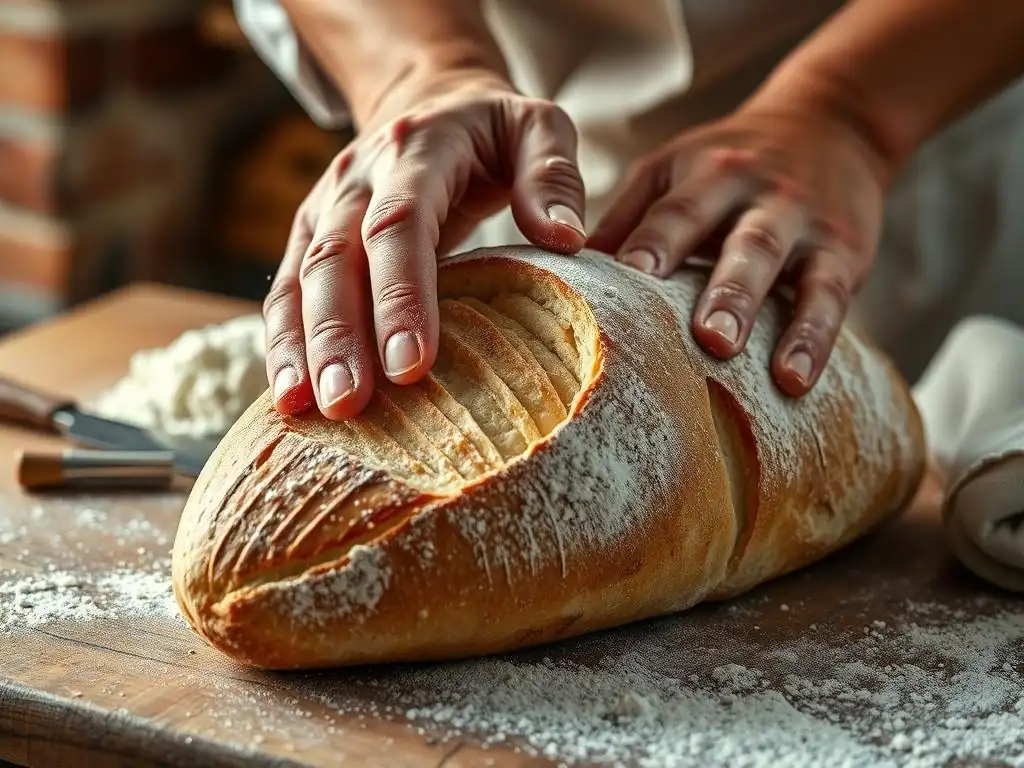
Welcome to BakeWithEase, where baking dreams become delicious realities! Are you ready to finally conquer that elusive, perfectly shaped baguette? Unlock the Secret to Perfect Baguette Shaping with our expert guide, and discover the easy-to-follow techniques that will transform your loaves. But the shaping is just the beginning... what other bread baking secrets await?
- Unlock the Secret to Perfect Baguette Shaping: A BakeWithEase Guide
- Introduction to Mastering Baguette Shaping Techniques
- Essential Tools and Equipment for Shaping Baguettes
- Step-by-Step Guide to Easy Baguette Shaping Techniques
- Troubleshooting Common Baguette Shaping Problems
- Advanced Baguette Shaping Tips and Tricks
- Baking Your Perfectly Shaped Baguettes
- Beyond the Basics: Experimenting with Baguette Variations
- Conclusion: Enjoying Your Artisan Baguette Baking Journey
-
Frequently Asked Questions
- How important is the initial shaping of the baguette dough?
- What's the best technique for degassing baguette dough gently?
- What role does tension play in achieving a good baguette shape?
- What are some common mistakes to avoid when shaping baguettes?
- How can I practice my baguette shaping techniques effectively?
- Final Reflection: Mastering the Art of the Perfect Baguette
- Unleash Your Inner Boulanger: Master the Art of Baguette Shaping!
Unlock the Secret to Perfect Baguette Shaping: A BakeWithEase Guide
Introduction to Mastering Baguette Shaping Techniques
Welcome, fellow bakers, to the art of shaping the perfect baguette! There's something truly satisfying about pulling a long, crusty, golden loaf from your oven, knowing you crafted it with your own hands. While baking the dough is crucial, mastering the shaping techniques is arguably the most vital step in achieving that iconic baguette form, texture, and rise. This guide will walk you through simple, effective methods to help you achieve beautiful results every time, making perfect baguette shaping techniques easy and accessible.
Whether you're just starting your baguette journey or looking to refine your skills, understanding the nuances of handling high-hydration dough and creating the necessary surface tension is key. We'll demystify the process, breaking down each step so you can confidently transform your dough into elegant, elongated loaves ready for baking. Get ready to unlock the secrets that professional bakers use to create those stunning baguettes you see in bakeries.
Why Perfect Baguette Shaping Matters for Artisan Bread
Shaping isn't just about making the dough look pretty; it profoundly impacts the final structure, crust, and crumb of your baguette. Proper shaping creates surface tension, which acts like a skin, allowing the loaf to hold its shape during proofing and providing the necessary structure for a dramatic oven spring. Without this tension, the dough would spread out flatly, resulting in a dense, unattractive loaf with poor crust development.
Beyond structure, consistent shaping ensures even baking. A well-shaped baguette, with a uniform thickness and tapered ends, bakes more evenly than a lopsided one. This leads to a consistent golden crust from end to end and a beautifully open, airy crumb throughout the loaf. Mastering perfect baguette shaping techniques is essential for moving from simply baking bread to crafting true artisan baguettes with professional results.
Understanding High-Hydration Dough for Baguettes
Baguette dough is typically a high-hydration dough, meaning it contains a high percentage of water relative to flour – often 70% hydration or even higher, sometimes reaching 80% or 85%. This high water content is what contributes to the characteristic open, airy crumb of a classic baguette. However, it also makes the dough stickier and potentially more challenging to handle than lower-hydration doughs like those used for sandwich loaves.
Working with high-hydration dough requires a slightly different approach. Instead of excessive flouring, which can toughen the crust, we rely on techniques that build structure and strength through folding and gentle handling. Understanding the feel of this slack dough and learning how to work with its inherent stickiness without frustration is a critical step in mastering perfect baguette shaping techniques easy for home bakers.
Essential Tools and Equipment for Shaping Baguettes
Having the right tools makes the process of shaping baguettes significantly smoother and more efficient. You don't need a professional bakery setup, but a few key items are incredibly helpful. These tools assist in handling the often sticky dough, maintaining its structure, and ensuring your perfectly shaped baguettes hold their form during the crucial proofing stage.
Investing in or simply gathering these basic tools will elevate your baguette baking experience. They are designed to minimize sticking, facilitate precise cuts, and provide the necessary support for high-hydration dough. With these essentials at hand, you'll find that executing perfect baguette shaping techniques becomes much more manageable and enjoyable.
The Importance of a Clean Work Surface
A clean, non-porous work surface is paramount when shaping high-hydration dough. Dough tends to stick to rough or unclean surfaces, which can disrupt the shaping process, tear the delicate gluten structure, and make it difficult to achieve the necessary tension. A smooth countertop made of granite, marble, stainless steel, or even a large wooden cutting board (well-cleaned) is ideal.
While some bakers advocate for minimal flour, a very light dusting of flour on your clean surface is often necessary for baguettes, especially if your dough is particularly sticky. The key is moderation; too much flour will be incorporated into the dough, potentially drying it out. The goal is just enough to prevent sticking while allowing the dough to slide and roll slightly as you shape it, facilitating those perfect baguette shaping techniques.
Choosing the Right Dough Scraper and Bench Knife
A bench knife, also known as a bench scraper or dough scraper, is an indispensable tool for baguette shaping. Its primary uses include dividing dough portions cleanly, lifting and transferring sticky dough from the work surface, and cleaning up flour and dough scraps. A good bench knife has a sturdy, flat blade, often made of stainless steel, and a comfortable handle.
For shaping baguettes, a bench knife is invaluable for gently manipulating the dough without tearing it. You can use the straight edge to help fold the dough onto itself or to lift and move the elongated loaves. A flexible bowl scraper is also useful for getting every bit of dough out of your mixing bowl, ensuring you don't waste any of your precious baguette dough. Using these simple tools makes executing perfect baguette shaping techniques much more precise.
Linen Couche: Your Secret Weapon for Baguette Proofing
A baker's linen couche is a piece of thick, untreated linen canvas used to support shaped baguettes during their final proofing. The stiff fabric is heavily floured and pleated to create troughs between the loaves, preventing them from spreading sideways and sticking to each other as they rise. This support is crucial for maintaining the shape and height of high-hydration baguettes before they are transferred to the oven.
The linen absorbs excess moisture from the surface of the dough, promoting a drier crust which contributes to better oven spring and a crispier finish. While you can approximate this with heavily floured towels, a dedicated linen couche works best. Properly using a couche is a key element in ensuring your perfect baguette shaping techniques translate into well-formed loaves ready for baking.
Step-by-Step Guide to Easy Baguette Shaping Techniques
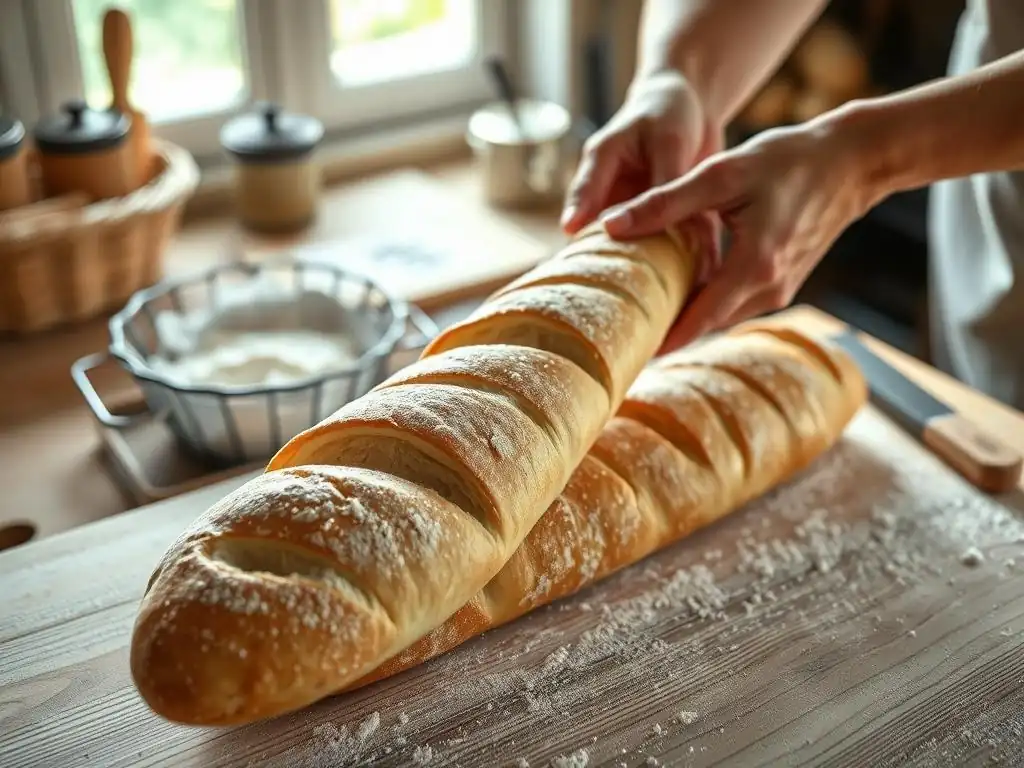
Now, let's get to the hands-on part! Shaping baguettes might seem intimidating at first, but by breaking it down into simple steps, you'll find it's quite manageable. This method focuses on building tension gradually, ensuring a strong structure for your loaf. Remember, practice makes perfect, so don't be discouraged if your first few aren't flawless. These simple baguette shaping methods are designed for ease and effectiveness.
Follow these steps carefully, focusing on being gentle yet firm with the dough. The goal is to elongate the dough while creating a taut outer skin. By following this process, you'll be well on your way to mastering perfect baguette shaping techniques easy enough for any home baker to learn.
Step 1: Pre-Shaping the Dough into a Rectangle
After your bulk fermentation, gently turn the dough out onto a lightly floured work surface. Avoid degassing it completely. Using your bench knife, divide the dough into the desired number of portions for your baguettes. For standard baguettes, portions are often between 250g and 350g, depending on your desired loaf size.
For each portion, gently pat or stretch the dough into a rough rectangle or square. This initial shape helps align the gluten structure for the final shaping. Don't worry about making it perfect at this stage; the goal is just to get it into a workable form before the first fold. Let these pre-shaped rectangles rest for 15-20 minutes, covered, to relax the gluten. This rest period makes the final shaping much easier.
Gentle Handling for Optimal Baguette Structure
Throughout the shaping process, it's crucial to handle the dough gently. High-hydration dough develops a delicate network of gluten and contains precious trapped gases from fermentation. Rough handling or excessive pressing can collapse this structure, leading to a dense crumb instead of the desired open, airy texture.
Think of the dough as a cushion of air. Use the tips of your fingers rather than your palms to manipulate it. When folding, lift and place the dough rather than pushing or stretching aggressively. This gentle approach preserves the gas bubbles and gluten network, which are essential for achieving a light crumb and good oven spring after applying your perfect baguette shaping techniques.
Step 2: The First Fold – Creating Tension
Take one of your rested rectangles. Imagine the rectangle is oriented vertically in front of you. Gently fold the top third of the rectangle down towards the center. Lightly press the seam with your fingertips to seal it.
Next, fold the bottom third of the rectangle up and over the folded top section, aligning the bottom edge just below the top seam. Gently press along this new seam to seal it. You should now have a roughly rectangular log shape with two seams running horizontally across it. This initial folding step begins to build tension on the surface of the dough.
Techniques for Achieving a Tight Initial Fold
Achieving a tight fold is key to creating the necessary surface tension. As you fold the dough, try to stretch the layer you are folding slightly as you bring it over. For example, when folding the top third down, gently pull it taut before pressing it onto the dough below.
When bringing the bottom third up, pull it slightly beyond the first seam before pressing it down and sealing firmly with your fingertips. The goal is to trap the air within the dough while creating a smooth, taut surface on the outside. Practice makes perfect with this technique, and it's a fundamental step in mastering perfect baguette shaping techniques easy to learn.
Step 3: The Second Fold – Refining the Shape
Turn the dough log so the seams are facing down. Now, take the top edge (the edge furthest from you) and fold it down towards the bottom edge, aligning the edges and pressing firmly to seal the final seam. As you do this, use your hands to gently coax the dough into a more elongated shape, pressing outwards from the center towards the ends.
This second fold further refines the shape and builds significant tension on the surface. The dough should feel noticeably tighter and more cylindrical after this step. This is where the baguette's characteristic length starts to take form.
Ensuring a Uniform Cylinder Shape
As you perform the second fold and press the final seam, focus on creating a cylinder that is relatively uniform in thickness along its length, except for the ends which will be tapered later. Avoid creating a thick middle and thin ends at this stage.
Roll the dough gently back and forth a couple of times using the palms of your hands, applying even pressure from the center outwards, to smooth out any bumps and ensure the cylinder is even. This helps distribute the tension created by the folds and prepares the dough for the final tapering step, contributing to a perfectly shaped baguette.
Step 4: Tapering the Ends for a Classic Baguette Look
A classic baguette has gracefully tapered, pointed ends. To achieve this, place your hands flat on the work surface, just beyond the ends of the shaped dough cylinder. Gently roll the ends of the dough back and forth under your palms, applying slightly more pressure on the very tips while keeping the center relatively untouched.
As you roll, the ends will naturally elongate and thin out into points. Continue rolling until the ends are tapered to your desired degree. Be careful not to roll the middle of the baguette too much at this stage, as you want to maintain its volume and structure.
Methods for Creating Pointed Baguette Ends
One effective method is to use a gentle, rolling motion with your palms flat on the surface, moving outwards from the body of the baguette towards the tip. Another approach is to lift the end slightly and use your fingertips to gently pinch and roll the very tip to create a sharper point.
Experiment with what feels most comfortable and effective for you. The key is to apply just enough pressure to elongate and thin the ends without tearing the dough or collapsing the structure you've built in the center. Mastering these final touches is part of achieving truly perfect baguette shaping techniques easy to execute with practice.
Step 5: Final Shaping and Transfer to the Couche
After tapering the ends, give the entire baguette a final gentle roll to ensure even tension and a smooth surface. The baguette should now be elongated, cylindrical in the middle, and tapered at both ends. The final length will depend on your oven and baking surface, but typically ranges from 12 to 20 inches (30-50 cm).
Carefully lift the shaped baguette using your hands or a bench knife and transfer it immediately to your prepared, well-floured linen couche. Place it seam-side up on the couche. Create a pleat in the couche next to the baguette to support it, then shape the next baguette and place it next to the first, creating another pleat.
Preventing Sticking and Maintaining Shape
Heavy flouring of the couche is essential to prevent the baguettes from sticking during proofing, especially with high-hydration dough. Use rice flour, wheat flour, or a mixture. Ensure the pleats in the couche are deep enough to provide good support and prevent the loaves from touching as they expand during proofing.
Handle the shaped dough gently during the transfer to avoid deflating it. Once on the couche, resist the urge to move the baguettes until they are ready to be transferred to your baking surface. The couche helps the baguettes hold their beautiful shape, ensuring your perfect baguette shaping techniques pay off with well-formed loaves.
Troubleshooting Common Baguette Shaping Problems
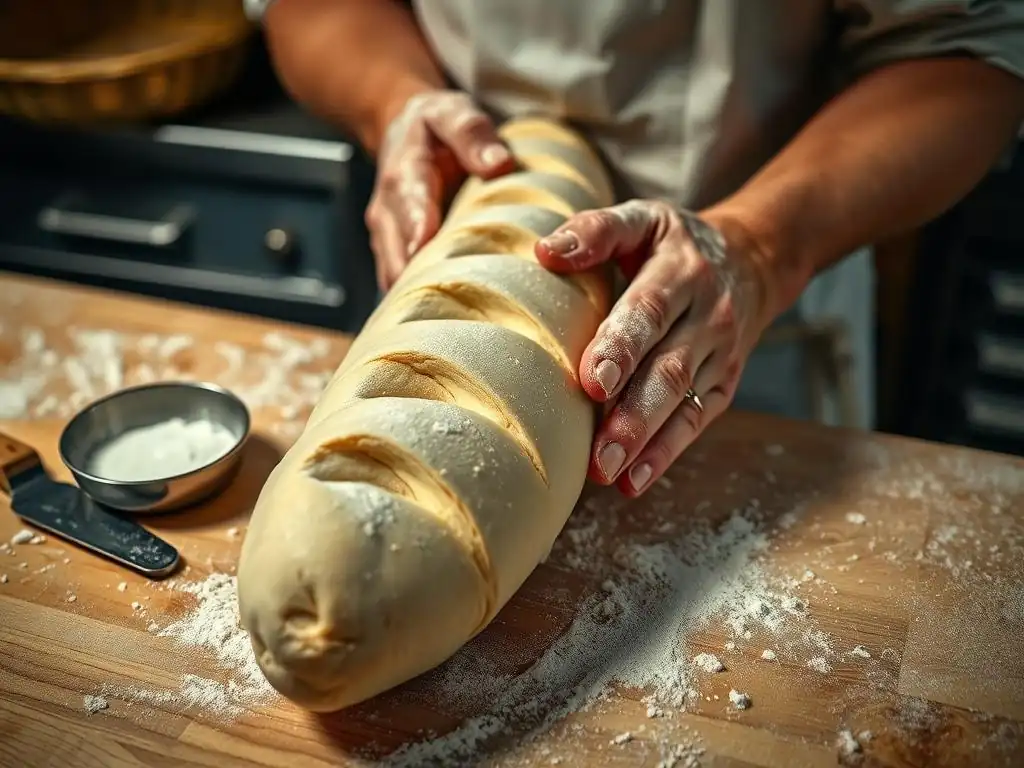
Even with careful technique, you might encounter some challenges when shaping baguettes, especially when you're new to working with high-hydration dough. Don't get discouraged! Most common issues have simple solutions. Understanding these potential pitfalls will help you correct problems as they arise and improve your perfect baguette shaping techniques over time.
Identifying the cause of a problem, whether it's sticky dough, uneven shapes, or spreading loaves, is the first step to fixing it. With a little patience and adjustment, you can overcome these hurdles and consistently produce beautifully shaped baguettes.
Dealing with Sticky Dough During Shaping
Sticky dough is a common challenge with high-hydration baguettes. If the dough is sticking excessively to your hands or work surface, it can make shaping difficult and messy. This often happens if the dough is slightly over-hydrated for your flour or if you haven't developed enough gluten strength during mixing and fermentation.
Solutions include: using a very light dusting of flour on your hands and work surface (more than just a whisper, but not excessive), keeping your hands slightly damp (but not wet), and relying more on your bench knife to manipulate the dough rather than your hands alone. Ensuring your dough has undergone sufficient bulk fermentation and has good gluten development will also make it less sticky and easier to handle for perfect baguette shaping techniques.
Correcting Uneven or Misshapen Baguettes
Sometimes, despite your best efforts, a baguette might end up thicker on one end, curved, or just generally lopsided. This often results from uneven tension during shaping or inconsistent rolling pressure when elongating the loaf.
If you notice unevenness during the final shaping stage, you can gently try to re-shape the affected area by applying a little more pressure or rolling to even it out. If the dough is proving resistant, it might be best to let it rest for 5-10 minutes to relax the gluten before attempting to correct the shape. Focus on applying even pressure from the center outwards during the rolling phase to ensure uniformity and practice these perfect baguette shaping techniques for better consistency.
Preventing Baguettes from Spreading During Proofing
One of the most frustrating issues is when your beautifully shaped baguettes spread out and flatten on the couche instead of holding their height. This is usually a sign that the dough lacks sufficient surface tension or hasn't developed enough strength during fermentation.
Ensuring you create a tight outer skin during the folding steps is critical. Don't skip the resting periods between steps, as this allows the gluten to relax enough to be shaped without tearing but keeps the tension you've built. Properly setting up the linen couche with deep pleats is also essential for providing physical support and preventing the loaves from spreading sideways as they rise. If your dough consistently spreads, you might need to adjust your mixing or fermentation process to build more strength before attempting perfect baguette shaping techniques.
Advanced Baguette Shaping Tips and Tricks
Once you're comfortable with the basic shaping method, you can explore techniques that add flair or further enhance the structure of your baguettes. These tips are not strictly necessary for a delicious baguette, but they can help you achieve that truly professional look and feel. Incorporating these methods can make your perfect baguette shaping techniques even more refined.
These advanced methods build upon the foundational steps you've learned, offering ways to increase tension, improve oven spring, and personalize your loaves. They require a bit more practice but are rewarding to master.
Mastering the "Envelope" Shaping Method
The "envelope" method is an alternative shaping technique that some bakers prefer for building tension. Instead of folding thirds, you gently stretch the dough into a rectangle. Then, fold the left side about two-thirds of the way over to the right. Fold the right side completely over the folded left side. Finally, fold the dough in half lengthwise and seal the seam.
This method creates distinct layers and can be very effective at building a taut surface. Like the standard method, you would then taper the ends. Experiment with both the standard fold method and the envelope method to see which gives you better results and feels more comfortable for your perfect baguette shaping techniques.
Incorporating Decorative Scoring Patterns
Scoring, or slashing, the surface of the baguette just before baking is not just for decoration; it allows the dough to expand in a controlled manner during oven spring. Without scoring, the crust would tear unpredictably. Traditional baguette scoring involves several diagonal cuts along the length of the loaf.
You can use a lame (a special razor blade holder) or a sharp knife to make swift, clean cuts about 1/2 inch deep, overlapping each cut by about a third of its length. For decorative purposes, you can experiment with different patterns, like a single long cut, crosshatching, or leaf-like designs. Clean, precise scores are key to a beautiful 'grigne' (the ear or flap that lifts during baking).
Achieving the Perfect Baguette "Grigne" (Oven Spring)
The 'grigne' is the raised flap of crust along the score, a hallmark of a well-baked artisan baguette. Achieving a good grigne is a sign of successful shaping, proofing, and baking (specifically, sufficient steam in the oven). Proper shaping ensures the dough has enough tension and strength to expand upwards and outwards through the scores.
Sharp, clean scoring done at the right depth is essential. The dough should be adequately proofed – not under or over-proofed. And finally, creating a steamy environment in your oven during the initial phase of baking is crucial for keeping the crust soft long enough for maximum expansion through the scores. Perfect baguette shaping techniques lay the groundwork for this impressive oven spring.
Baking Your Perfectly Shaped Baguettes
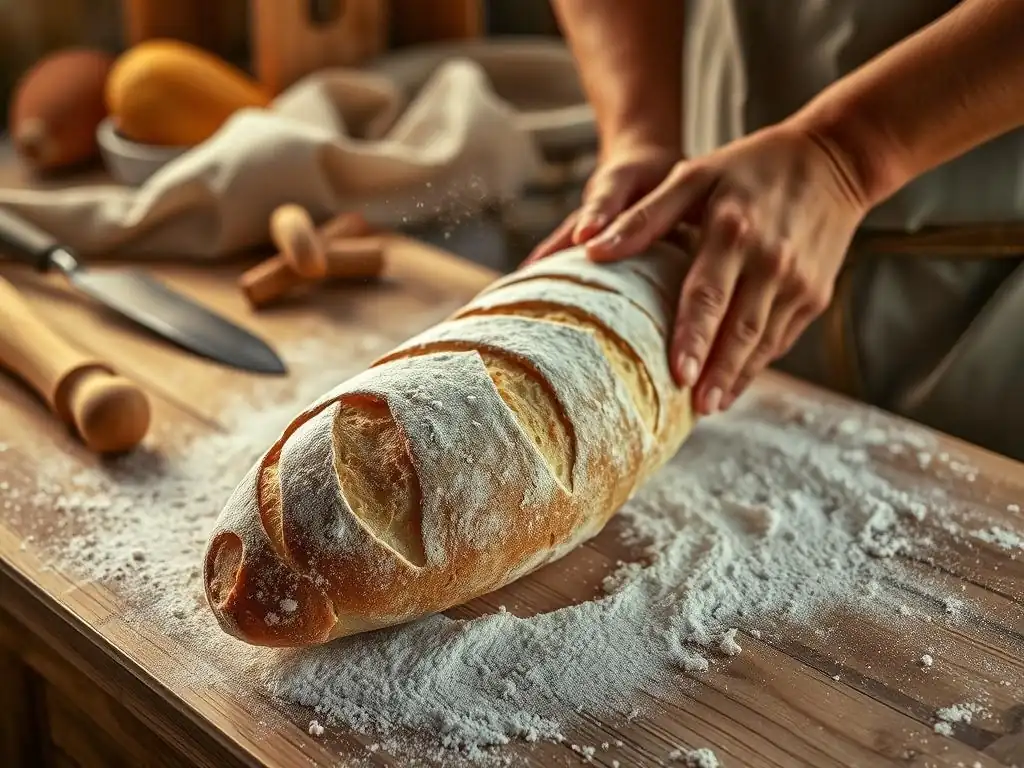
You've done the work of shaping; now it's time for the grand finale! Baking is where your perfectly shaped baguettes transform from pale, proofed dough into golden, crusty loaves. The key elements are high heat and steam in the oven.
Proper baking ensures the crust develops that signature crispness and color, while the interior remains soft and airy. Getting these elements right will make all your efforts in mastering perfect baguette shaping techniques worthwhile.
Optimal Oven Temperature and Steaming Techniques
Baguettes are typically baked at high temperatures, often between 450°F and 500°F (230°C - 260°C). A preheated baking stone or steel is highly recommended to provide a burst of heat from underneath, aiding in oven spring.
Creating steam in the oven during the first 10-15 minutes of baking is absolutely critical. Steam keeps the surface of the dough moist, allowing it to expand fully before the crust sets. Common methods include placing a pan of hot water on the bottom rack of the oven when you start preheating, or carefully pouring hot water into a preheated cast iron pan just as you load the baguettes (use extreme caution with steam). Some ovens have steam injection features. Achieving sufficient steam is as important as using perfect baguette shaping techniques for a great outcome.
Achieving a Golden-Brown Crust and Soft Interior
The high baking temperature and steam work together to create the desired crust and crumb. The steam allows the dough to expand, contributing to an open crumb. Once the steam dissipates (or you remove the steam source), the dry heat sets the crust, allowing it to brown and crisp up.
Bake until the baguettes are a deep golden brown and sound hollow when tapped on the bottom, typically 20-30 minutes depending on size and oven. A darker crust often indicates a more developed flavor. If your crust is too pale, try baking a few minutes longer or ensuring sufficient steam in the initial phase.
Cooling and Storing Your Homemade Baguettes
Once baked, immediately transfer your baguettes to a wire rack to cool completely. This allows steam to escape from the interior, preventing a gummy crumb and ensuring a crisp crust. Resist the urge to cut into them while they are hot; waiting allows the internal structure to set properly.
Baguettes are best enjoyed the same day they are baked. Store cooled baguettes at room temperature, uncovered, or in a paper bag to maintain crust crispness. Plastic bags will make the crust soft. For longer storage (1-2 days), they can be wrapped tightly, but the crust will soften. For longer term, freeze cooled baguettes wrapped well; refresh in a hot oven before serving.
Beyond the Basics: Experimenting with Baguette Variations
Once you've mastered the fundamental perfect baguette shaping techniques, you might want to explore variations. The beauty of bread baking lies in its endless possibilities. Changing just one ingredient or adding a simple flavor can transform your basic baguette into something new and exciting.
Experimenting with different flours, additions, or even slightly altering the hydration can lead to delicious discoveries. Don't be afraid to play once you feel confident with the core process.
Flavored Baguettes: Garlic and Herb Baguettes
Adding flavors to your baguette dough is a simple way to create delicious variations. Minced garlic, fresh or dried herbs like rosemary, thyme, or chives, or even cheese can be incorporated into the dough during the final mixing phase or gently folded in during the first stretch and fold in bulk fermentation.
For a garlic and herb baguette, you might add 2-3 cloves of minced garlic and 1-2 tablespoons of chopped fresh herbs per standard baguette recipe (using around 500g flour). Be mindful that additions can affect dough handling slightly, but the core perfect baguette shaping techniques remain the same.
Different Flour Blends for Unique Baguette Textures
While traditional baguettes are often made with white bread flour (high protein), experimenting with different flour blends can yield interesting textures and flavors. A small percentage of whole wheat or rye flour (say, 10-15% of the total flour weight) can add nutty notes and a denser crumb.
Using specialty flours like T65 or T55 (common in France for baguettes) will also produce different results than standard all-purpose or bread flour. Be aware that different flours absorb water differently, so you might need to adjust the hydration slightly when using alternative blends.
Conclusion: Enjoying Your Artisan Baguette Baking Journey
Congratulations! You've navigated the steps to shaping beautiful baguettes. From understanding the dough to the final taper, you've learned the perfect baguette shaping techniques easy to learn with practice. Each loaf you shape and bake is a step forward in your baking journey.
Don't strive for absolute perfection immediately; focus on improvement with each batch. Embrace the process, learn from any loaves that don't turn out exactly as planned, and most importantly, enjoy the delicious results of your efforts.
Celebrate Your Success in Perfect Baguette Shaping
Take a moment to admire your freshly baked baguettes. The crisp, golden crust, the inviting aroma, and the promise of an airy interior are rewards for your dedication. Share them with friends and family, or simply enjoy one yourself with some good butter or olive oil.
Mastering perfect baguette shaping techniques is a rewarding skill that opens up a world of possibilities in your bread baking. Keep practicing, keep exploring variations, and continue to enjoy the wonderful craft of making artisan bread at home with BakeWithEase.
Frequently Asked Questions
How important is the initial shaping of the baguette dough?
The initial shaping is crucial for developing the baguette's internal structure and final form. It sets the stage for the final, perfect baguette shape.
What's the best technique for degassing baguette dough gently?
Avoid aggressive squeezing. Instead, use a gentle patting motion or a lightly floured bench scraper to release large air pockets without deflating the dough completely.
What role does tension play in achieving a good baguette shape?
Tension is key to a well-shaped baguette. It creates a tight skin that helps the baguette hold its shape during proofing and baking, leading to a better rise.
What are some common mistakes to avoid when shaping baguettes?
Overworking the dough, not creating enough tension, and using too much flour are common pitfalls. Avoid these to achieve a smooth and even baguette.
How can I practice my baguette shaping techniques effectively?
Practice regularly with a small portion of dough. Focus on consistency, tension, and the overall shape. Repetition is key to mastering baguette shaping.
Final Reflection: Mastering the Art of the Perfect Baguette
The pursuit of the perfect baguette transcends mere bread making; it's a journey into precision, patience, and the profound satisfaction of crafting something beautiful from simple ingredients. In a world increasingly dominated by convenience, the act of meticulously shaping a baguette, understanding the nuances of gluten development and achieving that signature ear, becomes a powerful statement of intentionality and skill. This dedication to process yields not just a delicious loaf, but a tangible connection to a rich culinary tradition.
The influence of artisanal bread making, and the specific quest for the perfect baguette shape, continues to ripple through our culinary landscape. We see it in the rise of sourdough starter communities, the proliferation of home baking blogs, and the increasing demand for high-quality, handcrafted goods. This isn't just a trend; it's a reflection of a deeper yearning for authenticity and connection – a desire to slow down, engage our senses, and appreciate the artistry embedded in even the simplest of tasks. The best things in life are not things.
– Unknown. This quote resonates deeply, as the process of perfecting the baguette shape offers a rewarding experience far beyond the final product itself.
Now, it's your turn. Consider the techniques you've learned, not just as steps in a recipe, but as opportunities for mindful creation. Embrace the imperfections, learn from each loaf, and allow the process of shaping your baguette to become a meditative practice. Don't be afraid to experiment, to push your boundaries, and to find your own unique expression within this ancient craft. The perfect baguette awaits – not as a destination, but as a continuous journey of learning and self-discovery.
Unleash Your Inner Boulanger: Master the Art of Baguette Shaping!
Thanks for taking the time to explore the world of perfect baguette shaping with us! We hope you now feel confident and excited to tackle this classic bread. Ready to put your new skills to the test?
- Bake your own masterpiece! Try shaping a baguette today – even a small one is a huge accomplishment. Use the techniques you just learned and let us know how it goes!
- Share your baking journey: Post a picture of your baguette on social media and tag us – we'd love to see your creations!
- Explore other bread recipes on BakeWithEase.com – we have tons of tips and techniques to help you become a true bread baking pro.
What unique twist will you add to your first perfect baguette? Let's hear your ideas in the comments!