
From Starter to Shape: The Sourdough Baguette Process

Welcome to BakeWithEase, your haven for all things baking! Ever wondered how to achieve that perfect sourdough baguette, the kind with a crisp crust and airy crumb? This time, we will explore the art of sourdough baguette shaping techniques. Discover the secrets to transforming a simple starter into a beautifully formed loaf, and unlock the potential for bakery-quality bread in your own kitchen. Ready to elevate your bread-making game? Let's get shaping!
- Shaping Sourdough Baguettes: A Step-by-Step Guide
-
Frequently Asked Questions
- What is the importance of proper sourdough baguette shaping?
- What kind of sourdough starter is best for baguettes?
- Can I use all-purpose flour for sourdough baguettes if I don't have bread flour?
- How long should I proof my sourdough baguette after shaping?
- What is the purpose of scoring the sourdough baguette before baking?
- Final Reflection: The Art and Science of the Sourdough Baguette
- Unleash Your Inner Boulanger: Bake Your Own Baguette!
Shaping Sourdough Baguettes: A Step-by-Step Guide
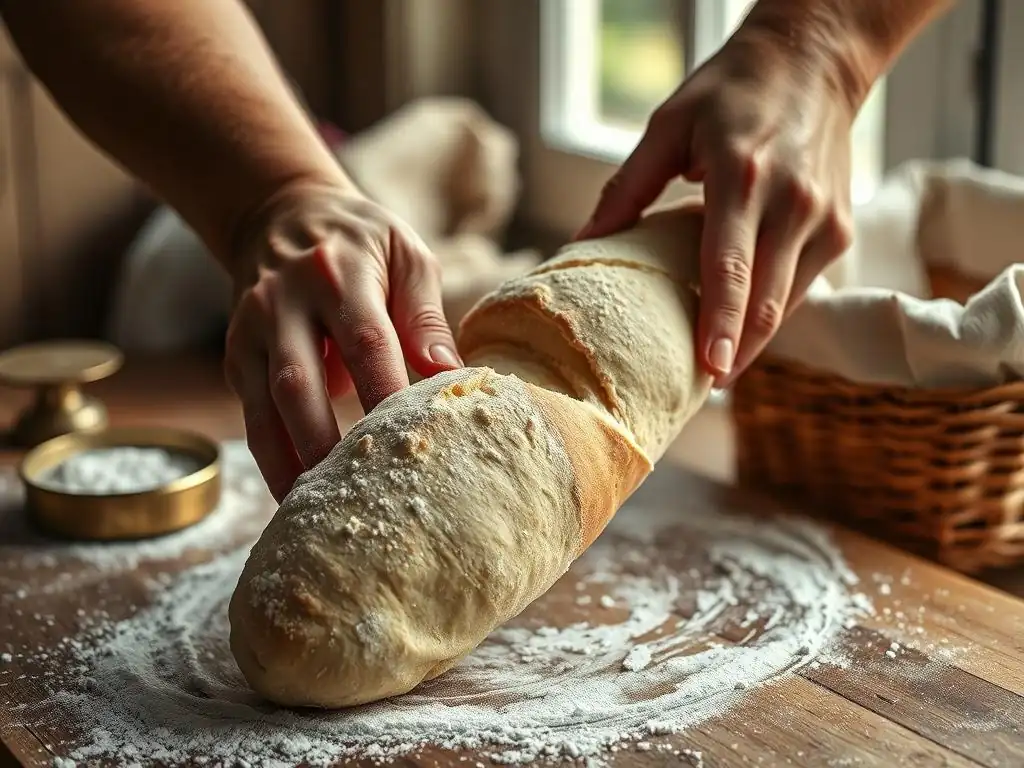
Once your bulk fermentation is complete and your dough has developed beautiful flavor and structure, it's time for the transformative stage: shaping. Mastering sourdough baguette shaping techniques is crucial because the way you handle the dough here directly impacts the final appearance, texture, and rise of your bread. Proper shaping creates the necessary surface tension and uniform cylinder that allows the baguette to expand correctly in the oven, yielding that desirable open crumb and iconic shape.
This stage requires a gentle touch combined with purposeful movements. Think of it less as forcing the dough into submission and more as guiding it into its final form. Each fold and roll builds tension, which is the stored energy that helps the baguette achieve impressive oven spring. Let's break down the process into manageable steps to help you shape beautiful, classic sourdough baguettes right in your own kitchen.
Dividing the Dough: Portioning for Uniform Baguettes
Dividing the dough ensures that each baguette is a consistent size, which is important for even baking and a professional appearance. After bulk fermentation, gently turn the dough out onto a lightly floured surface. Avoid degassing it completely; you want to preserve some of the air pockets that developed during the long fermentation. Using a bench scraper or sharp knife, divide the dough into equal portions. A typical baguette weight ranges from 250g to 350g. For example, a recipe yielding 1kg of dough might be divided into three or four portions.
Using a kitchen scale for this step is highly recommended to achieve precision. Weigh each portion to ensure uniformity. Once divided, handle the pieces gently. The goal is to prepare them for the next step, pre-shaping, without tearing the gluten network you've worked hard to develop. Dusting your hands and the work surface lightly with flour can help prevent sticking, but don't use too much, as excess flour can make it difficult to seal the seams later.
Pre-Shaping: Creating Tension and Structure
Pre-shaping is a brief intermediate step that helps to create initial tension on the surface of the dough and makes the final shaping much easier. Immediately after dividing, take each portion and gently shape it into a loose boule (round) or a loose log. For baguettes, a loose log shape often works well as it's closer to the final form. The key is to create a smooth surface on top while gently tucking the edges underneath to build some surface tension.
Place the pre-shaped pieces seam-side down on your lightly floured surface. Cover them loosely with plastic wrap or a damp towel to prevent a skin from forming. Allow the dough to rest for 15 to 20 minutes. This rest period, often called the "bench rest," allows the gluten to relax after the stress of dividing and pre-shaping, making the dough pliable and easy to work with for the final shaping step. Don't skip this rest; trying to shape dough that hasn't relaxed will result in tight, resistant pieces that are difficult to elongate.
The Final Shaping: Mastering the Sourdough Baguette Form
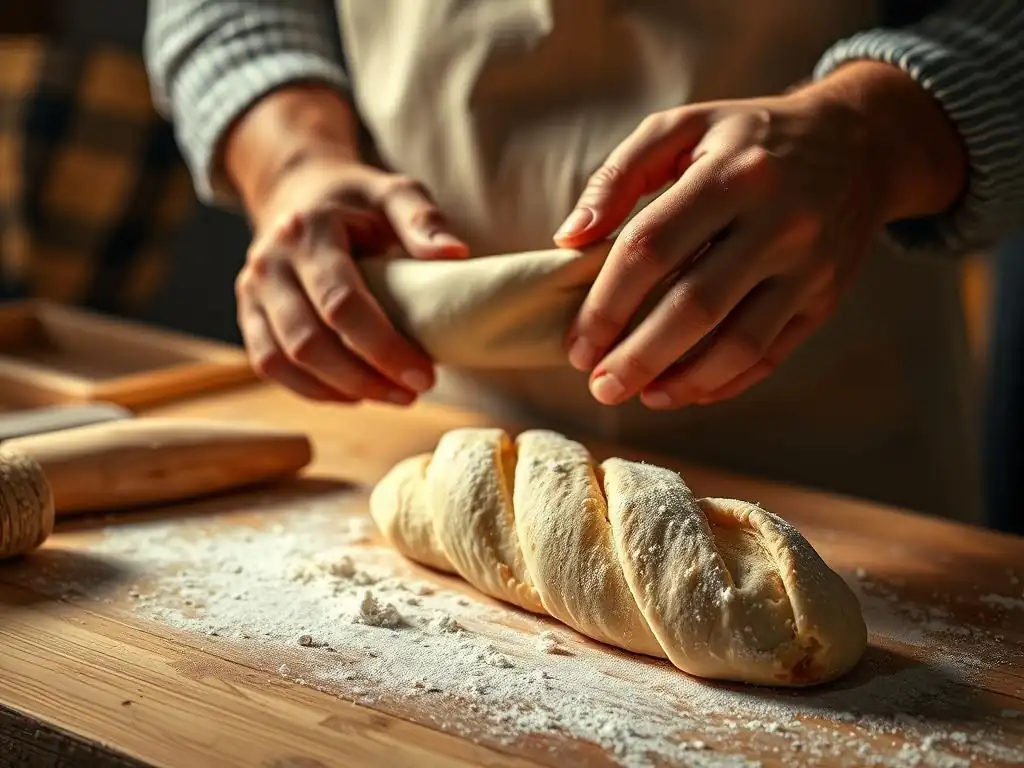
The final shaping is where you transform the rested dough into the classic baguette form. Take one pre-shaped piece and gently flatten it into a rough rectangle or oval, about 6-8 inches long. Be careful not to press all the gas out. Fold the top edge down to meet the center line and gently press to seal. Then, fold the bottom edge up over the first fold, pressing the seam firmly with the heel of your hand. The goal is to create a tight seam that runs the length of the dough.
Now, using the palms of your hands and starting from the center, gently roll the dough outwards, applying even pressure to elongate it into a long, slender cylinder. Work your hands from the center towards the ends, gradually thinning and lengthening the baguette. Aim for a consistent thickness along the length, with slightly tapered ends for the signature look. This rolling action further develops surface tension and creates the shape necessary for a good rise.
Achieving a Tapered End: The Signature Baguette Look
The tapered ends are a hallmark of a traditional baguette and contribute to its rustic charm and even baking. As you roll the dough out during the final shaping, focus on applying slightly less pressure towards the very ends of the dough. This encourages the dough to thin out gradually at the tips.
You can also use your fingertips towards the end of the rolling process to gently coax the last inch or two into a point. The tapered shape isn't just for aesthetics; it helps the ends bake through properly without burning before the thicker middle is done, contributing to an overall evenly baked loaf.
Sealing the Seam: Preventing Blowouts During Baking
A well-sealed seam is absolutely critical when shaping sourdough baguettes. If the seam is not properly closed, it can burst open during baking instead of the controlled expansion created by scoring. This results in an uneven loaf with an unappealing appearance.
After performing your final folds, use the heel of your hand to press firmly along the entire length of the seam. Ensure the seam is completely closed and then place the shaped baguette seam-side down onto your proofing surface. This pressure helps the layers adhere to each other, creating a strong bond that will hold during oven spring.
Frequently Asked Questions
What is the importance of proper sourdough baguette shaping?
Proper shaping is crucial for structure and oven spring, leading to a beautifully risen and evenly textured baguette. It impacts the final crumb and overall appearance.
What kind of sourdough starter is best for baguettes?
A mature and active starter is best, typically one that has doubled in size after feeding. This ensures the dough has sufficient leavening power for a good rise.
Can I use all-purpose flour for sourdough baguettes if I don't have bread flour?
While bread flour is preferred for its higher gluten content, all-purpose can be used. Expect a slightly softer and less chewy final product.
How long should I proof my sourdough baguette after shaping?
Proofing time varies depending on room temperature, but generally between 1-4 hours. Look for the dough to be slightly puffy and jiggly, but not over-proofed.
What is the purpose of scoring the sourdough baguette before baking?
Scoring allows the baguette to expand predictably in the oven, preventing bursts and creating attractive ears. It controls the direction of the oven spring.
Final Reflection: The Art and Science of the Sourdough Baguette
The meticulous process of shaping a sourdough baguette is more than just technique; it's a testament to the power of patience and precision in achieving culinary excellence. The seemingly simple act of transforming a risen dough into an elegant, rustic loaf reveals a profound connection between the baker and their craft, a connection that resonates far beyond the kitchen. This journey, from starter to shape, highlights the importance of understanding the nuances of fermentation and dough handling to unlock the full potential of this iconic bread.
The influence of sourdough baking, and specifically the mastery of shaping techniques, extends beyond the individual baker. It's a practice that fosters a deeper appreciation for the natural world, from the humble yeast to the flour's inherent properties. The process itself is meditative, demanding focus and attention to detail. This mindful engagement with the craft creates a tangible link between the baker and the final product, a connection that's both rewarding and deeply satisfying. The best bread is made with love,
a phrase often heard in bakeries, truly encapsulates the heart of this process. It's not just about the technique, but the intention behind it.
Now, I invite you to consider your own approach to baking. Perhaps you've already mastered the art of sourdough, or maybe you're just beginning your journey. Regardless of your experience level, remember the lessons learned here: patience, precision, and a deep understanding of the ingredients are key to unlocking the magic within the dough. Embrace the process, savor the journey, and let the shaping of your next sourdough baguette be a testament to your own growth and creativity. The possibilities are endless, and the rewards are immeasurable.
Unleash Your Inner Boulanger: Bake Your Own Baguette!
Thanks for joining us on this sourdough baguette journey! We hope you gained valuable insights into crafting this iconic loaf. Now it's time to put your newfound knowledge to the test. Ready to transform your kitchen into a Parisian bakery?
- Begin your sourdough baguette adventure today! Gather your ingredients and follow our detailed recipe (find it linked in the article above). This is your chance to experience the magic of sourdough firsthand.
- Share your baking journey! Snap a picture of your masterpiece and post it on social media using #BakeWithEaseBaguette – let's inspire each other!
- Consider exploring other sourdough recipes on BakeWithEase.com to expand your baking skills.
Ready to knead your way to deliciousness? What unique ingredient will you experiment with in your first baguette?