
Troubleshooting Flat Baguettes: What Went Wrong and How to Fix It

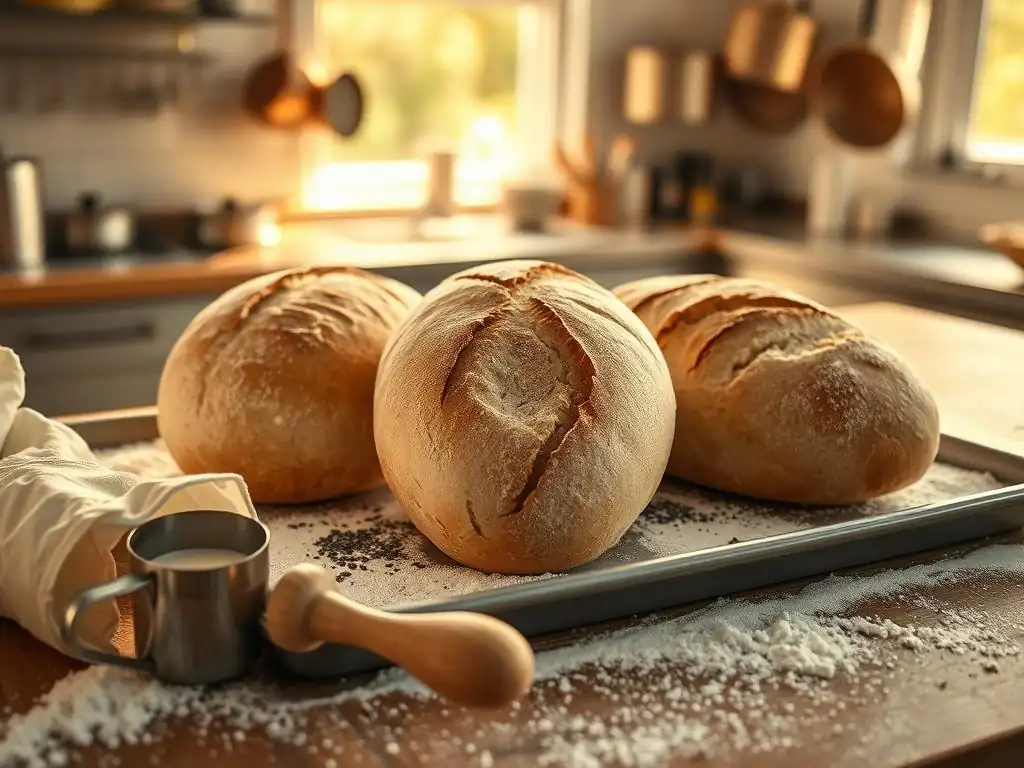
Welcome to BakeWithEase, your trusted guide to baking perfection! Ever dreamt of crafting crusty, airy baguettes at home? Then you're in the right place. This article dives deep into a common challenge: flat baguettes baking problems. Discover the secrets to achieving that perfect rise and avoid common pitfalls that lead to dense, lackluster loaves. Intrigued? Let's unlock the solutions together!
- Understanding Flat Baguettes: Identifying the Baking Problems
-
Diagnosing the Reasons for Flat Baguettes: A Baker's Guide
- Yeast Activity Issues: Is Your Yeast Alive and Well?
- Flour Power: Choosing the Right Flour for Baguette Structure
- Dough Hydration: Finding the Perfect Water Balance for Baguette Baking
- Kneading Techniques: Developing Gluten for Baguette Structure
- Proofing Problems: Time and Temperature for Baguette Perfection
-
Fixing Flat Baguettes: Step-by-Step Solutions for Baking Success
- Revitalizing Yeast: Tips for Active and Effective Yeast
- Adjusting Flour: Selecting High-Protein Flour for Baguettes
- Mastering Hydration: Achieving the Ideal Dough Consistency
- Perfecting Kneading: Techniques for Optimal Gluten Development
- Proofing Precisely: Monitoring Time and Temperature for a Perfect Rise
- Baking Techniques to Prevent Flat Baguettes
- Preventing Future Flat Baguette Baking Problems: Best Practices
- Advanced Troubleshooting: Less Common Causes of Flat Baguettes
- Enjoying Your Perfectly Baked Baguettes: Serving Suggestions
-
Frequently Asked Questions
- What are the most common causes of flat baguettes?
- How can I improve gluten development for baguettes?
- What is the ideal proofing time for baguettes to avoid them becoming flat?
- What type of flour is best for baking baguettes that hold their shape?
- What baking techniques can help baguettes rise properly in the oven?
- Final Reflection: The Humble Baguette and the Pursuit of Perfection
- Unleash Your Inner Boulanger: Bake the Perfect Baguette!
Understanding Flat Baguettes: Identifying the Baking Problems
Recognizing the Signs of a Flat Baguette
A flat baguette is often a disheartening sight for any baker. Instead of the proud, elongated shape with a rounded top and crisp crust, you end up with a loaf that spreads outwards rather than rising upwards. Key indicators include a significantly lower profile than expected, a dense crumb structure when sliced, and a crust that might be tough or brittle instead of airy and crackly.
Sometimes, the scoring cuts fail to open properly, remaining shallow slits on the surface of the flat baguettes. These visual cues are your first signal that something went awry during the baking process, pointing towards potential flat baguettes baking problems.
Observing the shape is crucial, but the texture and interior crumb also tell a story. A properly baked baguette should have an open, irregular crumb with varying sizes of holes, indicative of good fermentation and oven spring. Flat baguettes, conversely, often present a tight, uniform crumb, which feels heavy or gummy in the mouth. This lack of internal structure is a direct consequence of insufficient rise, whether during bulk fermentation, proofing, or baking. Understanding these signs helps pinpoint the stage where the flat baguettes baking problems likely originated, guiding you toward the correct troubleshooting steps.
Why Did My Baguette Not Rise? Common Causes Explained
The failure of a baguette to rise, resulting in flat baguettes, can stem from several common issues in the baking process. At its core, bread rise relies on the production and capture of gas (primarily carbon dioxide) by yeast, expanding the gluten network developed in the dough. If the yeast is inactive or insufficient, gas production is minimal. Similarly, if the gluten network is weak due to improper flour choice or inadequate kneading, it cannot hold the gas effectively, leading to collapse or a failure to inflate.
Furthermore, environmental factors play a significant role. Incorrect dough temperature throughout mixing, fermentation, and proofing can either slow yeast activity to a crawl or cause it to exhaust itself too quickly. Over-proofing is a frequent culprit; the dough rises beautifully, but the gluten structure weakens, and the gas escapes before baking, leading to flat baguettes. Conversely, under-proofing means the yeast hasn't had enough time to produce sufficient gas for oven spring. Addressing these fundamental areas is key to solving flat baguettes baking problems.
Diagnosing the Reasons for Flat Baguettes: A Baker's Guide
Yeast Activity Issues: Is Your Yeast Alive and Well?
Yeast is the engine of bread rise, converting sugars into carbon dioxide and alcohol. If your yeast is old, improperly stored, or killed by too-hot liquid, it won't produce enough gas, leading directly to flat baguettes. Active dry yeast, for example, typically has a shelf life of 1-2 years when stored properly in a cool, dry place or refrigerator, but this can decrease significantly once opened. Instant yeast is generally more robust but can still lose potency over time. Using yeast past its prime is a very common cause of flat baguettes baking problems.
Even if the yeast is relatively fresh, its environment matters. Water temperature for activating active dry yeast is critical, ideally between 105-115°F (40-46°C). Temperatures much higher can kill the yeast, while temperatures too low won't activate it effectively. Using cold ingredients or letting the dough temperature drop too low during fermentation can also severely slow yeast activity, resulting in poor rise and contributing to flat baguettes.
Testing Yeast Viability for Optimal Baguette Rise
To check if your active dry yeast is alive, perform a simple test. Add about 1 teaspoon of sugar to 1/2 cup of lukewarm water (around 105-115°F or 40-46°C). Stir in 2 teaspoons of active dry yeast. Within 5-10 minutes, the mixture should become foamy and bubbly on top, indicating the yeast is active and feeding on the sugar. If there's little to no activity, your yeast is likely dead or dormant and won't give your baguettes the lift they need, contributing to flat baguettes baking problems.
This viability test is particularly useful if you use active dry yeast infrequently or have an open package whose age you're unsure of. While instant yeast doesn't strictly require proofing, a similar test can give you confidence in its freshness if you suspect it's the source of your flat baguettes. If the yeast fails the test, discard it and use a fresh batch to ensure proper rise for your baguettes.
Flour Power: Choosing the Right Flour for Baguette Structure
The type of flour used is fundamental to developing the gluten structure needed to trap gas and give baguettes their characteristic airy crumb and height. Baguettes traditionally use bread flour, which has a higher protein content (typically 12-14%) compared to all-purpose flour (around 10-12%). This higher protein percentage is crucial for forming a strong, elastic gluten network capable of supporting the dough's expansion during fermentation and providing good oven spring, preventing flat baguettes.
Using flour with insufficient protein, like pastry flour or even some brands of all-purpose flour, can result in a weak dough that cannot hold its shape or the gas produced by the yeast. This leads to dough that spreads outwards rather than rising upwards, a classic sign of flat baguettes baking problems. While some recipes might call for a blend, a significant proportion of high-protein bread flour is generally recommended for achieving the desired baguette structure.
The Impact of Protein Content on Baguette Height
Protein in flour, specifically glutenin and gliadin, forms gluten when hydrated and kneaded. A higher protein content means more of these building blocks are available to create a robust gluten network. This network acts like a balloon, stretching to accommodate the gas produced by the yeast. A strong network allows the dough to inflate significantly, leading to a taller, more voluminous baguette with an open crumb.
Conversely, flour with lower protein results in a weaker, less elastic dough. When the yeast produces gas, this weak structure struggles to contain it, leading to a lack of significant rise and eventual collapse or spreading. This directly contributes to flat baguettes and a dense, tight crumb. Selecting a good quality bread flour is one of the most impactful steps you can take to prevent flat baguettes baking problems.
Dough Hydration: Finding the Perfect Water Balance for Baguette Baking
Hydration, the ratio of water to flour by weight, is critical in baguette baking. Baguette doughs are typically high hydration, often ranging from 70% to 80% or even higher relative to the flour weight. This high water content contributes to the open, airy crumb characteristic of artisan baguettes. However, getting the hydration level wrong is a common cause of flat baguettes.
The challenge with high-hydration doughs is managing their slackness. While they promote a desirable crumb structure, they are also harder to handle and shape. If the hydration is too high for the flour's protein content or the baker's handling skills, the dough can become too slack and spread out during proofing and baking instead of holding its shape and rising upwards, leading to flat baguettes.
Too Much Water: How it Leads to a Flat Baguette
Excessive hydration is a frequent culprit behind flat baguettes. When there is too much water relative to the flour's capacity to absorb it and the gluten's ability to structure it, the dough becomes overly wet and lacks the necessary tension to maintain its form. Imagine trying to build a tall structure with very wet clay – it tends to slump. Similarly, an overly hydrated baguette dough struggles to develop sufficient surface tension during shaping and cannot resist gravity or the outward pressure of the rising gas.
This results in dough that spreads significantly on the baking surface rather than achieving vertical rise. Even with good oven spring initially, the weak structure often collapses slightly as it bakes, resulting in a lower profile and a dense, sometimes gummy layer at the bottom. Recognizing that overly slack dough could be causing your flat baguettes baking problems is key to adjusting your hydration in future bakes.
Too Little Water: Avoiding a Dry and Dense Baguette
While too much water causes dough to spread, too little water can also contribute to flat baguettes, albeit through a different mechanism. A dough that is too dry will be stiff and difficult to work with. Crucially, insufficient water hinders the full hydration of the flour proteins, limiting the potential for gluten development. A poorly developed gluten network is less elastic and less capable of trapping the gas produced by the yeast.
Furthermore, a dry dough restricts yeast activity and fermentation speed. The lack of moisture makes the dough less extensible, meaning it resists stretching during proofing and oven spring. This resistance prevents the dough from expanding fully, resulting in a dense, tight crumb and a shorter, flatter loaf. While not as common a cause of flat baguettes as over-hydration in attempts at artisan loaves, under-hydration certainly contributes to poor volume and density.
Kneading Techniques: Developing Gluten for Baguette Structure
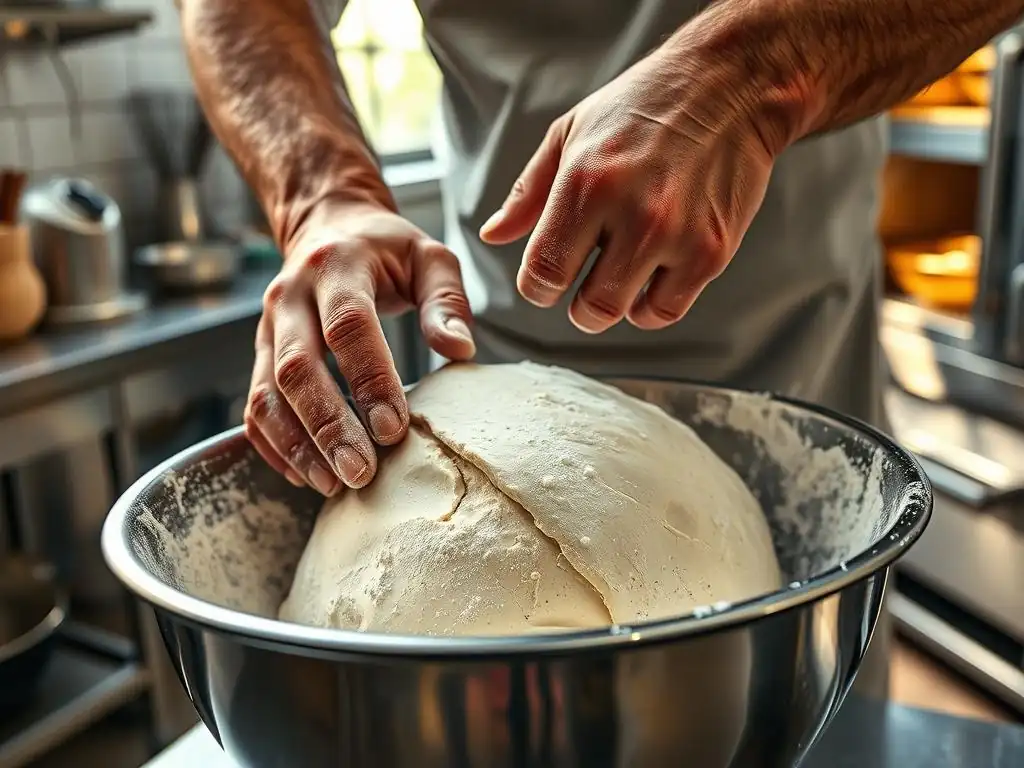
Kneading is the process that develops the gluten network in the dough. Through mechanical action (folding, stretching, pressing), the glutenin and gliadin proteins link together, forming an elastic network that provides the dough with structure and strength. Proper gluten development is essential for trapping the gas produced by the yeast and enabling the dough to hold its shape and rise, preventing flat baguettes.
Different kneading techniques, such as the stretch and fold method often used for high-hydration doughs or traditional stand mixer kneading, aim to achieve this development. The goal is to reach a point where the dough is smooth, elastic, and passes the "windowpane test" – stretching a small piece thinly enough to see light through it without tearing. Inadequate kneading is a primary reason for a weak dough structure and subsequent flat baguettes baking problems.
Insufficient Kneading: The Importance of Gluten Development
Insufficient kneading is a very common cause of flat baguettes. If the gluten network is not adequately developed, the dough will lack the strength and elasticity needed to contain the carbon dioxide gas produced during fermentation and oven spring. The dough will feel slack and possibly sticky, tearing easily when stretched instead of forming a thin membrane.
During proofing and baking, this weak structure cannot support the expansion, causing the dough to spread outwards and potentially collapse. The resulting baguette will be dense with a tight crumb, lacking the desired open structure. Ensuring sufficient kneading or incorporating adequate stretch and folds is vital for building the internal scaffolding that gives baguettes their height and shape, combating flat baguettes baking problems.
Over-Kneading: A Less Common Cause of Flat Baguettes
While less common than under-kneading, it is possible to over-knead dough, although it typically requires extended periods of high-speed mixing in a stand mixer. Over-kneading can break down the gluten structure after it has been fully developed, essentially tearing the network apart. The dough might become sticky, lose its elasticity, and even appear wet or liquefy slightly.
An over-kneaded dough, having a damaged gluten structure, will also struggle to hold gas and maintain its shape, potentially leading to flat baguettes. However, for most home bakers kneading by hand or using a stand mixer for typical recipe times, under-kneading is a far more likely cause of flat baguettes baking problems than over-kneading.
Proofing Problems: Time and Temperature for Baguette Perfection
Proofing, the final rise before baking, is a critical stage. It allows the yeast to produce more gas, expanding the dough and developing flavor. Baguettes typically undergo a bulk fermentation (first rise) and then a final proof after shaping. Incorrect timing or temperature during either of these stages can lead to flat baguettes.
The ideal proofing environment is usually warm and humid, around 75-80°F (24-27°C). However, the duration of proofing is just as important as the temperature. Dough activity depends on both time and temperature; warmer conditions speed up proofing, while cooler conditions slow it down. Misjudging the proofing window is a frequent source of flat baguettes baking problems.
Over-Proofing: Deflating Your Baguette Before Baking
Over-proofing is perhaps the most common proofing issue leading to flat baguettes. This occurs when the dough is allowed to rise for too long or in too warm an environment, causing the yeast to produce an excessive amount of gas and exhaust the available sugars. The gluten network, stretched to its limit, begins to weaken and can no longer contain the gas effectively.
An over-proofed dough will often appear very puffy and might even start to deflate slightly on its own. When you try to score or move it, it will likely collapse, losing the structure needed for oven spring. During baking, there is little to no further rise, resulting in a loaf that is wide and flat with a dense, often gummy texture. Learning to recognize the signs of perfectly proofed dough is crucial to avoid this classic flat baguettes baking problem.
Under-Proofing: Preventing Proper Rise in the Oven
Under-proofing is the opposite issue, where the dough hasn't been allowed sufficient time or warmth to develop enough gas before baking. An under-proofed dough will feel dense and heavy and won't have increased significantly in volume. While it might hold its shape well, it lacks the internal pressure needed for a strong oven spring.
When placed in the oven, the yeast activity will increase rapidly, but there might not be enough gas already present, or the gluten might be too tight to expand quickly enough. This can result in baguettes that are shorter, denser, and heavier than desired, sometimes exhibiting explosive, uncontrolled tears along the sides rather than opening cleanly along the scores. While not as dramatically flat as over-proofed loaves, under-proofed baguettes lack the optimal volume and airy crumb.
Fixing Flat Baguettes: Step-by-Step Solutions for Baking Success
Revitalizing Yeast: Tips for Active and Effective Yeast
If you suspect your yeast is the cause of your flat baguettes, start by checking the expiration date on the package. For active dry yeast, store opened packages in an airtight container in the refrigerator or freezer; this can extend their life considerably, potentially up to 4-6 months in the fridge or longer in the freezer. Always use lukewarm water (105-115°F) to activate active dry yeast, never hot.
Perform the yeast viability test described earlier before committing to a whole batch of dough. If the yeast doesn't foam, discard it and buy a fresh packet. For instant yeast, while it doesn't require proofing, buying from a store with high turnover ensures freshness. Store instant yeast similarly to active dry yeast after opening. Using vibrant, active yeast is the foundational step to preventing flat baguettes baking problems.
Adjusting Flour: Selecting High-Protein Flour for Baguettes
To improve the structure and rise of your baguettes and avoid flat baguettes, switch to a high-quality bread flour with a protein content of at least 12%. Look for labels that specify "bread flour" or list the protein percentage on the nutrition panel. Some specialty flours, like those milled from hard red wheat, are particularly well-suited for bread baking due to their strong gluten-forming capabilities.
If you're using a recipe that calls for all-purpose flour and consistently get flat baguettes, try substituting a portion of the all-purpose flour with bread flour, or switch entirely to bread flour if the recipe allows. This simple change can significantly enhance the dough's ability to trap gas and achieve better volume, directly addressing a common cause of flat baguettes baking problems.
Mastering Hydration: Achieving the Ideal Dough Consistency
Adjusting hydration is key to preventing flat baguettes caused by dough that is too wet or too dry. If your dough is consistently too slack and spreads, reduce the water slightly in your recipe on the next attempt. Start by reducing the water by 2-3% of the flour weight (e.g., if using 500g flour, reduce water by 10-15g). Observe the dough's consistency during mixing and kneading; it should be sticky but manageable, not a pourable batter.
Conversely, if your dough feels stiff and dry, increase the water by a similar percentage. High hydration doughs require practice to handle, but they yield the best crumb. Don't be afraid to add a little extra water during mixing if the dough feels too dry initially, or hold back a small amount if it seems too wet. Learning to judge the dough's feel is crucial for avoiding flat baguettes baking problems related to hydration.
Perfecting Kneading: Techniques for Optimal Gluten Development
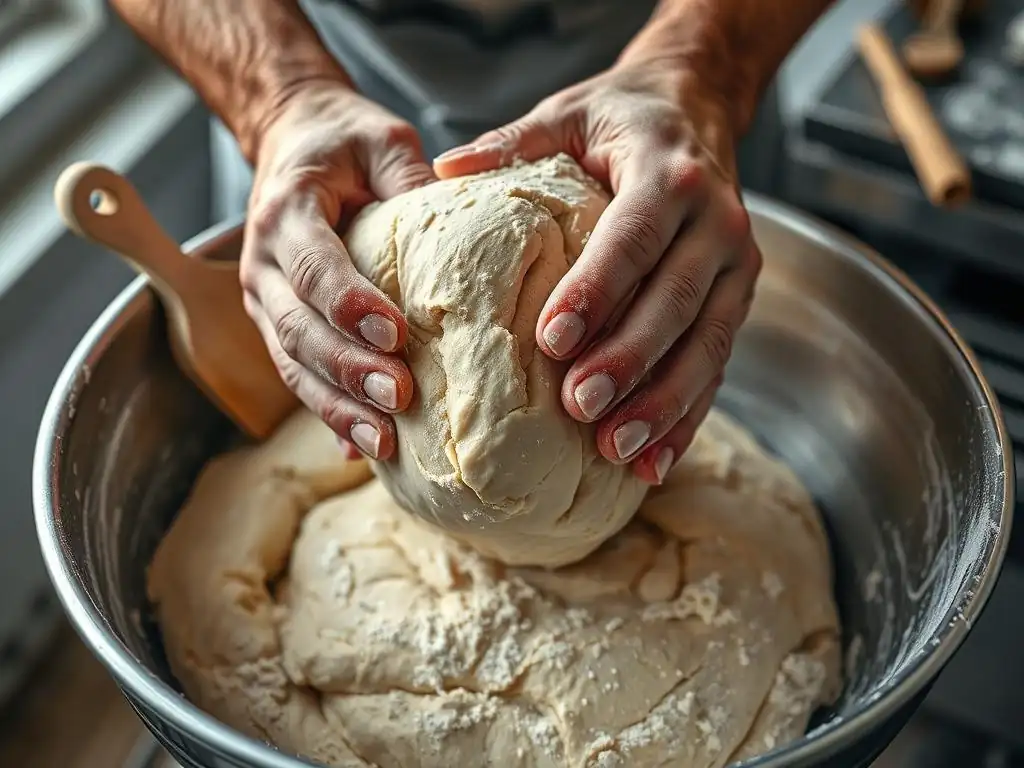
Ensure you are kneading your dough sufficiently to develop a strong gluten network. If using a stand mixer, knead on medium speed for the time recommended in the recipe, often 8-12 minutes, until the dough is smooth and elastic. For hand kneading, this can take longer, typically 15-20 minutes or until the dough passes the windowpane test.
For high-hydration doughs, the stretch and fold technique is often preferred. Perform several sets of stretch and folds (3-5 sets, 30-60 minutes apart) during the bulk fermentation. This gently develops gluten while preserving the airy structure. Adequate gluten development provides the necessary scaffolding to prevent flat baguettes and ensure a good rise.
Proofing Precisely: Monitoring Time and Temperature for a Perfect Rise
Accurate proofing is vital to avoid flat baguettes. Pay close attention to both time and temperature. Use a thermometer to check the dough temperature if possible; aiming for 75-80°F (24-27°C) during bulk fermentation is ideal. Monitor the dough's volume rather than strictly adhering to time, as environmental conditions vary.
For bulk fermentation, the dough should roughly double in volume. For the final proof after shaping, the baguettes should look noticeably puffy and feel light for their size. A common test for readiness is the poke test: gently press a finger into the dough; if the indentation springs back slowly and only partially, it's likely ready to bake. If it springs back immediately, it needs more time (under-proofed). If it stays indented completely, it's likely over-proofed and risks becoming flat baguettes.
Baking Techniques to Prevent Flat Baguettes
Scoring the Baguette: Creating Proper Expansion in the Oven
Scoring, the act of cutting the surface of the shaped baguettes just before baking, is not merely decorative; it's functional. The cuts provide weak points on the dough's surface, allowing the rapidly expanding gases during oven spring to escape in a controlled manner. Without proper scoring, the crust can set too quickly, restricting the dough's expansion and potentially causing it to burst haphazardly or, more commonly, limiting the rise and contributing to flat baguettes.
Effective scoring directs the oven spring upwards and outwards along the cuts, helping the baguette achieve its characteristic shape and volume. The depth and angle of the cuts are important; they should be deep enough (about 1/2 inch) to penetrate the surface tension but not so deep as to deflate the loaf. Using a sharp blade, like a baker's lame or razor blade, is essential for clean cuts that open beautifully in the oven, preventing flat baguettes baking problems related to restricted expansion.
Mastering the Art of Baguette Scoring
Mastering baguette scoring takes practice. The traditional scoring pattern involves overlapping diagonal cuts along the length of the loaf. Each cut should overlap the previous one by about one-third of its length. Hold the blade at a shallow angle, almost parallel to the surface of the dough (around 30 degrees), and make swift, confident strokes. This angle helps create a "lip" or "ear" on the edge of the cut as the dough expands.
Improper scoring, such as cuts that are too shallow, too vertical, or hesitant, can lead to restricted oven spring and contribute to flat baguettes. Practice on scrap dough or even playdough to get a feel for the angle and pressure. Good scoring is the final step in allowing your well-developed and proofed dough to reach its full potential in the heat of the oven, helping to avoid flat baguettes baking problems.
Oven Temperature and Steam: Creating the Ideal Baking Environment
A hot oven and the presence of steam are critical for achieving a well-risen baguette with a crisp crust. Baguettes are typically baked at high temperatures, often starting around 450-475°F (230-245°C). The initial burst of heat causes rapid gas expansion (oven spring) before the crust sets. If the oven isn't hot enough, the dough might not get sufficient lift, contributing to flat baguettes.
Steam is equally, if not more, important in the initial phase of baking. Steam keeps the surface of the dough moist and pliable, preventing the crust from hardening prematurely. This allows the dough to expand freely during the crucial first 10-15 minutes of baking. Without adequate steam, the crust sets too early, restricting oven spring and resulting in a denser loaf with a dull, thick crust – another factor contributing to flat baguettes baking problems.
The Importance of Steam for a Crusty and Well-Risen Baguette
Steam plays a vital role in baguette baking. As mentioned, it keeps the crust soft initially, allowing for maximum oven spring. This expansion is what gives the baguette its volume and contributes to the development of an open crumb structure. Once the dough has achieved most of its rise, the steam dissipates (or is vented), allowing the crust to dry out and become crisp and golden brown.
Methods for creating steam in a home oven include placing a pan of hot water on the bottom rack, using a Dutch oven or cloche to trap the dough's own steam, or even spraying the oven walls with water (though this is less effective and can damage some ovens). Adequate steam is a non-negotiable element for achieving the desired rise, texture, and crust quality, directly combating flat baguettes.
Baguette Shaping: Techniques for Creating Tension and Structure
Proper shaping is fundamental to how a baguette holds its form during proofing and baking. The goal of shaping is to create surface tension, which helps the loaf maintain its elongated shape and encourages upward expansion rather than sideways spreading. Techniques involve gently degassing the dough, folding it onto itself, and rolling or pulling it into a cylinder while building tension on the surface.
If the dough is shaped too loosely, it will lack the internal structure and surface tension needed to support its rise. The loaf will likely spread out during the final proof and bake, resulting in flat baguettes. Practicing shaping techniques is crucial for developing the muscle memory needed to create taut, well-structured loaves that are ready for a good rise.
The Importance of Proper Pre-Shaping
Before the final shaping of the baguettes, dough portions are often given a pre-shape, typically into loose rounds or logs, followed by a short rest (bench rest) of 15-20 minutes. This rest allows the gluten to relax slightly, making the final shaping easier and preventing the dough from tearing or resisting elongation.
Proper pre-shaping helps organize the gluten structure and build initial tension. Skipping this step or doing it poorly can make final shaping more difficult and less effective, potentially leading to loaves with insufficient tension. A lack of tension from poor shaping directly contributes to flat baguettes baking problems as the dough spreads instead of rising upwards.
Preventing Future Flat Baguette Baking Problems: Best Practices
Accurate Measurement of Ingredients for Consistent Results
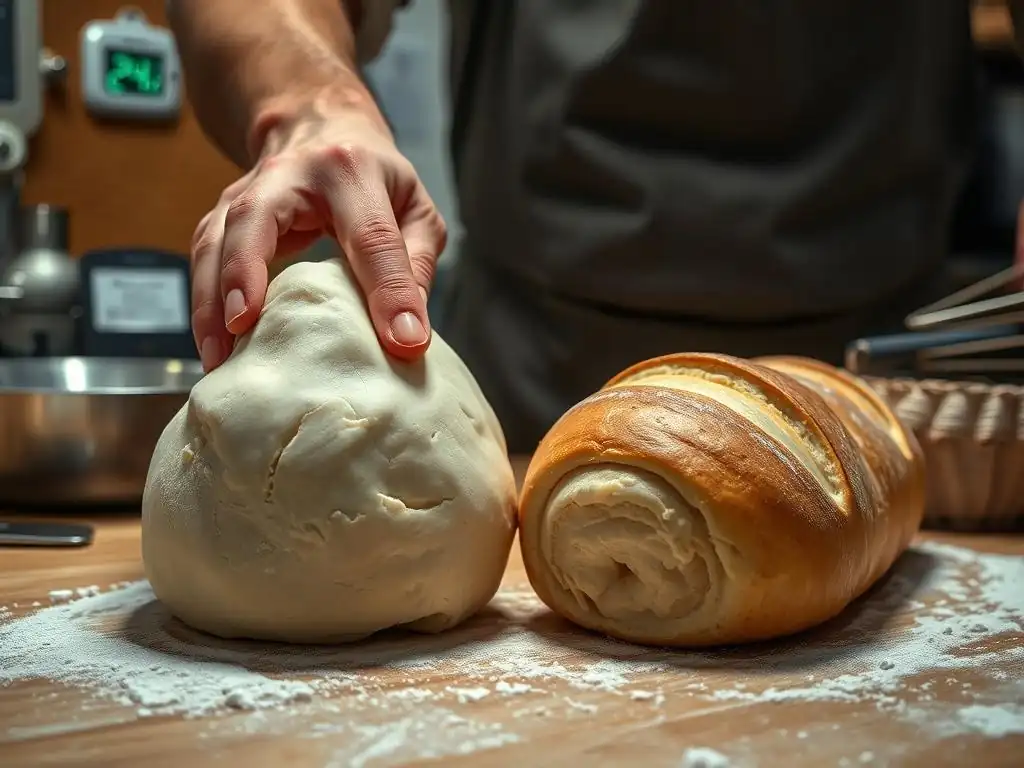
Consistency in baking starts with accurate measurements. Using a digital kitchen scale to weigh your ingredients, especially flour and water, is far more precise than using volume measurements (cups and spoons). Flour density can vary significantly depending on how it's stored and scooped, leading to inconsistent hydration levels if measured by volume. For instance, a cup of flour can weigh anywhere from 120g to 150g.
Precise weighing ensures you are using the exact ratios intended by the recipe, which is critical for managing hydration and achieving the correct dough consistency. This eliminates a major variable that can lead to unexpected flat baguettes baking problems and helps you replicate successful bakes consistently.
Maintaining Consistent Dough Temperature Throughout the Process
Dough temperature significantly impacts yeast activity and fermentation speed. Aim to maintain a consistent dough temperature, typically between 75-80°F (24-27°C), throughout bulk fermentation and initial proofing. This can be achieved by using water at the correct temperature during mixing and proofing the dough in a warm environment.
Using a probe thermometer to check the dough's temperature can be very helpful. If your kitchen is cool, consider using a proofing box, your oven with the light on (often provides enough warmth), or placing the dough in a warm spot free from drafts. Consistent temperature control helps ensure the dough ferments and proofs predictably, reducing the risk of under- or over-proofing, which are common causes of flat baguettes.
Monitoring Proofing Progress for Optimal Rise
Learn to read your dough and rely on visual cues and the poke test rather than strictly adhering to time limits for proofing. Proofing times provided in recipes are estimates based on specific conditions. Factors like room temperature, flour type, yeast activity, and hydration all influence how quickly the dough rises.
Regularly check your dough's progress during both bulk fermentation and final proofing. For bulk fermentation, look for a significant increase in volume (often doubling). For the final proof, observe how the shaped baguettes are expanding and use the poke test to judge their readiness. Pulling your baguettes out of proofing at the optimal moment is crucial for maximizing oven spring and avoiding flat baguettes baking problems associated with incorrect proofing.
Advanced Troubleshooting: Less Common Causes of Flat Baguettes
Salt's Role: How Salt Affects Yeast Activity and Gluten Development
Salt is a crucial ingredient in bread baking, not just for flavor but also for its impact on dough structure and fermentation. Salt helps to tighten the gluten network, making the dough stronger and more elastic. This improved structure is better able to hold the gas produced by the yeast, contributing to a better rise and preventing flat baguettes.
However, salt also regulates yeast activity. Too much salt can inhibit or even kill yeast, slowing down or stopping fermentation. Conversely, too little salt results in a slack dough with poor structure and potentially overactive yeast. Ensuring the correct amount of salt (typically 1.8-2% of the flour weight) is vital for balanced fermentation and a strong dough structure, helping to avoid flat baguettes baking problems.
The Effect of Using Chlorinated Tap Water
In some areas, tap water contains chlorine, which is added to kill bacteria. While harmless to humans in these concentrations, chlorine can negatively impact yeast activity. High levels of chlorine can slow down or inhibit fermentation, leading to a weaker rise and potentially contributing to flat baguettes.
If you suspect your tap water might be affecting your yeast, you can easily remove the chlorine. Leaving tap water out in an open container for 24 hours allows the chlorine to dissipate. Alternatively, boiling the water for a few minutes and letting it cool will also remove chlorine. Using filtered or bottled water is another option. Addressing water quality is a less common but potential factor in persistent flat baguettes baking problems.
Enjoying Your Perfectly Baked Baguettes: Serving Suggestions
Serving with Garlic Herb Butter
Once you've successfully baked baguettes that are tall, crusty, and airy, it's time to enjoy them! A classic way to serve warm baguettes is with homemade garlic herb butter. Simply soften unsalted butter and mix in finely minced fresh garlic, chopped parsley, chives, and perhaps a touch of thyme or rosemary. Spread generously on slices of your perfectly baked baguette.
The rich, savory butter melts into the warm, open crumb, creating a delightful sensory experience. This simple preparation highlights the wonderful texture and flavor of a well-made baguette and is a perfect way to celebrate overcoming those flat baguettes baking problems.
Using Baguettes for Bruschetta
Perfectly baked baguettes are the ideal base for bruschetta. Slice the baguette on the diagonal, brush the slices lightly with olive oil, and toast them in the oven or on a grill until golden and crisp. Top with a classic mixture of diced fresh tomatoes, basil, garlic, olive oil, and balsamic glaze.
The sturdy yet airy structure of a properly baked baguette provides a wonderful contrast to the fresh, juicy tomato topping. This is a fantastic appetizer or light meal that truly showcases the quality of your bread. Using your successful bake for delicious dishes like bruschetta is the ultimate reward for troubleshooting and fixing those flat baguettes baking problems.
Frequently Asked Questions
What are the most common causes of flat baguettes?
Flat baguettes are often caused by weak gluten development, insufficient proofing time, or using the wrong type of flour with low protein content. These factors prevent the dough from holding its shape during baking.
How can I improve gluten development for baguettes?
To enhance gluten development, try kneading the dough longer or using a windowpane test to ensure it’s properly developed. You can also incorporate a resting period (autolyse) to allow the flour to fully hydrate.
What is the ideal proofing time for baguettes to avoid them becoming flat?
The ideal proofing time varies, but generally, you want the dough to almost double in size. Over-proofing can lead to collapsed baguettes, so watch for signs of sufficient rise without excessive expansion.
What type of flour is best for baking baguettes that hold their shape?
Using a high-protein bread flour is crucial for strong gluten development. Bread flour provides the necessary structure to support the baguette during baking, preventing it from flattening.
What baking techniques can help baguettes rise properly in the oven?
Ensure your oven is preheated to the correct temperature, and consider using a baking stone or Dutch oven for even heat distribution. Adding steam to the oven during the initial baking phase can also promote a better rise.
Final Reflection: The Humble Baguette and the Pursuit of Perfection
The quest for the perfect baguette, a seemingly simple loaf, reveals a surprising depth of culinary science and the importance of meticulous technique. A flat baguette isn't just a baking failure; it's a lesson in the delicate balance of hydration, fermentation, and oven spring. Understanding these factors is key to unlocking the airy, crisp crust and light interior we all crave.
The journey of baking, particularly with something as iconic as the baguette, is a constant learning process. Each failed attempt, each flat loaf, offers invaluable feedback, pushing us to refine our skills and deepen our understanding. The only true wisdom is in knowing you know nothing.
- Socrates. This quote resonates deeply with the baking process; the more we learn, the more we realize how much more there is to discover. The seemingly simple act of baking a baguette becomes a metaphor for life itself – a constant striving for improvement, a celebration of both success and failure.
Now, consider your own baking journey. What have your flat baguettes taught you? Don't be discouraged by imperfections; embrace them as opportunities for growth. Experiment with different flours, hydration levels, and fermentation times. Each loaf, whether a triumph or a flop, brings you closer to mastering the art of baguette baking. The next time you encounter a flat baguette, remember the lessons learned and use them to rise to the challenge – and bake the perfect loaf.
Unleash Your Inner Boulanger: Bake the Perfect Baguette!
Thanks for taking the time to explore the world of baguette baking with us! We hope you gained valuable insights into troubleshooting those frustratingly flat loaves. Now it's time to put your new knowledge into action.
- Try again, but better! This time, meticulously follow the tips we outlined, focusing on proper dough hydration. Document your process – you might discover your own unique baking magic!
- Share your baking journey! Post a picture of your next baguette attempt (success or otherwise!) on social media and tag #BakeWithEase – let’s inspire each other!
- Dive deeper into baguette mastery: Explore our other articles on advanced baking techniques for an even more rewarding baking experience.
Ready to transform your baking skills and create the perfect crusty baguette? What unique ingredient or technique will you try next time?