
How to Bake Vegan Seeded Bread Packed with Flavor

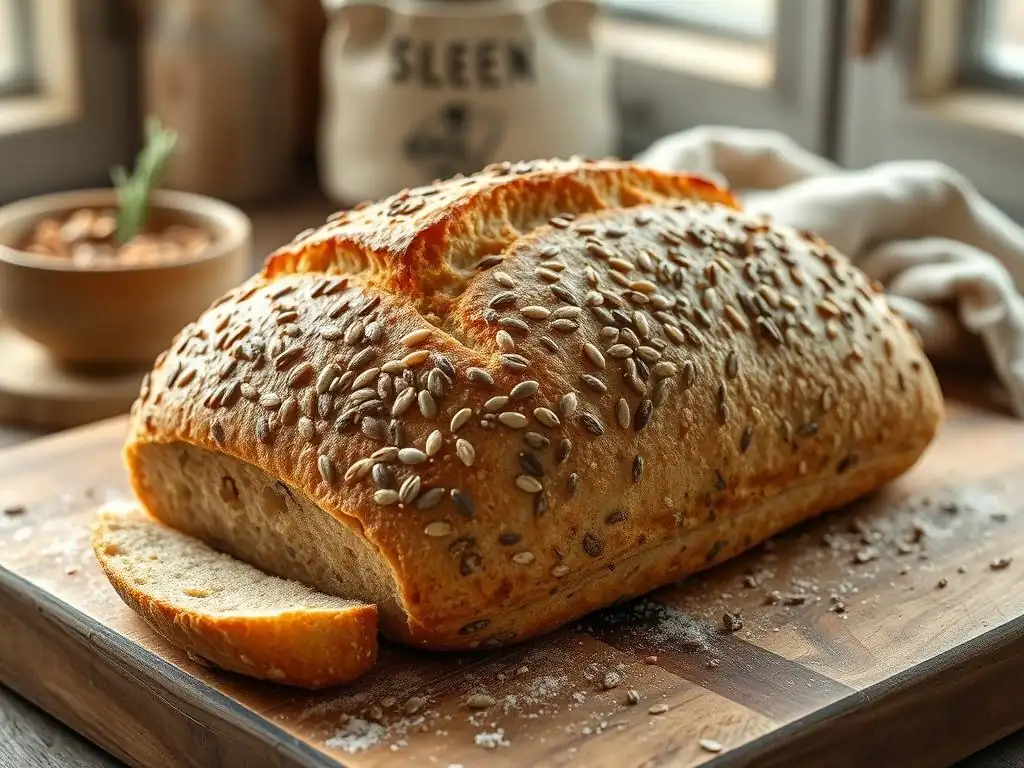
Welcome to BakeWithEase, your trusted companion on your baking journey! Ever dreamt of pulling a warm, crusty loaf of bread from your oven, knowing it's both delicious and perfectly aligned with your lifestyle? Dive in and discover our Vegan Seeded Bread Recipe Easy, a surprisingly simple guide that unlocks a world of flavor and texture. Curious how to achieve bakery-quality bread without the dairy? Let's get baking!
- BakeWithEase Presents: The Ultimate Vegan Seeded Bread Recipe
- Why Bake Vegan Seeded Bread? Benefits and Flavor Profile
- Easy Vegan Seeded Bread Recipe: Ingredients You'll Need
- Step-by-Step: Baking Your Perfect Vegan Seeded Bread
- Cooling and Slicing Your Homemade Vegan Seeded Bread
- Storing Your Vegan Seeded Bread: Keeping it Fresh
- Vegan Seeded Bread Recipe Variations: Customize Your Loaf
- Troubleshooting Your Vegan Seeded Bread Baking
- Enjoy Your Delicious Vegan Seeded Bread!
- Frequently Asked Questions
- Final Reflection: The Humble Loaf, a World of Flavor
- Unleash Your Inner Baker: Craft Your Dream Loaf!
BakeWithEase Presents: The Ultimate Vegan Seeded Bread Recipe
Your Go-To Guide for Delicious, Homemade Vegan Bread
Creating a truly satisfying loaf of vegan seeded bread at home is a rewarding experience, and with the right guidance, it's surprisingly accessible. This guide from BakeWithEase is designed to walk you through every step, ensuring your first (or next!) attempt at a vegan seeded bread recipe easy and successful. We'll cover everything from selecting the perfect ingredients to mastering the baking process, so you can confidently pull a beautiful, flavorful loaf from your oven.
Whether you're new to baking or looking to perfect your technique, this comprehensive guide makes baking vegan seeded bread achievable. We'll demystify the process, explaining the purpose behind each step – from the initial mixing to the final golden-brown crust. Get ready to fill your kitchen with the comforting aroma of freshly baked bread and enjoy the delicious, wholesome results of this simple vegan seeded bread recipe.
Why Bake Vegan Seeded Bread? Benefits and Flavor Profile
Health Benefits of Seeded Bread: Nutrition and Wellness
Baking vegan seeded bread isn't just about delicious taste; it's also a fantastic way to boost your nutritional intake. Seeds like flax, chia, pumpkin, and sunflower are packed with essential nutrients. For example, flax seeds are a great source of omega-3 fatty acids, known for their heart-health benefits, while chia seeds offer fiber and protein, contributing to satiety and digestive health. Incorporating a variety of seeds into your loaf means each slice delivers a range of vitamins and minerals.
Beyond individual nutrients, the combination of whole grains (often used in seeded bread) and seeds provides a complex carbohydrate source that releases energy slowly, helping to maintain stable blood sugar levels. A typical slice might contain several grams of fiber, significantly contributing to the recommended daily intake of around 25-30 grams. This makes homemade vegan seeded bread a smart choice for a balanced diet, offering sustained energy and supporting overall wellness.
Unleashing Flavor: Exploring the Taste of Vegan Seeded Bread
The flavor profile of vegan seeded bread is wonderfully complex and satisfying. The seeds themselves contribute nutty, earthy, and sometimes slightly sweet notes, depending on the mix. Toasted seeds, for instance, offer a deeper, more intense flavor compared to raw ones. When baked into the bread, these flavors mingle with the subtle sweetness often added to the dough and the robust taste of the flour, creating a harmonious and appealing loaf.
Furthermore, the texture is a key part of the flavor experience. The occasional crunch of seeds provides a delightful contrast to the soft, chewy interior of the bread. This textural interplay enhances the perception of flavor, making each bite interesting. Mastering an easy vegan seeded bread recipe allows you to control this balance, choosing seed types and amounts to perfectly match your flavor preferences, resulting in a loaf that is both wholesome and incredibly delicious.
Easy Vegan Seeded Bread Recipe: Ingredients You'll Need
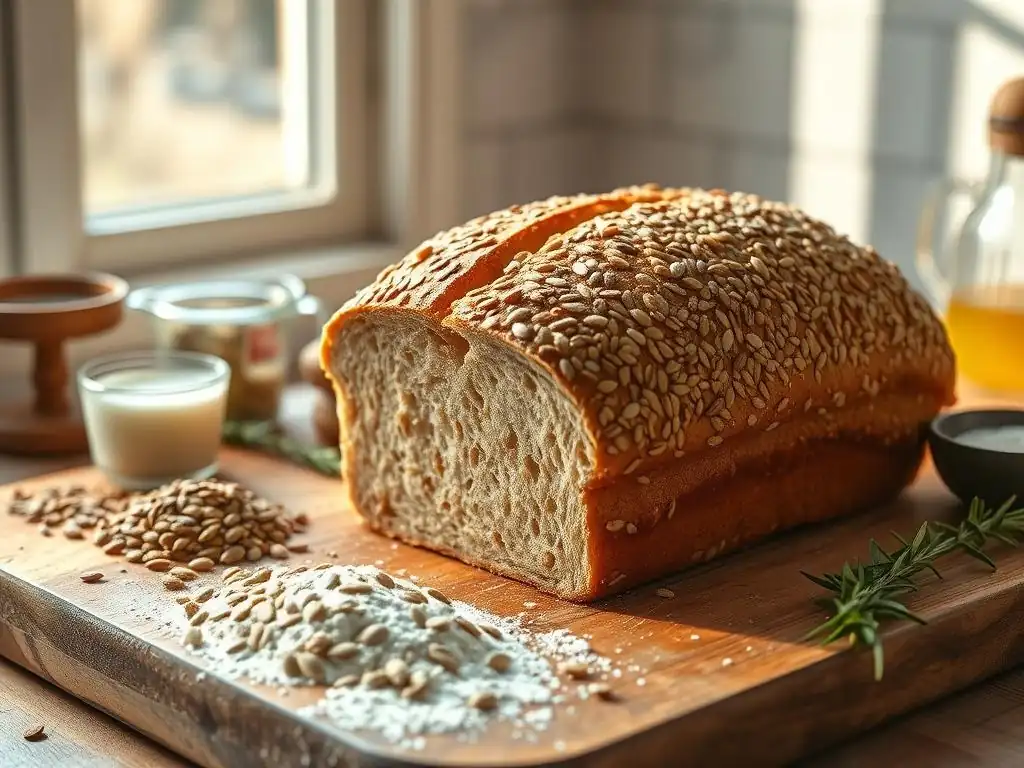
Dry Ingredients for Vegan Seeded Loaf: Flour, Seeds, and More
For a reliable vegan seeded bread recipe easy to follow, start with your dry components. You'll typically need bread flour, which has a higher protein content (around 12-14%) crucial for developing gluten and giving the bread structure. While you can use all-purpose flour (around 10-12% protein), bread flour usually yields a better rise and chew. You'll also need salt, vital for flavor and controlling yeast activity, and of course, your chosen seeds, often totaling about 1/2 to 1 cup for a standard loaf.
Other dry ingredients might include a small amount of sugar (like granulated sugar or maple sugar) to feed the yeast and aid browning, or a touch of vital wheat gluten if using lower-protein flours to improve structure. A typical recipe might call for around 3 to 3.5 cups of flour, 1 to 2 teaspoons of salt, and the specified amount of seeds. Precision in measuring dry ingredients, ideally by weight (grams), helps ensure consistent results with your vegan seeded bread recipe easy.
Wet Ingredients for Flavorful Vegan Bread: Liquid and Sweeteners
The wet ingredients bind your dough and contribute to flavor and texture. Warm water is the most common liquid, ideally between 105°F and 115°F (40°C-46°C) for activating yeast. The amount of water is crucial for dough hydration; a typical ratio for a good loaf might be around 65-75% hydration relative to the flour weight. This means for 400 grams of flour, you might use 260-300 grams (ml) of water.
Sweeteners are often included, not just for taste, but to give the yeast a readily available food source, promoting a good rise. Vegan options include maple syrup, agave nectar, brown rice syrup, or granulated sugar (check for vegan certification if using sugar). About 1 to 2 tablespoons is usually sufficient. Some recipes might also include a tablespoon of oil (like olive or vegetable oil) for tenderness and moisture, though many excellent vegan seeded bread recipes are easy and don't require added oil.
The Seed Selection: Choosing the Right Seeds for Your Vegan Bread
Selecting the right seeds is key to achieving the desired flavor and texture in your vegan seeded bread. Popular choices include sunflower seeds (for crunch and a mild, nutty flavor), pumpkin seeds (pepitas - offering a slightly sweeter, earthy taste), flax seeds (providing healthy fats and a subtle nutty flavor, often used ground or whole), and chia seeds (excellent for binding and adding tiny pops of texture). A classic blend often combines these in roughly equal proportions.
Don't be afraid to experiment! Other seeds like sesame seeds (white or black, adding a distinct aroma when toasted), poppy seeds (for tiny bursts of flavor and texture), or even hemp seeds can be wonderful additions. Consider toasting some or all of your seeds lightly in a dry pan before adding them to the dough; this simple step significantly enhances their flavor, making your homemade vegan seeded bread even more delicious. Aim for a total seed weight or volume that doesn't overwhelm the dough, typically around 15-25% of the flour weight.
Step-by-Step: Baking Your Perfect Vegan Seeded Bread
Step 1: Preparing the Dough for Vegan Seeded Bread
Activating the Yeast: Ensuring a Good Rise
The first crucial step in many vegan seeded bread recipes easy to follow is activating the yeast, especially if using active dry yeast. This involves dissolving the yeast (typically 1 to 2 teaspoons for a standard loaf) in the warm water (105°F-115°F or 40°C-46°C) along with the sweetener. Within 5-10 minutes, the mixture should become foamy or bubbly on the surface. This "bloom" indicates that the yeast is alive and ready to work. If it doesn't foam, your water might be too hot or too cold, or the yeast may be expired.
Instant yeast, on the other hand, often doesn't require proofing and can be mixed directly with the dry ingredients. However, even with instant yeast, ensuring your liquid is warm is important for optimal activity. Regardless of yeast type, proper activation or hydration is fundamental to getting a good rise, which is essential for a light and airy texture in your easy vegan seeded bread recipe.
Mixing the Dry and Wet Ingredients: Achieving the Right Consistency
Once your yeast is active (if proofing) or combined with dry ingredients, it's time to mix. Combine the activated yeast mixture (or warm water if using instant yeast) with the dry ingredients (flour, salt, sugar, some seeds) in a large mixing bowl. Use a wooden spoon or dough whisk to bring everything together until a shaggy dough forms. At this stage, it might look a bit messy, with some dry bits remaining.
Turn the dough out onto a lightly floured surface and begin kneading. Kneading develops the gluten network, which gives the bread its structure and elasticity. Knead for about 8-10 minutes by hand, or 5-7 minutes using a stand mixer with a dough hook, until the dough is smooth, elastic, and springs back slowly when poked. This proper development is key to a good rise and texture in your vegan seeded bread recipe easy.
Step 2: First Rise - Bulk Fermentation for Vegan Seeded Bread
Creating the Ideal Environment for Dough to Rise
Bulk fermentation, or the first rise, is where the magic of flavor development and initial volume increase happens. After kneading, shape the dough into a ball and place it in a lightly oiled bowl, turning to coat. Cover the bowl tightly with plastic wrap or a damp tea towel to prevent the dough from drying out. The ideal environment for rising is warm and draft-free, typically between 75°F and 80°F (24°C-27°C).
Place the covered bowl in a warm spot, such as a slightly warm oven (turned off), near a sunny window, or on top of a warm appliance. The dough should typically double in size during this first rise, which can take anywhere from 1 to 2 hours, depending on the room temperature and yeast activity. This slow fermentation process is vital for developing complex flavors in your easy vegan seeded bread recipe.
Step 3: Shaping Your Vegan Seeded Bread Loaf
Gentle Handling: Preserving the Air Pockets
After the first rise, gently turn the dough out onto a lightly floured surface. At this stage, the dough should be airy and significantly larger. The goal of shaping is to create tension on the surface of the loaf while preserving as many of the air pockets created during the bulk fermentation as possible. Avoid punching down the dough aggressively; instead, gently degas it by pressing lightly.
Shape the dough into your desired form, usually a log or boule (round). For a log shape suitable for a loaf pan, gently pat the dough into a rectangle, then fold the top third down and the bottom third up, sealing the seam. Fold in half lengthwise and seal the final seam along the bottom. This tension helps the loaf hold its shape and rise upwards during baking, contributing to a well-structured vegan seeded bread recipe easy.
Seed Coating: Enhancing Texture and Flavor
Once shaped, you can add an external coating of seeds for extra flavor, texture, and visual appeal. Brush the shaped loaf lightly with water or a plant-based milk alternative. Then, roll or sprinkle the dough with the remaining seeds (perhaps 1/4 cup or more). Ensure the seeds adhere well to the surface. This step not only makes your vegan seeded bread look beautiful but also adds a delightful crunch to the crust.
Carefully transfer the seed-coated loaf to a prepared loaf pan (greased or lined with parchment paper) or a baking sheet if baking freeform. The seeds on the outside will toast beautifully in the oven, contributing an extra layer of nutty goodness to your easy vegan seeded bread recipe.
Step 4: Second Rise - Proofing the Vegan Seeded Dough
Monitoring the Proofing Process: Avoiding Over-Proofing
The second rise, known as proofing, is the final rise before baking. Cover the shaped loaf loosely and let it rise again in a warm, draft-free place. This rise is typically shorter than the first, often taking 30-60 minutes, depending on the temperature. The dough should increase by about 50-75% in volume and look visibly puffy.
It's crucial not to over-proof the dough. An over-proofed loaf may collapse in the oven or have a dense texture. A good test is the "poke test": gently press the dough with a floured finger. If the indentation springs back slowly and only partially, it's ready to bake. If it springs back immediately, it needs more time. If the indentation remains completely, it's likely over-proofed. Proper proofing is key to the light texture of a successful vegan seeded bread recipe easy.
Step 5: Baking the Vegan Seeded Bread to Golden Perfection
Oven Temperature and Baking Time: Getting it Right
Preheating your oven to the correct temperature is vital for achieving a good oven spring (the final burst of rising in the oven) and a beautiful crust. For most vegan seeded bread recipes easy, a temperature of around 375°F to 400°F (190°C-200°C) is common. Preheat your oven for at least 20-30 minutes to ensure it reaches and maintains the target temperature.
Baking time will vary depending on your oven and the size of the loaf, but a standard loaf typically takes 35-45 minutes. The bread is done when the crust is golden brown and firm, and when tapped on the bottom, it sounds hollow. An internal temperature of 200°F to 210°F (93°C-99°C) is also a reliable indicator of doneness. Using a baking stone or steel, if you have one, can help achieve a crispier bottom crust.
Achieving a Perfect Crust: Tips and Tricks
Beyond temperature, creating a perfect crust on your vegan seeded bread involves managing steam during the initial baking phase. Steam helps keep the surface of the dough moist, allowing it to expand fully before the crust sets. This results in a better rise and a thinner, crispier crust. One easy method is to place a pan of hot water on the bottom rack of your oven when you preheat it.
Alternatively, you can spray the oven walls with water just before loading the bread, or use a Dutch oven if your recipe allows, as this naturally traps steam around the loaf. After about 15-20 minutes of baking, you can remove the steam source to allow the crust to dry out and brown. This combination of high heat and initial steam contributes significantly to the appealing texture and appearance of your easy vegan seeded bread recipe.
Cooling and Slicing Your Homemade Vegan Seeded Bread
The Importance of Cooling Before Slicing
Patience is key after baking! While it's tempting to slice into that warm, aromatic loaf immediately, allowing your vegan seeded bread to cool completely on a wire rack is crucial. As the bread cools, the internal structure sets, and residual steam escapes. Slicing too early can result in a gummy or doughy texture inside, even if the outside looks perfect.
Cooling on a wire rack allows air circulation around the entire loaf, preventing the bottom crust from becoming soggy from trapped heat and moisture. For a standard loaf, this cooling process can take anywhere from 1 to 2 hours. Resist the urge to cut until it's fully cooled; this step is non-negotiable for achieving the best possible texture from your easy vegan seeded bread recipe.
Slicing Techniques for Optimal Texture
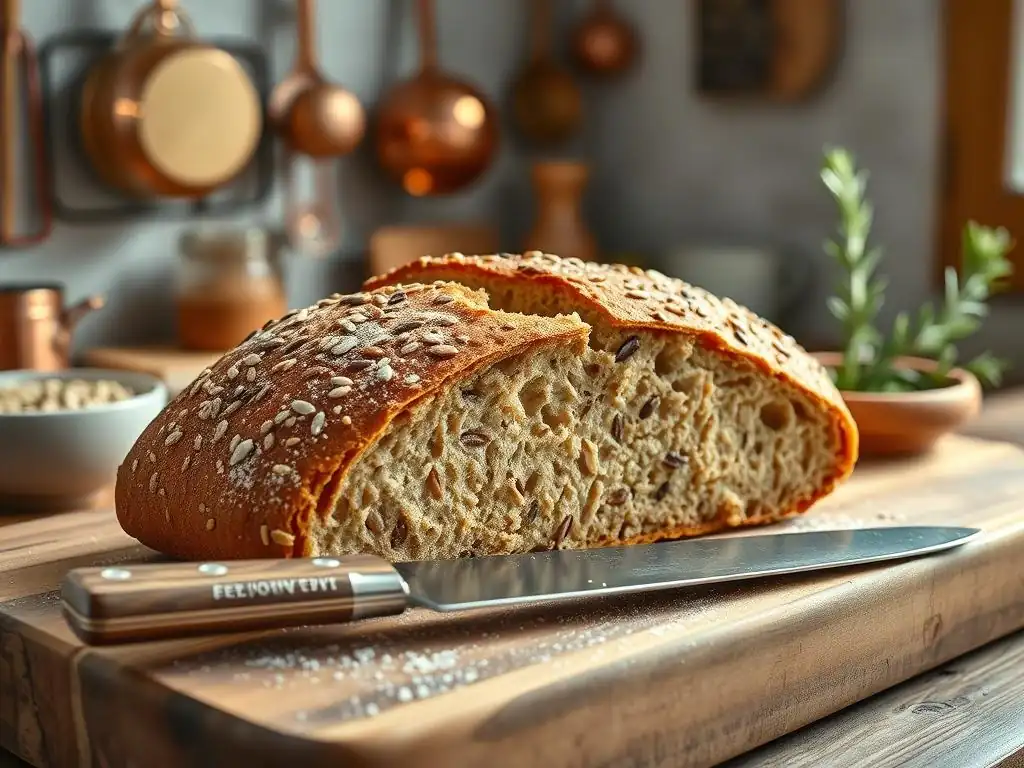
Once fully cooled, slicing your vegan seeded bread correctly helps maintain its structure and texture. Use a sharp serrated knife, which is designed to cut through the crust and soft interior without crushing the loaf. Place the bread on a stable cutting surface.
Apply gentle sawing motions with the serrated knife rather than pressing straight down. This technique minimizes compression and helps preserve the open crumb structure you worked hard to create. Slice to your desired thickness, whether you prefer thin slices for toast or thicker ones for sandwiches, ensuring each piece showcases the beautiful crumb and distribution of seeds from your easy vegan seeded bread recipe.
Storing Your Vegan Seeded Bread: Keeping it Fresh
Proper Storage Methods for Vegan Bread
Proper storage is essential to keep your homemade vegan seeded bread fresh and delicious for as long as possible. Once completely cooled, the best way to store bread for short-term use (1-2 days) is often at room temperature, wrapped in a breathable material like a linen bread bag or a clean tea towel. This allows some air circulation while protecting the crust.
Avoid storing freshly baked bread in airtight plastic bags or containers at room temperature immediately after cooling, as this can trap moisture and make the crust soggy. If you live in a humid climate, or for slightly longer storage (3-4 days), a bread box provides a good balance of protection and air circulation.
Extending the Shelf Life of Your Seeded Loaf
For longer storage, freezing is your best option to preserve the quality of your vegan seeded bread. Once the loaf is completely cool, slice it first. Sliced bread freezes and thaws much more conveniently. Stack slices and wrap them tightly in plastic wrap, then place the wrapped stack in a freezer-safe bag or container.
Frozen vegan seeded bread can last for several months (typically up to 3-4 months) without significant loss of quality. To use, simply take out the number of slices you need and let them thaw at room temperature or toast them directly from frozen. Freezing is an excellent way to enjoy your easy vegan seeded bread recipe over an extended period.
Vegan Seeded Bread Recipe Variations: Customize Your Loaf
Adding Nuts and Dried Fruits for Extra Flavor
Elevate your easy vegan seeded bread recipe by incorporating other delicious mix-ins. Adding chopped nuts like walnuts, pecans, or almonds can provide an extra layer of crunch and rich, nutty flavor. For a touch of sweetness and chewiness, consider including dried fruits such as cranberries, raisins, or chopped apricots.
A good starting point might be adding about 1/4 to 1/2 cup of chopped nuts and/or dried fruits to the dough during the final stages of mixing or kneading, along with the seeds. Be mindful not to add too much, as excessive additions can weigh down the dough and affect the rise. These additions not only enhance the flavor profile but also add visual appeal to the crumb of your vegan seeded bread.
Exploring Different Flours for Unique Textures
While bread flour is standard, experimenting with different flours can significantly alter the texture and flavor of your vegan seeded bread. Swapping out a portion of the bread flour (say, 25-50%) for whole wheat flour will result in a denser loaf with a nuttier, more robust flavor and increased fiber content. You might need slightly more liquid as whole wheat absorbs more water.
Other options include using spelt flour for a slightly sweeter, milder flavor and tender crumb, or rye flour (in smaller proportions, as it contains less gluten) for a distinctive tangy taste and denser texture. Combining different flours allows you to customize your easy vegan seeded bread recipe to create unique loaves tailored to your preferences, exploring a spectrum of flavors and textures.
Seed Combinations: Experimenting with Flavor Profiles
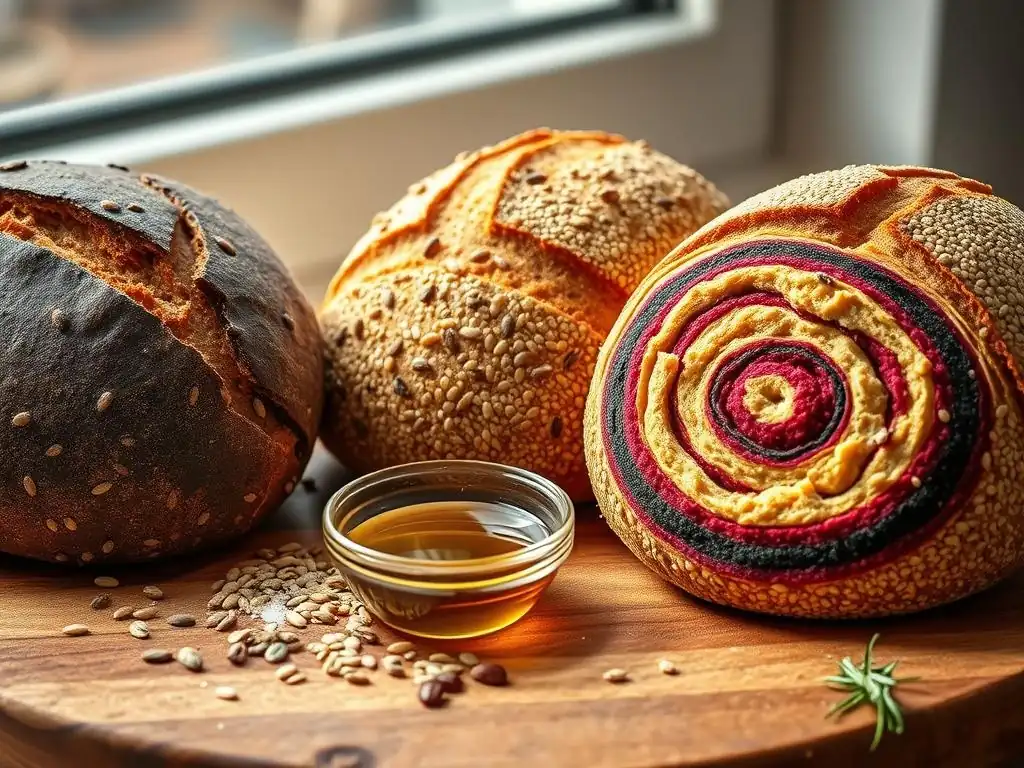
The seeds themselves offer endless possibilities for variation in your easy vegan seeded bread recipe. Don't feel limited to just a few types! Create your own signature seed blend. Try a mix heavy on sesame and poppy for a bagel-like flavor, or focus on a blend of pumpkin and sunflower for a classic, hearty taste.
Consider incorporating less common seeds like nigella seeds (black cumin), which have a unique oniony, slightly bitter flavor, or even toasted quinoa for a tiny pop of texture. Toasting different seeds individually before combining them can also bring out their best characteristics. Experimenting with various seed ratios and types is a simple yet effective way to keep your homemade vegan seeded bread exciting and perfectly suited to your palate.
Troubleshooting Your Vegan Seeded Bread Baking
Common Issues and How to Fix Them
Even with an easy vegan seeded bread recipe, baking can sometimes present challenges. Don't be discouraged if your first loaf isn't perfect; troubleshooting is part of the learning process. Common issues include bread that is too dense, doesn't rise properly, or has an uneven texture. Understanding the likely causes can help you adjust your technique for future bakes.
Keep a baking journal! Note your ingredients, measurements, temperatures (water, room, oven), and timings for rises and baking. This record can be invaluable in identifying what might have gone wrong. For instance, if your loaf is consistently dense, it could point to an issue with yeast activity, kneading, or proofing.
Dense Bread: Identifying and Correcting the Problem
If your vegan seeded bread turns out dense and heavy, several factors could be at play. One common cause is inactive yeast; ensure your yeast is fresh and activated correctly with warm (not hot or cold) water. Another possibility is insufficient kneading; the dough needs proper gluten development to trap the gases produced by the yeast and create a light structure. Kneading until the dough is smooth and elastic is key.
Under-proofing or over-proofing can also lead to density. Under-proofed dough hasn't had enough time to develop sufficient air pockets, while over-proofed dough can collapse, losing its airy structure. Ensure your dough doubles during the first rise and passes the poke test during the second rise. Using the correct amount of flour, measured accurately (preferably by weight), is also crucial, as too much flour results in a dry, dense dough, hindering your easy vegan seeded bread recipe.
Uneven Rise: Ensuring Consistent Results
An uneven rise in your vegan seeded bread loaf can result in a lopsided shape or areas of dense crumb alongside airier sections. This is often caused by inconsistent temperature during rising, uneven shaping, or improper oven heat distribution. Ensure your rising environment is uniformly warm and draft-free; avoid placing the dough near cold windows or vents.
When shaping the loaf, try to create even tension across the surface and a consistent thickness throughout the log or boule. This helps the dough expand uniformly. In the oven, uneven heating can cause one side of the bread to rise faster or brown more quickly. Rotating the loaf halfway through the baking time can help promote even baking and a symmetrical rise, ensuring your easy vegan seeded bread recipe yields a beautiful loaf every time.
Enjoy Your Delicious Vegan Seeded Bread!
Serving Suggestions and Pairing Ideas
Now that you've baked a beautiful loaf of vegan seeded bread, it's time to enjoy it! This versatile bread is perfect for countless uses. Serve it simply sliced with a spread of vegan butter or your favorite nut butter for a quick and satisfying snack. It makes fantastic toast, especially when topped with avocado, hummus, or a sprinkle of everything bagel seasoning.
Use thick slices for hearty sandwiches filled with grilled vegetables, plant-based proteins, or vegan cheese. It's also wonderful served alongside soups, stews, or salads, perfect for soaking up delicious broths and dressings. The nutty flavor of the seeds pairs particularly well with earthy or savory dishes. Enjoy the wholesome goodness of your homemade easy vegan seeded bread recipe!
We love seeing your baking successes! After mastering this easy vegan seeded bread recipe, snap a photo of your beautiful loaf or your favorite way to enjoy it. Share your creations with the BakeWithEase community. Seeing how others interpret and enjoy our recipes is incredibly inspiring.
Baking is a journey, and sharing your experiences, successes, and even challenges helps everyone learn and grow. Tag us or share your photos on social media using relevant hashtags. Let's celebrate the joy of baking delicious, homemade vegan seeded bread together!
Frequently Asked Questions
What makes this vegan seeded bread recipe easy?
This recipe utilizes simple ingredients and a straightforward mixing method, avoiding complex techniques like preferments or autolyse. It's designed to be accessible for bakers of all skill levels.
What kind of seeds are best to use in this vegan seeded bread?
You can use a variety of seeds such as pumpkin, sunflower, sesame, flax, and chia seeds. Feel free to mix and match based on your preferences and availability.
Can I substitute the flour in this vegan seeded bread recipe?
While we recommend bread flour for its gluten content, you can experiment with other flours. Using all-purpose flour may result in a slightly softer loaf, and gluten-free flours will require adjustments to the recipe.
How do I ensure my vegan seeded bread is baked completely?
Use a thermometer to check the internal temperature. The bread should reach 200-210°F (93-99°C) in the center to ensure it's fully baked and not doughy.
How should I store my vegan seeded bread to keep it fresh?
Allow the bread to cool completely before storing it in an airtight container at room temperature. You can also freeze slices for longer storage, thawing them as needed.
Final Reflection: The Humble Loaf, a World of Flavor
The simple act of baking vegan seeded bread, once a niche pursuit, is now a vibrant expression of culinary creativity and conscious consumption. More and more people are seeking delicious, plant-based alternatives, and this recipe offers a gateway to a world of flavor and satisfaction without compromising on ethical values. The ease of this recipe makes it accessible to everyone, regardless of baking experience, further democratizing the joy of homemade bread.
This journey into vegan baking has been a personal revelation, highlighting the power of simple ingredients to create something truly extraordinary. The process itself, from kneading the dough to the satisfying aroma filling the kitchen, is a meditative experience. It's a reminder of the connection between our food and the earth, a connection often lost in the fast-paced modern world. Bread is the staff of life,
they say, and in this case, it's a staff crafted with love, intention, and a commitment to a more sustainable future.
Now, I invite you to embark on your own baking adventure. Don't be intimidated by the seemingly complex process; embrace the simplicity and the joy of creating something delicious and nourishing from scratch. This recipe is more than just instructions; it's a starting point for your own culinary exploration. Experiment with different seeds, herbs, and spices to personalize your loaf and discover your own unique flavor combinations. The possibilities are as endless as your imagination. So, gather your ingredients, preheat your oven, and let the magic of baking begin.
Unleash Your Inner Baker: Craft Your Dream Loaf!
Thanks for taking the time to explore the world of vegan seeded bread! We hope you've discovered some delicious new baking possibilities. Ready to take the next step?
- Bake your own masterpiece! Use our recipe (found within the article) as a starting point, experimenting with different seeds and spices to create a truly unique loaf.
- Share your creations! Post a picture of your bread on social media using #BakeWithEaseVeganBread and tag us – we’d love to see your baking journey!
- Explore other exciting vegan recipes on BakeWithEase.com – you might be surprised at what you discover!
What unique seed combination will you try in your next vegan bread adventure?