
Baking Focaccia in a Cast Iron Skillet: A Game Changer

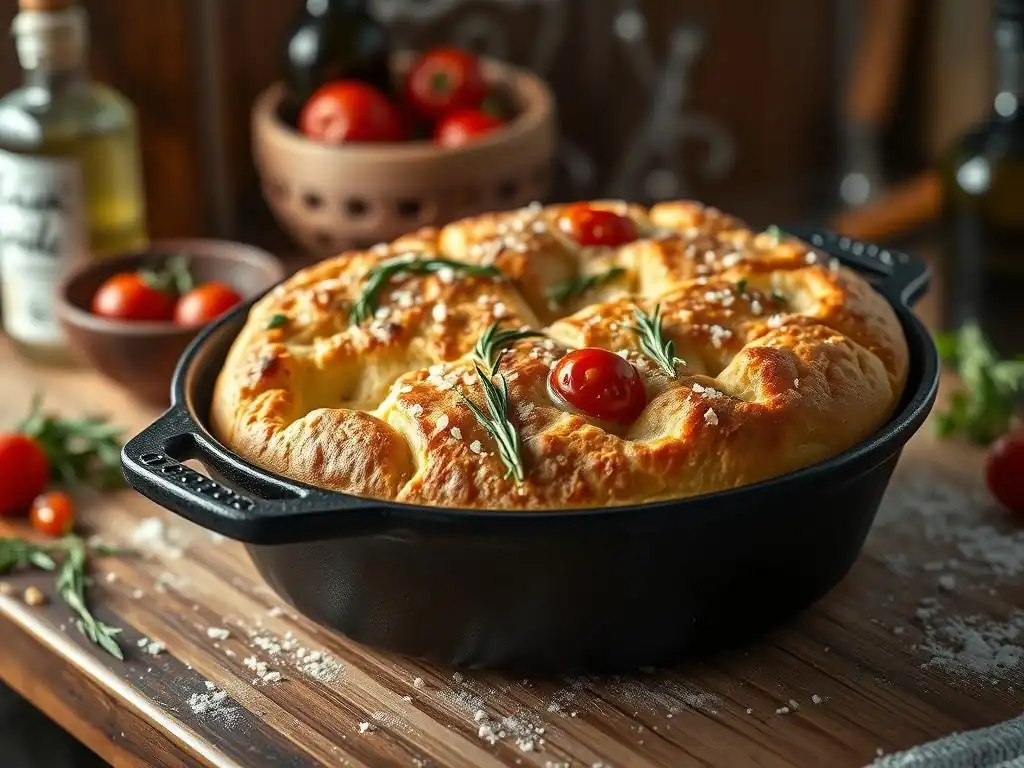
Welcome to BakeWithEase, where baking becomes a joy, not a chore! Ever dreamt of achieving bakery-quality bread at home? This week, we're diving into a technique that will revolutionize your bread-making: baking focaccia in a cast iron skillet. Discover how this simple method unlocks unparalleled crust and flavor in our guide to Easy Cast Iron Focaccia. Curious to learn the secret? Let's get baking!
- Baking Focaccia in a Cast Iron Skillet: A Game Changer for Easy Baking
- Why Cast Iron Focaccia is a Game Changer for Home Bakers
- Easy Cast Iron Focaccia Recipe: A Step-by-Step Guide for BakeWithEase
- Tips and Tricks for Baking the Best Cast Iron Focaccia
- Beyond the Basics: Exploring Variations of Cast Iron Focaccia
- Mastering Cast Iron Focaccia: Elevate Your Bread Baking Skills with BakeWithEase
-
Frequently Asked Questions
- What makes baking focaccia in a cast iron skillet a game changer?
- Is using a cast iron skillet for focaccia baking suitable for beginners?
- Can I use different toppings on my cast iron focaccia?
- What type of cast iron skillet is best for baking focaccia?
- How do I prevent my focaccia from sticking to the cast iron skillet?
- Final Reflection: The Unexpected Joy of Simple Cast Iron Focaccia
- Unleash Your Inner Focaccia Master!
Baking Focaccia in a Cast Iron Skillet: A Game Changer for Easy Baking
Why Cast Iron Focaccia is a Game Changer for Home Bakers
Baking bread at home can sometimes feel intimidating, especially achieving that perfect crust and airy interior. However, discovering the method of baking focaccia in a cast iron skillet has truly revolutionized the process for many home bakers, making it significantly more accessible and reliable. This technique simplifies several steps and guarantees a fantastic result, even for those new to bread making. It's a straightforward path to delicious, homemade bread.
One of the primary reasons cast iron is a game changer is its incredible heat retention. Unlike thinner baking sheets, a cast iron skillet holds and distributes heat exceptionally well across its surface. This consistent, high heat transfer is crucial for developing a deep golden-brown crust on the bottom of the focaccia, which is a hallmark of great flatbreads. This reliable heat source eliminates guesswork and common issues like pale, undercooked bottoms, ensuring your easy cast iron focaccia comes out perfectly every time.
Discover the Secret: Perfectly Crispy Focaccia with Cast Iron
The secret to achieving that coveted crispy base on your focaccia lies in the cast iron's thermal properties. When the dough is placed directly into a preheated cast iron skillet, it immediately encounters a high-temperature surface. This intense initial heat sets the bottom crust rapidly, leading to superior crispness compared to baking on a standard baking sheet. Think of it like searing meat in a hot pan – you get that immediate Maillard reaction and crisp exterior.
Furthermore, the cast iron skillet helps create a steam environment around the base of the dough as moisture evaporates. This steam contributes to a lighter, airier crumb while the bottom continues to crisp. This dual action of intense direct heat and self-generated steam ensures your easy cast iron focaccia develops a wonderfully light texture on the inside and a satisfyingly crunchy bottom crust that is hard to replicate with other methods.
Enhanced Flavor and Texture: The Benefits of Cast Iron Baking
Beyond just crispness, baking in cast iron significantly enhances both the flavor and overall texture of your focaccia. The even heat distribution promotes uniform cooking throughout the dough. This means less chance of undercooked spots in the center and a more consistent rise, leading to a better overall crumb structure. The retained heat also helps caramelize the sugars in the dough more effectively, adding subtle layers of flavor.
The well-developed bottom crust achieved in a cast iron skillet isn't just about crunch; it also contributes a nutty, slightly sweet flavor from the caramelized starches. Combined with the generous amount of olive oil used in focaccia, the cast iron helps to almost fry the bottom layer of the dough, creating a rich, golden finish. This process yields an easy cast iron focaccia that boasts a complex flavor profile and a delightful contrast between the tender, airy interior and the robust, crispy base.
Easy Cast Iron Focaccia Recipe: A Step-by-Step Guide for BakeWithEase
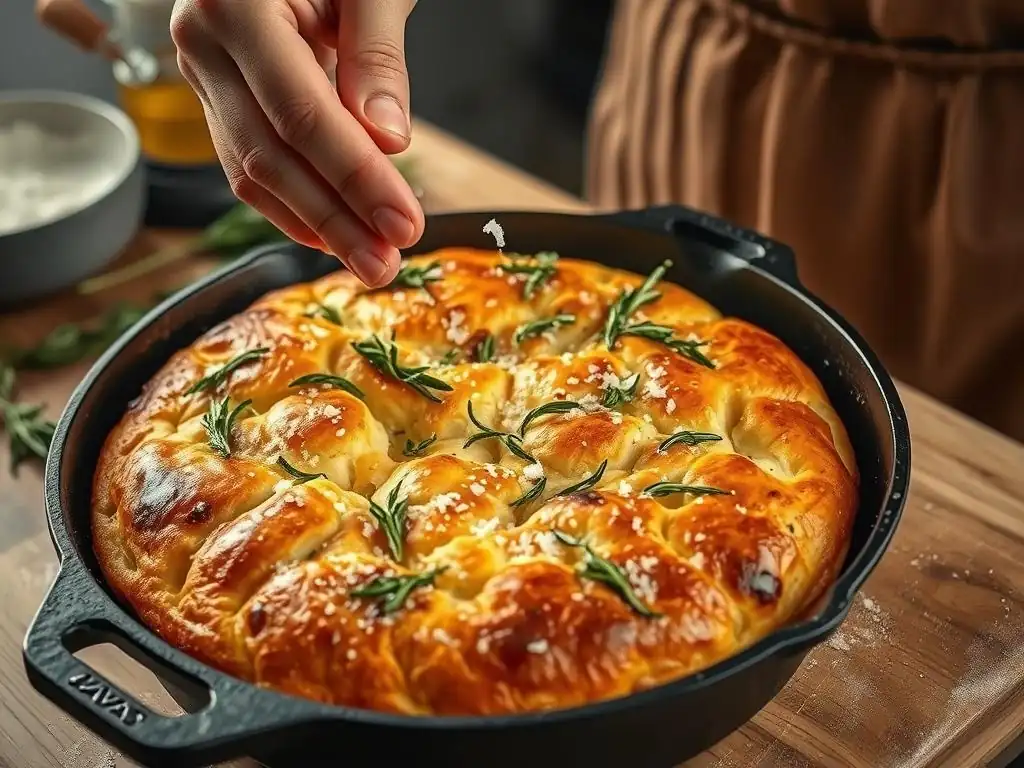
Ready to bake your own delicious focaccia? This recipe is designed specifically for a cast iron skillet, making the process straightforward and yielding incredible results. Follow these steps for a truly easy cast iron focaccia experience right in your kitchen.
Ingredients for the Perfect Cast Iron Focaccia
Gathering the right ingredients is the first step to any successful bake. For a classic easy cast iron focaccia, you'll need just a few simple items. The quality of these ingredients, particularly the flour and olive oil, makes a noticeable difference in the final product's flavor and texture.
Flour Selection for Optimal Focaccia Texture
Choosing the right flour is key to developing the desired chewy yet airy texture of focaccia. All-purpose flour works well and is readily available, providing a good balance of structure and tenderness. For a slightly chewier result with more gluten development potential, you could opt for bread flour, which typically has a higher protein content (around 12-14% compared to 10-12% for all-purpose). Some bakers even blend the two.
Using flour with sufficient protein allows for proper gluten development during mixing and rising. This gluten network traps the gases produced by the yeast, creating those signature large air pockets within the focaccia crumb. Whichever flour you choose, ensure it's fresh for the best performance. A general guideline is that 400-450 grams of flour is typically sufficient for a 10 or 12-inch cast iron skillet, yielding a nice thickness.
Importance of Olive Oil in Cast Iron Focaccia Baking
Olive oil is not just an ingredient in focaccia; it's a foundational element that defines its character. A generous amount is used both in the dough and, crucially, to coat the skillet and the top of the dough before baking. High-quality extra virgin olive oil is recommended for its distinct fruity and peppery notes, which infuse the bread during baking.
The oil in the skillet prevents sticking and helps create that signature crispy, almost fried bottom crust. On top, it facilitates the dimpling process, prevents the dough from drying out, and carries the flavors of toppings like rosemary or garlic. Don't be shy with the olive oil; it's essential for achieving the rich flavor and moist texture characteristic of easy cast iron focaccia.
Ingredient List
Here is a typical ingredient list for an easy cast iron focaccia suitable for a 10-12 inch skillet:
- All-purpose or bread flour: ~400-450 grams (about 3 to 3.5 cups)
- Instant dry yeast: 1 teaspoon (or active dry yeast, see instructions below)
- Fine sea salt: 1.5 to 2 teaspoons (plus flaky sea salt for topping)
- Lukewarm water: ~300-350 ml (about 1.25 to 1.5 cups) - water temperature is important for yeast activation, ideally around 95-105°F (35-40°C)
- Extra virgin olive oil: 4-6 tablespoons for the dough, plus generous amounts (at least 1/4 cup) for the skillet and topping
- Optional toppings: Fresh rosemary sprigs, sliced garlic, olives, cherry tomatoes, flaky sea salt, other herbs.
This list provides a solid base. Adjust water slightly depending on your flour's absorption. Aim for a relatively wet, shaggy dough – a hallmark of easy cast iron focaccia.
Preparing the Focaccia Dough: An Easy Method for Beginners
Making focaccia dough is simpler than many other bread types because it often requires minimal kneading. This recipe uses a straightforward approach perfect for beginners. The key is patience during the rising times, which develop flavor and texture.
Activating the Yeast: A Crucial First Step
If using instant dry yeast, you can often mix it directly with the dry ingredients. However, for active dry yeast, or simply for peace of mind, it's best to activate it first. In a small bowl, combine the lukewarm water (ensure it's not too hot, as this can kill the yeast – think warm bathwater temperature) with the yeast and a pinch of sugar (optional, but gives the yeast a little boost). Stir gently and let it sit for 5-10 minutes.
You'll know the yeast is active when the mixture becomes foamy and bubbly on the surface. This indicates the yeast is alive and ready to work, producing the carbon dioxide needed to make your easy cast iron focaccia light and airy. If it doesn't foam, your yeast may be old or the water temperature was off, and you should start this step again with fresh yeast.
Mixing and Kneading: Achieving the Right Dough Consistency
In a large mixing bowl, combine the flour and fine sea salt. If using instant yeast, add it here. Pour in the activated yeast mixture (or water and instant yeast) and 2-3 tablespoons of the olive oil. Use a wooden spoon or spatula to mix until a shaggy, sticky dough forms and all the flour is incorporated.
This dough is typically quite wet, which contributes to the moist and open crumb structure. Unlike kneading a boule or baguette dough for many minutes, focaccia dough often requires just a few minutes of gentle mixing or a brief, gentle knead (perhaps 5-7 minutes by hand, or 3-5 minutes in a stand mixer with a dough hook). The goal isn't a smooth, elastic ball, but rather a cohesive, very soft, and sticky mass. Resist the urge to add too much extra flour!
First Rise: Allowing the Dough to Develop Flavor
Transfer the shaggy dough to a lightly oiled bowl (using some of that extra virgin olive oil!). Turn the dough to coat it evenly. Cover the bowl tightly with plastic wrap or a damp kitchen towel to prevent the surface from drying out. Place the bowl in a warm, draft-free spot for the first rise.
This rise, also known as bulk fermentation, is crucial for developing flavor and allowing the gluten structure to relax and expand. The dough should roughly double in size, which typically takes anywhere from 1 to 2 hours at room temperature (around 70-75°F or 21-24°C). For a more complex flavor, you can even perform a slow cold fermentation in the refrigerator for 8-24 hours after a short initial rise at room temperature – this adds a wonderful depth to your easy cast iron focaccia.
Baking Focaccia in the Cast Iron Skillet: The BakeWithEase Method
This is where the magic happens! Baking in the cast iron skillet is what makes this focaccia recipe so reliable and easy. Proper preparation of the skillet and handling of the dough are key to success.
Preparing the Cast Iron Skillet: Seasoning and Oiling
Before adding the dough, your cast iron skillet needs to be well-prepared. Ensure your skillet is properly seasoned. A well-seasoned pan will have a smooth, non-stick surface. If your skillet is new or the seasoning is patchy, you might consider a quick re-seasoning.
Generously pour extra virgin olive oil into the bottom of the skillet – don't be shy! You want a visible layer of oil covering the entire base and extending up the sides a little. This layer of oil is crucial for preventing sticking and achieving that signature crispy, golden-brown bottom crust on your easy cast iron focaccia. Aim for at least 1/4 cup of oil for a 10 or 12-inch skillet.
Shaping the Dough: Creating the Signature Focaccia Dimples
Once the dough has completed its first rise, gently transfer it to the prepared, heavily oiled cast iron skillet. The dough will be soft and puffy. Carefully stretch and press the dough outwards to fill the skillet. Because the dough is soft and the skillet is oiled, this should be relatively easy. If the dough resists stretching, let it rest for 10-15 minutes to relax the gluten, then continue stretching.
Once the dough roughly fills the pan, it's time for the iconic focaccia dimples! Dip your fingers in olive oil (or just use the oil already on the dough's surface) and firmly press them down into the dough, all the way to the bottom of the pan. Create indentations across the entire surface. These dimples are not just for looks; they prevent large air bubbles from forming and hold the olive oil and toppings, infusing the bread with flavor.
Second Rise: Proofing the Dough in the Skillet
After shaping and dimpling, cover the skillet (a large plate, plastic wrap, or a baking sheet can work) and let the dough undergo a second rise directly in the pan. Place it in a warm spot for about 30-45 minutes, or until the dough looks puffy and has increased slightly in size again. It won't double like the first rise, but it should look airy and relaxed.
This second rise, or proofing, allows the dough to lighten up after being handled and ensures a tender crumb. While the dough is proofing, this is the perfect time to preheat your oven. Get it nice and hot, typically around 400-425°F (200-220°C). A hot oven is essential for a good initial oven spring and proper crust development for your easy cast iron focaccia.
Toppings and Flavor Combinations: Unleash Your Creativity
Before baking, it's time to add your desired toppings. This is where you can truly make your easy cast iron focaccia your own! Drizzle a final generous amount of olive oil over the dimpled surface before adding toppings. This helps keep the top moist and crisp and carries the flavors.
Classic Rosemary and Sea Salt Focaccia
The most traditional topping, and a perennial favorite. Gently press fresh rosemary sprigs into the dimples and sprinkle generously with flaky sea salt. The salt provides bursts of flavor, and the rosemary infuses the oil and dough with its aromatic essence. This simple combination highlights the bread's texture and the quality of the olive oil.
Roasted Garlic and Herb Focaccia
For a deeper flavor, scatter roasted garlic cloves (roasted beforehand until soft and sweet) and a mix of fresh herbs like thyme, oregano, or parsley over the surface. The sweet, mellow garlic pairs beautifully with the savory bread and fragrant herbs, creating a more complex easy cast iron focaccia.
Sun-Dried Tomato and Olive Focaccia
Adding pieces of sun-dried tomatoes (packed in oil, drained) and pitted olives (like Kalamata or Castelvetrano) provides bursts of intense, savory flavor and a pleasant chewiness. Press them gently into the dimples. This variation is particularly good served with Mediterranean dishes.
Baking Time and Temperature: Achieving Golden Perfection
Place the cast iron skillet with the proofed and topped focaccia dough into your preheated oven. The high temperature helps the dough rise rapidly and begin forming the crust. Bake for approximately 20-30 minutes.
You'll know your easy cast iron focaccia is ready when the top is golden brown, the edges are crispy, and the bottom is deeply golden and sounds hollow when tapped. The exact time will vary depending on your oven and the thickness of your focaccia. If the top is browning too quickly, you can loosely tent it with foil for the last few minutes. Use a spatula to peek under a corner to check the bottom crust color.
Cooling and Serving Your Homemade Cast Iron Focaccia
Patience is key even after the focaccia comes out of the oven! Proper cooling ensures the best texture.
Properly Cooling the Focaccia for Optimal Texture
Once baked, carefully remove the cast iron skillet from the oven. This is important: immediately transfer the focaccia out of the hot skillet onto a wire cooling rack. Leaving it in the pan will cause the bottom to steam and lose its crispness due to the residual heat.
Allow the focaccia to cool on the rack for at least 15-20 minutes before slicing. This cooling period allows the internal structure to set and steam to escape, resulting in that perfect balance of a crispy bottom and a tender, airy interior. Slicing too early can lead to a gummy texture.
Serving Suggestions and Pairings for Your Focaccia
Your warm, homemade easy cast iron focaccia is now ready to enjoy! It's incredibly versatile.
- Serve it warm as is, perhaps with an extra drizzle of olive oil for dipping.
- Slice it horizontally and use it for sandwiches.
- Serve alongside soups, stews, or salads to soak up juices.
- Pair it with cheese and charcuterie for an easy appetizer.
- Enjoy a slice with a glass of wine.
This simple bread elevates almost any meal!
Tips and Tricks for Baking the Best Cast Iron Focaccia
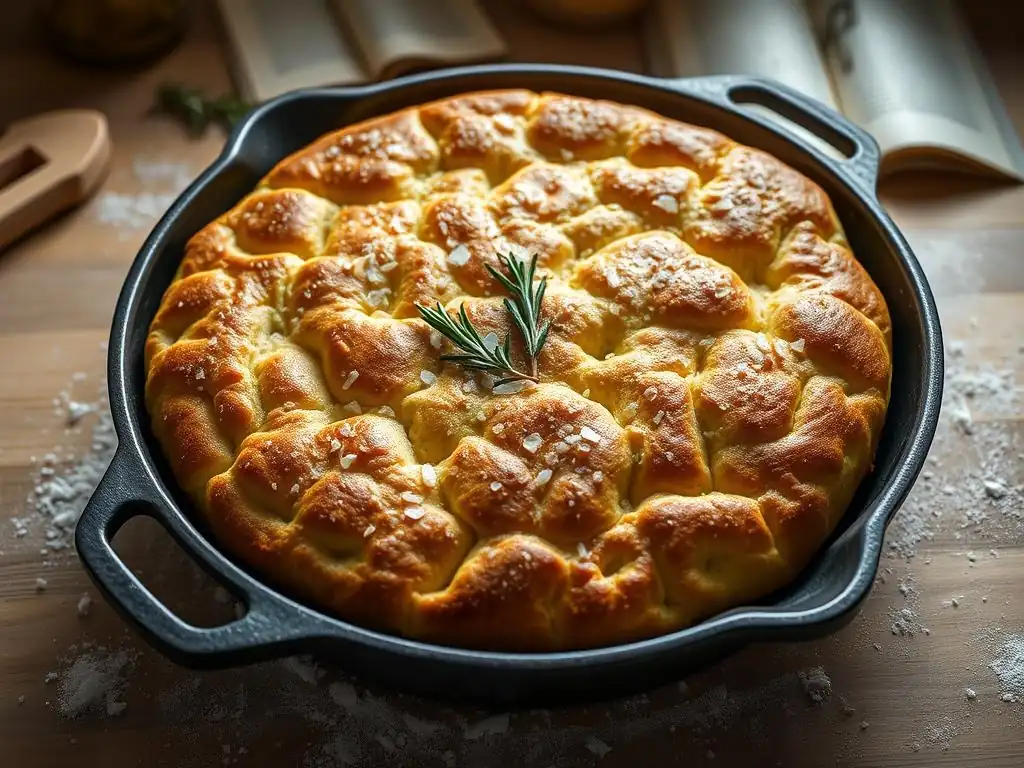
Even with an easy recipe, a few tips can help you achieve consistently excellent results with your cast iron focaccia.
Troubleshooting Common Focaccia Baking Problems
It's normal to encounter small issues when learning a new baking technique. Here are a couple of common ones and how to fix them.
Dough Not Rising
If your focaccia dough isn't rising, the most likely culprits are inactive yeast or incorrect water temperature during activation. Ensure your yeast is fresh (check the expiration date) and stored properly (often in the fridge or freezer after opening). Your water should feel warm, not hot or cool – think bathwater, around 95-105°F (35-40°C). Cold temperatures in your kitchen can also slow down the rise; find a warmer spot or create one (like a slightly warm, turned-off oven). Patience is also key; sometimes dough just needs more time, especially if the environment is cooler.
Focaccia Burning on the Bottom
If the bottom of your easy cast iron focaccia is burning before the top is done, the oven temperature might be too high, or the skillet is too close to the heating element. Try lowering your oven temperature by 25°F (approx 15°C) and/or placing the skillet on a higher rack in the oven, perhaps the middle or upper-middle position. Ensure you used a generous amount of olive oil in the pan; this oil helps conduct heat evenly and prevents direct contact that can lead to scorching.
Mastering the Art of Focaccia Dimples: A Visual Guide
Getting those perfect dimples is part of the fun!
- Step 1: Ensure your fingers are oiled (either from the dough or a separate dip in olive oil).
- Step 2: Press firmly straight down with several fingers (like making piano keys) all the way to the bottom of the pan.
- Step 3: Space the dimples relatively close together, about 1-2 inches apart.
- Step 4: Don't just poke; press and hold for a second to create a defined indentation that will hold oil and toppings.
- Step 5: If the dough springs back excessively, let it rest for 5-10 minutes before trying again. The dough needs to be relaxed after stretching.
Mastering the dimples ensures oil and toppings are distributed evenly and contributes to the bread's texture.
Storing Your Focaccia for Maximum Freshness
Homemade focaccia is best enjoyed fresh, warm from the oven. However, if you have leftovers, proper storage is key.
- At room temperature: Wrap cooled focaccia tightly in plastic wrap or aluminum foil. It will stay relatively fresh for 1-2 days. The crust will soften over time.
- Refrigeration: Not recommended, as it tends to dry out bread quickly.
- Freezing: For longer storage, slice the cooled focaccia and wrap individual slices or portions tightly in plastic wrap, then place in a freezer-safe bag or container. It can be frozen for up to 2-3 months. Reheat in a toaster oven or oven at 350°F (175°C) until warmed through and the crust crisps up again.
Proper storage helps preserve the deliciousness of your easy cast iron focaccia.
Beyond the Basics: Exploring Variations of Cast Iron Focaccia
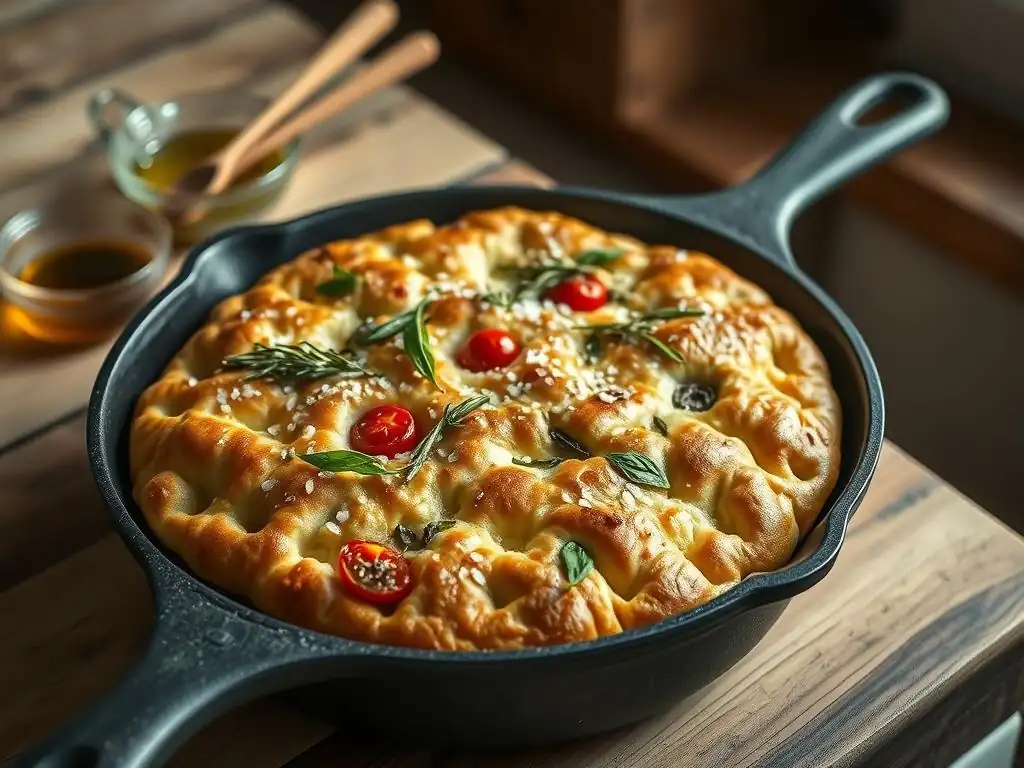
Once you've mastered the basic easy cast iron focaccia, you can explore countless variations. The beauty of this bread is its adaptability to different flavors.
Sweet Focaccia Recipes: A Delicious Twist
While often thought of as savory, focaccia can also be made sweet! Instead of savory toppings, consider drizzling the dimpled dough with honey or maple syrup before baking. You could also add fruit like thinly sliced apples or figs, perhaps with a sprinkle of cinnamon or a crumble topping. This creates a wonderful dessert or brunch item. The base dough remains similar, but the topping transforms it entirely into a sweet treat.
Gluten-Free Cast Iron Focaccia: An Inclusive Baking Option
For those with dietary restrictions, adapting the easy cast iron focaccia recipe is possible using gluten-free flour blends. Look for a high-quality blend designed for bread baking, often containing a mix of rice flour, tapioca starch, and potato starch, along with a binder like xanthan gum. The hydration levels may need adjustment, as gluten-free flours absorb liquids differently. The process of mixing, rising, and baking in the cast iron skillet remains largely the same, offering a delicious gluten-free alternative. Expect a slightly different texture than traditional focaccia, but still a delightful result.
Ligurian Focaccia with Onions
A classic variation hailing from the Liguria region of Italy, Focaccia Ligure often features thinly sliced onions pressed into the surface before baking. Sometimes, the onions are pre-sautéed until soft and sweet. This version is typically thinner than the more common Roman-style focaccia. Baking this thinner dough in a cast iron skillet can yield an exceptionally crispy crust. The sweet, caramelized onions add a depth of flavor that is truly addictive.
Mastering Cast Iron Focaccia: Elevate Your Bread Baking Skills with BakeWithEase
Baking easy cast iron focaccia is a rewarding experience that proves you don't need fancy equipment or years of practice to make incredible bread at home. The reliable heat of the cast iron skillet simplifies the process, ensuring a perfectly crispy bottom and a tender, airy crumb every time.
By following this guide and experimenting with different toppings, you can confidently bake delicious focaccia that will impress your friends and family. It's a fantastic way to build your bread baking skills and enjoy the simple pleasure of warm, homemade bread. Dive in, get your hands a little oily, and discover the joy of baking easy cast iron focaccia with BakeWithEase!
Frequently Asked Questions
What makes baking focaccia in a cast iron skillet a game changer?
Using a cast iron skillet results in a crispier crust and a more evenly baked focaccia. The skillet's heat retention creates a superior texture compared to baking sheets.
Is using a cast iron skillet for focaccia baking suitable for beginners?
Yes! Our recipe is designed to be easy to follow, even for beginners. The cast iron helps to simplify the baking process and yields consistently great results.
Can I use different toppings on my cast iron focaccia?
Absolutely! Feel free to experiment with various toppings such as herbs, olives, vegetables, and cheeses. The cast iron provides a perfect base for creative customization.
What type of cast iron skillet is best for baking focaccia?
A standard 10-12 inch cast iron skillet works best. Ensure the skillet is well-seasoned for optimal release and prevent sticking of the focaccia.
How do I prevent my focaccia from sticking to the cast iron skillet?
Thoroughly grease the skillet with olive oil before adding the dough. A well-seasoned skillet will also provide a natural non-stick surface, further reducing the risk of sticking.
Final Reflection: The Unexpected Joy of Simple Cast Iron Focaccia
The rustic charm of cast iron focaccia transcends mere baking; it's a testament to the power of simple ingredients elevated by mindful technique. This seemingly straightforward recipe unlocks a world of flavor and texture, proving that extraordinary results can stem from uncomplicated processes. In a world obsessed with complexity, this method offers a refreshing counterpoint, reminding us that sometimes, less truly is more.
The enduring appeal of cast iron cooking, coupled with the satisfying rise and crisp crust of focaccia, creates a sensory experience that resonates deeply. It's a connection to a more traditional way of cooking, a slower pace, and a celebration of the humble ingredients that form the foundation of so many delicious meals. The best things in life are simple,
a phrase often heard, rings especially true when considering the effortless elegance of this recipe. The process itself becomes a meditative practice, a moment of calm amidst the chaos of daily life.
Now, I invite you to embrace the simplicity and joy of cast iron focaccia. Don't be intimidated by the seemingly rustic nature of the technique; rather, see it as an opportunity to connect with the food you create, to appreciate the nuances of texture and flavor, and to share the warmth of homemade bread with those you love. Try the recipe, adapt it to your tastes, and discover the unexpected magic that awaits you in your own kitchen. The journey of baking, like life itself, is often found in the simple pleasures.
Unleash Your Inner Focaccia Master!
Thanks for joining us on this focaccia journey! We hope you've gained some delicious insights and inspiration for your next baking adventure. Ready to take your skills to the next level?
- Bake your own cast iron skillet focaccia: Use the recipe and tips from the article to create your masterpiece. Don't be afraid to experiment with different herbs and toppings!
- Share your focaccia creation: Post a picture on social media and tag us @BakeWithEase – we'd love to see your baking triumphs!
- Try a new variation: Challenge yourself to create a unique focaccia flavor combination – perhaps rosemary and sea salt, or even a sweet focaccia with fig and balsamic glaze.
What exciting flavor combination will you try first in your cast iron skillet? Let us know in the comments below!