
Fixing Crumbly GlutenFree Bread: Pro Tips

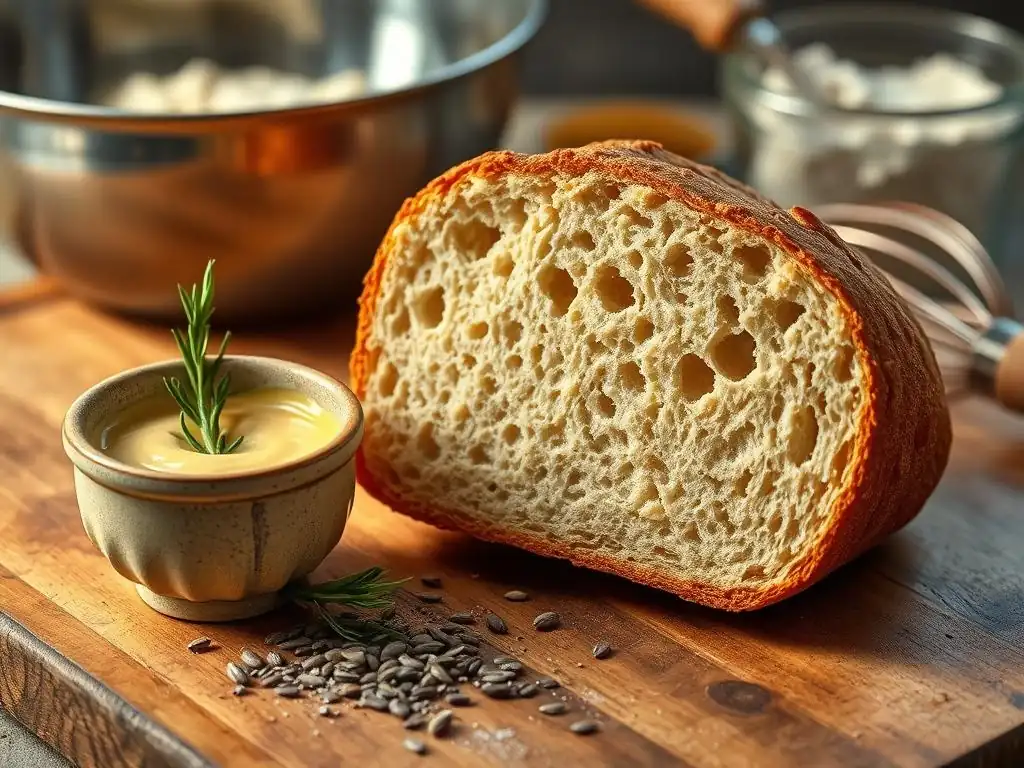
Welcome to BakeWithEase, your friendly guide to baking bliss! Ever wrestled with crumbly Gluten-Free bread? You're not alone! We're diving deep into the secrets of achieving perfect gluten-free loaves, starting with practical solutions to that frustrating crumb. Curious how to transform your baking failures into delicious successes? Let's get started!
- Fixing Crumbly Gluten-Free Bread: Pro Tips from BakeWithEase.com
- Understanding Why Your Gluten-Free Bread is Crumbly
- Troubleshooting Crumbly Gluten-Free Bread: A Step-by-Step Guide
- Pro Tips to Prevent Crumbly Gluten-Free Bread
- Advanced Techniques for Improving Gluten-Free Bread Texture
- Delicious and Stable Gluten-Free Bread: Final Thoughts
-
Frequently Asked Questions
- What are the most common reasons for gluten-free bread being crumbly?
- How can I improve the structure of my gluten-free bread?
- What role does moisture play in preventing crumbly gluten-free bread?
- Are there specific ingredients I should avoid that contribute to crumbliness?
- What baking techniques can help reduce crumbliness in gluten-free bread?
- Final Reflection: The Enduring Quest for the Perfect Gluten-Free Loaf
- Unleash Your Inner Gluten-Free Baker!
Fixing Crumbly Gluten-Free Bread: Pro Tips from BakeWithEase.com
Crumbly gluten-free bread is a common frustration for many home bakers. Unlike traditional wheat bread, which benefits from the elastic network created by gluten, gluten-free loaves rely on a different set of ingredients and techniques to achieve structure and prevent that frustrating crumble. If you've ever sliced into a seemingly perfect loaf only to have it fall apart, you're not alone.
The good news is that with a few adjustments and a deeper understanding of gluten-free ingredients, you can achieve a beautifully stable and delicious crumb. Let's dive into why this happens and how to apply a solid glutenfree bread crumbly fix.
Understanding Why Your Gluten-Free Bread is Crumbly
Baking gluten-free bread presents unique challenges because you're essentially trying to mimic the properties of gluten without using it. Gluten, a protein found in wheat, rye, and barley, develops into a strong, elastic network when kneaded. This network traps gases produced by yeast, allowing the dough to rise and providing structure to the finished loaf. Without gluten, achieving this structure requires alternative binders and careful technique. Understanding the fundamental differences is the first step toward finding a glutenfree bread crumbly fix.
The Role of Gluten in Traditional Bread
In traditional bread making, gluten is the star player for texture. When wheat flour is mixed with water and kneaded, two proteins, glutenin and gliadin, combine to form gluten. This protein network provides elasticity, allowing the dough to stretch and expand as it proofs and bakes. It also gives the bread its characteristic chewiness and holds the crumb together, preventing it from crumbling when sliced. Think of it like a microscopic scaffolding system that supports the entire loaf.
Furthermore, the gluten network helps to trap moisture within the bread. During baking, the starches gelatinize and the gluten structure sets, locking in water molecules. This contributes significantly to the bread's moistness and shelf life. Without this natural binding and moisture retention mechanism, gluten-free loaves are inherently more prone to dryness and brittleness, leading to the dreaded crumbly texture.
Gluten-Free Flour Blends and Their Impact on Texture
Gluten-free baking relies on a variety of alternative flours, each with different properties. Common flours include rice flour (white and brown), tapioca starch, potato starch, sorghum flour, millet flour, and almond flour. Unlike wheat flour, these flours do not contain gluten-forming proteins. To create a functional dough, they must be combined in specific ratios, often including starches for tenderness and structure, and protein flours for nutrition and some structure.
The specific combination of flours in a blend significantly impacts the final texture. For example, using too much rice flour without enough starch can result in a dry, gritty, and crumbly crumb. Conversely, a blend heavy in tapioca starch might yield a gummy texture. A well-balanced blend typically includes a mix of starchy flours (like tapioca or potato) and more protein-rich flours (like brown rice or sorghum) to mimic the structure and moisture retention of wheat-based dough, which is crucial for a glutenfree bread crumbly fix.
Common Culprits: Ingredient Ratios and Mixing Techniques
Beyond the flour blend itself, incorrect ingredient ratios and improper mixing are major contributors to crumbly gluten-free bread. Gluten-free dough generally requires more hydration than wheat dough because the flours absorb liquid differently. Too little liquid is a primary reason for a dry, crumbly loaf. A typical gluten-free bread recipe might have a hydration level (liquid weight compared to flour weight) of 80-100% or even higher, whereas wheat bread might be closer to 60-70%.
Mixing technique is also vital. Unlike wheat dough, which benefits from extensive kneading to develop gluten, gluten-free dough should generally be mixed just until combined. Over-mixing can break down the fragile structure provided by alternative binders. The goal is to evenly distribute ingredients and activate binders like xanthan gum or psyllium husk, not to develop elasticity through kneading. Getting these fundamental steps right is key to preventing a crumbly glutenfree bread result.
Troubleshooting Crumbly Gluten-Free Bread: A Step-by-Step Guide
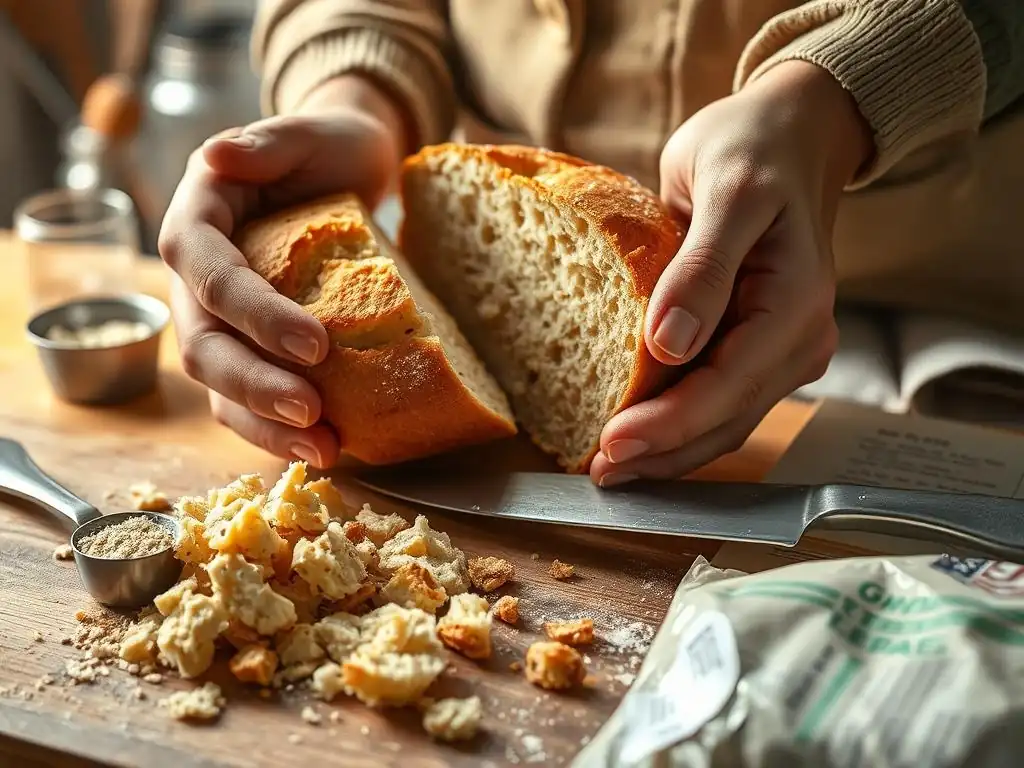
Addressing a crumbly loaf requires a systematic approach, focusing on the core elements of gluten-free baking: the flour blend, hydration, binding agents, mixing, and baking. By fine-tuning each of these areas, you can significantly improve your bread's texture and consistency. This step-by-step guide will walk you through the process of achieving a successful glutenfree bread crumbly fix.
Step 1: Optimizing Your Gluten-Free Flour Blend
The foundation of good gluten-free bread is a balanced flour blend. Many pre-mixed blends exist, but understanding their composition and how to adjust them is powerful. A good general-purpose blend often contains about 40-60% starchy flours (like tapioca, potato, or cornstarch) and 40-60% whole-grain or protein flours (like brown rice, sorghum, or millet). Experimentation based on your specific recipe and desired outcome is often necessary. If your current blend consistently yields crumbly results, try adjusting the ratios or switching to a blend with a different balance.
For example, if your blend is very heavy on brown rice flour, which can be drying, try replacing a portion with white rice flour or adding a bit more tapioca or potato starch. Conversely, if your bread is gummy and crumbly (a common paradox), you might have too much starch or not enough binder. Keeping track of your experiments – perhaps starting with a 50/50 starch/grain ratio and adjusting by 5-10% increments – can help you pinpoint the ideal blend for your recipe and achieve a better glutenfree bread crumbly fix.
Understanding Starch Ratios: Tapioca, Potato, and Rice Flour
Starches like tapioca, potato, and cornstarch play a crucial role in gluten-free baking, contributing to tenderness and helping to bind ingredients. Tapioca starch, derived from the cassava root, provides elasticity and chewiness, often helping to create a lighter texture. Potato starch contributes to a soft, tender crumb and helps retain moisture. Cornstarch is a common thickener and can also contribute to tenderness. White rice flour is often used as a base, providing structure but can be slightly grainy if used in large quantities without enough starch or binder.
A common issue leading to crumbly bread is an imbalance in the starch-to-flour ratio. Too little starch can result in a dense, dry loaf. Too much starch can make the bread gummy and potentially still crumbly due to lack of structural support from other flours.
A starting point might be using starches for about 30-40% of the total flour weight, with the remaining 60-70% being various rice or other gluten-free grain flours. For instance, in a recipe using 500g of flour, you might use 150g tapioca starch, 100g potato starch, and 250g of a mix of brown and white rice flour. Adjusting these percentages slightly can dramatically impact your bread's texture and improve a crumbly glutenfree bread issue.
The Impact of Whole Grain Gluten-Free Flours
Whole grain gluten-free flours, such as brown rice, sorghum, millet, and buckwheat, add flavor, nutrition, and fiber to bread. They also contribute some structure, but they are generally denser and absorb more liquid than refined starches or white rice flour. While essential for a well-rounded loaf, using too high a proportion of whole grain flours without adequate hydration and binding agents is a frequent cause of dryness and crumbling.
To mitigate this, ensure your recipe's hydration level is sufficient for the amount of whole grain flour used. Soaking some whole grain flours (like brown rice flour) in a portion of the recipe's liquid before mixing the main dough can help them absorb moisture more effectively, leading to a softer, less crumbly crumb. Aim for whole grain flours to constitute around 30-50% of your total flour blend, balancing their nutritional benefits and flavor with the textural needs of gluten-free bread. This balance is key to a successful glutenfree bread crumbly fix.
Step 2: Mastering Hydration: Achieving the Right Dough Consistency
Hydration is perhaps the single most critical factor in preventing crumbly gluten-free bread. Gluten-free flours absorb liquid differently and often require significantly more water or other liquids (like milk or buttermilk) than wheat flour. The dough consistency for gluten-free bread is usually much wetter and stickier than traditional wheat dough – often resembling a thick batter rather than a kneadable dough. Trying to achieve a wheat-like dough consistency will almost guarantee a dry, crumbly result.
The ideal hydration level varies depending on the specific flour blend used, the recipe, and even environmental factors like humidity. A good starting point for many gluten-free sandwich bread recipes is a hydration level between 85% and 100% (weight of liquid divided by weight of flour). This means for every 100 grams of flour, you might use 85 to 100 grams of liquid.
Visually, the dough should be very soft, sticky, and not hold a firm shape on its own; it might need to be spooned or scraped into the loaf pan. Proper hydration is foundational to a good glutenfree bread crumbly fix.
Adjusting Liquid Based on Flour Blend
Different gluten-free flours absorb liquid at different rates. Whole grain flours like brown rice, sorghum, and teff typically absorb more liquid than refined flours like white rice or starches like tapioca. If your blend is heavy on whole grains, you will likely need more liquid than if it's primarily white rice and starches. For example, a blend with 50% brown rice flour might require 95-100% hydration, while a blend with 50% white rice flour might only need 85-90%.
Pay close attention to the dough's consistency as you mix. If it looks thick and paste-like, it's likely too dry. Add additional liquid, a tablespoon at a time, mixing well after each addition, until the dough is soft, sticky, and resembles a thick cake batter or a very soft cookie dough. It should not be stiff or easily shaped by hand. This careful adjustment based on your specific flour blend is crucial for preventing a crumbly glutenfree bread outcome.
Recognizing Under-Hydrated and Over-Hydrated Dough
Identifying the correct dough consistency comes with practice. Under-hydrated dough will look dry, stiff, and potentially crumbly even in the mixing bowl. It won't spread easily and will feel dense. Bread baked from under-hydrated dough will inevitably be dry, dense, and very crumbly. This is a common pitfall when transitioning from wheat baking.
Over-hydrated dough, while less common as a cause of crumbling (it's more likely to result in a gummy, collapsing loaf), can also affect texture negatively. It will be extremely wet and might not hold any shape at all. While gluten-free dough is wet, it shouldn't be watery. The key is finding the sweet spot where the dough is wet enough to be pliable and moist but still has enough structure from the binders and flours to hold some form, especially when supported by a loaf pan. Getting hydration right is a major part of the glutenfree bread crumbly fix.
Step 3: Binding Agents: Ensuring Structure and Stability
Since gluten is absent, gluten-free bread relies on alternative binding agents to hold the crumb together and prevent it from crumbling. The most common binders are xanthan gum and psyllium husk (or psyllium husk powder). These ingredients absorb moisture and form a gel-like substance that mimics some of the structural properties of gluten, providing elasticity and cohesion to the dough. Using the correct amount of binder is absolutely essential for a non-crumbly loaf.
Using too little binding agent is a primary reason gluten-free bread crumbles. Without enough binder, the various flours and starches lack the "glue" needed to stick together once baked and cooled. Conversely, using too much binder, particularly xanthan gum, can result in a gummy or slimy texture. Finding the right balance, often specified in recipes or requiring slight adjustment based on your flour blend, is key to a successful glutenfree bread crumbly fix.
Optimizing Xanthan Gum Usage
Xanthan gum is a popular binder derived from the fermentation of sugar by a bacterium. It's very effective at providing elasticity and structure in gluten-free baking. The typical usage rate for xanthan gum in gluten-free bread is about 1/2 teaspoon to 1 teaspoon per cup of gluten-free flour blend (or roughly 0.5% to 1% of the total flour weight). However, this can vary depending on the specific flour blend and recipe. Some blends come with xanthan gum already added, so check your packaging.
If your bread is consistently crumbly, ensure you are adding the correct amount of xanthan gum as specified by a reliable recipe. If the recipe seems low on binder, you might try increasing it slightly, perhaps by 1/4 teaspoon per cup of flour, in your next bake. Keep notes of your adjustments. Using too much xanthan gum can make the bread dense and gummy, so it's a balance. Starting with a tested recipe's recommendation and adjusting minimally is a good approach for a better glutenfree bread crumbly fix.
Exploring Psyllium Husk and Flaxseed Meal as Binders
Psyllium husk, derived from the seeds of the Plantago ovata plant, is another excellent binding agent, often favored for its ability to create a more open crumb structure compared to xanthan gum. It absorbs a significant amount of water, forming a gel that adds elasticity and helps hold the bread together.
Psyllium husk powder (finely ground husk) is more potent than whole husks, so recipes will specify which to use and the corresponding amount. Whole psyllium husk is typically used at a rate of around 1 tablespoon per cup of flour, while the powder is less, maybe 1-2 teaspoons per cup.
Flaxseed meal (ground flaxseeds), when mixed with water, forms a viscous gel often called a "flax egg." While not as powerful a binder as xanthan gum or psyllium husk for the primary structure of a loaf, it can be used in combination with other binders or in recipes specifically developed for it. Flaxseed also adds healthy fats and fiber, which can contribute to moisture and a softer crumb, indirectly helping to prevent a crumbly glutenfree bread texture. Experimenting with these binders, perhaps using a blend of psyllium and xanthan gum, can yield excellent results.
Step 4: Mixing Techniques: Incorporating Air and Developing Structure
Unlike wheat dough, which requires forceful kneading to develop gluten, gluten-free dough benefits from gentle mixing. The goal is to thoroughly combine the ingredients and activate the binders without overworking the dough. Over-mixing can introduce too much air initially, which might collapse later, or it can break down the delicate structure formed by the alternative binders, leading to a poor rise and a crumbly texture.
Use a stand mixer with a paddle attachment or a hand mixer for best results, mixing on medium speed just until all the dry ingredients are incorporated into the wet ingredients and the dough is uniform and sticky. This usually takes only 3-5 minutes. Avoid the temptation to knead by hand like traditional bread. The consistency should be like a thick batter that can be spooned or scraped into the pan, not formed into a ball. Proper mixing sets the stage for a good rise and a less crumbly loaf, contributing to a better glutenfree bread crumbly fix.
Gentle Mixing for Gluten-Free Dough
The structure in gluten-free bread comes from the interaction of starches, proteins, and binders (like xanthan gum or psyllium) when hydrated. This structure is more fragile than the robust gluten network. Gentle, thorough mixing ensures these components are evenly distributed and begin to hydrate and form their gel-like structure without being stressed or broken.
Mix just until you no longer see streaks of dry flour. The dough should be smooth and consistent. If using a stand mixer, you might see the dough pull away from the sides slightly, but it will still be very sticky and soft. Hand mixing with a sturdy spoon or spatula is also possible but requires more effort to ensure even distribution. Gentle handling throughout the mixing and shaping (or rather, transferring) process helps preserve the developing structure, reducing the likelihood of a crumbly outcome.
The Importance of Dough Relaxation or Proofing
After mixing, gluten-free dough needs time to rest and rise, a process often called proofing. During this time, the yeast produces gas, causing the dough to expand, and importantly, the binders continue to absorb liquid and the flour particles fully hydrate. This hydration process is critical for developing a moist, tender crumb. Skipping or shortening the proofing time can result in a dense, dry, and crumbly loaf because the flours haven't had sufficient time to absorb the available liquid and the binders haven't fully gelled.
Proofing typically takes place in a warm, draft-free environment. The dough might not double in size like wheat dough, but it should visibly increase in volume, perhaps by 50-75%. The exact time will depend on the recipe, yeast activity, and room temperature, but it often ranges from 45 minutes to 1.5 hours for the first rise. Allowing adequate proofing time is a simple yet effective step towards a better glutenfree bread crumbly fix.
Step 5: Optimizing Baking Temperature and Technique
Even with a perfectly mixed and proofed dough, improper baking can ruin the texture. Baking temperature and time are crucial for setting the structure, developing the crust, and ensuring the interior is fully cooked without drying out. Gluten-free bread often benefits from a slightly lower oven temperature after an initial hot blast, or consistent moderate heat, compared to some wheat breads, to allow the interior to cook through before the crust becomes too hard and sets too quickly, potentially restricting expansion and leading to a dense, crumbly center.
A common baking approach involves preheating the oven to a moderately high temperature (e.g., 400-425°F or 200-220°C) for the first 15-20 minutes to give the loaf a good initial lift, then reducing the temperature (e.g., to 375-400°F or 190-200°C) for the remainder of the baking time. The total baking time for a standard loaf is often 45-60 minutes. Underbaking will result in a gummy, dense interior, while overbaking will dry out the loaf, making it hard and crumbly.
Achieving a Golden Crust and Fully Baked Interior
A visually appealing golden-brown crust is a good indicator of doneness, but it's not the only one. The crust forms as the surface moisture evaporates and sugars caramelize. While a good crust provides structural support, it shouldn't be excessively thick or hard, as this can sometimes contribute to a crumbly interior by constricting the crumb development. If your crust is too pale, increase the initial baking temperature slightly or bake for a few extra minutes. If it's browning too quickly while the inside is still raw, cover the loaf loosely with foil and reduce the oven temperature.
Ensuring the interior is fully baked is paramount for texture. An underbaked interior will be moist but dense and gummy, while a properly baked loaf will have a set, albeit soft, crumb. The best way to check for doneness is using an internal thermometer.
Using a Thermometer for Accurate Doneness
Relying solely on visual cues or tapping the bottom of the loaf can be unreliable for gluten-free bread. The most accurate way to determine if your gluten-free bread is fully baked is to measure its internal temperature using an instant-read thermometer.
Insert the thermometer into the center of the loaf from the bottom or side, avoiding any inclusions like seeds or nuts. Gluten-free bread is typically done when the internal temperature reaches between 200°F and 210°F (93°C and 99°C). Baking to this temperature range ensures that the starches have fully gelatinized and the structure has set, resulting in a stable, non-crumbly crumb. Baking to a consistent internal temperature is one of the most reliable steps for a consistent glutenfree bread crumbly fix.
Pro Tips to Prevent Crumbly Gluten-Free Bread
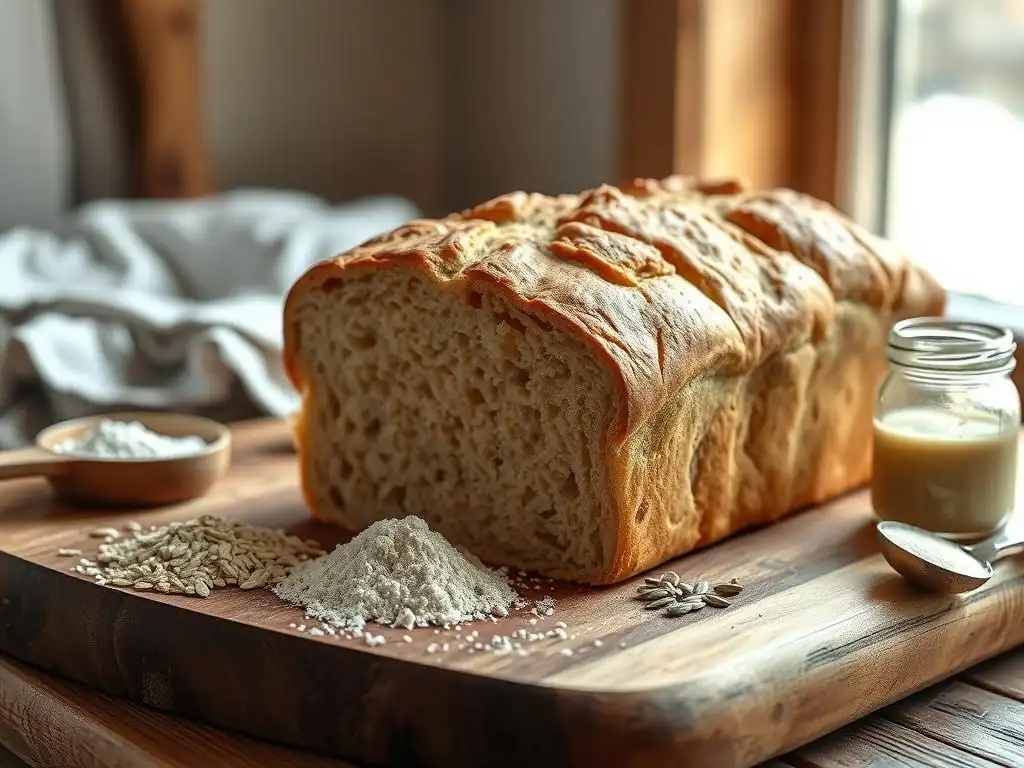
Beyond the foundational steps, several techniques can further enhance the texture of your gluten-free bread, making it less prone to crumbling and more enjoyable to eat. These tips often involve adding ingredients that improve moisture retention or using specific baking methods. Incorporating just one or two of these pro tips can make a significant difference in your quest for a perfect glutenfree bread crumbly fix.
Tip #1: Incorporating Acid: Adding Apple Cider Vinegar or Lemon Juice
Adding a small amount of acid, such as apple cider vinegar or lemon juice, to your gluten-free bread dough can help improve the texture and reduce crumbliness. Acid affects the behavior of proteins and starches in the dough, helping them to set more effectively and create a softer, more cohesive crumb. It can also interact with binders like psyllium husk, enhancing their gelling properties.
Typically, just 1 to 2 teaspoons of apple cider vinegar or lemon juice per loaf is sufficient. Add it to the wet ingredients before combining with the dry. Don't worry; the acidic flavor usually bakes out, leaving no discernible taste in the finished bread. This simple addition is a well-known secret among experienced gluten-free bakers for achieving a better texture and preventing a crumbly glutenfree bread result.
Tip #2: Adding Fat: Oils or Butters for a Softer Crumb
Including a source of fat, like oil (vegetable, olive, or melted coconut oil) or softened butter, is another effective way to combat dryness and crumbliness in gluten-free bread. Fat coats the flour particles, preventing them from drying out excessively during baking and contributing to a softer, more tender crumb. It also adds richness and can help extend the bread's shelf life.
Many gluten-free bread recipes include a few tablespoons of oil or butter. If your current recipe lacks fat and results in a crumbly loaf, consider adding 2-4 tablespoons of a neutral oil or melted butter to the wet ingredients in your next attempt. This added fat helps to lubricate the crumb structure, making it less likely to break apart when sliced. It's a straightforward method for improving the texture and achieving a better glutenfree bread crumbly fix.
Tip #3: Steam Baking: Creating a Crisp Crust and Moist Interior
Baking gluten-free bread in a steamy environment can dramatically improve its texture. Steam helps keep the surface of the dough moist during the initial phase of baking, allowing it to expand more freely before the crust sets. This can lead to a better rise and a lighter, more open crumb. The moist environment also helps prevent the crust from forming too quickly and becoming excessively hard, which can sometimes contribute to a dry interior.
You can create steam by placing a pan of hot water on the bottom rack of your oven when you preheat it, or by pouring water into a hot pan (like a cast iron skillet) placed on the bottom rack just as you put the bread in (be cautious of the steam!). Another method is to bake the bread in a covered pot or Dutch oven for the first 20-30 minutes, removing the lid for the remainder of the baking time to allow the crust to brown.
Steam baking is a powerful technique for achieving a beautiful crust and a moist, less crumbly interior.
Tip #4: Cooling and Slicing Techniques: Preventing Crumbling
Even a perfectly baked gluten-free loaf can fall apart if not handled correctly after it comes out of the oven. Gluten-free bread needs time to cool completely on a wire rack before slicing. As the bread cools, residual heat continues to cook the interior slightly, and more importantly, the internal moisture redistributes throughout the loaf. Slicing a warm loaf traps steam inside, which can lead to a gummy texture, and the structure is still fragile, making it highly susceptible to crumbling.
Allow your gluten-free bread to cool for at least 2-3 hours, or ideally, until it reaches room temperature. Use a sharp serrated knife to slice the cooled loaf with a gentle sawing motion rather than pressing down. Pressing or using a dull knife will crush the crumb and cause it to crumble. Proper cooling and slicing are the final, crucial steps in ensuring your hard work results in a stable, sliceable loaf and provides the ultimate glutenfree bread crumbly fix after baking.
Advanced Techniques for Improving Gluten-Free Bread Texture
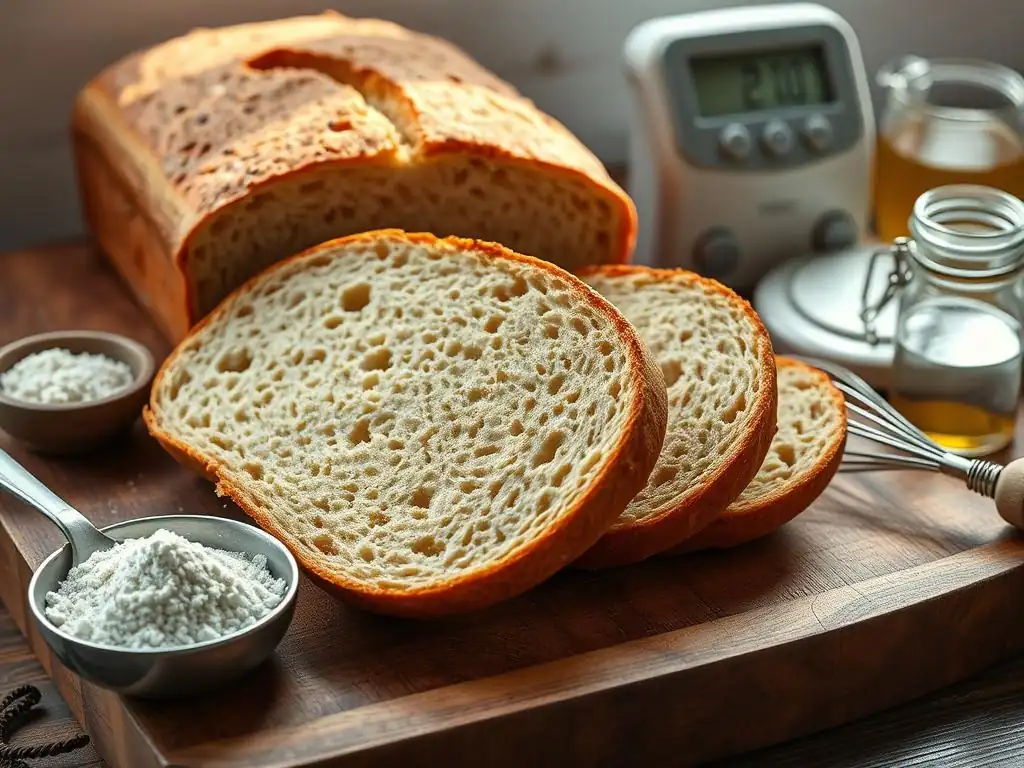
Once you've mastered the fundamentals of hydration, binding, and baking, you can explore more advanced techniques used by professional bakers to elevate the texture and moisture retention of gluten-free bread. These methods require a bit more time or preparation but can yield loaves with superior softness, structure, and shelf life.
Using a Tangzhong or Water Roux for Enhanced Moisture
A tangzhong (Chinese) or water roux (Japanese) is a technique where a small portion of the flour from the recipe is cooked with a liquid (usually water or milk) to form a thick paste before being added to the main dough. This pre-gelatinizes the starches in the flour, allowing them to absorb and retain significantly more liquid than they would in their raw state.
When the tangzhong is incorporated into the dough, it brings this extra moisture with it, resulting in a softer, more tender crumb that stays fresh longer. For gluten-free bread, a tangzhong is typically made with a gluten-free flour blend or just a starchy component like tapioca or rice flour. The ratio is usually 1 part flour to 5 parts liquid, cooked until thickened. Using a tangzhong is an excellent method for improving moisture retention and providing a strong glutenfree bread crumbly fix.
Overnight Proofing for Flavor Development
While not strictly a fix for crumbliness caused by structural issues, allowing gluten-free dough to proof slowly in the refrigerator overnight can improve both flavor and texture. The long, slow fermentation process allows the yeast to develop more complex flavors. More importantly for texture, the extended cold proofing time gives the flours and binders ample opportunity to fully hydrate and for the dough's structure to stabilize gradually.
Cold proofing often results in a bread with a better rise and a more even, less crumbly crumb. Place the shaped dough (in its pan) in the refrigerator after a short initial warm proof (or sometimes immediately after mixing, depending on the recipe). Allow it to proof for 8-24 hours. Before baking, let the dough sit at room temperature for 30-60 minutes while the oven preheats. This slow process is a great way to enhance both the taste and structural integrity of your gluten-free loaf.
Experimenting with Different Gluten-Free Bread Recipes
Not all gluten-free bread recipes are created equal. Some are inherently better formulated to produce a soft, stable loaf than others. If you've tried troubleshooting your current recipe without success, it might be time to explore different approaches and recipes. Look for recipes developed by experienced gluten-free bakers or those from reputable sources that specifically address texture and structure.
Recipes that use a combination of binders (like both xanthan gum and psyllium) or incorporate techniques like tangzhong or acid are often more successful at preventing crumbliness. Don't be afraid to try a recipe with a different flour blend composition or a higher hydration level than you're used to. Keeping a baking journal to note what worked and what didn't with each recipe and adjustment will help you refine your technique and find the perfect glutenfree bread crumbly fix for your kitchen.
Delicious and Stable Gluten-Free Bread: Final Thoughts
Baking delicious gluten-free bread that holds together beautifully when sliced is a rewarding achievement. It requires understanding the unique properties of gluten-free ingredients and adjusting your techniques accordingly. By paying close attention to your flour blend's composition, mastering proper hydration levels, ensuring adequate binding, using gentle mixing, optimizing baking, and allowing for proper cooling, you can overcome the common challenge of crumbly bread.
Remember that gluten-free baking is often a process of experimentation. Don't get discouraged by a less-than-perfect loaf. Each bake is a learning opportunity. By systematically troubleshooting and applying the tips and techniques discussed here, you are well on your way to consistently baking stable, soft, and utterly delicious gluten-free bread that you can proudly slice and enjoy. Achieving that perfect glutenfree bread crumbly fix is within your reach!
Mastering Gluten-Free Baking with BakeWithEase.com
At BakeWithEase.com, our goal is to empower you with the knowledge and techniques to bake with confidence, no matter your dietary needs. We believe that everyone should be able to enjoy fresh, homemade bread. Our resources are designed to simplify complex baking concepts and provide you with reliable recipes and tips.
Whether you're just starting your gluten-free baking journey or looking to refine your skills, BakeWithEase.com is here to help. We offer a variety of gluten-free recipes, from simple sandwich loaves to more elaborate enriched breads, all tested and designed for success. Explore our collection and discover the joy of baking beautiful, non-crumbly gluten-free bread right in your own kitchen.
[Call to action: Link to a Gluten-Free Sandwich Bread Recipe]
Frequently Asked Questions
What are the most common reasons for gluten-free bread being crumbly?
Gluten-free bread is often crumbly due to the lack of gluten, which provides structure. Other culprits include insufficient binding agents and incorrect hydration levels.
How can I improve the structure of my gluten-free bread?
Adding binding agents like xanthan gum or psyllium husk is crucial. Also, ensure you're using the correct flour blend designed for bread baking.
What role does moisture play in preventing crumbly gluten-free bread?
Proper hydration is essential; gluten-free flours absorb liquid differently than wheat flour. Experiment with adding a tablespoon of extra liquid at a time until the dough reaches the right consistency.
Are there specific ingredients I should avoid that contribute to crumbliness?
While not always avoidable, using too much of a single heavy flour, like almond flour, can lead to a crumbly texture. A balanced flour blend is key.
What baking techniques can help reduce crumbliness in gluten-free bread?
Allow the bread to cool completely before slicing. Also, consider resting the dough before baking to allow the binding agents to fully hydrate.
Final Reflection: The Enduring Quest for the Perfect Gluten-Free Loaf
The struggle for a consistently soft, non-crumbly gluten-free bread remains a very real challenge for millions, impacting not just dietary needs but also the simple pleasure of enjoying a good slice of bread. This persistent issue highlights the complexities of baking without gluten, a protein crucial for the elasticity and structure of traditional bread. The solutions, as explored in this article, require careful attention to detail, from ingredient selection to baking technique.
The journey to mastering gluten-free bread baking is a testament to human ingenuity and adaptability. It's a reflection of our commitment to finding delicious and satisfying alternatives, even when faced with dietary restrictions. The ongoing search for the perfect gluten-free loaf speaks to a deeper need for connection – the comfort of a familiar food, the joy of sharing a meal, the simple satisfaction of a perfectly toasted slice. Food is symbolic of love when words are inadequate.
- Alan D. Wolfelt. This quote resonates deeply with the emotional connection many have with bread, a connection that transcends mere sustenance.
Now, consider your own baking experiences. Have you encountered the frustrating crumbliness of gluten-free bread? I encourage you to experiment with the tips outlined in this article, to embrace the challenge, and to discover the joy of creating a gluten-free loaf that meets your expectations. Don't be discouraged by initial setbacks; the path to perfecting your gluten-free bread is a journey of learning, adaptation, and ultimately, delicious reward. The perfect loaf awaits – go forth and bake!
Unleash Your Inner Gluten-Free Baker!
Thanks for taking the time to explore the secrets to perfect gluten-free bread! We hope you now feel empowered to tackle those crumbly loaves head-on. Ready to put your newfound knowledge into practice?
- Bake your best gluten-free bread yet! Try out one of the recipes mentioned, or experiment with your own, using the tips we shared. This is your chance to create the perfect loaf.
- Share your baking triumphs (and challenges!) Let's build a community of gluten-free bakers. Share your experiences and photos in the comments below.
- Consider exploring other resources on our site for more inspiration and tips!
What unique ingredient will you try next to elevate your gluten-free baking game?