
Why Your GlutenFree Bread is Dense (and How to Fix It)

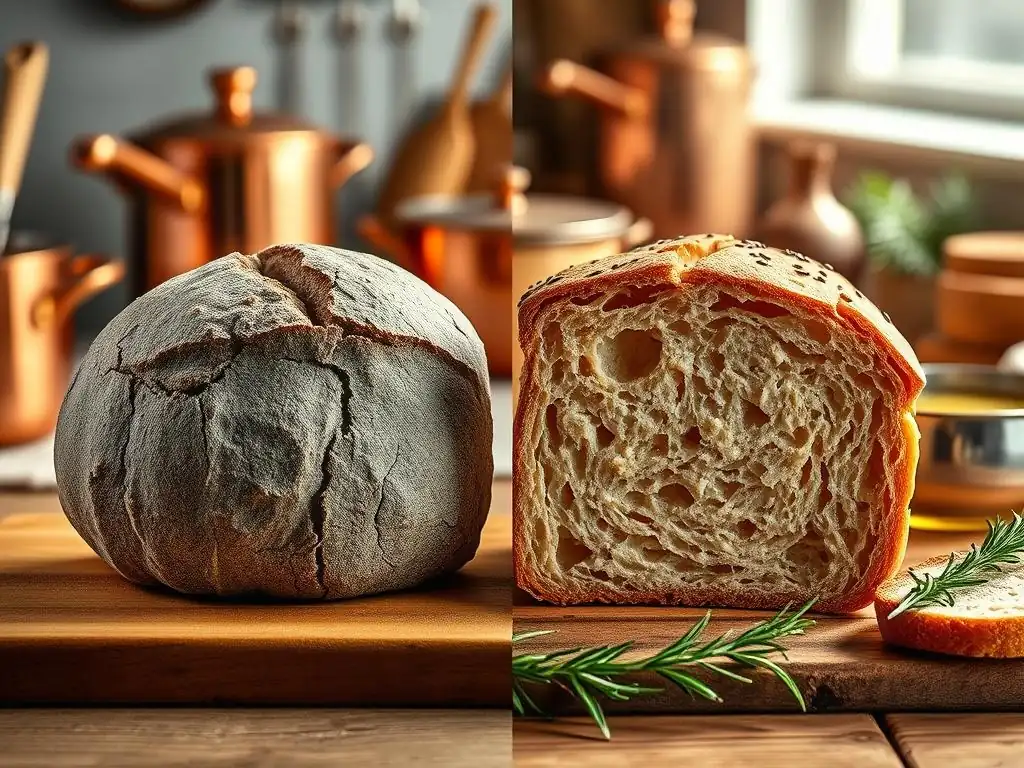
Welcome to BakeWithEase, your trusted guide to baking brilliance! Ever wondered why your gluten-free bread ends up more like a brick than a fluffy masterpiece? Dive in as we unravel the mystery of glutenfree bread dense fix, revealing the secrets to achieving that perfect, airy texture you've been dreaming of. Get ready to say goodbye to dense disappointments and hello to delicious, gluten-free loaves that will impress everyone!
- Understanding the Density Problem in Gluten-Free Bread
-
Common Causes of Dense Gluten-Free Bread
- 1. Incorrect Flour Blend: Choosing the Right Gluten-Free Flours
- 2. Insufficient Leavening: Getting the Rise You Need
- 3. Lack of Binding Agents: Replacing Gluten's Binding Power
- 4. Insufficient Hydration: The Importance of Moisture
- 5. Improper Mixing Techniques: Developing Structure Without Gluten
- 6. Incorrect Baking Temperature and Time: Achieving a Fully Baked Loaf
- Troubleshooting Dense Gluten-Free Bread: A Step-by-Step Guide
- Gluten-Free Bread Baking Tips for a Lighter, Fluffier Loaf
- Achieving the Perfect Gluten-Free Bread Texture: Recipe Adjustments
- Mastering Gluten-Free Bread: Say Goodbye to Dense Loaves.
-
Frequently Asked Questions
- Why is my gluten-free bread so dense?
- What are some common mistakes that lead to dense gluten-free bread?
- How can I make my gluten-free bread lighter and fluffier?
- What ingredients can I use to improve the structure of gluten-free bread?
- Can kneading or proofing techniques affect the density of gluten-free bread?
- Final Reflection: The Unexpected Journey of Gluten-Free Baking
- Unleash Your Inner Baker: Light & Fluffy Gluten-Free Bread Awaits!
Understanding the Density Problem in Gluten-Free Bread
What Makes Gluten-Free Bread Different? The Absence of Gluten
The fundamental difference between traditional wheat bread and gluten-free bread lies in the protein network formed by gluten. In wheat dough, when water is added to flour and mixed, the gluten proteins (gliadin and glutenin) link together to create an elastic, stretchy matrix. This network traps the gases produced by yeast or chemical leaveners, allowing the dough to rise and develop a light, airy structure. Think of it like a balloon that inflates as gas is produced – the gluten network is the balloon's skin.
Without gluten, this inherent structure is missing. Gluten-free flours are derived from various grains, seeds, nuts, or starches (like rice, tapioca, potato, almond, oat), none of which contain the gluten-forming proteins. This means that gluten-free dough lacks the natural elasticity and ability to trap gas effectively on its own. The challenge in gluten-free baking is to replicate these crucial functions using alternative ingredients and techniques to achieve a texture that isn't heavy or crumbly.
Why Gluten-Free Bread Often Turns Out Dense
The primary reason gluten-free bread frequently ends up dense is the difficulty in creating a stable structure that can hold air and rise adequately. Unlike wheat dough, which becomes stronger and more elastic with kneading, gluten-free doughs often behave more like batters or wet mixtures. They lack the internal framework to support themselves as they proof and bake. If the dough can't trap enough gas or collapse under its own weight during baking, the result is a loaf that is heavy, compact, and often gummy – the classic dense gluten-free bread.
This lack of structure is compounded by several factors, including using the wrong combination of flours, insufficient leavening, inadequate binding agents, or improper hydration. Each of these elements plays a critical role in compensating for the absence of gluten. Failing to address any of them can lead to a frustratingly dense outcome, making the glutenfree bread dense fix a common quest for home bakers. Understanding these underlying causes is the first step toward achieving a lighter, fluffier gluten-free loaf.
Common Causes of Dense Gluten-Free Bread
1. Incorrect Flour Blend: Choosing the Right Gluten-Free Flours
The Importance of a Balanced Gluten-Free Flour Mix
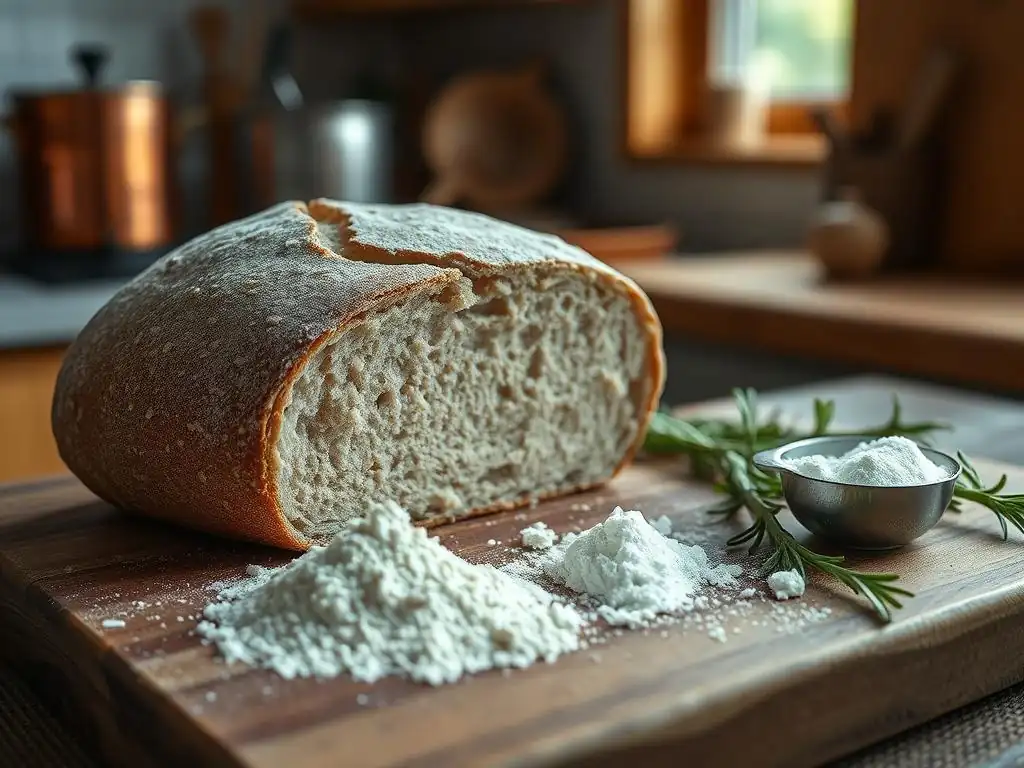
Creating a successful gluten-free bread requires a carefully balanced blend of flours, not just a single type. Different gluten-free flours bring different properties to the mix. For example, white rice flour provides structure but can be gritty and heavy, while tapioca starch adds chewiness and helps with browning but lacks protein.
Sorghum flour offers a good balance of protein and fiber, contributing to structure and flavor, while almond flour adds moisture and richness but can make the bread too crumbly if used in large quantities. A balanced blend typically combines heavier, protein-rich flours (like sorghum, brown rice, or oat flour) with lighter starches (like tapioca, potato, or cornstarch) to mimic the structure and texture provided by wheat flour.
Using a single type of gluten-free flour, or a pre-made blend that isn't suitable for bread making, is a common reason for dense results. For instance, using only white rice flour often leads to a hard, brick-like loaf because it lacks the elasticity and binding power needed. Conversely, using too much starch can result in a gummy texture.
A good bread blend might contain roughly 40-60% whole-grain flours and 40-60% starches, plus the necessary binding agents. Experimenting with ratios, perhaps starting with a blend that is 40% brown rice flour, 20% sorghum flour, 20% tapioca starch, and 20% potato starch, can be a starting point for finding a glutenfree bread dense fix.
Common Mistakes in Gluten-Free Flour Selection
One frequent error is using a pre-made gluten-free flour blend intended for general baking (like cookies or cakes) for bread recipes. These blends often have a different ratio of flours and starches and may not contain enough protein or the right kind of starch needed for a good bread structure. Another mistake is substituting flours haphazardly. Replacing a cup of sorghum flour with a cup of almond flour, for example, will drastically change the dough's hydration needs and structure, likely leading to a dense outcome.
Ignoring the properties of individual flours is also detrimental. Heavier flours like chickpea or fava bean flour can add great flavor and protein but absorb a lot of liquid and can make the bread dense if not balanced with lighter flours and starches. Conversely, using too much fine white rice flour without sufficient starch or binder can result in a dry, crumbly loaf that still feels dense because it didn't rise properly. Understanding the role each flour plays – structure, binding, texture, flavor – is key to selecting the right combination for preventing a dense gluten-free loaf.
2. Insufficient Leavening: Getting the Rise You Need
Yeast vs. Baking Powder/Soda in Gluten-Free Baking
Leavening agents are crucial for introducing air into the dough, helping it rise and become light. In gluten-free bread baking, both biological leaveners (yeast) and chemical leaveners (baking powder and baking soda) are used, sometimes together. Yeast ferments sugars in the dough, producing carbon dioxide gas, which creates air pockets and contributes to flavor and texture over a longer proofing time. Baking powder and baking soda, when combined with liquid and/or acid, produce carbon dioxide much more quickly, providing a faster lift, often used in quick breads but also sometimes added to yeast-leavened gluten-free doughs for extra boost.
While yeast is the traditional leavener for loaf bread, gluten-free dough doesn't have the same strong gluten network to trap the gas it produces. This often means that gluten-free yeast breads require more leavening than their wheat counterparts, or a combination of yeast and chemical leaveners, to achieve sufficient rise. Relying solely on yeast without ensuring its vitality or providing enough of it can easily result in a dense, heavy loaf.
How to Properly Activate Yeast for Gluten-Free Bread
Ensuring your yeast is active is paramount, especially in gluten-free baking where you need every bit of lift you can get. Dry active yeast should typically be proofed first in a warm liquid (around 105-115°F or 40-46°C) with a pinch of sugar for about 5-10 minutes. If the mixture doesn't become foamy and bubbly within this time, the yeast is likely dead and won't leaven your bread. Using water that is too hot will kill the yeast, while water that is too cold will inhibit its activity.
Instant yeast can often be mixed directly with the dry ingredients, but proofing it first in warm liquid is a good safeguard, particularly if you're unsure of its freshness. Using the correct amount of yeast is also vital. Many gluten-free bread recipes call for slightly more yeast than traditional recipes – often around 1.5 to 2.25 teaspoons per loaf, or even more depending on the flour blend and recipe specifics, to help combat the tendency for gluten-free bread density.
Measuring and Using Chemical Leaveners Effectively
When a recipe calls for baking powder or baking soda, accurate measurement is key. Baking powder is a complete leavener, containing both an acid and a base, and requires only liquid to activate (though double-acting baking powder has a second activation phase with heat). Baking soda is a base and requires an acid (like vinegar, lemon juice, yogurt, or buttermilk) in the recipe to produce carbon dioxide. Using too little of these chemical leaveners will result in inadequate lift, contributing to a dense texture.
However, using too much can also negatively impact the bread, leaving a metallic or bitter taste and potentially causing the bread to rise too quickly and then collapse. Always check the expiration date on your baking powder and soda, as they lose their potency over time. A simple test for baking powder is to add a teaspoon to hot water; it should bubble vigorously.
For baking soda, add a teaspoon to a few tablespoons of vinegar; it should fizz immediately. Proper measurement, typically using level spoonfuls, ensures you're adding the correct amount for optimal leavening and a successful glutenfree bread dense fix.
3. Lack of Binding Agents: Replacing Gluten's Binding Power
The Role of Gums (Xanthan Gum, Guar Gum) in Gluten-Free Bread
Since gluten-free flours don't form an elastic network, binding agents are essential to hold the dough together, provide structure, and trap gases. The most common binding agents used in gluten-free baking are hydrocolloid gums like xanthan gum and guar gum. These gums absorb liquid and become viscous, mimicking some of the elasticity and stickiness of gluten. They help prevent the bread from becoming crumbly and give it enough structure to rise without collapsing.
Xanthan gum is produced by the fermentation of sugar by a bacterium (Xanthomonas campestris) and is widely used. Guar gum comes from the guar bean. While both serve a similar purpose, they can perform slightly differently depending on the recipe and other ingredients. Some bakers prefer xanthan gum for yeasted breads as it tends to provide better elasticity. Using one or a combination of these gums is often critical for achieving a cohesive dough and preventing a dense gluten-free loaf.
How Much Gum to Use in Gluten-Free Bread Recipes
Using the correct amount of binding gum is crucial; too little and the bread will be crumbly and dense, too much and it can result in a gummy, unpleasant texture. The required amount typically varies depending on the type of gluten-free flour blend used and the specific recipe. A general guideline for yeast-leavened bread is about 1 to 2 teaspoons of gum (xanthan or guar, or a mix) per cup of gluten-free flour blend. However, this is just a starting point.
Recipes using a higher proportion of whole-grain flours might require slightly more gum than those relying heavily on starches. Some commercial gluten-free flour blends already contain gums, so if you're using one of these, you may need to reduce or omit the added gum specified in a recipe. Always check the ingredients list of your flour blend. Over-gumming is a common mistake that leads to a tough or gummy texture, which can feel dense, so it's better to start with the recommended amount and adjust in subsequent attempts based on your results.
Alternative Binding Agents: Psyllium Husk, Chia Seeds, Flaxseed Meal
While xanthan and guar gums are standard, other natural ingredients can also act as binding agents, often providing additional fiber and nutrients. Psyllium husk (whole or powdered) is an excellent binder that absorbs a significant amount of water, creating a gel-like consistency that provides structure and elasticity, similar to gluten. It's often used in artisan-style gluten-free bread and can yield a less gummy texture than gums for some people.
Chia seeds and ground flaxseed (flaxseed meal) also form a gel when soaked in liquid. A common ratio is 1 tablespoon of seeds/meal soaked in 3 tablespoons of water for 5-10 minutes to create a "chia egg" or "flax egg." While effective binders, especially for quick breads or as partial replacements for eggs, using them as the sole binder in a yeast bread can sometimes result in a slightly heavier or denser crumb compared to recipes using gums or psyllium, though they are valuable tools in the glutenfree bread dense fix arsenal.
4. Insufficient Hydration: The Importance of Moisture
Why Gluten-Free Flours Absorb More Liquid
Gluten-free flours, especially whole-grain varieties like brown rice, sorghum, and oat flours, and binders like psyllium husk or gums, tend to absorb significantly more liquid than wheat flour. This is partly due to their higher fiber content and the nature of the starches they contain. When developing a gluten-free bread recipe or adapting a wheat recipe, failing to account for this increased absorption is a major cause of dense, dry bread. A dough that appears wet and sticky by wheat standards is often just right for gluten-free baking.
An under-hydrated gluten-free dough will be stiff and difficult to mix, and it won't allow the leavening agents to effectively create air pockets. The crumb will be tight, dry, and heavy. It's counterintuitive for many bakers used to wheat dough, but gluten-free bread dough needs a relatively high hydration level – often appearing more like a thick batter or a very wet dough – to achieve a light and open crumb structure.
Adjusting Liquid Levels for Optimal Texture
The ideal hydration level for gluten-free bread varies greatly depending on the specific flour blend used and the binding agents. A blend high in absorbent whole grains and psyllium husk will require more liquid than one primarily composed of white rice flour and starches. Recipes might call for a hydration level (liquid weight compared to flour weight) of 80% or even over 100%, which would be unheard of in most traditional wheat bread.
When mixing your dough, pay attention to the consistency. It should be thick and scoopable, or very soft and sticky, not stiff or crumbly. If it seems too dry, add more liquid (water, milk, or other recipe liquid) a tablespoon at a time until the desired consistency is reached. This might mean adding an extra 1/4 cup or more of liquid than the recipe initially suggests, especially if using a different flour blend or in a drier climate. Proper hydration is a critical factor in preventing a dense gluten-free loaf.
5. Improper Mixing Techniques: Developing Structure Without Gluten
The Importance of Thorough Mixing in Gluten-Free Dough
While gluten-free dough doesn't develop gluten through kneading like wheat dough, thorough mixing is still crucial for developing structure and ensuring ingredients are evenly distributed. In gluten-free baking, structure is built by hydrating the starches and fibers, activating the binding agents (like gums or psyllium), and incorporating air. Vigorously mixing the dough, often for 5-7 minutes in a stand mixer after all ingredients are combined, helps activate the binders and create a cohesive, somewhat viscous matrix that can trap the gases from leavening.
This mixing process also incorporates air into the batter/dough initially, which provides some of the initial lift. Unlike wheat dough, which benefits from gentle handling after kneading to preserve the gluten network, gluten-free dough relies on the strength developed during the initial mixing phase. Insufficient mixing means the binders won't fully hydrate and activate, resulting in a weak structure that can't support the rise, leading to a dense gluten-free bread.
Avoiding Overmixing Gluten-Free Dough
While thorough mixing is necessary, it is possible to overmix gluten-free dough, though the effects are different than with wheat dough. Overmixing gluten-free dough, particularly those relying heavily on gums, can sometimes result in a gummy or tough texture. This happens because the gums can become overly developed or the starches can break down too much.
The goal is to mix until the dough is smooth, cohesive, and slightly sticky, and the binding agents are clearly activated – the dough will look less like a collection of wet ingredients and more like a unified mass that pulls away from the sides of the bowl. Once this consistency is achieved after the recommended mixing time (e.g., 5-7 minutes on medium speed in a stand mixer), stop mixing. Further mixing won't develop more "gluten" and could potentially harm the texture, hindering your glutenfree bread dense fix efforts.
6. Incorrect Baking Temperature and Time: Achieving a Fully Baked Loaf
Calibrating Your Oven for Gluten-Free Bread
Baking temperature and time are critical for any bread, but especially for gluten-free loaves. Gluten-free bread often requires a specific temperature profile – sometimes starting at a higher temperature (like 400-425°F or 200-220°C) for the first 10-15 minutes to get a good initial spring, then reducing the temperature (to 350-375°F or 175-190°C) to ensure the inside cooks through without burning the crust. Baking at too low a temperature for the entire time can result in a loaf that doesn't rise adequately and remains underbaked and dense in the center.
An inaccurate oven temperature is a common culprit for baking failures. Many home ovens can be off by as much as 25-50°F (15-30°C) or more. Using an oven thermometer to verify your oven's actual temperature is a simple but essential step. If your oven runs cool, you'll need to set it higher; if it runs hot, set it lower. Baking at the correct temperature ensures the leavening agents perform optimally and the bread develops a proper internal structure.
Using a Thermometer to Ensure Doneness
One of the most reliable ways to tell if your gluten-free bread is fully baked and not dense and undercooked in the center is to check its internal temperature. Gluten-free bread is typically done when the internal temperature reaches 200-210°F (93-99°C). An instant-read thermometer inserted into the center of the loaf (avoiding any air pockets) provides an accurate reading.
Baking for the time specified in the recipe is a guideline, but variations in ovens, pan types, and ingredient temperatures mean the actual baking time can vary. Pulling the bread out too early, before it reaches the target internal temperature, guarantees a dense, gummy center. Letting it bake until it reaches 205°F (around 96°C) ensures the starches are fully cooked and the structure is set, leading to a lighter, well-baked loaf and a successful glutenfree bread dense fix.
Troubleshooting Dense Gluten-Free Bread: A Step-by-Step Guide
Here's a task list to help you systematically troubleshoot why your gluten-free bread is dense:
- [ ] 1. Reviewing Your Recipe: Compare your recipe to similar successful gluten-free bread recipes. Are the ratios of flours, starches, and binders appropriate? Is the amount of leavening sufficient?
- [ ] 2. Adjusting Your Flour Blend:
- [ ] If using a single flour, try a balanced blend combining whole grains and starches.
- [ ] If using a blend, ensure it's suitable for bread.
- [ ] Experiment with different proportions, perhaps increasing the percentage of lighter starches or protein-rich flours.
- [ ] 3. Optimizing Leavening:
- [ ] Proof your yeast separately to ensure it's active before adding it to the dough.
- [ ] Consider slightly increasing the amount of yeast or adding a small amount of baking powder (e.g., 1/2 to 1 teaspoon) to the recipe for an extra lift.
- [ ] Ensure chemical leaveners are fresh and accurately measured.
- [ ] 4. Perfecting Binding:
- [ ] Verify your recipe includes a binding agent (xanthan gum, guar gum, psyllium husk).
- [ ] Check if your flour blend already contains gum; adjust added gum accordingly.
- [ ] Ensure you are adding the correct amount of binder as specified or recommended (e.g., 1.5 tsp gum per cup of flour blend).
- [ ] Consider trying psyllium husk as an alternative binder.
- [ ] 5. Hydration Tweaks:
- [ ] Pay close attention to the dough consistency while mixing. It should be wet and sticky, not stiff.
- [ ] Don't be afraid to add extra liquid (a tablespoon at a time) if the dough seems too dry based on feel and visual cues.
- [ ] Note the total amount of liquid used in your successful attempts for future reference.
- [ ] 6. Refining Mixing Techniques:
- [ ] Ensure you are mixing the dough thoroughly for the recommended time (e.g., 5-7 minutes in a stand mixer) to activate binders and incorporate air.
- [ ] Avoid overmixing once the dough is cohesive and smooth.
- [ ] 7. Baking for Success:
- [ ] Use an oven thermometer to check and calibrate your oven's temperature.
- [ ] Consider starting the bake at a higher temperature before reducing it.
- [ ] Always check the internal temperature of the loaf with an instant-read thermometer (aim for 200-210°F / 93-99°C) to ensure it's fully baked.
Gluten-Free Bread Baking Tips for a Lighter, Fluffier Loaf
Weighing Your Ingredients for Accuracy
One of the most impactful steps you can take to improve your gluten-free bread texture is to weigh your ingredients using a digital kitchen scale rather than relying solely on volume measurements (cups and spoons). Gluten-free flours vary significantly in weight depending on how they are scooped and settled in a cup – a cup of white rice flour can weigh anywhere from 120g to 160g. This inconsistency in flour weight directly impacts the flour-to-liquid ratio, a critical factor in gluten-free baking.
Using weight ensures that you are adding the exact amount of each ingredient every time, leading to consistent and repeatable results. Most reliable gluten-free bread recipes provide measurements in grams. Adopting this practice eliminates a major variable and helps you accurately identify what adjustments are needed for a perfect glutenfree bread dense fix. For example, if a recipe calls for 500g of flour blend and 400g of water, this gives you a precise 80% hydration, regardless of how you scoop the flour.
Using a Stand Mixer for Consistent Results
While it's possible to mix some gluten-free doughs by hand, using a stand mixer with a paddle attachment is highly recommended for achieving the necessary thorough mixing required to activate binding agents and develop structure. Hand mixing often doesn't provide the same level of vigorous agitation needed to fully hydrate gums or psyllium husk and incorporate enough air.
A stand mixer ensures consistent mixing speed and duration, allowing the binders to create a stable matrix that can effectively trap the gases produced during proofing and baking. Mixing for 5-7 minutes on medium speed (often speed 4 or 5 on a KitchenAid) after combining wet and dry ingredients is a common recommendation. This consistent, powerful mixing is a key factor in preventing a dense gluten-free loaf.
Proofing Your Dough in a Warm Environment
The temperature at which your gluten-free dough proofs significantly impacts yeast activity and the resulting rise. Yeast thrives in warm, moist environments. Proofing in a cool room will slow down yeast activity, potentially resulting in an under-risen, dense loaf. Aim for a proofing temperature between 75-85°F (24-30°C).
Ideas for creating a warm proofing environment include placing the covered dough in a slightly warmed oven (turn the oven on for a minute or two, then turn it off before placing the dough inside), using a proofing box, or simply finding a warm spot in your kitchen, like near a sunny window or on top of a warm appliance. Proper proofing allows the yeast to produce enough gas to expand the dough, contributing significantly to a lighter, airier texture and is vital for a successful glutenfree bread dense fix.
Using a Dutch Oven for Enhanced Crust and Rise
Baking gluten-free bread in a preheated Dutch oven can dramatically improve both the crust and the rise, often helping to combat density. The sealed environment of the Dutch oven traps steam released from the dough during the initial baking phase. This steam keeps the surface of the dough moist and flexible, allowing the loaf to expand maximally during the oven spring (the final burst of rising in the hot oven) before a crust forms.
After the initial rise (typically 20-30 minutes at a high temperature like 425-450°F or 220-230°C), the lid is removed, allowing the crust to brown and crisp up. The radiant heat from the preheated pot also helps ensure the bottom of the loaf is fully baked. Baking in a Dutch oven can lead to a significantly better rise and a less dense interior compared to baking on an open baking sheet or in a standard loaf pan without steam.
Achieving the Perfect Gluten-Free Bread Texture: Recipe Adjustments
White Rice Flour Bread - A Case Study in Fixing Density Issues
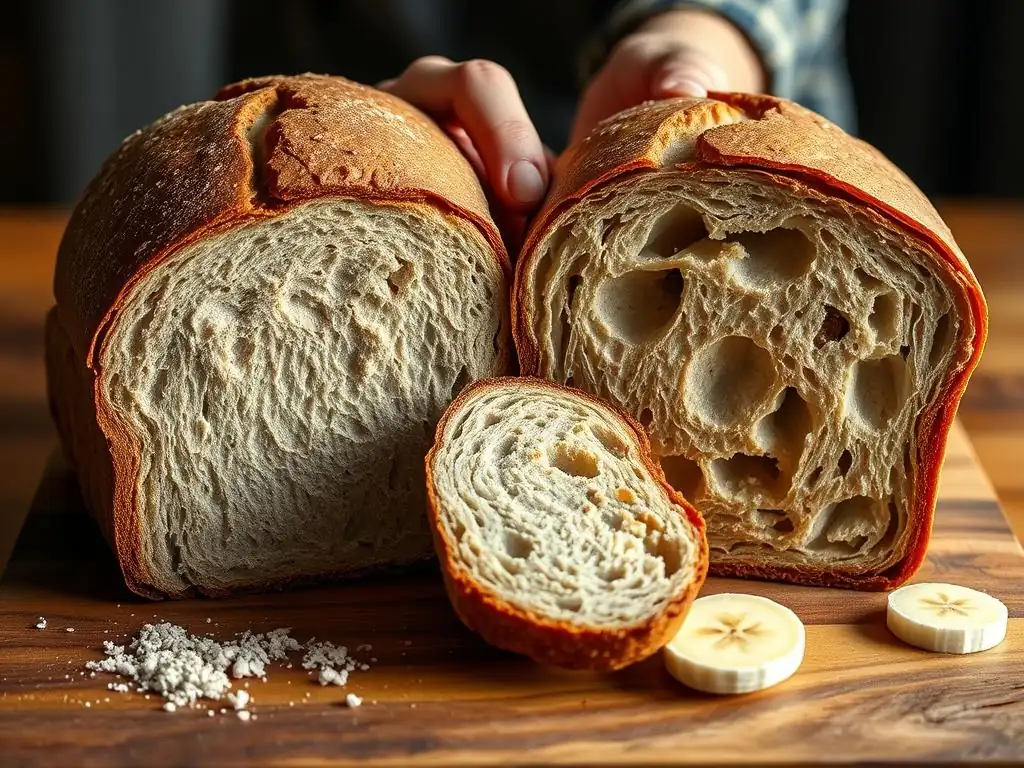
Let's consider a common scenario: a home baker attempts a simple gluten-free bread recipe using primarily white rice flour, perhaps with a bit of tapioca starch and xanthan gum. The result is consistently a dense, heavy loaf that doesn't rise well and has a tight, somewhat gummy crumb. This is a classic case of gluten-free bread density issues stemming from using a flour blend that lacks diversity and sufficient structure-building components beyond just starch and a basic binder.
The original recipe might have called for 300g white rice flour, 100g tapioca starch, 1 tsp xanthan gum, 1.5 tsp yeast, and 350ml water. While the hydration (around 87% by volume, or roughly 350g water to 400g flour) seems high, white rice flour doesn't provide much structure on its own. The small amount of xanthan gum might not be enough to compensate for the lack of gluten, and the reliance on just two flour types limits the texture possibilities. The resulting loaf is heavy because the dough lacks the internal scaffolding to hold the gas produced by the yeast.
Step-by-Step Adjustments Made to Improve Texture
To address the density in the white rice flour case study, several adjustments could be made, representing a practical glutenfree bread dense fix:
- Modify the Flour Blend: Replace a portion of the white rice flour with more structure-building flours. Change the blend to, for example, 150g brown rice flour, 100g sorghum flour, 100g tapioca starch, and 50g potato starch (total 400g flour). This introduces whole grains and a different starch profile.
- Increase Binding: Increase the binding agent. Instead of 1 tsp xanthan gum, use 1.5 tsp xanthan gum or, even better, try 2-3 tablespoons of whole psyllium husk (which absorbs more water). If using psyllium, increase the water slightly to accommodate its high absorption. Let's say we add 2 tbsp psyllium husk and increase water to 400ml (total 400g flour + ~13g psyllium + 400g water = ~97% hydration relative to flour+psyllium).
- Ensure Sufficient Leavening: Stick with 1.5 tsp yeast but ensure it's proofed first.
- Optimize Mixing: Mix the dough thoroughly for 6-7 minutes in a stand mixer until it's a cohesive, sticky mass.
- Proper Proofing: Proof the dough in a warm place (around 80°F / 27°C) until it has visibly increased in size (it may not double like wheat dough, but should look airy).
- Bake Correctly: Bake in a preheated Dutch oven (e.g., 450°F / 230°C for 20 mins covered, then 375°F / 190°C for 30-40 mins uncovered) until the internal temperature reaches 205°F (96°C).
By making these specific adjustments – changing the flour blend, increasing the binder significantly, ensuring proper hydration, and optimizing mixing and baking – the resulting loaf should be significantly lighter, have a more open crumb, and no longer suffer from the frustrating density of the original white rice flour bread. This structured approach to adjusting variables is key to mastering the glutenfree bread dense fix.
Mastering Gluten-Free Bread: Say Goodbye to Dense Loaves.
Frequently Asked Questions
Why is my gluten-free bread so dense?
Gluten-free bread often turns out dense due to the lack of gluten, which provides structure and elasticity. Insufficient binding agents or incorrect flour blends can also contribute.
What are some common mistakes that lead to dense gluten-free bread?
Common mistakes include using the wrong flour blend, not adding enough moisture, and skipping crucial binding ingredients like xanthan gum or psyllium husk.
How can I make my gluten-free bread lighter and fluffier?
To improve the texture, ensure your flour blend is appropriate, add enough moisture to the dough, and incorporate binding agents to mimic gluten's properties.
What ingredients can I use to improve the structure of gluten-free bread?
Key ingredients include xanthan gum, psyllium husk, and tapioca starch, which help bind the ingredients and provide structure. Proper ratios are crucial for success.
Can kneading or proofing techniques affect the density of gluten-free bread?
Unlike traditional bread, gluten-free bread doesn't require extensive kneading. Proper proofing is essential, but over-proofing can also lead to a dense loaf.
Final Reflection: The Unexpected Journey of Gluten-Free Baking
The quest for light and airy gluten-free bread is a journey many undertake, often ending in frustration with dense, disappointing loaves. This journey, however, reveals far more than just baking techniques; it highlights the complexities of food science and the importance of understanding ingredient interactions. The seemingly simple act of baking becomes a fascinating exploration of texture, structure, and the surprising power of seemingly insignificant details.
The impact of gluten-free baking extends beyond individual kitchens. It reflects a broader societal shift towards dietary awareness and the challenges of adapting traditional recipes to accommodate specific dietary needs. The best bread is the bread you bake with love,
a sentiment often heard, takes on a new meaning when considering the extra care and attention gluten-free baking demands. This dedication, this willingness to experiment and adapt, speaks volumes about our commitment to both health and culinary satisfaction.
Now, consider your own baking experiences. Have you been frustrated by dense gluten-free bread? What have you learned from your attempts? I encourage you to embrace the challenge, to experiment with the techniques discussed, and to discover the joy of creating light and flavorful gluten-free bread. Don't let the initial difficulties discourage you; the reward of a perfectly risen loaf, bursting with flavor, is well worth the effort. The journey itself is a testament to your resilience and creativity in the kitchen.
Unleash Your Inner Baker: Light & Fluffy Gluten-Free Bread Awaits!
Thanks for taking the time to learn more about achieving perfectly light and fluffy gluten-free bread! We hope you now feel empowered to tackle this baking challenge. Ready to put your new knowledge into action?
- Experiment with your starches: Try substituting different starches (tapioca, potato, etc.) in small increments to see how they affect the texture of your bread. This is the key to unlocking that perfect crumb.
- Share your baking journey: Post a picture of your gluten-free bread creation on social media and tag us—we'd love to see your success!
- Dive deeper into our resources: Explore our extensive collection of gluten-free recipes and baking tips on BakeWithEase.com for more inspiration.
So, what exciting gluten-free creation will you bake next?