
Gummy Bread Texture? What Went Wrong and How to Save It

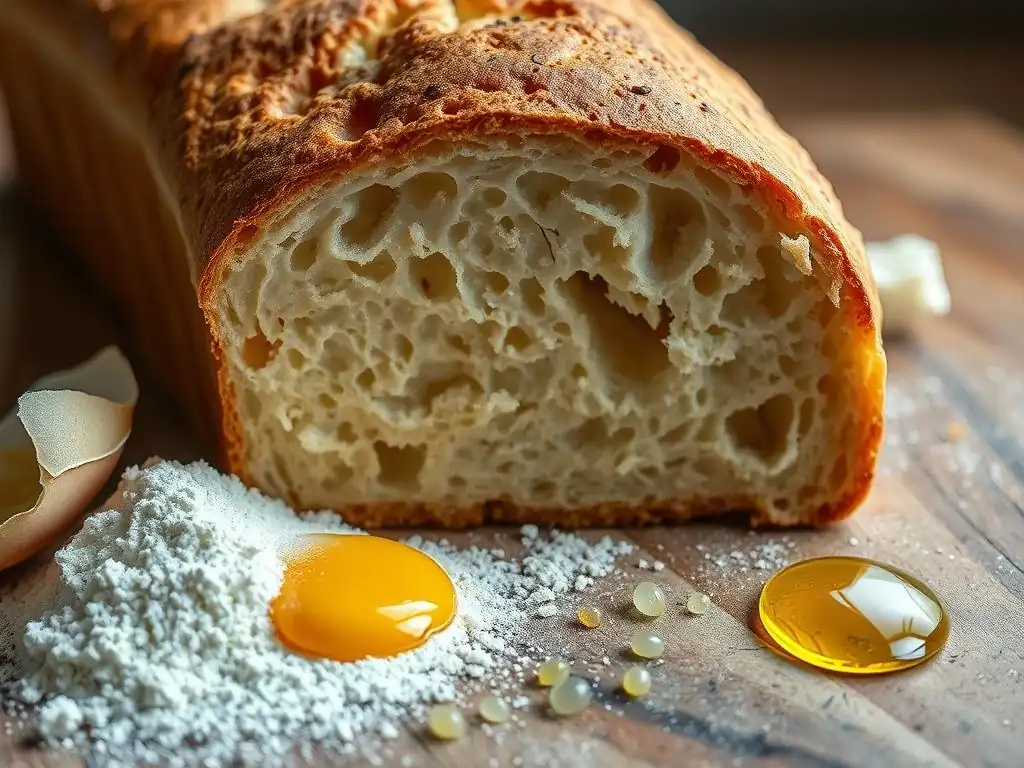
Welcome to BakeWithEase, your trusted guide in the delicious world of baking! Ever wondered why your lovingly crafted loaf ended up with that dreaded gummy bread texture? Fear not! We're diving deep into the common culprits and, more importantly, revealing the secrets to rescue your bake and achieve that perfect, airy crumb. Ready to banish gummy bread forever? Let's get started!
- Troubleshooting Common Bread Problems: Achieving Perfect Texture
- Understanding Common Bread Problems
-
Common Causes of Bread Problems
- Underbaking: Impact on Texture and Doneness
- Overbaking: Resulting in Dryness and Hardness
- Insufficient Gluten Development: Affecting Structure and Rise
- Over-Proofing: Leading to Collapse and Poor Flavor
- Incorrect Oven Temperature: Ensuring Proper Baking
- Issues with Yeast Activity: Impacting Rise and Texture
- How to Fix Bread Problems: Rescue Techniques
- Preventing Bread Problems: Tips for Consistent Results
- Troubleshooting Specific Bread Types
- Advanced Techniques for Improved Bread Baking
- Mastering Bread Baking: Achieving Consistent Results
- Frequently Asked Questions
- Final Reflection: The Quest for the Perfect Loaf – Beyond the Gummy Texture
- Rediscover Your Baking Magic: Perfecting That Gummy Bread!
Troubleshooting Common Bread Problems: Achieving Perfect Texture
One of the most frustrating issues a baker can face is pulling a loaf from the oven that looks beautiful on the outside but reveals a dense, wet, or gummy interior upon slicing. This unpleasant gummy bread texture can ruin an otherwise perfect bake. Understanding why this happens and knowing how to troubleshoot it is key to consistently achieving light, airy, and delicious bread. This guide will walk you through identifying the signs, understanding the causes, and implementing effective strategies for a successful gummy bread texture fix.
Understanding Common Bread Problems
Baking is a science, and sometimes the chemical reactions don't go exactly as planned. While many things can go wrong, some issues appear more frequently than others. Recognizing these common problems early in the process, or even after the bake, is the first step toward improvement. A gummy bread texture is often a symptom of one or more underlying issues in dough preparation, fermentation, or baking.
Identifying Signs of Common Bread Issues
A truly gummy bread texture is unmistakable. When you slice into the loaf, the crumb might appear dense, wet, and compressed, rather than open and airy. The bread might feel heavy for its size. When you press the cut surface, it might stick together or not spring back readily. Unlike a slightly moist crumb which is desirable in some breads, a gummy texture is often described as sticky, pasty, or even glue-like in the mouthfeel.
Beyond the internal texture, other signs can point to problems. A loaf might have a pale crust, indicating underbaking. It might lack significant oven spring, resulting in a flat loaf. Sometimes, a sour or off-flavor can accompany texture issues, suggesting problems with fermentation. Identifying these symptoms helps diagnose the root cause, paving the way for a effective gummy bread texture fix in future bakes.
Common Causes of Bread Problems
Several factors can contribute to a problematic bread texture, including the dreaded gummy interior. Often, it's not just one single issue but a combination of mistakes in technique or timing. Pinpointing the specific cause is crucial for correcting the problem and preventing it from recurring in your next loaf. Let's delve into the most frequent culprits.
Underbaking: Impact on Texture and Doneness
Underbaking is perhaps the most common reason for a gummy bread texture. If the bread hasn't spent enough time in the oven, or if the oven temperature was too low, the interior starches and proteins don't fully set. Moisture remains trapped within the crumb, resulting in that dense, wet, and sticky consistency. The internal temperature simply hasn't reached the point required for the structure to firm up properly.
A loaf that appears golden brown on the outside can still be underbaked inside, especially if baked at too high a temperature initially which sets the crust too quickly. For most lean doughs (like simple white bread), a fully baked loaf should reach an internal temperature of around 190-210°F (88-99°C) when measured with an instant-read thermometer inserted into the center. If your thermometer reads significantly lower, chances are the bread is underbaked and will have a gummy texture.
Overbaking: Resulting in Dryness and Hardness
While underbaking leads to gumminess, overbaking presents the opposite problem: a dry, hard, and sometimes crumbly texture. When bread is baked for too long or at too high a temperature, too much moisture is driven out of the crumb. The starches and proteins become overly rigid, leading to a brick-like consistency. This is less common as a cause for gummy texture, but it's a related issue of incorrect baking time/temperature.
An overbaked loaf will typically have a very dark, hard crust and a crumb that feels dry to the touch and crumbles easily when sliced. While you won't get a gummy texture from overbaking, it's important to understand the balance. Finding the sweet spot for baking time and temperature is essential for achieving the desired light and airy crumb structure, avoiding both gumminess and excessive dryness.
Insufficient Gluten Development: Affecting Structure and Rise
Gluten is the protein network in dough that provides structure and elasticity, allowing the dough to trap gases produced by yeast and rise. If the dough is not kneaded or mixed sufficiently, the gluten network won't develop properly. This results in a weak structure that cannot hold its shape or trap gas effectively during proofing and baking.
A lack of sufficient gluten development often leads to a dense, heavy crumb that can feel somewhat gummy or cake-like. The dough might have felt sticky or lacked elasticity during handling. Proper kneading, whether by hand or mixer, is crucial for building this strong network. Different flours require different amounts of kneading; for instance, a strong bread flour with higher protein needs adequate kneading to develop its full potential structure.
Over-Proofing: Leading to Collapse and Poor Flavor
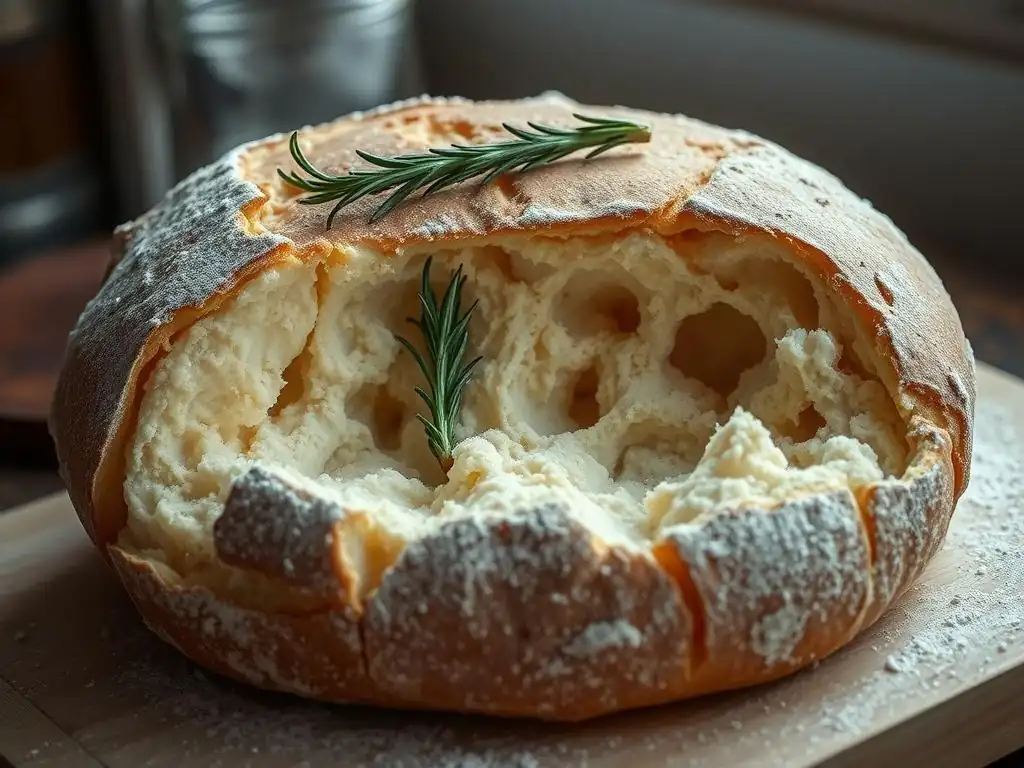
Proofing is the final rise of the dough before baking. It allows the yeast to produce gas, expanding the loaf and developing flavor. However, if dough is allowed to proof for too long, the gluten structure can become overstretched and weaken. The yeast may also consume all the available sugars, leading to a lack of oven spring and a pale crust.
An over-proofed loaf may collapse in the oven or result in a dense, coarse crumb that can feel somewhat gummy. The flavor might also be bland or overly sour. A quick test for proper proofing is the "poke test": gently poke the dough with a floured finger; if the indentation springs back slowly about halfway, it's likely ready. If it springs back immediately, it needs more time. If it stays completely indented, it's likely over-proofed.
Incorrect Oven Temperature: Ensuring Proper Baking
Baking bread requires consistent and accurate oven temperature. If the oven is too cool, the bread will take too long to bake, the crust may not brown properly, and the interior might remain underbaked, leading to a gummy bread texture. Conversely, an oven that is too hot can cause the crust to set too quickly, preventing proper oven spring and potentially leading to a loaf that is burnt on the outside and still slightly underdone or dense inside.
Many home ovens are not calibrated accurately, often varying by 25°F (approx. 14°C) or more from the set temperature. Using an external oven thermometer placed inside your oven is highly recommended to ensure you are baking at the correct temperature specified in the recipe. Preheating the oven for sufficient time (often 20-30 minutes or more, especially with baking stones or steels) is also vital for achieving the right initial heat burst needed for good oven spring and proper setting of the crumb.
Issues with Yeast Activity: Impacting Rise and Texture
Yeast is a living organism responsible for leavening bread, producing the gas that makes it rise and contributes to the open crumb structure. If the yeast is inactive (dead), too little is used, or the conditions for its activity (water temperature, food source, warmth) are not met, the dough will not rise properly. This lack of rise directly impacts the final texture.
Dough made with inactive or insufficient yeast will result in a dense, heavy loaf because not enough gas was produced to create an open structure. While not always strictly "gummy," the resulting texture is often unpleasantly dense and tight. Ensuring your yeast is fresh (check the expiration date!) and activated correctly (typically in warm water around 105-115°F or 40-46°C for active dry yeast) is fundamental to preventing this issue and achieving a good crumb.
How to Fix Bread Problems: Rescue Techniques
So, you've baked a loaf and discovered that dreaded gummy bread texture. Don't despair! While you can't unbake the loaf and make it perfectly airy, there are ways to salvage it and ensure your next bake is better. A gummy bread texture fix often involves creative uses for the imperfect loaf or simple adjustments for future attempts.
Adjusting Baking Time: Addressing Underbaking and Overbaking
If you suspect your loaf is underbaked (perhaps the internal temperature was too low), you might be able to put it back in the oven. This is often most successful if the loaf is only slightly underdone and still warm. Return it to a moderately hot oven (around 300-325°F or 150-160°C) for another 10-20 minutes, checking the internal temperature until it reaches the target 190-210°F range. Be careful not to burn the crust.
For an overbaked loaf, unfortunately, there's no way to add moisture back into the crumb during baking. The fix here is preventative: use a timer and an internal thermometer in future bakes. Knowing the correct baking time and temperature for your specific oven and loaf size is key to avoiding both underbaking (and thus gummy texture) and overbaking.
Slicing and Toasting: Salvaging Problematic Slices
One of the simplest ways to make a loaf with a slightly gummy bread texture more palatable is to slice and toast it. Toasting dries out the crumb and can significantly improve the texture, making it less dense and sticky. Thick slices work particularly well for this.
Toasted gummy bread can be enjoyed with butter, jam, or as the base for bruschetta or open-faced sandwiches. While it won't replicate the perfect crumb of a well-baked loaf, it's an effective way to salvage slices that would otherwise be unpleasant to eat plain. This is a practical gummy bread texture fix for the loaf you've already baked.
A dense or gummy loaf is often perfect for turning into other delicious things! Instead of discarding it, repurpose it. Let the bread sit out for a day or two to dry slightly, then cut or tear it into pieces.
- Breadcrumbs: Process dried bread pieces in a food processor until fine. These can be stored and used for coating, binding meatballs, or topping casseroles.
- Croutons: Cube the bread, toss with olive oil and seasonings, and bake until crisp. Perfect for soups and salads.
- Bread Pudding: The dense texture can actually work well in bread pudding, absorbing the custard nicely.
- French Toast: Thicker slices can be soaked in an egg mixture and cooked.
These methods are excellent ways to get a gummy bread texture fix by transforming the problematic loaf into something entirely different and enjoyable.
Adjusting Oven Temperature: Ensuring Optimal Baking Conditions
If your oven temperature is consistently off, it will be difficult to achieve repeatable results and avoid issues like gummy bread texture. As mentioned earlier, using an external oven thermometer is a simple yet powerful gummy bread texture fix for future bakes. Calibrate your baking based on the actual temperature inside your oven, not just the dial setting.
Also, ensure your oven is fully preheated. A typical preheating time for bread, especially if using a baking stone or steel, is 20-30 minutes after the oven light indicates it's reached temperature. This ensures the stone or steel is hot enough to provide a good initial heat transfer to the loaf, promoting oven spring and proper crust development, which in turn helps the interior bake through correctly.
Preventing Bread Problems: Tips for Consistent Results
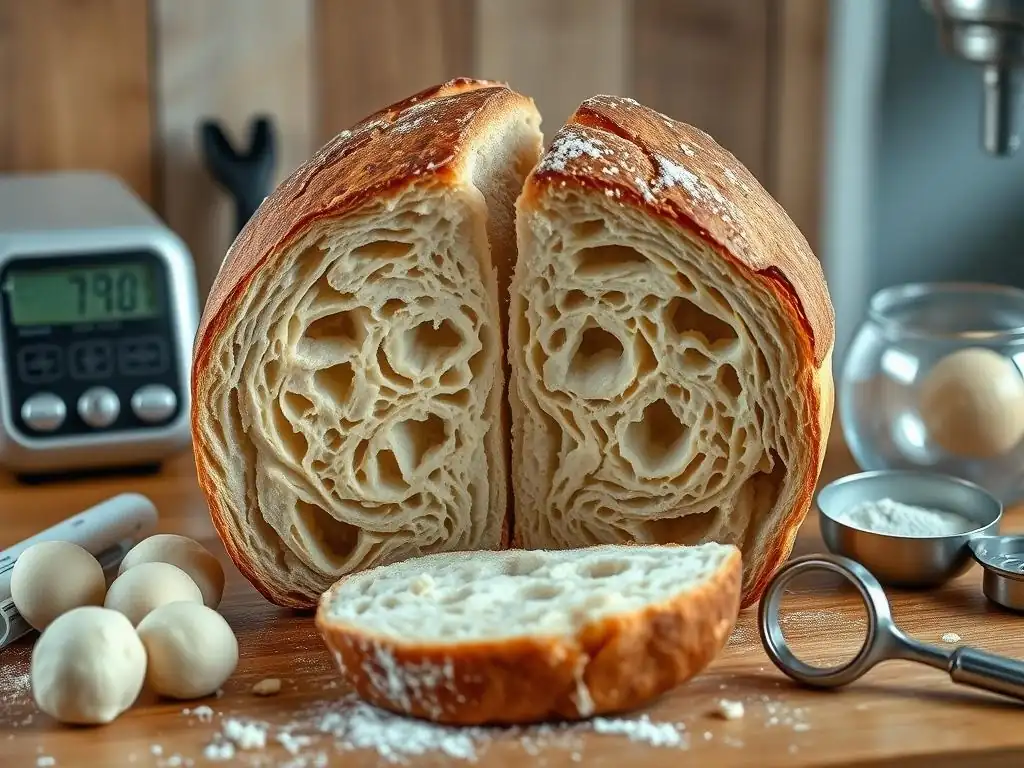
Prevention is always better than cure when it comes to baking. By focusing on good practices throughout the process, you can significantly reduce the likelihood of encountering issues like a gummy bread texture and consistently bake delicious loaves. These tips cover essential steps from ingredient preparation to storage.
Accurate Ingredient Measurement: Maintaining Correct Proportions
Baking relies on precise ratios. Too much water can lead to a slack dough that's difficult to handle and may result in a dense, wet crumb. Too little flour, or using flour with insufficient protein, can also weaken the structure. Using a digital scale to measure ingredients by weight (grams or ounces) is far more accurate than using volume measures (cups), which can vary greatly depending on how packed the ingredient is.
For instance, a cup of all-purpose flour can weigh anywhere from 120g to 150g depending on how it's scooped. This variance can significantly impact the hydration ratio of your dough, directly affecting texture. Weighing ensures you use the exact amount specified, leading to more predictable results and helping prevent issues like a gummy bread texture caused by incorrect hydration.
Proper Kneading Techniques: Developing Gluten Effectively
Developing the gluten network through proper kneading is fundamental to achieving a good crumb structure. Kneading aligns the protein strands, creating elasticity and strength. Insufficient kneading is a common cause of dense, gummy bread texture. The dough should become smooth, elastic, and pass the "windowpane test" (stretching a small piece thinly enough to see light through it without tearing).
The duration of kneading varies depending on the flour type, hydration level, and method (hand vs. mixer). Lean doughs typically require 8-15 minutes of hand kneading or 6-10 minutes in a stand mixer on medium speed. Pay attention to the dough's feel rather than just the clock; it should become less sticky and more pliable as gluten develops.
Controlling Proofing Time: Achieving Optimal Rise
Proofing is critical for both texture and flavor. Over-proofing, as discussed, can lead to collapse and a dense, sometimes gummy crumb. Under-proofing results in a loaf that is too dense and has a tight crumb. The ideal proofing time depends on factors like ambient temperature, amount of yeast, and dough hydration.
Watch the dough, not the clock. Use visual cues and the poke test to determine readiness. Dough should roughly double in size for the first rise and increase by about 50-80% for the final proof, depending on the recipe and desired outcome. Cooler temperatures slow proofing, while warmer temperatures speed it up. Learning to read your dough is a crucial skill for preventing texture issues.
Using a Bread Thermometer: Guaranteeing Doneness
This is perhaps the single most important tool for preventing a gummy bread texture caused by underbaking. While recipes provide time estimates, ovens vary, and loaf sizes differ. Relying solely on time is risky. An instant-read thermometer inserted into the center of the loaf provides an objective measure of doneness.
As a general guideline for lean bread:
- Rich doughs (with eggs, milk, butter): Aim for 190-195°F (88-90°C).
- Lean doughs (water, flour, yeast, salt): Aim for 200-210°F (93-99°C).
Pulling the bread at the correct internal temperature ensures the starches are fully set and moisture is properly distributed, preventing that unpleasant gummy texture.
Proper Storage: Maintaining Freshness and Texture
Even a perfectly baked loaf can develop undesirable textures if stored incorrectly. Warm bread can steam itself, leading to a damp crust and potentially a slightly gummy interior over time. Always let bread cool completely on a wire rack before storing it. This allows steam to escape and the internal structure to stabilize.
Once cool, store bread at room temperature in a bread box, paper bag, or loosely wrapped in a cloth. Avoid refrigerating most breads, as this can accelerate staling and lead to a dry, tough texture. For longer storage, freeze bread wrapped tightly in plastic wrap and then foil. Proper cooling and storage help maintain the intended texture of your perfectly baked loaf.
Troubleshooting Specific Bread Types
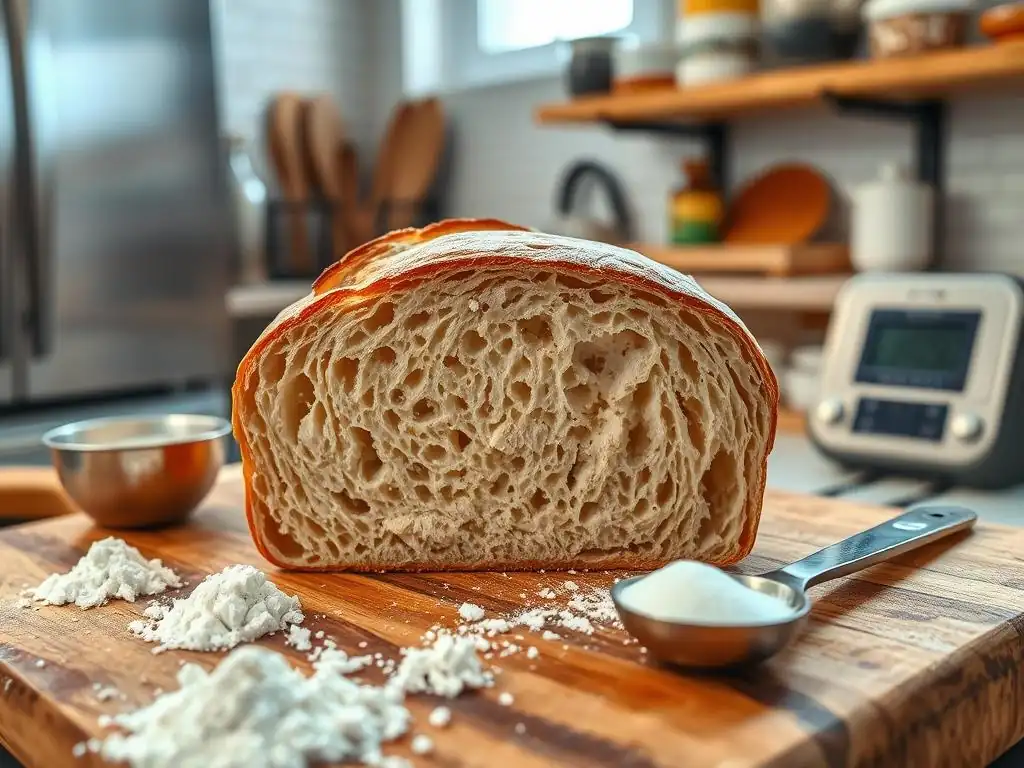
While the general principles apply, certain types of bread have unique characteristics and common pitfalls that can lead to texture problems. Understanding these specifics helps in effectively troubleshooting and achieving the desired results for each variety.
Troubleshooting Sourdough: Addressing Common Issues
Sourdough bread relies on wild yeast and bacteria for leavening and flavor, making its process different from commercial yeast breads. A common sourdough issue is a dense, gummy crumb, often attributed to:
- Weak Starter: An inactive or insufficiently fed starter won't provide enough lift.
- Insufficient Fermentation: Sourdough requires longer fermentation times. Cutting this short leads to poor structure.
- Underbaking: Due to the higher hydration often used in sourdough, it needs adequate baking time, often at high initial temperatures (450-500°F or 230-260°C) with steam, followed by baking at a lower temperature (400-425°F or 200-220°C) without steam to ensure the interior cooks through.
A classic gummy bread texture fix for sourdough often involves ensuring your starter is vigorous (doubling in size after feeding within 4-8 hours), allowing sufficient bulk fermentation and proofing based on ambient temperature, and using a Dutch oven or steam setup to promote oven spring before finishing the bake uncovered to develop a dark, crisp crust and fully cook the interior (targeting 205-210°F or 96-99°C internal temperature).
Troubleshooting Whole Wheat Bread: Achieving Lighter Texture
Whole wheat flour contains the bran and germ of the wheat kernel, which can interfere with gluten development, often resulting in denser loaves compared to white bread. It also absorbs more water. A common challenge is achieving a light, airy texture and avoiding a heavy, sometimes gummy crumb.
Strategies for a lighter whole wheat loaf include:
- Increased Hydration: Whole wheat absorbs more water, so recipes often require more liquid than white bread. This extra water helps hydrate the bran and allows better gluten development.
- Autolyse: Mixing just the flour and water and letting it rest for 20-60 minutes before adding salt and yeast improves hydration and gluten development with less kneading.
- Slightly More Yeast: Some recipes use a touch more yeast to help lift the heavier dough.
- Careful Kneading: While bran interferes, whole wheat still needs adequate kneading to build structure. Don't over-knead, but ensure the dough feels cohesive.
Ensuring proper hydration and sufficient, but not excessive, kneading are key to achieving a lighter crumb and avoiding a gummy bread texture with whole wheat flour.
Troubleshooting Gluten-Free Bread: Overcoming Unique Challenges
Gluten-free baking presents unique challenges because there is no gluten network to provide structure. Recipes rely on a blend of flours (rice, sorghum, tapioca, etc.) and often binders like xanthan gum or psyllium husk to mimic gluten's properties. Gummy texture is a very common issue in gluten-free bread if the hydration is off or if it's underbaked.
Tips for preventing gummy texture in gluten-free bread:
- Accurate Hydration: Gluten-free flours absorb liquids differently. Follow the recipe precisely, ideally using weight measurements.
- Adequate Binder: Ensure the recipe includes a binder like xanthan gum (typically 1/2 to 1 teaspoon per cup of flour blend) or psyllium husk, which helps create structure and prevent gumminess.
- Mixing Time: Gluten-free doughs don't need kneading like wheat doughs, but require sufficient mixing (often 3-5 minutes in a stand mixer) to activate the binders and hydrate the flours fully.
- Proper Baking: Gluten-free bread often benefits from longer, slower baking at moderate temperatures (around 350-375°F or 175-190°C) and baking until the internal temperature reaches 205-210°F (96-99°C).
Mastering gluten-free bread requires understanding the role of different flours and binders and ensuring thorough cooking to avoid that characteristic gummy texture.
Advanced Techniques for Improved Bread Baking
Once you've mastered the basics and consistently avoid common pitfalls like gummy bread texture, you might want to explore advanced techniques. These methods can further enhance the flavor, texture, and overall quality of your loaves, taking your bread baking to the next level.
Autolyse: Enhancing Gluten Development and Hydration
The autolyse technique involves mixing just the flour and water from a recipe and letting the mixture rest for 20 minutes to an hour or more before adding the salt and yeast (and often the starter in sourdough). During this rest period, the flour hydrates fully, and enzymes naturally present in the flour begin to break down proteins, kickstarting gluten development without mechanical kneading.
Benefits of autolyse include:
- Easier kneading and reduced kneading time.
- Improved dough extensibility and elasticity.
- Better gluten development, leading to a more open crumb structure and helping prevent dense or gummy texture.
- Increased water absorption potential.
Implementing autolyse is a relatively simple step that can yield noticeable improvements in dough handling and final crumb structure, contributing to a better texture overall.
Pre-Ferments: Improving Flavor and Texture
Pre-ferments, such as a poolish (equal parts flour and water, plus a tiny amount of yeast, fermented for several hours or overnight) or a biga (a stiffer dough with less water, fermented similarly), involve mixing a portion of the recipe's flour, water, and yeast (or starter) in advance. This mixture ferments for a period, developing complex flavors and increasing yeast activity before being added to the final dough.
Using a pre-ferment brings several advantages:
- Enhanced Flavor: Longer fermentation develops more complex, nuanced flavors.
- Improved Texture: The acidic environment created by the pre-ferment strengthens the gluten network, leading to better structure, increased oven spring, and a more open, less gummy crumb.
- Extended Shelf Life: The acidity also helps bread stay fresh longer.
While adding an extra step, incorporating a pre-ferment is a highly effective way to elevate both the flavor and texture of your bread, reducing the likelihood of a gummy result.
Mastering Bread Baking: Achieving Consistent Results
Achieving consistently excellent bread, free from issues like a gummy bread texture, is a journey. It involves understanding the science, paying attention to the process, and learning from each bake. There's no single secret, but rather a combination of knowledge, technique, and practice.
Practice and Patience: The Key to Success
Every baker, from beginner to expert, has experienced less-than-perfect loaves. The key to mastering bread baking is to view each bake as a learning opportunity. Did the loaf have a gummy bread texture? Review your process: Was it underbaked? Was the dough properly kneaded and proofed? Was the oven temperature accurate?
Keep notes on your bakes – ingredients used, timings, temperatures, and results. This helps you identify what works and what doesn't. Baking takes practice, patience, and a willingness to experiment. Don't be discouraged by failures; learn from them. With dedication, you'll hone your skills, understand the nuances of dough, and consistently achieve the light, airy, and delicious bread you desire.
Frequently Asked Questions
Why is my bread gummy inside even after baking it for the recommended time?
This usually indicates underbaking or insufficient gluten development. The internal temperature may not have reached the necessary point for the starches to fully gelatinize.
What are the most common causes of gummy bread texture?
Several factors contribute, including too much moisture, inadequate kneading which weakens gluten, and a baking temperature that's too low, preventing proper cooking.
How do I fix a loaf that already has a gummy texture?
Unfortunately, you can't fully reverse it. However, you can try slicing the bread and toasting it to dry it out or turning it into croutons or bread crumbs.
Can using the wrong type of flour lead to a gummy bread texture?
Yes, using a flour with low protein content or one that's not specifically designed for bread making can result in weak gluten development, leading to a gummy texture.
How can I prevent gummy bread in the future?
Ensure accurate measurements of ingredients, especially liquids, knead the dough sufficiently to develop gluten, and bake at the correct temperature until the internal temperature is reached.
Final Reflection: The Quest for the Perfect Loaf – Beyond the Gummy Texture
The fight against gummy bread is far from over, but understanding the science behind a perfect loaf empowers us to bake with confidence. A seemingly simple task, bread making reveals itself to be a delicate dance between ingredients, technique, and timing. This article explored the common culprits behind that dreaded gummy texture, highlighting the importance of precise measurements and understanding the role of gluten development. The solutions offered aren't just fixes; they're keys to unlocking the potential of your baking journey.
The journey to mastering bread baking is a testament to patience and perseverance. It's a process that mirrors life itself – requiring careful attention to detail, a willingness to learn from mistakes, and the satisfaction of finally achieving that perfect rise and crust. The best bread is made with love, and a little bit of science.
– (This quote can be adapted to a relevant baking quote or a quote about perseverance). The impact of this knowledge extends beyond the kitchen; it fosters a deeper appreciation for the artistry and precision involved in even the simplest of culinary endeavors.
Now, it's your turn. Don't let a gummy loaf discourage you. Take the knowledge gained here, experiment with different techniques, and embrace the learning process. Each failed attempt brings you closer to that perfect, airy crumb. Remember the science, but also remember the joy of baking. The next loaf you bake could be your masterpiece. Go forth and conquer the gummy bread!
Rediscover Your Baking Magic: Perfecting That Gummy Bread!
Thanks for joining us on this baking journey! We hope you gained valuable insights into troubleshooting gummy bread. Now it's time to put that knowledge into practice.
- Master the Art of Bread Baking: Take a moment to review the key points about hydration and oven temperature discussed in the article. This focused review will solidify your understanding and prevent future gummy bread mishaps.
- Share Your Baking Triumphs (or Challenges!): Tell us about your bread baking adventures – successes and stumbles are both welcome! Your feedback helps others on their baking journey.
- Explore Advanced Techniques: Dive deeper into the world of bread baking by researching different flour types and their impact on dough consistency. This will unlock a whole new level of bread-making mastery.
Ready to transform your next loaf from gummy to glorious? What's your next baking experiment going to be?