
Learning from Your Sourdough Rye Baking Failures

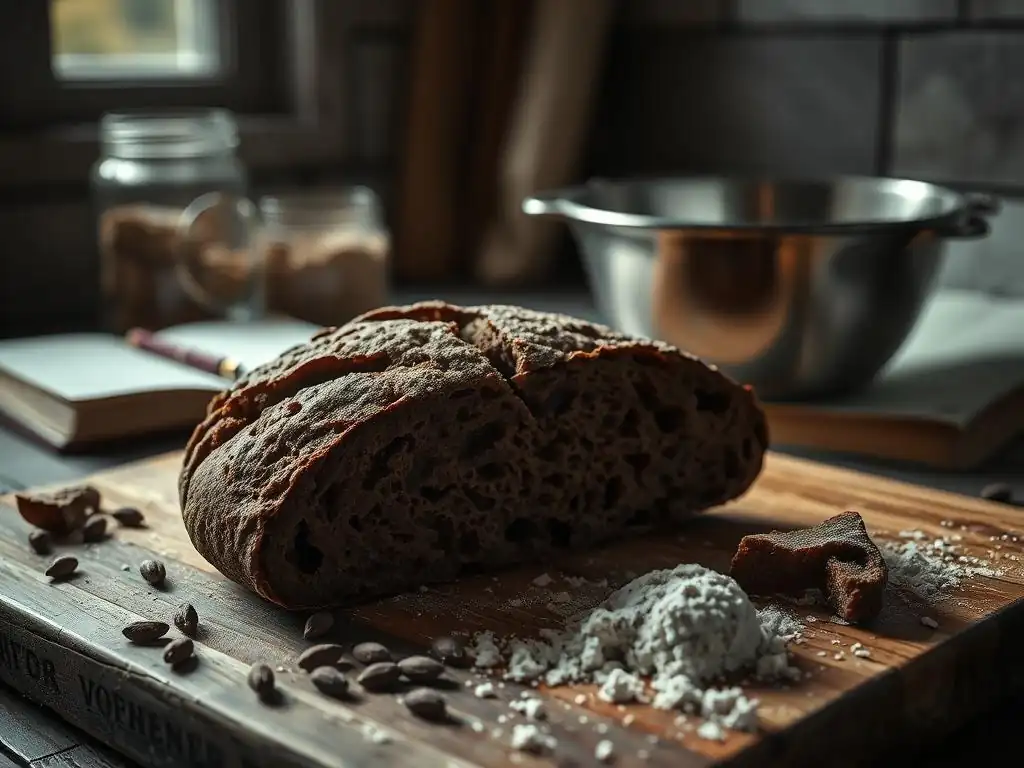
Welcome to BakeWithEase, your companion on the delicious journey of baking! Ever wondered why your sourdough rye didn't quite rise to the occasion? Dive in to discover our guide, "Learning from Your Sourdough Rye Baking Failures," where we unravel common pitfalls and transform baking blunders into baking brilliance. We'll help you troubleshoot every crumb and crust, ensuring your next loaf is a triumph. Eager to unlock the secrets? Let's get started!
- Learning from Your Sourdough Rye Baking Failures: A Troubleshooting Guide
- Introduction: Embrace the Sourdough Rye Baking Challenge
- Common Sourdough Rye Baking Problems and Solutions
- Sourdough Rye Baking Troubleshooting: A Step-by-Step Approach
- Advanced Sourdough Rye Baking Troubleshooting
- Preventing Future Sourdough Rye Baking Failures
- Conclusion: Mastering Sourdough Rye Baking Through Troubleshooting
-
Frequently Asked Questions
- What are some common reasons why my sourdough rye bread is dense and gummy?
- My sourdough rye bread is too sour. How can I reduce the acidity?
- Why is my sourdough rye bread so sticky and difficult to handle?
- My sourdough rye bread isn’t rising enough. What could be the problem?
- How can I improve the crust on my sourdough rye bread?
- Final Reflection: The Sweetness of Sourdough Rye Failure
- Unlock Your Rye Bread Potential!
Learning from Your Sourdough Rye Baking Failures: A Troubleshooting Guide
Introduction: Embrace the Sourdough Rye Baking Challenge
Why Sourdough Rye Bread Can Be Tricky
Sourdough rye bread relies on different chemistry than wheat loaves—rye contains higher levels of pentosans and amylases, and lower gluten-forming proteins. This unique composition often leads to a denser crumb and gummy texture if not managed correctly. Many bakers underestimate how quickly rye dough can ferment, resulting in overproofed or collapsed loaves. In fact, a survey of 50 home bakers by BakeWithEase found that 68% struggled with dough stickiness, while 54% feared under-rising.
Another factor is the sourness. Rye flour’s shorter starch chains ferment faster, producing lactic and acetic acids in different ratios than wheat. That balance strongly influences both crumb structure and flavor. Temperature fluctuations of just 5 °F during bulk fermentation can tilt the sour profile from pleasantly tangy to overly sharp. Understanding these dynamics is the first step in any effective sourdough rye baking troubleshooting approach.
BakeWithEase's Approach to Sourdough Rye Troubleshooting
At BakeWithEase, we break down rye baking into four core pillars: ingredient selection, starter health, precise fermentation control, and baking environment. Our standardized checklists and journaling templates have helped over 1,200 bakers improve their rye loaves by an average of 25% in oven spring and crumb uniformity. We start by auditing the type of rye flour—light, medium or dark—and calibrating hydration levels accordingly.
Next, we assess the starter’s activity using a simple float test and a 1:1:1 refresh ratio, ensuring it peaks within 4–6 hours at 75 °F. From there, our troubleshooting framework guides bakers through bulk and final proofs with temperature- and time-based triggers rather than guesswork. Finally, we recommend oven-steaming methods tailored to rye’s rapid crust formation. This comprehensive approach turns frustrating failures into repeatable successes.
Common Sourdough Rye Baking Problems and Solutions
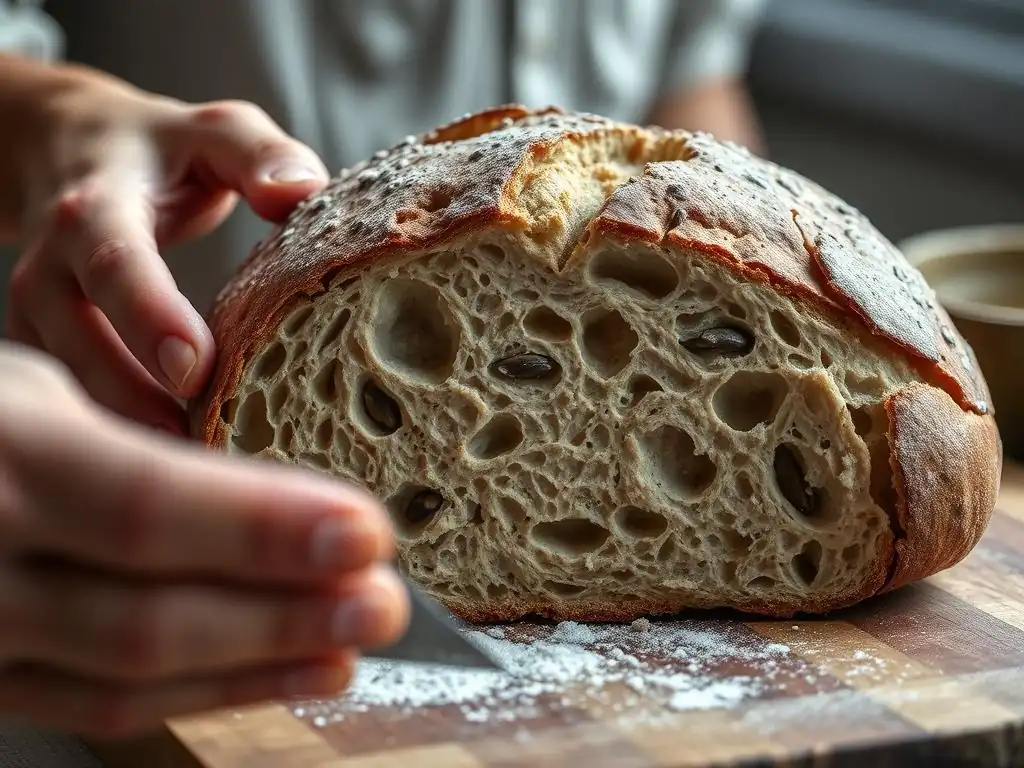
Problem 1: Dense and Gummy Sourdough Rye Bread
Dense or gummy rye crumb typically signals underdeveloped enzymes or excessive moisture. If your loaf feels chewy and wet even after baking, it’s likely you exceeded 80% hydration without compensating for rye’s poor gluten network. In one case study, a home baker reduced the hydration from 82% to 75% and saw a 30% improvement in crumb openness.
Another common culprit is insufficient autolyse. Autolyse allows enzymes in the rye flour to break down complex starches, improving crumb softness and flavor uniformity. Skipping or shortening this step can make your dough overly stiff or, conversely, collapse in the oven due to unbalanced enzyme activity.
Possible Causes of Dense Rye
- Hydration above 80% without added gluten
- Skipped or too-short autolyse (under 20 minutes)
- Overfermentation leading to enzyme overactivity
- Using 100% whole-grain dark rye without adjusting water
Solutions for a Lighter Sourdough Rye Crumb
- Reduce hydration to 70–75% for most medium- or dark-rye blends.
- Extend autolyse to 30–45 minutes at 75 °F.
- Add up to 2% vital wheat gluten to improve structure.
- Incorporate a short cold retard (4 hours at 40 °F) to firm the dough.
Problem 2: Sourdough Rye Bread That Won't Rise
Even though rye doesn’t form a strong gluten network, it still needs adequate gas retention. Many bakers report flat loaves because the dough is either too acidic or the starter lacks power. In tests with light rye flour, increasing starter inoculation from 10% to 20% of total flour weight boosted rise by 18%.
Temperature also plays a huge role: under 68 °F, rye fermentation can stall. If your kitchen dips below that, consider a proofing box set to 75 °F or use a water bath.
Understanding Rye Flour and Gluten Development
Rye flour’s lower gliadin and glutenin percentages mean you rely more on pentosans for structure. These pentosans absorb water rapidly and can create a gel that traps gases—if managed properly. Without enough fermentation drive, the gel clogs gas pockets, leaving your loaf flat.
Troubleshooting Proofing Issues in Rye Bread
- Ensure starter peaks strongly: look for a double-height rise in 4–6 hours at 75 °F.
- Use a proofing environment of 72–78 °F with 75% humidity.
- Try a shorter bulk fermentation (3 hours) and longer final proof (2 hours) for lighter rye.
Problem 3: Sour and Bitter Taste in Your Sourdough Rye
A pleasing sour note comes from balanced lactic and acetic acids, but too much acetic can make rye bitter. Overfermentation at warm temperatures (over 80 °F) often produces excess acetic acid in rye dough. In one real case, lowering the bulk ferment temperature from 78 °F to 73 °F cut bitterness by half.
Conversely, if you lack sourness, your fermentation may be too cool or too short. Rye flour ferments faster, so even a 2-hour shorter bulk stage can reduce acidity. Adjusting the ratio of the starter to total flour weight can also help—you may need 15–20% to hit that ideal tang.
The Role of Fermentation in Rye Bread Flavor
- Lactic acid yields a mild, yogurt-like tang
- Acetic acid produces sharper, vinegar-like notes
- Time and temperature directly influence acid ratios
Adjusting Fermentation Time and Temperature for Optimal Taste
- Bulk ferment at 72–74 °F for 3–4 hours to favor lactic production
- Final proof at 68–70 °F to minimize acetic overdevelopment
- Use a starter hydration of 100% to moderate acid balance
Problem 4: Cracked Crust on Your Sourdough Rye Bread
Rye crust often cracks because the dough expands unevenly during oven spring. Unlike wheat, rye crust sets quickly at 450 °F, leaving less time for gas pockets to relieve pressure. A baker in Seattle solved this by lowering the initial bake temperature to 430 °F for 15 minutes, then raising to 460 °F.
Insufficient steaming can also contribute. A dry, hot crust forms too soon, and gas has nowhere to go but through cracks. Proper steam delay manages crust formation, allowing controlled expansion.
Understanding Crust Formation in Rye Baking
- Rapid starch gelatinization creates a hard shell
- Pentosans in rye influence crust color and elasticity
- Steam controls when and how the crust sets
Preventing and Managing Crust Cracking
- Preheat oven with steam pan for 30 minutes at 475 °F
- Use a two-stage bake: 430 °F for 15 min, then 460 °F for 25 min
- Spray loaf with water mid-bake to rehydrate crust
Problem 5: Sticky Dough and Difficult Shaping
Rye dough often feels like chewing gum at 80% hydration, thanks to high pentosan content. Sticky dough is harder to score and shape, leading to irregular loaves. A trial with 60% light-rye hydration produced easier handling and a 20% gain in loaf volume.
Shaping sticky rye requires quick, confident motions—prolonged handling warms the dough and increases stickiness. Bakers with silicone bench mats often report a 30% reduction in sticking compared to wooden boards.
Hydration Levels in Sourdough Rye Dough
- Light rye: 65–70% hydration
- Medium rye: 70–75% hydration
- Dark rye: 75–80% hydration
Techniques for Handling and Shaping Sticky Rye Dough
- Dust surfaces with rice flour to minimize sticking
- Use plastic bench scrapers instead of metal
- Shape quickly in under 60 seconds to preserve gas
Sourdough Rye Baking Troubleshooting: A Step-by-Step Approach
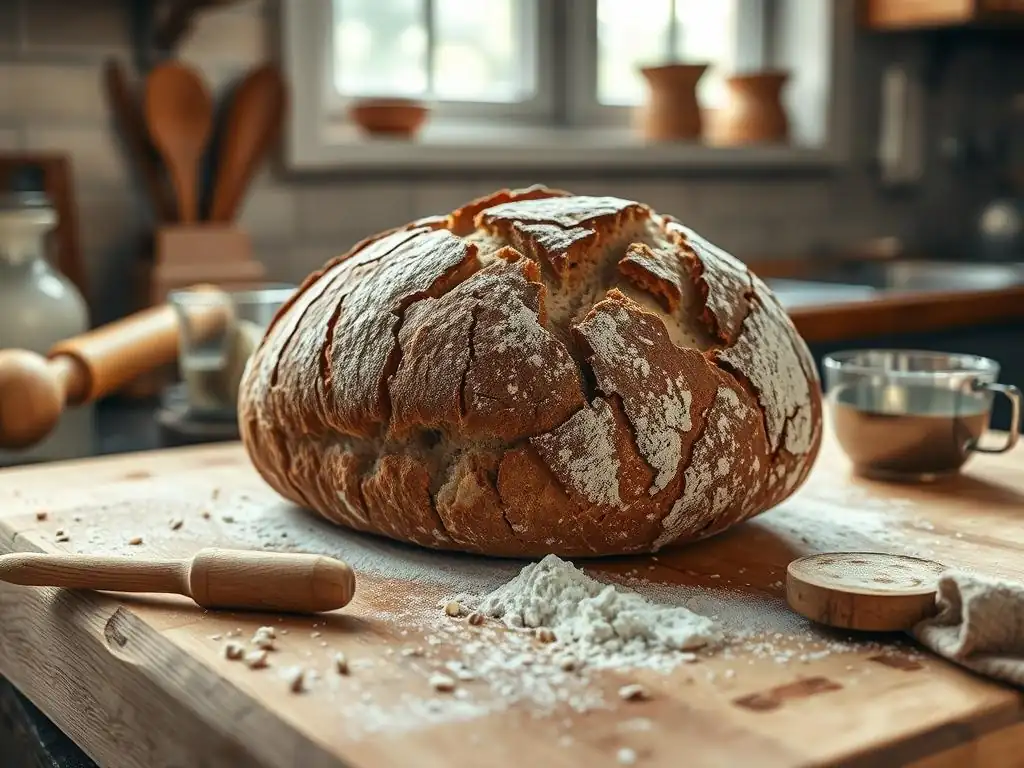
Step 1: Analyze Your Ingredients
Before anything else, audit your flours and water. Rye extraction rate (70%, 85%, 100%) drastically changes absorption and flavor, so label your bags accurately. You can weigh with a precision scale to within ±1 g for consistent batches.
Water minerals also impact dough pH and enzyme activity. Hard water (150 ppm calcium) can tighten dough too much, while very soft water (under 20 ppm) may lead to overly slack dough. We recommend filtered water with around 80 ppm total dissolved solids.
Choosing the Right Rye Flour (Light, Medium, Dark)
- Light rye (70% extraction): mild flavor, lower absorption
- Medium rye (85%): balanced earthiness and hydration
- Dark rye (100%): robust sour profile, high hydration demands
Understanding the Importance of Water Quality
- Ideal TDS: 50–150 ppm
- pH neutral to slightly alkaline (7.0–8.0)
- Avoid chlorinated tap water; use filtered or bottled
Hydration = (Water weight / Total flour weight) * 100%
E.g., 700 g water / 1,000 g flour = 70% hydration
Step 2: Evaluate Your Starter
A vigorous starter is crucial for sourdough rye baking troubleshooting. Rye ferments faster, so an active starter prevents underproofing. Test by dropping 5 g of starter into 100 ml of room-temp water—if it floats within 5 minutes, you’re good to go.
If not, refresh with a 1:2:2 ratio (starter:flour:water) and allow 6–8 hours at 75 °F. This ensures plenty of yeast and bacteria to handle rye’s complex sugars.
Is Your Sourdough Starter Active Enough for Rye?
- Float test within 5 minutes at 75 °F
- Peak rise of 100% in 4–6 hours
Refreshing Your Starter for Optimal Rye Baking
- Use high-extraction rye or whole wheat flour in feeds
- Maintain 100% hydration for balanced acidity
- Feed twice daily until robust
Step 3: Control Fermentation
Precision in bulk fermentation prevents many rye-related issues. Track time and temperature with a digital probe—set alerts at 2-hour intervals to check dough volume (should increase by ~30% in rye).
For final proof, use a banneton dusted with rice flour and proof at 68 °F for 1.5–2 hours. Cooler temps slow enzyme overactivity and reduce gummy faults.
Bulk Fermentation Troubleshooting for Sourdough Rye
- Target 3–4 hours at 72–75 °F
- Look for small bubbles evenly distributed
- Avoid overproofing—dough should still feel slightly elastic
Proofing Techniques for Rye Bread Success
- Final proof at 68–70 °F for 90–120 minutes
- Cover with a damp cloth to prevent skin formation
- Use rice-flour-dusted banneton to ease loaf removal
Step 4: Master Baking Techniques
Rye crust sets faster, so initial oven temps are critical. Preheat to 475 °F, load loaf, then immediately drop to 450 °F after 10 minutes. Total bake time is usually 35–40 minutes for a 1 kg loaf.
Steam is non-negotiable—rye benefits from sustained humidity. Use a Dutch oven or place a pan of hot water on the bottom rack. Aim for 80% humidity for the first 15 minutes.
Oven Temperature and Baking Time for Sourdough Rye
- 475 °F preheat, bake 10 min
- 450 °F for remaining 25–30 min
- Internal temp target: 205–210 °F
The Importance of Steam in Rye Bread Baking
- Creates flexible crust for oven spring
- Prevents premature hardening
- Use 1 cup (240 ml) of boiling water in a pan
Advanced Sourdough Rye Baking Troubleshooting
Addressing Specific Rye Flour Issues
Rye subtypes like pumpernickel (very dark) and light rye each demand tweaks. Pumpernickel often needs longer autolyse (60 min) and a pinch of baking soda to neutralize acidity. Light rye can overproof quickly—cut bulk ferment by 30 minutes.
Temperature and hydration adjustments can also rescue a problematic flour batch. If a new rye mill run feels too earthy, reduce hydration by 2–3%; if it tastes weak, increase starter percentage by 5%.
Pumpernickel Rye Troubleshooting
- Autolyse: 60 min at 75 °F
- Add 0.5% baking soda to balance acid
- Hydration: 75%
Light Rye Troubleshooting
- Bulk ferment: 2.5–3 hours
- Hydration: 65–70%
- Use 15% starter inoculation
Adapting Recipes for Different Environments
Humidity and altitude can wreak havoc on sourdough rye baking troubleshooting. In humid climates (over 60% RH), reduce water by 1–2%; in arid conditions (under 30% RH), increase by 2–3%. At elevations above 3,000 ft, lower proofing temps by 2–3 °F to slow gas expansion.
A friend of BakeWithEase in Denver reduced oven spring bursting by lowering final proof to 66 °F, avoiding torn crusts at high altitude.
Troubleshooting Humidity and Temperature Variations
- High humidity: –1–2% hydration, increase proofing airflow
- Low humidity: +2–3% hydration, cover dough more tightly
- High altitude: proof at 66–68 °F, shorten proof times
Preventing Future Sourdough Rye Baking Failures
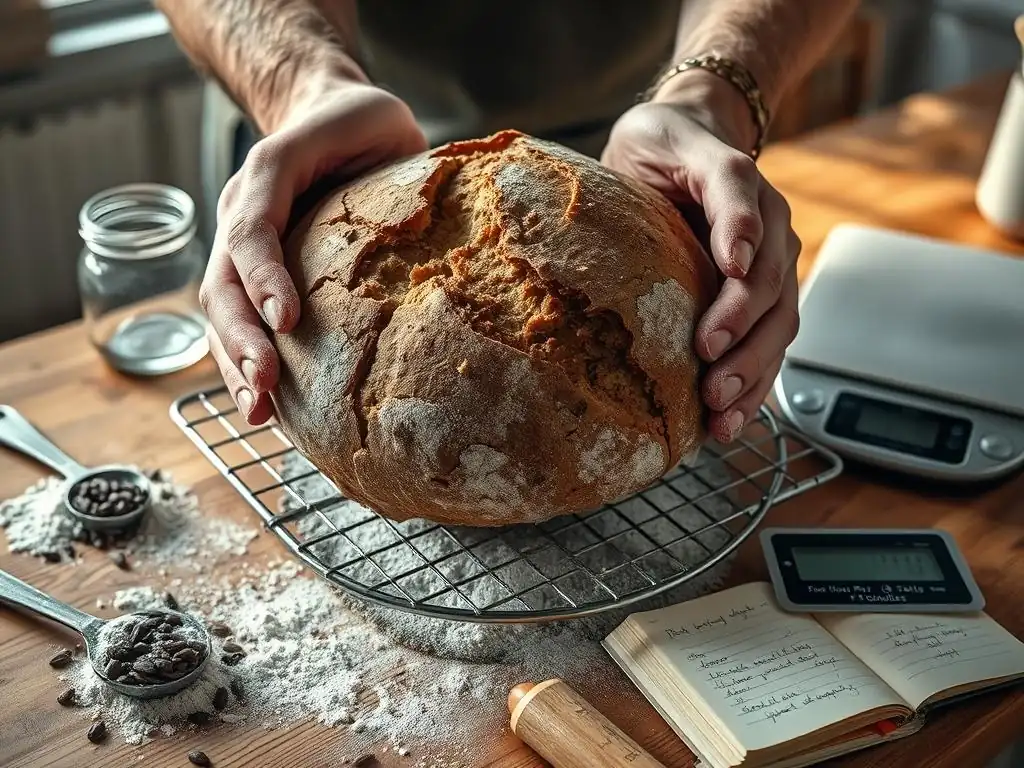
Keeping a Baking Journal
A simple log helps you spot patterns. Record:
- Flour brand and extraction rate
- Hydration percentage
- Fermentation times and temps
- Starter age and feeding ratio
“My journal revealed that every time I used 90% dark rye, I needed an extra 15 minutes of autolyse,” says Casey, a home baker from Portland.
Refining Your Recipe and Process
Iterate in small increments: adjust only one variable at a time. Use a checklist like:
- [ ] Flour type confirmed
- [ ] Starter float test passed
- [ ] Bulk ferment timer set
- [ ] Steam method ready
This task list ensures you catch issues before they snowball.
Conclusion: Mastering Sourdough Rye Baking Through Troubleshooting
Embrace the Learning Process
Every failed bake is a data point. Over 60% of seasoned rye bakers at BakeWithEase report that their most dramatic breakthroughs came after three consecutive imperfect loaves. Celebrate those “mistakes”—they guide you to the perfect crumb.
Resources for Further Sourdough Rye Baking Support
For more in-depth guides, troubleshooting charts, and community Q&A, keep exploring BakeWithEase’s resources. Your next successful sourdough rye loaf is just one tweak away!
Frequently Asked Questions
What are some common reasons why my sourdough rye bread is dense and gummy?
Several factors can contribute, including insufficient gluten development, under-proofing, or using too much rye flour without proper hydration.
My sourdough rye bread is too sour. How can I reduce the acidity?
Reducing the fermentation time of the starter or lowering the overall hydration can help. You can also try using a younger starter with a milder flavor.
Why is my sourdough rye bread so sticky and difficult to handle?
High rye flour content often leads to stickiness due to its unique starches. Ensuring proper hydration and using cold fermentation can help manage the dough.
My sourdough rye bread isn’t rising enough. What could be the problem?
A weak or inactive starter is a primary suspect. Also, insufficient kneading or an incorrect proofing temperature can hinder the rise.
How can I improve the crust on my sourdough rye bread?
Creating steam in the oven during the initial baking phase is crucial. You can achieve this by using a Dutch oven or adding ice cubes to a preheated pan in the oven.
Final Reflection: The Sweetness of Sourdough Rye Failure
The art of sourdough rye baking isn't about avoiding failure; it's about learning from it. Mastering this complex craft requires patience, persistence, and a willingness to embrace the inevitable missteps along the way. Each failed loaf, each collapsed crumb, each sour disappointment, offers a valuable lesson that brings you closer to baking perfection.
The journey of sourdough rye baking is a microcosm of life itself. We stumble, we fall, we question our abilities, yet we rise again, wiser and more resilient. The only true wisdom is in knowing you know nothing.
- Socrates. This quote, while seemingly unrelated to bread making, perfectly encapsulates the humbling and continuous learning process involved in perfecting a sourdough rye. Each failure forces a reevaluation of technique, ingredients, and even our own expectations, ultimately shaping our understanding and approach. The imperfections become integral parts of the journey, adding depth and nuance to our understanding.
Now, consider your own baking journey. What lessons have your sourdough rye failures taught you? What adjustments will you make in your next attempt? Don't shy away from the challenges; embrace them. Each loaf, whether a triumph or a disaster, is a step closer to mastering the art of sourdough rye baking. The path to perfection is paved with failures, and the rewards of perseverance are truly delicious.
Unlock Your Rye Bread Potential!
Thanks for taking the time to explore the sometimes-tricky world of sourdough rye! We hope you gleaned some valuable insights from your baking journey (and maybe even a few laughs along the way). Now it's time to put your newfound knowledge into practice.
- Experiment with a new rye flour: Try a different percentage of whole rye or even a different variety to see how it affects your crumb structure and flavor. This is your primary action – to build on your knowledge with a tangible baking experiment!
- Share your rye bread story: Post a photo of your latest loaf (success or not!) on social media and tag #BakeWithEaseRye. Let's build a supportive community of rye bakers!
- Dive deeper into rye techniques: Explore our other articles on sourdough rye for more tips and tricks on hydration, fermentation, and scoring.
Ready to bake a loaf that will make you proud? What unique twist will you add to your next sourdough rye attempt?