
Master Indian Chapati & Roti: Simple Unleavened Flatbreads

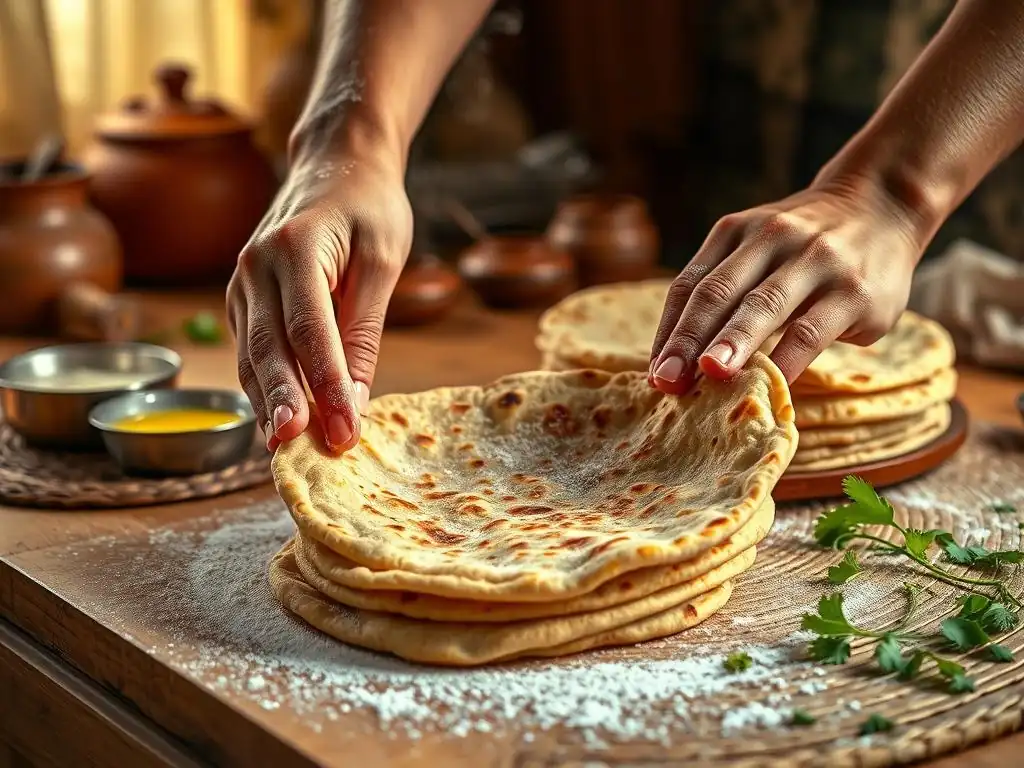
Welcome to BakeWithEase, your haven for baking bliss! Ever dreamt of perfectly puffed, melt-in-your-mouth chapatis, the cornerstone of Indian cuisine? Discover the secrets to creating these simple, unleavened flatbreads with our easy Indian chapati recipe. Get ready to unlock the authentic taste of India, and wonder why you haven't tried making these sooner. Curious to learn the foolproof techniques? Let's get baking!
- Master Indian Chapati & Roti: Simple Unleavened Flatbreads - BakeWithEase
- Introduction to Homemade Chapati and Roti
- Understanding the Basics of Chapati Dough
- Easy Indian Chapati Recipe: A Step-by-Step Guide
- Roti vs. Chapati: What's the Difference?
- Tips and Tricks for Perfect Chapati Every Time
- Serving Suggestions for Your Freshly Baked Chapati
- The Health Benefits of Whole Wheat Chapati
- Conclusion: Enjoying Your Homemade Indian Flatbread
- Frequently Asked Questions
- Final Reflection: The Timeless Allure of the Chapati
- Unleash Your Inner Bread Baker!
Master Indian Chapati & Roti: Simple Unleavened Flatbreads - BakeWithEase
Introduction to Homemade Chapati and Roti
Discover the Simplicity of Indian Flatbread
Making authentic Indian chapati and roti at home might sound intimidating, but at its heart, it's an incredibly simple process. These unleavened flatbreads are a staple across the Indian subcontinent, known for their soft texture and ability to perfectly complement a wide range of dishes. Unlike many other breads that require yeast, complex fermentation, or specialized equipment, an easy Indian chapati recipe relies on just a few basic ingredients and a hot pan, often called a tawa.
The beauty of mastering this simple bread lies in its accessibility. You don't need a stand mixer, a proofing basket, or even an oven. With just your hands, a rolling pin, and a stovetop, you can create fresh, warm flatbreads that are far superior to store-bought options. This guide aims to break down the process, making an easy Indian chapati recipe achievable for every home cook, regardless of prior baking experience.
Why Bake Your Own Chapati?
Baking your own chapati offers numerous advantages over purchasing them ready-made. Firstly, there's the unparalleled freshness and taste. A chapati cooked moments before serving has a soft, pliable texture and a subtle, nutty flavor that simply cannot be replicated by packaged versions. The aroma of fresh chapati cooking on the tawa is also a delightful experience, filling your kitchen with a comforting scent.
Beyond taste, making your own chapati gives you complete control over the ingredients. You can ensure you're using high-quality whole wheat flour, pure water, and avoiding any preservatives or additives often found in commercial breads. This control is particularly valuable for those with dietary concerns or who prioritize wholesome eating. Furthermore, mastering an easy Indian chapati recipe is a rewarding skill that connects you to centuries-old culinary traditions.
Understanding the Basics of Chapati Dough
Key Ingredients for Authentic Chapati
The foundation of any easy Indian chapati recipe rests on just a few simple ingredients. The primary component is whole wheat flour, traditionally known as atta in India. This isn't quite the same as standard whole wheat flour found in Western supermarkets; atta is typically finely milled and has a slightly different gluten structure, making it ideal for soft flatbreads.
Alongside the flour, you'll need water and a pinch of salt. Some recipes also include a tiny amount of oil or ghee (clarified butter) to help with dough softness, but the most basic and traditional method uses only flour, water, and salt.
The quality of these few ingredients significantly impacts the final result. Using fresh flour and clean water is crucial. While variations exist, sticking to these core elements ensures you get the authentic taste and texture of traditional Indian chapati. The simplicity of the ingredient list is part of what makes an easy Indian chapati recipe so appealing and accessible to everyone.
The Role of Whole Wheat Flour (Atta) in Chapati
Atta, the finely milled whole wheat flour used for chapati, is fundamental to its texture and flavor. Unlike all-purpose flour, atta contains the bran, germ, and endosperm of the wheat kernel, providing fiber, nutrients, and a characteristic slightly nutty taste. The way atta absorbs water and develops gluten during kneading is key to creating a dough that is both pliable enough to roll thinly and strong enough to puff up when cooked.
While standard whole wheat flour can be used as a substitute, it often requires slight adjustments to the water ratio and kneading time, and the resulting chapati may be slightly less soft or more prone to tearing. Traditional atta flour, with its specific milling process, is designed to produce the soft, elastic dough needed for the perfect chapati. Understanding the properties of atta is essential for anyone wanting to master an authentic and easy Indian chapati recipe.
Water Temperature and its Importance for Chapati Dough
The temperature of the water used to make chapati dough plays a subtle but important role. Many traditional cooks recommend using warm water, often described as lukewarm or comfortably warm to the touch, around 40-50°C (104-122°F). Warm water helps the flour absorb moisture more easily and quickly, leading to a softer dough. It also aids in relaxing the gluten, making the dough more pliable and easier to knead and roll.
Using cold water is possible, but it typically requires more kneading time to achieve the same level of softness and elasticity. Very hot water should be avoided as it can par-cook the flour and make the dough sticky or tough. For an easy Indian chapati recipe, starting with warm water simplifies the kneading process and helps ensure a smooth, soft dough right from the beginning.
Easy Indian Chapati Recipe: A Step-by-Step Guide
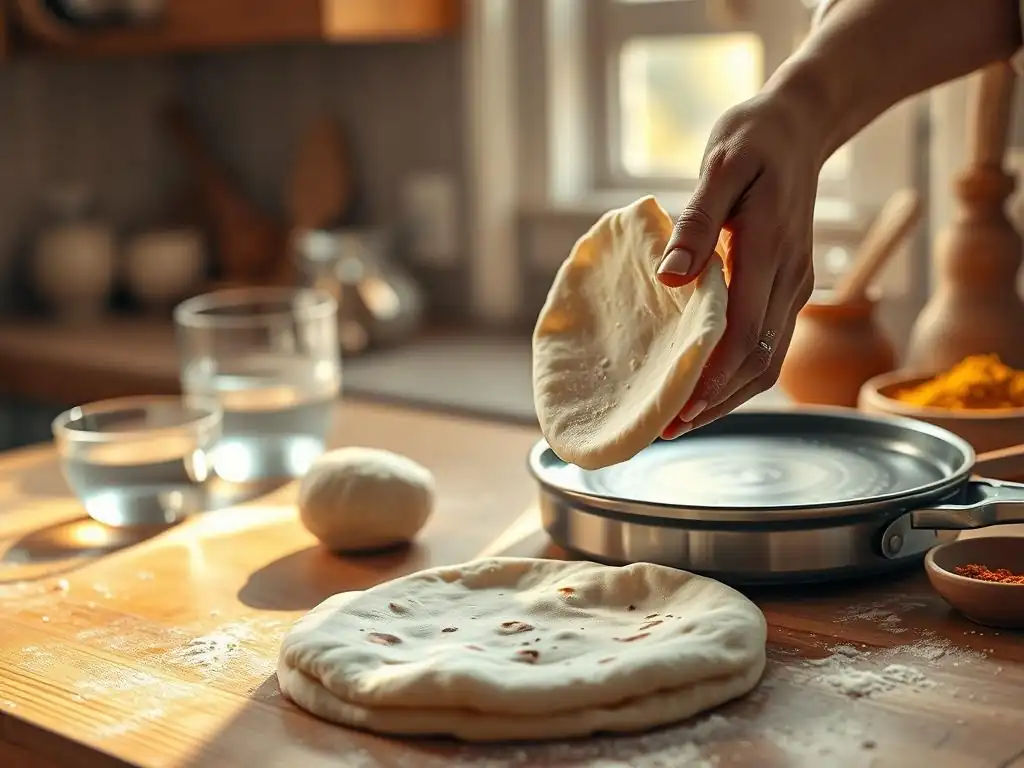
Step 1: Preparing the Chapati Dough
The first step in any easy Indian chapati recipe is preparing the dough. This involves combining the flour and salt, then gradually adding water while mixing and kneading. The goal is to achieve a soft, smooth, and elastic dough that is neither too sticky nor too dry. Proper kneading is crucial at this stage to develop the gluten and ensure the chapati will be soft and pliable after cooking.
Traditionally, this process is done by hand in a large bowl or thali (a flat metal plate). Some modern cooks use a food processor or stand mixer with a dough hook, which can speed up the process, but the tactile feedback of hand-kneading helps you truly understand the dough's consistency. Aim for a dough that springs back slowly when gently poked.
Measuring the Flour and Water Ratio
Getting the flour-to-water ratio right is key to an easy Indian chapati recipe. While it can vary slightly depending on the flour's absorption properties and humidity, a common starting point is roughly 1 part water to 2 parts whole wheat flour (atta) by volume, or approximately 60-65% hydration by weight. For instance, for 2 cups of atta (about 240 grams), you might start with about 1 to 1.25 cups of warm water (about 240-300 ml).
It's best to add the water gradually, holding back the last bit, as you might not need all of it. Mix with your fingertips initially until a shaggy mass forms, then bring it together and begin kneading. Pay attention to the dough's feel; it should be soft but not sticky enough to cling excessively to your hands or the bowl. Adjust by adding a tiny bit more flour if too sticky, or a few drops of water if too dry.
Kneading the Dough to Perfection
Kneading is the cornerstone of an easy Indian chapati recipe that yields soft results. Once the flour and water are combined into a rough mass, turn it out onto a clean surface (lightly floured, if needed). Knead the dough vigorously for about 5-8 minutes. Use the heel of your hand to push the dough away from you, then fold it back onto itself, rotating the dough periodically.
The dough will initially be rough and perhaps a little sticky. As you knead, the gluten will develop, and the dough will become smoother, more elastic, and less sticky. It should feel soft and pliable, not stiff or resistant. A good test is the "windowpane" test: take a small piece of dough and stretch it gently; if you can stretch it thin enough to see light through it without it tearing, the gluten is well-developed. For an easy Indian chapati recipe, even 5 minutes of good kneading will make a significant difference.
Step 2: Resting the Dough for Optimal Texture
After kneading, the dough needs to rest. This is a crucial step in any easy Indian chapati recipe that helps relax the gluten, making the dough much easier to roll and resulting in softer chapatis. Place the kneaded dough back in the bowl, cover it with a damp cloth or lid to prevent it from drying out, and let it rest at room temperature for at least 15-30 minutes. Some recipes recommend up to an hour.
During this resting period, the gluten network relaxes, reducing the dough's elasticity and making it less prone to snapping back when you try to roll it. The moisture also distributes more evenly throughout the flour, contributing to a smoother texture. Skipping this step will make rolling more difficult and can result in tougher chapatis.
Step 3: Rolling Out the Chapati
Rolling the chapati is where practice makes perfect, but it's an achievable skill even for beginners tackling an easy Indian chapati recipe. Divide the rested dough into small, equal-sized balls, roughly the size of a golf ball or slightly smaller (about 30-40 grams each). Keep the dough balls covered while you work to prevent them from drying.
Take one dough ball, flatten it slightly between your palms, and dip both sides lightly in dry flour (atta). Place it on a clean, flat rolling surface (a rolling board or counter). Using a rolling pin, start rolling from the center outwards, rotating the chapati frequently. The goal is to roll it into a thin, even circle, about 6-8 inches in diameter and roughly the thickness of a tortilla.
Achieving the Perfect Round Shape
Achieving a perfectly round shape is often seen as a sign of a skilled chapati maker, but it's not essential for taste or texture. For an easy Indian chapati recipe, focus on even thickness first. To help get a round shape, roll a little, then lift and rotate the chapati slightly before rolling again. Use gentle, even pressure. If the edges are thicker than the center, press down slightly more on the edges as you roll.
Don't worry if your first few chapatis are irregularly shaped! They will still taste delicious. As you practice, your technique will improve naturally. Some people find it helpful to use a light dusting of flour on the rolling surface and the dough ball to prevent sticking, but too much flour can make the chapati dry or leave white streaks when cooked.
Tips for Thin and Even Chapati
Thin and even thickness is more important than perfect roundness for a good chapati. A chapati that is too thick will be doughy and may not puff properly, while one that is uneven will cook inconsistently. As you roll, feel the thickness with your fingertips. If one area feels thicker, focus your rolling pin pressure there.
Keep rotating the chapati as you roll. This helps prevent it from sticking and encourages even expansion. Lift and turn the chapati frequently, re-dusting with flour very sparingly if needed. The dough should be soft enough from proper kneading and resting that it rolls out relatively easily without excessive force. Aim for a uniform thickness resembling a thin pancake or tortilla for an easy Indian chapati recipe.
Step 4: Cooking the Chapati on the Tawa
Cooking is the magical part of the easy Indian chapati recipe, where the flat dough transforms into a soft, sometimes puffed bread. Heat a tawa (a flat or slightly concave griddle, usually cast iron or non-stick) over medium-high heat. Ensure the tawa is hot but not smoking. If you flick a tiny bit of water onto it, it should sizzle and evaporate quickly.
Place the rolled chapati onto the hot tawa. Cook the first side for about 30-60 seconds, or until you see small bubbles forming on the surface and the color changes slightly (it might look paler or develop tiny darker spots). Flip the chapati using tongs or a spatula. Cook the second side for another 30-60 seconds, until you see more significant bubbling and perhaps some golden-brown spots appearing.
Mastering the Tawa Cooking Technique
Proper heat management on the tawa is crucial for an easy Indian chapati recipe. Too low heat will result in dry, hard chapatis that don't puff. Too high heat will burn the outside before the inside is cooked. Medium-high heat is generally ideal. The first side is cooked just enough to set it, while the second side cooks more thoroughly and prepares the chapati for puffing.
Watch for visual cues: the appearance of bubbles indicates that steam is forming inside the dough. The browning on the second side shows that the starches are caramelizing. Don't overcook on the tawa at this stage; the final puffing happens next and finishes the cooking.
Achieving the Perfect Puffed Chapati
The iconic puff is a highlight of many easy Indian chapati recipe attempts! After cooking both sides on the tawa, the chapati is ready for its final stage, which causes it to inflate like a balloon. This happens because the moisture inside the dough turns to steam, and if the gluten structure is strong enough and the heat is right, the steam gets trapped, causing the layers to separate and the chapati to puff.
There are two main ways to achieve the puff: directly over an open flame (if you have a gas stove) or by pressing gently with a cloth or spatula on the tawa. The direct flame method is traditional and often produces the most dramatic puff. If using a tawa only, gently press the edges of the chapati with a clean cloth or spatula after flipping to the second side; this encourages the steam to push towards the center and puff the bread.
Step 5: The Final Puffing (Optional)
This step is where the magic happens and is often the most exciting part of making an easy Indian chapati recipe. If using a gas stove, carefully remove the chapati from the tawa using tongs after cooking the second side. Hold it directly over a medium flame for a few seconds, flipping it once, until it puffs up completely. Be cautious of the open flame and keep your fingers away.
If you don't have a gas stove or prefer not to use an open flame, you can achieve a good puff by continuing to cook it on the tawa. After flipping to the second side, gently press down on the edges and any areas that aren't puffing with a clean kitchen towel or a flat spatula. The trapped steam will then force the chapati to inflate.
Cooking Over Direct Flame for Extra Puffiness
Cooking over a direct flame is the traditional method for achieving maximum puffiness in an easy Indian chapati recipe. The intense, direct heat causes the moisture inside the dough to instantly vaporize into steam, which expands rapidly. This expansion is what separates the layers of the chapati, causing it to inflate fully.
Use medium heat on your gas burner. Hold the chapati about 2-4 inches above the flame using tongs. It should puff up within seconds. Flip it quickly to ensure even puffing. Once puffed, remove it from the flame immediately. This method is quick and effective but requires careful handling to avoid burning the chapati or yourself.
Roti vs. Chapati: What's the Difference?
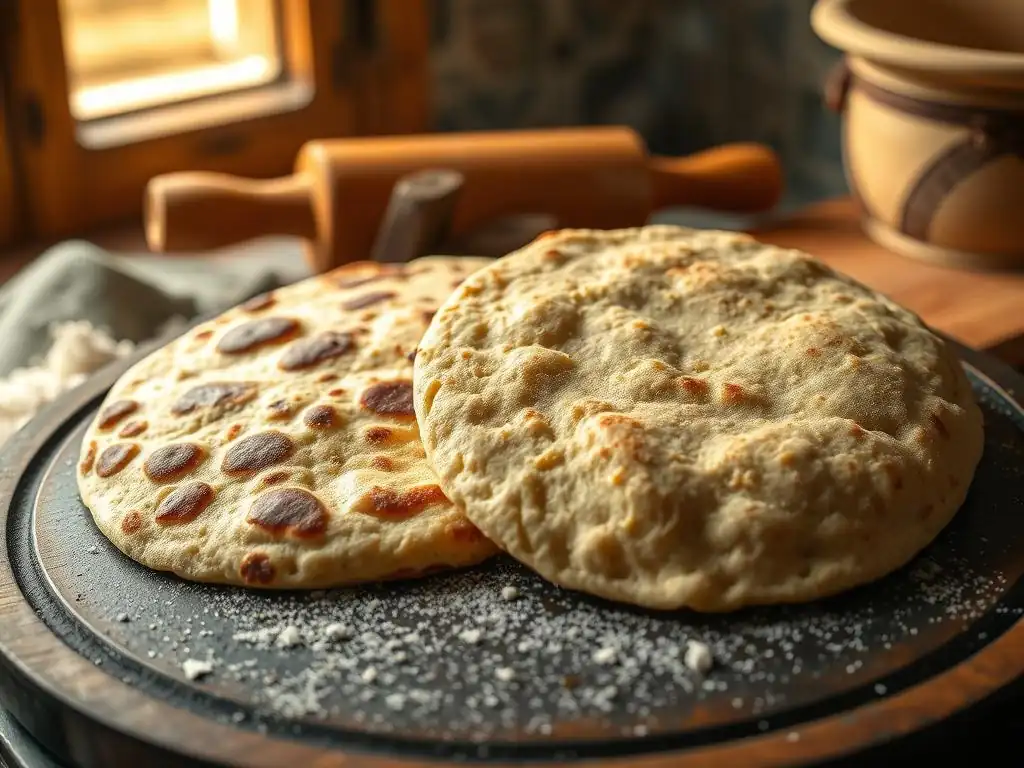
Exploring the Nuances of Roti Making
While the terms "roti" and "chapati" are often used interchangeably, particularly outside of India, there can be subtle regional differences. Generally, chapati refers specifically to the version cooked on a tawa and often finished over a direct flame to puff, as described in our easy Indian chapati recipe. Roti is a broader term for unleavened Indian flatbreads and can encompass chapati, but also other variations like phulka (a very light, puffy roti often cooked entirely over the flame after a brief tawa cook) or different types of flatbreads made with other flours.
In many homes, "roti" is the default term used for the everyday flatbread served with meals, which is chapati. So, while technically chapati is a type of roti, in common usage, they often refer to the same thing, especially the simple whole wheat version. The distinction is subtle and varies by region and family tradition.
Similarities and Differences in Ingredients and Method
The core ingredients for both roti and chapati are identical: whole wheat flour (atta), water, and salt. The dough preparation process – kneading and resting – is also the same. The primary difference lies in the cooking method, specifically the finishing step. Chapati, as detailed in our easy Indian chapati recipe, is typically cooked briefly on the tawa on both sides, then puffed over a direct flame or by pressing on the tawa.
Other types of roti might be cooked differently. For instance, a phulka relies heavily on the direct flame cooking for its characteristic lightness and puff. Some rotis might be slightly thicker or thinner depending on regional preference. However, for the simple, everyday flatbread, the easy Indian chapati recipe outlined here is essentially the same process used for what many call "roti."
Tips and Tricks for Perfect Chapati Every Time
Troubleshooting Common Chapati Problems
Even with an easy Indian chapati recipe, you might encounter a few challenges. Don't get discouraged; these are common and easily fixable with a little understanding.
Dough Too Sticky?
If your dough feels too sticky and difficult to handle after kneading, it likely has too much water. This is a common issue, as flour absorption varies. Add a tablespoon or two of atta flour to the dough and knead it in. Continue adding small amounts of flour until the dough is soft but no longer excessively sticky and doesn't cling to your hands. Remember to add flour gradually; you can always add more, but you can't easily take it out.
Chapati Not Puffing?
Lack of puffing can be due to several reasons.
- Dough consistency: The dough might be too dry or not kneaded enough, resulting in a weak gluten structure that can't trap steam.
- Rolling: The chapati might be rolled too thick, too thin, or unevenly, preventing even steam distribution.
- Tawa heat: The tawa might not be hot enough. Ensure it's heated to medium-high.
- Cooking time on tawa: Not cooking enough on the second side before transferring to flame (or pressing) means not enough steam has built up. Cook until you see good bubbling on the second side.
- Holes: There might be tiny holes in the rolled chapati that allow steam to escape. Handle gently and ensure the surface is intact.
Chapati Too Hard?
Hard chapatis are usually a sign of either insufficient water in the dough, not enough kneading, or overcooking. Ensure your dough is soft and pliable after kneading and resting. Don't cook the chapati for too long on the tawa or over the flame; it only needs a few seconds to puff and finish cooking. Serving them immediately after cooking is also key to softness. If making ahead, proper storage is essential.
Storing Chapati for Later Use
Fresh chapati is best enjoyed immediately, slathered with a little ghee or butter. However, you can store them for later. Once cooked, let the chapatis cool slightly. Stack them neatly and wrap them in a clean kitchen towel or aluminum foil. Store the wrapped stack in an airtight container at room temperature for up to 1-2 days.
For longer storage, you can refrigerate them for up to 4-5 days or freeze them for up to 2-3 months. To freeze, stack cooled chapatis with parchment paper squares between them, then wrap tightly in plastic wrap and foil before placing in a freezer bag. Reheat refrigerated or frozen chapatis gently on a warm tawa or in a microwave, wrapped in a damp paper towel, to restore softness.
Variations on the Classic Chapati Recipe
While an easy Indian chapati recipe focuses on the basic version, there are many ways to add flavor or change the texture slightly.
Adding Spices for Flavor
For a flavorful twist, you can incorporate spices into the dough. A pinch of turmeric adds a lovely yellow hue and subtle earthy flavor. Ground cumin, ajwain (carom seeds), or finely chopped fresh fenugreek leaves (methi) are also popular additions, particularly in regional variations like 'masala roti' or 'methi roti'. Add these spices or herbs to the flour before adding water. Approximately 1/2 to 1 teaspoon of ground spice per cup of flour is a good starting point.
Using Different Flours
While atta is traditional, you can experiment with other flours or blends. Some recipes use a mix of atta and a small amount of gram flour (besan) or millet flours (like bajra or jowar), which are common in different parts of India. These flours have different gluten structures (some are gluten-free), so the dough consistency and rolling technique might need adjustments, and the chapati may not puff as much as those made with 100% atta. For an easy Indian chapati recipe focused on the classic result, stick to atta initially.
Serving Suggestions for Your Freshly Baked Chapati
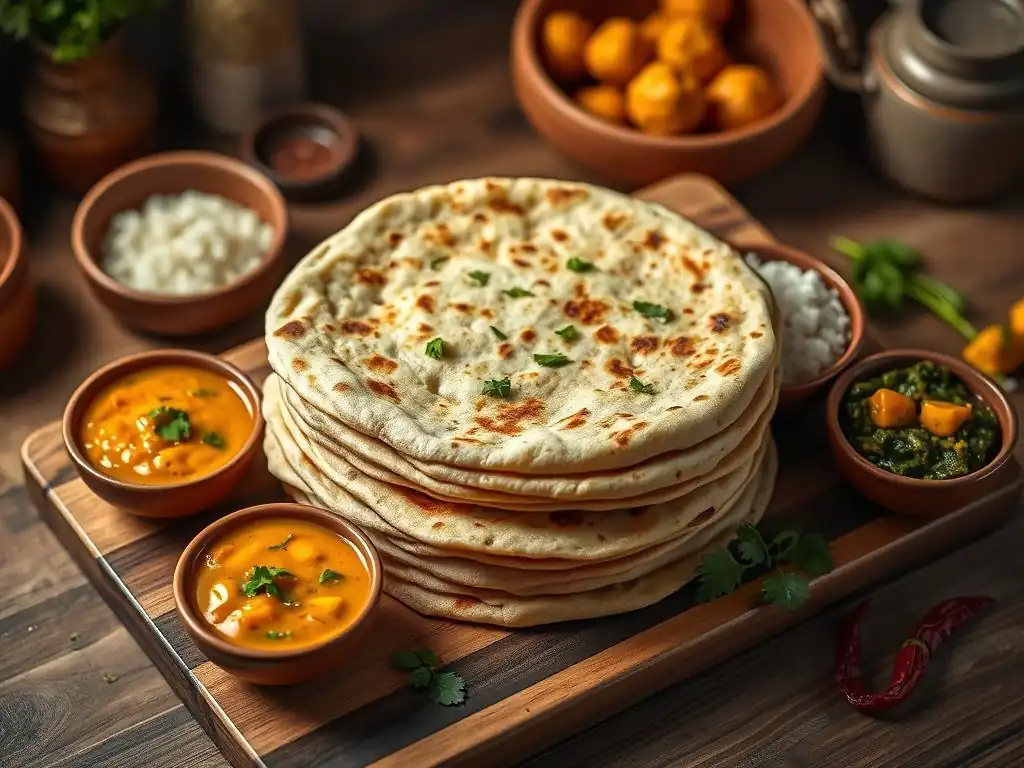
Pairing Chapati with Indian Dishes
Freshly made chapati is the perfect accompaniment to almost any Indian meal. Its soft texture and mild flavor make it an ideal vehicle for scooping up rich curries, lentil stews (dal), and vegetable dishes (sabzi).
- Serve hot chapatis alongside classic North Indian dishes like Butter Chicken, Paneer Makhani, or Dal Tadka.
- They are excellent with drier vegetable preparations such as Aloo Gobi (potato and cauliflower) or Bhindi Masala (okra fry).
- Use them to soak up the gravies of meat or vegetable curries.
- Pair them with simple yogurt (dahi) or pickles (achar) for a quick and satisfying snack.
Chapati as a Versatile Bread Option
Beyond traditional Indian cuisine, chapati's simplicity and softness make it a remarkably versatile bread. Think of it as a healthy, whole wheat alternative to tortillas or wraps.
- Use them for quesadillas or wraps filled with vegetables, beans, or grilled meats.
- Cut them into wedges and bake until crisp for healthy chips to serve with dips like hummus or guacamole.
- Layer them with fillings and roll up like a burrito.
- Even spread with jam or honey, they make a simple, comforting snack. The possibilities are vast once you've mastered this easy Indian chapati recipe.
The Health Benefits of Whole Wheat Chapati
Understanding the Nutritional Value
Making chapati with whole wheat flour (atta) offers significant nutritional benefits. Whole wheat flour retains the bran and germ, which are rich in dietary fiber, vitamins (especially B vitamins), and minerals (such as iron, magnesium, and zinc). A typical small chapati (around 30-40 grams) can contain approximately 2-3 grams of fiber, contributing significantly to your daily fiber intake, which is important for digestive health.
Compared to refined flour breads, whole wheat chapati has a lower glycemic index, meaning it causes a slower and steadier rise in blood sugar levels. It also provides complex carbohydrates, offering sustained energy.
Chapati as Part of a Balanced Diet
Incorporating whole wheat chapati into a balanced diet is a healthy choice. Its fiber content helps promote satiety, which can aid in weight management. The presence of essential nutrients supports overall well-being. While calories vary based on size and whether ghee is applied, a single chapati is relatively low in calories (around 70-100 kcal before adding fat).
It's important to consider portion sizes, especially when serving with rich dishes. However, as a staple bread made from whole grains with minimal processing, chapati provides a nutritious base carbohydrate for meals. Mastering an easy Indian chapati recipe allows you to enjoy these benefits fresh at home.
Conclusion: Enjoying Your Homemade Indian Flatbread
Embrace the Art of Chapati Making
Learning to make chapati is more than just following an easy Indian chapati recipe; it's embracing a simple yet profound culinary art. The process of transforming flour and water into soft, puffed bread is incredibly satisfying. Don't aim for perfection immediately; enjoy the journey of kneading the dough, rolling the circles (or not-so-circles! ), and watching them puff on the heat. Each chapati you make will teach you something new about the dough, the heat, and your own technique.
This skill connects you to millions of homes across India where chapati is made fresh daily, a testament to its enduring appeal and fundamental role in the cuisine. It's a skill that, once learned, you'll carry with you, enabling you to create warm, wholesome bread whenever you desire.
There's a special joy in sharing food you've made with your own hands, and homemade chapati is no exception. Serving warm, fresh chapatis to family and friends is a simple act of love and hospitality. The aroma, the softness, and the fact that they were made by you add an extra layer of warmth to any meal.
So, gather your simple ingredients, follow this easy Indian chapati recipe guide, and experience the satisfaction of making these wonderful flatbreads. Whether served with a traditional curry or used as a versatile wrap, your homemade chapatis are sure to be a hit. Happy baking!
Frequently Asked Questions
What exactly is chapati, and how does it differ from roti?
Chapati and roti are often used interchangeably, both referring to unleavened flatbreads from India. The difference, if any, is usually regional or based on specific cooking techniques.
What are the key ingredients needed for an easy Indian chapati recipe?
The core ingredients are simple: whole wheat flour (atta), water, and a little salt. Some recipes also include a touch of oil or ghee for added softness.
How do I ensure my chapati is soft and not tough?
Using warm water when making the dough helps gluten development and keeps the chapati soft. Also, resting the dough for at least 30 minutes is crucial for tenderness.
What's the best way to cook chapati to achieve puffed-up perfection?
Cooking chapati involves two stages: on a hot tawa (griddle) and then directly over a flame. The direct flame creates steam inside, causing it to puff up.
Can I store leftover chapati, and if so, how?
Yes, you can store leftover chapati! Wrap them in a clean cloth or airtight container to prevent them from drying out. Reheating on a tawa or microwave with a damp paper towel will restore their softness.
Final Reflection: The Timeless Allure of the Chapati
The humble chapati, a staple across India, transcends its simple ingredients to become a symbol of culinary heritage and everyday sustenance. Its enduring popularity speaks volumes about its adaptability, ease of preparation, and the comforting familiarity it brings to millions. This ease of preparation, often perceived as a barrier to entry for Western cooks, is precisely what makes the chapati so accessible and universally appealing.
Learning to make chapatis is more than just mastering a recipe; it's about connecting with a rich culinary tradition. It's about understanding the subtle nuances of dough consistency, the satisfying rhythm of rolling, and the beautiful puffing that occurs when the bread hits the hot pan. This process, for me, has been a journey of discovery, not just of a recipe, but of a culture. Food is symbolic of love when words are inadequate.
- Alan D. Wolfelt. This quote perfectly encapsulates the emotional connection many feel with their food, and the chapati, in its simplicity, embodies this sentiment profoundly.
Now, it's your turn. Don't be intimidated by the seemingly simple process. Gather your ingredients, embrace the tactile experience of kneading and rolling, and allow yourself to be transported to the heart of an Indian kitchen. The warmth of a freshly made chapati, paired with your favorite curry, is an experience that awaits you. Try the recipe, share your experiences, and discover the joy of creating this timeless classic in your own home.
Unleash Your Inner Bread Baker!
Thanks for joining us on this chapati and roti journey! We hope you now feel confident in tackling these delicious and versatile flatbreads. Ready to take your skills to the next level?
- Master the Art: Practice making chapatis and rotis this week using your newfound knowledge. Experiment with different flours or try making different shapes! This is your chance to perfect your technique.
- Share Your Success: Post a picture of your creations on social media and tag us! Let's inspire each other with our culinary adventures. #BakeWithEaseChapati
- Explore Beyond the Basics: Try adapting this recipe to create other delicious unleavened flatbreads from around the world. What exciting variations will you discover?
So, what unique twist will you add to your next batch of chapatis and rotis? Let us know in the comments below!