
Mastering Swedish Limpa: A Sweet & Spiced Rye Bread

Welcome to BakeWithEase, your trusted guide to baking brilliance! Ever dreamt of creating that perfect, aromatic rye loaf? This week, we're diving deep into a Scandinavian baking tradition. Discover the secrets behind our Swedish limpa bread recipe, a delightful dance of sweet and spiced flavors that will transform your bread-making. Ready to unlock the delicious secrets of this classic rye bread and experience the joy of homemade perfection? Let's get baking!
- Mastering Swedish Limpa: A Sweet & Spiced Rye Bread Recipe
- Introduction to Swedish Limpa Bread: A Taste of Scandinavia
- Understanding the Key Ingredients for Swedish Limpa Bread
- Swedish Limpa Bread Recipe: Step-by-Step Instructions
- Tips and Tricks for Perfect Swedish Limpa Every Time
- Serving and Storing Your Homemade Swedish Limpa
- Exploring Other Scandinavian Breads: Beyond Limpa
- Conclusion: Enjoy the Aroma and Taste of Homemade Swedish Limpa
-
Frequently Asked Questions
- What is Swedish Limpa bread?
- What makes the BakeWithEase Swedish Limpa bread recipe different?
- What are the key spices used in the BakeWithEase Swedish Limpa bread recipe?
- Can I substitute any of the ingredients in the BakeWithEase Swedish Limpa bread recipe?
- How should I store my Swedish Limpa bread after baking it using the BakeWithEase recipe?
- Final Reflection: The Enduring Magic of Swedish Limpa
- Unleash Your Inner Baker: Bake the Perfect Limpa!
Mastering Swedish Limpa: A Sweet & Spiced Rye Bread Recipe
What is Swedish Limpa and Why You'll Love It
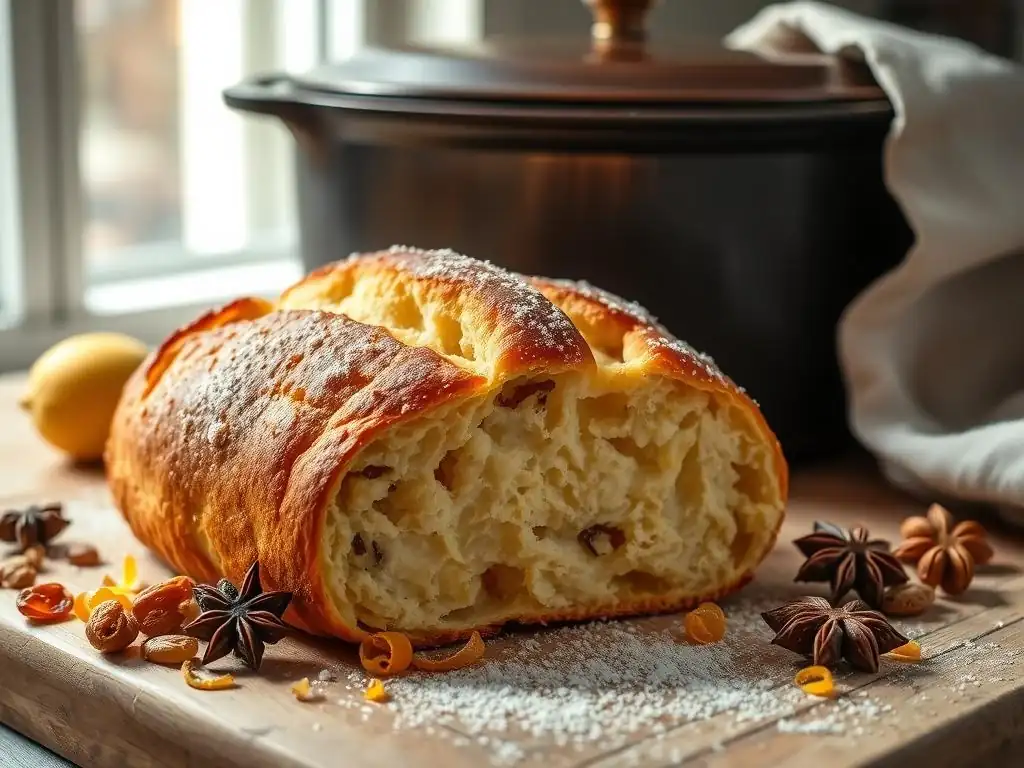
Swedish Limpa, often simply called limpa, is a traditional Swedish rye bread known for its distinctive sweet and spiced flavor profile. The name "limpa" translates roughly to "loaf" in Swedish, but this is no ordinary loaf. It's characterized by the inclusion of ingredients like molasses, orange zest, and often anise or fennel seeds, which give it a unique aroma and taste that sets it apart from other rye breads. Its slightly dense yet tender crumb makes it perfect for slicing and enjoying with butter or cheese.
This bread is deeply rooted in Swedish culinary tradition, especially around holidays like Christmas, though it's enjoyed year-round. Its popularity extends beyond Sweden, particularly in areas with significant Scandinavian heritage, such as parts of the Midwestern United States. Baking a Swedish limpa bread recipe at home not only fills your kitchen with incredible smells but also connects you to a rich history of baking. It's a rewarding project that yields a delicious, comforting bread quite unlike typical white or whole wheat loaves.
[Your Name]'s Guide to Authentic Swedish Rye Bread
Welcome to my guide on baking authentic Swedish limpa! I've spent years exploring different bread traditions, and Swedish limpa holds a special place in my heart for its unique blend of flavors and comforting texture. This guide is designed to walk you through each step, from understanding the core ingredients to mastering the baking process, so you can achieve a perfect loaf of Swedish limpa bread right in your own kitchen.
Whether you're a seasoned baker or just starting out, this detailed Swedish limpa bread recipe breaks down the process into manageable steps. We'll cover everything from selecting the right type of rye flour to achieving that beautiful golden crust. My goal is to empower you to bake this wonderful Scandinavian classic with confidence, sharing tips and insights gained through practice. Let's get started on your journey to baking a truly memorable Swedish limpa.
Understanding the Key Ingredients for Swedish Limpa Bread
Rye Flour: The Foundation of Authentic Limpa
Rye flour is the cornerstone of any authentic Swedish limpa bread recipe. Unlike wheat flour, rye flour contains less gluten, which contributes to the denser, moister texture characteristic of rye breads. There are different types of rye flour, typically categorized by how much of the rye kernel is included and how finely it's ground: light, medium, and dark.
For Swedish limpa, a combination of medium rye flour and bread flour (hard wheat flour with higher protein) is often used. The rye provides the characteristic flavor and color, while the bread flour helps provide structure and loft, making the dough easier to work with than if using 100% rye.
Using a significant portion of rye flour, perhaps around 30-50% of the total flour weight, is typical for a robust limpa. The exact ratio can be adjusted based on desired density and ease of handling. For instance, a recipe might call for 200 grams of medium rye flour and 300 grams of strong bread flour.
This blend allows the bread to rise better than a pure rye loaf while retaining that distinct rye flavor and the slightly sticky dough texture that is characteristic. The choice of rye flour significantly impacts the final taste and texture of your Swedish limpa bread.
Sweetness and Spice: Molasses, Orange Zest, and Anise Seeds
The signature flavor of Swedish limpa comes from a blend of sweet and aromatic ingredients. Molasses is a crucial component, providing both sweetness and a deep, slightly bitter undertone that complements the rye. Dark molasses, often used in traditional recipes, also contributes to the bread's rich brown color. Just a few tablespoons, perhaps 2 to 4 per loaf, can transform the dough's flavor profile.
Orange zest adds a bright, citrusy note that beautifully contrasts with the earthiness of the rye and the depth of the molasses. Using the zest of one whole orange is common and provides a vibrant aroma. Anise seeds, while sometimes optional depending on regional variations or personal preference, are a classic spice in many Swedish limpa bread recipes. Their distinct licorice-like flavor, used sparingly (perhaps 1-2 teaspoons), provides that quintessential spiced aroma often associated with limpa. Other spices like caraway or fennel seeds are also sometimes included, adding further layers of complexity.
Other Essential Ingredients: Yeast, Water, and Bread Flour
Beyond the defining elements, several other ingredients are essential for bringing a Swedish limpa bread recipe to life. Yeast, typically active dry or instant yeast, is necessary for leavening, allowing the dough to rise and develop a lighter texture than it would otherwise have. The amount needed depends on the type of yeast and the recipe, but generally, 7-10 grams (about 2-2.5 teaspoons) is sufficient for a standard loaf.
Warm water, or sometimes milk or a combination, activates the yeast and hydrates the flour, forming the dough. The water temperature is important; around 105-115°F (40-46°C) is ideal for activating active dry yeast.
As mentioned earlier, bread flour plays a vital supporting role. Its higher protein content (around 12-14%) develops more gluten than all-purpose flour, providing the structure needed to trap the gases produced by the yeast. This results in a loaf with better volume and a chewier texture. Salt is also critical, not just for flavor enhancement but also for controlling yeast activity and strengthening the gluten network. A typical recipe might use 8-10 grams of salt. Butter or oil is sometimes added for richness and tenderness.
Swedish Limpa Bread Recipe: Step-by-Step Instructions
Preparing the Dough: Mixing and Kneading for the Perfect Texture
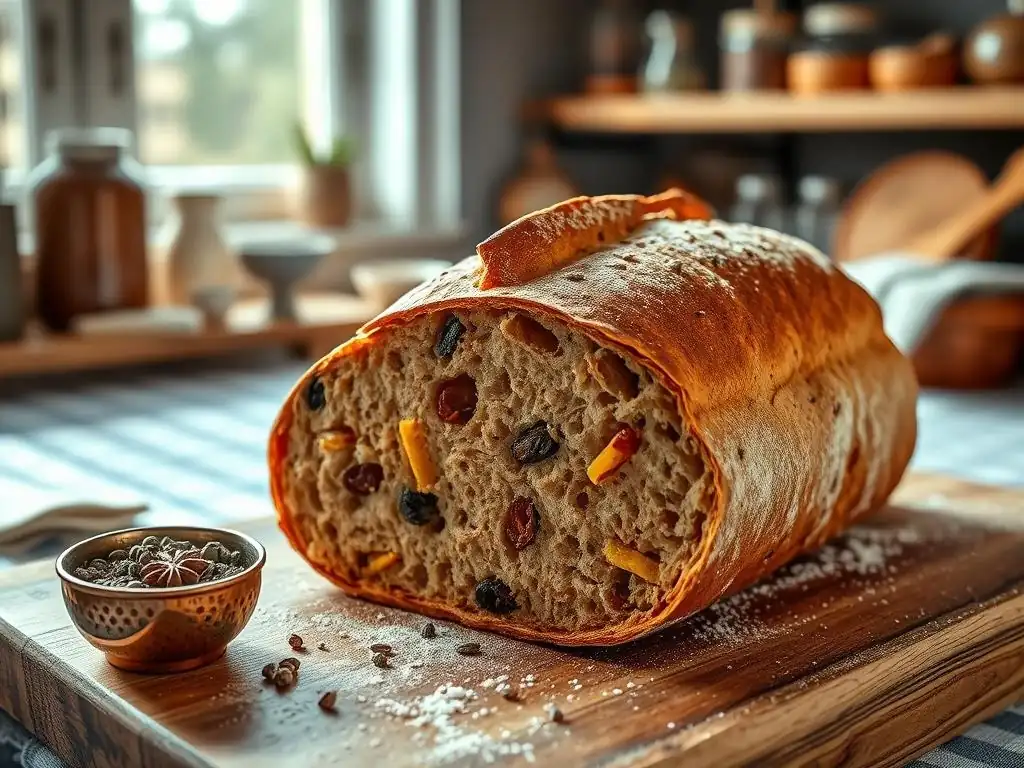
Creating the dough for your Swedish limpa bread recipe begins with activating the yeast, if using active dry. Combine the warm water (or liquid) with a pinch of sugar (to feed the yeast) and the yeast itself in a large mixing bowl. Let it sit for about 5-10 minutes until foamy, indicating the yeast is active. If using instant yeast, you can often mix it directly with the dry ingredients. Next, add the molasses, orange zest, salt, and any spices like anise seeds to the yeast mixture. Stir to combine these flavorful elements.
Gradually add the rye flour and bread flour to the wet ingredients. Start by mixing with a spoon or dough whisk until a shaggy dough forms. Turn the dough out onto a lightly floured surface and begin kneading. Swedish limpa dough can be slightly stickier than wheat dough due to the rye content.
Knead for about 8-10 minutes, or until the dough is relatively smooth and elastic. It may still feel a bit tacky, which is normal. If using a stand mixer, use the dough hook and knead on medium speed for about 6-8 minutes. The goal is to develop enough gluten structure from the bread flour to give the loaf shape and texture.
First Rise: Allowing the Dough to Develop Flavor
The first rise, also known as bulk fermentation, is a crucial step in the Swedish limpa bread recipe. After kneading, shape the dough into a ball and place it in a lightly oiled bowl, turning to coat the surface. Cover the bowl tightly with plastic wrap or a damp tea towel. Place the bowl in a warm, draft-free place to rise. A warm oven that's been turned off (or with just the light on) works well.
The dough should double in size, which typically takes about 1 to 1.5 hours, depending on the room temperature and the activity of your yeast. This rise allows the yeast to produce carbon dioxide, which leavens the bread, and also gives time for the flavors from the rye, molasses, and spices to meld and develop. Don't rush this stage; a proper first rise contributes significantly to the final texture and flavor of your Swedish limpa. You can gently poke the dough; if the indentation slowly springs back partway, it's ready.
Shaping the Limpa: Creating the Traditional Round Loaf
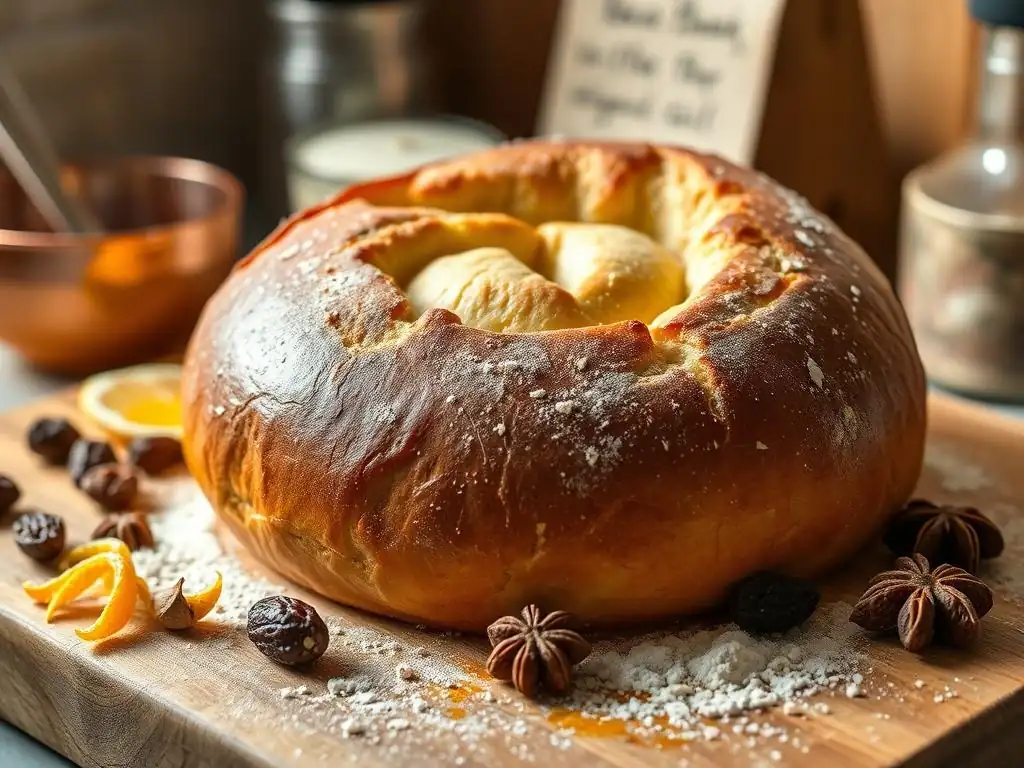
Once the dough has completed its first rise, gently punch it down to deflate it. This releases the gases produced during fermentation and helps equalize the temperature throughout the dough. Turn the dough out onto a lightly floured surface. Swedish limpa is traditionally shaped into a round, somewhat flattened loaf.
To shape, gently gather the edges of the dough and pull them towards the center, creating tension on the surface. Pinch the seams together at the bottom. Flip the dough over so the smooth side is up. Cup your hands around the dough ball and gently rotate it against the surface, pulling it towards you slightly, to create a smooth, taut surface.
The final shape should be a uniform round ball. This shaping technique helps build tension, which contributes to a good oven spring during baking. Place the shaped loaf on a baking sheet lined with parchment paper or a cornmeal-dusted surface.
Second Rise: Achieving Optimal Volume and Texture
After shaping, the dough needs a second rise, also called proofing. This final rise allows the loaf to expand further before baking, contributing to a lighter crumb and better volume. Cover the shaped loaf loosely with plastic wrap or a light tea towel to prevent it from drying out.
Let the dough proof in a warm, draft-free place for about 30-45 minutes, or until it has increased in size by about 50-75%. It won't necessarily double again, as it's already shaped. You can test if it's ready by gently pressing a finger into the side of the loaf; if the indentation slowly springs back but doesn't completely disappear, it's properly proofed. Be careful not to over-proof, as this can cause the loaf to collapse in the oven. While the dough is proofing, preheat your oven and prepare for baking.
Baking Your Swedish Limpa: Temperature and Time for Golden Perfection
Preheating your oven to the correct temperature is vital for a successful bake. For Swedish limpa, a common baking temperature is around 375-400°F (190-200°C). A hotter initial temperature can help achieve good oven spring before the crust sets. If using a baking stone or steel, ensure it's been preheating in the oven for at least 30-60 minutes to reach the proper temperature.
Carefully transfer the proofed loaf (on its parchment paper) to the hot baking surface. Bake for approximately 35-45 minutes. The exact time will vary depending on your oven and the size of your loaf. The bread is done when it is deeply golden brown on the outside and sounds hollow when tapped on the bottom.
For accuracy, the internal temperature should reach around 195-205°F (90-96°C). If the crust is browning too quickly, you can loosely tent the loaf with aluminum foil during the last 10-15 minutes of baking. Remove the bread from the oven and transfer it to a wire rack to cool completely before slicing.
Tips and Tricks for Perfect Swedish Limpa Every Time
Troubleshooting Common Limpa Baking Problems [e.g., Dense Bread, Flat Loaf]
Baking Swedish limpa bread, like any bread, can sometimes present challenges. A common issue is a dense loaf. This can often be attributed to insufficient kneading, which means the gluten structure wasn't properly developed to support the rise, or insufficient proofing time, where the yeast didn't produce enough gas.
Ensure you knead the dough for the recommended time until it feels reasonably elastic, and give it ample time for both the first and second rises in a warm environment. Over-measuring flour, especially the rye flour, can also lead to a heavy loaf, so using a kitchen scale for accuracy is highly recommended.
Another problem can be a flat loaf. This might happen if the dough is over-proofed; it rises beautifully but then collapses in the oven because the gluten structure can no longer support the expanded volume. Pay close attention to the proofing test (the indentation test). A weak gluten structure, again often due to under-kneading or using flour with insufficient protein (like all-purpose instead of bread flour), can also lead to a loaf that spreads rather than rises upwards. Ensuring your yeast is fresh and active is fundamental for achieving good lift.
Achieving the Perfect Crust: Secrets to a Beautiful Finish
A beautiful, slightly chewy crust is part of the charm of Swedish limpa bread. The combination of baking temperature and moisture in the oven plays a significant role. Baking at a relatively high temperature (around 400°F initially) helps the crust set quickly and brown nicely. To achieve a more artisanal crust, you can introduce steam into your oven during the first 10-15 minutes of baking.
There are several ways to create steam. One method is to place a cast iron pan or a baking tray on the bottom rack of your oven while it preheats. Just before you put the bread in, carefully pour about a cup of hot water into the hot pan (be cautious of the steam!). Close the oven door quickly to trap the steam.
Another simple method is to spray the walls of the oven with water using a spray bottle a couple of times during the initial baking phase. The steam helps keep the surface of the dough moist, allowing it to expand fully before the crust hardens, resulting in better volume and a thinner, crispier crust. Without steam, the crust can form too quickly, inhibiting the final rise and potentially resulting in a thicker, tougher crust.
Enhancing the Flavor: Variations and Additions to Your Limpa Recipe [e.g., Caraway Seeds, Fennel Seeds]
While the basic Swedish limpa bread recipe with orange zest and anise seeds is classic, you can easily customize it to suit your taste or explore different regional variations. Caraway seeds are a very popular addition, often used alongside or instead of anise seeds in many rye bread recipes, including limpa. Their slightly peppery, savory flavor pairs wonderfully with the sweetness of the molasses and the tang of the rye.
Fennel seeds offer a sweeter, slightly more delicate licorice flavor than anise. Using a mix of anise and fennel seeds, or just one of them, allows you to fine-tune the spiced profile. Some recipes also include a touch of ground ginger, cloves, or cardamom for added warmth, particularly in holiday versions.
For extra richness and moisture, you could experiment with substituting some of the water with milk or buttermilk, or adding a small amount of butter or oil to the dough during kneading. Dried cranberries or raisins can also be folded in towards the end of kneading for bursts of sweetness and chewiness.
Serving and Storing Your Homemade Swedish Limpa
How to Best Enjoy Swedish Limpa: Serving Suggestions
Swedish limpa bread is incredibly versatile and delicious when served in various ways. The traditional way to enjoy it is simply sliced, spread with butter. The sweetness and spice of the bread complement the richness of the butter beautifully. It's also fantastic served with cheese; a sharp cheddar or a creamy Havarti makes an excellent pairing.
For a heartier snack or light meal, try making open-faced sandwiches. Top slices of limpa with smoked salmon and dill, pickled herring, or gravlax – classic Scandinavian toppings. It also works well with paté or liverwurst. Don't overlook its potential for breakfast or brunch; a toasted slice with cream cheese or even a dollop of jam can be delightful. The robust flavor holds up well to strong accompaniments, making it a great base for savory toppings.
Storing Limpa Bread to Maintain Freshness
Proper storage is key to keeping your homemade Swedish limpa bread fresh and delicious for as long as possible. Once the loaf has cooled completely on a wire rack (this is crucial to prevent sogginess), it can be stored at room temperature. The best way to store it is wrapped tightly in plastic wrap, placed in a bread box, or stored in a clean plastic bag. Avoid refrigerating bread, as this tends to dry it out quickly and makes the texture stale.
Stored at room temperature this way, a loaf of Swedish limpa will typically stay fresh for 3-4 days. The rye content and molasses can help it retain moisture slightly longer than a purely wheat bread. If you won't be finishing the loaf within this timeframe, consider freezing it, which is an excellent way to preserve its quality for much longer.
Freezing Limpa Bread for Later Enjoyment
Freezing is an excellent option for preserving your Swedish limpa bread recipe results for extended periods. Ensure the bread is completely cooled before freezing. You can freeze the entire loaf or slice it first. Freezing slices allows you to thaw only what you need, which is very convenient.
To freeze, wrap the cooled loaf or individual slices tightly in plastic wrap, ensuring no air pockets. Then, wrap it again in aluminum foil or place it in a freezer-safe bag. This double layer of wrapping helps protect against freezer burn. Label the package with the date.
Frozen Swedish limpa bread can maintain its quality for up to 3-4 months. To thaw, simply remove the desired amount from the freezer. Slices can be toasted directly from frozen. A whole loaf can be thawed at room temperature, still wrapped, for several hours, or briefly warmed in a low oven (around 300°F or 150°C) after unwrapping.
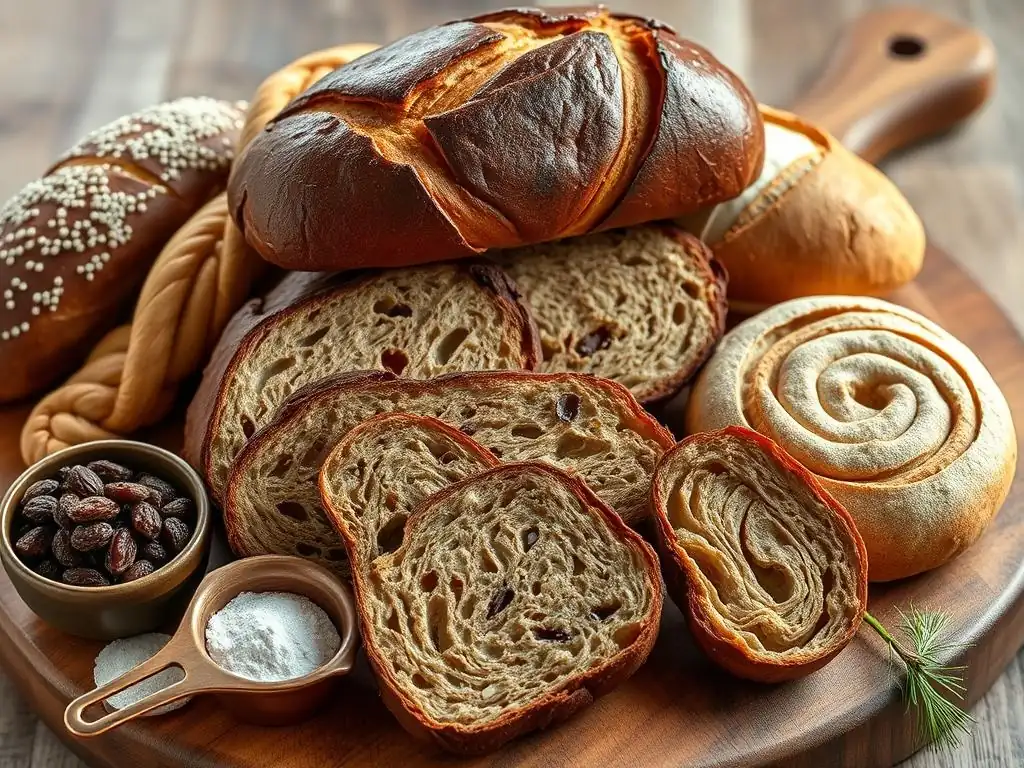
While Swedish limpa bread is a beloved classic, it's just one example of the rich tradition of rye bread baking found throughout Scandinavia. Rye is a staple grain in this region, well-suited to the climate, and forms the base of countless regional bread varieties. Danish rugbrød, for instance, is a very dense, dark rye bread often made with whole grains and seeds, typically leavened with a sourdough starter and sometimes including beer or malt extract for deep flavor.
Finnish ruisleipä is another prominent example, a dark, heavy sourdough rye bread, often baked as a round, flat loaf with a hole in the center, or in smaller, individual rounds. Norwegian rugbrød shares similarities with its Danish counterpart, emphasizing whole grains and a dense texture. These breads showcase the versatility of rye, ranging from the relatively lighter, sweeter limpa to the intensely dark, earthy, and sometimes sour loaves that are central to Scandinavian diets. Exploring these different styles reveals the diverse ways rye is celebrated in the Nordic countries.
If you've enjoyed baking Swedish limpa and want to delve deeper into Scandinavian baking, there are many other rewarding bread recipes to try. Danish seed rugbrød is an excellent next step if you enjoy the rye flavor but want something denser and packed with healthy seeds like sunflower, pumpkin, and flaxseeds. It often involves an overnight soak for the grains, adding another dimension to the process.
For something different yet still distinctly Scandinavian, consider trying Finnish Pulla (Cardamom Bread). This is a sweet, enriched wheat bread flavored heavily with cardamom, often braided or shaped into rolls. It's much lighter and sweeter than rye breads and is a popular accompaniment to coffee (fika). Exploring recipes for Norwegian Lefse, a soft, thin flatbread made from potato or flour, can also offer a taste of Scandinavian tradition, though the technique is quite different from yeast breads. Each of these breads offers a unique glimpse into the culinary heritage of the Nordic region.
Conclusion: Enjoy the Aroma and Taste of Homemade Swedish Limpa
Baking a loaf of Swedish limpa bread is a truly rewarding experience. From the moment the dough comes together, releasing the warm, spicy scent of orange and anise, to the anticipation as it bakes to a beautiful golden-brown, the process is a delight for the senses. The resulting bread, with its unique balance of sweetness, spice, and the earthy depth of rye, is something truly special – far beyond what you can typically find in a store.
Whether you serve it simply with butter, as a base for traditional Scandinavian toppings, or toasted for breakfast, your homemade Swedish limpa is sure to be a hit. It's a bread that tells a story of tradition and flavor, perfect for sharing with friends and family. Don't be intimidated by working with rye; follow the steps, pay attention to the dough, and you'll be rewarded with a delicious, aromatic loaf that embodies the cozy spirit of Scandinavian baking.
We love seeing your baking creations! If you've used this Swedish limpa bread recipe to bake your own loaf, we'd be thrilled to hear about it. What variations did you try? Did you add caraway or fennel seeds? How did you serve it? Sharing your experiences helps inspire other bakers in our community. Baking is a journey, and every loaf is a step in mastering the craft. Keep baking, keep exploring, and enjoy the delicious results!
Frequently Asked Questions
What is Swedish Limpa bread?
Swedish Limpa is a slightly sweet and spiced rye bread originating from Sweden. It's known for its unique flavor profile derived from ingredients like orange zest, anise, and caraway. The BakeWithEase recipe provides a simple way to make it at home.
What makes the BakeWithEase Swedish Limpa bread recipe different?
Our recipe emphasizes easy-to-find ingredients and step-by-step instructions, even for beginner bakers. We focus on delivering a delicious and authentic flavor profile without complicated techniques, which is in line with the BakeWithEase philosophy.
What are the key spices used in the BakeWithEase Swedish Limpa bread recipe?
The BakeWithEase recipe typically uses a combination of anise, caraway, and fennel seeds. The addition of orange zest contributes to the bread's signature sweet and spiced flavor, which is a key characteristic of Swedish Limpa.
Can I substitute any of the ingredients in the BakeWithEase Swedish Limpa bread recipe?
While we recommend following the recipe for the best results, you can experiment. For example, molasses can be substituted with honey, but be aware that it might slightly alter the overall flavor and texture. The BakeWithEase website has tips on substitions.
How should I store my Swedish Limpa bread after baking it using the BakeWithEase recipe?
Store your baked Swedish Limpa bread in an airtight container at room temperature for up to 3 days, or in the refrigerator for up to a week. Freezing is also an option for longer-term storage, but be sure to wrap it well to prevent freezer burn.
Final Reflection: The Enduring Magic of Swedish Limpa
The comforting aroma of freshly baked limpa, its deep golden crust yielding to a soft, subtly sweet interior, transcends mere sustenance; it's a portal to tradition and a testament to the enduring power of simple ingredients. This exploration of Swedish limpa bread, from its historical roots to the nuances of crafting the perfect loaf, reveals a recipe far richer than its components suggest. It's a journey into the heart of Swedish baking, a practice passed down through generations, and a reminder of the profound connection between food and culture.
The process of making limpa, from the careful measuring of rye flour to the anticipation of the first slice, is a meditative experience. It's a connection to something larger than oneself, a participation in a culinary heritage that spans centuries. Bread is the staff of life,
a simple phrase, yet it encapsulates the profound importance of this staple food, and the emotional resonance it holds for so many. The act of baking limpa, in particular, allows us to appreciate the artistry and patience involved in creating something both delicious and deeply meaningful.
Now, as you close this article, I invite you to consider the possibilities. Perhaps you'll be inspired to try your hand at making your own limpa, to experience the satisfaction of crafting something beautiful and nourishing from scratch. Or maybe, simply reflecting on the journey of this bread, from ancient traditions to your own kitchen, will spark a deeper appreciation for the culinary arts and the stories embedded within our food. Embrace the challenge, savor the experience, and discover the magic within each perfectly risen loaf.
Unleash Your Inner Baker: Bake the Perfect Limpa!
Thanks for joining us on this delicious journey into the world of Swedish Limpa! We hope you've gained a newfound appreciation for this sweet and spiced rye bread. Now it's time to put your knowledge to the test.
- Bake your own Limpa: This is your chance to experience the incredible aroma and taste firsthand. Don't be afraid to experiment with spices and add-ins to make it your own!
- Share your creation: Post a picture of your freshly baked Limpa on social media and tag us @BakeWithEase – we'd love to see your masterpiece!
- Explore other rye bread recipes: Discover even more delightful variations on our website – we have a whole collection waiting for you!
What unique twist will you add to your Limpa to make it truly special?