
Mastering High Hydration Dough for Incredible Rustic Loaves

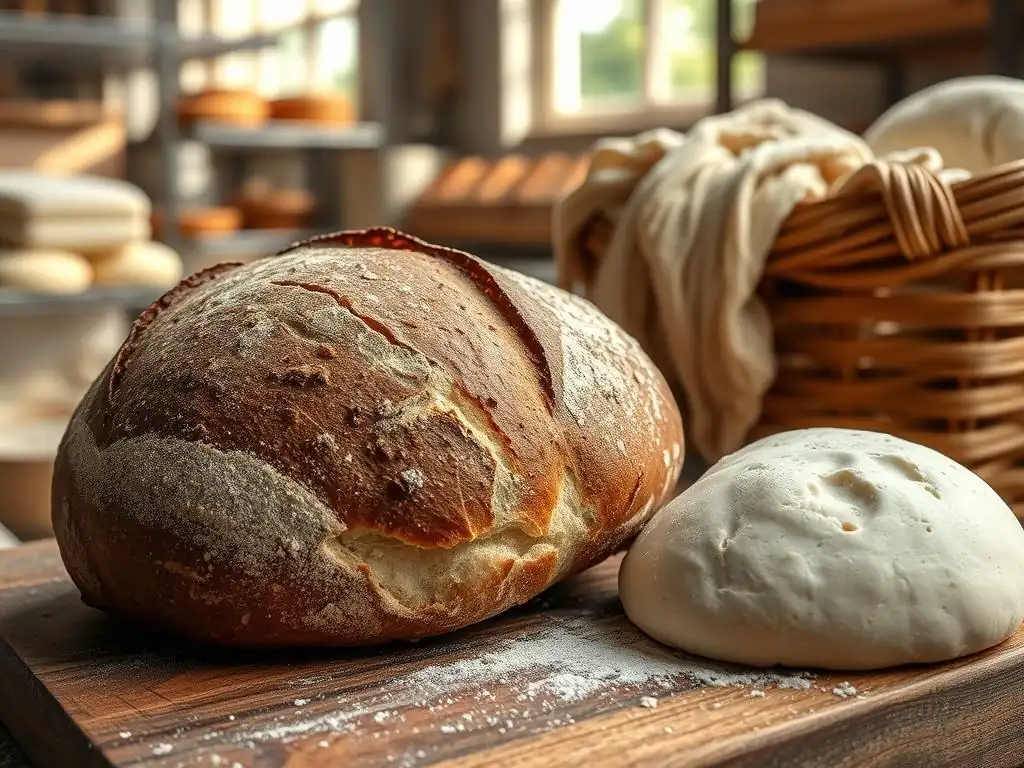
Welcome to BakeWithEase, your secret ingredient to baking success! Ever dreamed of crafting those impossibly airy, crusty loaves you see in artisan bakeries? This week, we're unlocking the secrets to a high hydration sourdough recipe that will transform your baking game. Prepare to be amazed at how simple it is to achieve extraordinary results – keep reading to discover the key techniques and tips for mastering this rewarding challenge!
- Introduction to High Hydration Sourdough Baking
- Essential Ingredients for Your High Hydration Sourdough Recipe
- High Hydration Sourdough Recipe: Step-by-Step Guide
- Troubleshooting Common Issues in High Hydration Baking
- Tips and Tricks for Perfecting Your High Hydration Sourdough
- Variations on the High Hydration Sourdough Recipe
- Conclusion: Enjoying Your Homemade Rustic Sourdough.
-
Frequently Asked Questions
- What exactly does "high hydration" mean in a sourdough recipe?
- Why would I want to bake a high hydration sourdough? What are the benefits?
- Is a high hydration sourdough recipe more difficult than a standard sourdough recipe?
- What kind of flour works best for high hydration sourdough?
- What are some common mistakes people make when baking high hydration sourdough, and how can I avoid them?
- Final Reflection: The Transformative Power of Water in Sourdough Baking
- Unleash Your Inner Baker: Craft the Perfect Rustic Loaf!
Introduction to High Hydration Sourdough Baking
What is High Hydration Dough? Understanding the Basics
High hydration dough refers to a bread dough recipe where the amount of water used is significantly high relative to the amount of flour. Hydration is typically expressed as a percentage of the flour weight. For example, a dough with 1000g of flour and 800g of water has 80% hydration. Standard bread doughs might range from 60% to 70% hydration, while high hydration doughs often exceed 75%, sometimes reaching 85% or even 90%. This high water content results in a very wet, often sticky, dough that can be challenging for beginners but offers remarkable benefits.
Working with such a wet dough requires different handling techniques compared to lower hydration doughs. Instead of traditional kneading, methods like stretching and folding are employed to develop gluten strength. The extra water facilitates gluten development by allowing protein molecules to move more freely and bond. This increased hydration also plays a crucial role in the final texture and structure of the baked loaf, contributing significantly to the open, airy crumb characteristic of many rustic breads.
Why Bake with High Hydration Dough? Benefits and Advantages
Baking with high hydration dough offers several distinct advantages that contribute to superior bread quality. One primary benefit is the resulting open and irregular crumb structure. The abundance of water turns into steam during baking, which expands rapidly, creating large, beautiful holes within the loaf. This airy interior contrasts wonderfully with a crisp, crackling crust, providing a complex textural experience that is highly sought after in artisan breads.
Furthermore, high hydration doughs tend to have a longer shelf life and retain their freshness better than lower hydration loaves. The increased moisture content keeps the crumb soft and palatable for several days. The slow fermentation process often associated with high hydration sourdough recipes also contributes to deeper, more complex flavors. The yeast and bacteria in the sourdough starter have ample water to work with, allowing them to produce a wider range of organic acids and aromatic compounds, resulting in that signature tangy, nuanced sourdough taste.
The Allure of Rustic Loaves: Achieving Open Crumb and Crusty Perfection
Rustic loaves, such as ciabatta or traditional sourdough boules, are celebrated for their natural, unpretentious appearance and exceptional texture. A key element of their appeal is the open crumb structure, often described as having large, irregular holes. This open crumb is a direct result of high hydration combined with proper fermentation and handling techniques. The steam generated from the high water content during baking, coupled with strong gluten development that can trap the expanding gases, creates these desirable air pockets.
Achieving a perfect crust is another hallmark of a great rustic loaf. High hydration doughs, when baked at high temperatures, especially in a Dutch oven or with injected steam, develop a thick, blistered, and deeply caramelized crust. The Maillard reaction and caramelization on the crust contribute rich flavors and a satisfying crunch. This contrast between the tender, airy interior and the robust, crunchy exterior is what makes a rustic high hydration sourdough recipe so incredibly satisfying to bake and to eat.
Essential Ingredients for Your High Hydration Sourdough Recipe
Flour Selection: Choosing Bread Flour for High Hydration
The type of flour you choose is paramount when working with a high hydration sourdough recipe. Bread flour is typically the preferred choice because it has a higher protein content (usually 12-14%) compared to all-purpose flour (around 10-12%). This higher protein level is crucial for developing a strong gluten network capable of handling and holding onto the large volume of water in a high hydration dough. Without sufficient gluten strength, the dough would simply spread out and fail to hold its structure, resulting in a flat, dense loaf.
While bread flour provides the necessary structure, you can also experiment with blends. Adding a percentage of whole wheat flour or rye flour (often 10-30%) can introduce additional flavor and nutritional benefits, although these flours absorb water differently and can make the dough even trickier to handle due to components like bran. For your initial high hydration sourdough recipe attempts, starting with 100% good quality bread flour is recommended to build confidence and understand the dough's behavior before introducing other flours.
Water Quality: Optimizing Hydration for Sourdough
The quality of your water significantly impacts your high hydration sourdough recipe. Ideally, use filtered or non-chlorinated water. Chlorine, often present in tap water, can inhibit the activity of the wild yeast and lactic acid bacteria in your sourdough starter, potentially slowing down fermentation and affecting flavor development. Room temperature water is generally best for mixing the dough, typically around 70-78°F (21-26°C), as it helps regulate the dough temperature, which is critical for consistent fermentation rates.
The exact amount of water will define your hydration level. For a typical rustic loaf, a hydration between 75% and 85% is common. This means for every 1000g of flour, you would use between 750g and 850g of water. The specific hydration you choose might depend on the flour's absorption rate (which varies by brand and type) and your comfort level working with wetter doughs. Starting around 78% hydration is a great point for learning the ropes of a high hydration sourdough recipe.
Sourdough Starter: The Key to Flavor and Rise
Your active and healthy sourdough starter, often called a levain, is the heart of any high hydration sourdough recipe. It provides the leavening power needed for the dough to rise and contributes the characteristic tangy flavor. An active starter should be bubbly, have increased significantly in volume (ideally doubled or tripled) within 4-8 hours after feeding, and smell pleasantly acidic, like yogurt or ripe fruit. Using a starter that is past its peak or not sufficiently active will result in a sluggish fermentation and a poor rise.
Typically, a portion of your active starter is used to inoculate the main dough. The amount of starter used, usually between 15% and 25% of the flour weight, affects the fermentation time. A higher percentage of starter will lead to faster fermentation, while a lower percentage will slow it down. For instance, using 200g of starter for 1000g of flour means you're using 20% starter relative to the flour weight. Ensuring your starter is robust and fed regularly (at least weekly, more often if kept at room temperature) is fundamental to successful high hydration sourdough baking.
Salt: Balancing Flavor and Dough Structure
Salt is a vital component in any bread recipe, including a high hydration sourdough recipe. Beyond enhancing the flavor of the bread, salt plays a crucial role in controlling the rate of fermentation and strengthening the gluten network. It tightens the gluten structure, making the dough more manageable and improving its ability to hold its shape and trap gases during proofing and baking. Without salt, the dough would be slack and difficult to handle, and the final loaf would lack structure and taste bland.
The typical salt percentage in a high hydration sourdough recipe ranges from 1.8% to 2.2% of the flour weight. For 1000g of flour, this would mean adding 18g to 22g of salt. It's important not to add salt at the very beginning of mixing, especially if you are doing an autolyse step, as salt can inhibit gluten development. It's best incorporated after the initial mixing or autolyse period, ensuring it is evenly distributed throughout the dough for optimal results.
High Hydration Sourdough Recipe: Step-by-Step Guide
Step 1: Preparing Your Sourdough Starter (Levain Build)
Approximately 4-12 hours before you plan to mix your main dough, you'll need to build your levain. This involves taking a small amount of your mature sourdough starter and feeding it with fresh flour and water. A common ratio is 1:2:2 (starter:water:flour) by weight, for example, using 20g mature starter, 40g water, and 40g bread flour. Mix these together in a clean jar, cover loosely, and let it sit at room temperature until it is active and bubbly, typically peaking around 4-8 hours depending on the temperature. It should have roughly doubled in volume and feel light and airy.
The timing for building your levain depends on the ambient temperature of your kitchen. In a warmer environment (above 75°F or 24°C), your levain might be ready in 4-6 hours. In a cooler kitchen (around 70°F or 21°C), it could take 8-12 hours. You are looking for the peak activity, just before it starts to fall. A good test is the float test: drop a small piece of the levain into water; if it floats, it's ready. This active starter is what will provide the lift for your high hydration sourdough recipe.
Step 2: Mixing the High Hydration Dough
Mixing high hydration dough is different from traditional kneading. The goal is to gently bring the ingredients together and begin developing gluten without making a sticky mess.
Autolyse: The Secret to Enhanced Hydration
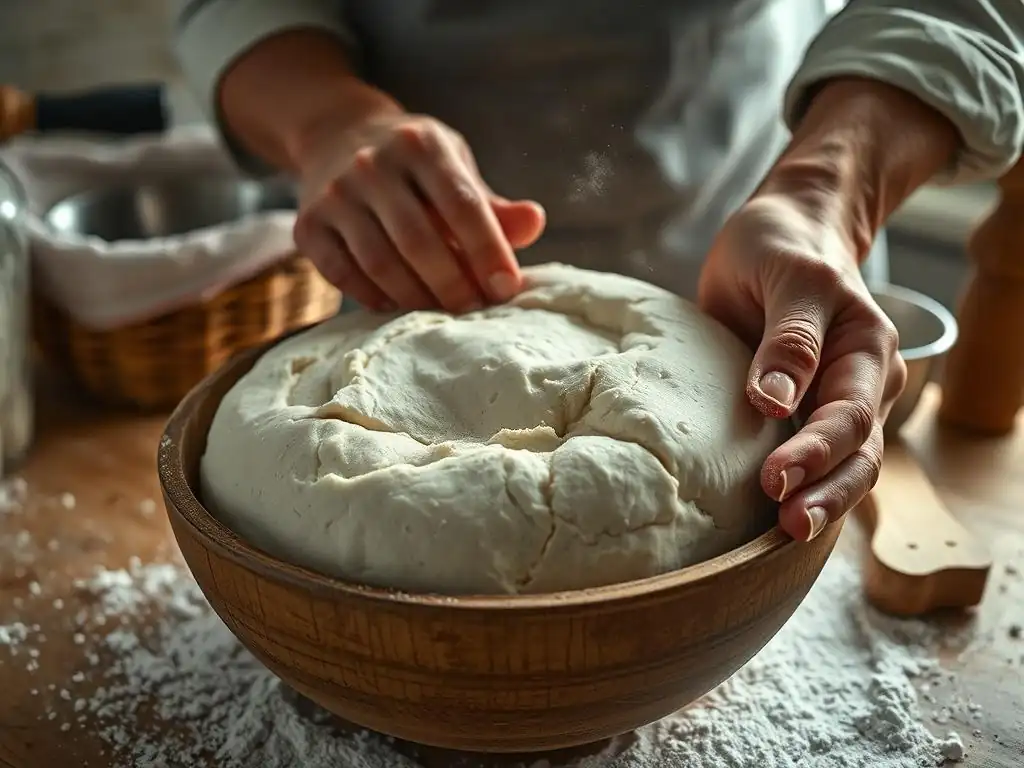
Begin by mixing the flour and water for your high hydration sourdough recipe. Reserve the salt and the sourdough starter for this initial phase. Combine the flour and the calculated amount of water in a large bowl, mixing just until no dry flour remains. The mixture will look shaggy and wet.
Cover the bowl and let it rest for 30 minutes to an hour. This resting period is called the autolyse. During the autolyse, the flour absorbs the water, and enzymatic activity begins to break down proteins, which helps kickstart gluten development and makes the dough more extensible. This step is particularly beneficial for high hydration doughs as it allows the flour to hydrate fully before the starter and salt are introduced.
Incorporating the Sourdough Starter
After the autolyse, add your active sourdough starter (levain) to the dough. Dimple the surface of the dough to help the starter incorporate. Using wet hands or a dough whisk, gently fold and squeeze the starter into the dough until it is mostly integrated. The dough might feel even stickier at this stage. Continue working it for a minute or two until the starter is relatively evenly distributed. This step introduces the leavening agents and flavor compounds that are essential for your high hydration sourdough recipe.
Adding Salt and Final Mixing
Now it's time to add the salt. Sprinkle the measured salt over the dough. Again, using wet hands, squeeze and fold the salt into the dough until it is thoroughly combined.
You might notice the dough becoming slightly tighter as the salt starts to work on the gluten structure. Continue mixing for another few minutes using a folding motion or gentle kneading in the bowl until the salt is fully incorporated and the dough starts to show some initial signs of strength, even if it's still very wet and sticky. This completes the initial mixing phase of your high hydration sourdough recipe.
Step 3: Bulk Fermentation and Folding Techniques
Bulk fermentation is the first rise of the dough, and it's crucial for developing flavor and strength in a high hydration sourdough recipe. This phase can last anywhere from 3 to 6 hours or even longer, depending on the temperature of your kitchen and the activity of your starter. During this time, the dough will increase in volume, become bubbly, and develop elasticity. The ideal dough temperature during bulk fermentation is often between 75-80°F (24-27°C) for a relatively active fermentation.
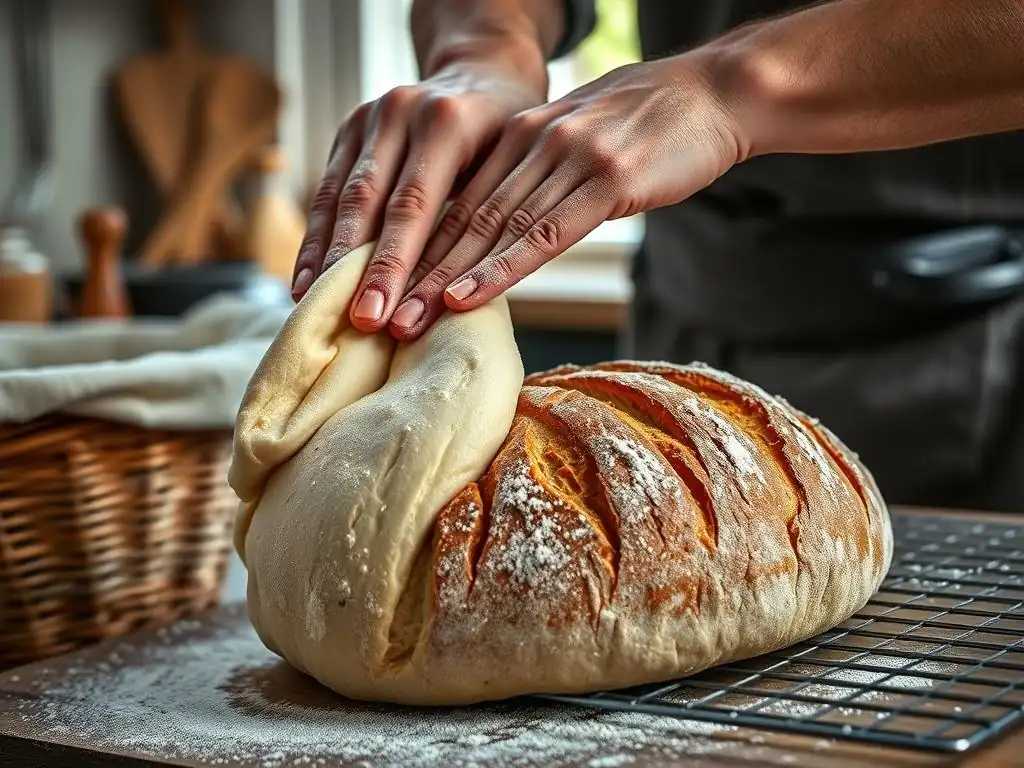
Throughout bulk fermentation, you will perform a series of folds to build structure in the wet dough. Typically, you perform 3-5 sets of folds during the first 2-3 hours of bulk fermentation, resting the dough for 30-45 minutes between each set. To perform a fold, wet your hands slightly, grab one edge of the dough, stretch it up gently, and fold it over the center. Rotate the bowl and repeat with the other three sides. This process strengthens the gluten network, making the dough more capable of holding its shape and trapping gases.
Understanding Bulk Fermentation Time
The duration of bulk fermentation is critical and depends heavily on temperature. In a warm kitchen (e.g., 78°F), your dough might be ready in 4 hours, showing a significant increase in volume (perhaps 50-75%) and feeling airy and bubbly. In a cooler environment (e.g., 70°F), it could take 6 hours or more to reach the same stage.
You are looking for visual cues: the dough should look alive, feel lighter, have bubbles on the surface and sides, and pass the "jiggle test" (it should jiggle like jelly when the bowl is gently shaken). Over-fermenting can lead to a slack, difficult-to-shape dough, while under-fermenting results in a dense crumb.
Performing Folds: Strengthening the Dough
Folds are essential for building strength in your high hydration sourdough recipe without traditional kneading. Aim for 3-5 sets of folds during the first half of bulk fermentation. For each set, gently stretch and fold all four sides of the dough over itself, effectively turning the dough into a package. Allow the dough to rest, covered, for 30-45 minutes between sets. As you perform subsequent folds, you will notice the dough becoming progressively smoother, tighter, and more elastic. This development of gluten strength is vital for achieving a good rise and an open crumb in your finished loaf.
Step 4: Shaping the High Hydration Dough
Shaping high hydration dough requires a gentle touch to avoid degassing the airy structure you've worked hard to build. Once bulk fermentation is complete, gently scrape the dough out of the bowl onto a lightly floured surface. Avoid using too much flour, as it can prevent the dough seams from sealing.
Gentle Handling: Preventing Deflation
The key to shaping a high hydration sourdough recipe is minimal handling. The dough is full of precious gas bubbles. Aggressive kneading or pressing will push these gases out, resulting in a denser loaf. Use a bench scraper to help manipulate the dough. Gently pre-shape the dough into a round or loose rectangle and let it rest for 15-20 minutes (bench rest). This allows the gluten to relax, making the final shaping easier. The dough will spread during this rest, which is normal for high hydration dough.
Shaping Techniques for Rustic Loaves (Batard and Boule)
For a boule (round loaf), gently pull the edges of the dough towards the center, rotating as you go, to create tension on the surface. Cup your hands around the dough and gently pull it towards you across the surface to tighten the skin. For a batard (oval loaf), gently shape into a rectangle, then fold one-third down, the opposite third up over it, and finally fold the dough in half lengthwise, sealing the seam. Place the shaped dough seam-side up into a floured proofing basket (banneton). The basket helps the dough hold its shape during the final proof.
Step 5: Proofing Your Sourdough Loaf
Proofing, or final fermentation, is the final rise before baking. It allows the shaped loaf to increase in volume and develop more flavor.
Cold Proofing vs. Room Temperature Proofing
You have two main options for proofing your high hydration sourdough recipe: room temperature or cold proofing in the refrigerator. Room temperature proofing is faster, typically taking 1-3 hours, depending on the temperature. Cold proofing involves placing the shaped dough in the refrigerator (around 40°F or 4°C) for a longer period, usually 8 to 18 hours, or sometimes up to 24 hours. Cold proofing develops more complex flavors and makes the wet dough much easier to handle, score, and transfer to the oven. It's highly recommended for high hydration doughs.
Determining Readiness for Baking
Knowing when your high hydration sourdough recipe is perfectly proofed is crucial. The "poke test" is a common method. Gently press your floured finger into the side of the dough. If the indentation springs back immediately, the dough is under-proofed.
If it holds the indentation completely, it's likely over-proofed. If it springs back slowly, leaving a small indentation, it's ready to bake. For cold-proofed dough, this test is less reliable; instead, look for a significant increase in volume (but not doubled) and a slightly domed top in the banneton. Trust your bulk fermentation; if it was correct, the cold proof is primarily for flavor and handling ease.
Step 6: Baking Your High Hydration Sourdough
Baking high hydration dough requires high heat and steam to achieve maximum oven spring and a beautiful crust.
Preheating Your Oven and Dutch Oven
For best results with a high hydration sourdough recipe, preheat your oven to a high temperature, typically 450-500°F (230-260°C), with a Dutch oven or baking stone inside, for at least 30-60 minutes. A Dutch oven is ideal as it traps the steam released from the dough, creating a humid environment similar to a professional steam oven. This steam keeps the crust soft during the initial phase of baking, allowing the loaf to expand freely (oven spring) before the crust sets.
Scoring the Loaf for Oven Spring
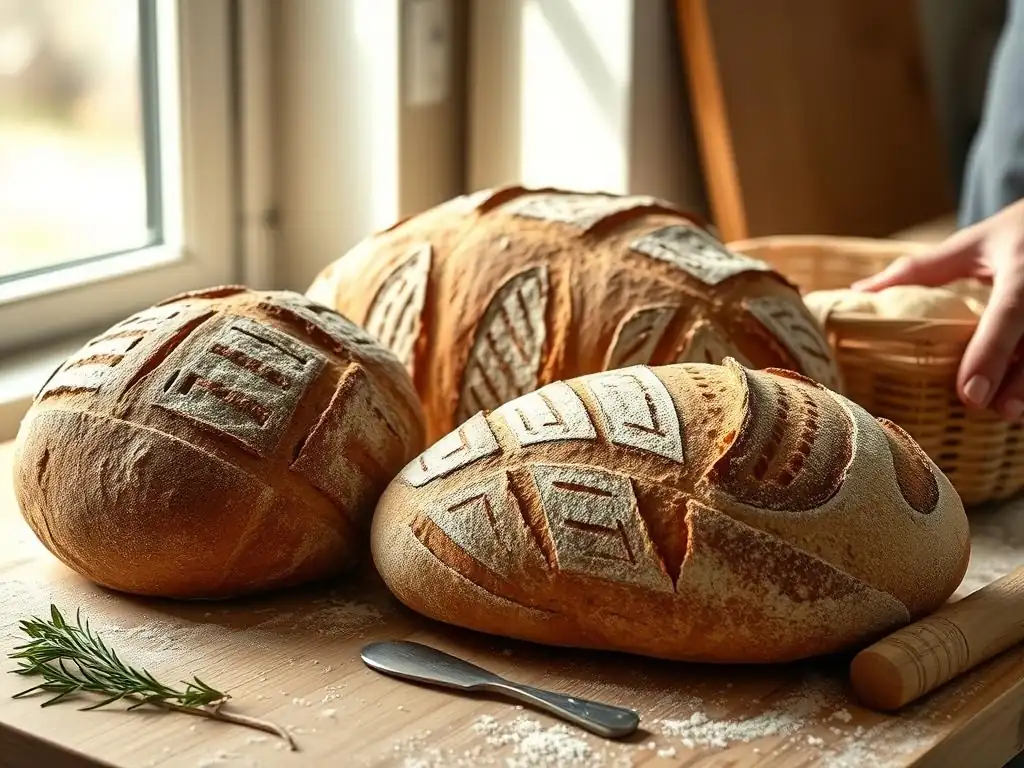
Just before transferring the dough to the hot baking vessel, gently invert the proofed loaf onto a piece of parchment paper or directly onto the hot surface. Using a sharp razor blade (lame) or knife, score the surface of the dough. Scoring provides weak points that allow the dough to expand predictably during oven spring. A single deep score down the length is common for batards, while a cross or geometric pattern works well for boules. The depth and angle of your score will influence the final shape and bloom of your high hydration sourdough loaf.
Baking Time and Temperature Guidelines
Bake the loaf in the preheated Dutch oven with the lid on for the first 20-25 minutes. This trapped steam phase is critical for oven spring and developing a thin, extensible crust. After this initial period, carefully remove the lid and continue baking for another 20-30 minutes, or until the crust is a deep golden brown and the internal temperature reaches around 205-210°F (96-99°C). Baking without the lid allows the crust to dry out and crisp up beautifully. Total baking time for a standard 1kg loaf is usually 40-55 minutes.
Troubleshooting Common Issues in High Hydration Baking
Dough is Too Sticky: Adjusting Hydration Levels
It's common for a high hydration sourdough recipe to result in a very sticky dough, especially if you're new to this style of baking. If the dough is unmanageably sticky even after adequate gluten development through folds, it might be that your flour isn't absorbing water as expected, or the hydration level is simply too high for your comfort or skill level right now. Different flours have varying absorption rates; humidity can also play a role.
To address excessive stickiness, you can slightly reduce the hydration in your next batch (e.g., from 80% to 78%). Ensure you are using proper handling techniques like wet hands or a bench scraper. Don't be tempted to add too much extra flour during shaping, as this can toughen the crust. A slightly sticky dough is normal for high hydration; focus on developing strength and using minimal flour on your work surface and hands.
Lack of Oven Spring: Understanding Under-Proofing
A common issue leading to poor oven spring in a high hydration sourdough recipe is under-proofing during bulk fermentation or final proof. If the dough hasn't developed enough gas during fermentation, it won't have the power to expand significantly in the oven. Under-proofed dough often appears dense and lacks the characteristic bubbles. It might also feel heavy and tight after shaping.
To improve oven spring, ensure your starter is very active when you begin. Pay close attention to the visual cues during bulk fermentation – look for a significant increase in volume (at least 50-75%) and signs of aeration like bubbles. Ensure your dough temperature stays within the optimal range (75-80°F during bulk). Also, make sure your oven and baking vessel are fully preheated to ensure maximum initial burst of heat upon entry.
Dense Crumb: Addressing Over-Proofing
Conversely, a dense crumb in a high hydration sourdough recipe can also be a result of over-proofing. If the dough ferments for too long, the gluten structure, which holds the gas bubbles, can begin to break down. The dough will typically look very bubbly, perhaps even deflated, and feel very fragile and difficult to handle. When baked, the weakened structure collapses, leading to a dense, gummy interior.
To avoid over-proofing, monitor your dough's progress closely, especially in a warm environment. Rely on visual cues and the poke test (if proofing at room temperature) rather than strict adherence to time, as fermentation rates vary. For cold proofing, while it's more forgiving, extremely long cold proofs (24+ hours) can still lead to issues depending on starter activity and temperature. If you suspect over-proofing, handle the dough extremely gently during shaping and baking, as any rough treatment will cause it to collapse completely.
Preventing a Flat Loaf: Dough Strength and Shaping
A flat loaf in a high hydration sourdough recipe is often a symptom of insufficient dough strength combined with improper shaping. If the gluten network hasn't been adequately developed during bulk fermentation through sufficient folds, the dough won't have the structural integrity to hold its shape. It will spread out during proofing and baking rather than rising upwards.
Ensure you are performing enough sets of folds during bulk fermentation (typically 3-5 sets). Focus on building tension during the final shaping step, creating a taut skin on the surface of the loaf. This surface tension acts like a balloon, helping the loaf maintain its structure as it expands. Using a well-floured banneton provides crucial support during the final proof, preventing the dough from spreading outwards before it hits the heat of the oven.
Tips and Tricks for Perfecting Your High Hydration Sourdough
Mastering the Art of Dough Handling
Working with a high hydration sourdough recipe means getting comfortable with a very wet, sticky dough. Mastering handling techniques is key. Keep your hands and your work surface lightly floured or wet, depending on the task. For folds, wet hands prevent sticking. For shaping, a light dusting of flour on the surface and dough prevents it from welding to everything. Use a bench scraper as an extension of your hand to help manipulate the dough, especially when dividing or moving it.
Practice makes perfect. Don't be discouraged if your first few attempts are messy. Focus on being gentle yet firm, using quick movements to minimize sticking. As the gluten develops through bulk fermentation and folds, the dough will become progressively easier to manage, even at high hydration levels. Learning to read the dough's texture and resistance will guide your handling approach.
Achieving Optimal Oven Spring
Optimal oven spring is the baker's reward for successful fermentation and shaping in a high hydration sourdough recipe. Beyond proper proofing and dough strength, baking method is critical. Using a preheated Dutch oven or baking stone with steam is paramount. The intense initial heat and trapped steam allow the dough to expand rapidly before the crust hardens.
Ensure your oven and baking vessel are fully preheated to the target temperature (e.g., 475°F or 245°C) for at least 30-60 minutes. This ensures the dough receives maximum thermal energy upon entry. Scoring the loaf correctly just before baking is also vital; it directs the expansion and allows the dough to achieve its full potential height and bloom. A good score should be decisive and deep enough to allow the dough to tear open beautifully.
Enhancing Flavor Through Fermentation
The complex flavor profile of a high hydration sourdough recipe comes primarily from the fermentation process mediated by the wild yeast and lactic acid bacteria in your starter. Longer, slower fermentation, especially cold proofing, allows these microorganisms more time to produce a wider array of organic acids and aromatic compounds. This develops the characteristic tang and depth of flavor.
Maintaining the correct dough temperature during bulk fermentation is also important; warmer temperatures (75-80°F) promote yeast activity and faster rising, while cooler temperatures (below 70°F) encourage lactic acid bacteria activity, leading to more sour flavors. Experiment with different bulk fermentation times and cold proofing durations (e.g., 12 hours vs. 18 hours in the fridge) to discover the flavor profile you prefer. Using a portion of whole wheat or rye flour in your high hydration sourdough recipe can also add significant flavor complexity.
Storing Your Rustic Sourdough Loaf
Proper storage is essential to keep your beautiful high hydration sourdough recipe creation fresh. Once baked, allow the loaf to cool completely on a wire rack for at least 2-3 hours before slicing. Slicing too early traps steam, resulting in a gummy crumb. For short-term storage (1-2 days), simply store the loaf cut-side down on a cutting board or in a paper bag at room temperature. This helps maintain the crust's crispness.
For longer storage, wrap the cooled loaf tightly in plastic wrap or beeswax wraps, then place it in a bread bin or airtight container. This will keep the crumb soft for 3-4 days, though the crust will soften. For extended storage, slice the cooled loaf and freeze the slices in an airtight bag or container. Frozen slices can be quickly toasted, preserving the texture and flavor of your high hydration sourdough recipe for weeks. Avoid refrigerating sourdough, as it tends to make the crumb stale quickly.
Variations on the High Hydration Sourdough Recipe
Adding Whole Wheat Flour for Depth of Flavor
Incorporating whole wheat flour into your high hydration sourdough recipe is a fantastic way to add nutritional value and a deeper, nuttier flavor profile. Whole wheat flour typically has a higher protein content than all-purpose flour, but the presence of bran and germ can interfere with gluten development, making the dough slightly weaker and more absorbent. Start by substituting a small percentage of your bread flour, perhaps 10-20% whole wheat.
As you become more comfortable, you can increase the percentage of whole wheat flour. Be prepared for the dough to feel slightly different and potentially require a touch more water to reach the desired hydration level, as whole wheat absorbs more liquid. The fermentation times might also vary slightly. A high hydration sourdough recipe with 20-30% whole wheat offers a wonderful balance of rustic flavor and manageable dough characteristics.
Incorporating Seeds for Texture
Adding seeds is a popular variation on the high hydration sourdough recipe, introducing delightful texture and nutritional boosts. Common additions include sesame seeds, poppy seeds, sunflower seeds, pumpkin seeds, or a mix. Seeds can be incorporated directly into the dough during the initial mixing phase or soaked overnight in some of the recipe's water before being added. Soaking prevents the seeds from absorbing water from the dough during fermentation, which could otherwise result in a slightly drier crumb.
Alternatively, seeds can be used to coat the outside of the shaped loaf just before proofing or baking. Simply mist the dough with water and roll it in a tray of seeds. This creates a beautiful visual appeal and a crunchy exterior layer. A high hydration sourdough recipe with seeds offers a pleasant contrast between the soft, open crumb and the earthy crunch of the seeds.
Exploring Different Flour Combinations
Beyond whole wheat and seeds, the world of flour combinations offers endless possibilities for your high hydration sourdough recipe. Substituting a portion of bread flour with rye flour (even just 5-10%) introduces a distinct tangy flavor and moist crumb, though rye significantly impacts dough handling due to its different protein structure. Spelt, kamut, or einkorn flours can also be used, each bringing unique flavors and absorption properties.
When experimenting with different flours, especially ancient grains or those with lower gluten development potential, you might need to adjust the overall hydration slightly or rely more heavily on strong bread flour for the majority of the recipe to maintain structure. Researching the absorption rates and gluten characteristics of specific flours will help you successfully adapt your base high hydration sourdough recipe and explore a wide range of rustic bread profiles.
Conclusion: Enjoying Your Homemade Rustic Sourdough.
Frequently Asked Questions
What exactly does "high hydration" mean in a sourdough recipe?
High hydration refers to doughs with a high ratio of water to flour, usually above 70%. This results in a more open crumb and a chewier texture in the final loaf.
Why would I want to bake a high hydration sourdough? What are the benefits?
High hydration sourdough loaves are known for their superior texture and flavor. They often have a lighter, airier crumb and a crispier crust compared to lower hydration loaves.
Is a high hydration sourdough recipe more difficult than a standard sourdough recipe?
Yes, it can be more challenging. High hydration doughs are stickier and harder to handle, requiring more developed techniques like stretch and folds to build strength. Patience is key.
What kind of flour works best for high hydration sourdough?
Strong bread flour with a high protein content is generally recommended. This helps the dough develop sufficient gluten strength to hold its shape despite the increased water content.
What are some common mistakes people make when baking high hydration sourdough, and how can I avoid them?
Overmixing can easily happen. Handling it too roughly or adding too much flour during shaping are common pitfalls. Focus on gentle handling and proper proofing for best results.
Final Reflection: The Transformative Power of Water in Sourdough Baking
Mastering high hydration dough isn't just about technique; it's about unlocking the full potential of your sourdough starter and achieving a truly exceptional loaf. The journey from a dense, compact crumb to the airy, open structure of a perfectly hydrated sourdough is a testament to the power of understanding the interplay between flour, water, and time. This understanding, once grasped, fundamentally alters your approach to baking, opening up a world of possibilities.
The impact of this seemingly simple adjustment – increasing hydration – ripples far beyond the confines of the kitchen. It's a reflection of a broader shift towards appreciating the nuances of natural processes, a movement away from overly precise, formulaic approaches towards a more intuitive and mindful connection with our ingredients. The best bread is made with love, patience, and a healthy respect for the power of water.
(This is a fictional quote, feel free to replace with a real one if you prefer). The journey of mastering high hydration dough mirrors the journey of mastering any craft: it demands patience, observation, and a willingness to embrace imperfection along the way.
Now, consider your own baking journey. What seemingly small adjustments have yielded unexpected results? What are you willing to experiment with next? Don't be afraid to push your boundaries, to increase that hydration percentage, to trust the process, and to discover the unique character that your high-hydration sourdough can achieve. The reward – a loaf of bread that is not only delicious but also a testament to your dedication and skill – is well worth the effort. Embrace the challenge, and let the transformative power of water guide you to baking perfection.
Unleash Your Inner Baker: Craft the Perfect Rustic Loaf!
Thanks for joining us on this journey into the world of high-hydration dough! You've now unlocked the secrets to creating incredibly textured and flavorful rustic loaves. Ready to put your new knowledge into practice?
- Bake your masterpiece: Try the recipe from the article today – the results will amaze you! Note down any adjustments you make for future bakes.
- Share your success: Post a picture of your rustic loaf on social media and tag us – we'd love to see your creations! Use #BakeWithEaseHighHydration.
- Explore further: Dive deeper into our other bread-baking techniques and recipes on the BakeWithEase site; you might be surprised what you discover!
So, what incredible rustic loaf will you create next?