
The Essential Overnight Method for Flavorful Rustic Bread

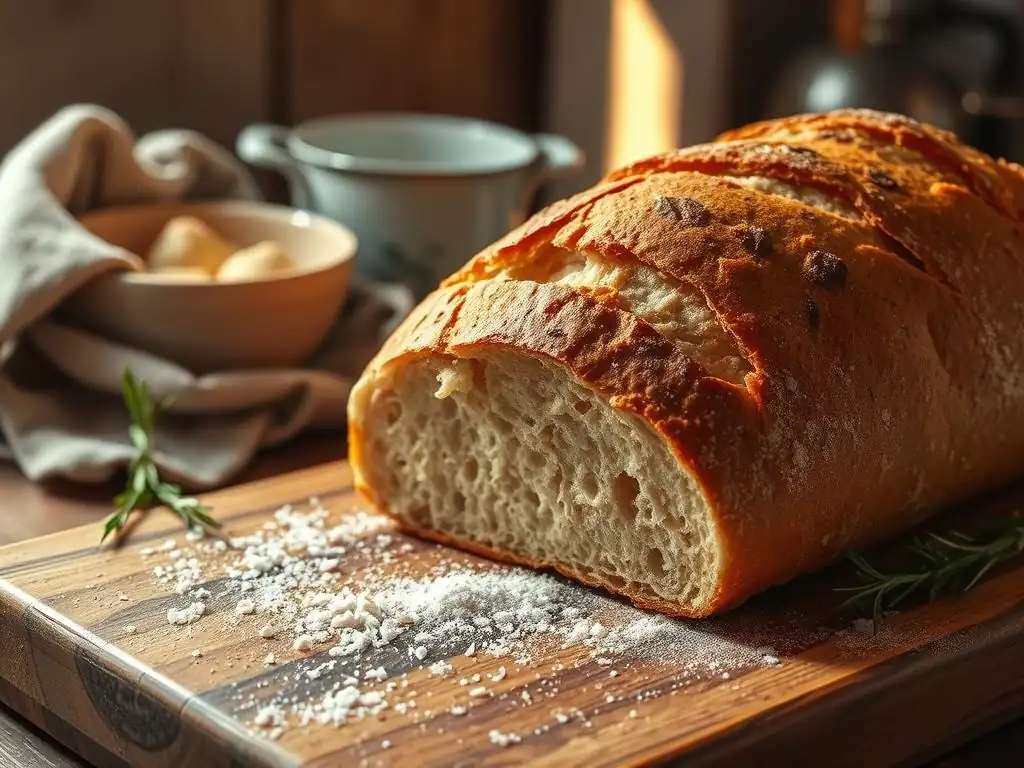
Welcome to BakeWithEase, where baking becomes a joy, not a chore! Ever dreamt of waking up to the irresistible aroma of freshly baked bread? Our essential guide to the Overnight Rustic Bread Recipe unlocks the secrets to achieving artisan-quality bread with minimal effort. Curious how a few simple ingredients and a little patience can transform into crusty, flavorful perfection? Dive in and discover the magic!
- The Essential Overnight Method for Flavorful Artisan Bread
- Introduction to Overnight Artisan Bread Baking
- Understanding the Overnight Artisan Bread Recipe
- Step-by-Step Guide: Crafting Your Overnight Artisan Bread
- Tips and Tricks for Perfect Overnight Artisan Bread
- Serving and Storing Your Homemade Artisan Bread
- Variations on the Overnight Artisan Bread Recipe
- Mastering the Art of Artisan Bread Baking
-
Frequently Asked Questions
- What makes the overnight method so effective for rustic bread?
- Is the overnight rustic bread recipe suitable for beginners?
- Can I substitute ingredients in the overnight rustic bread recipe?
- How long does the dough need to rise overnight?
- What temperature should the oven be for baking the rustic bread?
- Final Reflection: The Timeless Allure of Slow-Baked Goodness
- Unleash Your Inner Baker: Bake the Perfect Rustic Loaf Tonight!
The Essential Overnight Method for Flavorful Artisan Bread
Introduction to Overnight Artisan Bread Baking
Why Choose the Overnight Method for Artisan Bread?
Baking a truly exceptional loaf of artisan bread often comes down to patience, and the overnight method is the perfect embodiment of this principle. By allowing the dough to ferment slowly over an extended period, typically 12 to 18 hours, you unlock a depth of flavor that simply isn't achievable with a quick rise. This slow fermentation breaks down complex carbohydrates into simpler sugars, which not only feed the yeast over a longer time but also contribute significantly to the bread's aroma, taste, and crust development. Think of it as building flavor molecule by molecule while you sleep!
Furthermore, the overnight method offers incredible flexibility for the home baker. Unlike recipes that demand constant attention and precise timing throughout a single day, this approach divides the work into two convenient stages. You can mix the dough in the evening, let it develop overnight in the refrigerator, and then bake it the following day whenever your schedule allows. This makes achieving that perfect loaf of rustic bread accessible even on busy weekdays, turning a potentially daunting task into a manageable and rewarding process. An effective overnight rustic bread recipe truly simplifies the baking schedule.
The Baker's Guild Approach: Simplicity and Flavor
At BakeWithEase, our philosophy centers on making the joy of baking accessible to everyone, without compromising on quality or flavor. The overnight method for artisan bread aligns perfectly with this ethos, proving that you don't need complex techniques or specialized equipment to produce bakery-quality results. This method simplifies the hands-on time required, often involving minimal kneading, while maximizing the passive development of structure and, most importantly, flavor. It's a testament to the power of time and natural processes in baking.
This approach emphasizes understanding the why behind each step, from the simple act of mixing flour and water to the magical transformation that happens during the long, cool fermentation. We guide you through selecting the right ingredients and understanding their roles, ensuring that even beginners can confidently create a delicious, crusty loaf. The resulting bread boasts a complex flavor profile, a beautiful open crumb structure, and a crackling crust – all thanks to the patient, overnight wait. This essential overnight rustic bread recipe is your key to unlocking these incredible results.
Understanding the Overnight Artisan Bread Recipe
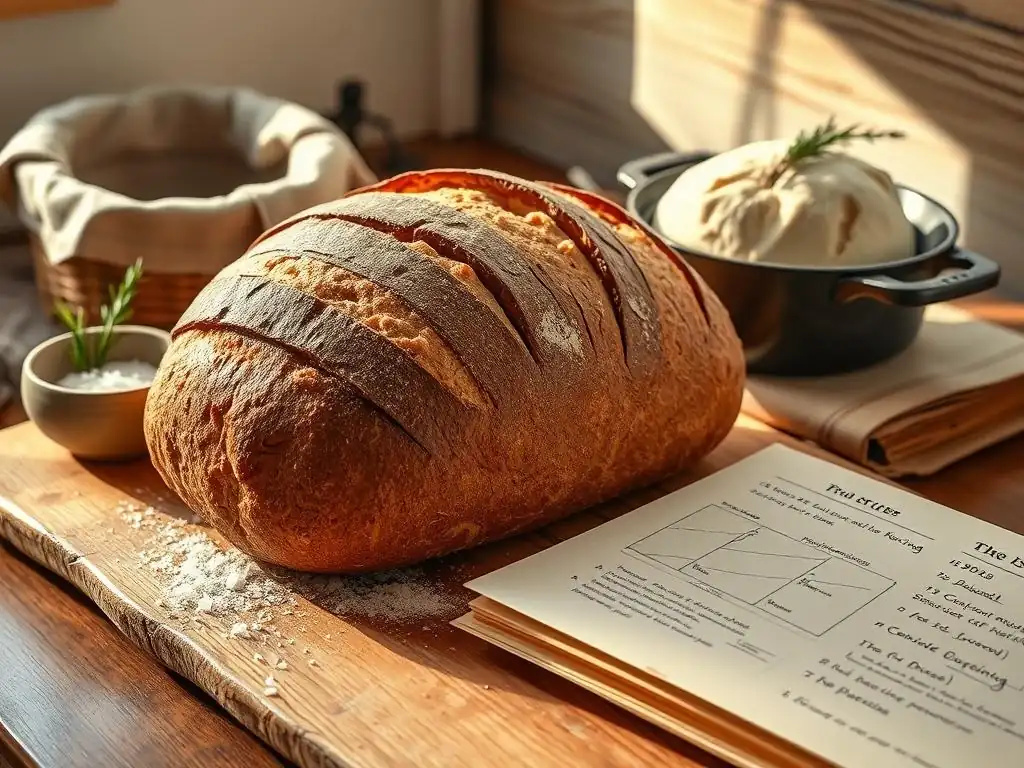
Key Ingredients for Delicious Artisan Bread
Flour Selection for Artisan Bread (Bread Flour vs. High-Gluten Flour)
Choosing the right flour is fundamental to the structure and texture of your artisan bread. Bread flour, widely available and a standard choice, typically contains around 12-14% protein. This protein level is sufficient to develop a good gluten network through the long fermentation, providing structure and chewiness to the loaf. It's versatile and works well for many rustic styles, yielding a reliable crumb and crust. For most home bakers starting out with an overnight rustic bread recipe, bread flour is an excellent and forgiving option.
High-gluten flour, on the other hand, boasts a protein content of 14-16% or even higher. This increased protein potential allows for the development of an exceptionally strong gluten network. While it can result in a more open, airy crumb and a chewier texture, it can also be a bit more challenging to work with due to its strength and absorbency.
It's often favored for bagels or specific types of rustic loaves where maximum chew is desired. For an overnight dough that ferments for many hours, high-gluten flour can sometimes over-tighten if not handled gently, so bread flour is often preferred for ease and balanced results.
The Importance of Water Temperature in Overnight Dough
Water temperature plays a critical role in controlling the rate of yeast activity, especially in an overnight dough that will spend many hours fermenting. For a long, cool fermentation, using cool or room temperature water is essential. Water around 60-70°F (15-21°C) is ideal. Warmer water would activate the yeast too quickly, potentially leading to over-fermentation before the desired long period of flavor development has occurred.
Using cool water slows down the initial yeast activity, allowing the dough to develop flavor and structure gradually during its long rest in the refrigerator, typically maintained at around 40°F (4°C). This controlled, slow fermentation prevents the dough from becoming overly acidic or breaking down too quickly. It ensures that the yeast is still active enough on baking day to provide a good final rise and oven spring, contributing to that desirable rustic bread texture. Getting the water temperature right is a small but crucial step in a successful overnight rustic bread recipe.
Salt's Role in Flavor Development and Dough Structure
Salt is far more than just a flavor enhancer in bread baking; it's a crucial structural component and fermentation regulator. Typically added at 1.8% to 2.2% of the flour weight, salt significantly impacts the dough's behavior. From a flavor perspective, it sharpens and balances the taste of the bread, preventing it from tasting flat or bland, especially after a long fermentation process that develops complex flavors.
Structurally, salt strengthens the gluten network by tightening it. This makes the dough more manageable and gives it better elasticity and extensibility, allowing it to hold its shape and trap gases produced by the yeast. Salt also helps control the rate of yeast fermentation, slowing it down slightly. Without salt, yeast would ferment uncontrollably, potentially leading to a weak, sticky dough that doesn't rise properly or develop good flavor. It's a silent but powerful partner in crafting a great overnight rustic bread recipe.
Essential Equipment for Your Artisan Bread Baking
To embark on your overnight artisan bread journey, you'll need a few key pieces of equipment. While some items are standard kitchen tools, others can significantly improve your results:
- Large Mixing Bowl: Essential for combining ingredients and the initial bulk fermentation. Choose one large enough to accommodate the dough as it expands.
- Digital Kitchen Scale: Accuracy is paramount in baking. Measuring ingredients by weight (grams or ounces) rather than volume (cups) ensures consistent results, especially with hydration levels in rustic bread.
- Dough Scraper (Bench Scraper): Incredibly useful for handling wet, sticky dough, dividing it, and cleaning your work surface.
- Proofing Basket (Banneton) or Bowl: Provides support for the shaped dough during the final proof, helping it maintain its structure. If using a bowl, line it with a well-floured tea towel.
- Dutch Oven or Baking Stone/Steel: The preferred method for baking rustic bread at home. A preheated Dutch oven traps steam, creating a fantastic crust. A baking stone/steel also provides intense heat from below, and steam can be created separately.
- Parchment Paper: Makes transferring the dough into a hot Dutch oven much easier and safer.
- Lame or Very Sharp Knife: Used for scoring the dough just before baking, allowing for controlled expansion.
- Wire Cooling Rack: Crucial for allowing the bread to cool properly after baking, preventing a soggy bottom and ensuring the crumb sets correctly.
Step-by-Step Guide: Crafting Your Overnight Artisan Bread
Day 1: Preparing the Dough for Overnight Fermentation
Mixing the Dough: Achieving the Right Consistency
The beauty of many overnight rustic bread recipes lies in their simplicity, often involving minimal or no kneading. The mixing process is typically straightforward: combine the flour, water, and salt in a large bowl. If using commercial yeast, it's usually dissolved in the water first or simply mixed in with the dry ingredients.
Stir everything together with a spoon or your hands until no dry flour remains. The dough will look shaggy, wet, and possibly a bit lumpy – this is perfectly normal and expected for a high-hydration rustic dough, which might have a hydration level between 70% and 85%.
After the initial mix, let the dough rest for 20-30 minutes (sometimes called an autolyse if only flour and water are mixed initially). This brief rest allows the flour to fully hydrate and gluten development to begin naturally. After the rest, if your recipe involves any folding, perform a few sets of stretch-and-folds over the next hour or two. This builds strength in the dough without intensive kneading. The dough will become smoother and more elastic with each fold. The consistency should remain wet and sticky, but it will gain structure.
The Bulk Fermentation Process: Time and Temperature
Bulk fermentation is the initial rise of the dough before shaping. For the overnight method, this process is significantly extended and takes place in a cool environment, typically the refrigerator at around 40°F (4°C). After mixing and any initial folds, cover the bowl tightly with plastic wrap or a lid to prevent a skin from forming. Place the dough in the refrigerator for 12 to 18 hours, or even up to 24 hours depending on the recipe and ambient temperature.
During this long, slow fermentation, complex flavors develop beautifully. The cool temperature slows down yeast activity considerably but doesn't stop it. Enzymes in the flour continue to break down starches, contributing to flavor. The gluten network continues to strengthen passively. You'll notice the dough slowly expands, perhaps doubling in size, and develops small bubbles on the surface. The long duration in the cold is the secret ingredient to the exceptional flavor profile of this type of overnight rustic bread recipe.
Shaping the Dough for Overnight Proofing
After the cold bulk fermentation, gently turn the dough out onto a lightly floured surface. Avoid degassing it too much, as you want to preserve the bubbles developed during the long fermentation. Gently pre-shape the dough into a rough round or rectangle and let it rest for 10-20 minutes. This allows the gluten to relax before the final shaping.
For the final shape, typically a boule (round) or a batard (oval), work quickly and gently. The goal is to create some surface tension and a smooth exterior while keeping the internal structure intact. Place the shaped dough seam-side up into a well-floured proofing basket or a bowl lined with a floured cloth.
The flour (rice flour is excellent as it's non-stick) prevents the dough from sticking during the final proof. The dough can then be proofed in the refrigerator for a few more hours, or sometimes briefly at room temperature, depending on the specific overnight rustic bread recipe you are following.
Day 2: Baking Your Flavorful Artisan Bread
Preheating Your Oven for Optimal Crust
Achieving that signature crackling crust on your artisan bread requires a very hot oven. Preheat your oven to a high temperature, typically between 450°F and 500°F (230°C and 260°C). It's crucial to preheat your baking vessel – whether it's a Dutch oven, baking stone, or steel – inside the oven for at least 30-60 minutes before you plan to bake. This ensures that the vessel is uniformly hot and will provide immediate, intense heat to the dough, promoting excellent oven spring and crust development.
A hot baking surface is key to transferring heat efficiently to the bottom of the loaf, while the trapped steam (if using a Dutch oven or adding steam to the oven) keeps the surface moist initially, allowing the dough to expand fully before the crust hardens. Skipping or rushing the preheating step will result in a less impressive rise and a lackluster crust. Patience during this phase is just as important as the overnight wait for the flavor of your rustic bread.
Scoring the Dough: Ensuring Even Baking
Scoring, or making cuts on the surface of the dough just before it goes into the oven, serves both functional and aesthetic purposes. Functionally, scores act as controlled vents, allowing the rapidly expanding dough to release gases and expand predictably. Without scoring, the crust might tear randomly in weak spots during baking, leading to an uneven shape. The pattern of the scores also dictates the final shape and bloom of the loaf.
Aesthetically, scoring is your opportunity to add your signature to the bread. Use a very sharp blade, like a razor blade (lame) or a sharp knife, and make quick, confident cuts about a quarter to half an inch deep (0.5 - 1 cm). Popular patterns include a single long slash for batards or a cross or star pattern for boules. Keep the blade at a slight angle (around 30 degrees) for the classic 'ear' effect on a single slash. Practice makes perfect, and neat scoring contributes to a beautiful finished loaf from your overnight rustic bread recipe.
Baking to Perfection: Achieving a Golden-Brown Crust
Baking artisan bread in a Dutch oven typically involves two stages. First, bake the loaf covered for about 20-25 minutes. The lid traps the moisture released by the dough, creating steam within the pot. This steamy environment keeps the crust soft and pliable, allowing the dough to achieve maximum oven spring before the crust sets. You'll see the loaf expand significantly during this initial phase.
After the covered bake, remove the lid and continue baking for another 15-20 minutes, or until the crust is a deep golden-brown and the internal temperature of the loaf reaches 205-210°F (96-99°C) when measured with an instant-read thermometer. This second phase allows the crust to fully develop its color, thickness, and crunch. If baking on a stone, you would add steam to the oven at the beginning (e.g., by placing ice cubes in a hot tray below the stone) and then remove the steam source partway through.
Cooling and Resting: The Key to a Perfect Crumb
Once your beautiful, golden-brown loaf is out of the oven, the hardest part is waiting to slice into it! Cooling is not just about making the bread safe to handle; it's a critical step for the internal structure and flavor. As the bread cools on a wire rack, residual heat continues to cook the crumb gently, and moisture redistributes throughout the loaf. Slicing into a hot loaf will result in a gummy, dense crumb because the starches haven't had time to set properly.
Allow your artisan bread to cool completely on a wire rack for at least 1-2 hours, or even longer for larger loaves. The crust will continue to crisp up as it cools, and the flavors developed during the overnight fermentation will become more pronounced. Patience during this final stage is truly rewarded with the ideal texture and taste that define exceptional rustic bread baked using the overnight method.
Tips and Tricks for Perfect Overnight Artisan Bread
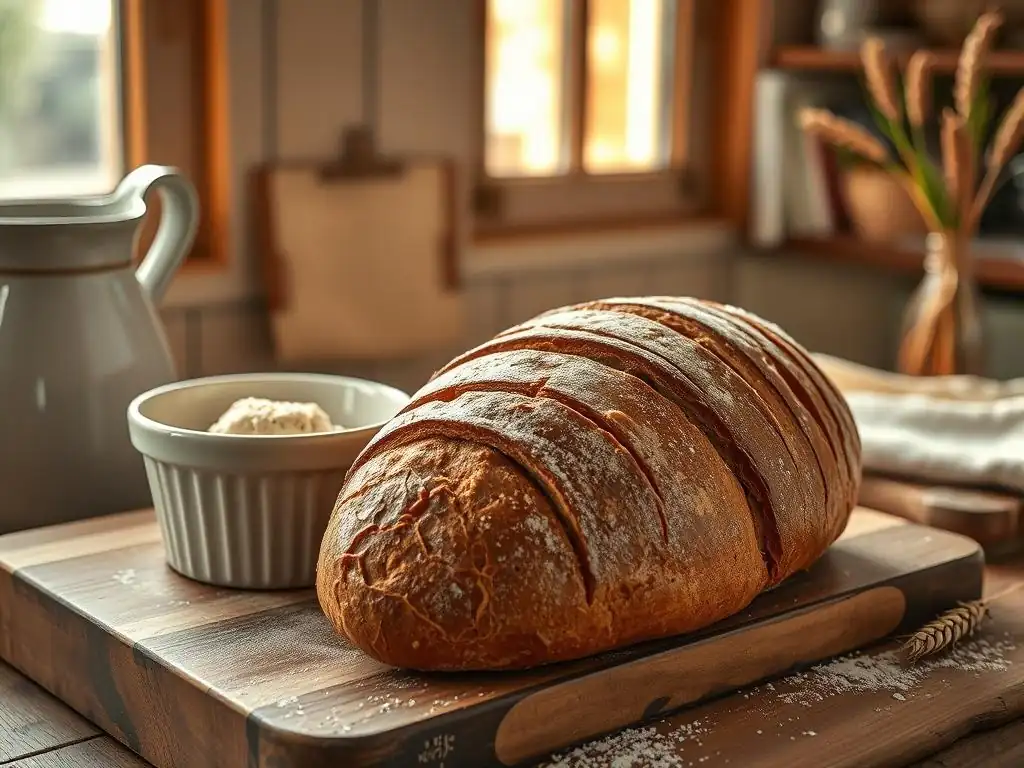
Troubleshooting Common Issues with Overnight Dough
Dough Too Sticky? Solutions for Handling Wet Dough
Working with high-hydration dough, typical for many overnight rustic bread recipes, can be a sticky business! If your dough feels excessively sticky and difficult to handle after fermentation, remember that some level of stickiness is normal and desirable for a moist crumb. However, if it's unmanageable, first try wetting your hands and dough scraper with water instead of using flour. This prevents adding extra flour to the dough, which can make it tough.
If you need to use flour, use it very sparingly on your work surface and hands. A small amount of rice flour is excellent as it's less likely to be absorbed by the dough. Use a bench scraper to help lift and fold the dough during shaping. Remember that the cold temperature from the refrigerator can make the dough firmer and easier to handle initially. If the dough warms up too much and becomes sticky again, a brief return to the fridge (10-15 minutes) can help.
Dough Not Rising? Addressing Fermentation Problems
If your dough hasn't risen as much as expected during the overnight fermentation, there could be a few reasons. The most common is the temperature being too cold. While the goal is slow fermentation, temperatures significantly below 40°F (4°C) might dramatically slow down or even halt yeast activity. Ensure your refrigerator is calibrated correctly. Another possibility is inactive yeast; yeast has a shelf life, and old yeast may not be viable. Always check the expiration date and store yeast properly.
Insufficient fermentation time can also be a factor; some recipes might require closer to 18-24 hours depending on the flour and temperature. If your dough is still very dense and hasn't shown much activity, you can try letting it sit at cool room temperature (around 60-65°F or 15-18°C) for an hour or two after removing it from the fridge to encourage a bit more activity before shaping and baking. However, be cautious not to let it over-ferment at room temperature.
Enhancing the Flavor of Your Artisan Bread
Experimenting with Different Flours and Seeds
Once you've mastered the basic overnight rustic bread recipe, you can easily enhance its flavor and texture by incorporating different flours or additions. Substituting a percentage of the bread flour with whole wheat, rye, or spelt flour (start with 10-20%) will add nuttiness, complexity, and a slightly denser crumb. Be aware that whole grain flours absorb more water, so you might need to slightly increase the hydration.
Adding seeds is another fantastic way to boost flavor and visual appeal. Toasted sesame seeds, poppy seeds, sunflower seeds, flax seeds, or a mix can be incorporated into the dough during the initial mix or sprinkled on the exterior before baking. For a more integrated flavor, soak seeds like flax or chia overnight in a small amount of water before adding them to the dough; this prevents them from absorbing moisture from the dough itself during the long fermentation.
Adding Herbs and Spices for Unique Flavor Profiles
Infusing your overnight artisan bread with herbs and spices can transform a simple loaf into something truly special. Fresh or dried herbs like rosemary, thyme, or oregano can be folded into the dough during the initial mixing or during the stretch-and-fold process. For a pungent kick, roasted garlic cloves mashed into a paste or a teaspoon of garlic powder can be added.
Consider savory spices like black pepper, smoked paprika, or even a pinch of red pepper flakes for a subtle warmth. Grated cheese, such as sharp cheddar or parmesan, can also be incorporated into the dough or sprinkled on top before baking for a rich, savory variation. When adding inclusions, start with a small amount (e.g., 1-2 tablespoons of herbs per loaf) and adjust in future bakes based on your preference.
Serving and Storing Your Homemade Artisan Bread
Delicious Ways to Enjoy Your Freshly Baked Bread
The moment you slice into a warm loaf of overnight rustic bread is incredibly rewarding. The simplest way to enjoy it is often the best: served with a good quality butter that melts into the warm, open crumb. A drizzle of flavorful olive oil, perhaps infused with herbs or garlic, is another classic pairing.
Beyond these basics, your homemade artisan bread is perfect for:
- Sandwiches: Its sturdy structure and flavorful crust make it ideal for hearty sandwiches.
- Toast: The complex flavors shine when toasted, perfect for breakfast or as a base for avocado toast.
- Bruschetta or Crostini: Slice, toast, and top with fresh ingredients like tomatoes, basil, or cheese.
- Soup or Salad Accompaniment: A crusty slice is perfect for dipping into soups or serving alongside salads.
- Breadcrumbs: Stale ends can be pulsed into fresh breadcrumbs for cooking.
Proper Storage Techniques to Maintain Freshness
Artisan bread is best enjoyed the day it's baked, but with proper storage, you can preserve its quality for a day or two. The enemy of a good crust is moisture, so avoid storing your loaf in plastic wrap or a sealed container at room temperature, as this will make the crust soft and rubbery.
The best way to store rustic bread at room temperature is in a paper bag or a bread box. This allows the crust to breathe while protecting the interior from drying out too quickly. For longer storage, the freezer is your friend. Once the loaf is completely cool, slice it and place the slices in a freezer-safe bag or wrap the whole loaf tightly in plastic wrap followed by foil. Frozen bread can last for several months. Thaw slices as needed or toast directly from frozen.
Variations on the Overnight Artisan Bread Recipe
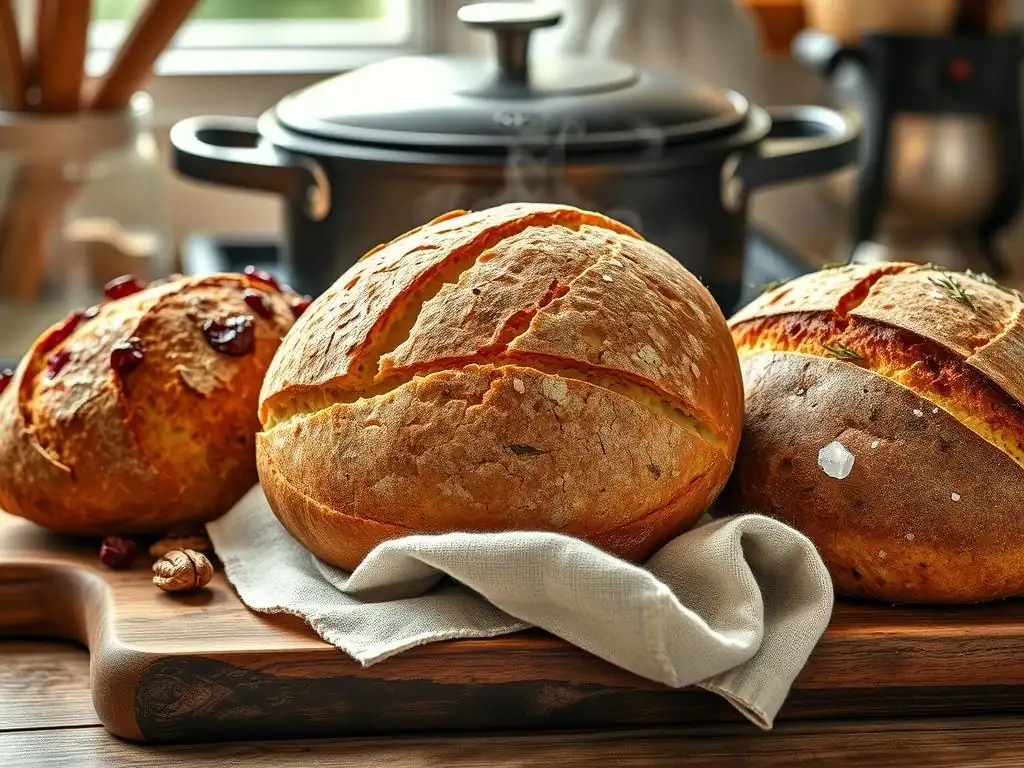
Overnight Sourdough Artisan Bread: A Tangy Twist
Adapting the overnight method to sourdough introduces a wonderful tang and complexity to your rustic bread. Instead of commercial yeast, a mature and active sourdough starter is used as the leavening agent. The process is similar: mix the dough (flour, water, salt, starter), perform stretch-and-folds, and then retard the bulk fermentation in the refrigerator overnight.
Sourdough fermentation is generally slower than commercial yeast, especially in cold temperatures, so the overnight bulk ferment might extend to 18-24 hours or even longer, depending on the starter's activity and fridge temperature. The long, cool fermentation allows the wild yeasts and lactic acid bacteria in the starter to produce organic acids, which contribute to the characteristic sour flavor and improve the dough's structure and keeping quality. The result is a deeply flavorful loaf with a chewy crumb and a robust crust, a true testament to the power of natural fermentation in an overnight rustic bread recipe.
Overnight Artisan Bread with Whole Wheat Flour: A Healthier Option
Incorporating whole wheat flour into your overnight rustic bread recipe adds nutritional value, fiber, and a pleasant nutty flavor. You can start by substituting just 20-30% of the bread flour with whole wheat flour and gradually increase the percentage as you become more comfortable. Whole wheat flour absorbs more water than white flour, so you'll likely need to increase the total hydration slightly (perhaps by 1-2%) to achieve a similar dough consistency.
The bran and germ in whole wheat flour can sometimes interfere with gluten development, so the long overnight fermentation is particularly beneficial. It gives the enzymes more time to break down the bran, allowing the gluten network to strengthen. The resulting loaf will be slightly denser than one made with 100% white flour but will have a richer flavor and texture. It's a simple modification that adds a healthy boost to your homemade rustic bread.
Regional Variations: Ciabatta, Baguette, and Focaccia
The principles of the overnight method – long, cool fermentation for flavor development – can be applied to various regional rustic bread styles, each with its unique characteristics:
- Ciabatta: Known for its incredibly high hydration (often 80% or more), open crumb, and irregular shape. An overnight preferment (like a poolish) or a long, cold bulk fermentation of the main dough is commonly used to develop flavor and gas bubbles, resulting in the characteristic airy texture.
- Baguette: Requires precise shaping and a balance of crust and crumb. While traditional methods vary, an overnight cold fermentation of the dough is frequently used in home baking to develop flavor and make the high-hydration dough easier to handle and shape into long, thin loaves.
- Focaccia: A flat, often dimpled bread usually topped with olive oil, herbs, and other ingredients. An overnight cold fermentation contributes to a light, airy internal structure and a flavorful base. The dough is typically very wet and spread into a pan rather than shaped.
Mastering the Art of Artisan Bread Baking
Embrace the Simplicity and Reward of Homemade Bread
Baking artisan bread using the overnight method is a journey that proves that sometimes, less is more. Less hands-on time during the active phase, more time for the magic of fermentation to work its wonders. It demystifies the process, showing that complex flavors and textures can arise from simple ingredients and patience. The reward of pulling a warm, crackling loaf from your oven, knowing you created it yourself, is immense and deeply satisfying.
Each loaf is a learning experience, from understanding how your dough feels after the overnight rest to perfecting your scoring technique. Embrace the process, don't fear experimentation, and celebrate the small victories – the perfect crumb, the resonant tap of a well-baked crust. This overnight rustic bread recipe method invites you into the wonderful world of bread baking with open arms.
We love seeing what you create in your kitchens! The community aspect of baking is one of its greatest joys. As you embark on making your own overnight artisan bread, whether it's your first loaf or your hundredth, we encourage you to share your experiences. What variations did you try? What challenges did you overcome? What are your favorite ways to enjoy your homemade rustic bread?
Connecting with fellow bakers provides inspiration, support, and new ideas. Your journey, your questions, and your successes are valuable contributions to the collective knowledge of The Baker's Guild. Let's bake together and celebrate the simple, profound pleasure of homemade bread!
Frequently Asked Questions
What makes the overnight method so effective for rustic bread?
The overnight method allows for a longer fermentation period, which develops complex flavors and a chewier texture in the bread. This extended time also helps break down gluten, making the bread easier to digest.
Is the overnight rustic bread recipe suitable for beginners?
Yes, while it requires planning, this recipe is beginner-friendly because it uses simple ingredients and a straightforward process. The extended rest time minimizes active work.
Can I substitute ingredients in the overnight rustic bread recipe?
While some substitutions are possible, it's best to stick to the recipe, especially the flour and water ratios, for the best results. Experiment with different types of flour for slightly varied flavors.
How long does the dough need to rise overnight?
The dough needs to rise in the refrigerator for at least 12 hours, but can be left for up to 18 hours for a more pronounced flavor. This slow fermentation is key.
What temperature should the oven be for baking the rustic bread?
The oven should be preheated to a high temperature, typically 450-475°F (232-246°C), to create a crispy crust and ensure the bread is fully cooked inside.
Final Reflection: The Timeless Allure of Slow-Baked Goodness
The simplicity of the overnight method belies the profound impact it has on both the flavor and the experience of baking rustic bread. It's not just about convenience; it's about unlocking a depth of flavor and texture that's simply unattainable with quicker methods. This technique allows the humble ingredients to truly shine, transforming a simple loaf into a culinary masterpiece.
The enduring appeal of rustic bread, baked slowly and deliberately, speaks to a deeper human need for connection to tradition and the satisfaction of creating something beautiful from scratch. It's a process that allows for contemplation and mindfulness, a welcome respite from the frenetic pace of modern life. Bread is the staff of life,
they say, and in its slow creation, we find sustenance not just for the body, but for the soul. This method, passed down through generations, allows us to participate in that timeless tradition, connecting us to bakers past and present.
Now, consider your own kitchen. Imagine the aroma of freshly baked bread filling your home, the satisfying crust yielding to a soft, airy crumb. This isn't just a recipe; it's an invitation to slow down, to savor the process, and to experience the profound satisfaction of creating something truly delicious and meaningful. Try this method. Embrace the wait. And discover the magic of overnight rustic bread.
Unleash Your Inner Baker: Bake the Perfect Rustic Loaf Tonight!
Thanks for joining us on this bread-baking adventure! We hope you gained some valuable tips and tricks for creating that perfect rustic loaf. Now it's time to put your newfound knowledge into practice.
- Ready to bake? Grab your ingredients and follow the recipe again tonight — this time, focusing on perfecting your shaping technique! This is your chance to truly master this classic.
- Share your baking journey! Post a picture of your finished loaf on social media using #BakeWithEaseRusticBread and tag us — we'd love to see your creations!
- Explore other amazing bread recipes on BakeWithEase.com (While you are waiting for your bread to rise!). Our collection of artisan recipes will inspire your next baking project.
What surprising ingredient will you experiment with next time to add your own unique twist to this rustic bread recipe?