
Why Rustic Breads & Ciabatta Are Easier to Bake Than You Think

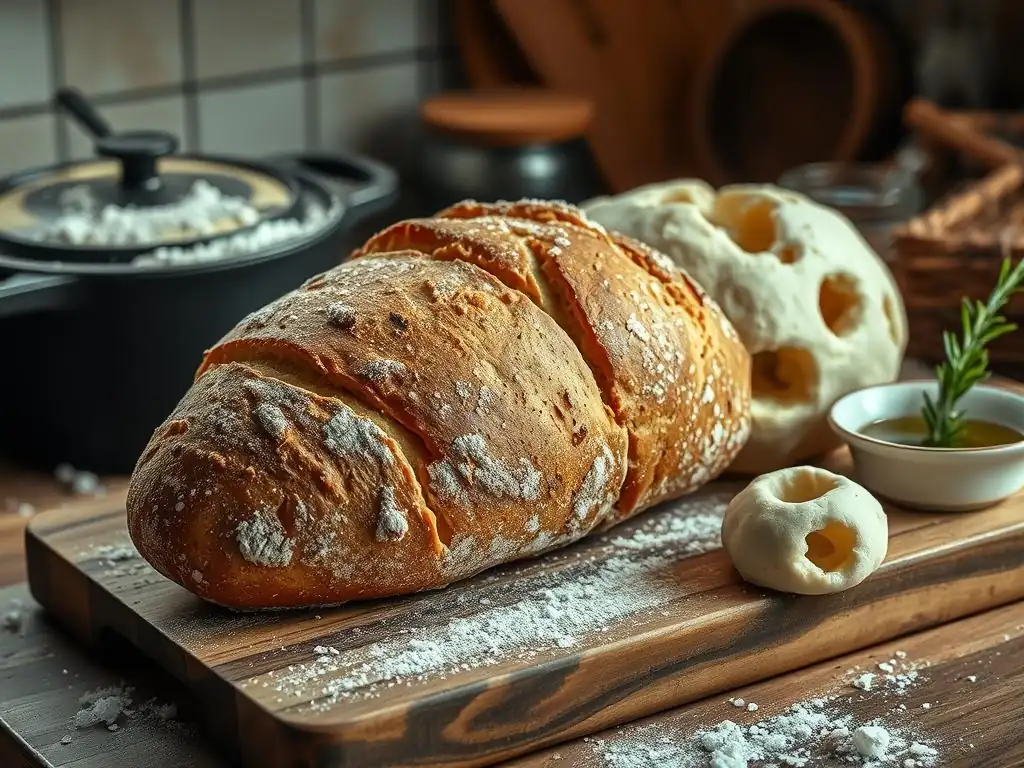
Welcome to BakeWithEase, your culinary compass in the world of baking! Ever dreamed of pulling a perfectly crusty, flavorful loaf from your own oven? Then you're in the right place. Think artisan bread is beyond your reach? Our latest guide dives into Rustic Bread Baking Tips, revealing why these seemingly complex breads, including Ciabatta, are actually surprisingly approachable. Discover the secrets to effortlessly achieving bakery-worthy results, and prepare to impress! Intrigued? Let's get baking!
- Demystifying Rustic Bread Baking: Easier Than You Imagined
- The Allure of Rustic Breads: Why Bake Them?
- Rustic Bread Baking Tips: Simplifying the Process
- Ciabatta Baking Made Easy: A Step-by-Step Approach
- Common Rustic Bread Baking Mistakes (and How to Avoid Them)
- Rustic Bread and Ciabatta Recipes for Beginners
- Conclusion: Unleash Your Inner Artisan Baker with Ease
-
Frequently Asked Questions
- What makes rustic breads and ciabatta "easier" to bake, according to BakeWithEase?
- What level of baking experience is required to bake rustic breads and ciabatta using BakeWithEase's recipes?
- What types of recipes and resources can I find on BakeWithEase.com for rustic bread baking?
- Are the ingredients needed for rustic bread recipes on BakeWithEase readily available?
- Does BakeWithEase offer tips specifically for achieving the characteristic "rustic" look and texture in breads?
- Final Reflection: The Unexpected Joy of Rustic Baking
- Unleash Your Inner Baker: Craft Your Own Rustic Loaf!
Demystifying Rustic Bread Baking: Easier Than You Imagined
Baking beautiful, crusty loaves might seem like a daunting task reserved for professional boulangeries, but the truth is, rustic bread baking is surprisingly accessible for home bakers. Unlike complex pastries that require precise measurements and intricate techniques, many rustic bread styles, including the popular ciabatta, rely on simple ingredients and forgiving processes. The magic often happens with minimal intervention, leveraging time and temperature to develop flavor and texture.
Think about it: the foundational elements of most rustic loaves are just flour, water, salt, and yeast. There's no need for rich additions like butter, milk, or eggs that can complicate dough handling and require specific emulsification techniques. The beauty of rustic bread baking lies in its simplicity – a few key rustic bread baking tips, like understanding hydration and proofing, can elevate your results dramatically without demanding hours of intense kneading or specialized machinery.
The Allure of Rustic Breads: Why Bake Them?
Rustic breads possess an undeniable charm – their irregular shapes, chewy interiors, and deeply browned, crackling crusts are incredibly appealing. Beyond aesthetics, they offer a depth of flavor that often surpasses commercially produced loaves. Baking them at home also gives you complete control over ingredients, allowing you to choose high-quality flours and avoid unnecessary additives, resulting in a healthier and more satisfying product.
The process itself can be incredibly rewarding. There's a unique satisfaction in transforming simple ingredients into a warm, fragrant loaf straight from your oven. For many, it's a meditative practice, a tangible connection to traditional foodways. Mastering a few rustic bread baking tips allows you to consistently produce loaves perfect for sandwiches, soaking up soups, or simply enjoying with a smear of butter.
Simple Ingredients, Complex Flavors: The Magic of Rustic Baking
At its heart, rustic bread relies on the slow fermentation of simple ingredients to build complex flavors. Standard recipes often call for just bread flour, water (typically 70-80% hydration relative to the flour weight, sometimes even higher), salt (around 1.8-2.2% of the flour weight), and a small amount of yeast or a sourdough starter. This minimal ingredient list allows the natural flavors of the fermented dough to shine through.
The "complex flavors" aren't added ingredients; they are developed through enzymatic action and fermentation over time. Enzymes in the flour break down starches into sugars, which the yeast consumes, producing carbon dioxide (for rise) and a host of flavor compounds like organic acids (lactic and acetic acids, especially in sourdough or long-fermented doughs) and alcohols. A long, slow fermentation, often 12-24 hours in the refrigerator, is one of the best rustic bread baking tips for maximizing this flavor development.
Achieve Artisan Bread at Home: No Special Equipment Needed
Contrary to popular belief, you don't need a professional bakery setup to bake beautiful artisan-style rustic bread. While certain tools can be helpful, the essentials are likely already in your kitchen: a mixing bowl, your hands (or a sturdy spoon), a scale for accuracy, and an oven. The key rustic bread baking tips often involve technique and understanding dough behavior, not expensive gadgets.
Even for achieving that coveted crackling crust, you don't necessarily need a steam-injected oven. Simple home methods, like using a Dutch oven or placing a tray of hot water in the bottom of your oven during baking, can create the necessary steam environment. Many successful home bakers produce stunning rustic loaves using just a standard home oven, proving that the artisan result is more about mastering fundamental rustic bread baking tips than accumulating specialized equipment.
Rustic Bread Baking Tips: Simplifying the Process
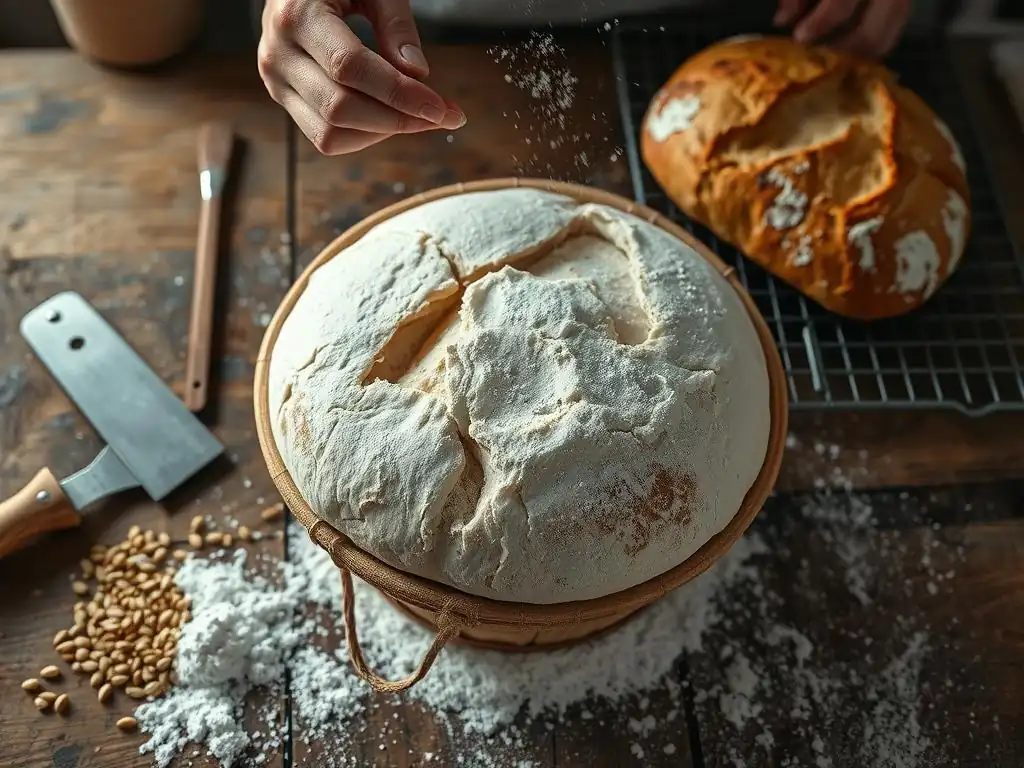
Navigating the world of rustic bread baking becomes much easier when you focus on a few core principles. These rustic bread baking tips are designed to demystify the process and help you achieve consistently great results with minimal stress. Forget aggressive kneading and complicated steps; rustic baking often thrives on patience and gentle handling.
These tips cover everything from understanding dough hydration, a key factor in rustic bread texture, to mastering simple techniques like stretch and fold, which develop gluten without intense effort. By focusing on these fundamental rustic bread baking tips, you'll build confidence and be well on your way to baking impressive loaves right in your own kitchen.
Tip #1: Embrace High Hydration Doughs for Authentic Texture
High hydration, meaning a large ratio of water to flour (often 70% or more), is characteristic of many rustic breads like ciabatta and country loaves. While initially sticky and seemingly difficult to handle, this high water content is crucial for achieving the open, airy crumb structure and thin, crispy crust that defines these breads. It allows for greater gluten development with less mechanical work.
Working with high hydration dough might feel counter-intuitive at first, but it's a fundamental rustic bread baking tip. Instead of fighting the stickiness with excessive flour, embrace it. Wet hands or a damp bench scraper become your friends. The stickiness is a sign that the gluten is developing properly and the dough has the potential for that beautiful, irregular hole structure seen in artisan loaves. Patience is key; as the dough ferments and gluten develops, it will become more manageable.
Tip #2: Minimal Kneading: Let Time Do the Work
One of the most liberating rustic bread baking tips is realizing you often don't need to knead vigorously for 10-15 minutes like you might for sandwich bread. Many rustic doughs benefit from minimal initial mixing followed by periods of rest and gentle folding. This "no-knead" or "minimal-knead" approach relies on time and the natural properties of flour and water to develop the gluten structure.
During rest periods, water is absorbed by the flour, and gluten proteins begin to align themselves naturally. This process, combined with occasional gentle handling (like stretch and folds), builds a strong, elastic dough without the physical effort of traditional kneading. This is a cornerstone of effective rustic bread baking tips, making the process less labor-intensive and more forgiving.
Autolyse: The Secret to Easier Dough Handling
Autolyse is a simple, yet powerful rustic bread baking tip involving mixing just the flour and water from your recipe and letting it rest for 20-60 minutes before adding the salt and yeast. This rest period allows the flour to fully hydrate and enzymes within the flour to start breaking down proteins, initiating gluten development without any mechanical work.
The result of autolysing is a dough that is significantly easier to handle, less sticky, and more extensible (stretchable) when you do begin the minimal mixing or folding steps. It kickstarts gluten development naturally, making the subsequent steps of incorporating salt and yeast, and performing stretch and folds, much more efficient and less strenuous. It's a foundational technique for simplifying rustic bread baking.
Tip #3: Mastering the Stretch and Fold Technique
Stretch and fold is a gentle method used to develop gluten in high hydration doughs without the need for traditional kneading. It involves wetting your hands, stretching a portion of the dough up, and folding it back over itself into the center. This is repeated around the bowl, typically 4-8 times, at intervals during the initial bulk fermentation.
Performing 3-4 sets of stretch and folds over the first 1-2 hours of bulk fermentation is a crucial rustic bread baking tip. Each set helps to strengthen the gluten network, build structure, and trap air, contributing to the dough's rise and the final crumb texture. This technique is far less messy and physically demanding than kneading a wet dough on a counter.
Why Stretch and Fold is Better Than Traditional Kneading for Rustic Breads
Traditional kneading can be difficult and messy with high hydration doughs, often requiring excessive flour which stiffens the dough and hinders the development of an open crumb. Stretch and fold, on the other hand, is perfectly suited for these wet doughs. It gently aligns the gluten strands, building strength and elasticity while minimizing the addition of extra flour.
Moreover, stretch and fold incorporates air into the dough, contributing to fermentation and helping create those signature large holes in rustic loaves. This contrasts with aggressive kneading which can sometimes de-gas the dough too much. For achieving the characteristic light, airy texture of rustic breads, stretch and fold is a superior and more effective rustic bread baking tip.
Tip #4: Understanding Proofing Times for Rustic Doughs
Proofing, or fermentation, is the period where yeast produces gas, causing the dough to rise and develop flavor. Understanding the signs of proper proofing is perhaps the most critical rustic bread baking tip. Under-proofed dough results in a dense loaf with poor oven spring, while over-proofed dough can collapse, have a weak crust, and lack structure.
Proofing times for rustic doughs vary significantly based on temperature, yeast quantity, and hydration. A typical bulk fermentation at room temperature (around 70-75°F or 21-24°C) might take 3-5 hours, while a cold fermentation in the refrigerator (around 38-40°F or 3-4°C) can take 12-48 hours or even longer. Learning to read the dough – looking for a significant increase in volume (often doubled or more), a domed surface, and a jiggly texture – is more important than strictly adhering to a time on a clock.
Room Temperature vs. Refrigerated Proofing: Finding What Works for You
Choosing between room temperature and refrigerated proofing depends on your schedule and desired flavor profile. Room temperature proofing is faster, allowing you to bake a loaf the same day. It's great for when you need a quick turnaround, though the flavor development is less complex.
Refrigerated proofing, also known as cold fermentation, is a fantastic rustic bread baking tip for busy schedules and superior flavor. The cold temperature dramatically slows yeast activity, allowing the dough to ferment slowly over many hours or even days. This long, slow process develops deeper, more nuanced flavors and results in a dough that is often easier to handle after chilling. Experimenting with both methods will help you find the best approach for your routine and taste preferences.
Tip #5: Baking Hot and Fast: Creating a Crispy Crust
Rustic breads are typically baked at high temperatures to achieve a rapid rise (oven spring) and a thick, crispy crust. Temperatures commonly range from 450°F to 500°F (230°C to 260°C). This high heat helps set the crust quickly while the interior continues to expand, creating that desirable contrast in texture.
Ensuring your oven is properly preheated to the correct temperature is a non-negotiable rustic bread baking tip for achieving a good crust and oven spring. Baking in a sufficiently hot environment allows the moisture in the dough to turn into steam rapidly, which expands the dough before the crust hardens.
The Importance of Preheating Your Oven
Preheating your oven for at least 30-60 minutes, especially when using a baking stone or Dutch oven, is crucial. The goal is not just to heat the air inside the oven but to thoroughly heat your baking surface (stone, steel, or Dutch oven). A cold or insufficiently heated surface will prevent the dough from getting that initial burst of heat needed for maximum oven spring and crust development.
A properly preheated baking surface provides a powerful thermal shock to the dough, causing it to rise dramatically in the first few minutes of baking. This rapid expansion is key to the open crumb structure of rustic breads. Skimping on preheating is a common mistake that can lead to flat, dense loaves, underscoring its importance as a rustic bread baking tip.
Using a Dutch Oven or Baking Stone for Optimal Crust
Using a Dutch oven or a baking stone (or steel) is one of the most effective rustic bread baking tips for home ovens. A Dutch oven traps the steam released by the dough during the initial baking phase, creating a humid environment similar to a professional steam-injected oven. This steam keeps the crust pliable, allowing the loaf to expand fully before the lid is removed and the crust is allowed to brown and crisp.
A baking stone or steel, combined with a steam method (like a tray of hot water or ice cubes on a lower rack), serves a similar purpose. The hot surface provides intense heat to the base of the loaf, promoting oven spring, while the steam helps develop a thin, crispy crust. Both methods are excellent for mimicking professional baking conditions and are highly recommended rustic bread baking tips for achieving artisan results at home.
Ciabatta Baking Made Easy: A Step-by-Step Approach
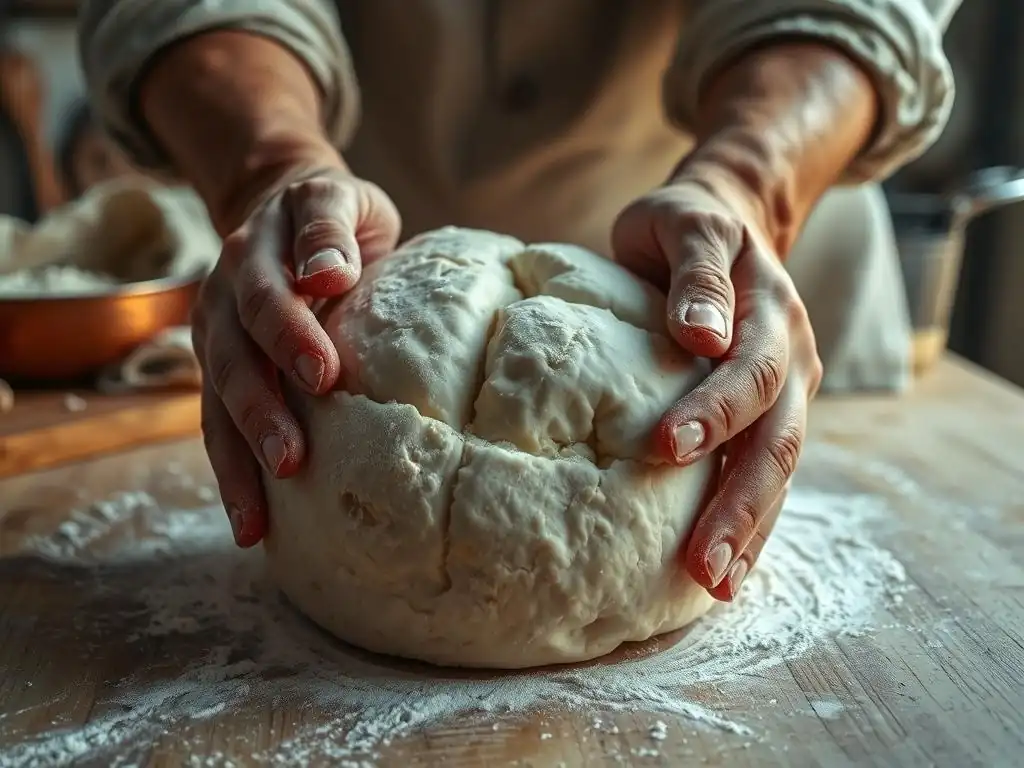
Ciabatta, the beloved Italian "slipper" bread, is a perfect example of a rustic loaf that's easier to bake than its often intimidating appearance suggests. Its characteristic open crumb and chewy texture are direct results of its high hydration and minimal handling. Approaching ciabatta baking with a focus on these specific characteristics simplifies the process considerably.
Baking ciabatta at home follows many of the general rustic bread baking tips but with a few specific nuances. The key steps involve creating a very wet dough, allowing a long fermentation (often with a preferment like a poolish), performing gentle stretch and folds, minimal shaping, and baking in a steamy environment.
Understanding Ciabatta's Unique Characteristics
Ciabatta is defined by its high hydration (often 80% or more), irregular and very open crumb structure, and a thin, crispy crust. It typically has a flat, elongated shape, hence the name "slipper." The large, uneven holes in the interior are not a flaw but the desired outcome, achieved through minimal handling and a long, slow fermentation that produces significant gas bubbles.
The flavor of traditional ciabatta is often slightly tangy, especially if made with a preferment or a long fermentation. This flavor development is integral to its appeal. Understanding these characteristics helps guide the baking process; for instance, you don't aim for a perfectly smooth, elastic dough like you would for a baguette, but rather a shaggy, wet dough that develops strength through time and gentle folds.
Ciabatta Dough: Hydration and Handling
Ciabatta dough is famously wet, often using 800 grams of water for every 1000 grams of flour (80% hydration), sometimes even higher. This high water content is essential for the open crumb. Handling such a wet dough requires a shift in mindset – you won't be kneading it on a floured surface.
Instead, ciabatta dough is typically mixed until just combined, often with a stand mixer or by hand with a sturdy spoon, then left to develop strength through rest and stretch and folds in an oiled container. Wetting your hands or using a bench scraper is crucial when handling this sticky dough. Don't be tempted to add excessive flour; embrace the stickiness as the path to the perfect ciabatta crumb.
Shaping Ciabatta: Achieving the Signature Open Crumb
Shaping ciabatta is less about creating tension and structure and more about gently handling the dough to preserve the gas bubbles developed during fermentation. The dough is typically turned out onto a generously floured surface (often using a mix of semolina and flour) and gently stretched or divided into rectangles.
The key is to handle the dough minimally, avoiding degasing it. You simply divide it and perhaps give it a gentle stretch before transferring it to parchment paper for a final proof. Overworking the dough at this stage will deflate the precious gas bubbles and result in a denser crumb, illustrating another important rustic bread baking tip: gentle handling is paramount for open textures.
Baking Ciabatta: Tips for a Perfect Loaf
Baking ciabatta requires a very hot oven, typically 450-475°F (230-245°C), and plenty of steam in the initial phase. The high heat ensures rapid oven spring, while the steam allows the crust to remain pliable as the loaf expands, contributing to the large holes. Baking on a preheated stone or steel is highly recommended.
To create steam, you can place the ciabatta loaves on parchment paper directly on a hot stone and immediately add a cup of hot water or ice cubes to a preheated tray on the bottom rack. Bake with steam for the first 15-20 minutes, then remove the steam source (or lid if using a Dutch oven) and continue baking until the crust is deeply golden brown and the internal temperature reaches about 205-210°F (96-99°C).
Common Rustic Bread Baking Mistakes (and How to Avoid Them)
Even with the simplest rustic bread baking tips, mistakes can happen. Identifying common pitfalls helps you troubleshoot and improve your results. Often, issues stem from misunderstanding dough behavior or oven dynamics.
By being aware of these potential problems and knowing how to correct them, you can significantly reduce frustration and increase your success rate in baking beautiful rustic loaves.
Over-Kneading: The Enemy of Rustic Bread Texture
While traditional breads benefit from extensive kneading, over-kneading is detrimental to the open, irregular crumb desired in many rustic loaves and ciabatta. Excessive kneading can tighten the gluten structure too much, resulting in a more uniform, dense crumb rather than the airy, holey interior characteristic of these breads.
With high hydration doughs, aggressive kneading is also messy and often leads to adding too much flour, which further stiffens the dough. Stick to minimal initial mixing followed by gentle stretch and folds; this is a core rustic bread baking tip for achieving the right texture. If you find your dough becoming very tight and resistant during folding, you might be overworking it.
Incorrect Proofing: Signs of Under- or Over-Proofing
Proofing is a delicate balance, and getting it wrong is a common issue in rustic bread baking. Under-proofed dough hasn't developed enough gas, resulting in a dense loaf with significant oven spring but often a tight crumb. Signs include a loaf that feels heavy for its size and doesn't hold its shape well after baking.
Over-proofed dough, conversely, has exhausted its leavening power. It may look significantly inflated before baking but will often collapse in the oven, resulting in a flat loaf with a weak crust and a crumb that might be gummy or unevenly textured. A simple test is the poke test: gently poke the dough with a wet finger; if the indentation springs back immediately, it's likely under-proofed. If it leaves a permanent indentation, it's likely over-proofed. A slow rebound indicates optimal proofing.
Oven Temperature Issues: Ensuring a Golden Crust
Baking at the wrong temperature is a frequent cause of issues with rustic bread crusts and oven spring. An oven that isn't hot enough will result in a loaf that spreads sideways rather than rising upwards, producing a pale, thick crust and a dense crumb. The dough needs that initial burst of high heat to set the structure.
Conversely, an oven that is too hot without sufficient steam can cause the crust to set too quickly, preventing the loaf from expanding fully and potentially burning the exterior before the interior is cooked through. Always use an oven thermometer to verify your oven's temperature and ensure it's fully preheated. Using steam (Dutch oven or water tray) in the initial baking phase is also critical for allowing the crust to develop properly at high heat.
Rustic Bread and Ciabatta Recipes for Beginners
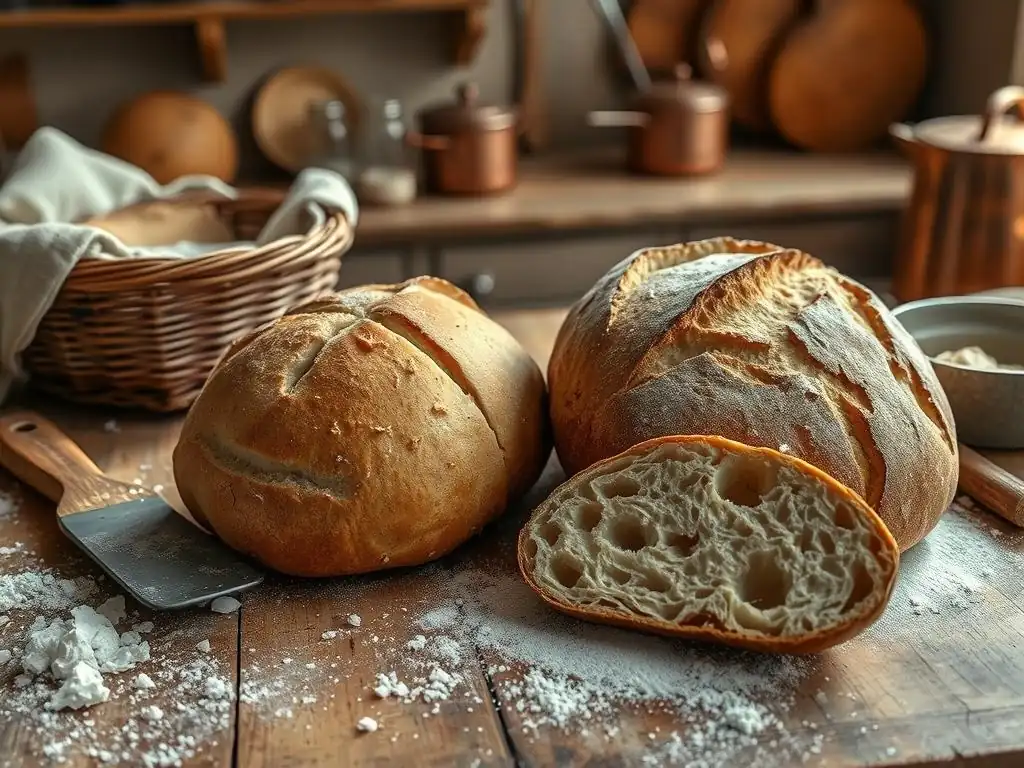
Ready to put these rustic bread baking tips into practice? Starting with simple, forgiving recipes is the best way to build confidence. These beginner-friendly recipes focus on minimal handling and reliable fermentation methods to help you achieve success on your first attempts.
These recipes are designed to be straightforward, focusing on the core principles of rustic bread baking without overly complex steps or ingredients. They provide a solid foundation for mastering the techniques discussed and enjoying delicious homemade bread quickly.
Easy Rustic Country Bread Recipe
An easy rustic country bread recipe typically involves a relatively high hydration dough (perhaps 70-75%), minimal mixing, several sets of stretch and folds over a few hours, followed by a bulk fermentation (either room temperature or cold overnight), gentle shaping, and baking in a preheated Dutch oven. The ingredient list is short: bread flour, water, salt, and a small amount of active dry yeast or instant yeast.
This type of recipe is ideal for beginners because the stretch and fold technique is easy to learn, and baking in a Dutch oven simplifies the steam requirement. Following basic rustic bread baking tips like accurate weighing of ingredients, proper proofing observation, and baking at high heat in the Dutch oven will lead to a satisfyingly crusty loaf with a pleasant, open crumb.
Simple Ciabatta Recipe for Home Bakers
A simple ciabatta recipe for home bakers often starts with a preferment like a poolish (equal parts flour and water with a tiny amount of yeast mixed 12-18 hours ahead) or uses a small amount of yeast and relies on a long cold fermentation (18-24 hours) for flavor. The main dough is mixed to a very wet consistency (80% hydration or higher) with minimal effort.
After initial mixing, the dough undergoes several sets of stretch and folds over the first few hours of bulk fermentation. It's then transferred to the refrigerator for the long ferment. Shaping is minimal – just gently dividing the dough on a floured surface. Baking is done on a hot stone or steel with added steam. This process, guided by specific ciabatta-focused rustic bread baking tips, makes baking this airy loaf achievable for beginners.
Conclusion: Unleash Your Inner Artisan Baker with Ease
Baking rustic breads and ciabatta might seem intimidating at first glance, but by understanding the fundamental principles and applying simple rustic bread baking tips, you can easily create stunning, flavorful loaves in your own kitchen. Embrace the high hydration, rely on time and gentle handling instead of vigorous kneading, learn to read your dough's proofing signs, and utilize your oven effectively for a perfect crust.
These rustic bread baking tips are not secrets reserved for professionals; they are accessible techniques that simplify the process and guarantee delicious results. With a little practice and patience, you'll be confidently pulling warm, crusty artisan-style bread from your oven, ready to share and enjoy the fruits of your newfound baking skills.
Frequently Asked Questions
What makes rustic breads and ciabatta "easier" to bake, according to BakeWithEase?
Rustic breads and ciabatta often require less precise measurements and techniques than other breads. The high hydration and "no-knead" methods contribute to their simplicity.
What level of baking experience is required to bake rustic breads and ciabatta using BakeWithEase's recipes?
BakeWithEase caters to all levels of bakers, including beginners. The recipes offer step-by-step guides and use easy-to-find ingredients.
What types of recipes and resources can I find on BakeWithEase.com for rustic bread baking?
BakeWithEase provides simple recipes, techniques, and tips specifically tailored for rustic breads and ciabatta. You can find step-by-step guides to help you through the process.
Are the ingredients needed for rustic bread recipes on BakeWithEase readily available?
Yes, BakeWithEase focuses on recipes that utilize easy-to-find ingredients. This makes it convenient to try their rustic bread baking techniques.
Does BakeWithEase offer tips specifically for achieving the characteristic "rustic" look and texture in breads?
Yes, the site provides tips that help you achieve that signature rustic appearance and texture. This includes methods related to shaping and baking the bread.
Final Reflection: The Unexpected Joy of Rustic Baking
The seemingly daunting world of rustic bread baking is, in reality, more accessible than many believe. Mastering the art of crafting a perfectly crusty loaf isn't about arcane techniques or years of experience; it's about understanding a few fundamental principles and embracing the process. This article has highlighted the simplicity inherent in creating rustic breads and ciabatta, dispelling the myth of their complexity and revealing the rewarding journey that awaits.
The enduring appeal of rustic bread lies not just in its delicious taste, but in its connection to a simpler, more artisanal way of life. It's a tangible link to traditions passed down through generations, a reminder of the satisfaction found in creating something beautiful and nourishing with your own hands. As the food writer Michael Pollan eloquently stated, People who bake their own bread are happier people.
This sentiment resonates deeply, reflecting the sense of accomplishment and quiet joy that accompanies each perfectly risen loaf.
Now, I invite you to roll up your sleeves, gather your ingredients, and embark on your own rustic bread baking adventure. Don't be intimidated by the seemingly complex techniques; embrace the process, experiment with different flours and techniques, and most importantly, enjoy the journey. The reward – a warm, crusty loaf filled with the aroma of freshly baked bread – is well worth the effort, and the satisfaction will linger long after the last crumb is gone.
Unleash Your Inner Baker: Craft Your Own Rustic Loaf!
Thanks for joining us on this bread-baking adventure! We hope you've discovered just how approachable and rewarding creating rustic loaves and ciabatta can be. Now it's time to put your newfound knowledge into action.
- Dive into your first rustic bread: Gather your ingredients and follow a recipe – the satisfaction of a perfectly crusty loaf is waiting! This is your primary goal!
- Share your baking journey: Snap a picture of your masterpiece and share it on social media using #BakeWithEaseRustic – let's inspire each other!
- Explore different flours: Experiment with different types of flour to see how they affect the texture and flavor of your bread. What unexpected combinations will you discover?
Ready to transform your kitchen into a rustic bakery? What unique twist will you add to your first loaf?