
Demystifying GlutenFree Bread Proofing Times

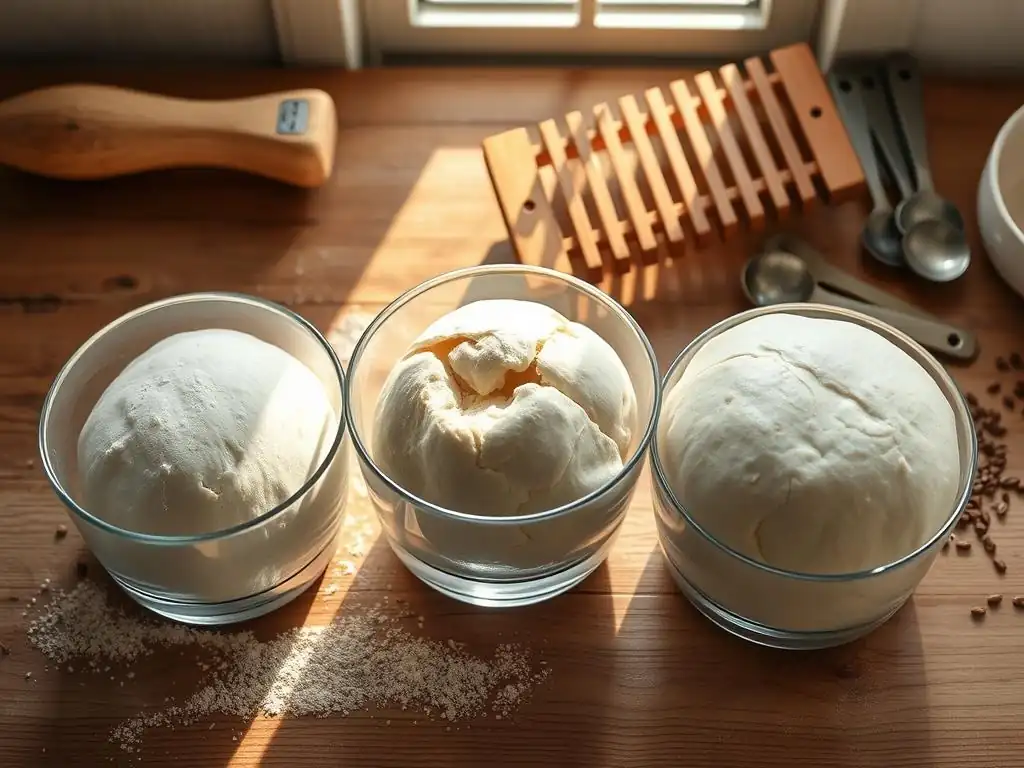
Welcome to BakeWithEase, your trusted guide to the delightful world of baking! Ever wondered if you're getting your gluten-free bread proofing times just right? Dive into our comprehensive article, "Demystifying GlutenFree Bread Proofing Times," where we unlock the secrets to achieving that perfect rise and texture, ensuring your next loaf is a triumph. Discover the nuances that make gluten-free baking unique and prepare to elevate your bread-making game. Ready to bake with confidence?
- Mastering Gluten-Free Bread: A Guide to Proofing
- Understanding Gluten-Free Dough and Proofing
- Factors Influencing Gluten-Free Bread Proofing Times
- Step-by-Step Guide to Gluten-Free Bread Proofing
- Troubleshooting Common Proofing Issues
- Best Practices for Optimal Proofing
- Recipe-Specific Proofing Considerations
- Beyond Proofing: Achieving Baking Success
- Conclusion: Confidently Baking Delicious Gluten-Free Bread
-
Frequently Asked Questions
- What is the typical proofing time for gluten-free bread, and how does it differ from traditional bread?
- How does the type of gluten-free flour blend affect the proofing time?
- What factors, besides flour type, can influence the proofing time of gluten-free bread?
- How can I tell if my gluten-free bread dough is properly proofed?
- What happens if I over-proof my gluten-free bread dough?
- Final Reflection: The Art and Science of Gluten-Free Bread Rising
- Unlock Your Gluten-Free Baking Potential!
Mastering Gluten-Free Bread: A Guide to Proofing
Proofing is a critical step in bread making, allowing yeast to work its magic and the dough to develop structure and flavor. For gluten-free bakers, understanding this process is even more crucial, as gluten-free dough behaves quite differently from traditional wheat-based dough. Mastering glutenfree bread proofing times can be the key to transforming dense bricks into light, airy loaves. This guide will walk you through the nuances of proofing gluten-free bread, from the science behind it to practical tips for success.
Understanding Gluten-Free Dough and Proofing
The Science of Gluten-Free Baking: Differences from Traditional Bread
Traditional wheat bread relies on gluten, a protein network formed when flour is mixed with water and kneaded. This network is elastic and strong, trapping the carbon dioxide gas produced by yeast, allowing the dough to rise and giving the bread its characteristic chewy texture and open crumb structure. Gluten provides the necessary framework to support the dough during proofing and baking.
In contrast, gluten-free baking requires alternative ingredients to mimic gluten's function. Gluten-free flour blends typically combine various starches (like tapioca, potato, corn) and non-wheat flours (like rice, sorghum, millet, almond). To provide structure and elasticity, binders like xanthan gum, guar gum, or psyllium husk are essential. These binders help the dough hold together and trap gas, but they don't form the same kind of extensible network as gluten, leading to differences in dough handling and proofing behavior.
The Importance of Proofing for Gluten-Free Bread: Developing Flavor and Texture
Proofing, also known as fermentation, is the period where yeast consumes sugars in the dough and produces carbon dioxide and alcohol. This gas inflates the dough, creating air pockets that contribute to the bread's final volume and crumb structure. For gluten-free bread, proper proofing is vital because the non-gluten structure is less forgiving; insufficient rise can result in a dense, heavy loaf, while over-proofing can lead to collapse.
Beyond leavening, proofing allows enzymatic activity to occur, breaking down starches and proteins into simpler compounds. This process significantly contributes to the bread's flavor complexity and aroma. A well-proofed gluten-free loaf will have a more nuanced taste profile compared to one that was rushed. The timing of glutenfree bread proofing times directly impacts not only the texture but also the depth of flavor in your final bake.
Key Ingredients for Successful Gluten-Free Bread Proofing: Starches, Gums, and Flours
The success of gluten-free bread proofing hinges on the interaction of several key ingredients. Gluten-free flour blends provide the bulk and some flavor, but their composition heavily influences water absorption and how well the dough can hold gas. Lighter starches like tapioca and potato starch contribute to a softer crumb and quicker rise, while denser flours like brown rice or sorghum add structure and nutty flavors but can slow down fermentation slightly.
Binders like xanthan gum or psyllium husk are critical for trapping gas. Xanthan gum, often used at 0.5-1% of the flour weight, creates a gel-like structure. Psyllium husk, used at 2-3% of flour weight, absorbs significant water and forms a strong, fibrous network. Yeast, the leavening agent, requires warm water (typically 105-115°F or 40-46°C) and a food source (sugar or flour's starch) to become active and start producing CO2, directly impacting glutenfree bread proofing times.
Factors Influencing Gluten-Free Bread Proofing Times
Gluten-Free Flour Blend Composition: Impact on Rise and Structure
The specific blend of flours and starches used in your recipe profoundly impacts how the dough rises and holds its shape during proofing. Blends high in refined starches (like white rice flour, tapioca starch, cornstarch) tend to proof faster because the starches are easily accessible to the yeast. However, these doughs can sometimes lack structure and may collapse if over-proofed.
Conversely, blends incorporating more whole-grain gluten-free flours (like brown rice, sorghum, millet, buckwheat) or nut flours (almond, oat) absorb more water and provide more structure, often resulting in slower proofing times. These flours contribute fiber and protein, which can slow yeast activity slightly but also build a more stable dough matrix when combined with binders. Understanding your blend's composition is key to estimating appropriate glutenfree bread proofing times. For example, a blend heavy in brown rice flour might require an extra 15-20 minutes of proofing compared to a primarily white rice/tapioca blend under similar conditions.
Yeast Activity in Gluten-Free Dough: Activation and Fermentation
Yeast is the engine of proofing. Its activity level is primarily influenced by temperature, moisture, and food availability (sugars). For active dry yeast, proper activation is the first step: dissolving it in warm water (around 105-115°F or 40-46°C) with a pinch of sugar. Within 5-10 minutes, the mixture should become foamy, indicating the yeast is alive and active. Instant yeast can often be mixed directly with dry ingredients, but warm liquid is still needed for fermentation to begin.
Once incorporated into the dough, yeast fermentation speed is highly dependent on temperature. Warmer temperatures (75-85°F or 24-29°C) accelerate fermentation, leading to shorter glutenfree bread proofing times, while cooler temperatures slow it down. The amount of yeast used also plays a role; more yeast means faster proofing, but too much can impart an undesirable yeasty flavor.
Environmental Conditions: Temperature and Humidity Considerations
The ambient temperature and humidity of your proofing environment are critical external factors. The ideal temperature range for proofing most gluten-free doughs is between 75°F and 85°F (24°C and 29°C). Temperatures below 70°F (21°C) will significantly slow down proofing, potentially doubling or tripling the time needed. Temperatures above 90°F (32°C) can accelerate proofing too much, risking over-proofing before flavor development occurs, and can even kill the yeast if too high.
Humidity is also important. A humid environment prevents the surface of the dough from drying out and forming a crust, which would restrict the dough's ability to expand. Covering the dough with a damp cloth, plastic wrap, or placing it in a slightly humid environment like a turned-off oven with a pan of hot water are common techniques to maintain optimal conditions and ensure even glutenfree bread proofing times.
Hydration Levels: Achieving Optimal Dough Consistency
Hydration refers to the ratio of liquid (usually water or milk) to flour in the dough, typically expressed as a percentage of the flour weight. Gluten-free doughs often require higher hydration levels than wheat doughs because gluten-free flours and binders absorb more liquid. Hydration levels for gluten-free bread can range from 80% to over 100%.
Higher hydration levels result in a wetter, stickier dough that tends to proof faster because the yeast has easier access to sugars and the dough is less dense. However, very wet doughs can be challenging to handle and shape and may require support (like a loaf pan) during proofing and baking. Drier doughs proof more slowly but are easier to manage. Achieving the correct hydration specified in your recipe is crucial for predictable glutenfree bread proofing times and successful results.
Step-by-Step Guide to Gluten-Free Bread Proofing
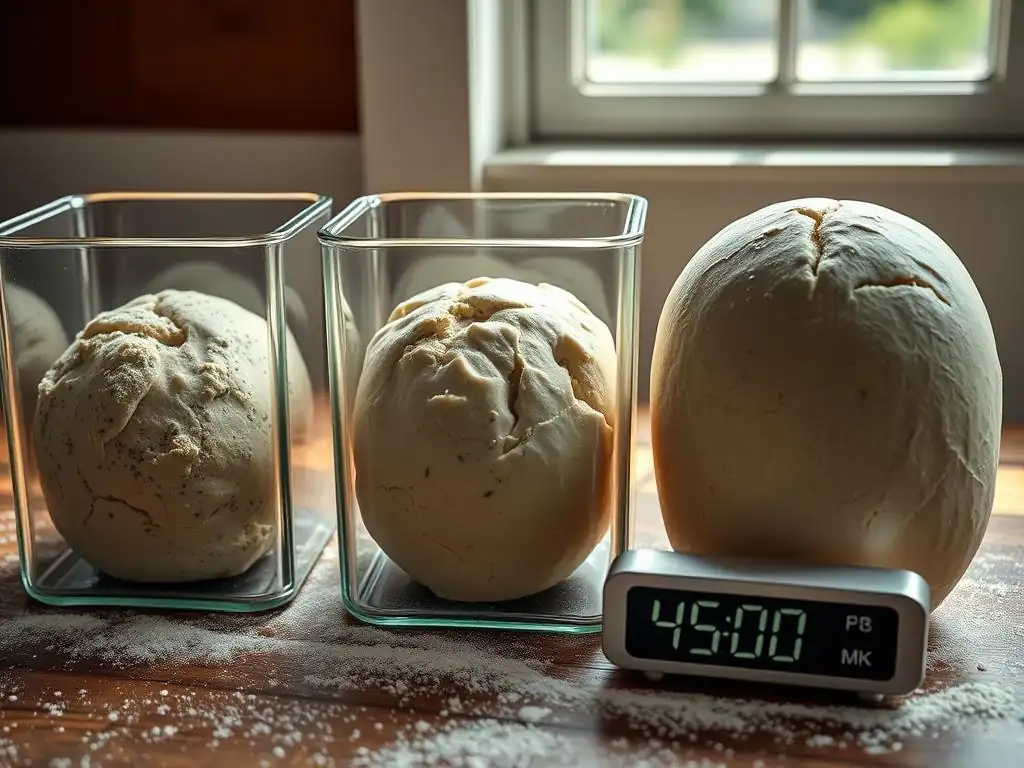
Preparing the Dough: Mixing and Kneading Techniques
Preparing gluten-free dough differs significantly from traditional kneading. Since there's no gluten network to develop through manipulation, the focus is on thorough mixing to fully hydrate the flours and activate the binders (xanthan gum, psyllium). Often, gluten-free recipes use a stand mixer with a paddle attachment or robust hand mixing for several minutes (e.g., 5-7 minutes on medium speed) until the dough is smooth, cohesive, and pulls away from the sides of the bowl.
Some recipes benefit from a short rest period (autolyse) after mixing the flours and liquids but before adding yeast and salt, allowing the starches to hydrate fully. Unlike wheat doughs that gain strength from kneading, gluten-free doughs rely on proper ingredient ratios and binders for structure. The goal before proofing is a well-mixed, slightly sticky dough that holds its shape loosely.
Creating the Ideal Proofing Environment: Temperature and Humidity Control
To ensure your gluten-free bread proofs effectively, aim for a warm, draft-free spot. An ambient temperature between 75-85°F (24-29°C) is generally optimal. You can create this environment using several methods:
- Proofing Box: A temperature-controlled box specifically designed for proofing.
- Oven with Light On: Place the dough in a cold oven with only the light on. The heat from the bulb can raise the temperature to a suitable range (often around 80-85°F or 27-29°C).
- Warm Water Bath: Place the dough container in a larger bowl or sink filled with warm water (not hot enough to cook the dough! ).
- Sunny Spot: A warm windowsill can work, but ensure it's not too hot and cover the dough.
To maintain humidity and prevent the dough surface from drying out, cover the dough container tightly with plastic wrap, a damp kitchen towel, or place it in a large plastic bag. A dry surface will inhibit rise and can lead to a dense crust.
Monitoring Dough Development: Visual Cues and Tactile Assessment
Monitoring your dough is crucial, as relying solely on suggested glutenfree bread proofing times can be misleading due to variations in environment and ingredients. Look for visual cues: the dough should increase noticeably in volume. Depending on the recipe and proofing temperature, this might mean doubling in size or increasing by 50-75%. The surface should appear slightly domed and smooth, not stretched tight or deflated.
Tactile assessment, or the poke test, is a reliable way to check readiness. Gently flour your finger and press it about half an inch into the dough.
- If the indentation springs back immediately and completely, the dough is under-proofed and needs more time.
- If the indentation springs back slowly, about halfway, the dough is perfectly proofed and ready for baking.
- If the indentation remains fully and the dough looks deflated or wrinkled, it is likely over-proofed.
Determining Readiness for Baking: The Poke Test and Volume Increase
Determining exactly when your gluten-free dough is ready for the oven is more art than science, but the poke test combined with volume assessment provides the best guidance. As mentioned, the ideal poke test result is a slow, partial spring-back. This indicates the dough has developed enough gas for a good rise in the oven but still has enough structure and elasticity to hold up during baking.
Simultaneously, observe the volume increase specified in your recipe. Many gluten-free loaves are proofed until they have increased by about 50% to 75% in volume, rather than the "doubled in size" often cited for wheat bread. Over-proofing gluten-free dough is a common pitfall, as the weaker structure can collapse once its gas-holding capacity is exceeded. Learning to read these cues is essential for mastering glutenfree bread proofing times.
Troubleshooting Common Proofing Issues
Dough Failing to Rise: Addressing Yeast Activation and Starch Issues
If your gluten-free dough isn't rising, several factors could be at play. First, check your yeast: was it fresh and properly activated in warm water (105-115°F)? Water that is too hot will kill the yeast, while water that is too cold won't activate it. Ensure the sugar or sweetener in the recipe was included, as yeast needs food to produce gas.
Another common issue relates to the flour blend and hydration. Some gluten-free flours absorb liquid more slowly. Ensure the dough was mixed thoroughly to allow for full hydration. Insufficient binder (xanthan gum, psyllium) can also lead to poor rise, as the dough lacks the structure to trap gas. Finally, check your proofing environment – is it warm enough (ideally 75-85°F)? Cold temperatures drastically slow down or halt fermentation, leading to extended, sometimes ineffective, glutenfree bread proofing times.
Over-Proofing: Identifying and Preventing Collapse
Over-proofing occurs when the dough ferments for too long, using up all its available sugars and exhausting the yeast. The gluten-free structure, being less robust than gluten, cannot sustain the excessive gas build-up or the weakened state of the dough. Signs of over-proofing include a dough that has risen significantly but then starts to deflate, looks wrinkled, or feels fragile and sticky. The poke test will show an indentation that remains fully without springing back.
To prevent over-proofing, pay close attention to visual cues and the poke test rather than strictly following recommended glutenfree bread proofing times. If you suspect over-proofing, bake the dough immediately. The resulting loaf might have less oven spring and a slightly denser texture, but it's usually salvageable. For future bakes, reduce proofing time or proof in a slightly cooler spot.
Uneven Rise: Techniques for Consistent Proofing
An uneven rise can result in a lopsided loaf with varying crumb density. This can happen if the dough isn't uniformly mixed, if the proofing environment has hot or cold spots, or if the dough isn't shaped or placed in the pan evenly. Ensure all ingredients are thoroughly combined during mixing, with no pockets of dry flour or unmixed binder.
During proofing, rotate the dough container periodically if using an oven with the light on or placing it near a heat source, ensuring all sides are exposed to similar temperatures. If proofing in a loaf pan, gently press the dough evenly into the corners before the final rise. Covering the dough ensures uniform humidity across the surface, preventing one side from drying out and restricting rise. Consistent temperature and even dough distribution are key to uniform glutenfree bread proofing times and a symmetrical loaf.
Managing Sticky Dough: Handling and Shaping Strategies
Gluten-free dough, especially higher hydration varieties, can be notoriously sticky due to the nature of the flours and binders. This stickiness can make handling and shaping challenging before proofing or transferring to the oven. Avoid adding excessive amounts of extra flour to the dough itself, as this can alter the hydration balance and result in a dry loaf.
Instead, use strategies to manage the stickiness externally. Lightly oiling your hands or using wet hands (dipping them in water) can make handling much easier. Work on a lightly oiled surface rather than a floured one, as flour can be incorporated unevenly into the dough. Using a flexible dough scraper or spatula can also help lift and move sticky dough. If proofing in a loaf pan, lining it with parchment paper makes transferring and cleanup much simpler, minimizing the need to handle the sticky dough extensively after its final proof.
Best Practices for Optimal Proofing
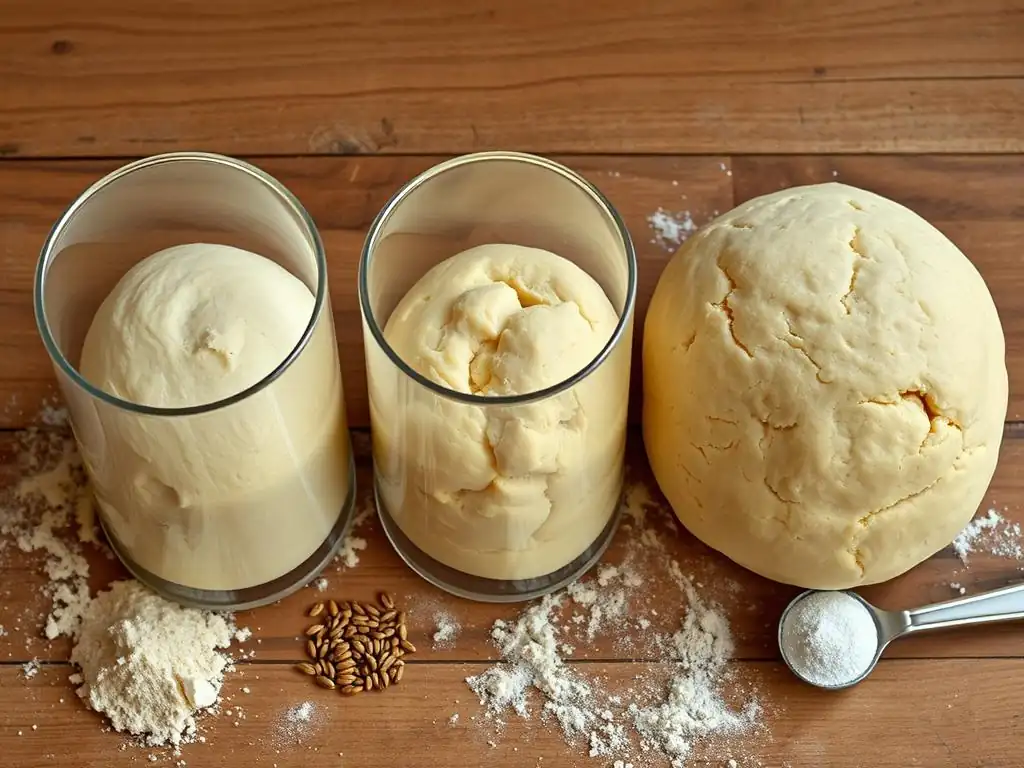
Accurate Measurement: Ensuring Consistent Results
Accurate ingredient measurement is perhaps the most critical factor in achieving consistent gluten-free bread proofing times and overall baking success. Unlike wheat flour, gluten-free flour blends vary significantly in weight per volume. Scooping flour directly from the bag with a measuring cup can result in wildly different amounts depending on how packed it is.
For best results, use a kitchen scale to weigh your ingredients, especially the flour blend, binders, and liquids. Many gluten-free recipes provide weights in grams for precision. For example, 1 cup of a gluten-free blend might weigh anywhere from 120g to 140g. Using the exact weight specified in the recipe ensures the correct hydration level and balance of ingredients, leading to predictable dough consistency and more reliable glutenfree bread proofing times.
Choosing the Right Container: Shape and Material Considerations
The container you choose for proofing can influence the dough's shape and how you monitor its rise. For the first proof (bulk fermentation, if applicable), a large bowl allows the dough room to expand. Ensure the bowl is large enough for the dough to at least double, even if your recipe calls for less rise during this stage. Glass or clear plastic containers are helpful for visually monitoring the volume increase.
For the final proof, especially for sandwich loaves, a loaf pan is essential to support the dough's structure during its final rise and baking. Choose a pan size appropriate for the amount of dough. Too large a pan will result in a flat loaf; too small will cause overflow. The material (metal, glass, ceramic) can affect heat distribution during baking but is less critical during proofing, though darker metal pans might absorb slightly more ambient heat. Ensure the container is lightly oiled or lined with parchment paper to prevent sticking after proofing.
Maintaining Consistent Temperature: Utilizing Proofing Boxes and Warm Environments
Consistency in temperature is key to predictable glutenfree bread proofing times. Fluctuations can lead to uneven fermentation. As discussed earlier, aim for a steady temperature between 75-85°F (24-29°C). Using a dedicated proofing box offers the most control, but reliable alternatives exist.
The oven-with-light-on method is popular because it provides a stable, draft-free environment. Using an oven thermometer inside can help you verify the temperature. If your oven light isn't warm enough, you can briefly preheat the oven to its lowest setting (e.g., 150°F or 65°C) for just a minute or two, then turn it off before placing the dough inside. A microwave (turned off) with a cup of hot water can also create a warm, humid microclimate. The goal is a steady warmth that encourages the yeast without rushing the process.
Adapting Proofing Times: Adjusting for Recipe and Environment
Suggested glutenfree bread proofing times in recipes are estimates. They are based on typical room temperatures and ingredient activity, but your kitchen environment and specific flour blend might differ. Always use the recipe's time as a guideline, but be prepared to adjust based on observation.
If your kitchen is cooler, proofing will take longer – perhaps 1.5 to 2 times the suggested time. If it's warmer, it will be faster. Pay attention to the dough's volume increase and the poke test rather than the clock. Experienced bakers learn to recognize the look and feel of properly proofed gluten-free dough. Don't be afraid to let it go longer if needed, or check earlier if your environment is warm. Flexibility and observation are your best tools for mastering the optimal proofing duration for gluten-free loaves.
Recipe-Specific Proofing Considerations
Proofing Gluten-Free Sandwich Bread: Achieving a Soft Crumb
Gluten-free sandwich bread aims for a soft, sliceable crumb and good height. For this type of loaf, proper proofing in a loaf pan is essential. The pan provides structural support as the dough rises, helping it achieve that classic square shape. Proofing is typically done until the dough has risen about 1/2 to 1 inch above the rim of the pan, or roughly doubled in volume from its initial state in the pan.
The timing of glutenfree bread proofing times for sandwich loaves often ranges from 45 to 90 minutes, depending on the recipe, yeast amount, and temperature. Because the goal is a light crumb, ensuring the dough isn't under-proofed is important; it needs enough trapped gas to expand fully in the oven. The poke test is crucial here: the dough should spring back slowly, indicating it's ready to bake without risking collapse.
Proofing Gluten-Free Sourdough: Developing Tang and Complex Flavors
Proofing gluten-free sourdough involves managing a wild yeast starter rather than commercial yeast, which adds complexity and develops the characteristic tangy flavor. Gluten-free sourdough starters typically require specific feeding schedules with gluten-free flours. The proofing process itself is often longer and sometimes cooler than for commercial yeast loaves to allow the sourdough culture's bacteria to produce lactic and acetic acids for flavor.
Bulk fermentation (the first rise in the bowl) for gluten-free sourdough can take 4-12 hours at room temperature (70-75°F) or even longer in the refrigerator (cold proofing). The dough might only increase by 30-50% during bulk proof. The final proof, usually in a proofing basket (banneton) or loaf pan, can take another 2-4 hours at room temperature or 8-16 hours in the fridge. Learning how long to proof gluten-free sourdough depends heavily on your starter's activity and the desired level of tang.
Proofing Gluten-Free Pizza Dough: Achieving a Light and Airy Crust
Proofing gluten-free pizza dough aims for a balance of chewiness and airiness in the crust. Pizza dough typically benefits from a relatively quick, warm proofing period to generate significant gas bubbles for a light texture. After mixing, the dough is often divided and shaped into balls, then proofed for 30-60 minutes in a warm environment (around 80-85°F or 27-29°C) or until noticeably puffy.
Unlike bread loaves, pizza dough is less about significant volume increase and more about developing internal structure and elasticity that allows it to be stretched (carefully, for gluten-free dough) and baked into a bubbly crust. Over-proofing pizza dough can make it difficult to handle and result in a dense or fragile crust. Observing the dough become visibly relaxed and slightly increased in size is usually sufficient before shaping and baking.
Proofing Gluten-Free Baguettes: Creating a Crisp Crust and Open Crumb
Baking gluten-free baguettes is challenging but rewarding, aiming for a crisp crust and an open, airy crumb. This requires careful handling and specific proofing techniques. After mixing and a bulk fermentation (which might be relatively short, say 60-90 minutes), the dough is gently shaped into baguette forms.
Proofing for baguettes is often done on a floured couche (linen cloth) or a perforated baguette pan to maintain their elongated shape and encourage crust development. The proofing time is typically shorter than for a large loaf, perhaps 45-75 minutes, until the baguettes are visibly puffy but still hold their shape when gently poked. Over-proofing will cause them to spread sideways rather than rise upwards in the oven. Mastering the timing your gluten-free bread proof will yield the best results for this specific shape.
Beyond Proofing: Achieving Baking Success
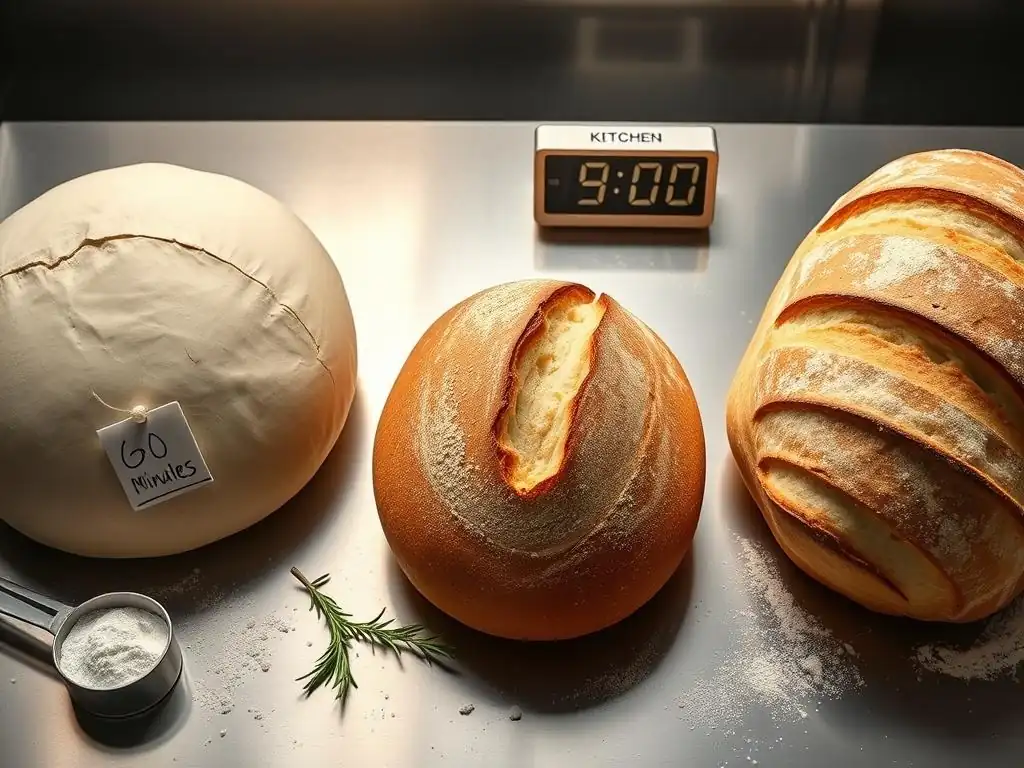
Baking Techniques: Oven Temperature, Steam, and Baking Time
Proofing prepares the dough, but proper baking technique is essential to lock in that rise and develop the final texture and crust. Gluten-free bread often benefits from a high initial oven temperature (e.g., 400-450°F or 200-230°C) to encourage maximum oven spring – the final burst of rising that occurs in the first 10-15 minutes of baking. The temperature is often reduced slightly after this initial phase to ensure the interior bakes through without the crust burning.
Steam in the oven during the initial baking phase is highly beneficial for gluten-free bread. It keeps the crust soft and pliable, allowing the loaf to expand fully, and contributes to a thinner, crispier crust later in the bake. You can create steam by placing a pan of hot water on the bottom rack of the oven when you preheat it, or by using a Dutch oven or cloche to bake the loaf, trapping the dough's own steam.
Baking time varies by loaf size, typically ranging from 30-60 minutes. The bread is done when the internal temperature reaches 200-210°F (93-99°C) and the crust is golden brown and firm.
Cooling and Storage: Preserving Freshness and Texture
Proper cooling is just as vital as proofing and baking. As the bread cools, residual heat continues to cook the interior, and the internal structure stabilizes. Slicing into a hot gluten-free loaf can result in a gummy, dense texture. Always cool your gluten-free bread completely on a wire rack before slicing, which allows air circulation and prevents the bottom crust from becoming soggy. This can take 2-4 hours for a standard loaf.
Gluten-free bread tends to dry out faster than wheat bread. Once completely cool, store it in an airtight container, bread bag, or wrapped tightly in plastic wrap. For longer storage, slicing the cooled loaf and freezing the slices is an excellent option. They can be easily thawed or toasted directly from frozen, preserving the texture achieved through careful proofing and baking.
Expanding Your Skills: Experimenting with Flavors and Techniques
Once you've mastered the fundamentals of glutenfree bread proofing times and techniques, don't hesitate to experiment! Try adding seeds (chia, flax, sunflower), nuts, dried fruits, herbs, or spices to your dough for extra flavor and texture. Explore different gluten-free flour blends; each offers a unique taste and baking property.
You can also experiment with different proofing methods, such as a longer, cold proof in the refrigerator, which can significantly deepen flavor development, especially in sourdough. Practice shaping different types of loaves, like rolls or boules. Each new ingredient or technique will slightly alter the optimal glutenfree bread proofing times, but by relying on the visual cues and poke test you've learned, you can confidently adapt and continue to bake delicious gluten-free bread.
Conclusion: Confidently Baking Delicious Gluten-Free Bread
Mastering the art of gluten-free bread proofing is a fundamental step towards baking consistently delicious loaves. Understanding the unique behavior of gluten-free dough, paying close attention to ingredient interactions, and controlling environmental factors like temperature and humidity are key. While suggested glutenfree bread proofing times offer a starting point, learning to read the dough through visual cues and the poke test is ultimately the most reliable path to success.
Don't be discouraged by initial challenges; practice and observation will build your intuition. By applying these principles, you can confidently bake beautifully proofed, flavorful, and well-textured gluten-free bread that you'll be proud to share.
Frequently Asked Questions
What is the typical proofing time for gluten-free bread, and how does it differ from traditional bread?
Gluten-free bread often requires a longer proofing time than traditional bread due to the absence of gluten, which provides structure. Expect proofing times to range from 60-90 minutes, but this can vary.
How does the type of gluten-free flour blend affect the proofing time?
Different gluten-free flour blends have varying starches and gums, which impact the dough's ability to rise. Blends with higher starch content might require shorter proofing times, while those with more gums may need longer. Always follow the recipe.
What factors, besides flour type, can influence the proofing time of gluten-free bread?
Temperature and humidity play a significant role. A warm and humid environment will generally accelerate the proofing process. Also, the amount of yeast used can affect the speed of proofing.
How can I tell if my gluten-free bread dough is properly proofed?
The dough should have noticeably increased in size, typically doubling or nearly doubling. Gently press the dough; it should slowly spring back, leaving a slight indentation. It should not be overly dense.
What happens if I over-proof my gluten-free bread dough?
Over-proofing can lead to a collapsed structure and a dense, gummy texture. Avoid over-proofing by carefully monitoring the dough's rise and using the recommended proofing times as a guideline, not a rule.
Final Reflection: The Art and Science of Gluten-Free Bread Rising
The quest for the perfect gluten-free loaf is a journey of patience, precision, and a deep understanding of the unique properties of gluten-free flours. This journey, as explored in this article, highlights the often-overlooked yet crucial element of proofing time – a variable that significantly impacts the final texture and taste of your gluten-free bread. Understanding these nuances is not merely a matter of baking success; it's about unlocking the potential of a delicious and satisfying gluten-free experience.
The impact of this knowledge extends far beyond the kitchen. It speaks to a broader cultural shift towards inclusivity and accessibility in food. For many individuals with celiac disease or gluten sensitivities, the ability to enjoy homemade bread is a significant step towards a healthier and more fulfilling life. Food is symbolic of love when words are inadequate.
- Alan D. Wolfelt. This quote resonates deeply because mastering gluten-free bread baking, with its intricacies like precise proofing times, allows for the expression of love and care through the creation of something nourishing and comforting.
Now, consider your own baking journey. Have you experimented with different proofing times? What adjustments have you made to achieve your ideal gluten-free loaf? I encourage you to continue exploring, experimenting, and refining your techniques. Don't be discouraged by initial setbacks; the path to mastering gluten-free bread is paved with learning and adaptation. Each loaf, regardless of its outcome, represents a step forward in your culinary journey. Embrace the process, celebrate the successes, and learn from the challenges. The perfect gluten-free loaf awaits, and the journey to find it is as rewarding as the destination itself.
Unlock Your Gluten-Free Baking Potential!
Thanks for taking the time to explore the world of gluten-free bread proofing! You've now armed yourself with the knowledge to conquer those tricky timing challenges. Ready to put your newfound expertise to the test?
- Bake your perfect gluten-free loaf: Try the recipe we discussed, paying close attention to the adjusted proofing times. This is your chance to create truly amazing bread!
- Share your baking journey: Post a picture of your creation on social media and tag us – we'd love to see your results!
- Explore our other gluten-free guides for even more delicious baking adventures.
What unique ingredient will you experiment with in your next gluten-free bread baking project?