
The Secret to a Perfect Italian Crust: Baking Ciabatta & Focaccia

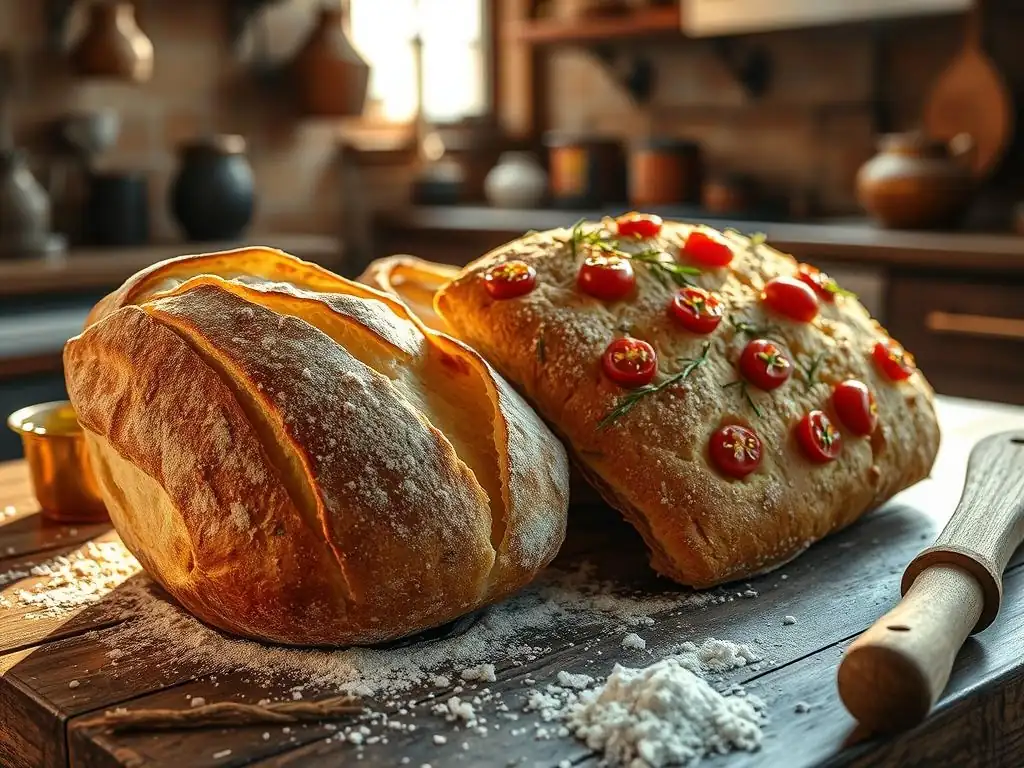
Welcome to BakeWithEase, your trusted companion on your baking journey! Ever dreamed of achieving that perfect, airy crust that defines authentic Italian bread? This week, we're unlocking the secrets behind crafting delicious Ciabatta and Focaccia. Intrigued? Dive in to discover our perfect Italian bread recipe and transform your kitchen into an Italian bakery!
- The Secret to a Perfect Italian Crust: Baking Ciabatta & Focaccia - BakeWithEase
- Introduction to Authentic Italian Bread Baking
- Understanding the Key Ingredients for Perfect Italian Bread
- Ciabatta Recipe: Achieving the Perfect Open Crumb
- Focaccia Recipe: Creating a Flavorful and Fluffy Bread
- The Secret to a Perfect Italian Crust: Mastering Oven Techniques
- Troubleshooting Common Issues in Italian Bread Baking
- Serving and Enjoying Your Homemade Italian Bread
- Conclusion: Your Journey to Perfect Italian Bread Begins Now
-
Frequently Asked Questions
- What's the main difference between Ciabatta and Focaccia, as discussed on BakeWithEase.com?
- What are the key ingredients highlighted by BakeWithEase.com for achieving the perfect Italian bread crust?
- Does BakeWithEase.com offer tips for beginners attempting the Italian bread recipes?
- Can I find alternative ingredient suggestions on BakeWithEase.com if I don't have access to specific Italian flours?
- Where on BakeWithEase.com can I find more information about mastering sourdough bread, mentioned in the site's description?
- Final Reflection: The Enduring Magic of a Perfect Crust
- Unleash Your Inner Pizzaiolo: Craft the Perfect Crust Today!
The Secret to a Perfect Italian Crust: Baking Ciabatta & Focaccia - BakeWithEase
Introduction to Authentic Italian Bread Baking
Discover the Art of Italian Crust: Ciabatta and Focaccia
Italian bread baking is a culinary tradition steeped in history, focusing on simple ingredients to create loaves with incredible flavor and texture. Two iconic examples that showcase the mastery of crust are Ciabatta and Focaccia. Ciabatta, meaning "slipper" in Italian, is known for its elongated shape, open crumb structure, and wonderfully crispy crust, often achieved through high hydration and gentle handling.
Focaccia, a flatbread, is celebrated for its soft, airy interior, golden-brown exterior, and the signature dimpled surface perfect for holding olive oil and toppings. Mastering the perfect Italian bread recipe involves understanding the nuances of these two distinct styles.
These breads are more than just accompaniments; they are staples of Italian cuisine, enjoyed on their own, as a base for sandwiches, or alongside meals. While they share common ingredients like flour, water, yeast, and olive oil, the techniques used in their preparation and baking result in vastly different, yet equally delightful, outcomes. Learning to bake authentic Italian bread like Ciabatta and Focaccia at home opens up a world of flavor and satisfaction, transforming your kitchen into a little corner of Italy.
BakeWithEase: Your Guide to Mastering Regional Breads
At BakeWithEase, we believe that baking delicious, authentic bread should be accessible to everyone, regardless of experience level. Our goal is to demystify the process of baking regional breads from around the world, providing clear, step-by-step guides that lead to successful results. Whether you're just starting your baking journey or looking to refine your skills, our resources are designed to help you bake with confidence and ease.
This guide focuses specifically on achieving that coveted perfect Italian bread recipe, detailing the essential ingredients, techniques, and tips for both Ciabatta and Focaccia. We'll walk you through each stage, from mixing the dough to achieving the ideal crust and crumb, ensuring you have all the knowledge needed to create impressive loaves right in your own kitchen. Get ready to explore the wonderful world of Italian bread baking with us!
Understanding the Key Ingredients for Perfect Italian Bread
High-Protein Flour: The Foundation of Authentic Italian Bread
The type of flour used is paramount in achieving the desired structure and crust in authentic Italian bread. High-protein bread flour, typically containing around 12-14% protein, is essential. This higher protein content leads to stronger gluten development, which is crucial for trapping gases produced by the yeast, resulting in the open, airy structure characteristic of Ciabatta and the soft, yet resilient texture of Focaccia. While traditional Italian recipes often specify '00' flour for certain baked goods, for robust breads like these, a good quality bread flour is often preferred outside of Italy for its gluten strength.
Using a quality bread flour directly impacts the dough's ability to hydrate properly and develop elasticity. For instance, if using a standard all-purpose flour with lower protein (around 10-11%), the dough might not develop sufficient strength to hold its shape or trap enough air, leading to a denser loaf. Selecting the right flour is the first critical step towards perfecting your Italian bread recipe. Always check the protein content on the flour packaging to ensure you're using a suitable type for these rustic breads.
The Importance of Water and Hydration in Italian Dough
Water is more than just a liquid ingredient; it plays a vital role in gluten development and the overall texture of the bread. Italian breads like Ciabatta are known for their high hydration levels, often ranging from 75% to even 85% or higher relative to the flour weight. This high percentage of water contributes significantly to the wet, sticky dough that ultimately yields an incredibly open and airy crumb structure. Focaccia dough is typically less hydrated than Ciabatta but still requires sufficient water for softness.
Proper hydration ensures that the flour fully absorbs the liquid, allowing gluten strands to form a strong, elastic network. When working with high-hydration doughs, the handling technique becomes crucial – less kneading and more gentle folding helps develop strength without deflating the precious air pockets. The amount of water can also be slightly adjusted based on the flour's absorption rate, which can vary. Getting the hydration right is a key factor in achieving the perfect Italian bread recipe texture.
Extra Virgin Olive Oil: Adding Flavor and Texture to Your Italian Crust
Extra virgin olive oil is a hallmark ingredient in Italian bread baking, contributing not only to the flavor but also to the texture of the crust and crumb. In Focaccia, it's used generously within the dough, drizzled over the top before baking, and often used to coat the pan, preventing sticking and creating a beautiful golden bottom crust. This liberal use of olive oil helps produce a tender crumb and a delightful richness.
For Ciabatta, while not used as extensively within the dough as in Focaccia, a small amount can be added for tenderness, and it's often brushed over the loaves before baking or drizzled after. The quality of the olive oil matters; a good extra virgin olive oil with a fruity or peppery note will impart a superior flavor to your homemade Italian bread. Using olive oil also helps keep the crust from becoming excessively hard, contributing to that desirable balance of crispy exterior and soft interior.
Yeast Selection: Choosing the Right Leavening Agent for Italian Breads
Yeast is the essential leavening agent that makes Italian breads rise, creating their signature airy textures. For most home bakers, instant dry yeast or active dry yeast are the most convenient options. Instant dry yeast can typically be added directly to the dry ingredients, simplifying the process, while active dry yeast usually requires proofing in warm water first to ensure it's alive and active. The amount of yeast used, along with fermentation time and temperature, dictates the dough's rise and flavor development.
Some traditional Italian bread recipes might call for fresh yeast, which offers a slightly different flavor profile and activity level. If substituting, approximately 1 gram of instant yeast is equivalent to 2-2.5 grams of active dry yeast or 3 grams of fresh yeast. Using a slow, cold fermentation in the refrigerator for 12-24 hours with a smaller amount of yeast is also a common technique for developing deeper flavor and improving the dough's structure, contributing significantly to a truly perfect Italian bread recipe.
Ciabatta Recipe: Achieving the Perfect Open Crumb
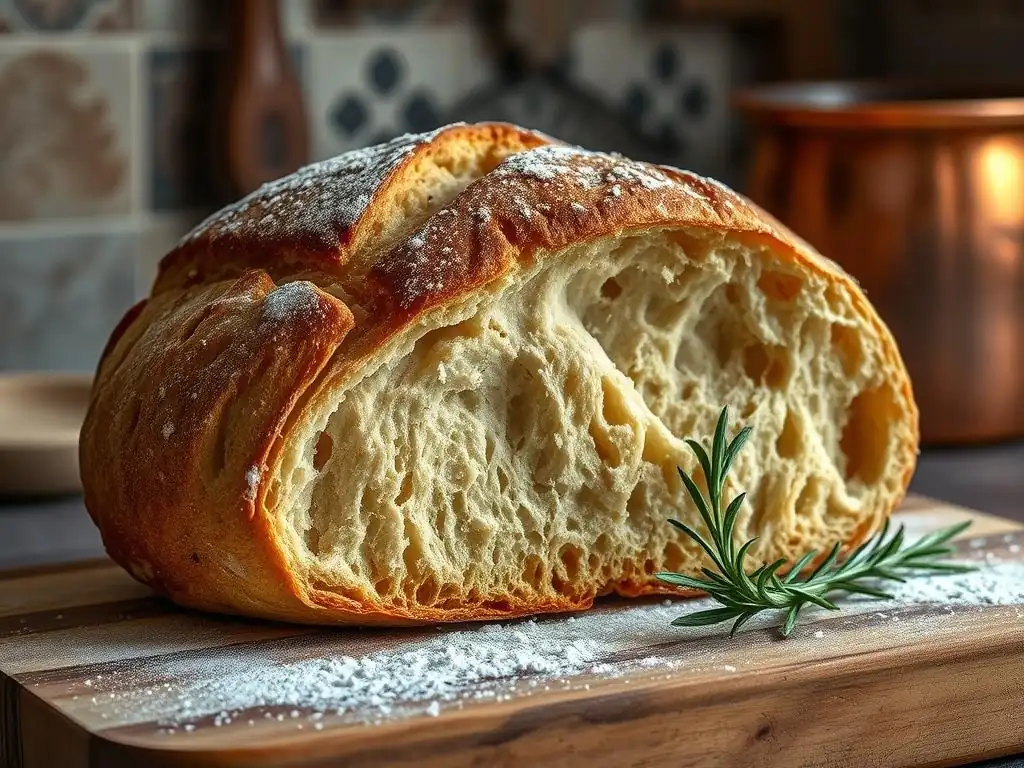
Step-by-Step Ciabatta Dough Preparation: A Beginner's Guide
Creating Ciabatta dough begins with combining high-protein flour, water, a small amount of yeast, and salt. Due to the high hydration (often 80% or more), the dough will be very wet and sticky – this is normal and desirable for achieving the open crumb. Start by mixing the ingredients in a large bowl until just combined; there's no need for intensive kneading initially. Many recipes use a 'poolish' or 'biga', which is a pre-fermented starter made hours or a day in advance, adding flavor and strength.
After the initial mix, the dough undergoes a series of 'stretch and folds' over a period of 2-3 hours. This technique involves wetting your hands, gently stretching a portion of the dough up, and folding it over onto itself. Repeat this process 3-4 times around the bowl every 30-45 minutes. This gentle handling develops gluten structure without expelling the air pockets that are starting to form. This method is key to transforming the wet mixture into a dough with elasticity and tension, a crucial step towards that perfect Italian bread recipe outcome.
Mastering the Ciabatta Shaping Technique for Optimal Air Pockets
Shaping Ciabatta is less about creating tight, structured loaves and more about preserving the airy structure developed during fermentation. Once the dough has completed its bulk fermentation and stretch and folds, gently turn it out onto a well-floured surface. Avoid deflating it. The dough will be bubbly and somewhat jiggly.
Using a bench scraper, gently divide the dough into desired loaf sizes (typically rectangles). Flour your hands and the bench scraper generously. Carefully lift each piece and gently stretch or coax it into a rough rectangular or slipper shape, being careful not to press out the air. Place the shaped loaves onto parchment paper or a floured couche (linen cloth) for the final proofing. The goal is minimal handling to maintain the large air pockets, which are the hallmark of a perfect Italian bread recipe for Ciabatta.
Baking Ciabatta: Temperatures and Times for a Crispy Crust
Baking Ciabatta at a high temperature is essential for achieving its signature crispy crust. Preheat your oven, ideally with a baking stone or steel inside, to a temperature between 450°F and 475°F (230°C to 245°C). High heat causes the dough to rise rapidly ("oven spring") and helps set the crust quickly.
Ciabatta typically bakes for 20-30 minutes, depending on size. The loaves are ready when they are deep golden brown and sound hollow when tapped on the bottom. Introducing steam into the oven during the initial phase of baking is also crucial; this keeps the crust soft temporarily, allowing the loaf to expand fully before the crust hardens. This combination of high heat and steam is vital for achieving that desirable crispy, crackly exterior on your perfect Italian bread recipe.
Tips for Achieving a Signature Ciabatta: Troubleshooting Common Issues
Achieving the perfect Ciabatta can sometimes present challenges, but most issues are easily addressed. If your Ciabatta is dense, it might be due to insufficient hydration (add more water next time), inadequate gluten development (more stretch and folds or a longer bulk fermentation might help), or rough handling during shaping (be more gentle!). Over-proofing can also lead to collapse in the oven, so watch the dough carefully during the final rise.
If the crust isn't crispy, ensure your oven temperature is high enough and that you are using steam during the first 10-15 minutes of baking. Baking directly on a preheated stone or steel also significantly improves crust development. Remember, Ciabatta dough is meant to be wet and challenging to handle; embrace the stickiness as a sign you're on the right track to a truly authentic Italian bread recipe.
Focaccia Recipe: Creating a Flavorful and Fluffy Bread
Focaccia Dough: A Simple Recipe for Beginners
Focaccia dough is generally simpler to handle than Ciabatta, making it a great starting point for beginners aiming to bake a perfect Italian bread recipe. It typically uses a slightly lower hydration level than Ciabatta (around 65-75%) and includes a generous amount of olive oil directly in the dough. The basic ingredients are bread flour, water, yeast, salt, and extra virgin olive oil.
Mix the ingredients until they form a shaggy dough, then knead for 5-10 minutes until it's smooth and elastic. Alternatively, you can use a no-knead method with a longer fermentation time. Place the kneaded dough in a well-oiled bowl, cover, and let it rise until doubled in size, usually 1-2 hours at room temperature or longer in the refrigerator for enhanced flavor. This initial rise is crucial for developing the soft, fluffy texture Focaccia is known for.
The Art of Dimpling: Creating Indentations for Flavor Infusion
The signature look of Focaccia is its dimpled surface, and this step is more than just aesthetic; it serves a functional purpose. After the dough has risen and been spread into its baking pan (typically a rectangular or square pan generously coated with olive oil), you use your fingertips to press deep indentations all over the surface, almost touching the bottom of the pan.
These dimples prevent large air bubbles from forming during baking and, more importantly, create wells that are then filled with more extra virgin olive oil and any desired toppings. This ensures that the toppings and oil are infused into the bread as it bakes, contributing significantly to the Focaccia's rich flavor and moist texture. Mastering this gentle dimpling technique is key to achieving that perfect Italian bread recipe result.
Topping Ideas for Focaccia: From Herbs to Vegetables
One of the joys of baking Focaccia is the endless possibility of toppings. A classic and simple topping is fresh rosemary and coarse sea salt, which provides a wonderful aroma and savory crunch. Other popular options include sliced cherry tomatoes, olives, thinly sliced onions or garlic, or even roasted vegetables like bell peppers or zucchini.
Before adding toppings, generously drizzle the dimpled dough with extra virgin olive oil. Then, arrange your chosen toppings evenly across the surface. Press them gently into the dimples to help them stay in place. Experiment with different combinations to find your favorite perfect Italian bread recipe variation. The olive oil, salt, and toppings bake together, creating a flavorful crust that is irresistible.
Baking Focaccia: Achieving a Golden-Brown and Crispy Crust
Focaccia is typically baked at a high temperature, similar to Ciabatta, often between 400°F and 425°F (200°C to 220°C). The baking time varies depending on the thickness of the Focaccia, but it usually takes 20-30 minutes. You're looking for a beautiful golden-brown color on the top and bottom crust.
The generous amount of olive oil used helps create a lovely crispy bottom crust while keeping the interior soft and moist. Some bakers like to finish Focaccia with an extra drizzle of olive oil immediately after it comes out of the oven for added richness and shine. The aroma of freshly baked Focaccia with herbs and olive oil is truly one of the most inviting smells in any kitchen aiming for a perfect Italian bread recipe.
The Secret to a Perfect Italian Crust: Mastering Oven Techniques
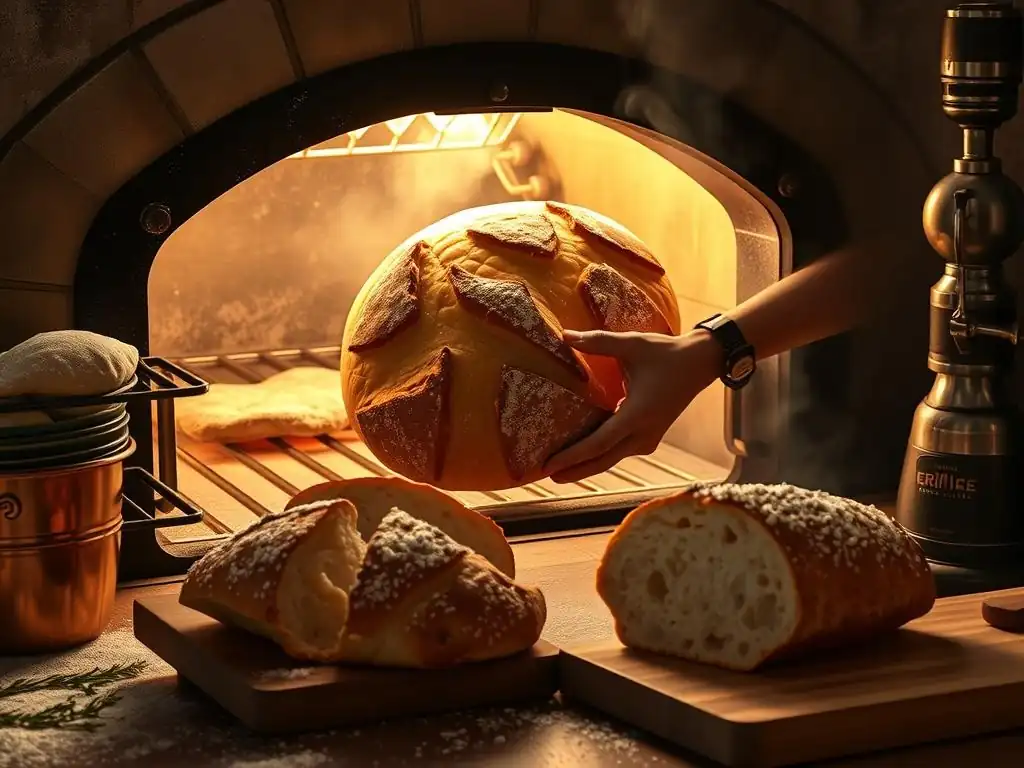
Oven Temperature Control: The Key to a Golden Crust
Achieving a perfect Italian bread crust hinges significantly on using the correct oven temperature. For both Ciabatta and Focaccia, a high initial baking temperature is crucial. Temperatures ranging from 400°F (200°C) up to 475°F (245°C) are common. This high heat provides the necessary "oven spring," causing the dough to expand rapidly before the crust sets, which contributes to an airy interior and a thin, crispy crust.
If the oven temperature is too low, the crust will develop slowly, potentially becoming thick and hard rather than thin and crispy. It might also result in the loaf spreading too much before the structure is set. Conversely, if the temperature is too high without proper steam, the crust might burn before the interior is fully cooked. Precise temperature control, often verified with an oven thermometer, is a non-negotiable step towards a perfect Italian bread recipe.
Steam Baking: Creating a Moist Environment for Optimal Crust Development
Steam is a vital component in baking many rustic breads, including Ciabatta. Introducing steam into the oven during the first 10-15 minutes of baking keeps the surface of the dough moist. This prevents the crust from hardening prematurely, allowing the loaf to expand fully during oven spring. Once the crust has stretched sufficiently, the steam dissipates, and the high dry heat then works to crisp and brown the crust beautifully.
There are several ways to create steam at home. One common method is to place a cast iron pan or a heavy oven-safe container on the bottom rack of the oven while preheating and carefully pouring a cup of hot water into it just as you load the bread. Another technique is to spray the walls of the oven with water (avoiding the light bulb and glass) or use a Dutch oven. Using steam correctly is a game-changer for achieving that coveted thin, crispy crust on your perfect Italian bread recipe.
Baking Stones and Dutch Ovens: Enhancing Crust Formation
Using a baking stone or steel, or a Dutch oven, can significantly improve the crust of your homemade Italian bread. A baking stone or steel, preheated in the oven, provides a very hot surface that transfers heat efficiently to the bottom of the loaf. This results in excellent oven spring and helps create a wonderfully crispy bottom crust, preventing the dreaded "soggy bottom."
A Dutch oven is particularly effective for baking Ciabatta-like loaves (though less common for flat Focaccia). Baking the dough in a preheated Dutch oven with the lid on traps the moisture released by the dough, effectively creating a steamy environment within the pot for the first part of the bake. Removing the lid allows the crust to brown and crisp up. Both tools help maintain consistent high heat around the loaf, which is crucial for developing a perfect Italian bread recipe crust.
Troubleshooting Common Issues in Italian Bread Baking
Avoiding Dense Ciabatta: Tips for Achieving an Airy Crumb
A common frustration when baking Ciabatta is ending up with a dense loaf instead of the desired open, airy crumb. This is often related to insufficient hydration; remember, Ciabatta dough is very wet, typically 75-85% hydration or even higher. Ensure you're using enough water relative to your flour. Another factor is inadequate gluten development; perform enough stretch and folds during the bulk fermentation to build dough strength, but be gentle.
Over-handling the dough, especially during shaping, can also deflate the precious air pockets. Think of shaping Ciabatta as gently coaxing it into shape rather than firmly molding it. Finally, ensure your yeast is active and that the dough has had sufficient time to ferment and proof, developing those internal gases necessary for the airy structure. Following a precise perfect Italian bread recipe and being patient with fermentation is key.
Preventing a Soggy Focaccia: Mastering the Baking Time
Nobody wants a soggy Focaccia. If your Focaccia turns out doughy or wet in the center, it's likely underbaked. Ensure you are baking it for long enough at the correct temperature until the top is golden brown and the bottom crust is firm and golden as well. The baking time will vary based on the thickness of your Focaccia and your oven's calibration, but 20-30 minutes is a common range for a standard thickness.
Using enough olive oil in the pan is also important, as it helps fry the bottom crust, preventing sogginess. If using a very thick Focaccia, you might need to reduce the oven temperature slightly after the initial high-heat phase to ensure the interior cooks through without the top burning. Trust your senses – the bread should smell done and look deeply colored. A probe thermometer inserted into the center should read around 200-210°F (93-99°C) for a fully baked loaf.
Dealing with Sticky Dough: Techniques for Easier Handling
Working with high-hydration doughs like Ciabatta can be challenging because they are inherently sticky. The key is to use techniques that minimize sticking without incorporating excessive dry flour, which can toughen the dough. Keep your hands and surfaces well-floured, but use just enough to manage the dough – don't flour excessively.
Using a bench scraper is invaluable for dividing and moving sticky dough. Wetting your hands slightly (rather than flouring) can also help prevent dough from sticking to your fingers during stretch and folds. Embrace the stickiness as a sign of proper hydration; with practice, you'll become more comfortable handling these wet doughs, leading to a truly perfect Italian bread recipe result.
Serving and Enjoying Your Homemade Italian Bread
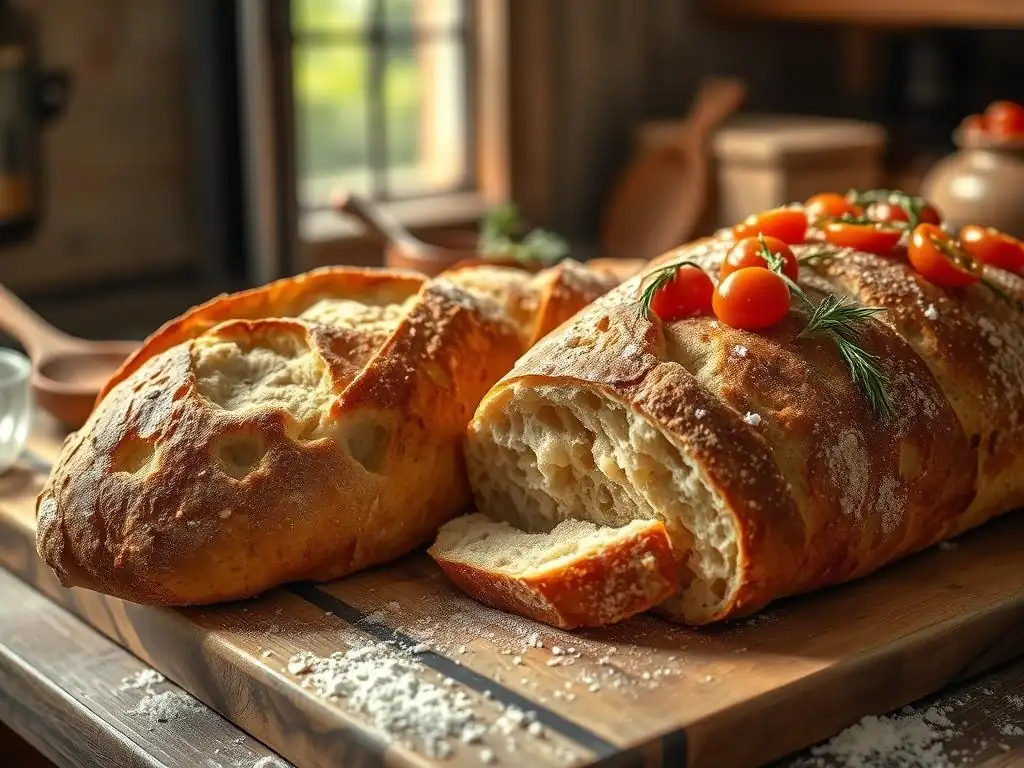
Pairing Suggestions: Complementing Ciabatta and Focaccia with Italian Cuisine
Your freshly baked homemade Italian bread is a versatile accompaniment to countless dishes. Ciabatta, with its open crumb and crispy crust, is perfect for soaking up sauces or olive oil and balsamic vinegar. It makes incredible sandwiches, especially panini, where its structure holds up well to pressing. Serve it alongside pasta dishes, soups, or stews.
Focaccia, with its rich olive oil flavor and soft texture, is wonderful on its own, perhaps dipped in more olive oil. It's a fantastic base for simple pizzas or bruschetta toppings. Pair it with antipasti, salads, or grilled meats. Both breads are essential elements of a traditional Italian meal, elevating simple ingredients into a memorable dining experience. Your perfect Italian bread recipe deserves to be showcased!
Storing Your Italian Bread: Maintaining Freshness and Flavor
Freshly baked Italian bread is best enjoyed the day it is made, especially Ciabatta, as its crust is at its peak crispness. However, you can store it to maintain quality for a day or two. Store cooled bread at room temperature in a paper bag to allow the crust to breathe and remain somewhat crisp. Avoid plastic bags, which trap moisture and will make the crust soft and potentially gummy.
For longer storage, Italian bread freezes exceptionally well. Allow the loaf to cool completely, then wrap it tightly in plastic wrap followed by aluminum foil or place it in a freezer-safe bag. Frozen bread can last for a couple of months. To reheat, thaw at room temperature and refresh in a hot oven (around 350°F or 175°C) for 5-10 minutes until the crust is crisp again. This helps revive your perfect Italian bread recipe.
Creative Ways to Use Leftover Ciabatta and Focaccia
Even day-old Italian bread can be transformed into delicious creations. Stale Ciabatta is ideal for making croutons, bread crumbs, or Panzanella (Italian bread salad). Its sturdy structure holds up well to dressing without becoming mushy instantly. You can also slice it, brush with olive oil, and grill or toast it for bruschetta or crostini.
Leftover Focaccia can be used in similar ways. It makes excellent croutons and is fantastic when cubed and added to salads. You can also reheat slices in a pan or oven to restore some of its texture. Its inherent flavor from the olive oil makes it a flavorful base for many dishes. Don't let any piece of your perfect Italian bread recipe go to waste!
Conclusion: Your Journey to Perfect Italian Bread Begins Now
BakeWithEase: Continue Exploring Regional Bread Recipes
You've now unlocked the secrets to baking two of Italy's most beloved breads: Ciabatta and Focaccia. By understanding the key ingredients, mastering the techniques like high hydration, gentle handling, dimpling, and crucial oven methods like using high heat and steam, you are well on your way to consistently baking a perfect Italian bread recipe. Remember that baking is a journey of practice and learning.
BakeWithEase is here to support you every step of the way. We offer a wide array of resources, recipes, and tips for exploring regional breads from all corners of the globe. From French baguettes to German rye, the world of bread baking is vast and rewarding. Continue experimenting with different flours, techniques, and flavors to expand your baking repertoire. Your success with this perfect Italian bread recipe is just the beginning!
We love seeing what our community creates! Share photos of your beautiful homemade Italian bread – your airy Ciabatta and your flavorful Focaccia. Let us know what worked well for you and what you learned along the way. Your experiences can inspire other bakers on their journey to mastering the perfect Italian bread recipe.
Join the conversation, ask questions, and celebrate your baking triumphs. The joy of baking lies not only in the delicious results but also in the process and the community that shares the passion. Happy baking, and enjoy the incredible taste of your own authentic Italian bread!
Frequently Asked Questions
What's the main difference between Ciabatta and Focaccia, as discussed on BakeWithEase.com?
While both are Italian breads, Ciabatta is known for its rustic shape and airy texture, while Focaccia is flatter and often topped with herbs and olive oil. The BakeWithEase website provides detailed recipes for both.
What are the key ingredients highlighted by BakeWithEase.com for achieving the perfect Italian bread crust?
The BakeWithEase recipes emphasize using high-quality flour, proper hydration levels, and sufficient proofing time to develop the gluten structure. These contribute to a crispy and flavorful crust.
Does BakeWithEase.com offer tips for beginners attempting the Italian bread recipes?
Yes, BakeWithEase caters to all skill levels. The site provides step-by-step guides, clear instructions, and tips for troubleshooting common baking problems, making it beginner-friendly.
Can I find alternative ingredient suggestions on BakeWithEase.com if I don't have access to specific Italian flours?
BakeWithEase often includes alternative flour suggestions, like bread flour or all-purpose flour, along with guidance on how these substitutions might affect the final product. They also explain how to adjust hydration levels accordingly.
Where on BakeWithEase.com can I find more information about mastering sourdough bread, mentioned in the site's description?
While the article focuses on Ciabatta and Focaccia, BakeWithEase.com has a dedicated section for sourdough baking. Navigate the site to explore recipes, techniques, and tips specific to sourdough bread.
Final Reflection: The Enduring Magic of a Perfect Crust
The pursuit of the perfect Italian crust isn't just about achieving a beautiful golden-brown exterior; it's about connecting with a centuries-old tradition of baking and sharing. This journey through the art of crafting ciabatta and focaccia has revealed the surprising depth and complexity hidden within seemingly simple recipes. The precise balance of hydration, fermentation, and technique is a testament to the power of patience and attention to detail.
The influence of Italian bread extends far beyond the kitchen table; it's woven into the fabric of Italian culture, representing family, community, and the simple pleasures of life. Bread is the staff of life,
a saying as old as time itself, perfectly encapsulates the significance of this staple food. From the rustic charm of a perfectly blistered ciabatta to the airy pockets of a flavorful focaccia, these breads are more than just food; they are symbols of heritage and connection, a tangible link to generations past. This experience has deepened my own appreciation for the artistry and dedication involved in creating something so fundamental yet so profoundly satisfying.
Now, I invite you to take what you've learned and embark on your own baking adventure. Don't be afraid to experiment, to adjust the recipes to your own taste, and to embrace the imperfections along the way. The true reward lies not just in the perfect loaf, but in the process itself – the kneading, the rising, the anticipation, and the ultimate satisfaction of sharing your creation with loved ones. The journey to the perfect crust is a journey of discovery, a testament to the enduring magic of simple ingredients transformed by skill and passion.
Unleash Your Inner Pizzaiolo: Craft the Perfect Crust Today!
Thanks for joining us on this delicious journey into the world of Italian bread! We hope you've gained valuable insights into the secrets of crafting incredible ciabatta and focaccia. Now it's time to put your new knowledge to the test!
- Bake your own masterpiece! Try out one of the recipes from the article – start with a simple focaccia and see how easy it is to create a stunning, crispy crust.
- Share your baking triumphs (or even your mishaps!) We'd love to see your creations and hear about your experience!
- Explore our other amazing bread recipes: Discover even more baking inspiration on BakeWithEase.com and expand your bread-baking skills.
What incredible flavor combinations will you experiment with in your next Italian bread creation?