
Baking 100% Whole Wheat Sourdough: A StepbyStep

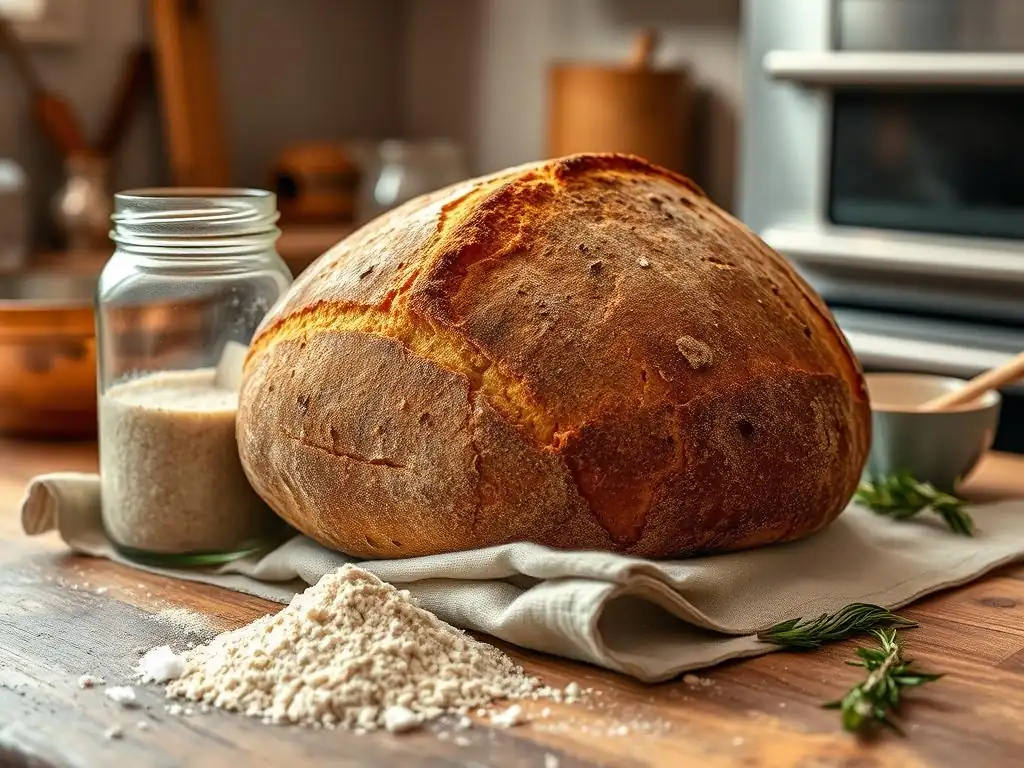
Welcome to BakeWithEase, your companion in the delightful world of baking! Ever dreamt of crafting a loaf that's both wholesome and bursting with flavor? We're thrilled to guide you through the secrets of sourdough, and today, we're diving deep into the heart of it all with a whole wheat sourdough starter recipe. Discover how to unlock the rich, nutty taste of whole grains and cultivate a thriving starter that will transform your baking. Ready to embark on a journey to sourdough mastery? Let's begin!
- Baking 100% Whole Wheat Sourdough: A Step-by-Step Guide for BakeWithEase
- Introduction to Whole Wheat Sourdough Baking
- Essential Equipment and Ingredients for Whole Wheat Sourdough
- Creating Your Own Whole Wheat Sourdough Starter Recipe
-
The 100% Whole Wheat Sourdough Recipe: A Step-by-Step Guide
- Step 1: Autolyse – Preparing the Dough for Optimal Hydration
- Step 2: Mixing the Dough – Combining Starter, Flour, and Water
- Step 3: Bulk Fermentation – The Importance of Time and Temperature
- Step 4: Shaping the Dough – Techniques for a Perfect Loaf
- Step 5: Proofing – Achieving the Ideal Rise Before Baking
- Step 6: Baking – Oven Temperature and Baking Time
- Step 7: Cooling – Allowing the Bread to Rest Before Slicing
- Tips and Tricks for Perfect Whole Wheat Sourdough
- Storing Your 100% Whole Wheat Sourdough Bread
- Conclusion: Mastering the Art of Whole Wheat Sourdough Baking with BakeWithEase
-
Frequently Asked Questions
- How does a whole wheat sourdough starter differ from a white flour starter?
- Why use whole wheat flour for a sourdough starter?
- Can I convert my existing white flour starter to a whole wheat sourdough starter?
- What are the key ingredients for a 100% whole wheat sourdough bread?
- What are some common problems when baking with whole wheat sourdough and how can I avoid them?
- Final Reflection: The Enduring Allure of Whole Wheat Sourdough
- Unleash Your Inner Baker: Craft Your Perfect Loaf!
Baking 100% Whole Wheat Sourdough: A Step-by-Step Guide for BakeWithEase
Introduction to Whole Wheat Sourdough Baking
Why Bake with 100% Whole Wheat? Exploring the Benefits
Baking with 100% whole wheat flour offers a wealth of nutritional benefits compared to using refined white flour. Whole wheat flour contains the entire wheat kernel – the bran, germ, and endosperm – which means it retains more fiber, vitamins (like B vitamins), minerals (such as iron, magnesium, and zinc), and antioxidants. For instance, a standard cup of whole wheat flour can contain around 12-14 grams of fiber, significantly more than the 3-4 grams found in a cup of white flour. This higher fiber content aids digestion and contributes to a feeling of fullness.
Beyond nutrition, whole wheat flour imparts a distinct, nutty flavor and a denser, more satisfying texture to bread. While it can be trickier to work with due to the bran cutting through gluten strands, mastering 100% whole wheat sourdough results in a loaf that is both incredibly nutritious and deeply flavorful. It's a rewarding challenge that elevates your baking skills and provides a healthier alternative to traditional loaves, making it a fantastic addition to your home baking repertoire.
Understanding Sourdough: A Quick Overview for Beginners
Sourdough baking relies on a naturally occurring leavening agent – a sourdough starter – rather than commercial yeast. This starter is a living culture of wild yeast and beneficial bacteria (primarily lactic acid bacteria) that ferment flour and water. When added to dough, these microorganisms consume sugars and produce carbon dioxide gas, which makes the bread rise, and organic acids (like lactic and acetic acid), which give sourdough its characteristic tangy flavor and improve its keeping qualities.
The process of creating and maintaining a sourdough starter, including a whole wheat sourdough starter recipe, involves regular feeding with fresh flour and water. This fermentation process is slower than commercial yeast fermentation but yields a more complex flavor profile and can make grains easier to digest. Understanding that your starter is a living entity, requiring consistent care, is the first step to successful sourdough baking, especially when tackling the unique properties of whole wheat flour.
BakeWithEase's Commitment to Simple Sourdough Recipes
At BakeWithEase, we believe that the joy of baking, including mastering the art of sourdough, should be accessible to everyone, regardless of experience level. We understand that the world of sourdough can seem intimidating, particularly when working with challenging flours like 100% whole wheat. Our mission is to demystify the process by providing clear, step-by-step guides and simple sourdough recipes that break down complex techniques into manageable steps.
We focus on practical tips, visual cues, and troubleshooting advice tailored specifically for home bakers. Whether you're just starting your sourdough journey or looking to refine your skills with whole wheat, our resources aim to build your confidence and help you achieve consistent, delicious results. We've tested and refined our methods to ensure that even a 100% whole wheat sourdough starter recipe becomes a straightforward and rewarding experience for you.
Essential Equipment and Ingredients for Whole Wheat Sourdough
Required Baking Equipment: From Mixing Bowls to Dutch Ovens
To successfully bake 100% whole wheat sourdough, you'll need a few key pieces of equipment. A sturdy mixing bowl, preferably large enough to accommodate dough expansion (at least 4-6 quarts), is essential for combining ingredients and bulk fermentation. A digital kitchen scale is absolutely critical for accurate measurements, especially when working with hydration percentages in sourdough; measuring flour and water by weight (grams) is far more precise than volume (cups).
Other useful items include a dough scraper or bench knife for handling the sticky dough, proving baskets (bannetons) to hold the dough's shape during proofing (a 9- or 10-inch round or oval banneton is common), and a sharp razor blade or lame for scoring the dough before baking. For achieving that coveted crust and oven spring, baking in a Dutch oven or a lidded heavy pot is highly recommended.
A 5-quart or larger cast iron Dutch oven traps steam released by the dough, creating a humid environment similar to a professional steam injection oven, which allows the crust to expand fully before hardening.
Key Ingredients: Flour, Water, and Salt
The foundation of any sourdough bread, including a 100% whole wheat loaf, lies in three simple ingredients: flour, water, and salt. The quality of these ingredients significantly impacts the final result. For 100% whole wheat sourdough, you'll specifically need whole wheat flour. It's important to use a high-quality, unbleached whole wheat flour, ideally organic, as pesticides and bleaching agents can sometimes interfere with the delicate microbial balance in a sourdough starter and dough.
Water should be non-chlorinated, as chlorine can harm the beneficial bacteria and wild yeast in your starter. Filtered or bottled water is ideal. If you only have access to tap water, letting it sit out in an open container for 24 hours can allow the chlorine to dissipate. Salt is crucial for flavor, controlling fermentation speed, and strengthening the gluten structure. Use a non-iodized salt like sea salt or kosher salt. Avoid iodized table salt, as iodine can potentially inhibit microbial activity.
Understanding Whole Wheat Flour: Types and Considerations
Whole wheat flour encompasses different varieties, primarily varying by the type of wheat kernel used. Hard red whole wheat is the most common type used for bread baking; it has a higher protein content (typically 13-15%) which translates to better gluten development, crucial for trapping gases and achieving a good rise. However, the presence of bran and germ in whole wheat flour cuts through the gluten strands, making the dough less extensible and often denser than white flour dough.
Soft white whole wheat, made from a different type of wheat, has a milder flavor and lower protein content (around 10-12%). It produces a slightly softer crumb but may require adjustments to hydration and technique due to its lower gluten potential. Regardless of the type, freshly milled whole wheat flour can be more active and require less fermentation time than commercially milled flour. When developing your whole wheat sourdough starter recipe or baking your loaf, understanding the protein content and freshness of your specific flour is key to predicting dough behavior and adjusting your process accordingly.
The Importance of a Healthy Sourdough Starter for Whole Wheat Bread
A healthy, active sourdough starter is the heart and soul of successful sourdough baking, and this is doubly true when working with 100% whole wheat flour. A vigorous starter provides the necessary leavening power to lift the heavier, denser whole wheat dough. A weak starter will result in a flat, dense loaf. A healthy starter, often referred to as being "mature," should reliably double or triple in volume within 4-8 hours after being fed, depending on the temperature and feeding ratio.
Using a whole wheat sourdough starter recipe means your starter will primarily be fed with whole wheat flour. This can sometimes make it slightly less active than a white flour starter or require slightly different feeding ratios to maintain peak performance. A starter that consistently passes the "float test" (a small piece floats in water) is generally ready to bake with. Regularly feeding your starter, keeping it at a consistent temperature, and observing its behavior are essential steps in ensuring it's strong enough to tackle a challenging 100% whole wheat loaf.
Creating Your Own Whole Wheat Sourdough Starter Recipe
Step 1: Combining Flour and Water for Initial Fermentation
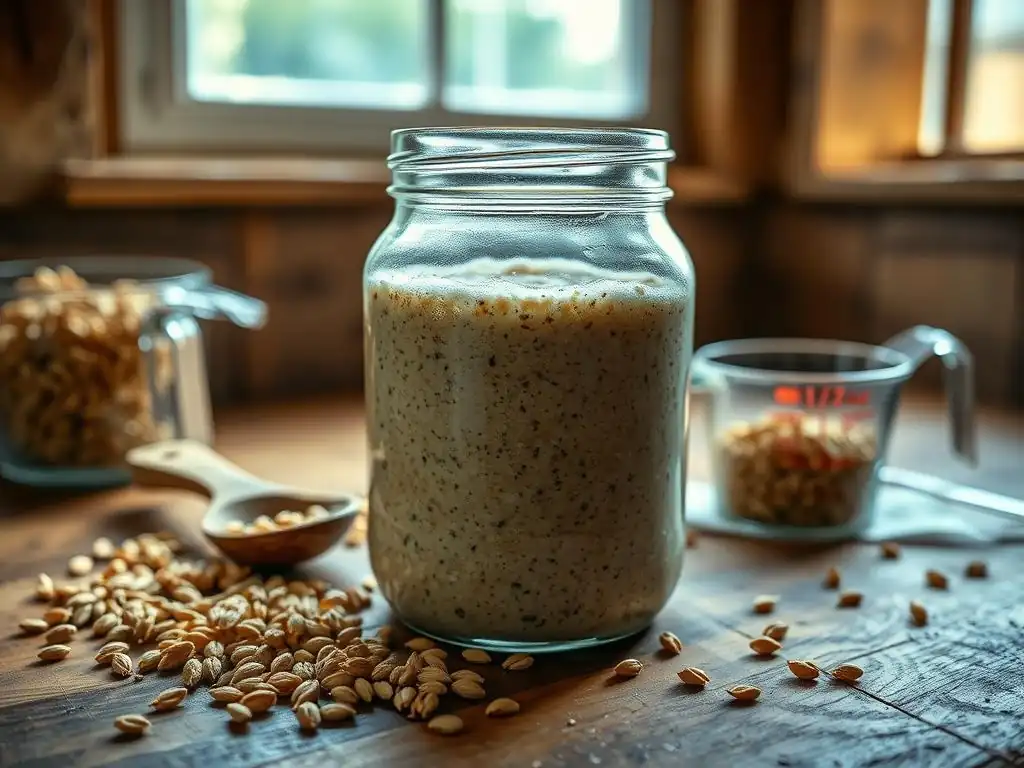
To begin your whole wheat sourdough starter recipe, you'll need equal parts by weight of whole wheat flour and non-chlorinated water. For example, you can start with 50 grams of whole wheat flour and 50 grams of water in a clean glass jar or plastic container (avoid metal, which can sometimes react with the starter). Stir the mixture thoroughly until no dry flour remains and it forms a thick, paste-like consistency.
Cover the container loosely with a lid, plastic wrap secured with a rubber band, or a clean cloth. The covering needs to allow gases to escape but prevent pests or contaminants from entering. Place the jar in a warm spot, ideally between 70°F and 80°F (21°C-27°C), as this temperature range encourages microbial activity. Over the first 24 hours, you might see some small bubbles forming, indicating the beginning of fermentation.
Step 2: Feeding Your Starter – A Detailed Guide
After the initial 24 hours, you will begin the feeding process. This is where you discard a portion of the starter and add fresh flour and water. On day 2, discard about half of the starter (approximately 50 grams) and feed the remaining starter with 50 grams of fresh whole wheat flour and 50 grams of fresh water. Stir well, cover loosely, and return to the warm spot.
Repeat this feeding process daily. Around day 3-5, you should start seeing more significant bubbling and perhaps a slight sour smell developing. The starter might also rise slightly after feeding. By day 7-14, if kept at an ideal temperature, your whole wheat sourdough starter should be consistently doubling or tripling in volume within several hours after feeding (often 4-8 hours). This indicates it's becoming mature and active enough to use in baking. Continue daily feedings until this consistent activity is observed.
Step 3: Recognizing a Mature and Active Whole Wheat Sourdough Starter
A mature and active whole wheat sourdough starter is visually and aromatically distinct. After being fed, it should show significant growth, typically doubling or tripling in size within 4-8 hours when kept at a warm room temperature (around 75°F or 24°C). Look for numerous bubbles throughout the starter, not just on the surface. The texture should be light and airy, not dense.
A healthy whole wheat sourdough starter will also have a pleasant, slightly tangy, and slightly sweet aroma, often described as yeasty or like fermented fruit. If it smells strongly of acetone or nail polish remover, it might be hungry and needs more frequent feeding or a larger feeding ratio. A mature starter should also pass the float test: drop a small spoonful into a glass of water; if it floats, it's ready to bake with. This float test indicates that the starter is sufficiently aerated by carbon dioxide produced during fermentation.
Troubleshooting: Common Starter Issues and Solutions
One common issue with a whole wheat sourdough starter recipe is slow activity, especially in cooler temperatures. If your starter isn't bubbling or rising much, try moving it to a warmer location. An oven with the light on can often provide a consistent temperature around 75-80°F (24-27°C).
Another issue is a liquid layer forming on top, called "hooch." This is alcohol produced by the yeast when the starter is hungry. You can pour it off or stir it back in, then feed the starter more frequently or with a larger ratio of flour and water (e.g., 1:2:2 or 1:3:3 starter:flour:water ratio instead of 1:1:1).
Mold is a less common but serious problem. If you see any fuzzy, colored mold (not just hooch or dry crust), discard the entire starter and begin again, ensuring your equipment is clean. A strong, unpleasant smell (like vomit or sewage) also indicates something is wrong, usually a sign of undesirable bacteria taking over; again, discard and restart. Maintaining a regular feeding schedule, using clean equipment, and keeping the starter at a suitable temperature are the best ways to prevent most issues and keep your whole wheat sourdough starter recipe on track.
The 100% Whole Wheat Sourdough Recipe: A Step-by-Step Guide
Step 1: Autolyse – Preparing the Dough for Optimal Hydration
Autolyse is a simple yet powerful technique for sourdough, particularly beneficial for whole wheat flour. It involves mixing only the flour and water from your recipe and letting it rest. For a 100% whole wheat loaf, you might mix 500 grams of whole wheat flour with 375-400 grams of water (75-80% hydration) until just combined, with no dry flour visible.
Cover the bowl and let it rest for 30 minutes up to 2 hours. During this rest period, the flour absorbs the water fully, and enzymes naturally present in the flour begin to break down proteins, which helps gluten development without any manual kneading. This step makes the subsequent mixing much easier and improves the dough's extensibility, which is a significant advantage when working with gluten-challenging whole wheat flour.
Step 2: Mixing the Dough – Combining Starter, Flour, and Water
After the autolyse, it's time to incorporate your active whole wheat sourdough starter and salt. To the autolysed mixture (flour and water), add about 100 grams of active whole wheat sourdough starter and 10 grams of fine sea salt. Use wet hands or a dough scraper to gently mix everything together until the starter and salt are fully incorporated into the dough. The dough will feel shaggy and sticky at this stage.
Once the ingredients are roughly combined, you can perform a few minutes of gentle kneading or simply cover the bowl and let it rest for 20-30 minutes. This short rest, sometimes called a "fermentolyse" when the starter is added at this stage, allows the salt to dissolve and the gluten structure to start relaxing before you begin the bulk fermentation and folding process.
Step 3: Bulk Fermentation – The Importance of Time and Temperature
Bulk fermentation is the most crucial stage for flavor development and dough structure. It begins after all ingredients are mixed and ends when the dough is shaped. For 100% whole wheat sourdough, bulk fermentation typically takes 4-6 hours at a room temperature of around 75°F (24°C). The duration is highly dependent on temperature and starter strength.
During bulk fermentation, you will perform a series of "stretch and folds" or "coil folds" every 30-60 minutes for the first 2-3 hours. For example, you might do 4 sets of folds. These folds build strength in the dough's gluten network, which is vital for trapping gas and achieving a good rise with whole wheat. The dough should increase in volume by 30-50% by the end of bulk fermentation, feel noticeably lighter and airier, and show visible bubbles on the surface and sides of the container.
Step 4: Shaping the Dough – Techniques for a Perfect Loaf
Once bulk fermentation is complete, gently turn the dough out onto a lightly floured surface. Be careful not to degas it too much. Allow the dough to rest for 15-20 minutes, uncovered, in a process called "pre-shaping." This allows the gluten to relax before the final shaping. For a round loaf (boule), gently form the dough into a loose ball. For an oval loaf (batard), shape it into a rough oval.
After the rest, perform the final shaping. For a boule, gently pull the edges of the dough towards the center and then flip it over, using your hands to create surface tension by gently pulling it towards you on the counter. For a batard, fold the top third down, the bottom third up, and then fold it in half lengthwise, sealing the seam. The goal is to create a taut surface skin while trapping air within. Place the shaped dough seam-side up into a floured proving basket.
Step 5: Proofing – Achieving the Ideal Rise Before Baking
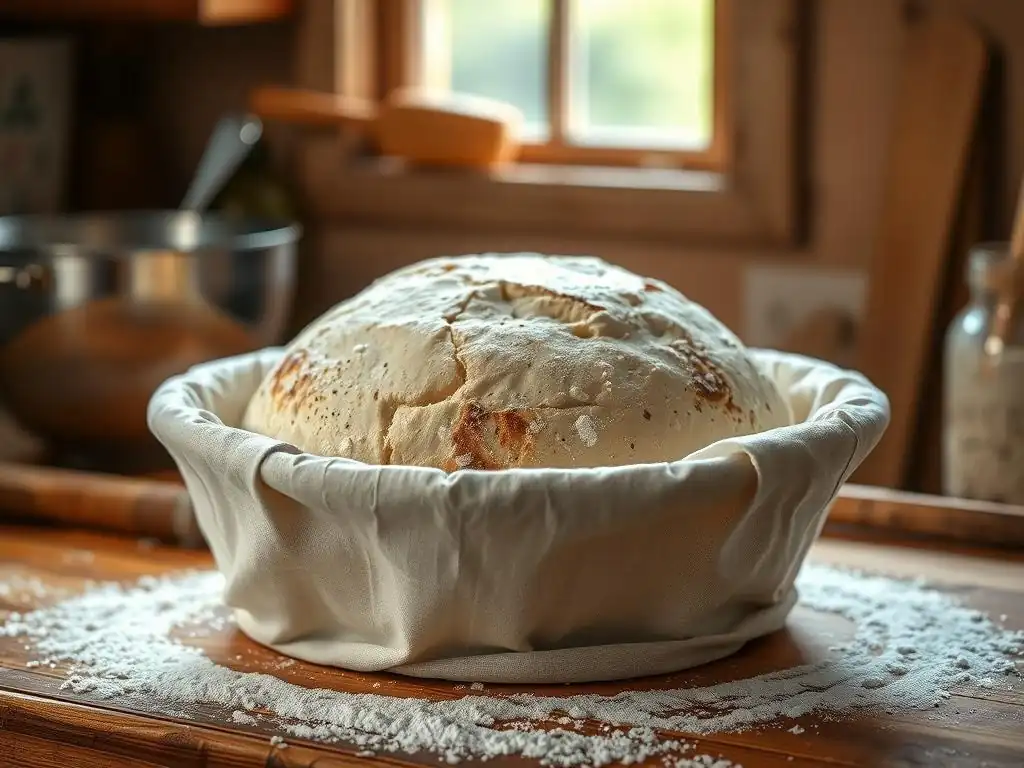
Proofing, also known as final fermentation, is the stage where the shaped dough has its final rise before hitting the oven. For whole wheat sourdough, proofing can be done at room temperature or in the refrigerator (cold proofing). Room temperature proofing typically takes 1-3 hours at 75°F (24°C), while cold proofing in the refrigerator (around 38°F or 3°C) can take 8-16 hours or even longer.
Cold proofing is often preferred for whole wheat sourdough as it slows fermentation, allowing for deeper flavor development and making the dough easier to handle and score. The dough should increase in volume again, but not necessarily double. A good test for readiness is the "poke test": gently poke the dough with a wet finger; if the indentation slowly springs back halfway, it's ready to bake. If it springs back immediately, it needs more time. If it stays indented, it might be over-proofed.
Step 6: Baking – Oven Temperature and Baking Time
Preheat your oven to a high temperature, typically 450°F to 500°F (230°C to 260°C), with your Dutch oven or baking vessel inside for at least 30-60 minutes. This ensures the vessel is scorching hot, which is essential for oven spring. Carefully transfer the proofed dough from the banneton onto a piece of parchment paper or directly into the hot Dutch oven.
Score the top of the dough with a sharp blade. Scoring allows the dough to expand in a controlled manner during baking. Quickly cover the Dutch oven with its lid and place it in the preheated oven. Bake covered for 20-25 minutes. This initial covered period traps steam, allowing the crust to remain pliable and the loaf to expand. After this time, remove the lid and continue baking for another 20-30 minutes, or until the crust is a deep golden brown and the internal temperature reaches around 205-210°F (96-99°C).
Step 7: Cooling – Allowing the Bread to Rest Before Slicing
Once baked, immediately remove the loaf from the Dutch oven and place it on a wire cooling rack. It is absolutely crucial to let the bread cool completely before slicing, which can take 2-3 hours for a large loaf. While cooling, the internal structure of the bread sets, and moisture distributes evenly throughout the crumb.
Slicing into a hot loaf will result in a gummy, dense texture. Resist the temptation! Allowing it to cool fully ensures the best possible texture, flavor, and structure. You'll know it's fully cooled when the bottom crust feels firm and sounds hollow when tapped. This final resting period is just as important as any other step in achieving a perfect 100% whole wheat sourdough loaf.
Tips and Tricks for Perfect Whole Wheat Sourdough
Achieving the Perfect Crust: Secrets Revealed
A crisp, crackly crust is a hallmark of great sourdough, and while whole wheat can sometimes yield a slightly softer crust due to the bran, achieving a fantastic crust is still possible. The primary secret is steam during the initial phase of baking. Baking in a preheated Dutch oven or using a baking stone with a steam setup (like a tray of hot water) creates the necessary humid environment that keeps the crust soft, allowing the loaf to expand fully before the crust hardens.
Baking at a high temperature is also key. Starting at 475-500°F (245-260°C) helps achieve maximum oven spring and quickly sets the crust. The duration of the covered bake (typically 20-25 minutes) and the uncovered bake (20-30 minutes) influences crust thickness and color. Baking uncovered until the crust is a deep mahogany brown ensures it is fully dehydrated and crisp. For an even crispier crust, you can turn off the oven after baking and leave the loaf inside with the door slightly ajar for an extra 10-15 minutes.
Mastering the Open Crumb: Techniques for a Light and Airy Texture
Achieving an open, airy crumb in 100% whole wheat sourdough can be challenging due to the bran interfering with gluten development, but it's definitely attainable with careful technique. Proper hydration is essential; whole wheat flour typically absorbs more water than white flour, so a hydration level of 75-85% is often necessary. However, working with very wet dough requires practice.
Developing dough strength through adequate bulk fermentation and performing multiple sets of gentle stretch and folds or coil folds is critical. These techniques build the gluten network required to trap the gases produced by your whole wheat sourdough starter recipe. Avoid aggressive handling during shaping and proofing, which can degas the dough. Finally, ensuring your starter is vigorous and active before mixing your dough provides the necessary leavening power to create those beautiful air pockets during the bake.
Troubleshooting Common Baking Problems: Flat Loaves, Dense Texture, and More
Flat loaves and a dense, gummy texture are common frustrations in sourdough baking, especially with whole wheat. A primary cause is often a weak or inactive starter; ensure your whole wheat sourdough starter recipe is consistently doubling or tripling after feeding before you bake. Under-proofing can also lead to a dense crumb, as the dough hasn't had enough time to develop sufficient gas. Conversely, over-proofing can cause the dough structure to collapse, resulting in a flat loaf with a dense spot at the bottom.
Insufficient dough strength from inadequate mixing or not enough folds during bulk fermentation means the gluten network isn't strong enough to support the rise. Using a high-quality whole wheat flour with sufficient protein content is also important. If your crust is too pale or soft, you might not be baking hot enough or long enough, particularly the uncovered portion of the bake. Pay close attention to dough behavior throughout each stage – its texture, how it responds to folds, and its volume increase – as these are key indicators of potential issues.
Flavor Variations: Enhancing Your Whole Wheat Sourdough with Add-ins
While a classic 100% whole wheat sourdough loaf is delicious on its own, adding ingredients can introduce exciting new flavors and textures. Seeds like sunflower, pumpkin, sesame, or flax seeds are popular additions, often toasted first to enhance their nutty flavor. You can incorporate them during the mixing stage or after the final fold in bulk fermentation. A common ratio is 10-15% of the total flour weight in seeds (e.g., 50-75 grams for a 500g flour loaf).
Other additions include nuts (walnuts, pecans), dried fruits (cranberries, raisins, chopped figs), or even savory elements like roasted garlic, herbs (rosemary, thyme), or cheese. When adding wet ingredients like olives or sun-dried tomatoes, drain them thoroughly to avoid adding excess moisture to the dough. Additions are typically incorporated towards the end of bulk fermentation to minimize interference with early gluten development. Experimenting with different add-ins allows you to personalize your whole wheat sourdough and create unique loaves.
Storing Your 100% Whole Wheat Sourdough Bread
Proper Storage Techniques for Freshness
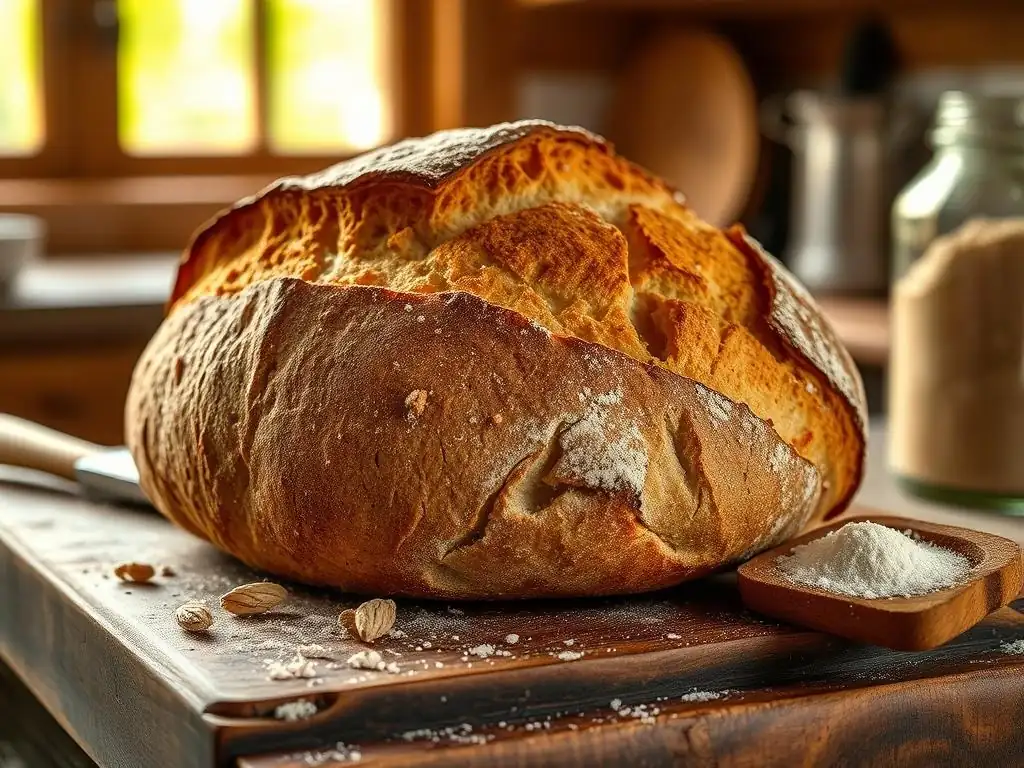
Proper storage is key to keeping your 100% whole wheat sourdough fresh and its crust crisp for as long as possible. Once completely cooled, the best way to store sourdough for the first day or two is simply cut-side down on a cutting board. This allows the crust to remain crisp while protecting the exposed crumb.
For longer storage, or if you've sliced the loaf, wrap it in a breathable material like a linen bread bag, a clean tea towel, or paper bag. Avoid plastic bags or airtight containers at room temperature, as these trap moisture, turning the crust soft and potentially encouraging mold growth. Stored this way at room temperature, a whole wheat sourdough loaf will typically stay fresh for 3-4 days. If it starts to lose its crispness, you can refresh it by lightly wetting the crust and baking it in a preheated oven at 350°F (175°C) for 5-10 minutes.
Freezing and Reheating Sourdough
Sourdough freezes exceptionally well, making it easy to enjoy your homemade bread over a longer period. To freeze, ensure the loaf is completely cool. You can freeze it whole, in halves, or sliced. For whole or half loaves, wrap tightly in plastic wrap, followed by a layer of aluminum foil or place in a large freezer bag to prevent freezer burn. For sliced bread, flash freeze the slices on a baking sheet until solid, then transfer them to a freezer bag with as much air removed as possible.
Frozen sourdough can last for several months (typically up to 3-6 months for best quality). To reheat a whole or half loaf, remove it from the freezer and unwrap. If desired, lightly mist the crust with water. Bake directly from frozen in a preheated oven at 350-400°F (175-200°C) for 20-40 minutes, depending on size, until heated through and the crust is revived. Sliced bread can be quickly toasted from frozen or reheated in a toaster oven. This method allows you to enjoy the texture and flavor of freshly baked bread anytime.
Conclusion: Mastering the Art of Whole Wheat Sourdough Baking with BakeWithEase
Baking 100% whole wheat sourdough is a deeply rewarding process that connects you with ancient techniques and yields a loaf that is both incredibly nutritious and bursting with complex flavor. While it presents unique challenges compared to white flour baking, understanding the properties of whole wheat, nurturing a strong whole wheat sourdough starter recipe, and practicing key techniques like autolyse, proper bulk fermentation, and steam baking will set you up for success.
At BakeWithEase, we aim to provide you with the knowledge and confidence to tackle this journey. By following these steps, paying attention to the dough's feel and appearance, and learning to troubleshoot common issues, you'll be well on your way to consistently baking beautiful, delicious, and healthy whole wheat sourdough loaves right in your own kitchen. Enjoy the process, the incredible aroma filling your home, and the satisfaction of slicing into your very own masterpiece.
Frequently Asked Questions
How does a whole wheat sourdough starter differ from a white flour starter?
A whole wheat sourdough starter is made with whole wheat flour, which provides more nutrients and fiber for the microorganisms. This can result in a more active and flavorful starter compared to one made with white flour.
Why use whole wheat flour for a sourdough starter?
Whole wheat flour contains more bran and germ, which are rich in nutrients and enzymes. These contribute to a faster fermentation and a unique flavor profile in the sourdough bread.
Can I convert my existing white flour starter to a whole wheat sourdough starter?
Yes, you can convert your existing starter by gradually feeding it with whole wheat flour instead of white flour. This process will take a few days, allowing the microbial population to adapt to the new food source.
What are the key ingredients for a 100% whole wheat sourdough bread?
The key ingredients are a mature whole wheat sourdough starter, whole wheat flour, water, and salt. Some recipes may include other ingredients like honey or molasses for added flavor and sweetness.
What are some common problems when baking with whole wheat sourdough and how can I avoid them?
Common problems include a dense loaf and a gummy texture. These can be avoided by ensuring the starter is very active, properly hydrating the dough, and allowing sufficient bulk fermentation and proofing time.
Final Reflection: The Enduring Allure of Whole Wheat Sourdough
The resurgence of sourdough baking, particularly with whole wheat, speaks volumes about our growing desire for healthier, more sustainable, and deeply flavorful food. It's a testament to the power of simple ingredients transformed through time and mindful process, a counterpoint to the speed and convenience of modern life. This isn't just about bread; it's about reclaiming connection to our food sources and embracing the artistry of baking.
The journey of nurturing a whole wheat sourdough starter, watching it bubble and thrive, is a deeply rewarding experience. It's a tangible connection to the past, a living testament to the power of fermentation. This process, slow and deliberate, mirrors the rhythm of life itself. Bread is the staff of life,
a simple phrase, yet it encapsulates the profound significance of this staple food, and the satisfaction derived from creating it from scratch. The unique flavor profile of whole wheat sourdough, complex and nuanced, is a reward in itself, a taste of tradition and craftsmanship.
Now, it's your turn. Consider the possibilities. Will you embark on the adventure of cultivating your own whole wheat sourdough starter? Will you savor the unique taste and texture of this ancient bread, a testament to patience and skill? The journey may seem daunting at first, but the rewards – both culinary and personal – are immeasurable. Embrace the process, enjoy the journey, and discover the magic of whole wheat sourdough.
Unleash Your Inner Baker: Craft Your Perfect Loaf!
Thanks for joining us on this sourdough journey! We hope you gained valuable insights into the art of baking with 100% whole wheat. Now it's time to put your newfound knowledge into practice.
- Bake your own masterpiece: Try our recipe today! Experiment with different flours and hydration levels to discover your perfect whole wheat sourdough. This is your chance to truly master this technique.
- Share your success: Post a picture of your beautiful loaf on social media and tag us – we'd love to see your creations! Use #BakeWithEaseWholeWheat.
- Explore our other sourdough recipes: Dive deeper into the world of sourdough by exploring our other delicious recipes on the BakeWithEase site.
Ready to transform your baking skills and create incredible, healthy bread? What unique flavor combination will you try in your next whole wheat sourdough?