
Shaping Fougasse: A Simple Technique for a Stunning Loaf

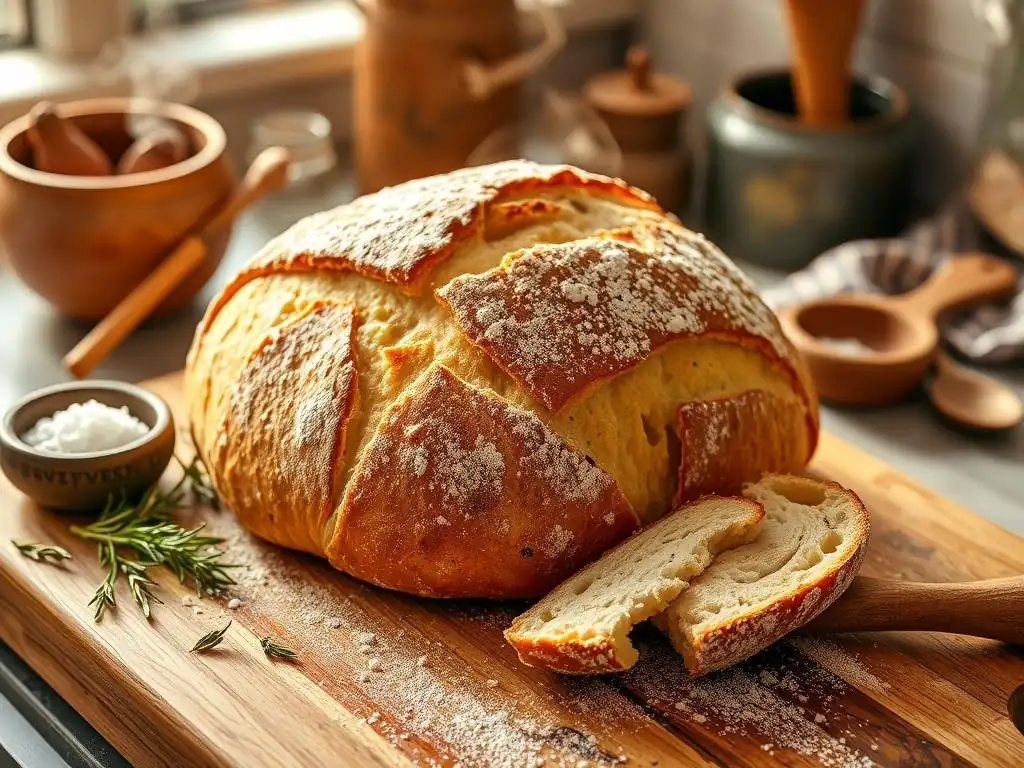
Welcome to BakeWithEase, where turning flour and water into edible masterpieces is simpler than you think! Ever dreamt of crafting a truly stunning loaf of bread? Our latest guide unlocks the secrets to Fougasse baking technique, making it surprisingly easy to achieve bakery-worthy results right in your own kitchen. Curious how to create those iconic leaf-like shapes? Let's dive in and discover the simple steps that will transform your bread-making skills!
- Bake With Ease' Guide to Easy Fougasse Baking Techniques
- Mastering the Fougasse Dough: A Step-by-Step Guide
- The Secret to Stunning Fougasse: The Shaping Technique
- Baking Your Fougasse to Golden Perfection
- Serving and Enjoying Your Homemade Fougasse
- Troubleshooting Your Fougasse Baking
- Fougasse Baking Technique Easy: Your Journey to Baking Success
- Frequently Asked Questions
- Final Reflection: The Enduring Allure of the Simple Fougasse
- Unleash Your Inner Baker: Craft the Perfect Fougasse!
Bake With Ease' Guide to Easy Fougasse Baking Techniques
What is Fougasse? Origins and Characteristics
Fougasse is a traditional Provençal bread from France, known for its rustic appearance and delicious flavor. Historically, it served a practical purpose: bakers would use a small piece of dough to test the temperature of the wood-fired oven before baking the main loaves. This test piece, often flattened and slashed, would bake quickly, indicating when the oven was ready.
Over time, this simple test piece evolved into the beloved bread we know today, characterized by its flattened shape and iconic leaf-like or ladder-like cuts. The name "fougasse" is related to the Latin panis focacius, referring to bread baked on the hearth or under the ashes, linking it to other flatbreads like Italian focaccia.
Unlike many traditional loaves that aim for a uniform crumb, fougasse often has an irregular, open structure due to its shaping and baking method. It’s typically made with a relatively simple dough, often enriched with olive oil, which contributes to its tender interior and slightly crisp crust.
While traditionally plain, fougasse is also frequently flavored with herbs like rosemary or thyme, olives, or even cheese and anchovies, making it a versatile bread perfect for dipping or serving alongside meals. Its charm lies in its unpretentious, rustic nature – it's a bread meant to be torn and shared, embodying the convivial spirit of Provençal dining.
Fougasse vs. Other Flatbreads: Key Differences
While fougasse shares ancestry with other Mediterranean flatbreads like Italian focaccia or even Greek lagana, its defining characteristic is its distinctive shape created by deep cuts. Focaccia, for instance, is typically baked as a flat sheet with dimples pressed into the surface and is often topped generously with ingredients before baking.
Its texture can range from soft and cakey to slightly crisp, depending on the hydration level and amount of olive oil used. Fougasse, on the other hand, is specifically shaped with large holes or cuts that stretch open during baking, resulting in a flatter, often crispier bread with a unique, airy structure between the cuts.
Another key difference lies in the shaping technique. Focaccia's surface is usually dimpled with fingertips, while fougasse requires precise cuts through the dough before baking. These cuts aren't just decorative; they increase the surface area, contributing to a crispier texture and ensuring even baking. While both breads often incorporate olive oil and herbs, the visual and textural outcome is quite distinct due to these fundamental differences in shaping and structure. Mastering the shaping is key to achieving the characteristic fougasse look and texture, setting it apart from its flatbread cousins.
Why Fougasse is a Great Bread for Beginner Bakers
Fougasse is an excellent choice for those new to bread baking, making the fougasse baking technique easy to approach. Its rustic nature means perfection isn't the goal; a slightly irregular shape or crumb is part of its charm. Unlike complex loaves that require intricate shaping or precise scoring, the cuts in fougasse are forgiving and relatively simple to execute.
The dough itself is often straightforward, typically a lean dough enriched with olive oil, which is easier to handle than very high-hydration doughs. Many fougasse recipes don't require extensive kneading by hand, sometimes relying more on time and folds for gluten development.
Furthermore, the relatively short baking time compared to larger, denser loaves means you get to see the results of your efforts sooner. The open structure resulting from the cuts also helps ensure it bakes through evenly, reducing the risk of a dense or undercooked interior, a common frustration for beginners. Learning to shape fougasse provides valuable hands-on experience with dough handling and understanding how cuts affect a loaf's structure and crust, all within a forgiving and rewarding framework. It's a fantastic way to build confidence in your bread-making journey.
Mastering the Fougasse Dough: A Step-by-Step Guide
Essential Ingredients for Authentic Fougasse Dough
An authentic fougasse dough typically requires only a few basic ingredients, highlighting the beauty of simple, quality components. The foundation is strong bread flour, which has a higher protein content (around 12-14%) compared to all-purpose flour (around 10-12%). This higher protein level is crucial for developing the gluten structure needed to give the fougasse its characteristic chewiness and open crumb. While bread flour is preferred, many easy fougasse recipes can be successfully made with good quality all-purpose flour, though the texture might be slightly different.
Yeast is the leavening agent, and either active dry yeast or instant yeast can be used. A typical recipe for two medium fougasses might use about 7 grams (or 2.25 teaspoons) of active dry yeast or 5 grams (or 1.75 teaspoons) of instant yeast. Water is essential for hydrating the flour and activating the yeast; the amount varies, but it's often around 65-75% of the flour weight, making it a medium to high hydration dough.
Salt is vital for flavor and controlling yeast activity, usually around 1.5-2% of the flour weight. Finally, good quality olive oil is a signature ingredient, adding richness, flavor, and contributing to a tender crumb and crisp crust; recipes often call for 2-4 tablespoons per loaf.
Mixing the Dough: Achieving the Perfect Consistency
The goal when mixing fougasse dough is to develop enough gluten to give the bread structure while keeping it supple and easy to handle. For many easy fougasse recipes, this can be achieved with minimal kneading. Start by combining the flour, salt, and yeast in a large bowl. If using active dry yeast, you might need to proof it first in warm water (around 105-115°F or 40-46°C) for 5-10 minutes until foamy, then add it to the dry ingredients. If using instant yeast, you can often add it directly to the flour.
Next, add the water and olive oil. Mix everything together with a spoon or your hands until a shaggy dough forms. At this stage, the dough might seem quite wet and sticky, which is desirable for a tender crumb. Cover the bowl and let the dough rest for 20-30 minutes. This resting period, known as autolyse when only flour and water are mixed, allows the flour to fully hydrate and gluten development to begin naturally.
After resting, perform a series of stretch and folds over the next 1-2 hours. Typically, 3-4 sets of folds at 20-30 minute intervals are sufficient. To perform a fold, wet your hand, grab one edge of the dough, stretch it upwards gently, and fold it back over the center. Rotate the bowl and repeat with the other edges. This gentle process builds strength and elasticity without aggressive kneading.
The Importance of Proofing for a Light and Airy Fougasse
Proofing, or fermentation, is a critical step in developing both the flavor and texture of fougasse, contributing significantly to a successful fougasse baking technique easy to master. During the first proof (bulk fermentation), the yeast consumes sugars in the flour and produces carbon dioxide gas, causing the dough to rise. This process also allows enzymes to break down starches into simpler sugars, enhancing the bread's flavor and crust browning.
A typical bulk fermentation for fougasse might take 1.5 to 2.5 hours at room temperature (around 70-75°F or 21-24°C), or significantly longer if proofing in a cooler environment, like the refrigerator overnight (8-12 hours), which further develops flavor. The dough should roughly double in size and feel bubbly and light.
After shaping, a second, shorter proofing period is necessary. This final proof allows the dough to relax after being handled and build up a little more gas before baking. For fougasse, this usually takes 30-60 minutes, depending on the room temperature. The dough should look slightly puffy but should not fully double in size again, as over-proofing can cause the cuts to close up in the oven. Proper proofing ensures a light, airy texture and contributes to the characteristic open structure between the cuts after baking, making your fougasse truly stunning.
The Secret to Stunning Fougasse: The Shaping Technique
Essential Tools for Shaping Fougasse
Shaping fougasse is perhaps the most distinctive part of the process, and having the right tools makes the fougasse baking technique easy and effective. The most crucial tool isn't fancy; it's a sharp knife, a pizza cutter, or a bench scraper. A sharp blade is essential for making clean cuts through the dough without dragging or tearing, which could cause the cuts to seal up during baking. A pizza cutter works well for speed, while a sharp chef's knife or a metal bench scraper can provide more control for precise cuts.
You'll also need a surface to shape on, preferably lightly floured or oiled parchment paper or a baking mat. Shaping directly on parchment paper allows you to easily transfer the shaped fougasse to the baking sheet without disturbing its form. A large baking sheet or pizza peel is necessary for transferring the shaped dough to the oven. Some bakers also find a pastry brush helpful for applying a final wash of olive oil before baking, enhancing the crust's flavor and appearance. Simple tools, but essential for achieving that signature fougasse look.
Step-by-Step Fougasse Shaping: A Visual Guide
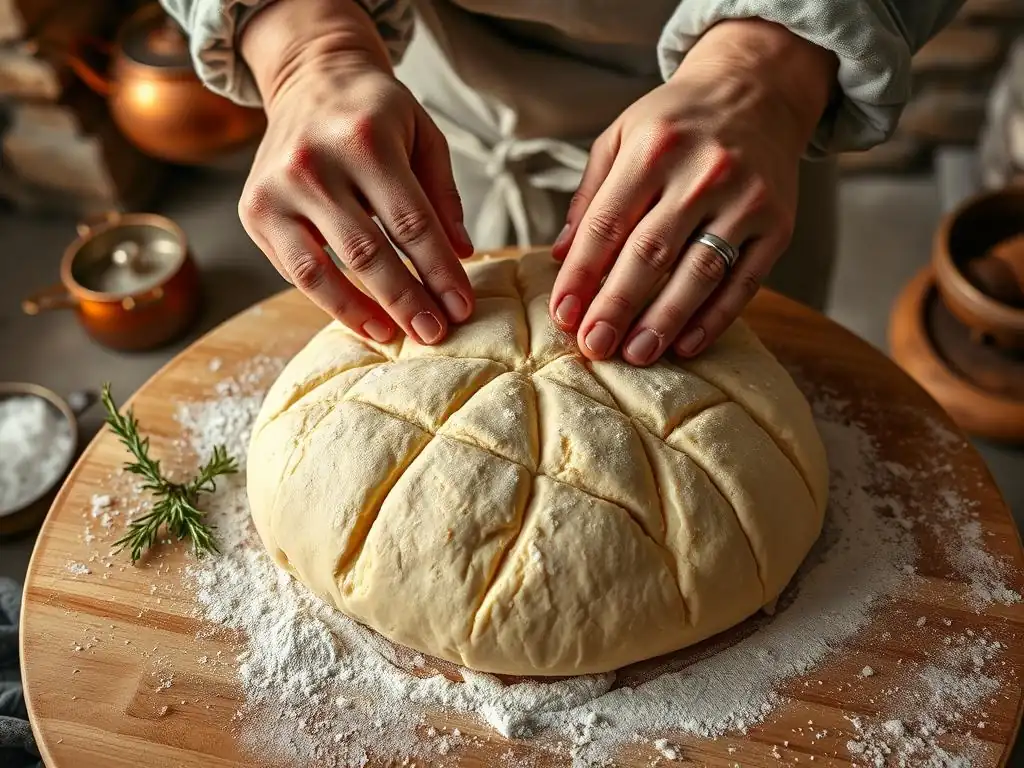
Once your dough has completed its bulk fermentation, gently turn it out onto your lightly floured or oiled surface (preferably parchment paper). Be careful not to deflate the dough too much. If making multiple fougasses from one batch of dough, divide it gently using a bench scraper or knife. For a typical recipe yielding two medium loaves, divide the dough in half.
Take one piece of dough and gently pat or stretch it into an oval or teardrop shape, roughly 10-12 inches long and 6-8 inches wide, and about 1/2 inch thick. You want it relatively thin but not so thin that it tears easily. Imagine the shape of a leaf or a ladder. Don't strive for perfect symmetry; rustic is part of the appeal. Ensure the thickness is relatively even across the dough for consistent baking.
Creating the Signature Leaf-Like Cuts: Achieving the Fougasse Look
Now comes the defining step of the fougasse baking technique easy to master: making the cuts. Using your sharp knife, pizza cutter, or bench scraper, make a single long cut down the center of the oval, stopping about an inch from each end. Then, make several diagonal cuts branching off from the center cut outwards towards the edges, resembling the veins of a leaf or the rungs of a ladder. For a medium fougasse, typically 3-5 diagonal cuts on each side are sufficient.
Make sure your cuts go all the way through the dough. If the cuts are too shallow, they will close up during baking. Gently stretch the dough open slightly at each cut to emphasize the holes. This is crucial for achieving the open structure and crispy edges. Once shaped and cut, carefully transfer the parchment paper with the fougasse onto a baking sheet for the final proof.
Tips for Preventing Cuts from Closing During Baking
Preventing the cuts from closing up during baking is key to a beautiful fougasse. One crucial factor is ensuring the cuts are made cleanly and go all the way through the dough before baking. If the blade drags or the cuts are too shallow, they are more likely to seal. Using a very sharp tool is paramount.
Another important factor is the final proofing stage. Do not over-proof the shaped fougasse. If the dough proofs too much after shaping, it becomes very airy and lacks the structural integrity to keep the cuts open under the tension of oven spring.
A final proof of 30-60 minutes, where the dough looks slightly puffy but not fully doubled, is usually sufficient. Baking in a hot oven with steam (as discussed later) also helps the crust set quickly while the dough expands, encouraging the cuts to stay open. Finally, ensure the oven is fully preheated to the correct high temperature before loading the fougasse.
Fougasse Variations: Exploring Different Shapes and Styles
While the leaf shape is the most classic, the fougasse baking technique easy allows for creative variations in shaping. A simple ladder shape with parallel cuts across the dough is another common style. Some bakers create a round fougasse with radiating spoke-like cuts from the center outwards. The key is to make cuts that go through the dough and create openings.
Beyond shape, fougasse is famously versatile with additions. Herbs like fresh rosemary, thyme, or oregano can be kneaded into the dough or sprinkled on top before baking. Olives, sun-dried tomatoes, or pieces of cheese (like Gruyère or Parmesan) can be added to the dough during the final folds or pressed into the surface before the final proof. Sweet variations also exist, incorporating ingredients like orange zest or dried fruits, though the savory versions are more traditional. These variations allow you to customize your fougasse to suit any meal or occasion.
Baking Your Fougasse to Golden Perfection
Oven Temperature and Baking Time for Fougasse
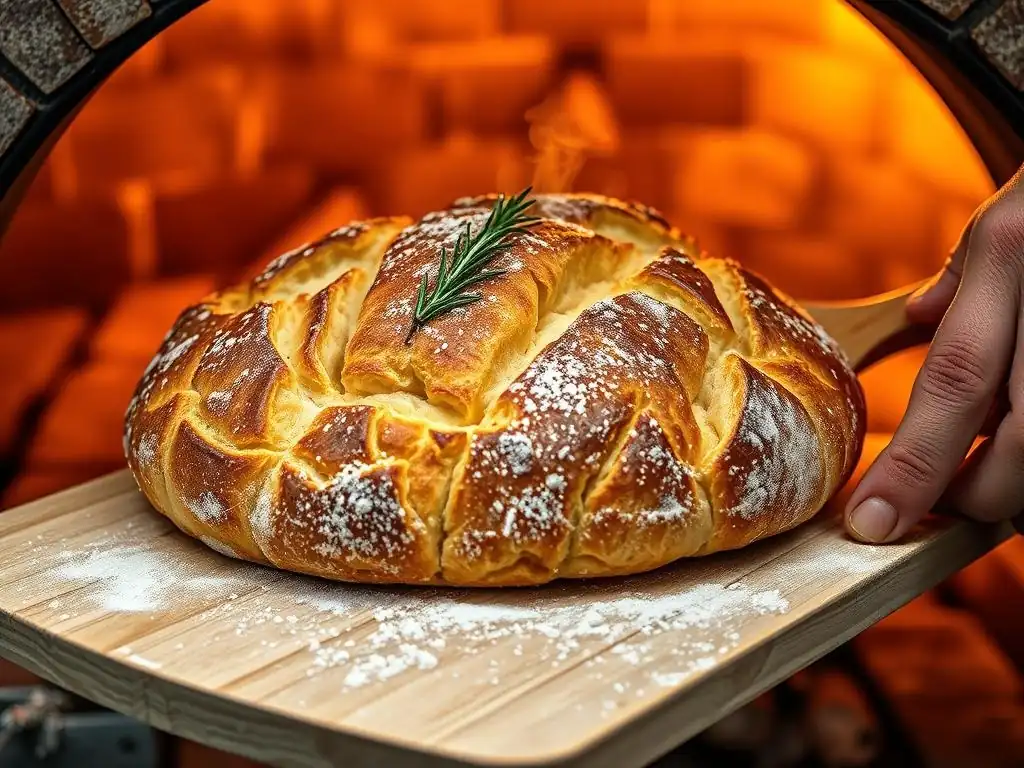
Baking fougasse requires a hot oven to achieve a beautiful golden crust and ensure the cuts open up correctly. A typical temperature range is between 425°F and 475°F (220°C and 245°C). Baking at a high temperature helps the loaf achieve maximum oven spring quickly before the crust fully sets, which is important for keeping the signature cuts wide open.
The baking time for fougasse is relatively short due to its flat shape. Depending on the size and thickness of your fougasse and the exact oven temperature, it will usually take between 15 and 25 minutes to bake. A medium-sized fougasse baked at 450°F (230°C) might take around 18-20 minutes. You'll know it's getting close when the edges start to brown and the cuts are clearly defined.
Achieving a Crispy Crust: Steam Baking Techniques
A crispy crust is a hallmark of great fougasse, and incorporating steam into your oven is the best way to achieve it. Steam in the oven keeps the surface of the dough moist during the initial phase of baking. This delays the formation of the crust, allowing the dough to expand fully and the cuts to open wide before the crust hardens. Once the steam dissipates, the high heat then bakes the crust to a beautiful golden brown crispness.
A simple way to create steam in a home oven is to place an empty metal pan (like a broiler pan or cast-iron skillet) on the bottom rack while the oven preheats. Just before loading the fougasse, carefully pour about a cup of hot water into the hot pan (be cautious of the steam) and quickly close the oven door.
Alternatively, you can place a few ice cubes in the hot pan. Bake the fougasse with the steam for the first 10-15 minutes, then remove the steam pan for the remainder of the baking time to allow the crust to crisp up.
How to Tell When Your Fougasse is Perfectly Baked
Knowing when your fougasse is done is crucial for preventing it from being underbaked or dry. The most reliable indicator is color. A perfectly baked fougasse should have a deep golden-brown crust, especially around the edges and where the cuts have opened. Pale fougasse is likely underbaked.
Another good test is to gently tap the bottom of the loaf. It should sound hollow. While fougasse is thin, this test still provides a general indication of doneness. For absolute certainty, you can use an instant-read thermometer. The internal temperature of the bread should register at least 200°F (93°C). Given its thin shape and the high baking temperature, fougasse typically reaches this temperature quickly once the crust is adequately browned.
Serving and Enjoying Your Homemade Fougasse
Classic Fougasse Pairings and Serving Suggestions
Fougasse is incredibly versatile and pairs well with a wide range of foods. Its rustic nature makes it perfect for tearing and sharing as part of an appetizer spread. Serve it warm alongside good quality olive oil for dipping, perhaps infused with garlic or herbs. It's also excellent with balsamic vinegar.
Fougasse is a natural companion to Mediterranean dishes. Serve it with soups, stews, or salads. It's fantastic with grilled meats or vegetables. Consider pairing an herb-flavored fougasse with goat cheese and roasted red peppers, or an olive fougasse with charcuterie. Its open structure makes it ideal for soaking up sauces or juices. It's also a wonderful bread to simply enjoy on its own, perhaps with a smear of butter or a sprinkle of flaky sea salt.
Storing Fougasse for Optimal Freshness
Fougasse is best enjoyed fresh, ideally within a few hours of baking when the crust is at its crispiest. However, if you need to store it, allow it to cool completely on a wire rack first. Once cool, store it at room temperature in a paper bag. A paper bag allows some air circulation, helping to preserve the crispness of the crust better than plastic.
Avoid storing fougasse in a plastic bag or airtight container at room temperature, as this will trap moisture and turn the crust soft and potentially make the bread gummy. Stored properly in a paper bag, fougasse will maintain reasonable quality for 1-2 days, although the crust will soften over time.
Using Leftover Fougasse: Creative Recipe Ideas
If you find yourself with leftover fougasse that's lost its initial crispness, don't despair! It can be repurposed in delicious ways. One simple method is to slice or tear it into pieces, drizzle with olive oil, and toast it in the oven or under the broiler until crisp again. These crouton-like pieces are excellent in salads or soups.
Stale fougasse also makes a wonderful base for panzanella, an Italian bread salad, though traditionally made with Tuscan bread. Tear the fougasse into chunks, soak briefly in water (if very dry) or just combine with ripe tomatoes, basil, red onion, cucumber, and a vinaigrette made with olive oil and vinegar. It can also be used in savory bread puddings or stratas, absorbing liquids and baking up into a comforting dish.
Troubleshooting Your Fougasse Baking
Common Fougasse Baking Problems and Solutions
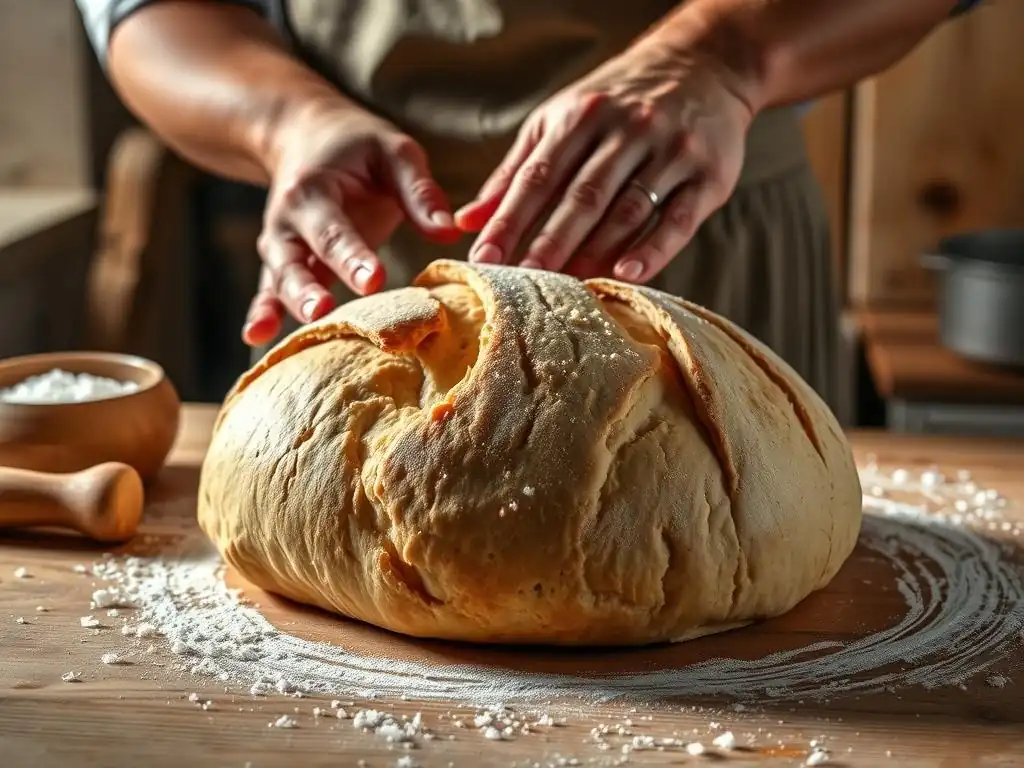
Even with a seemingly easy fougasse baking technique, sometimes things don't go exactly as planned. Understanding common issues can help you diagnose and fix problems for future bakes. A common issue is the dough being too sticky to handle, which can be frustrating during shaping. Another is the fougasse not rising properly during proofing or baking. A third frequent problem is the crust becoming too hard or tough.
Addressing these issues often involves adjustments to ingredients, technique, or environment. Small tweaks can make a big difference in achieving that perfect rustic loaf. Don't be discouraged by initial challenges; troubleshooting is a normal part of the baking process and helps you learn and improve.
Dough Too Sticky: Troubleshooting Tips
If your fougasse dough is too sticky to handle comfortably during shaping, there are a few potential reasons and solutions. It might simply be that the dough is very high hydration, which is common for a tender crumb but requires a different handling technique. In this case, embrace the stickiness and use a bench scraper to help manage the dough on a lightly floured or oiled surface. Keep your hands lightly floured or wet as you work.
Alternatively, the flour might not have fully hydrated. Allowing the dough a longer initial rest (autolyse) before adding oil and salt can help. If the dough is excessively sticky even after adequate rest and folds, you might have added too much water. A small amount of additional flour can be kneaded in, but add it gradually, perhaps a tablespoon at a time, until the dough is manageable but still soft. Ensure you are measuring ingredients accurately, preferably by weight, to maintain the correct hydration ratio specified in the recipe.
Fougasse Not Rising: Potential Causes and Fixes
If your fougasse dough isn't rising sufficiently during proofing, the most likely culprit is inactive yeast. Check the expiration date on your yeast and ensure you are using the correct type (active dry vs. instant) as specified by the recipe. If using active dry yeast, proof it in warm water (around 105-115°F or 40-46°C) for 5-10 minutes before adding to dry ingredients; if it doesn't foam, the yeast is dead.
Another reason for poor rise is a too-cold proofing environment. Yeast is most active in warm conditions (75-85°F or 24-30°C). Find a warmer spot in your kitchen, or create a makeshift proofing box using your oven with the light on (but not turned on). Over-salting can also inhibit yeast activity, so measure salt accurately. Finally, insufficient kneading or gluten development can lead to a dough that lacks the structure to hold gas and rise properly. Ensure you are performing enough stretch and folds during the bulk fermentation.
Crust Too Hard: Preventing a Tough Fougasse Crust
A fougasse crust should be crisp, not tough or excessively hard. If your crust is too tough, several factors could be at play. Over-baking is a common cause; keep an eye on the color and bake only until deep golden and hollow-sounding when tapped. Baking at too low a temperature can also result in a tough crust, as the bread dries out before the interior is fully cooked. Ensure your oven is accurately preheated to the high temperature specified in the recipe, ideally using an oven thermometer to verify.
Insufficient steam during the initial baking phase will cause the crust to form too early and become hard rather than expanding and crisping. Ensure you are using an effective steaming method (like the hot water in a pan technique) for the first part of the bake. Finally, a dough that is too dry (too little water or too much flour) will inevitably produce a hard, dry crust. Ensure your dough has the correct hydration level – it should be soft and somewhat sticky after mixing.
Fougasse Baking Technique Easy: Your Journey to Baking Success
Easy Fougasse Recipe: A Quick Recap
To recap the easy fougasse baking technique, it starts with a simple, slightly wet dough made from flour, water, yeast, salt, and olive oil. After mixing, the dough undergoes a bulk fermentation with periodic stretch and folds to develop gluten. The key step is shaping: gently patting the dough into an oval or teardrop and making deep, clean cuts that go all the way through. A short final proof follows. Baking is done in a hot oven, ideally with steam, until the fougasse is deep golden brown and the cuts are wide open.
This straightforward process, from minimal kneading to the distinctive shaping, makes fougasse accessible for bakers of all levels. It’s a rewarding bread to bake, producing a beautiful and delicious result with a relatively simple effort compared to many other artisan loaves.
Beyond the Basics: Experimenting with Fougasse Flavors
Once you've mastered the basic fougasse baking technique easy, you can start experimenting with different flavors to personalize your loaf. As mentioned earlier, fresh herbs like rosemary, thyme, or a mix of Herbes de Provence are classic additions. Add them to the dough during the final folds or sprinkle generously on top before the final proof.
Consider incorporating savory elements like pitted olives (kalamata or green), chopped sun-dried tomatoes, minced garlic, or even a pinch of red pepper flakes for a little heat. Cheese is another popular addition; try grating Parmesan or Gruyère and adding it to the dough or sprinkling it on top. For a sweeter twist, although less traditional, you could incorporate orange zest, dried cranberries, or a touch of honey into the dough. Start with small amounts, perhaps a few tablespoons of olives or a couple of teaspoons of herbs per loaf, and adjust in future bakes based on your preference.
Fougasse is a bread meant for sharing, and its unique shape makes it a naturally appealing centerpiece. Serve it warm, directly from the oven if possible, placed on a simple cutting board or a rustic platter. Its irregular shape and open cuts are part of its charm, so no need for perfect slices.
Present it with a small bowl of high-quality olive oil for dipping, perhaps garnished with a sprig of rosemary or a sprinkle of flaky sea salt. If you've added inclusions like olives or herbs, make sure some are visible on the surface. The aroma of freshly baked fougasse is intoxicating, and its visual appeal is undeniable. Tear off pieces and enjoy the simple pleasure of sharing this delightful bread.
Frequently Asked Questions
What is Fougasse and why is it special?
Fougasse is a type of French bread that is often shaped to resemble a leaf or an ear of wheat. Its unique shape allows for a crispy crust and a soft, airy interior, making it a delightful bread to enjoy.
Is the Fougasse baking technique easy to learn, even for beginners?
Yes, the BakeWithEase Fougasse technique is designed to be easy to follow, even for bakers with limited experience. The instructions are step-by-step and use readily available ingredients.
What kind of flour is best for making Fougasse?
Generally, a strong bread flour is recommended for Fougasse. This type of flour has a higher protein content, which contributes to the bread's structure and chewy texture. However, you can experiment with a blend of all-purpose and bread flour.
Can I add different flavors to my Fougasse dough?
Absolutely! You can add various herbs, olives, sun-dried tomatoes, or cheese to the dough to customize the flavor of your Fougasse. Just be sure to incorporate them evenly during the kneading process.
How do I get that signature "leaf" shape in Fougasse?
The signature shape is achieved by making strategic cuts in the dough before baking. After rolling out the dough, use a knife or pizza cutter to create slits that will open up during baking, creating the leaf-like appearance.
Final Reflection: The Enduring Allure of the Simple Fougasse
The seemingly simple act of shaping a fougasse reveals a profound connection to baking's history and a surprisingly accessible path to stunning results. This seemingly humble bread, with its rustic charm and satisfying crackle, offers a gateway to understanding the artistry inherent in even the most basic baking techniques. Its ease of execution belies the impressive visual impact it delivers, making it a perfect entry point for both novice and experienced bakers alike.
The fougasse, with its ancient roots and enduring popularity, reflects our ongoing fascination with both tradition and innovation in the kitchen. It's a testament to the power of simple ingredients transformed by skillful technique. The beauty lies not just in the final product, but in the process itself – the gentle stretching of the dough, the satisfying creation of the signature cuts, the anticipation of the oven's magic. Baking is at once child's play and adult joy. And love, of course.
– This sentiment perfectly captures the essence of the fougasse experience, a blend of simple pleasure and profound satisfaction.
Now, it's your turn. Consider the simplicity and elegance of the fougasse. Don't be intimidated by its seemingly complex appearance; embrace the challenge of shaping your own loaf. Experiment with different cuts, flours, and herbs. Let the process of creating this beautiful bread be a moment of mindful creation, a reminder of the joy found in connecting with the ancient art of baking. The reward? A stunning loaf, and a deeper appreciation for the power of simple techniques.
Unleash Your Inner Baker: Craft the Perfect Fougasse!
Thanks for joining us on this baking adventure! We hope you now feel confident in tackling the beautiful and surprisingly simple fougasse. Ready to take your bread-making skills to the next level?
- Bake your own fougasse today! Use the recipe and techniques outlined above to create your masterpiece. Don't be afraid to experiment with herbs or different flours.
- Share your fougasse creations! Snap a picture and tag us on social media – we'd love to see your results!
- Explore other artisan bread recipes on BakeWithEase.com for more delicious inspiration.
What unique twist will you add to your next fougasse? Let us know in the comments below!