
The Simple Joy of Baking Authentic Ciabatta at Home

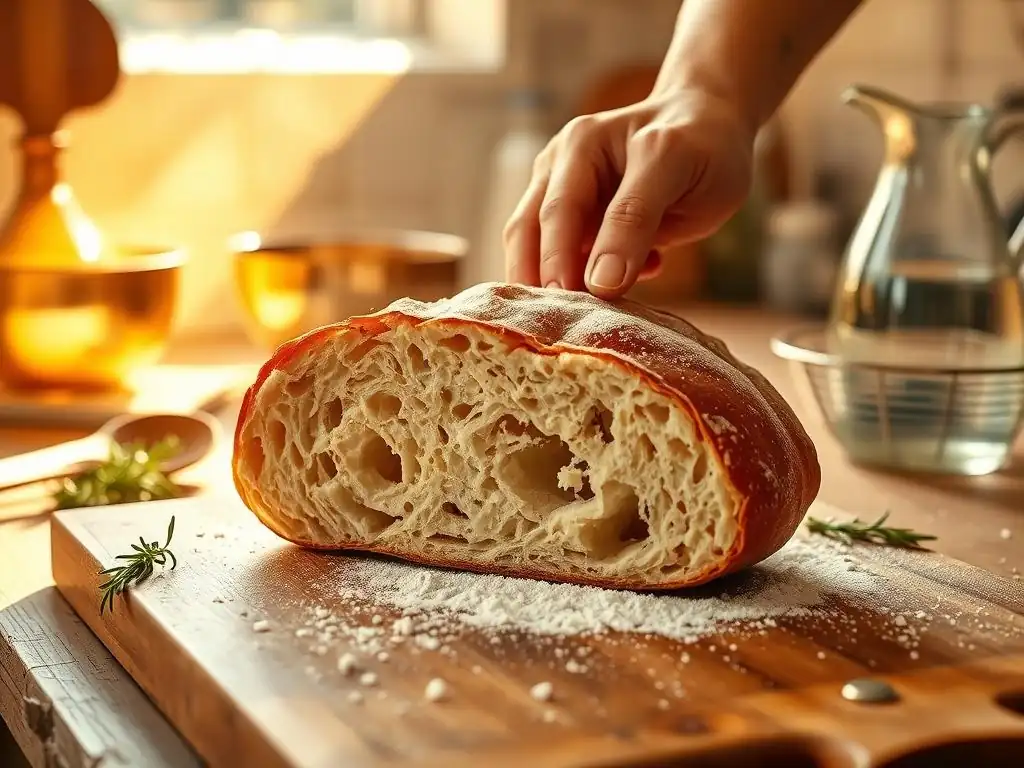
Welcome to BakeWithEase, your kitchen companion for unlocking the secrets of delicious baking! Ready to experience the simple joy of creating bakery-worthy bread? We're diving deep into the world of crusty loaves and airy interiors with our guide on crafting an easy homemade ciabatta recipe. But is it really as simple as we claim? Find out how you can achieve authentic Italian flavor with just a few readily available ingredients, and prepare to be amazed at what you can create! Let's get baking!
- Introduction: Discover the Delight of Homemade Ciabatta
- Mastering the Easy Homemade Ciabatta Recipe
- Step-by-Step: Your Foolproof Ciabatta Baking Guide
- Tips and Tricks for Perfect Homemade Ciabatta
- Variations on the Classic Ciabatta Recipe
- The Joy of Sharing Your Homemade Ciabatta
- Frequently Asked Questions
- Final Reflection: The Enduring Magic of Homemade Ciabatta
- Unleash Your Inner Baker: Craft Your Own Ciabatta!
Introduction: Discover the Delight of Homemade Ciabatta
Why Bake Ciabatta at Home? A Baker's Journey
There's a unique satisfaction that comes from pulling a warm, crusty loaf of bread from your own oven. Baking ciabatta at home elevates this feeling, offering a rustic charm and a depth of flavor often missing in store-bought versions. It's more than just following an easy homemade ciabatta recipe; it's a sensory experience, from the feel of the wet, bubbly dough to the incredible aroma filling your kitchen as it bakes. This journey into homemade bread connects you to a timeless craft and rewards you with truly exceptional results.
Choosing to bake ciabatta yourself means you control the quality of ingredients, ensuring the freshest, most delicious bread possible. While its irregular shape and open crumb might seem intimidating, mastering an easy homemade ciabatta recipe is surprisingly achievable and immensely rewarding. The process, though requiring patience for fermentation, is relatively hands-off compared to traditional kneading-intensive breads, making it a perfect project for bakers looking to expand their skills without excessive effort.
BakeWithEase: Your Guide to Simple Bread Baking
At BakeWithEase, we believe that baking should be an enjoyable and accessible experience for everyone, regardless of skill level. Our mission is to demystify complex techniques and provide clear, simple guidance that leads to successful bakes every time. This philosophy is at the heart of our approach to sharing an easy homemade ciabatta recipe – breaking it down into manageable steps that build confidence with each stage.
We understand that diving into bread baking, especially something like ciabatta with its high hydration dough, can seem daunting. That's why this guide focuses on clarity and simplicity, ensuring that even if this is your first attempt at baking this rustic loaf, you'll feel supported and empowered. By following our step-by-step instructions, you'll discover that baking authentic, delicious homemade ciabatta is not only possible but truly a simple joy to achieve in your own kitchen.
Mastering the Easy Homemade Ciabatta Recipe
Understanding the Key Ingredients for Authentic Ciabatta
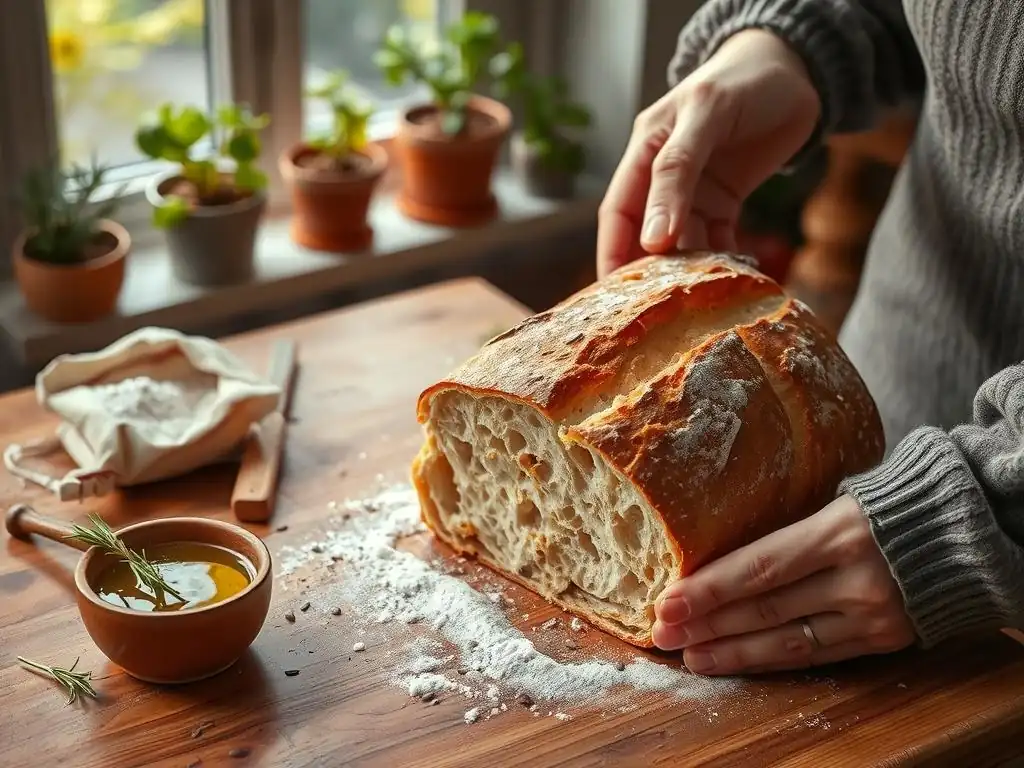
Creating that signature airy, open crumb and chewy texture of authentic ciabatta starts with understanding the role of its few, simple ingredients. Unlike some enriched breads, ciabatta relies on the interaction of flour, water, yeast, and salt, alongside time and technique, to develop its unique characteristics. Using high-quality versions of these staples makes a significant difference in the final flavor and structure of your homemade ciabatta.
Each ingredient plays a crucial part. The type of flour determines the gluten structure, the high water content contributes to the open crumb, yeast provides the necessary lift and flavor through fermentation, and salt balances the taste and strengthens the dough. Paying attention to the quality and proper handling of these basic components is fundamental to successfully baking this easy homemade ciabatta recipe and achieving that coveted "slipper" bread.
High-Quality Flour: The Foundation of a Great Ciabatta
For ciabatta, a strong bread flour with a higher protein content, typically ranging from 12% to 14%, is ideal. This higher protein level means more gluten can be developed, which is essential for creating the strong network needed to support the high hydration and trap the large air bubbles characteristic of ciabatta. While all-purpose flour can be used, bread flour will yield a more authentic texture and structure for your homemade ciabatta.
Using a reputable brand of bread flour ensures consistency in your baking results. The quality of the grain and milling process impacts how the flour absorbs water and develops gluten. Investing in good bread flour sets a solid foundation for your easy homemade ciabatta recipe, contributing significantly to the loaf's structure, chewiness, and overall success.
Water: Hydration is Key to Open Crumb
Ciabatta dough is known for its very high hydration level, often between 75% and 85% relative to the flour weight. This means for every 100 grams of flour, you use 75 to 85 grams of water. This high amount of water is critical for achieving the bread's characteristic open, irregular crumb structure. Working with such wet dough can feel challenging at first, but it's a defining feature of authentic homemade ciabatta.
The water should ideally be lukewarm, around 80-85°F (27-29°C), to help activate the yeast effectively, especially when starting the dough or the pre-ferment (biga). However, the exact temperature isn't as critical as the quantity and quality of the water itself. Using filtered water can sometimes be beneficial if your tap water has strong chlorine or mineral content that might affect yeast activity or flavor.
Yeast: Activating the Flavor and Rise
Yeast is the leavening agent that makes your ciabatta rise and develops complex flavors during fermentation. Both instant dry yeast and active dry yeast can be used in an easy homemade ciabatta recipe. Instant yeast can typically be mixed directly into the flour, while active dry yeast often benefits from being proofed in a small amount of the recipe's water first to ensure it's active.
The amount of yeast used in ciabatta is often relatively small, especially when a biga (pre-ferment) is employed. This slow, long fermentation process, driven by a modest amount of yeast, allows for the development of deeper, more nuanced flavors and contributes significantly to the texture and appearance of the final homemade ciabatta loaf.
Salt: Enhancing the Taste and Structure
Salt plays a vital dual role in bread baking: it significantly enhances the flavor of the bread and it helps to control the rate of yeast fermentation. Without salt, bread can taste bland and the yeast can be overly active, leading to a less desirable texture. In an easy homemade ciabatta recipe, salt is typically added during the final mixing stage after the flour and water have had a chance to autolyse (rest together).
Furthermore, salt strengthens the gluten network by tightening it. This effect is particularly important in high-hydration doughs like ciabatta, as it helps the gluten strands maintain their structure and trap the gases produced by fermentation, contributing to the airy crumb. Using fine sea salt or kosher salt is often preferred by bakers for their clean flavor and easy dissolution in the wet dough.
Step-by-Step: Your Foolproof Ciabatta Baking Guide
Step 1: Preparing the Biga (Pre-ferment)
The biga is a stiff, Italian-style pre-ferment that is a cornerstone of many traditional ciabatta recipes. It's typically made 12 to 24 hours before you plan to mix the final dough. Creating a biga involves combining a portion of the total flour, a smaller portion of the total water, and a tiny amount of yeast into a relatively stiff dough. This mixture is then left to ferment slowly, usually at room temperature or in the refrigerator, developing complex flavors and microbial activity that will benefit the final loaf.
The long, slow fermentation of the biga contributes significantly to the depth of flavor and the characteristic aroma of authentic homemade ciabatta. It also helps to strengthen the gluten structure in the final dough, making it easier to handle despite its high hydration. While some very simple or 'no-knead' ciabatta recipes might omit the biga, incorporating this pre-ferment is highly recommended for achieving the best texture and taste in your easy homemade ciabatta recipe.
Biga: The Secret to Ciabatta's Unique Flavor
Making the biga is straightforward: combine equal parts flour and water by weight (e.g., 100g flour, 100g water) with just a pinch of instant yeast (perhaps 0.1-0.5g). Mix until just combined and no dry flour remains. The mixture will be quite stiff. Cover it tightly and let it ferment. At room temperature (around 70°F or 21°C), this might take 12-18 hours, becoming bubbly and slightly domed or even collapsed in the center. In the refrigerator, it can ferment for 24-48 hours, developing even more complex flavors.
The magic of the biga lies in this extended fermentation period. Enzymes in the flour break down starches into sugars, which the yeast consumes, producing alcohol and organic acids. These compounds contribute significantly to the sweet, nutty, and slightly tangy flavor profile of traditional ciabatta. Including this step, even in an easy homemade ciabatta recipe, elevates the bread from good to exceptional, providing that authentic taste you crave.
Step 2: Mixing the Ciabatta Dough
Mixing ciabatta dough is different from kneading typical bread doughs. Because of its high hydration, it's less about developing gluten through intense kneading and more about gently bringing the ingredients together to allow gluten to develop through time and subsequent folding. If using a stand mixer, use the dough hook on a low speed. Start by combining the biga, the remaining water, and most of the remaining flour. Mix until a shaggy dough forms.
After the initial mix, allow the dough to rest for 20-30 minutes. This resting period, known as autolyse, allows the flour to fully absorb the water and enzymes to begin breaking down proteins, which helps with gluten development without mechanical effort. After the rest, add the salt and any remaining flour. Mix again on low speed for 5-10 minutes until the dough is smooth, very wet, and pulls away slightly from the sides of the bowl. It will still be very sticky and appear quite slack.
Gentle Mixing: Avoiding Over-development
The goal when mixing ciabatta dough for this easy homemade ciabatta recipe is to hydrate all the flour and start the gluten development process, but without excessive kneading. Over-mixing can actually break down the delicate gluten structure in such a wet dough. Use a gentle touch, whether mixing by hand with a sturdy spoon or spatula or using a stand mixer on a low setting.
Focus on reaching a point where the dough is uniformly mixed and shows some initial signs of elasticity when stretched gently. It won't form a smooth, taut ball like lower-hydration doughs; it will remain loose, shaggy, and extremely sticky. This is perfectly normal and desirable for achieving the signature open crumb of homemade ciabatta. Trust the process – time and folding will do the rest of the work.
Step 3: Bulk Fermentation and Folding
Bulk fermentation, also known as the first rise, is a crucial stage for developing flavor and structure in ciabatta dough. After mixing, transfer the dough to a lightly oiled container large enough to allow it to at least double in volume. Cover it tightly and let it ferment at room temperature (around 70-75°F or 21-24°C) for 2 to 4 hours. During this time, the dough will become visibly bubbly and increase significantly in size.
The duration of bulk fermentation depends on the temperature of your kitchen and the activity of your yeast/biga. Watch the dough, not just the clock; it should look alive, airy, and expanded. A finger poked gently into the dough should leave an indentation that springs back slowly. This period is followed by periodic folding, which is essential for strengthening the gluten and trapping air.
Importance of Folding: Strengthening the Dough
Folding is a gentle alternative to kneading for high-hydration doughs like ciabatta. It involves wetting your hands or using a wet scraper, gently lifting one side of the dough from underneath, and folding it over onto itself. You repeat this from all four sides, effectively creating a package. This process realigns the gluten strands, builds strength, and incorporates air without degassing the dough aggressively.
For this easy homemade ciabatta recipe, perform 3 to 4 sets of folds during the bulk fermentation period, spaced about 30-45 minutes apart. After each fold, the dough will feel tighter and more structured. As fermentation progresses, the dough will become increasingly airy and easier to handle with wet hands or a scraper. By the final fold, it should show good strength and elasticity.
Time and Temperature Recommendations
Optimal bulk fermentation for ciabatta typically occurs between 70-75°F (21-24°C) and lasts for 2 to 4 hours, or until the dough has significantly increased in volume (perhaps 75-100%) and is full of visible bubbles. Cooler temperatures will require longer fermentation times, while warmer temperatures will shorten it. If your kitchen is cool, find a warmer spot or use a proofing box/oven with the light on.
Monitoring the dough's activity is key. It should look aerated and jiggly, not dense. Over-fermentation can lead to the dough collapsing later, while under-fermentation results in a less open crumb and less developed flavor. Aim for a dough that is lively and expanded, indicating the yeast has been active and the gluten has had time to relax and develop between folds.
Step 4: Shaping the Ciabatta Loaves
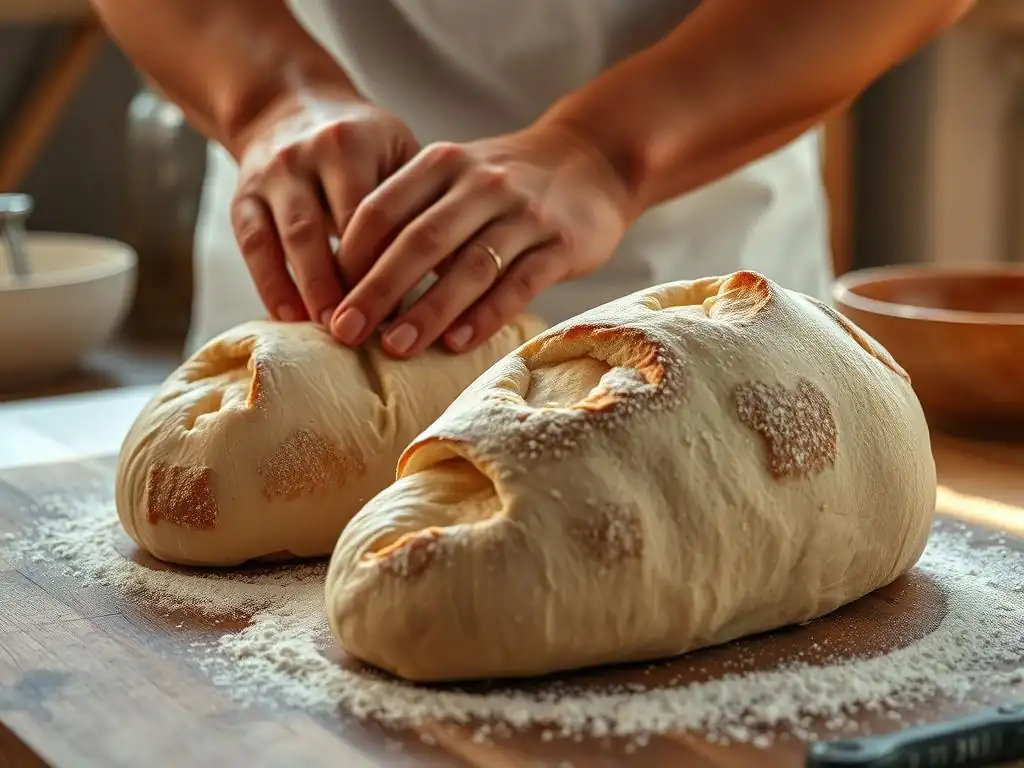
Shaping ciabatta is less about creating tension and more about gently coaxing the airy dough into its characteristic flat, elongated shape while preserving the precious air bubbles created during fermentation. Heavily flour your work surface with bread flour or a mix of bread flour and semolina flour. Gently scrape the dough out of its container onto the floured surface using a bench scraper. It will be very soft and spread out.
Dust the top of the dough lightly with flour. Using your bench scraper, divide the dough into the desired number of pieces (typically 2 or 3 for standard loaves). Working with one piece at a time, gently stretch or pat it into a rough rectangle or square. Avoid pressing too hard or degassing the dough. Then, gently fold the sides towards the center, or simply pat it into a rough, flat rectangle about 1-1.5 inches thick. The goal is a rustic, irregular shape – don't strive for perfection!
Gentle Handling: Preserving the Air Pockets
The secret to ciabatta's signature airy interior is to handle the dough as little and as gently as possible during shaping. Every time you press or manipulate the dough firmly, you risk deflating the air pockets that have developed during bulk fermentation. Think of guiding the dough into shape rather than forcing it.
Use a generous amount of flour on your hands and the work surface to prevent sticking, but avoid incorporating excessive flour into the dough itself. Lifting and stretching gently, patting rather than kneading, and using a bench scraper to maneuver the sticky dough are all techniques that help preserve the delicate structure and ensure an open, bubbly crumb in your homemade ciabatta.
Step 5: Proofing the Shaped Ciabatta
After shaping, the ciabatta loaves need a final proofing period before baking. This is typically done on a well-floured surface, often using a baker's couche (a piece of linen or heavy canvas) or simply on parchment paper heavily dusted with flour or a mix of flour and semolina. Create folds or pleats in the couche/parchment to support the sides of the loaves and prevent them from spreading too much.
Cover the loaves loosely with plastic wrap or a light kitchen towel to prevent a skin from forming. Let them proof at room temperature for about 45-60 minutes. During this time, they should puff up noticeably and become very airy and delicate. The dough should feel soft and light. An easy way to check if they are ready is the poke test: a gentle poke should leave an indentation that very slowly springs back, but not fully.
Achieving the Perfect Proof
Proper proofing is essential for achieving a good rise and open crumb when baking your easy homemade ciabatta recipe. Under-proofed loaves will be dense and may burst irregularly in the oven. Over-proofed loaves can collapse when handled and may not have enough strength to rise properly, resulting in a flat loaf and a tight crumb.
Aim for loaves that look significantly puffier than after shaping but haven't doubled in size. They should feel fragile and full of air. The proofing time is approximate; observe the dough's state rather than strictly adhering to the clock. When they are ready, they should be carefully transferred to your baking surface, ensuring they don't deflate.
Step 6: Baking Your Ciabatta to Golden Perfection
Ciabatta is typically baked at high temperatures to achieve a crispy crust and a good oven spring. Preheat your oven to a high temperature, such as 450-475°F (230-245°C), with a baking stone or steel inside if you have one, for at least 30-60 minutes. This ensures the stone/steel is fully heated, providing a burst of heat from below that helps the loaf spring.
Carefully transfer the proofed loaves onto the preheated baking surface. This might involve flipping them off the couche or sliding the parchment paper onto the stone/steel. Bake for 20-30 minutes, depending on your oven and desired crust color. The loaves should be deeply golden brown and sound hollow when tapped on the bottom.
Baking Temperatures and Times for Crispy Crust
A high initial baking temperature is key to creating that characteristic thin, crispy crust on homemade ciabatta. Starting at 450-475°F (230-245°C) provides the necessary heat for rapid expansion (oven spring) and immediate crust formation. After the initial 10-15 minutes, you can sometimes reduce the temperature slightly (e.g., to 425°F or 220°C) to ensure the interior bakes through without the crust burning.
Total baking time for a standard ciabatta loaf is usually between 20 and 30 minutes. Bake until the crust is a rich golden brown, not pale, and the internal temperature reaches around 205-210°F (96-99°C). A well-baked ciabatta will have a substantial, crackly crust and a light, airy interior.
Oven Setup and Steam Injection Tips
Steam is crucial in the initial stages of baking ciabatta. It keeps the surface of the dough moist, allowing it to expand fully before the crust sets. This promotes maximum oven spring and contributes to a thinner, crispier crust. Without steam, the crust forms too quickly, restricting expansion.
There are several ways to create steam in a home oven. One common method is to preheat a cast-iron pan or broiler tray on the bottom rack while the oven heats up. Just before loading the bread, carefully pour a cup of boiling water into the hot pan and quickly close the oven door. Be cautious of the rush of steam. Another method is to bake the ciabatta in a preheated Dutch oven with the lid on for the first 15-20 minutes, removing the lid for the remaining time to crisp the crust.
Tips and Tricks for Perfect Homemade Ciabatta
Achieving the Signature Ciabatta Air Pockets
The coveted large, irregular air pockets (alveoli) in ciabatta are the result of several factors working in harmony throughout the easy homemade ciabatta recipe process. It starts with the high hydration dough, which allows for greater expansion. Gentle mixing ensures the gluten is developed through time and folding rather than aggressive kneading, preserving the delicate structure.
Crucially, proper bulk fermentation with regular, gentle folding builds strength and traps air without degassing. The shaping stage must be done with extreme care, avoiding pressing out the developed air. Finally, adequate proofing allows the dough to become light and airy, and high-temperature baking with steam provides the necessary environment for maximum oven spring and the formation of those beautiful, open holes. Each step contributes to the final airy texture.
Troubleshooting Common Ciabatta Baking Issues
Even with an easy homemade ciabatta recipe, you might encounter a few hiccups. Don't be discouraged; understanding common issues helps you improve. If your dough seems excessively difficult to handle, check your hydration levels – ensure you're using the correct ratio of water to flour. Temperature also plays a role; cooler dough is often easier to manage than very warm dough.
Another common issue is a poor crumb structure – either too dense or uniformly small holes rather than large, irregular ones. This can stem from several causes, including insufficient hydration, underdeveloped gluten (not enough folds), over-fermentation, or rough handling during shaping that degassed the dough. Reviewing each step and adjusting your technique can help solve these problems.
Dough Too Sticky?
Ciabatta dough is inherently very sticky due to its high water content. This is normal! Don't be tempted to add a lot of extra flour to the dough itself, as this will change the hydration and result in a denser loaf. Instead, rely on generous flouring of your work surface, your hands, and your bench scraper when handling the dough after bulk fermentation.
Using wet hands or a wet bench scraper can also be very effective when manipulating the dough in its container or on the counter. Embrace the stickiness as a sign that you're on the right track for a high-hydration bread. A well-floured surface and tools are your best friends when working with this dough.
Flat Ciabatta Loaves?
If your ciabatta loaves spread out too much during proofing or flatten significantly in the oven, several factors could be at play. It might be under-proofed, meaning it didn't develop enough internal structure before baking. Conversely, it could be over-proofed, where the gluten structure has weakened and can no longer support the gas.
Insufficient gluten development during bulk fermentation (not enough folds) or overly rough handling during shaping (degassing the dough) are also common culprits. Ensuring you have a strong, airy dough after bulk fermentation and handling it gently during shaping and proofing are key to achieving loaves with better height and structure. Baking on a hot surface with adequate steam also aids in oven spring.
Dense Crumb?
A dense crumb with small, uniform holes instead of the characteristic open structure is often disappointing. This can result from not enough water in the dough (low hydration), leading to less potential for large air pockets. It can also be due to insufficient gluten development, meaning the dough couldn't trap large gas bubbles effectively.
Other reasons include under-fermentation or over-fermentation, both of which can negatively impact the dough's structure. Finally, if you were too rough when shaping or transferring the loaves, you might have accidentally pressed out the air. Review your hydration, folding technique, fermentation times, and handling methods if you consistently get a dense crumb.
Storing and Enjoying Your Freshly Baked Ciabatta
Homemade ciabatta is best enjoyed fresh, ideally within a day or two of baking, when its crust is crispiest and the interior is soft and airy. Store cooled ciabatta at room temperature in a paper bag to help maintain the crust's crispness while allowing the interior to breathe. Avoid plastic bags, which will soften the crust quickly.
If you won't eat the entire loaf within 48 hours, it's best to slice the cooled ciabatta and freeze the slices in an airtight container or freezer bag. To enjoy, simply toast the frozen slices directly or thaw them briefly. A whole loaf can also be refreshed by quickly running it under water and reheating it in a hot oven (400°F or 200°C) for 5-10 minutes until the crust is crisp again.
Variations on the Classic Ciabatta Recipe
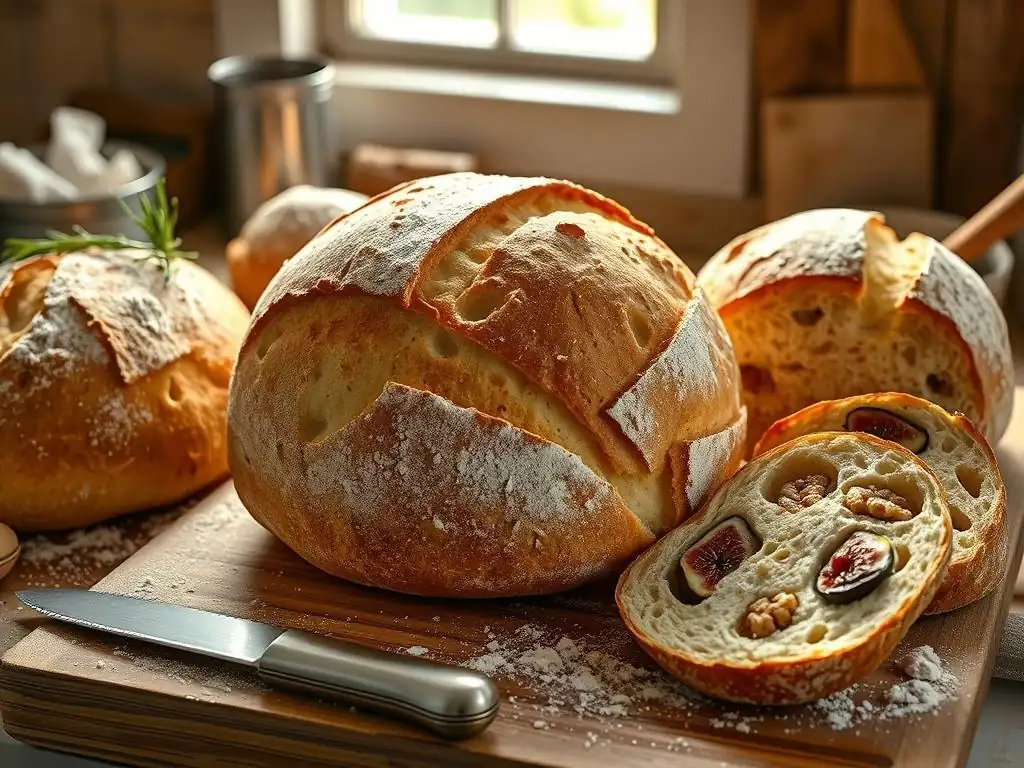
Olive Ciabatta: A Mediterranean Twist
Adding olives brings a wonderful savory and slightly briny flavor to homemade ciabatta. For an easy homemade ciabatta recipe variation, stir in about 1/2 to 1 cup of chopped olives (such as Kalamata, green olives, or a mix) during the final stages of mixing the dough. Ensure the olives are pitted and roughly chopped so they distribute throughout the loaf without creating large voids.
The moisture and salt from the olives can slightly affect the dough's hydration and fermentation, so keep an eye on the dough's feel. Olives infuse the bread with their distinct taste, making this variation perfect for pairing with Mediterranean dishes, cheeses, or simply dipping in olive oil.
Rosemary and Sea Salt Ciabatta: An Aromatic Delight
Fresh herbs like rosemary add an incredible aroma and flavor to rustic breads. To make rosemary and sea salt ciabatta, finely chop 1-2 tablespoons of fresh rosemary and add it to the dough along with the salt during the final mixing stage. The heat of the oven will release the aromatic oils from the rosemary as the bread bakes.
For an extra touch, after shaping and just before proofing, you can lightly brush the tops of the loaves with olive oil and sprinkle generously with flaky sea salt. This creates beautiful salt crystals on the crust and enhances the overall flavor profile, making this homemade ciabatta variation wonderfully fragrant and delicious.
Sun-Dried Tomato and Basil Ciabatta
This variation captures the essence of Italian flavors. Incorporate about 1/2 cup of oil-packed sun-dried tomatoes, drained and chopped, and 1/4 cup of fresh basil leaves, roughly torn or chopped, into the dough during the final mix. The sweetness of the sun-dried tomatoes and the freshness of the basil complement the tang of the ciabatta beautifully.
Adding sun-dried tomatoes and basil creates a vibrant, flavorful homemade ciabatta that is excellent for sandwiches, bruschetta, or served alongside pasta dishes. Be mindful that oil from the tomatoes can make the dough slightly richer and potentially affect the crumb, but the flavor payoff is well worth it.
The Joy of Sharing Your Homemade Ciabatta
Serving Suggestions and Pairing Ideas
Freshly baked homemade ciabatta is incredibly versatile and pairs well with countless dishes. Its open crumb is perfect for soaking up liquids, making it ideal for dipping into high-quality olive oil, balsamic vinegar, or flavorful soups and stews. The crispy crust and airy interior also make it the ultimate bread for sandwiches, from simple ham and cheese to elaborate Italian subs.
Consider serving slices of toasted ciabatta rubbed with garlic and drizzled with olive oil (bruschetta base), topped with fresh tomatoes and basil, or various spreads and tapenades. It's also a wonderful accompaniment to salads, pasta dishes, or served simply with butter alongside any meal. Sharing a loaf of your easy homemade ciabatta recipe creation is a simple way to bring warmth and deliciousness to any table.
Conclusion: Embrace the Art of Ciabatta Baking at Home
Baking authentic ciabatta at home might seem like a challenge at first, but as you've seen, with a simple recipe and a focus on gentle technique, it's incredibly rewarding. From understanding the role of each ingredient to mastering the art of folding and baking with steam, each step brings you closer to that perfect loaf with its signature crispy crust and airy, open crumb.
This easy homemade ciabatta recipe is more than just instructions; it's an invitation to experience the simple joy and satisfaction of creating something truly delicious from scratch. We encourage you to embrace the process, learn from each bake, and most importantly, enjoy the incredible taste and texture of your very own homemade ciabatta. Happy baking!
Frequently Asked Questions
What makes this ciabatta recipe "easy"?
This recipe focuses on simplified techniques and readily available ingredients, making it accessible even for beginner bakers. We break down the process into manageable steps.
How does this recipe ensure an "authentic" ciabatta texture?
The authenticity comes from using a high hydration dough and allowing for a long, slow fermentation. This creates the characteristic airy pockets and chewy crust.
What are the key ingredients needed for this easy homemade ciabatta?
You'll primarily need bread flour, water, yeast, and salt. The recipe emphasizes using high-quality ingredients for the best results.
Can I adjust this recipe for different baking skill levels?
While designed to be easy, experienced bakers can experiment with different types of flour or longer fermentation times to further customize the flavor.
How can I ensure my ciabatta has the signature large air pockets?
Achieving large air pockets relies on gentle handling of the dough during shaping and a properly proofed dough before baking. Avoid deflating it!
Final Reflection: The Enduring Magic of Homemade Ciabatta
The simple act of baking ciabatta at home, once considered a daunting task, is now more accessible than ever, proving that authentic culinary experiences needn't be reserved for professionals. The journey from flour to crust is a testament to the power of patience and precision, yielding rewards far beyond a simple loaf of bread. It's a connection to tradition, a celebration of simple ingredients, and a deeply satisfying creative outlet.
The influence of homemade bread, and ciabatta in particular, extends far beyond the kitchen table. It represents a return to slower, more mindful practices in a fast-paced world. It's a rebellion against mass-produced goods, a reclaiming of culinary heritage, and a celebration of the sensory experience of creating something beautiful and delicious with your own hands. Bread is the staff of life,
they say, and in making it ourselves, we truly grasp the depth of that statement. We connect with the earth, the grains, and the process, forging a deeper appreciation for the food we consume.
Now, I invite you to consider your own kitchen. Imagine the aroma of freshly baked ciabatta filling your home, the satisfying crackle of the crust, the airy, open crumb. Don't let the perceived complexity deter you. Take the leap, embrace the process, and discover the simple joy, the profound satisfaction, and the enduring magic of baking your own authentic ciabatta. The reward awaits you, in every delicious bite.
Unleash Your Inner Baker: Craft Your Own Ciabatta!
Thanks for joining us on this ciabatta journey! We hope you've discovered the surprisingly simple joy of creating this rustic Italian bread. Ready to take your baking skills to the next level?
- Bake your own ciabatta today! Use the recipe we shared to create a loaf you'll be proud of. Remember, the first step is always the hardest – but the reward is incredible.
- Share your ciabatta creation on social media – we'd love to see your beautiful loaves! Use #BakeWithEaseCiabatta to join the community.
- Explore our other easy bread recipes for more baking inspiration – you might discover your next favorite!
What unique ingredient will you add to your next ciabatta experiment? Let us know in the comments!