
Baking Sourdough Rye on a Baking Stone or Steel

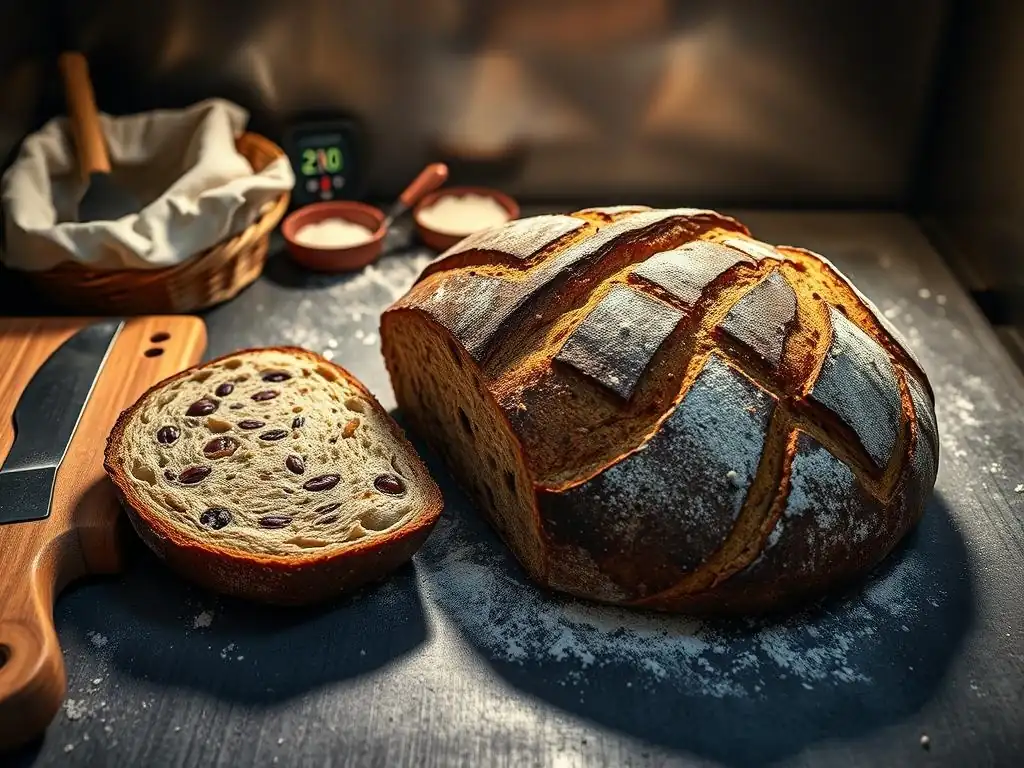
Welcome to BakeWithEase, your trusted guide to the delightful world of baking! Ever wondered how to achieve that perfect crust and airy crumb in your sourdough rye loaf? This article dives deep into the techniques and secrets of using a baking stone (or steel!) to elevate your bread baking game. Discover how the right tools and methods can unlock a whole new level of flavor and texture. Ready to experience the magic? Let's get baking!
- Baking Sourdough Rye on a Baking Stone or Steel: A BakeWithEase Guide
- Introduction to Sourdough Rye Baking with Stone or Steel
- Understanding the Ingredients for Sourdough Rye
- Essential Equipment: Baking Stone vs. Baking Steel for Sourdough Rye
- Preparing Your Sourdough Rye Dough
-
Baking Sourdough Rye on a Baking Stone: Step-by-Step
- Preheating Your Baking Stone for Optimal Results
- Scoring Your Sourdough Rye Loaf Before Baking
- Baking Your Sourdough Rye: Time and Temperature Guide on Stone
- Achieving a Crispy Crust on Your Sourdough Rye
- Preheating Your Baking Steel for Maximum Heat
- Scoring Techniques for Sourdough Rye on Steel
- Baking Your Sourdough Rye: Time and Temperature Guide on Steel
- Ensuring a Perfectly Baked Sourdough Rye Loaf with Steel
- Cooling and Storing Your Sourdough Rye Bread
- Troubleshooting Common Sourdough Rye Baking Issues
- Sourdough Rye Baking Stone or Steel: Advanced Tips and Techniques
- Conclusion: Mastering Sourdough Rye Baking with BakeWithEase
-
Frequently Asked Questions
- What is the primary benefit of using a baking stone for sourdough rye?
- Can I use baking steel instead of a baking stone for sourdough rye?
- What temperature should I preheat my baking stone or steel to before baking sourdough rye?
- How long should I preheat my baking stone or steel before baking sourdough rye?
- Do I need to prepare the baking stone or steel in any way before baking sourdough rye?
- Final Reflection: The Stone's Embrace: Finding Perfection in Sourdough Rye
- Unleash Your Inner Baker: Craft the Perfect Rye
Baking Sourdough Rye on a Baking Stone or Steel: A BakeWithEase Guide
Introduction to Sourdough Rye Baking with Stone or Steel
Baking sourdough rye bread is a rewarding experience, producing loaves with deep flavor, a sturdy crust, and a unique crumb. While many methods exist, using a baking stone or a baking steel elevates the process, mimicking the intense heat of a professional bakery oven. This guide from BakeWithEase will walk you through mastering the art of baking sourdough rye bread using these essential tools.
Why Bake Sourdough Rye on a Stone or Steel?
Using a baking stone or steel provides a crucial burst of high heat directly to the bottom of your loaf. This intense initial heat is vital for achieving excellent oven spring – the rapid expansion of the dough during the first few minutes of baking. It helps set the crust quickly, allowing the interior to continue expanding and creating a lighter, airier crumb structure, even in denser rye doughs.
Furthermore, these surfaces help conduct and radiate heat evenly throughout the baking process. A preheated baking stone or steel maintains a consistent temperature, preventing the bottom of the loaf from becoming soggy while the top bakes. This consistent heat distribution is particularly beneficial for sourdough rye, which can sometimes be prone to a dense bottom if not baked on a sufficiently hot surface. The result is a beautifully browned, evenly baked loaf with a robust crust characteristic of traditional sourdough rye.
BakeWithEase's Guide to Perfect Sourdough Rye
Achieving the perfect sourdough rye loaf requires attention to detail at every stage, from selecting ingredients to the final bake. This guide focuses specifically on leveraging the benefits of a baking stone or steel. We'll cover everything from preparing your dough with the right rye flour and starter to the specific steps for baking on each surface, ensuring you get that desirable crackling crust and flavorful interior.
We'll also touch upon common challenges unique to baking with rye flour, such as its tendency to be stickier and less elastic than wheat dough, and how using a preheated Sourdough rye baking stone or steel can help mitigate these issues. Our aim is to provide you with the knowledge and techniques to confidently bake exceptional sourdough rye bread in your home oven, turning out loaves that are both visually appealing and delicious.
Understanding the Ingredients for Sourdough Rye
The foundation of great sourdough rye lies in understanding the role of each ingredient, especially the distinctive characteristics of rye flour and the activity of your sourdough starter.
Key Ingredients for Authentic Sourdough Rye Flavor
Authentic sourdough rye bread typically relies on a simple list of ingredients: rye flour, wheat flour (often bread flour), water, salt, and a sourdough starter. The choice of rye flour significantly impacts the final flavor and texture. Dark rye flour, for instance, provides a deep, earthy, and slightly tangy flavor, while light rye flour offers a milder taste. Using a blend of rye and wheat flours is common, as wheat flour provides the necessary gluten structure that rye flour largely lacks, resulting in a loaf that holds its shape better and achieves a more open crumb than 100% rye.
Salt is crucial not only for flavor but also for controlling fermentation rate and strengthening the gluten network (in the wheat portion). The quality of your water can also play a subtle role; filtered water is often recommended to avoid potential issues with chlorine inhibiting starter activity. Understanding how these few ingredients interact is the first step towards a successful sourdough rye baking stone adventure.
The Importance of Rye Flour in Sourdough Baking
Rye flour behaves quite differently from wheat flour due to its lower gluten content and higher levels of pentosans, complex carbohydrates that absorb a lot of water and contribute to the stickiness often associated with rye dough. While rye doesn't develop a strong gluten network like wheat, the pentosans form a gel-like structure that helps trap gases produced during fermentation, contributing to the loaf's rise.
The proportion of rye flour in your recipe dictates the final characteristics of the bread. A loaf with 30% rye will be lighter with a more open crumb, similar to a wheat loaf, while a loaf with 70% or more rye will be denser, with a tighter crumb and a more pronounced rye flavor. Baking these higher-percentage rye loaves effectively on a Sourdough rye baking stone or steel requires careful management of dough hydration and fermentation to achieve the best possible structure and crust development.
Sourdough Starter for Rye Bread: A Deeper Dive
A vigorous and active sourdough starter is paramount for sourdough rye, just as it is for any sourdough bread. For rye bread, some bakers prefer to use a starter that has been fed specifically with rye flour, or a portion of rye flour, as this can enhance the rye flavor in the final loaf and potentially better inoculate the rye-heavy dough. The starter's microbial community of wild yeasts and lactic acid bacteria is responsible for leavening the bread and developing its characteristic sour flavor.
The health and activity of your starter directly impact the fermentation time and the loaf's ability to rise. An active starter should double in size within 4-8 hours after feeding, depending on the temperature. Using a ripe starter at its peak activity ensures adequate leavening power to lift the relatively dense rye dough. Properly managing your starter is key to achieving a good rise when baking sourdough rye on a Sourdough rye baking stone or steel.
Essential Equipment: Baking Stone vs. Baking Steel for Sourdough Rye
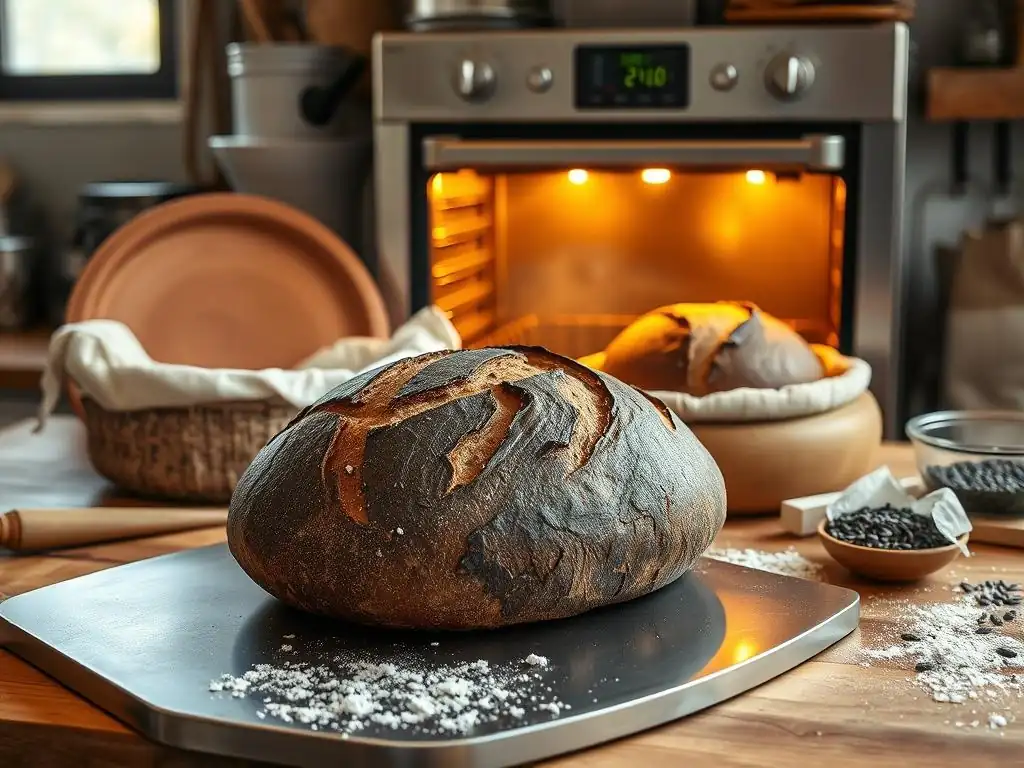
When baking sourdough rye bread, your choice of baking surface significantly impacts the crust and oven spring. The two most popular options are a baking stone and a baking steel, each offering distinct advantages.
The Benefits of Using a Baking Stone for Sourdough Rye
A baking stone, typically made from ceramic, cordierite, or clay, is an excellent tool for baking sourdough rye. Stones are known for their ability to absorb moisture from the dough's surface during baking, which can contribute to a crispier crust. They heat up gradually but retain heat very well, providing a stable baking environment. A common cordierite stone might weigh between 8 and 15 pounds and should be at least 1/2 inch thick for optimal heat retention.
Baking sourdough rye on a Sourdough rye baking stone provides reliable, even heat from below, crucial for developing a good crust and promoting oven spring in the initial phase. The porous nature of many baking stones helps prevent the bottom of the loaf from becoming steaming hot and potentially soggy, which can be a risk with wetter rye doughs. While they take longer to heat up than steel, they are often more budget-friendly and widely available.
The Advantages of Baking Steel for Sourdough Rye Bread
A baking steel, usually made from carbon steel or stainless steel, is renowned for its superior thermal conductivity. Steel heats up much faster than stone and holds significantly more heat energy. This means it can transfer heat to the bread dough much more quickly and intensely, resulting in a more powerful initial burst of oven spring. A typical baking steel might be 1/4 to 1/2 inch thick and weigh 12-20 pounds, offering substantial heat mass.
Baking sourdough rye bread on a baking steel can lead to a more dramatic rise and a potentially crispier crust due to the intense heat transfer. This rapid heat can be particularly beneficial for denser doughs, like those with a high percentage of rye, helping them achieve maximum lift. While steels are generally more expensive than stones and don't absorb moisture, their ability to deliver powerful, consistent heat makes them a favorite among many serious bread bakers.
Choosing the Right Baking Surface for Your Sourdough Rye
Deciding between a Sourdough rye baking stone and a baking steel often comes down to personal preference, budget, and desired outcome. If you prioritize a very crisp, dry crust and are working with slightly wetter doughs, a baking stone's moisture absorption might be appealing. They are also a great entry point into high-heat baking.
If your goal is maximum oven spring and you want the fastest possible heat transfer, a baking steel is likely the better choice. Its intense heat is excellent for driving expansion in the first few minutes. Both surfaces require significant preheating time to perform optimally – typically 45 to 60 minutes or longer at high temperatures (450-500°F or 230-260°C). Regardless of your choice, using either a Sourdough rye baking stone or a baking steel will significantly improve your sourdough rye baking results compared to baking on a regular baking sheet.
Preparing Your Sourdough Rye Dough
Successful sourdough rye baking on a baking stone or steel starts long before the dough hits the hot surface. Proper mixing, fermentation, shaping, and proofing are critical steps.
Mixing and Kneading Sourdough Rye: Techniques for Success
Mixing sourdough rye dough requires patience due to rye's unique characteristics. Unlike wheat dough, which develops a strong, elastic gluten network through vigorous kneading, rye dough is stickier and less elastic. Over-kneading rye can actually break down its fragile structure. Many sourdough rye recipes use a mix of rye and wheat flour, and the goal is often to develop the gluten in the wheat portion while simply integrating the rye flour and hydrating the dough.
A common technique is the "stretch and fold" method during the bulk fermentation. After an initial mix to combine ingredients (autolyse is also beneficial here, especially with the wheat flour), the dough is left to rest. Then, over the next few hours, the dough is gently stretched and folded onto itself every 30-60 minutes. This builds strength and structure without the aggressive handling of traditional kneading, which is particularly good for the rye component. For a high-percentage rye dough, minimal mixing followed by shaping might even be preferred.
The First Fermentation (Bulk Fermentation) of Sourdough Rye
Bulk fermentation is the period after mixing and before shaping, during which the dough develops flavor and gas from the sourdough starter. The duration of bulk fermentation for sourdough rye depends heavily on the ambient temperature and the activity of your starter, typically ranging from 4 to 8 hours at room temperature (around 70-75°F or 21-24°C). During this time, the dough should increase in volume by about 30-50%, show signs of activity like bubbles, and feel lighter.
Monitoring the dough, not just the clock, is crucial. Look for visual cues: the dough becoming puffier, smoother, and more cohesive. The stretch and folds performed during this phase help distribute the yeast and bacteria, equalize temperature, and build structure. Proper bulk fermentation is essential for developing the complex flavor profile characteristic of sourdough rye before it's ready to be shaped for baking on a Sourdough rye baking stone or steel.
Shaping Your Sourdough Rye Loaf for Stone or Steel Baking
Shaping sourdough rye dough can be a bit trickier than shaping pure wheat dough due to its stickiness and lower elasticity. The goal is to create tension on the surface of the loaf, which helps it hold its shape during baking and contributes to good oven spring. Common shapes include bâtards (ovals) and round boules. Using a light dusting of flour (rye or rice flour works well as it doesn't absorb into the dough surface as readily as wheat) on your work surface and hands is helpful.
For baking on a Sourdough rye baking stone or steel, the shaped loaf is typically placed onto parchment paper or directly onto a peel dusted with cornmeal or semolina. This allows for easy transfer onto the hot stone or steel in the oven. Shaping correctly ensures the loaf maintains its structure during the final proof and initial bake, preventing it from spreading out too much on the hot surface and maximizing its potential for a beautiful rise.
The Second Fermentation (Proofing) Process
The second fermentation, or proofing, is the final rise after shaping and before baking. This is typically done in a floured proofing basket (banneton) or a bowl lined with a floured cloth. Proofing develops a bit more gas and flavor and prepares the loaf for the intense heat of the oven. The duration can range from 2 to 4 hours at room temperature or 8 to 16 hours in the refrigerator (cold proofing). Cold proofing slows down fermentation, allowing for deeper flavor development and making the dough easier to handle and score.
Determining when the dough is perfectly proofed is key. An under-proofed loaf will have a very tight crumb and might burst unexpectedly during baking. An over-proofed loaf may collapse or spread and won't achieve good oven spring. A good test is the "poke test": gently press the dough with a floured finger; if the indentation slowly springs back halfway, it's usually ready. Proofing correctly ensures your sourdough rye loaf is primed for optimal performance on your Sourdough rye baking stone or steel.
Baking Sourdough Rye on a Baking Stone: Step-by-Step
Baking sourdough rye on a baking stone requires specific steps to leverage the stone's heat retention and achieve a fantastic crust.
Preheating Your Baking Stone for Optimal Results
Proper preheating is perhaps the most critical step when using a Sourdough rye baking stone. The stone needs ample time to absorb enough heat to deliver the necessary thermal shock to the dough. Place your baking stone in the oven before you turn it on, ideally on the middle rack. Preheat the oven to a high temperature, typically between 450°F and 500°F (230°C to 260°C).
Allow the stone to preheat with the oven for at least 45 minutes to a full hour after the oven indicates it has reached the target temperature. This ensures the heat has fully saturated the stone, not just the air in the oven. Using an infrared thermometer can confirm the stone's surface temperature is close to the oven setting, ensuring it's ready to provide that crucial initial heat burst to your sourdough rye loaf.
Scoring Your Sourdough Rye Loaf Before Baking
Scoring, or slashing, the surface of your sourdough rye loaf just before it goes into the oven is essential. This controls where the bread expands during oven spring, preventing uncontrolled cracking and allowing the loaf to achieve its maximum volume. It also adds a decorative element. Use a sharp blade (like a razor blade or a lame) and make quick, clean cuts about 1/2 inch deep.
For sourdough rye, especially those with higher rye percentages, the dough surface can be less elastic than wheat dough, so confident, swift cuts are important. Common scoring patterns include a single long slash for a bâtard or a cross or simple geometric pattern for a boule. Scoring properly directs the steam and expansion, helping to ensure your sourdough rye bakes beautifully on the hot Sourdough rye baking stone.
Baking Your Sourdough Rye: Time and Temperature Guide on Stone
Baking sourdough rye on a baking stone typically involves starting at a high temperature to encourage oven spring, then reducing the heat to finish baking. A common approach is to launch the loaf onto the preheated stone at 475-500°F (245-260°C). If you are using steam (highly recommended for crust development), add it just before or as you load the bread.
After about 15-20 minutes, once the loaf has achieved good oven spring and started to color, reduce the oven temperature to around 425-450°F (220-230°C) to ensure the interior bakes through without the crust burning. The total baking time for a standard 1.5 to 2-pound loaf is usually between 35 and 50 minutes, depending on its size and composition. The loaf is done when the crust is a deep golden brown and the internal temperature reaches 200-210°F (93-99°C).
Achieving a Crispy Crust on Your Sourdough Rye
A crispy crust is a hallmark of great sourdough rye, and baking on a Sourdough rye baking stone helps achieve this. The intense initial heat sets the crust rapidly. Introducing steam during the first 15-20 minutes of baking is also crucial. Steam keeps the surface of the dough moist, allowing it to expand fully before the crust hardens. This promotes better oven spring and results in a thinner, crispier crust rather than a thick, tough one.
Methods for creating steam include placing a tray of hot water on the bottom rack of the oven when preheating, or using a Dutch oven or cloche placed on the stone (though this modifies the direct heat transfer from the stone). After the initial steam phase, removing the steam source and continuing to bake at a slightly lower temperature in a dry environment allows the crust to properly crisp up and brown. Baking sourdough rye on a Sourdough rye baking stone combined with steam creates the ideal environment for that satisfying crackle.
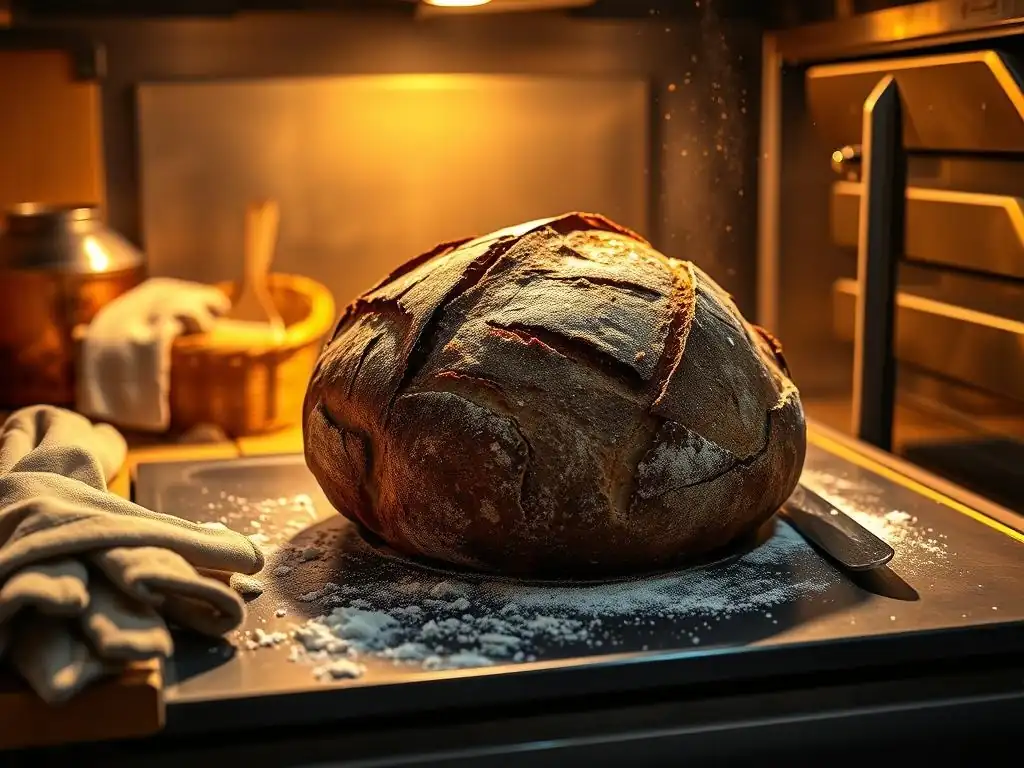
Baking sourdough rye on a baking steel leverages its superior heat transfer capabilities for maximum oven spring and a potentially more intense crust development.
Preheating Your Baking Steel for Maximum Heat
Similar to a baking stone, proper preheating is vital for a baking steel, but steel heats up faster and holds more energy. Place your baking steel in the oven on the middle or upper-middle rack. Preheat your oven to a high temperature, typically 475°F to 500°F (245°C to 260°C).
Due to steel's conductivity, a preheating time of 45 minutes is often sufficient, though some bakers prefer an hour to ensure maximum heat saturation. The steel will reach the set oven temperature more quickly than a stone. Using a thermometer to verify the surface temperature confirms the steel is ready to provide that powerful thermal shock needed for excellent oven spring when baking sourdough rye bread.
Scoring Techniques for Sourdough Rye on Steel
Scoring before baking on a baking steel follows the same principles as scoring for a stone: control expansion and add visual appeal. Because steel can provide a more vigorous oven spring, ensuring your scores are adequate to accommodate this expansion is important. Use a very sharp blade to make swift, clean cuts.
Consider slightly deeper cuts than you might for a purely wheat loaf, especially if working with a higher hydration rye dough, as the rapid heat from the steel will drive expansion quickly. Practice different patterns on scrap dough if you're new to scoring rye. Effective scoring ensures your sourdough rye loaf expands predictably and beautifully on the hot baking steel.
Baking Your Sourdough Rye: Time and Temperature Guide on Steel
Baking sourdough rye on a baking steel often starts at a very high temperature to capitalize on the steel's intense heat. Launch the loaf onto the preheated steel at 475-500°F (245-260°C). As with baking on a stone, using steam during the first 15-20 minutes is highly recommended for optimal crust development and oven spring.
After the initial high-heat phase and steam, reduce the oven temperature to 425-450°F (220-230°C) for the remainder of the bake. The total baking time for a standard loaf is typically 35-50 minutes. Monitor the crust color and internal temperature (200-210°F or 93-99°C) to determine doneness. The intense heat from the steel can sometimes lead to faster bottom browning, so keep an eye on it towards the end of the bake.
Ensuring a Perfectly Baked Sourdough Rye Loaf with Steel
A perfectly baked sourdough rye loaf on steel will have a well-developed crust and a moist, cooked interior. The steel's high heat ensures the base is thoroughly baked and crispy. To check for doneness, look for a deep golden-brown to dark brown crust (depending on the rye content) and tap the bottom of the loaf – it should sound hollow.
Using an instant-read thermometer to check the internal temperature in the center of the loaf is the most reliable method. Aim for 200-210°F (93-99°C). If the crust is browning too quickly but the interior isn't done, you can tent the loaf loosely with foil for the last 10-15 minutes of baking. Baking sourdough rye on a baking steel provides the power needed for a strong rise and excellent crust development.
Cooling and Storing Your Sourdough Rye Bread
Once your beautiful sourdough rye loaf is out of the oven, the baking process isn't quite finished. Proper cooling is essential for texture and flavor, and storing it correctly preserves its freshness.
Proper Cooling Techniques for Sourdough Rye
Allowing your sourdough rye bread to cool completely on a wire rack is crucial. As the bread cools, moisture from the interior redistributes throughout the loaf, the crumb structure sets, and flavors continue to develop. Cutting into a hot loaf can result in a gummy texture because the starches haven't fully set.
A standard-sized loaf of sourdough rye should cool for at least 2-3 hours at room temperature, and larger or denser loaves might require even longer. Place the loaf on a rack that allows air circulation on all sides. This prevents the bottom crust from becoming soggy from trapped steam. Patience during this cooling phase is rewarded with the best possible texture and flavor from your sourdough rye baking stone creation.
Storing Sourdough Rye to Maintain Freshness
Sourdough rye bread, like most artisanal loaves, is best enjoyed within a day or two of baking. To maintain freshness, store the cooled loaf at room temperature. Avoid refrigeration, as this can dry out the bread quickly.
The best storage methods include:
- Storing the whole loaf in a paper bag to allow the crust to remain crisp.
- Storing cut loaves cut-side down on a cutting board.
- Wrapping the cooled loaf in a linen bread bag or a clean tea towel.
- For longer storage, slice the cooled loaf and freeze the slices in an airtight bag or container. To enjoy, simply toast directly from frozen.
Troubleshooting Common Sourdough Rye Baking Issues
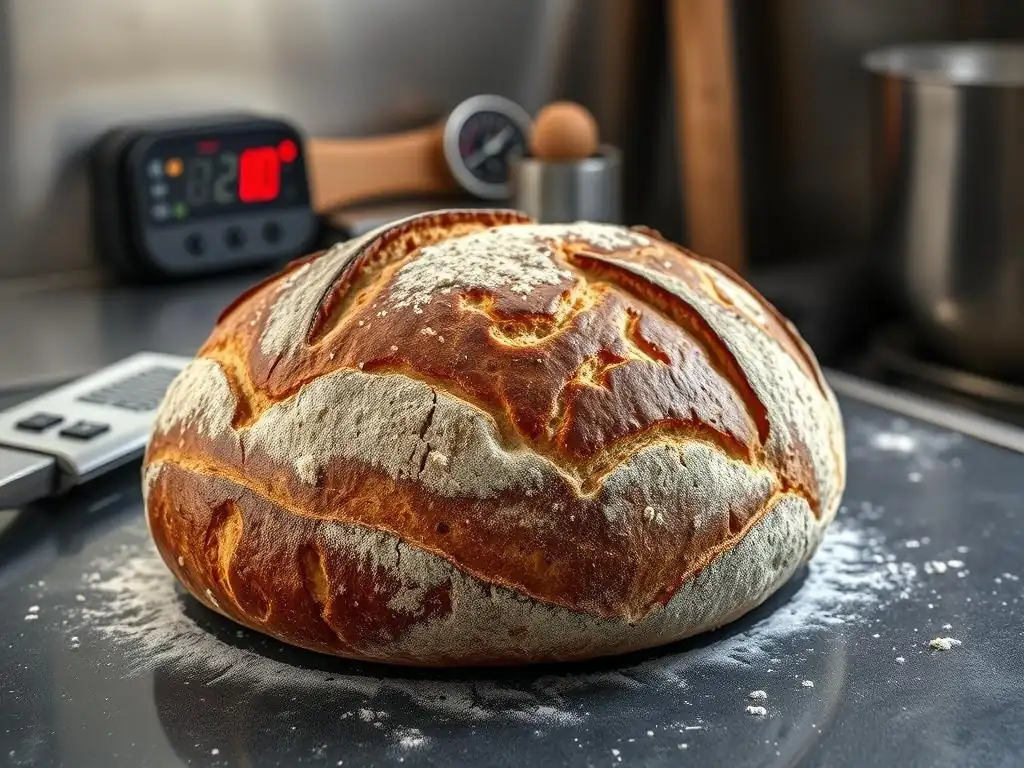
Even with the best tools like a Sourdough rye baking stone or steel, baking sourdough rye can present unique challenges. Here are some common issues and how to address them.
Dealing with a Dense Sourdough Rye Loaf
A dense crumb is a frequent issue with sourdough rye, especially in loaves with a high percentage of rye flour. This can be caused by several factors:
- An inactive starter: Ensure your starter is vigorous and ripe before using it.
- Insufficient fermentation: Rye ferments differently than wheat; ensure adequate bulk fermentation time, looking for signs of activity and a slight increase in volume (e.g., 30-50%).
- Over-proofing or under-proofing: Both can lead to poor structure.
- Too high rye percentage without proper technique: High rye loaves are naturally denser, but proper hydration and gentle handling help.
Ensure your starter is doubling reliably after feeding. Extend your bulk fermentation time slightly if the dough isn't showing enough activity. Pay close attention to the poke test during proofing. For higher rye loaves, accept a naturally tighter crumb but focus on developing flavor through long fermentation.
Preventing a Gummy Texture in Your Sourdough Rye
A gummy or sticky texture in the crumb, even after cooling, is another common problem with rye bread. This is often related to the pentosans in rye flour and insufficient baking.
- Not baked long enough: The interior didn't reach a high enough temperature to fully set the starches.
- Cutting too early: Slicing the loaf before it has completely cooled allows trapped moisture to create gumminess.
- Too high hydration without sufficient structure: A very wet dough needs careful handling and strong heat to bake through properly.
Always bake your sourdough rye until the internal temperature is 200-210°F (93-99°C), even if the crust looks done. Use a thermometer to be sure. Always let the loaf cool completely on a wire rack for several hours before slicing. Experiment with slightly lower hydration if gumminess persists, or ensure you are developing adequate structure through gentle folds during bulk fermentation. Baking on a hot Sourdough rye baking stone or steel helps ensure the bottom gets enough heat to cook through.
Achieving the Perfect Rise in Your Sourdough Rye Bread
Achieving good oven spring and overall rise in sourdough rye can be challenging compared to wheat bread because rye develops less gluten. Key factors include:
- Starter strength: A weak starter won't produce enough gas.
- Fermentation balance: Under-fermentation means not enough gas is produced; over-fermentation means the dough's structure is weakened and can't hold the gas.
- Shaping tension: Proper shaping creates surface tension to help the loaf hold its shape and expand upwards.
- Oven heat and steam: The initial burst of heat and steam from a Sourdough rye baking stone or steel and steam are crucial for maximizing expansion before the crust sets.
Feed your starter regularly to keep it active. Learn to read your dough's fermentation signs – aim for noticeable volume increase and bubbles during bulk. Practice your shaping technique to build good tension. Most importantly, ensure your oven is fully preheated and your Sourdough rye baking stone or steel is scorching hot, and use steam during the first part of the bake.
Sourdough Rye Baking Stone or Steel: Advanced Tips and Techniques
Once you've mastered the basics of baking sourdough rye on a baking stone or steel, explore these advanced techniques to elevate your bread.
Enhancing Flavor with Different Rye Flours
Experimenting with different types of rye flour significantly impacts the flavor profile of your sourdough rye bread. Light rye flour yields a milder, slightly sweet flavor, while medium rye offers more pronounced rye notes. Dark rye flour, which contains more of the outer layers of the rye berry, imparts a deep, earthy, and sometimes slightly bitter flavor, often resulting in denser loaves like pumpernickel.
Consider using specialty rye flours like sprouted rye for different enzymatic activity or rye chops and berries for added texture and flavor. Blending different rye flours or varying the percentage of rye relative to wheat flour (e.g., trying a 40% rye loaf versus a 70% rye loaf) allows you to explore a wide spectrum of sourdough rye flavors and textures, all benefiting from the high heat of a Sourdough rye baking stone or steel.
Adding Seeds and Grains to Your Sourdough Rye
Incorporating seeds and grains is a popular way to add flavor, texture, and nutritional value to sourdough rye. Common additions include caraway seeds (a classic pairing with rye), sunflower seeds, pumpkin seeds, flax seeds, and whole or cracked rye berries. These can be added directly to the dough during mixing or soaked overnight (a "soaker") to soften them before incorporating, which prevents them from absorbing moisture from the dough during fermentation.
Adding seeds and grains will affect the dough's hydration and handling. A soaker adds hydration but also weight. Adjust your water slightly if adding dry seeds. These additions create interesting pockets of texture and bursts of flavor throughout the loaf and work beautifully when baked on a Sourdough rye baking stone or steel, contributing to a complex crust and crumb.
Experimenting with Hydration Levels in Sourdough Rye
The hydration level (the ratio of water to flour by weight) significantly impacts the texture and handling of sourdough rye dough. Rye flour absorbs a lot of water due to its pentosans, meaning rye doughs can feel stickier than wheat doughs at the same hydration percentage. Common hydration for sourdough rye ranges from 70% to over 90%. Higher hydration generally leads to a more open crumb and moister loaf, but the dough is much harder to handle and shape.
Lower hydration (e.g., 70-75%) results in a more manageable dough that's easier to shape and score, leading to a more uniform, tighter crumb. Experimenting with hydration allows you to find a balance between ease of handling and desired crumb structure. Remember that effective shaping and the powerful heat transfer from a Sourdough rye baking stone or steel become even more critical when working with higher hydration sourdough rye doughs to achieve good oven spring and prevent the loaf from spreading excessively.
Conclusion: Mastering Sourdough Rye Baking with BakeWithEase
Baking sourdough rye on a baking stone or steel is a skill that yields incredibly rewarding results – loaves with complex flavors, satisfying textures, and beautiful crusts. By understanding the unique properties of rye flour, nurturing an active starter, and leveraging the intense, even heat provided by these tools, you can consistently bake exceptional bread at home.
We've covered the essentials, from ingredient specifics and dough preparation techniques like mixing, bulk fermentation, shaping, and proofing, to the step-by-step processes for baking on both a Sourdough rye baking stone and a baking steel. We've also touched upon troubleshooting common issues and explored advanced tips for flavor and texture variation.
Enjoy the Art of Sourdough Rye Baking on Stone or Steel
Embrace the journey of baking sourdough rye. Each loaf is an opportunity to learn and refine your technique. The subtle differences in flour, starter activity, ambient temperature, and baking surface (whether a Sourdough rye baking stone or steel) all contribute to the final bread. Don't be discouraged by imperfect loaves; they are part of the learning process.
With practice and attention to the details outlined in this BakeWithEase guide, you'll soon be confidently turning out magnificent sourdough rye loaves from your oven. The aroma filling your kitchen and the taste of freshly baked, homemade sourdough rye are truly unmatched. Happy baking!
Frequently Asked Questions
What is the primary benefit of using a baking stone for sourdough rye?
Using a baking stone ensures a crispier crust and a better oven spring for your sourdough rye by providing a consistent and high heat source.
Can I use baking steel instead of a baking stone for sourdough rye?
Yes, baking steel is an excellent alternative. It typically heats up faster and retains heat better than stone, leading to an even more pronounced crust and improved rise in your sourdough rye.
What temperature should I preheat my baking stone or steel to before baking sourdough rye?
Generally, preheating to a temperature between 450-500°F (232-260°C) is recommended to provide the necessary intense heat for optimal sourdough rye baking.
How long should I preheat my baking stone or steel before baking sourdough rye?
Allow at least 30-60 minutes for the stone or steel to fully preheat. This ensures it's thoroughly heated and ready to deliver the necessary heat for a perfect crust.
Do I need to prepare the baking stone or steel in any way before baking sourdough rye?
Lightly dusting the hot stone or steel with semolina flour or cornmeal helps prevent the dough from sticking. You can also use parchment paper for easy transfer and cleanup.
Final Reflection: The Stone's Embrace: Finding Perfection in Sourdough Rye
The pursuit of the perfect sourdough rye loaf is a journey, not a destination, and the baking stone plays a pivotal role in achieving that coveted crust and interior. This article explored the nuances of using baking stones and steels in crafting this complex bread, highlighting the impact of heat retention, even baking, and overall crust development. The results, as many bakers will attest, are transformative.
The enduring appeal of sourdough rye, with its tangy flavor and satisfying chew, is deeply intertwined with the craft of baking itself. It's a process that demands patience, precision, and a deep understanding of the ingredients and their interaction. Bread is the staff of life,
they say, and in the careful nurturing of a sourdough starter and the precise control offered by a baking stone, we find a connection to something ancient and profoundly satisfying. This connection transcends mere sustenance; it's a ritual, a meditative practice, and a testament to human ingenuity.
Now, consider your own baking journey. What have you learned about the interplay between your ingredients, your technique, and the tools you employ? Will you embrace the challenge of mastering the baking stone, allowing it to become an extension of your own creative process? Experiment with different flours, hydration levels, and baking times. Each loaf is a lesson, each crust a testament to your growing skill. The perfect sourdough rye awaits, not just in the recipe, but in your own hands.
Unleash Your Inner Baker: Craft the Perfect Rye
Thanks for taking the time to explore the world of sourdough rye bread! We hope you gained valuable insights into achieving that perfect crust and tangy crumb. Now it's time to put your newfound knowledge into action.
- Bake your own sourdough rye today! Don't let this knowledge gather dust – use the recipe and tips from this article to create your masterpiece. Challenge yourself to perfect your technique!
- Share your baking journey! Post a picture of your creation on social media and tag us – we'd love to see your results!
- Explore the other sourdough recipes on BakeWithEase.com – you might discover your new favorite bread!
What unique ingredient will you experiment with in your next sourdough rye loaf?