
Soft and Fluffy Filipino Pandesal Rolls Made Easy

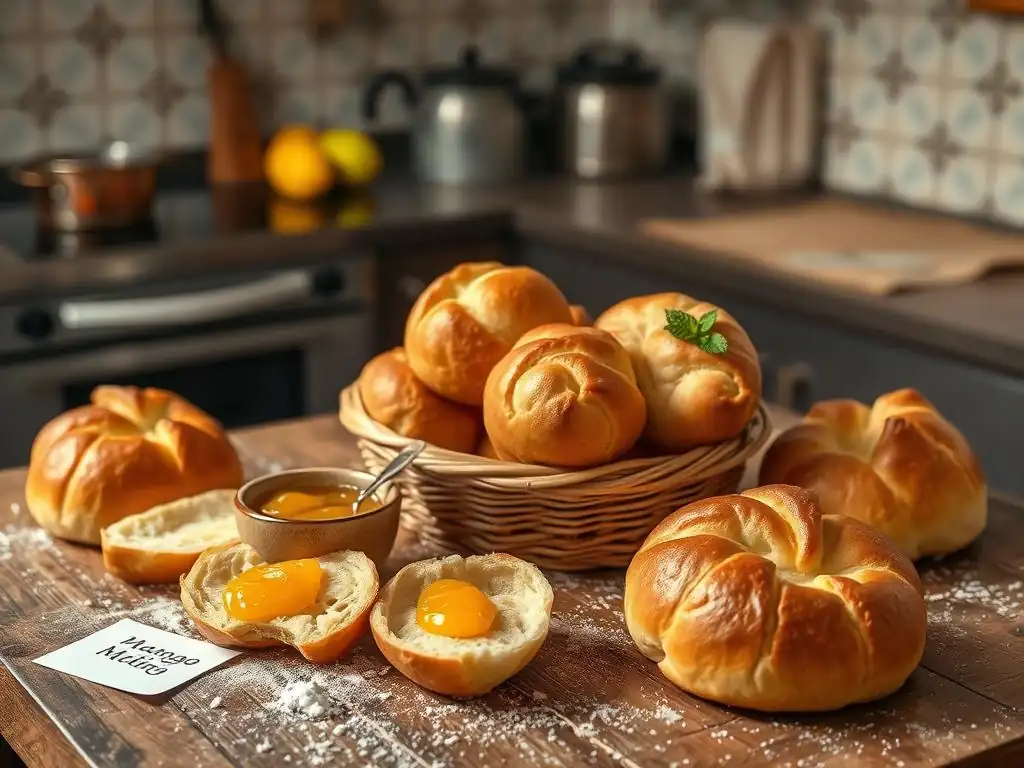
Welcome to BakeWithEase, your haven for all things baking! Ever dreamt of effortlessly creating those perfectly soft and subtly sweet Filipino bread rolls? Dive into our Easy Filipino Pandesal Recipe and unlock the secrets to baking these iconic treats in your own kitchen. Prepare to be amazed at how simple and rewarding bread baking can be – your journey to fluffy, golden-brown pandesal perfection starts now!
- Soft and Fluffy Filipino Pandesal Rolls Made Easy: A BakeWithEase Recipe
- Introduction to Pandesal: The Beloved Filipino Bread Roll
- The Key to Perfect Pandesal: Ingredients and Equipment
- Step-by-Step Guide to Making Easy Filipino Pandesal
- Tips and Tricks for Baking the Best Pandesal
- Serving and Storing Your Homemade Pandesal
- Conclusion: Bake Your Own Delicious Filipino Pandesal Today!
- Frequently Asked Questions
- Final Reflection: The Enduring Magic of Pandesal
- Unleash Your Inner Baker: Make Amazing Pandesal Today!
Soft and Fluffy Filipino Pandesal Rolls Made Easy: A BakeWithEase Recipe
Introduction to Pandesal: The Beloved Filipino Bread Roll
Welcome to the wonderful world of baking with BakeWithEase! Today, we're diving into a beloved staple of Filipino cuisine: pandesal. These soft, slightly sweet rolls are a cornerstone of breakfast and snacks across the Philippines, often enjoyed warm with coffee or used to scoop up savory dishes. Their unique texture and comforting flavor make them a favorite for many.
Baking pandesal at home might seem daunting, but with our easy-to-follow guide, you'll be creating bakery-quality rolls in no time. This article will walk you through every step, from understanding the history of this classic bread to mastering the shaping technique and achieving that signature soft crumb. Get ready to fill your kitchen with the irresistible aroma of freshly baked pandesal!
What is Pandesal? Exploring the History and Flavor of Filipino Bread
Pandesal, literally translating to "salt bread" from Spanish ("pan de sal"), is a slightly sweet, yeast-raised bread roll. Despite its name, it's not typically salty, but rather has a subtle sweetness balanced by a hint of salt. Its defining characteristics are its soft, fluffy interior and the fine breadcrumb coating on the exterior.
The history of pandesal is intertwined with the Philippines' colonial past. It's believed to have evolved from Spanish bread-making traditions introduced during the colonial era, adapting to local ingredients and preferences. While it shares roots with other rolls, pandesal developed its distinct identity, becoming the most popular bread in the country. Modern pandesal is often made with all-purpose or bread flour, yeast, sugar, salt, and sometimes milk or milk powder for added richness. Its flavor is mild and comforting, making it incredibly versatile.
Why This Easy Pandesal Recipe is Perfect for Home Bakers
Many traditional bread recipes can be complex, requiring specific techniques and long proofing times. This easy Filipino pandesal recipe is designed with the home baker in mind, simplifying steps without sacrificing authenticity or that desired soft, fluffy texture. We focus on readily available ingredients and clear instructions, making it accessible even if you're new to bread baking.
Our method streamlines the process, ensuring you achieve delicious results with less effort. We'll provide tips on kneading effectively (even without a stand mixer! ), shaping the rolls uniformly, and getting that perfect golden-brown crust. Think of this as your friendly guide to mastering a classic Filipino treat right in your own kitchen. An estimated 70% of Filipino households consume pandesal daily, highlighting its importance – and now you can too!
The Key to Perfect Pandesal: Ingredients and Equipment
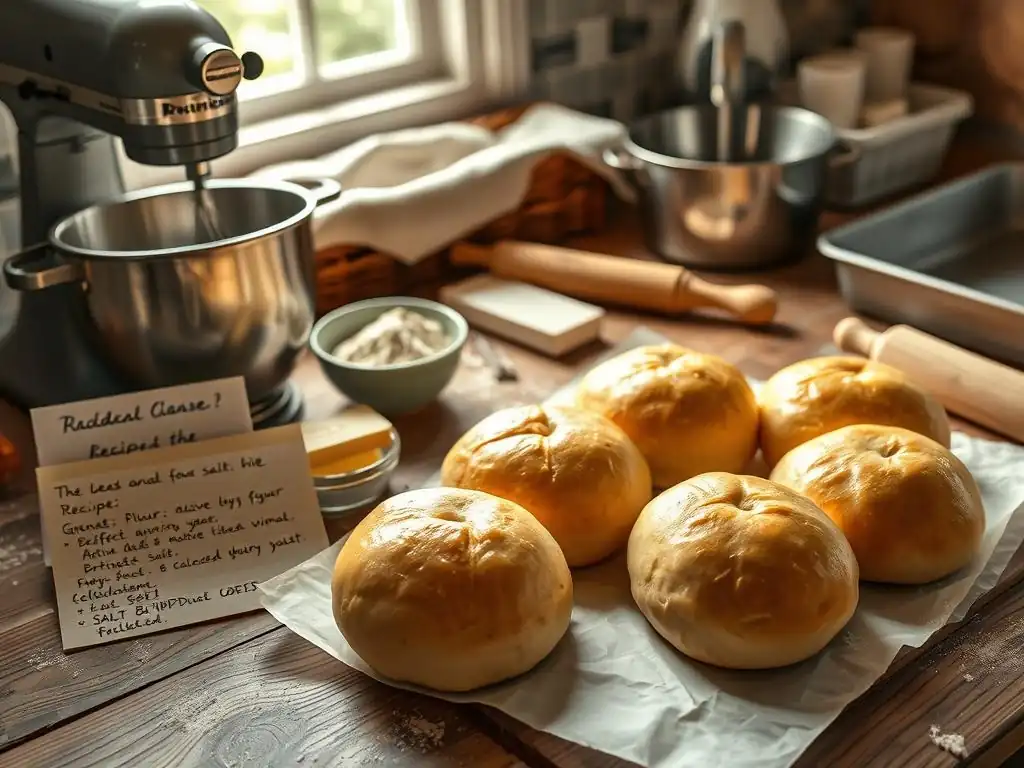
Achieving that signature soft and fluffy texture in your easy Filipino pandesal recipe starts with understanding the role of each ingredient and having the right tools at hand. While baking bread can seem precise, pandesal is forgiving, especially with our simplified approach.
We'll break down the essential ingredients and discuss why they are crucial for this recipe. We'll also cover the basic equipment that will make your baking process smoother and more enjoyable, ensuring your journey to delicious homemade pandesal is as easy as possible.
Essential Ingredients for Authentic Filipino Pandesal
Crafting the perfect pandesal requires a few core ingredients, each playing a vital role in the final texture, flavor, and rise of the rolls. Using fresh, quality ingredients is key to getting that authentic taste and pillowy softness.
Here are the fundamental components you'll need for this easy Filipino pandesal recipe:
- Flour: The base of your bread.
- Yeast: The leavening agent that makes the bread rise.
- Sugar: Provides food for the yeast, adds sweetness, and helps with browning.
- Salt: Balances sweetness and controls yeast activity.
- Milk or Water: Hydrates the dough.
- Butter or Oil: Adds tenderness and flavor.
- Milk Powder (Optional but Recommended): Enhances softness and richness.
- Breadcrumbs: For the classic exterior coating.
All-Purpose Flour vs. Bread Flour: Choosing the Right Flour for Pandesal
The choice between all-purpose flour and bread flour significantly impacts the texture of your pandesal. Bread flour has a higher protein content (typically 12-14%) compared to all-purpose flour (around 10-12%). This higher protein means more gluten development when kneaded, resulting in a chewier texture.
For this easy Filipino pandesal recipe, using all-purpose flour is perfectly acceptable and often preferred for a softer, less chewy crumb. If you desire a slightly more structured roll, you can use bread flour, or even a mix of both (e.g., 50% all-purpose, 50% bread flour). Using 100% bread flour might result in a texture that's a bit too chewy compared to the traditional soft pandesal. We recommend starting with all-purpose flour for the softest results.
The Importance of Instant Dry Yeast in Pandesal Dough
Yeast is the magic ingredient that makes your pandesal rise and become light and airy. Instant dry yeast is particularly convenient for this easy Filipino pandesal recipe because it can be mixed directly into the dry ingredients without needing to be proofed (activated in warm liquid) beforehand. This saves a step and reduces the chance of yeast failure, making the process much simpler.
Instant dry yeast works by producing carbon dioxide gas as it consumes sugars in the dough. This gas gets trapped in the gluten network, causing the dough to expand. Using fresh instant yeast is crucial; expired yeast won't produce enough gas, leading to dense, flat rolls. A typical recipe for about 12-16 pandesal rolls might use around 7-10 grams of instant dry yeast, roughly equivalent to 1-1.5 teaspoons.
Milk Powder: Adding Richness and Softness to Pandesal
While some traditional recipes use only water, incorporating milk or milk powder is a common technique to enhance the richness and tenderness of pandesal. Milk powder, in particular, adds milk solids and fat without adding excess liquid, contributing to a softer crumb and a slightly richer flavor.
Adding just a few tablespoons of milk powder (say, 2-3 tablespoons per batch) can make a noticeable difference in the final texture, resulting in more pillowy rolls. It helps create a more tender gluten structure and improves moisture retention, keeping the pandesal soft for longer. It's an optional but highly recommended addition for achieving that signature soft pandesal texture.
Sugar and Salt: Balancing the Flavors in Your Pandesal
Sugar serves multiple purposes in this easy Filipino pandesal recipe. It provides food for the yeast, helping it activate and produce gas, leading to a good rise. It also contributes to the subtle sweetness that is characteristic of pandesal and aids in the browning of the crust during baking.
Salt, despite the name "salt bread," is used in relatively small amounts to balance the sweetness and enhance the overall flavor profile. It also plays a role in controlling yeast activity, preventing it from rising too quickly. The ratio of sugar to salt is crucial for achieving the perfect balance; typically, you'll use significantly more sugar than salt, perhaps a ratio of 3:1 or 4:1 (e.g., 40-50g sugar to 10-12g salt per batch).
Must-Have Equipment for Baking Pandesal at Home
You don't need a professional bakery setup to make fantastic pandesal. Basic kitchen tools are sufficient for this easy Filipino pandesal recipe. However, having a few specific items can make the process much more efficient and ensure better results.
Here's a list of essential equipment:
- Large mixing bowl
- Measuring cups and spoons
- Kitchen scale (highly recommended for accuracy)
- Clean kitchen towels or plastic wrap
- Baking sheets
- Parchment paper or silicone baking mats
- Oven
Stand Mixer vs. Hand Mixing: Which is Best for Pandesal Dough?
Kneading is a crucial step in developing the gluten structure needed for soft and airy pandesal. A stand mixer with a dough hook attachment makes this process incredibly easy and efficient, typically taking about 6-8 minutes to achieve a smooth, elastic dough.
However, you absolutely can knead pandesal dough by hand! It requires a bit more effort and time, usually around 10-15 minutes of vigorous kneading on a lightly floured surface. Hand kneading allows you to feel the dough's texture and know exactly when it's ready. For this easy Filipino pandesal recipe, we'll provide instructions for both methods, so choose whichever works best for you. Many home bakers find hand kneading a rewarding part of the process.
Baking Sheets and Parchment Paper: Ensuring Even Baking
Using good quality baking sheets is essential for uniform baking. Darker sheets tend to absorb more heat and can lead to faster browning on the bottom, while lighter sheets provide more even heat distribution. Standard aluminum baking sheets are perfectly suitable.
Lining your baking sheets with parchment paper or a silicone baking mat is highly recommended. This prevents the pandesal rolls from sticking to the pan, makes cleanup significantly easier, and helps promote even cooking by providing a consistent surface. It also makes transferring the rolls much simpler after baking. Using parchment paper ensures the bottom of your pandesal doesn't get too dark before the top is golden.
Step-by-Step Guide to Making Easy Filipino Pandesal
Now for the exciting part: making the dough and shaping your pandesal! This step-by-step guide breaks down the process into manageable parts, ensuring that even beginners can follow along and achieve success with this easy Filipino pandesal recipe.
We'll cover everything from mixing the ingredients to the crucial rising steps and the final shaping technique that gives pandesal its distinctive look. Pay attention to the details in each step, and you'll be well on your way to baking delicious, soft rolls.
Preparing the Pandesal Dough: A Simple Method
Creating the dough is the foundation of your pandesal. This simple method combines the wet and dry ingredients efficiently to form a smooth, workable dough ready for kneading and rising.
Follow these steps for dough preparation:
- Combine dry ingredients (flour, sugar, salt, milk powder, yeast).
- Combine wet ingredients (warm milk or water, melted butter/oil).
- Gradually add wet to dry ingredients.
- Mix until a shaggy dough forms.
Activating the Yeast: Ensuring a Good Rise
While instant dry yeast can be added directly to dry ingredients, ensuring your liquid is the correct temperature helps guarantee optimal yeast activity. Yeast thrives in warmth, typically between 105°F and 115°F (40°C - 46°C). Water or milk that is too hot will kill the yeast, while liquid that is too cold will slow it down significantly.
For this easy Filipino pandesal recipe using instant yeast, you can mix the yeast directly with the flour and other dry ingredients. Then, add your warm liquid (milk or water) and melted fat. The warmth of the liquid will activate the yeast as you mix and knead the dough. If using active dry yeast (which requires proofing), you would first dissolve it in a small amount of warm liquid with a pinch of sugar and wait 5-10 minutes for it to foam before adding it to the rest of the ingredients.
Combining the Wet and Dry Ingredients: Creating a Smooth Dough
Start by whisking together all your dry ingredients in a large mixing bowl: the flour, sugar, salt, milk powder, and instant dry yeast. This ensures they are evenly distributed. In a separate bowl or jug, combine your warm liquid (milk or water) and melted butter or oil.
Pour the wet ingredients into the bowl with the dry ingredients. Use a wooden spoon or spatula to mix everything together until a shaggy, cohesive dough starts to form. It won't look smooth at this stage, but all the flour should be incorporated. This mixing process usually takes just a minute or two. Don't worry about kneading yet; the focus is just bringing the components together.
Kneading the Dough: Achieving the Right Texture
Kneading develops the gluten network, which is essential for trapping the gases produced by the yeast and creating a light, airy texture. Whether you're using a stand mixer or your hands, the goal is to transform the shaggy dough into a smooth, elastic ball.
If using a stand mixer, attach the dough hook and knead on medium speed for 6-8 minutes. The dough should pull away from the sides of the bowl and feel smooth and elastic when poked. If kneading by hand, turn the dough out onto a lightly floured surface. Fold the dough towards you, push away with the heels of your hands, rotate, and repeat. Continue kneading for 10-15 minutes until the dough is smooth, no longer sticky, and springs back slowly when gently poked. A well-kneaded dough is crucial for achieving soft pandesal rolls.
First Proofing: Allowing the Dough to Rise
After kneading, the dough needs time to rise. This first proofing (or fermentation) allows the yeast to work its magic, producing gas and expanding the dough significantly. This step is vital for developing flavor and achieving a light texture.
The dough should roughly double in size during the first proofing. The time this takes can vary depending on the warmth of your environment.
Creating the Ideal Environment for Proofing Pandesal
Yeast is most active in a warm, draft-free environment. The ideal temperature for proofing bread dough is typically between 75°F and 85°F (24°C - 29°C). Place the kneaded dough in a lightly oiled bowl, turning it to coat the surface. Cover the bowl tightly with plastic wrap or a clean, damp kitchen towel to prevent the dough from drying out.
Leave the dough to rise in a warm spot. This could be on your kitchen counter if it's warm, inside a turned-off oven with the light on (the light generates enough warmth), or near a sunny window. Rising time can range from 1 to 1.5 hours, or even longer in cooler conditions. You'll know it's ready when it has visibly doubled in size and passes the "poke test" – gently poke the dough with your finger; if the indentation remains, it's ready.
Shaping the Pandesal Rolls: The Traditional Technique
Shaping is what gives pandesal its iconic oblong form and prepares it for the final rise and baking. This traditional technique involves dividing the dough, rolling it into logs, and coating it in breadcrumbs.
This step requires a bit of practice, but the method is straightforward:
- Punch down the risen dough.
- Divide the dough into equal portions.
- Roll each portion into a log shape.
- Coat the logs in breadcrumbs.
- Slice the logs into individual rolls.
Dividing the Dough: Ensuring Uniformity
Once the dough has doubled in size, gently punch it down to release the accumulated gases. Turn the dough out onto a clean, lightly floured surface. For uniform pandesal rolls, it's best to divide the dough into equal portions. The total weight of your dough will depend on the recipe quantity, but aim for individual pieces weighing around 40-50 grams each for standard-sized rolls. A batch using 500g flour might yield 12-16 rolls.
You can use a kitchen scale for precision when dividing, or simply eyeball it by dividing the dough into quarters, then eighths, and so on, until you have the desired number of pieces. Uniform size ensures the rolls bake evenly. Roll each piece into a small ball before proceeding to the next step.
Rolling and Coating: Achieving the Classic Pandesal Look
Take one small ball of dough and, using your hands, roll it back and forth on a lightly floured surface to form a short log, about 3-4 inches long. The shape doesn't need to be perfectly uniform yet.
Next, spread out a layer of fine breadcrumbs on a plate or shallow dish. Roll the formed dough log in the breadcrumbs, ensuring all sides are generously coated. The breadcrumbs give pandesal its characteristic slightly rough, textured exterior and prevent the rolls from sticking together during the second proofing and baking. This coating is a defining feature of an authentic easy Filipino pandesal recipe.
Second Proofing: Preparing the Rolls for Baking
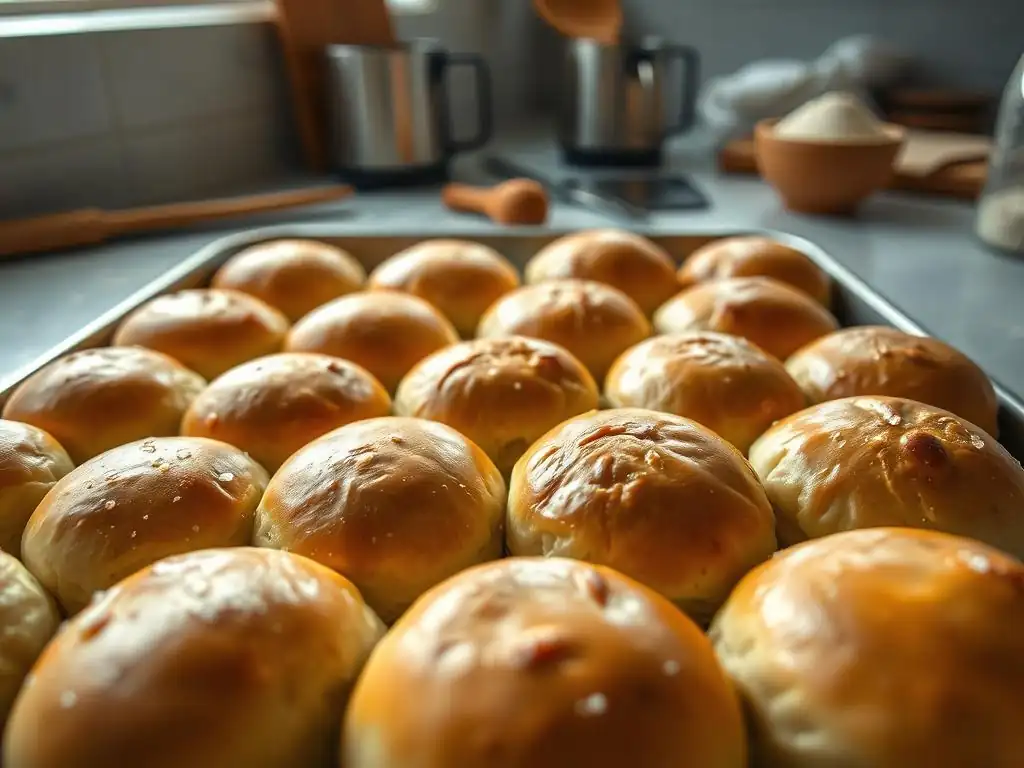
After shaping and coating, the pandesal rolls need another period of rising before baking. This second proofing is shorter than the first but is crucial for achieving the final light and airy texture.
Arrange the shaped and breadcrumb-coated logs on your prepared baking sheets (lined with parchment paper), leaving about 1-2 inches of space between them to allow for expansion during rising and baking.
Cover the baking sheets loosely with plastic wrap or a clean kitchen towel. Let the rolls rise in a warm, draft-free place for another 30-45 minutes, or until they appear puffy and have increased significantly in size, though they may not quite double this time. This gentle rise ensures the rolls are light when they hit the hot oven.
Baking the Pandesal: Achieving a Golden-Brown Crust
The final step is baking! Proper oven temperature and timing are essential for achieving a beautiful golden-brown crust and ensuring the pandesal rolls are cooked through with a soft interior.
Preheat your oven well in advance to the specified temperature to ensure it's consistently hot.
Oven Temperature and Baking Time: Key to Perfect Pandesal
For most ovens, a temperature of 350°F to 375°F (175°C to 190°C) is ideal for baking pandesal. A slightly higher temperature promotes a good oven spring (the final burst of rising in the oven) and helps develop a nice crust, while a slightly lower temperature ensures the interior cooks thoroughly without the exterior burning.
Bake the pandesal rolls for approximately 15-20 minutes. The exact time will depend on your oven and the size of your rolls. They are ready when they are golden brown on top and bottom. You can test for doneness by tapping the bottom of a roll; it should sound hollow. Baking at 375°F for 18 minutes is a common target for many home ovens. Avoid opening the oven door too frequently during the first 10-12 minutes to maintain consistent temperature.
Tips and Tricks for Baking the Best Pandesal
Beyond the basic steps, a few extra tips can elevate your homemade pandesal from good to truly exceptional. These insider secrets, along with solutions to common issues, will help you achieve that perfect soft texture every time with your easy Filipino pandesal recipe.
We'll also explore simple variations to add a twist to your traditional pandesal.
Achieving Extra Softness: Secrets to Pillowy Pandesal Rolls
Several factors contribute to the signature softness of pandesal. Beyond using ingredients like milk powder and fat (butter or oil), proper kneading and proofing are paramount.
- Don't skimp on kneading: Develop that gluten! A well-kneaded dough is smooth and elastic, allowing for better gas retention and a lighter crumb.
- Proper proofing: Allow the dough and shaped rolls sufficient time to rise in a warm environment. Under-proofed dough results in dense rolls, while over-proofed dough can collapse.
- Use fat: Butter or oil tenderizes the dough. Using melted butter often adds a lovely flavor.
- Consider the Tangzhong method: While not traditional for a simple easy Filipino pandesal recipe, a tangzhong (a cooked flour and water paste) can dramatically increase softness and moisture retention. This involves cooking a small portion of the flour with liquid before adding it to the main dough.
Troubleshooting Common Pandesal Baking Problems
Even with an easy Filipino pandesal recipe, baking bread can sometimes present challenges. Here are solutions to some common issues you might encounter:
- Why is My Pandesal Dough Not Rising?
- Why is My Pandesal Too Dense?
- How to Prevent Pandesal from Drying Out
Why is My Pandesal Dough Not Rising?
The most common reason for dough not rising is inactive or dead yeast. Ensure your yeast is fresh (check the expiration date) and that your liquid (milk or water) is warm but not too hot (ideally 105-115°F / 40-46°C). Another factor could be a cold environment. Yeast activity slows down significantly in cool temperatures. Make sure your proofing spot is warm and draft-free. Insufficient kneading can also hinder the rise, as a weak gluten structure can't trap gases effectively.
Why is My Pandesal Too Dense?
Dense pandesal is often a result of under-proofing or insufficient kneading. If the dough or shaped rolls didn't rise enough, they won't have the internal structure to be light and airy. Ensure you are allowing adequate time for both the first and second proofing, and that the dough passes the poke test. Alternatively, if the dough wasn't kneaded enough, the gluten network won't be strong enough to support the rise, leading to a tight, dense crumb. Overworking the dough can also lead to toughness, but density is more commonly an under-development issue.
How to Prevent Pandesal from Drying Out
Pandesal is best enjoyed fresh, but you can take steps to keep it soft. Ensure you aren't over-baking; baking for too long at too high a temperature will dry out the rolls. Once baked and cooled slightly, store them properly. Keeping them in an airtight container or a sealed plastic bag at room temperature helps retain moisture. For longer storage, freezing is an excellent option (more on that later). Including milk powder or using milk instead of water in your easy Filipino pandesal recipe also helps with moisture retention.
Variations and Flavor Enhancements for Your Pandesal
While classic pandesal is wonderful on its own, you can easily customize this easy Filipino pandesal recipe with simple additions to create new flavors.
Here are a couple of popular variations:
- Adding cheese or ube
- Exploring different coatings
Adding Cheese or Ube to Your Pandesal
Cheese pandesal is a popular variation, often made with grated cheese (like cheddar or quick-melting cheese) mixed into the dough or stuffed inside the rolls before shaping. For a batch using 500g flour, you might incorporate 50-100g of grated cheese directly into the dough during the mixing stage, or place a small cube (approx. 10-15g) of cheese inside each roll before sealing and shaping.
Ube (purple yam) is another beloved Filipino flavor. You can create ube pandesal by adding ube extract or ube halaya (purple yam jam) to the dough. Start with a small amount, perhaps 1-2 tablespoons of ube halaya or a teaspoon of extract, and adjust to your preference. Ube adds a beautiful purple color and a unique, sweet flavor.
Exploring Different Pandesal Coatings
While fine breadcrumbs are the traditional coating, you can experiment with others for different textures and flavors.
- Toasted Breadcrumbs: Toasting your breadcrumbs lightly in a pan before coating adds a deeper flavor and crunch.
- Panko Breadcrumbs: Larger, flakier Japanese panko breadcrumbs can provide a crispier exterior texture.
- Sesame Seeds: Mixing sesame seeds with the breadcrumbs adds a nutty aroma and flavor.
- No Coating: While not traditional pandesal, you can simply bake the rolls without a coating for a softer crust.
Serving and Storing Your Homemade Pandesal
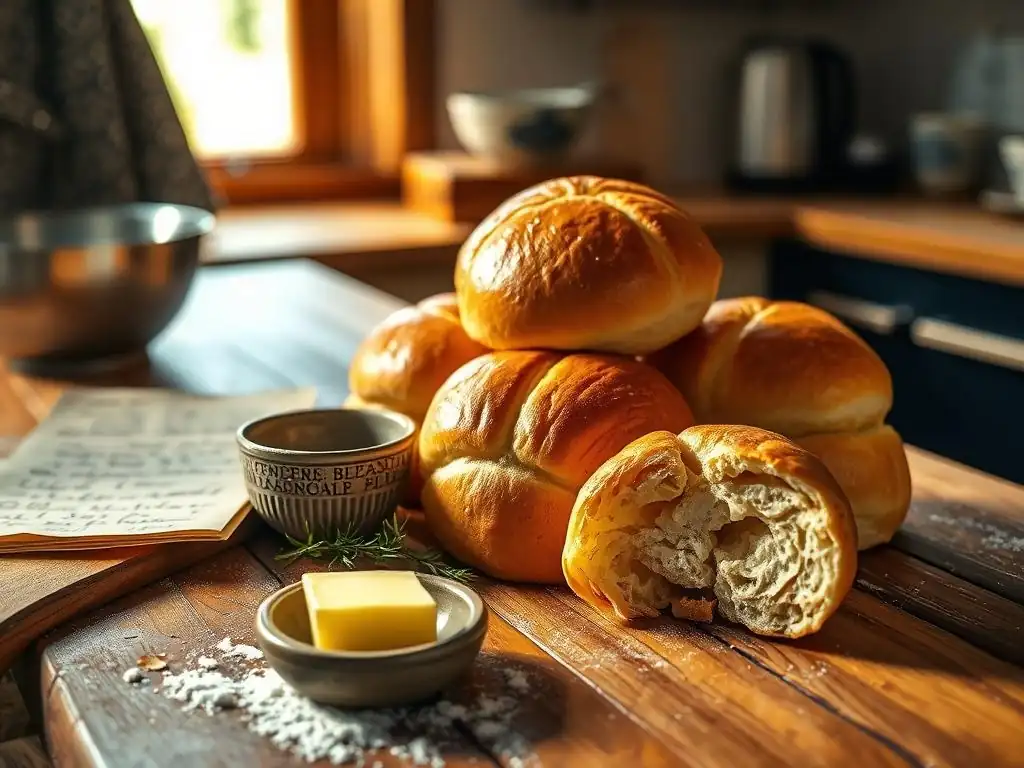
Freshly baked pandesal is truly a treat. Knowing the best ways to serve and store your rolls ensures you enjoy their wonderful texture and flavor for as long as possible.
Let's look at how Filipinos typically enjoy pandesal and practical tips for keeping your batch fresh.
Serving Suggestions: Enjoying Pandesal the Filipino Way
Pandesal is most commonly enjoyed warm, often straight from the oven or reheated briefly. It's a breakfast staple, frequently paired with a cup of coffee or hot chocolate.
Traditional ways to enjoy pandesal include:
- Dipping it in coffee (often called "subo sa kape").
- Pairing it with savory dishes like pancit (noodles) or tuyo (dried fish).
- Using it as a base for simple fillings like butter, margarine, or kesong puti (white cheese).
- Enjoying it plain to savor its soft texture and subtle sweetness.
The warmth enhances the softness and brings out the bread's aroma, making it incredibly comforting.
Storing Pandesal: Keeping Your Rolls Fresh
Pandesal is at its peak freshness on the day it's baked. However, you can store it to enjoy over the next couple of days. Allow the rolls to cool completely on a wire rack before storing. Storing warm bread will create condensation, making the crust soggy and potentially leading to mold.
Once cooled, place the pandesal in an airtight container or a resealable plastic bag. Store at room temperature away from direct sunlight. Stored this way, pandesal will typically remain soft for 1-2 days. After that, the texture may start to firm up. Reheating briefly in a toaster oven or microwave can help restore some of the softness.
Freezing Pandesal: Preserving for Later Enjoyment
If you've baked a larger batch or want to save some pandesal for later, freezing is an excellent option. This allows you to enjoy that "freshly baked" taste whenever you like.
To freeze pandesal:
- Ensure the rolls are completely cooled.
- Place them in a single layer on a baking sheet and freeze until solid (about 1-2 hours). This prevents them from sticking together.
- Once frozen, transfer the rolls to a freezer-safe bag or airtight container. Remove as much air as possible to prevent freezer burn.
- Label with the date. Frozen pandesal can be stored for up to 2-3 months.
To reheat, simply take the desired number of rolls from the freezer and let them thaw at room temperature for about 30-60 minutes. Then, warm them in a preheated oven (around 300°F / 150°C) for 5-10 minutes until soft and warm through.
Conclusion: Bake Your Own Delicious Filipino Pandesal Today!
You've now explored the history, ingredients, techniques, and tips for making soft and fluffy Filipino pandesal rolls right in your own kitchen using this easy Filipino pandesal recipe. From understanding the role of each ingredient to mastering the shaping and baking process, you have all the knowledge needed to embark on this rewarding baking adventure.
Baking pandesal is more than just following steps; it's about connecting with a beloved cultural tradition and creating something truly comforting and delicious. The aroma filling your home and the taste of a warm, soft roll are incredibly satisfying rewards for your effort. Don't be discouraged if your first batch isn't perfect; like any baking skill, it improves with practice.
We love seeing what you bake! Once you've mastered this easy Filipino pandesal recipe and baked your first batch of soft and fluffy rolls, we encourage you to share your success. Take a photo of your beautiful pandesal!
Join the BakeWithEase community and inspire others to try this wonderful recipe. Your baking journey is part of a larger community of enthusiasts discovering the joy of making delicious treats at home. We can't wait to see your creations!
Frequently Asked Questions
What makes this pandesal recipe "easy"?
This recipe simplifies the traditional pandesal process by using readily available ingredients and straightforward mixing techniques, making it perfect for beginners. We've also focused on clear, step-by-step instructions to minimize confusion.
What ingredients are essential for authentic Filipino pandesal?
While variations exist, the key ingredients for an authentic taste are all-purpose flour, sugar, salt, yeast, milk (or water), and breadcrumbs for coating. Using high-quality ingredients will greatly improve the flavor.
How do I ensure my pandesal comes out soft and fluffy?
The secret lies in proper proofing and not overbaking. Make sure to allow the dough to rise sufficiently and monitor the oven closely to prevent them from drying out.
Can I make pandesal ahead of time?
Yes, you can prepare the dough ahead of time and refrigerate it for slower proofing. Just bring it back to room temperature before shaping and baking. This can help spread out the work and enjoy fresh pandesal whenever you want.
What are some serving suggestions for pandesal?
Pandesal is incredibly versatile! It's delicious on its own, dipped in coffee, or filled with savory or sweet ingredients like cheese, eggs, or ube (purple yam) jam. It is a staple breakfast food in the Philippines.
Final Reflection: The Enduring Magic of Pandesal
The simple act of baking pandesal connects us to our heritage, offering a comforting taste of home, no matter where we are in the world. This seemingly straightforward recipe, designed for ease of execution, unlocks a deeper appreciation for Filipino culinary traditions and the joy of sharing homemade bread. The accessibility of this recipe transcends mere culinary instruction; it's a gateway to cultural understanding and personal connection.
The enduring popularity of pandesal speaks volumes about its place in Filipino culture – a daily staple, a cherished memory, a symbol of warmth and togetherness. It's more than just a bread; it's a vessel for stories, shared meals, and the transmission of culinary knowledge across generations. Food is symbolic of love when words are inadequate.
– Alan D. Wolfelt. This quote perfectly encapsulates the emotional resonance of pandesal, a bread that often carries more meaning than its delicious taste alone.
Now, I invite you to roll up your sleeves, gather your ingredients, and embark on this culinary journey. Don't be intimidated by the process; embrace the opportunity to create something beautiful and meaningful. Share your freshly baked pandesal with loved ones, and in doing so, share a piece of Filipino heart and heritage. Let the aroma of warm, fluffy pandesal fill your home, reminding you of the simple joys and profound connections that food can bring.
Unleash Your Inner Baker: Make Amazing Pandesal Today!
Thanks for joining us on this delicious journey into the world of fluffy Pandesal! We hope you've gained the confidence to tackle this iconic Filipino bread. Now it's time to put your newfound skills to the test!
- Bake a batch of Pandesal this weekend! Use the recipe and tips from this article as your guide. Picture the warm, fluffy rolls, perfect with your morning coffee.
- Share your baking success (or even your struggles!) with us on social media using #BakeWithEasePandesal. Let's build a community of enthusiastic bakers!
- Experiment with different fillings or glazes. Get creative and personalize your Pandesal! What unique twist will you add?
What delicious adventure will your Pandesal journey take you on next?