
Troubleshooting Sticky Sourdough Dough Made Easy

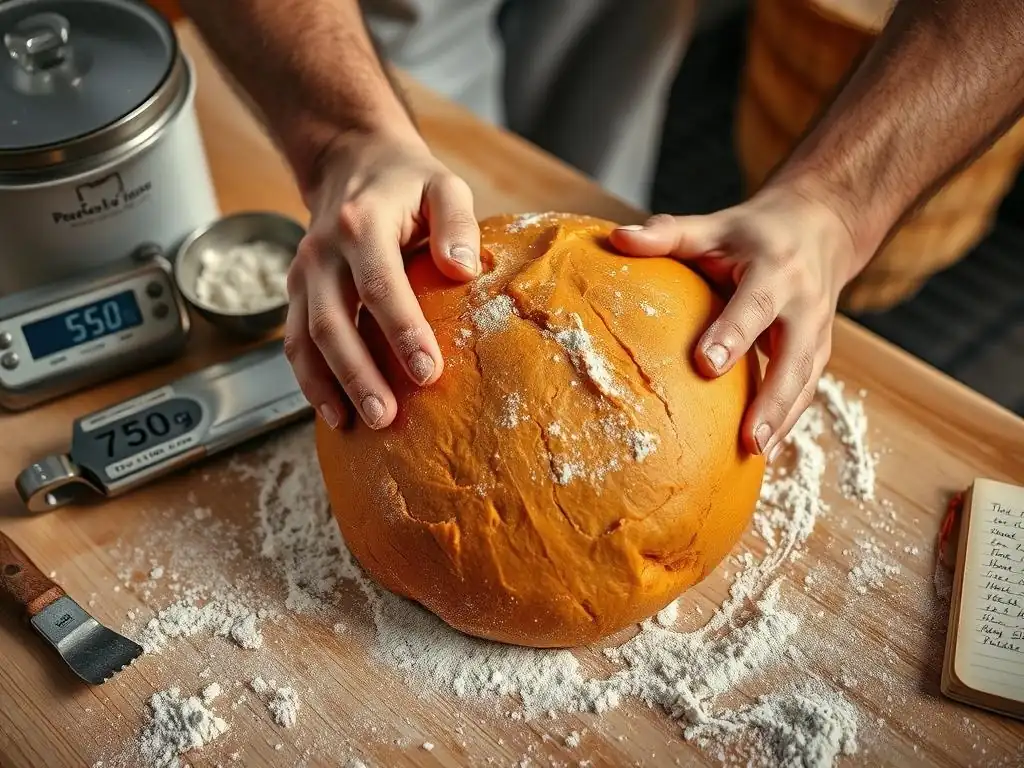
Welcome to BakeWithEase, your haven for conquering all things baking! Ever battled a sticky sourdough dough that just wouldn't cooperate? You're not alone! Dive into our ultimate guide, " Troubleshooting Sticky Sourdough Dough Made Easy," where we unravel the mysteries behind this common challenge. Discover proven techniques and simple adjustments that will transform your sourdough journey from frustrating to fulfilling. Ready to finally master that perfect loaf? Let's get baking!
- Troubleshooting Sticky Sourdough Dough Made Easy: BakeWithEase Guide
- Understanding Sticky Sourdough Dough: A Baker's Guide
- Sticky Sourdough Dough Troubleshooting Tips: Practical Solutions
- Avoiding Common Mistakes That Lead to Sticky Sourdough
- Rescuing Overly Sticky Sourdough Dough: Emergency Measures
- Achieving the Perfect Sourdough Consistency: Prevention is Key
- Advanced Sourdough Dough Handling Techniques for Sticky Dough
- Conclusion: Mastering Sticky Sourdough Dough for BakeWithEase Recipes
-
Frequently Asked Questions
- What are the most common reasons why sourdough dough becomes too sticky?
- How can I adjust the hydration level of my sourdough recipe to avoid stickiness?
- What are some techniques for developing gluten in sourdough dough to reduce stickiness?
- Is there a specific temperature range that is ideal for sourdough fermentation to prevent sticky dough?
- Besides hydration and gluten development, what other factors can contribute to a sticky sourdough dough?
- Final Reflection: Unlocking the Secrets of a Perfectly Manageable Sourdough
- Unlock Your Sourdough's Potential!
Troubleshooting Sticky Sourdough Dough Made Easy: BakeWithEase Guide
Understanding Sticky Sourdough Dough: A Baker's Guide
Why is My Sourdough Dough So Sticky? Common Causes
Sticky sourdough dough is a very common challenge for bakers, especially when starting out. Several factors contribute to this frustrating texture. One primary reason is often related to the hydration level of the dough – that is, the ratio of water to flour. Recipes with high hydration, say 80% or more, are naturally stickier than those at 65-70%.
While high hydration can lead to an open, airy crumb, it significantly increases the handling difficulty. Another frequent culprit is underdeveloped gluten. Gluten is the protein network that gives dough its structure and elasticity. If the dough hasn't been mixed, kneaded, or folded sufficiently, this network won't be strong enough to hold the water, resulting in a loose, sticky mass.
Beyond hydration and gluten development, the health and activity of your sourdough starter play a crucial role. A weak or inactive starter might not provide the necessary lift and structure during fermentation, leaving you with a dense, sticky dough. Furthermore, the type and quality of flour used can dramatically affect dough consistency.
Different flours absorb water at varying rates; using a lower protein flour or one with less absorption can make the dough stickier than anticipated based on the recipe's hydration percentage. Environmental factors like ambient temperature and humidity also influence dough behavior, potentially exacerbating stickiness. Understanding these root causes is the first step in effective sticky sourdough dough troubleshooting.
Identifying the Type of Stickiness: Is it Too Wet or Underdeveloped Gluten?
Distinguishing between dough that is simply too wet and dough that has underdeveloped gluten is key to applying the correct sticky sourdough dough troubleshooting tips. Dough that is too wet will feel excessively slack and soupy right from the start of mixing. It will be difficult to handle, clinging stubbornly to your hands and the work surface, and will lack any semblance of structure even after initial mixing. It might feel like trying to shape batter rather than dough.
On the other hand, dough with underdeveloped gluten might start feeling somewhat manageable but quickly breaks down or becomes sticky during handling or fermentation. If you try the "windowpane test" – gently stretching a small piece of dough – and it tears easily without forming a thin, translucent membrane, it indicates poor gluten development.
This type of stickiness is often accompanied by a lack of elasticity; the dough doesn't spring back when poked. While both can result in a sticky mess, recognizing the underlying issue helps you choose the right techniques – either adjusting the hydration or focusing on building gluten strength – for effective sticky sourdough dough troubleshooting.
Sticky Sourdough Dough Troubleshooting Tips: Practical Solutions
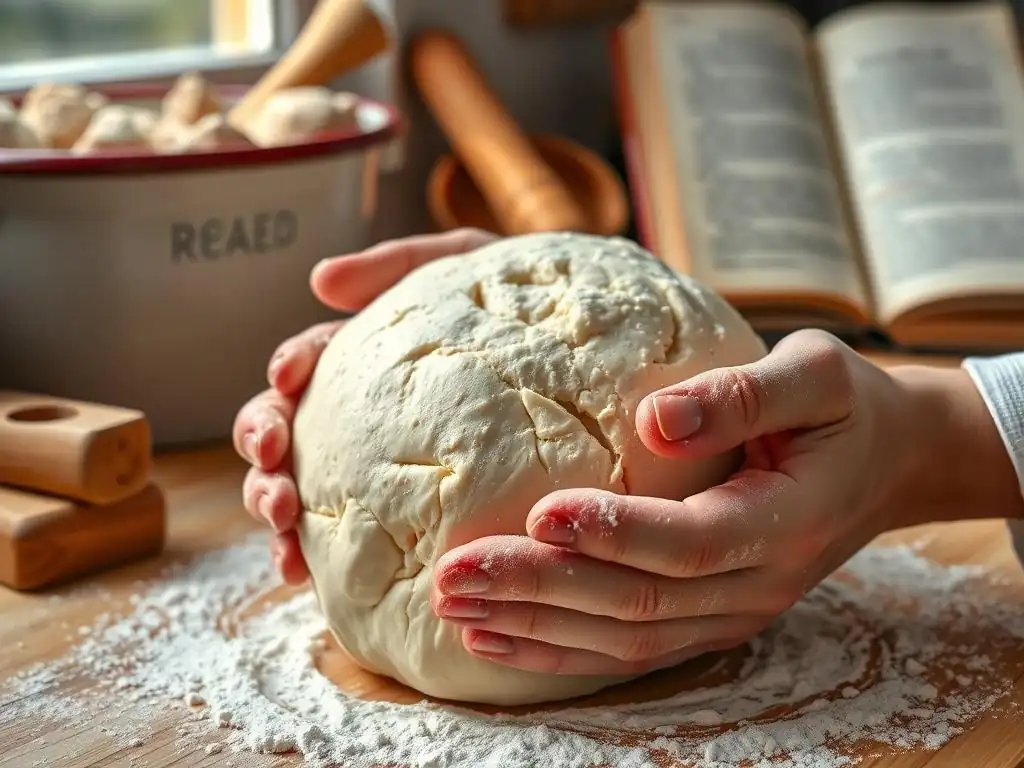
Sticky Sourdough Dough Troubleshooting Tip #1: Adjusting Hydration Levels
Adjusting hydration is often the most direct way to tackle sticky sourdough dough, especially if over-hydration is the primary issue. Hydration is typically expressed as a percentage of the flour weight. For example, 500g flour with 350g water is 70% hydration (350/500 * 100). Beginners often find doughs up to 75% hydration more manageable, while experienced bakers might work with 80% or higher. If your recipe calls for 85% hydration and you're struggling, reducing the water to 75% or 80% in your next bake can make a significant difference in handling without drastically changing the final crumb structure.
Reducing Water Content: A Step-by-Step Approach
If you've mixed your dough and it feels excessively wet and sticky right away, you can carefully adjust the hydration.
- Assess: Determine how much wetter the dough feels than expected. Is it slightly sticky or completely liquid?
- Calculate (Optional but Recommended): If you know the original recipe's hydration, decide on a target lower hydration (e.g., from 85% to 80%). Calculate the new water amount needed for your flour quantity.
- Add Flour Gradually: Add a small amount of flour, perhaps 10-20 grams at a time, to the dough.
- Incorporate: Gently fold or mix the flour into the dough until it is fully absorbed.
- Evaluate: Observe the dough's consistency. Is it still too sticky? Does it show signs of structure?
- Repeat: Continue adding small amounts of flour and incorporating until the dough reaches a more manageable, less sticky state.
Important Note: Adding flour after the initial mix can slightly disrupt the dough structure and may require extra gentle mixing or folding to re-incorporate and develop gluten. Avoid adding large amounts at once, as this can create dry pockets. This approach is one of the practical sticky sourdough dough troubleshooting tips when you realize the hydration is too high.
Understanding Flour Absorption Rates for Sourdough
Not all flours are created equal when it comes to absorbing water, and this is a critical factor in sticky sourdough dough troubleshooting. Hard wheat flours, like bread flour, typically have higher protein content (often 12-14%) and can absorb more water than softer wheat flours like all-purpose flour (usually 10-12% protein) or pastry flour.
Whole wheat flour and rye flour, despite their lower protein content compared to bread flour, often absorb more water due to the presence of bran and germ, which contain pentosans, highly absorbent carbohydrates. However, the gluten in these flours is often weaker or inhibited by the bran, which can still result in a stickier dough texture even at lower hydration percentages compared to white bread flour.
When a recipe specifies a certain hydration percentage, it's usually calibrated for a standard bread flour. If you substitute with a different type of flour, you may need to adjust the water amount. For instance, using all-purpose flour instead of bread flour in a high-hydration recipe might result in a much stickier dough than intended because the AP flour can't handle as much water.
Conversely, swapping in a significant amount of whole wheat might require more water initially, but the dough might still feel stickier due to the bran interfering with gluten development. Paying attention to the flour type and its typical absorption properties is a key part of preventing and addressing sticky sourdough dough.
Sticky Sourdough Dough Troubleshooting Tip #2: Developing Gluten Strength
Sufficient gluten development is paramount for preventing sticky sourdough dough. Gluten forms a network that provides structure and elasticity, allowing the dough to hold its shape and trap gases produced by the starter. When gluten is underdeveloped, the dough lacks structure, remains slack, and is prone to stickiness because the water isn't properly contained within the protein matrix. Think of gluten development as building a microscopic scaffold within your dough. Without a strong scaffold, the dough collapses and becomes a sticky puddle.
Proper gluten development is achieved through mechanical action – mixing, kneading, and folding – combined with time, which allows enzymes to work on the proteins. Different techniques suit different hydration levels. Very wet doughs are often best handled with gentle stretch and folds over a period, while lower hydration doughs can benefit from more vigorous kneading. Ensuring adequate gluten development is one of the most effective sticky sourdough dough troubleshooting tips.
The Importance of Autolyse in Sourdough Baking
Autolyse is a simple yet powerful technique that significantly aids gluten development and can help reduce stickiness. It involves mixing only the flour and water from your recipe and letting this mixture rest for a period, typically from 20 minutes up to several hours, before adding the salt and starter. During this rest period, the water hydrates the flour proteins (glutenin and gliadin), and enzymatic activity begins to break them down, making it easier for gluten to form later.
This initial hydration step allows gluten development to start passively without mechanical work. When you later add the starter and salt and begin mixing or folding, the gluten network forms much more readily and efficiently. Autolyse can make even high-hydration doughs feel less sticky and more manageable during the subsequent steps, contributing significantly to successful sticky sourdough dough troubleshooting. For example, a dough that felt incredibly slack and sticky after just mixing flour and water might feel noticeably smoother and more cohesive after a 30-60 minute autolyse.
Mastering the Stretch and Fold Technique for Sourdough
The stretch and fold technique is a cornerstone of developing gluten in high-hydration sourdough doughs, which are often too wet to knead effectively. It's a gentle method that builds strength over time. The process involves wetting your hands slightly to prevent sticking, grabbing one side of the dough, stretching it upwards, and folding it back over the center of the dough. You rotate the bowl and repeat this motion around the dough, typically doing 4-8 folds per set.
These sets of stretch and folds are usually performed every 30-60 minutes during the initial stages of bulk fermentation. This intermittent action allows the gluten network to strengthen and relax between sets, resulting in a more extensible and elastic dough. Over several hours and multiple sets (often 3-6 sets are common), a very sticky, slack dough will transform into a smooth, structured mass that pulls away from the bowl cleanly. Mastering this technique is a vital sticky sourdough dough troubleshooting tip for achieving a manageable dough texture.
Kneading Sourdough: When and How Much?
Kneading is a more vigorous method of gluten development, best suited for lower to moderate hydration sourdough doughs (typically below 75%). It involves working the dough on a surface, stretching and folding it repeatedly to align the gluten strands. While less common for the very wet sourdoughs favored for open crumbs, it's still effective for building strength in drier doughs or for bakers who prefer a more traditional approach. Kneading can be done by hand or using a stand mixer with a dough hook.
The duration of kneading depends on the hydration, the flour type, and whether autolyse was used. By hand, it might take 10-20 minutes of consistent work. In a stand mixer, it could take 5-10 minutes on a medium speed. The goal is to reach a point where the dough is smooth, elastic, and passes the windowpane test. Kneading is less effective for extremely sticky doughs where the dough adheres too much to the surface and hands, making stretch and folds or coil folds preferable sticky sourdough dough troubleshooting tips in those cases.
Sticky Sourdough Dough Troubleshooting Tip #3: Flour Quality and Types
The flour you use is arguably the most impactful ingredient on your dough's consistency, and understanding its properties is crucial for sticky sourdough dough troubleshooting. Flour quality varies significantly between brands and even between batches. Factors like protein content, milling process, and freshness all play a role. Using a high-quality bread flour with consistent protein levels (e.g., 12-14%) provides a stronger gluten structure capable of handling higher hydration levels without becoming excessively sticky.
Conversely, using a lower protein flour, such as some all-purpose flours (typically 10-12% protein), or a flour that has been improperly stored or is old, can lead to weaker gluten development and a stickier dough. The same hydration percentage that works perfectly with one brand of flour might result in a sticky mess with another. Experimenting with different flours and noting their behavior is a practical sticky sourdough dough troubleshooting tip.
High Protein Flour for Sourdough: Choosing the Right One
For sourdough, especially recipes aiming for an open crumb and higher hydration, choosing a flour with sufficient protein is key to building a strong gluten network. High protein flours, often labeled as "bread flour," contain a higher percentage of the proteins glutenin and gliadin, which form gluten when hydrated and worked. Look for bread flours with a stated protein content of 12% or higher. Some specialized flours might even reach 14-15%.
Using a strong bread flour provides the structural integrity needed to support the gas produced by the starter, resulting in a well-risen loaf rather than a dense, sticky one. If you consistently struggle with sticky dough, switching to a higher protein flour (e.g., moving from a 10.5% protein AP flour to a 13% protein bread flour) for at least part of your flour blend can be a very effective sticky sourdough dough troubleshooting tip.
Understanding Different Flour Blends for Improved Dough Strength
Many sourdough bakers use a blend of different flours to achieve desired flavors, textures, and handling properties. Combining a high-protein bread flour with other flours can sometimes help manage stickiness. For example, while whole wheat flour adds nutrition and flavor, its bran can interfere with gluten development, potentially leading to a stickier dough even if it absorbs more water. Using a blend, such as 80% white bread flour and 20% whole wheat, leverages the strong gluten potential of the white flour while incorporating the benefits of the whole grain.
Similarly, adding a small percentage of rye flour (which has very little gluten-forming protein but is highly absorbent due to pentosans) can make a dough stickier if hydration isn't adjusted. Understanding how different flours behave and how they interact in a blend allows you to formulate recipes or adjust existing ones to minimize stickiness while achieving your desired outcome. Experimenting with simple blends (like 90% bread flour, 10% whole wheat) is a good starting point for incorporating this sticky sourdough dough troubleshooting tip.
Sticky Sourdough Dough Troubleshooting Tip #4: Temperature Control
Temperature significantly impacts the activity of your sourdough starter and the fermentation process, both of which influence dough consistency and stickiness. Warmer temperatures accelerate fermentation, leading to faster gas production and gluten development. However, excessively warm temperatures can cause the dough to ferment too quickly, potentially leading to a breakdown of the gluten structure if not managed properly. This breakdown results in a slack, sticky dough that is difficult to handle and shape.
Conversely, cooler temperatures slow down fermentation, giving you more time to work with the dough and build structure gradually. While a very cold dough might feel stiff initially, fermentation at controlled, moderate temperatures (around 75-80°F or 24-27°C for bulk fermentation) is often ideal for balancing activity and structural development. Maintaining consistent temperature throughout the bulk fermentation is a key sticky sourdough dough troubleshooting tip.
The Impact of Ambient Temperature on Sourdough Dough
The temperature of your kitchen or proofing environment directly affects your sourdough dough. On a hot summer day, a dough might ferment twice as fast as it would in a cool winter kitchen. This rapid fermentation can make the dough feel stickier and harder to manage because the gluten network might not be developing as quickly as the starter is producing gas and enzymes are breaking down proteins.
If your environment is consistently warm, you might need to reduce the amount of starter you use, decrease the hydration slightly, or shorten fermentation times to prevent the dough from becoming over-fermented and sticky. Conversely, in a cold environment, you might need to find a warmer spot for your dough or extend fermentation times. Being aware of and adjusting for ambient temperature is a practical sticky sourdough dough troubleshooting tip.
Dough Temperature Management for Optimal Results
Controlling the actual temperature of your dough, rather than just the ambient temperature, is the most precise way to manage fermentation and avoid stickiness issues. You can monitor dough temperature using an instant-read thermometer. Aiming for a target dough temperature (often around 75-80°F or 24-27°C during bulk fermentation) helps ensure consistent results.
To achieve this, you can adjust the water temperature used in the mix. A common formula is the Desired Dough Temperature (DDT) calculation: DDT = Room Temp + Flour Temp + Starter Temp + Friction Factor. You then solve for the water temperature needed to hit the DDT. For example, if your DDT is 75°F, room/flour/starter are 70°F each, and friction is 5°F, you'd need water at 75 * 4 - (70 + 70 + 70 + 5) = 300 - 215 = 85°F. Using warmer or cooler water allows you to start the dough at the optimal temperature, leading to more predictable fermentation and less chance of encountering overly sticky sourdough dough.
Avoiding Common Mistakes That Lead to Sticky Sourdough
Prevention is often the best approach to sticky sourdough dough troubleshooting. Many common issues arise from simple errors in measurement, handling, or starter maintenance. Being meticulous in your process can save you a lot of frustration.
Over-Hydration Errors: Measuring Ingredients Accurately
One of the most frequent causes of sticky sourdough dough is simply adding too much water. This often happens when using volume measurements (cups) rather than weight measurements (grams). Flour compacts differently depending on how it's scooped, leading to inconsistent amounts. Using a digital scale to weigh all your ingredients, especially flour and water, is essential for accuracy. A difference of just 20-30 grams of water in a standard recipe can change a manageable 70% hydration dough into a frustratingly sticky 75% dough.
Inadequate Kneading or Folding: Building Gluten Structure
Not developing the gluten sufficiently is another major contributor to sticky dough. If you cut short the kneading time or don't perform enough stretch and folds during bulk fermentation, the gluten network won't be strong enough to support the dough structure. This leaves you with a slack, sticky dough that lacks elasticity and body. Be patient and ensure your dough passes the windowpane test or shows significant strength and structure after bulk fermentation before moving on.
Using Old or Weak Starter: Maintaining a Healthy Sourdough Starter
The health and activity of your sourdough starter directly impact your dough's fermentation and structure. A weak or inactive starter won't produce enough gas to leaven the dough properly, and its enzymatic activity might break down the gluten structure too quickly, leading to a dense, sticky result. Ensure your starter is active and bubbly, ideally doubling in size within 4-8 hours after feeding, before using it in a bake. Using a vigorous starter is a preventative sticky sourdough dough troubleshooting tip.
Rescuing Overly Sticky Sourdough Dough: Emergency Measures
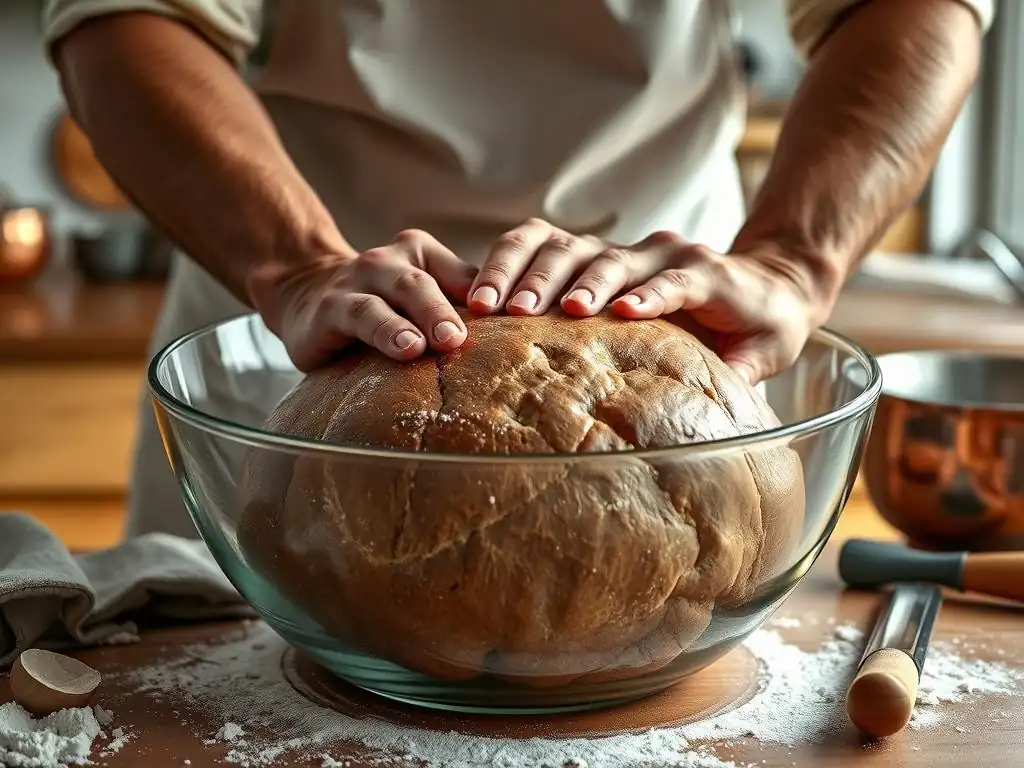
Sometimes, despite your best efforts, you end up with dough that is just too sticky to handle. Don't despair! There are a few sticky sourdough dough troubleshooting tips you can employ to try and salvage the situation, though they are often considered "last resorts" as they can impact the final loaf quality.
Adding Flour After Mixing: A Last Resort
If your dough is severely over-hydrated (feels more like batter than dough) and you've already started fermentation, you can try adding more flour. This is generally discouraged after the initial mix because it can be difficult to incorporate evenly without overworking the dough or creating dry clumps. However, if the dough is unmanageable, gently fold in small amounts (e.g., 10-20g at a time) of flour using wet hands or a bench scraper until the dough becomes slightly more cohesive. Be aware this might require additional gentle folding later to help integrate the new flour and build some structure.
The Benefits of a Longer Bulk Fermentation (with Caution)
Sometimes, a dough that seems sticky early in bulk fermentation just needs more time for the gluten to develop passively and for the flour to fully hydrate. Extending the bulk fermentation period, especially if performing stretch and folds, can give the dough a chance to build strength. However, this must be done with caution. If the dough is already over-fermenting (breaking down, becoming very slack and sticky, losing tension), a longer fermentation will only make it worse. This sticky sourdough dough troubleshooting tip is most effective when the stickiness is due to under-development, not over-fermentation.
Using Bench Scrapers and Wet Hands for Easier Handling
When working with inherently sticky or high-hydration dough, the right tools and techniques are essential for sticky sourdough dough troubleshooting. Liberally wetting your hands (rather than flouring them) before handling the dough prevents it from sticking to you. Water acts as a barrier. A sturdy bench scraper is invaluable for manipulating sticky dough on the counter, dividing it, and helping with folds without it adhering everywhere. Avoid the temptation to add excessive flour to your work surface or hands, as this can change the overall hydration of the dough and result in a tougher crust or denser crumb.
Achieving the Perfect Sourdough Consistency: Prevention is Key
Ultimately, the best sticky sourdough dough troubleshooting tips involve preventing the problem in the first place. Consistency in your process and understanding the variables are paramount.
Precise Measurement and Ingredient Ratios
As mentioned earlier, using a digital scale for all ingredients is non-negotiable for consistent sourdough baking. Pay close attention to the hydration percentage in recipes and consider starting with lower hydration (e.g., 65-70%) if you are new to sourdough or a specific flour. Knowing the exact ratios of flour, water, salt, and starter is the foundation for predictable dough consistency.
Patient Gluten Development
Allowing sufficient time for gluten development through autolyse, kneading, or multiple sets of stretch and folds is critical. Don't rush this process. Watch the dough, not the clock. Does it look smooth? Is it gaining tension? Does it pass the windowpane test? These are better indicators of readiness than a set time.
Controlled Fermentation
Managing the fermentation process, both bulk fermentation and proofing, through temperature control and observation is vital. Understand what your dough should look and feel like at different stages. An under-fermented dough can be dense, while an over-fermented dough becomes slack, sticky, and loses structure. Learn to recognize the signs of proper fermentation (e.g., dough increasing significantly in volume, showing bubbles, feeling airy but still having tension).
Advanced Sourdough Dough Handling Techniques for Sticky Dough
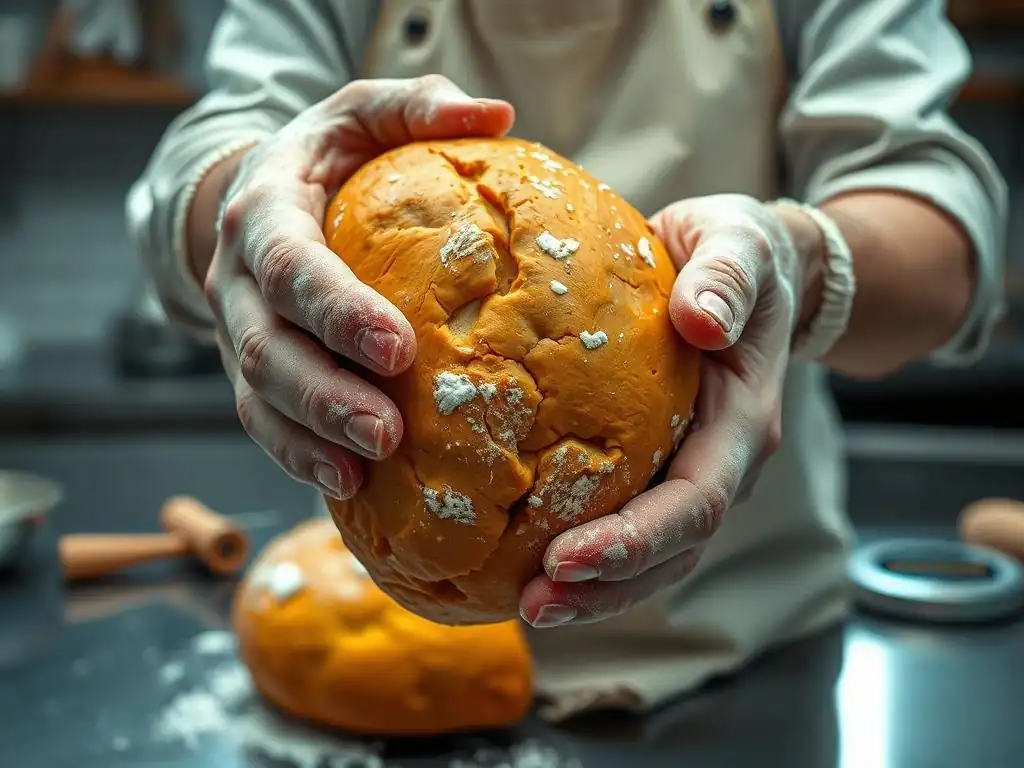
For those looking to tackle higher hydration doughs or refine their skills, certain techniques can make working with sticky sourdough dough much more manageable. These require practice but can lead to fantastic results.
Working with High-Hydration Sourdough: Expert Tips
High-hydration doughs (80%+ hydration) are intentionally sticky and require specific handling techniques.
- Minimal Handling: The less you handle very wet dough, the better. Use gentle stretch and folds or coil folds in the bowl or proofing container rather than turning the dough out onto a floured surface for kneading.
- Wet Hands/Tools: Always wet your hands and use wet tools (like a bench scraper) when necessary.
- Use the Container: Perform folds and manipulations directly in your bulk fermentation container (a clear, straight-sided one is best for observing volume increase).
- Plenty of Time: Allow ample time for bulk fermentation and gluten development. High hydration doughs often benefit from longer fermentation periods.
- Cold Proofing: Retarding the dough in the refrigerator for 12-48 hours after shaping significantly firms it up, making it much easier to score and handle before baking.
Using Cold Fermentation to Improve Dough Handling
Cold fermentation, or cold proofing, is a powerful sticky sourdough dough troubleshooting tip, especially for high-hydration doughs. After shaping your loaf, place it in the refrigerator (typically 35-40°F or 2-4°C) for an extended period (12-48 hours). The cold temperature dramatically slows yeast and bacterial activity but allows enzymes to continue breaking down complex carbohydrates and proteins. This process strengthens the gluten network and firms up the dough considerably.
When you take the dough out of the fridge, it will be much easier to score cleanly and transfer to your baking vessel compared to a warm, potentially sticky loaf proofed at room temperature. Cold fermentation also develops deeper flavors in the bread. This technique is a staple for bakers seeking better handling and flavor in their sourdough, directly addressing the stickiness issue at the final stage.
Conclusion: Mastering Sticky Sourdough Dough for BakeWithEase Recipes
Dealing with sticky sourdough dough is a rite of passage for many bakers. While it can be frustrating, it's a challenge that can be overcome with understanding, patience, and the right techniques. By focusing on the fundamentals – precise measurements, proper gluten development, managing hydration, using quality flour, and controlling temperature – you can prevent many sticky situations before they arise.
Key Takeaways for Troubleshooting Sticky Sourdough
- Hydration is Key: Be precise with your water measurements and understand how different flours absorb water. Lower hydration often means less stickiness.
- Build That Gluten: Ensure your dough has sufficient strength through kneading or stretch and folds. Underdeveloped gluten is a major cause of stickiness.
- Flour Matters: Use high-quality flour with adequate protein content for better structure.
- Control Temperature: Manage fermentation speed to prevent dough breakdown.
- Use the Right Tools: Wet hands and bench scrapers are your friends when dealing with sticky dough.
- Prevention is Best: Accurate measurements, patient development, and a healthy starter are your primary defenses against sticky sourdough dough.
- Don't Be Afraid to Adjust: Be prepared to slightly adjust hydration or techniques based on your flour and environment.
Mastering sticky sourdough dough handling comes with practice. Each bake is a learning opportunity. By applying these sticky sourdough dough troubleshooting tips, you'll gain confidence and achieve the perfect sourdough consistency for all your BakeWithEase recipes!
Frequently Asked Questions
What are the most common reasons why sourdough dough becomes too sticky?
Sticky sourdough dough is often caused by high hydration, under-developed gluten, or the ambient temperature being too warm. These factors impact the dough's ability to hold its shape and can result in a frustrating baking experience.
How can I adjust the hydration level of my sourdough recipe to avoid stickiness?
Start by reducing the water content by a small percentage, perhaps 5-10%. You can also try using a stronger bread flour which can absorb more water without becoming overly sticky.
What are some techniques for developing gluten in sourdough dough to reduce stickiness?
Effective gluten development can be achieved through proper kneading techniques or autolysing the flour and water before adding the starter. These methods strengthen the dough's structure and reduce stickiness.
Is there a specific temperature range that is ideal for sourdough fermentation to prevent sticky dough?
While warmer temperatures accelerate fermentation, excessively warm environments can lead to enzyme activity that breaks down gluten, resulting in a sticky dough. Aim for a fermentation temperature between 70-75°F (21-24°C).
Besides hydration and gluten development, what other factors can contribute to a sticky sourdough dough?
Using old or weak starter can negatively impact dough strength and contribute to stickiness. Also, consider the quality of your flour; low-protein flours can struggle to create a strong dough structure.
Final Reflection: Unlocking the Secrets of a Perfectly Manageable Sourdough
The struggle with sticky sourdough dough is a universal baker's plight, a frustrating hurdle on the path to perfectly risen loaves. Yet, understanding the underlying causes—from hydration levels to fermentation times—empowers us to transform this sticky challenge into a manageable process. This knowledge isn't just about avoiding a messy kitchen; it's about unlocking the potential for consistently delicious sourdough bread.
The journey of mastering sourdough is a testament to patience and observation. It's a dance between science and intuition, where understanding the nuances of hydration and fermentation is key to success. The most beautiful thing we can experience is the mysterious. It is the source of all true art and science.
- Albert Einstein. This quote resonates deeply with the sourdough process; the seemingly unpredictable nature of the dough yields beautiful results when we understand its underlying mysteries. The sticky dough, often a source of frustration, becomes a fascinating puzzle to solve, leading to a deeper appreciation for the craft.
Now, armed with these troubleshooting tips, I invite you to approach your next sourdough bake with renewed confidence. Don't let sticky dough deter you; embrace the challenge. Experiment with different techniques, observe your dough's behavior, and learn from each bake. Remember, every sticky situation is an opportunity to refine your skills and create a loaf that reflects your growing mastery of this ancient art. The journey is as rewarding as the destination – a perfectly risen, delicious sourdough loaf.
Unlock Your Sourdough's Potential!
Thanks for diving into the world of sourdough with us! We hope you gained valuable insights into troubleshooting that sticky dough. Now it's time to put your new knowledge into practice.
- Try the "Water Adjustment" technique: Remember that subtle water change? Give it a shot in your next loaf and see the amazing difference it makes to your dough's consistency. This will be your new secret weapon!
- Experiment with different flours: Explore how different flour types impact your sourdough's stickiness. Discover your new favorite flour blend.
- Share your sourdough journey! Tell us about your baking experience – what worked, what didn't, and what you learned. Let's build a supportive baking community together!
So, what exciting sourdough adventure awaits you today?