
Your First Successful Sourdough Rye Loaf Starts Here

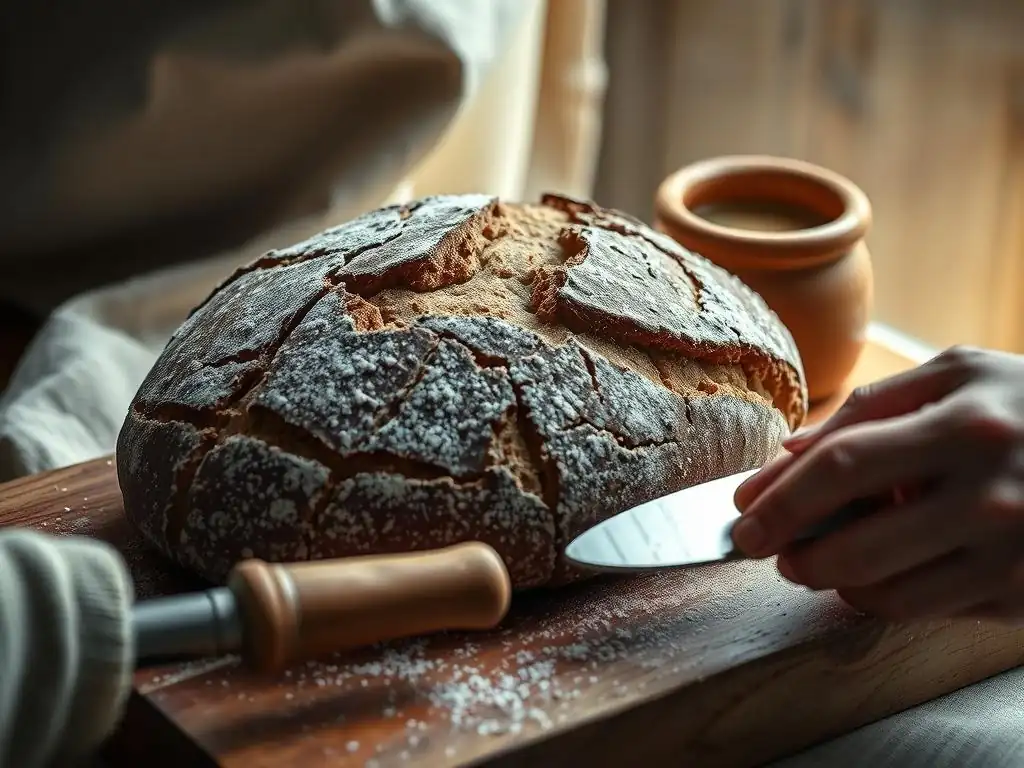
Welcome to BakeWithEase, your guide to unlocking the secrets of delicious homemade baking! Ever dreamed of crafting that perfect, tangy loaf but felt intimidated? You're in the right place. Get ready to embark on a rewarding journey as we delve into the world of sourdough.
Curious about creating your own starter? Our main focus today is demystifying the process with an easy sourdough rye starter recipe that will set you up for success. Discover how simple it is to cultivate a thriving culture, and prepare to bake truly exceptional bread. What secrets will you unlock? Let's get started!
Ingredients for a 100% Rye Sourdough Starter
Creating a robust and active rye sourdough starter is the crucial first step towards baking authentic German Roggenbrot. The beauty of a 100% rye starter lies in its simplicity and the speed at which rye flour ferments compared to wheat. You only need two fundamental ingredients: rye flour and water.
For best results, opt for a good quality organic whole rye flour. This type of flour contains more of the grain's natural enzymes and microorganisms, which are essential for kickstarting fermentation. Approximately 50 grams of rye flour and 50 grams of water are sufficient to begin your starter journey, giving you a manageable amount to work with initially.
The type of water you use can also make a difference. Unchlorinated water is preferred because chlorine can inhibit the activity of wild yeasts and bacteria necessary for fermentation. If your tap water is chlorinated, letting it sit uncovered for 24 hours allows the chlorine to dissipate, or using filtered or bottled water are good alternatives.
The temperature of the water matters too; lukewarm water (around 20-25°C or 68-77°F) is ideal for encouraging microbial activity. Having a small jar or container, ideally glass, with a loose-fitting lid or cover is also necessary to house your developing easy sourdough rye starter recipe base.
Step-by-Step: Cultivating a Lively Rye Starter
Cultivating an active rye starter is a process that requires patience and consistency, typically taking about 7-10 days to become reliably strong enough for baking. Begin by mixing your initial ingredients: combine approximately 50 grams of rye flour with 50 grams of lukewarm water in your clean jar. Stir thoroughly until there are no dry clumps and the mixture resembles a thick paste or batter.
Cover the jar loosely – allowing gases to escape is important – and leave it at room temperature, ideally between 20-24°C (68-75°F). After 24 hours, you might see a few small bubbles, indicating the very beginning of microbial activity.
On day two, it's time for the first feeding. Discard about half of the starter (around 50 grams) to maintain a manageable volume and concentrate the microbial population. Then, add another 50 grams of fresh rye flour and 50 grams of lukewarm water to the remaining starter. Mix well, cover loosely, and return it to its warm spot.
Repeat this discard and feeding process once every 24 hours. Within a few days, you should observe more significant bubbling, a slight sour smell developing, and the starter increasing in volume after feeding, often doubling within 12-24 hours. This consistent daily feeding is key to developing a potent easy sourdough rye starter recipe that will reliably leaven your bread.
Feeding Schedule and Indicators of Starter Activity
A regular feeding schedule is vital for nurturing a healthy and active rye sourdough starter. In the initial days (roughly days 1-5), feeding once every 24 hours is usually sufficient to establish a microbial community.
As your starter matures and shows more signs of activity – consistent bubbling throughout the mass, a pleasant tangy aroma reminiscent of yogurt or vinegar, and reliable doubling in size after feeding – you might need to adjust the schedule. A mature, active starter kept at room temperature often benefits from being fed twice a day, roughly every 12 hours, especially in warmer environments, to keep it vigorous and prevent it from becoming too acidic.
Key indicators of a thriving starter include its rise and fall pattern. After feeding, a healthy rye starter will typically double or even triple in volume within 4-8 hours at room temperature (around 22°C/72°F), reaching its peak activity before slowly deflating. Observing this consistent peak is crucial; ideally, you want to use your starter for baking when it is at or just past its peak – often referred to as being "ripe."
A float test, where a small spoonful of starter floats when dropped into water, is another common indicator of readiness, although visual cues like peak volume are often more reliable, particularly for rye starters which can be denser. Maintaining this rhythm helps ensure you have a strong easy sourdough rye starter recipe ready for baking your first loaf.
Troubleshooting: Mold, Inactivity, and Off-Flavors
Troubleshooting is a common part of the sourdough journey, and it's important not to get discouraged by minor setbacks with your easy sourdough rye starter recipe. One common issue is mold, which typically appears as fuzzy, colored patches (green, black, or pink) on the surface.
Unfortunately, if you see mold, it's generally best to discard the entire starter and begin anew in a clean jar to avoid potential health risks. Mold is different from the hooch, which is a dark liquid (usually gray or black with rye) that can form on top of an unfed starter; hooch is normal and can be stirred back in or poured off before feeding.
Inactivity is another frequent problem, especially in cooler environments or if feedings are inconsistent. If your starter isn't bubbling or rising significantly after several days, try moving it to a warmer spot (like near a router or on top of the refrigerator) or increasing the feeding frequency to twice a day. Ensure you are using the correct ratio of flour and water (often 1:1 by weight) and mixing thoroughly.
Off-flavors, such as a strong acetone or nail polish remover smell, usually indicate that the starter is hungry and producing excessive amounts of acetic acid. This is a sign it needs more frequent feeding or a larger feeding ratio (e.g., feeding 20g starter with 100g flour and 100g water). With consistent care and slight adjustments based on observation, your rye starter should become reliably healthy and active.
- Ingredients for a 100% Rye Sourdough Starter
- Step-by-Step: Cultivating a Lively Rye Starter
- Feeding Schedule and Indicators of Starter Activity
- Troubleshooting: Mold, Inactivity, and Off-Flavors
- What makes this sourdough rye loaf recipe "easy" for beginners?
- What is a sourdough rye starter, and why is rye flour used?
- How long does it take to create a viable sourdough rye starter?
- Can I substitute all-purpose flour for rye flour in this recipe?
- What are some common signs that my sourdough rye starter is ready to use?
Frequently Asked Questions
What makes this sourdough rye loaf recipe "easy" for beginners?
This recipe focuses on simple techniques and readily available ingredients, minimizing complexity for new sourdough bakers. It also includes detailed, step-by-step instructions to guide you through the process.
What is a sourdough rye starter, and why is rye flour used?
A sourdough rye starter is a fermented mixture of rye flour and water, teeming with wild yeasts and bacteria. Rye flour encourages faster and more robust fermentation compared to all-purpose flour.
How long does it take to create a viable sourdough rye starter?
Typically, a sourdough rye starter takes around 7-10 days to become active and ready for baking. This involves daily feedings and observation for signs of fermentation.
Can I substitute all-purpose flour for rye flour in this recipe?
While possible, substituting all-purpose flour will likely affect the flavor and texture of the loaf. Rye flour contributes a distinct earthy taste and a slightly denser crumb.
What are some common signs that my sourdough rye starter is ready to use?
A ready-to-use starter will exhibit visible bubbles, a pleasant tangy aroma, and will double in size after feeding within a few hours. These indicate active fermentation.
Final Reflection: The Unexpected Joys of Sourdough Rye
The humble sourdough rye starter, once a niche pursuit, is experiencing a remarkable resurgence, proving that even the most seemingly complex baking endeavors can be accessible and rewarding. This isn't just about a trendy bread; it's about connecting with a centuries-old tradition, embracing the slow pace of fermentation, and ultimately, experiencing the profound satisfaction of creating something delicious from scratch. The ease with which a successful starter can be cultivated, as detailed in this article, opens the door to a world of baking possibilities for everyone.
The journey of nurturing a sourdough starter is more than just a recipe; it's a testament to patience, observation, and the magic of natural processes. It's a journey that has profoundly impacted my own relationship with food, reminding me of the simple pleasures found in mindful creation. Bread is the staff of life,
they say, and for me, the process of making sourdough rye has become a deeply enriching experience, connecting me to a history of bakers and the simple act of transforming flour and water into something truly special.
Now, it's your turn. Don't be intimidated by the seemingly complex world of sourdough rye. Take the leap, nurture your starter, and experience the joy of baking your own loaf. The journey might require a little patience, but the reward—the aroma of freshly baked bread filling your kitchen, the satisfying chew of the crust, and the pride in your accomplishment—is immeasurable. Embrace the process, learn from your mistakes, and savor the delicious results. Your first successful sourdough rye loaf awaits.
Unlock Your Inner Baker: Craft Your Perfect Rye Loaf!
Thanks for joining us on this sourdough rye journey! We hope you've gained valuable insights and are feeling inspired to bake. Now it's time to put your newfound knowledge into practice.
- Bake your own rye loaf today! Use the recipe and tips we shared – even a small step towards your baking goals is a victory!
- Share your baking adventure! Post a picture of your creation on social media and tag us – we’d love to see your results! #BakeWithEaseRye
- Consider exploring other sourdough variations. What unique flavors will you try next?
Ready to transform your kitchen into a bakery? What’s the first ingredient you'll grab for your next sourdough experiment?