
The Ultimate Guide to Baking Any Vegan Bread Easily

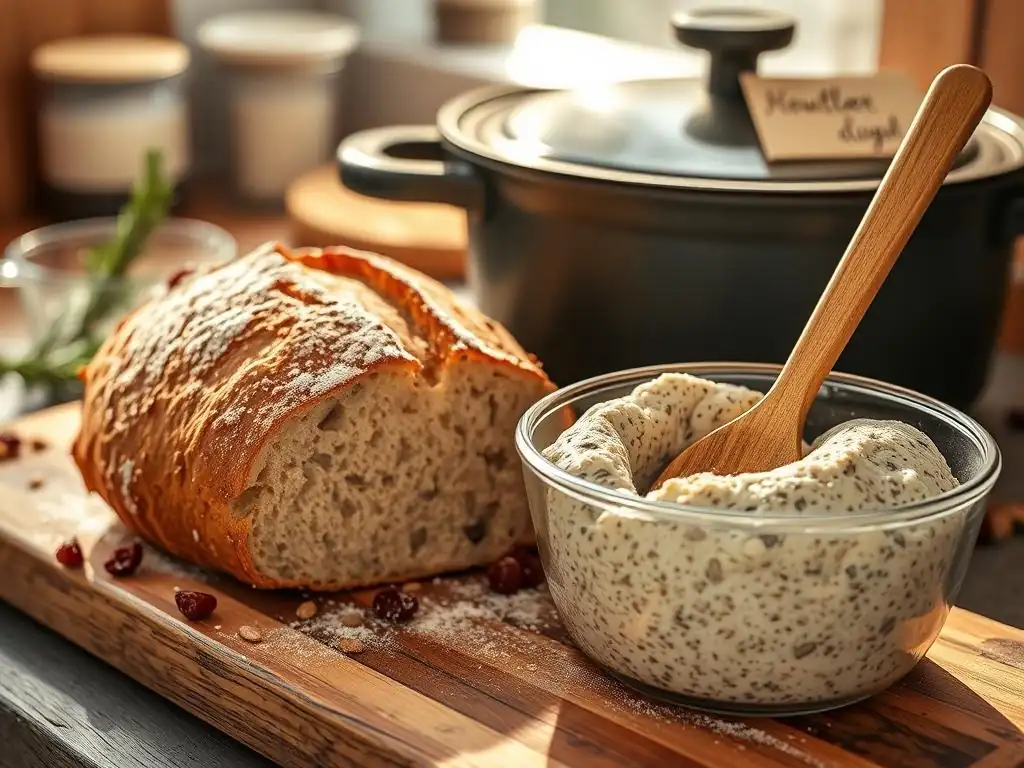
Welcome to BakeWithEase, your trusted companion on your baking journey!
Are you ready to unlock the secrets to crafting delicious, plant-based loaves? Dive into our Ultimate Guide to Baking Any Vegan Bread Easily and discover how simple it can be to create incredible, cruelty-free bread in your own kitchen. From fluffy sandwich bread to crusty artisan loaves, we'll demystify the process and empower you with the knowledge you need. Intrigued? Let's get baking!
- The Ultimate Guide to Baking Delicious Vegan Bread
- Your Vegan Bread Baking Guide
- Understanding Vegan Bread Baking
- Essential Equipment for Vegan Bread Baking
- Mastering Vegan Bread Baking Techniques
- Vegan Bread Recipes
- Troubleshooting Common Vegan Bread Baking Issues
- Tips and Tricks for Perfecting Your Vegan Bread
- Exploring Different Types of Vegan Bread
- Your Journey to Delicious Vegan Bread
-
Frequently Asked Questions
- What makes vegan bread different from regular bread?
- What are some common vegan substitutes for ingredients like eggs and milk in bread baking?
- Can I use any type of flour for vegan bread baking?
- What are some tips for ensuring my vegan bread rises properly?
- How do I store my vegan bread to keep it fresh?
- Final Reflection: The Rising Crust of Vegan Baking
- Unleash Your Inner Vegan Baker!
The Ultimate Guide to Baking Delicious Vegan Bread
Your Vegan Bread Baking Guide
Welcome to your comprehensive vegan bread baking guide! Whether you're new to the kitchen or looking to expand your bread-making skills, this guide will walk you through everything you need to know to create delicious, animal-free loaves. Baking vegan bread is a rewarding experience, opening up a world of flavors and textures using only plant-based ingredients. We'll cover the basics, essential tools, key techniques, and even share some fantastic vegan bread recipes to get you started on your baking journey.
Embarking on vegan bread baking means exploring how simple ingredients like flour, water, yeast, and salt transform into comforting staples without relying on dairy or eggs. This guide is designed to demystify the process, offering clear instructions and helpful tips for every step. From achieving the perfect rise to troubleshooting common issues, you'll gain the confidence to bake wonderful vegan bread right in your own home. Let's get baking!
Understanding Vegan Bread Baking
Key Ingredients and Substitutions in Vegan Bread
At its core, baking vegan bread relies on the same fundamental ingredients as traditional bread: flour, water, yeast, and salt. Standard all-purpose flour is a common starting point, but you can explore whole wheat, spelt, rye, or specialty blends for different textures and flavors. Yeast, whether active dry or instant, is the leavening agent that makes your bread rise, consuming sugars and producing carbon dioxide. A touch of sweetener, like sugar or maple syrup, often helps kickstart yeast activity, and salt is crucial for controlling fermentation and enhancing flavor.
The key difference in a vegan bread baking guide lies in replacing non-vegan components traditionally used for richness or structure. Instead of dairy milk, plant-based milks such as soy, almond, oat, or cashew milk can add moisture and a slightly richer crumb; oat milk is particularly good for richness. Eggs, sometimes used in enriched doughs for binding and structure, are typically replaced with options like a "flax egg" (ground flaxseed mixed with water), chia seeds, or commercial vegan egg replacers.
For recipes requiring butter, use a good quality vegan butter or oil. These substitutions ensure your vegan loaf is just as delightful as its non-vegan counterpart.
Health and Ethical Benefits of Baking Vegan Bread
Choosing to bake vegan bread offers compelling health advantages. By eliminating dairy and eggs, you naturally reduce the saturated fat content compared to many traditional enriched breads. This can be beneficial for cardiovascular health. Furthermore, vegan bread is inherently suitable for individuals with lactose intolerance or dairy allergies, providing a safe and delicious option. When you bake at home, you also have complete control over the ingredients, allowing you to choose whole grains for higher fiber content or limit added sugars and preservatives often found in commercial loaves.
Beyond personal health, baking vegan bread aligns with ethical and environmental considerations. A vegan lifestyle avoids animal products, reducing demand on animal agriculture. From an environmental perspective, producing plant-based ingredients generally requires less water, land, and energy, and generates fewer greenhouse gas emissions compared to dairy farming or egg production. By choosing a vegan bread baking guide, you're making a conscious decision that benefits both your well-being and the planet.
Essential Equipment for Vegan Bread Baking
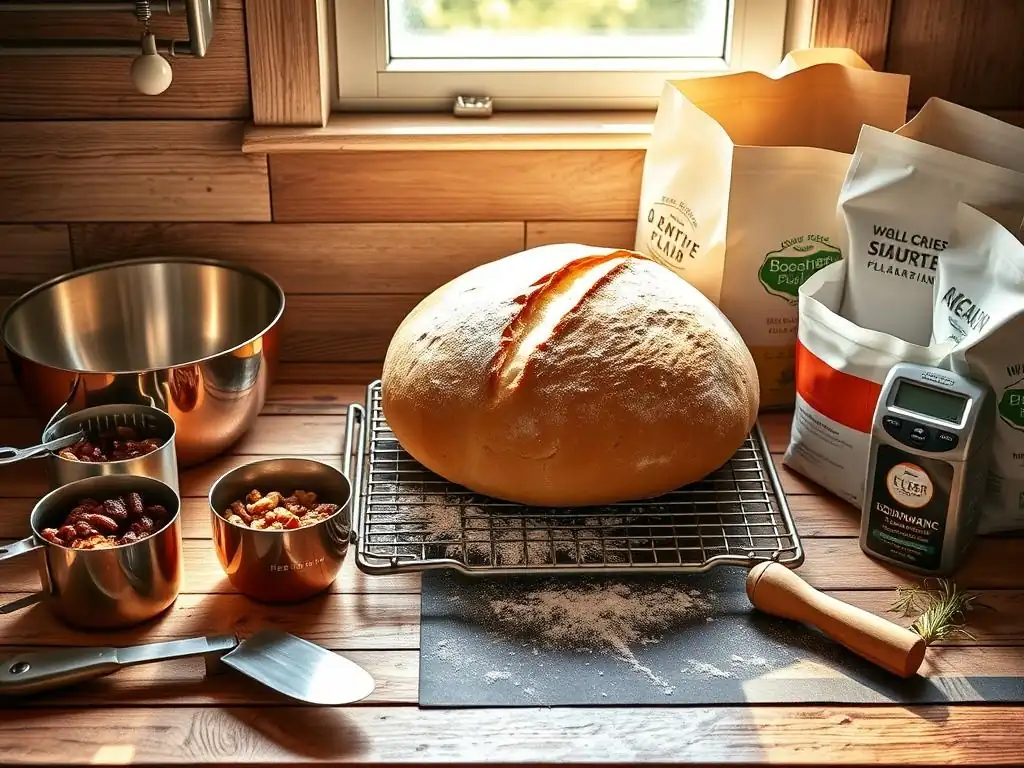
Essential Tools for Vegan Bread Bakers
To successfully bake vegan bread, a few basic tools are indispensable. You'll need a set of mixing bowls in various sizes – glass, plastic, or metal all work well. Accurate measuring cups and spoons are crucial for consistent results, although a digital kitchen scale is even better, especially for weighing flour and water, as volume measurements can vary.
A sturdy dough scraper or bench scraper is incredibly helpful for handling sticky dough, dividing portions, and cleaning your work surface. You'll also need containers or bowls for proofing, ideally clear ones to observe the rise, covered with plastic wrap or clean kitchen towels.
Of course, an oven is essential! Ensure it's calibrated or use an oven thermometer to verify its accuracy, as correct temperature is vital for baking vegan bread. Baking sheets or loaf pans are needed depending on the shape of bread you're making. Standard 8.5 x 4.5 inch or 9 x 5 inch loaf pans are common. Finally, a wire cooling rack is a must-have to allow air circulation around your finished loaf, preventing a soggy bottom and ensuring it cools properly before slicing.
Useful Equipment for Vegan Bread Baking
While not strictly essential, certain tools can make your vegan bread baking experience easier and yield even better results. A stand mixer fitted with a dough hook attachment can significantly reduce the effort required for kneading dough, especially wetter or larger batches, often completing the job in 5-8 minutes compared to 10-15 minutes by hand. For achieving that coveted crackly crust on artisan loaves, a preheated Dutch oven or a baking stone/steel is highly recommended. These tools trap steam and transfer heat efficiently.
Other helpful items include a lame or a very sharp razor blade for scoring the dough before baking, which controls expansion and adds a professional touch. A digital instant-read thermometer is invaluable for checking the internal temperature of your bread (aim for 190-210°F / 88-99°C depending on the type) to ensure it's fully baked. Proofing baskets (bannetons) can help shape round or oval loaves and give them a nice pattern. Lastly, a spray bottle filled with water can be used to create steam in the oven if you aren't using a Dutch oven or steam tray.
Mastering Vegan Bread Baking Techniques
Hydration: Achieving the Right Dough Consistency
Hydration is a key concept in any bread baking guide, including vegan ones. It refers to the ratio of water (or other liquid) to flour by weight, expressed as a percentage (water weight / flour weight * 100). A dough with 60% hydration has 60g of water for every 100g of flour.
Lower hydration doughs (e.g., 55-65%) are stiffer, easier to handle, and often result in a tighter crumb, common in sandwich breads. Higher hydration doughs (e.g., 70%+), like those used for many artisan loaves, are wetter, stickier, and require more practice to handle but can produce a more open, airy crumb.
The ideal hydration depends on the recipe and the type of flour used; whole wheat flour absorbs significantly more water than white flour, for instance. It's often best to start with the recipe's specified amount and adjust slightly based on how the dough feels and the humidity of your environment. A well-hydrated dough should be moist but still manageable after kneading. You can often tell if hydration is right during kneading – it should become less sticky as gluten develops.
Kneading: Developing Gluten or Gluten-Free Structure
Kneading is the process that develops the gluten network in wheat-based doughs. As you work the dough, the gluten proteins align and strengthen, creating an elastic structure capable of trapping the carbon dioxide produced by the yeast. This network is what gives bread its chewiness and allows it to rise and hold its shape.
Proper kneading, whether by hand (push, fold, turn motion for 10-15 minutes) or machine (using a dough hook for 5-8 minutes), is essential for a well-risen loaf with good texture. The dough should become smooth, elastic, and pass the "windowpane test" (a small piece can be stretched thinly without tearing).
For vegan bread baking that is also gluten-free, the concept of kneading changes entirely. Since there's no gluten, the goal isn't to develop a network but rather to thoroughly mix ingredients and activate alternative binders like psyllium husk, xanthan gum, or flaxseed. GF vegan doughs are often stickier or more batter-like and require vigorous mixing rather than traditional kneading. Overworking GF dough isn't a concern in the same way it is with gluten doughs; the focus is on even distribution of binders to provide structure.
Proofing: Ensuring Optimal Rise and Flavor
Proofing, also known as fermentation, is the period where the yeast is most active, consuming sugars and producing the gas that makes the dough rise. This process is critical for both the volume and flavor of your vegan bread. The first proof (bulk fermentation) happens after kneading, allowing the dough to double in size, typically taking 1-2 hours at room temperature (around 75-80°F / 24-27°C). Warmer temperatures speed up proofing; cooler temperatures slow it down but can develop more complex flavors (like a long cold proof in the refrigerator).
The second proof (final proof) occurs after the dough has been shaped. This is where the loaf gets its final volume and structure before baking. It usually takes less time than the first proof, perhaps 30-60 minutes, again depending on temperature. A properly proofed loaf should look visibly expanded and feel light and airy.
The "poke test" is a good indicator: gently press a finger into the dough; if the indentation springs back slowly, it's ready. If it springs back quickly, it needs more time; if it stays indented, it might be over-proofed. Getting proofing right is fundamental to a successful vegan bread baking guide.
Vegan Bread Recipes
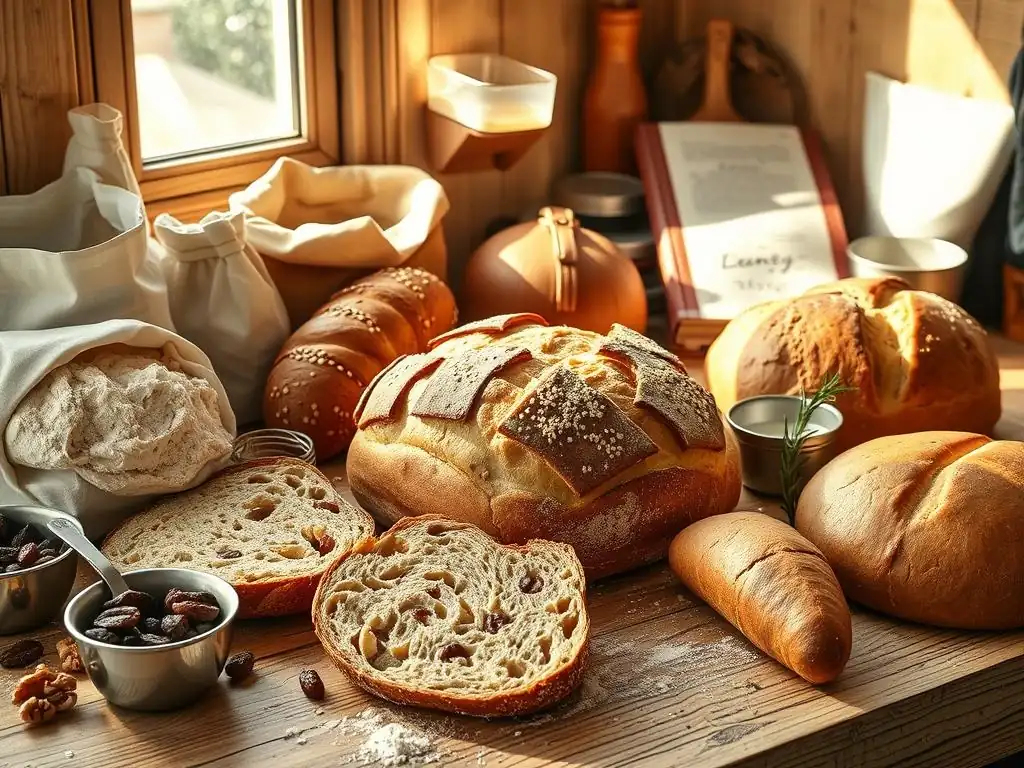
Beginner-Friendly Vegan Bread Recipe: Classic Sandwich Bread
Learning to bake vegan bread is easy with a simple sandwich loaf. This classic recipe requires minimal ingredients and straightforward techniques, perfect for building confidence. It yields a soft, sliceable bread ideal for sandwiches or toast. The key is accurate measuring and patience during the proofing stages.
Ingredients for Classic Vegan Sandwich Bread
- 3 cups (360g) all-purpose flour
- 1 packet (2.25 tsp or 7g) active dry yeast
- 1 tsp salt
- 2 tbsp sugar or maple syrup
- 1.5 cups (360ml) warm water (105-115°F / 40-46°C)
- 2 tbsp melted vegan butter or olive oil
Step-by-Step Instructions for Baking Classic Vegan Sandwich Bread
- In a large bowl, combine the warm water, sugar, and yeast. Let stand for 5-10 minutes until frothy.
- Stir in the salt and melted vegan butter or oil.
- Gradually add the flour, mixing with a spoon or spatula until a shaggy dough forms.
- Turn the dough out onto a lightly floured surface and knead for 8-10 minutes by hand, or 5-7 minutes in a stand mixer with a dough hook, until smooth and elastic.
- Lightly grease a clean bowl with oil. Place the dough in the bowl, turning to coat. Cover with plastic wrap or a clean towel.
- Let the dough rise in a warm place for 1-1.5 hours, or until doubled in size (First Proof).
- Punch down the dough gently to release air. Turn it out onto a lightly floured surface and shape it into a loaf.
- Place the loaf in a greased 9x5 inch loaf pan. Cover loosely and let rise again for 30-45 minutes, or until it has risen about an inch above the rim of the pan (Second Proof).
- Preheat your oven to 375°F (190°C).
- Bake for 30-35 minutes, or until the crust is golden brown and the internal temperature reaches 190-200°F (88-93°C).
- Carefully remove from the pan and cool completely on a wire rack before slicing.
Intermediate Vegan Bread Recipe: Rustic Multigrain Bread
Ready to level up your vegan bread baking? This rustic multigrain loaf incorporates various grains and seeds for added texture, flavor, and nutrition. It's slightly more complex due to managing different flours and hydration, but the result is a satisfying, hearty bread.
Ingredients for Vegan Rustic Multigrain Bread
- 2 cups (240g) bread flour
- 1 cup (120g) whole wheat flour
- 1/2 cup (60g) rolled oats
- 1/4 cup (30g) mixed seeds (such as flax, chia, sunflower, sesame) + more for topping
- 1.5 cups (360ml) warm water (105-115°F / 40-46°C)
- 1 packet (2.25 tsp or 7g) active dry yeast
- 1.5 tsp salt
- 1 tbsp maple syrup or molasses
- 1 tbsp olive oil
Step-by-Step Instructions for Baking Vegan Rustic Multigrain Bread
- In a large bowl, combine warm water, maple syrup/molasses, and yeast. Let stand for 5-10 minutes until frothy.
- Stir in the salt and olive oil.
- Add the bread flour, whole wheat flour, rolled oats, and mixed seeds. Mix until a shaggy dough forms.
- Turn dough onto a lightly floured surface. Knead for 10-12 minutes by hand or 6-8 minutes in a stand mixer until dough is smooth and elastic. It may still be slightly sticky due to the whole grains.
- Lightly oil a clean bowl. Place dough in bowl, turn to coat. Cover and let rise in a warm place for 1.5-2 hours, or until doubled (First Proof).
- Gently punch down dough. Turn out onto a lightly floured surface and shape into a round or oval loaf.
- Place the shaped loaf on a baking sheet lined with parchment paper or in a proofing basket dusted with flour. Cover loosely.
- Let rise for 45-60 minutes, or until visibly expanded but not fully doubled (Second Proof).
- Preheat oven to 425°F (220°C). If using a baking stone or Dutch oven, preheat it as well.
- If baking on a sheet, you can spray the loaf lightly with water and sprinkle with extra seeds. If using a Dutch oven, carefully transfer the loaf into the hot pot. Score the top with a sharp knife or lame.
- Bake for 20 minutes. If using a Dutch oven, remove the lid after 20 minutes. Reduce oven temperature to 375°F (190°C) and bake for another 20-25 minutes, or until crust is deep golden brown and internal temperature is 190-200°F (88-93°C).
- Cool completely on a wire rack before slicing.
Advanced Vegan Bread Recipe: Vegan Brioche
For those looking for a challenge in their vegan bread baking guide, vegan brioche is a rich, tender bread traditionally made with lots of butter and eggs. Creating a vegan version requires careful substitution and technique but is incredibly rewarding. This recipe uses plant-based butter and milk for richness and often a touch of plant-based yogurt or aquafaba for texture.
Ingredients for Vegan Brioche
- 3.5 cups (420g) bread flour or all-purpose flour
- 1 packet (2.25 tsp or 7g) instant yeast
- 1/4 cup (50g) sugar
- 1 tsp salt
- 1 cup (240ml) warm plant milk (soy or oat work well)
- 1/4 cup (60ml) warm water
- 1/4 cup (60g) plant-based yogurt (unsweetened plain) or aquafaba
- 1 tsp vanilla extract (optional, for sweet versions)
- 1/2 cup (115g) softened vegan butter, cubed
- Vegan egg wash (e.g., 1 tbsp plant milk + pinch of sugar, or aquafaba) for brushing
Step-by-Step Instructions for Baking Vegan Brioche
- In the bowl of a stand mixer, combine the flour, instant yeast, sugar, and salt.
- In a separate bowl, whisk together the warm plant milk, warm water, plant-based yogurt/aquafaba, and vanilla extract (if using).
- Pour the wet ingredients into the dry ingredients. Mix on low speed with the dough hook until a shaggy dough forms.
- Increase speed to medium and knead for about 8-10 minutes until the dough is smooth and begins to pull away from the sides of the bowl.
- Gradually add the softened vegan butter, one cube at a time, allowing each addition to be incorporated before adding the next. This will take another 5-10 minutes of kneading. The dough will look wet and messy initially but should become smooth, elastic, and slightly sticky by the end.
- Scrape the dough into a lightly oiled bowl, cover, and let rise in a warm place for 1.5-2 hours, or until doubled (First Proof).
- For a more complex flavor and easier handling, you can refrigerate the dough for at least 4 hours or overnight after the first proof.
- Turn the cold dough out onto a lightly floured surface. Gently punch down and shape into desired forms (e.g., one large loaf, smaller rolls, braided loaf).
- Place shaped dough in a greased loaf pan or on a baking sheet lined with parchment paper. Cover loosely and let rise for 1-1.5 hours, or until nearly doubled (Second Proof). This rise might be slower if the dough was chilled.
- Preheat oven to 375°F (190°C).
- Gently brush the top of the dough with vegan egg wash.
- Bake for 25-40 minutes, depending on the size and shape, until golden brown and the internal temperature reaches 190-200°F (88-93°C). Smaller rolls will take less time.
- Cool completely on a wire rack before slicing.
Troubleshooting Common Vegan Bread Baking Issues
Addressing Lack of Rise in Vegan Bread
One of the most frustrating issues in vegan bread baking is a loaf that doesn't rise. Several factors can contribute to this. The most common culprit is inactive yeast. Ensure your yeast hasn't expired and that the water temperature is correct for activating it (around 105-115°F or 40-46°C for active dry yeast; instant yeast can often be mixed directly with dry ingredients, but warm liquid helps). Water that is too hot will kill the yeast, while water that is too cold won't activate it properly. Too much salt can also inhibit yeast activity, so measure carefully.
Other reasons for poor rise include a cold environment during proofing – yeast is less active in cool temperatures. Find a warm spot, like inside a turned-off oven with the light on, or place the covered dough on top of your preheating oven (away from direct heat). Insufficient kneading can also be a factor; if the gluten structure (in wheat doughs) isn't developed, it can't effectively trap the gas produced by the yeast. Finally, ensuring you give the dough enough time to proof, observing its size increase rather than strictly following timing, is crucial.
Solving Density Issues in Vegan Bread
A dense loaf is often linked to issues with rising or structure development. The most frequent cause of density in vegan bread is under-proofing. If the dough doesn't have enough time to expand sufficiently during the first or second rise, it won't achieve a light, airy texture when baked. Ensure your dough passes the "poke test" before baking. Another cause can be insufficient hydration; a dough that is too dry will result in a tight, dense crumb. Weighing ingredients, especially flour and water, helps maintain correct hydration.
Other factors contributing to density include not enough leavening (again, check your yeast activity and quantity), punching down the dough too aggressively after the first proof (deflating too much of the gas), or, in the case of wheat bread, inadequate kneading leading to a weak gluten structure. For gluten-free vegan bread, density can result from not enough binder or using the wrong blend of flours. Always allow your loaf the full, appropriate proofing time before baking.
Preventing Gummy Texture in Vegan Bread
A gummy or sticky texture inside your vegan bread is usually a sign that it hasn't been baked through completely. The internal temperature needs to reach a specific range, typically 190-200°F (88-93°C) for most standard loaves and up to 210°F (99°C) for richer or whole grain breads, to ensure the starches are fully cooked and set. Using an instant-read thermometer is the best way to verify doneness. If the crust looks done but the inside is gummy, loosely tent the loaf with foil and continue baking for another 5-10 minutes.
Another common cause is slicing the bread while it's still hot. As bread cools, residual heat continues to cook the interior, and steam trapped inside redistributes. Slicing too early releases this steam, resulting in a gummy texture. Always allow your vegan bread to cool completely on a wire rack – for a standard loaf, this can take 1-2 hours – before cutting into it. Over-proofing can also sometimes lead to a slightly gummy crumb as the structure weakens.
Tips and Tricks for Perfecting Your Vegan Bread
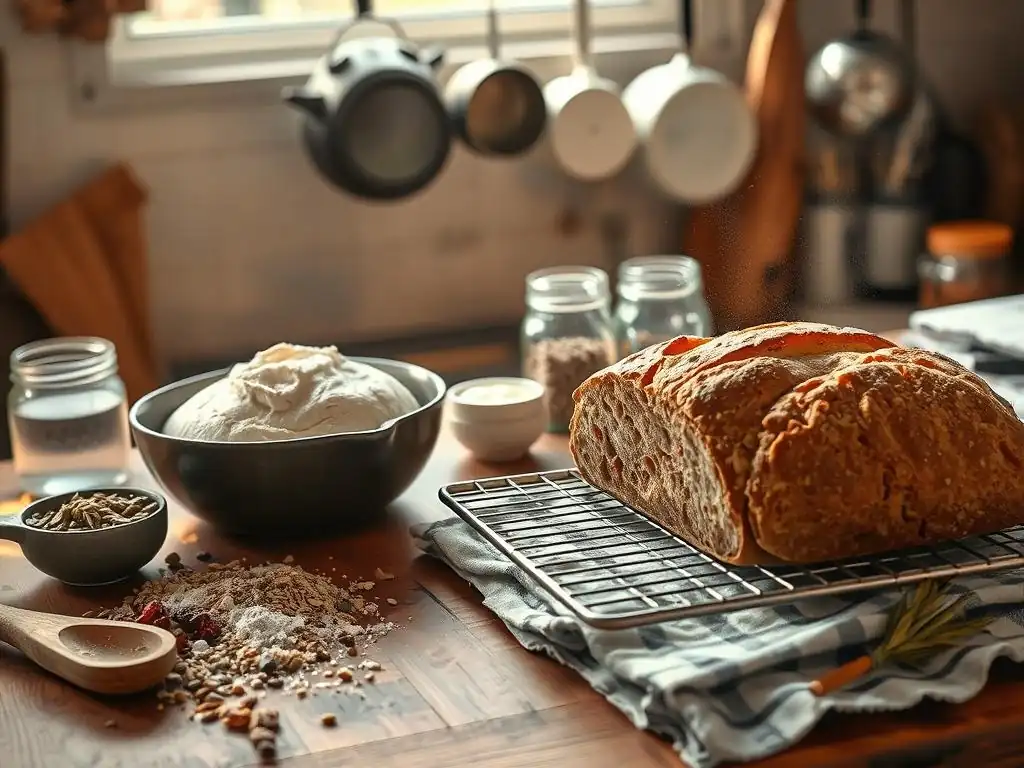
Flavor Enhancements: Add-Ins and Variations for Vegan Bread
Elevating your vegan bread baking goes beyond the basic loaf by incorporating delicious add-ins. Seeds like sesame, poppy, sunflower, and pumpkin seeds can be added to the dough or sprinkled on top for crunch and flavor – try adding up to 1/2 cup of a seed mix per standard loaf recipe. Chopped nuts, dried fruits like cranberries or raisins, or even savory elements like roasted garlic, olives, sun-dried tomatoes, or fresh herbs (rosemary, thyme) can transform a simple dough. Incorporate these during the last few minutes of kneading or gently fold them in after the first proof before shaping.
Experimenting with different flours is another way to enhance flavor. Using a percentage of whole wheat, rye, spelt, or even buckwheat flour alongside white flour adds depth and complexity. For a tangy flavor, try incorporating a portion of a mature, active vegan sourdough starter into your dough, adjusting yeast and liquid accordingly. Natural sweeteners like agave or date syrup can replace sugar for different flavor profiles, especially in slightly sweeter doughs.
Achieving a Perfect Crust: Techniques and Tips for Vegan Bread
A beautiful, crisp crust is a hallmark of great bread, and it's entirely achievable in vegan bread baking. The key is managing moisture and heat in the oven. Steam is crucial during the initial phase of baking; it keeps the crust soft, allowing the loaf to expand fully (oven spring).
Once the loaf has reached its maximum volume, the steam dissipates, and the crust hardens and browns. Methods for creating steam include baking in a preheated Dutch oven (the lid traps the bread's own steam), placing a tray of hot water on the bottom rack of your oven, or carefully spraying the oven walls with water after putting the bread in.
Baking temperature also plays a significant role. Many artisan loaves start baking at a high temperature (450-500°F / 230-260°C) for the first 10-20 minutes to maximize oven spring, then the temperature is reduced (to 375-425°F / 190-220°C) to ensure the inside cooks through without burning the crust. Baking directly on a preheated baking stone or steel also helps create a strong, crisp bottom crust. Finally, scoring the loaf with a sharp blade just before baking isn't just for looks; it controls where the bread expands, helping achieve a better shape and crust development.
Storing Vegan Bread for Freshness
Homemade vegan bread, like most homemade bread, lacks the preservatives found in commercial varieties, meaning it will stale faster. The best way to store it for immediate consumption is at room temperature. For crusty loaves, a paper bag allows the crust to remain crisp for the first day, though the interior may dry out quicker. For softer sandwich loaves, storing in an airtight container or a dedicated bread bag helps retain moisture, keeping it soft for 2-3 days. Avoid refrigerating bread, as this process accelerates staling.
For longer storage, freezing is your best friend. Vegan bread freezes exceptionally well. Ensure the loaf is completely cooled, then slice it (if desired for easy thawing) and wrap it tightly in plastic wrap followed by aluminum foil or place slices in a freezer-safe bag, squeezing out as much air as possible. A whole loaf can also be wrapped and frozen. Frozen bread can maintain quality for up to 3 months. Thaw slices individually as needed or let a whole loaf thaw at room temperature before warming slightly or slicing.
Exploring Different Types of Vegan Bread
Baking Vegan Gluten-Free Bread
Baking vegan bread that is also gluten-free presents a unique set of challenges, primarily the absence of gluten to provide structure. Success relies on using carefully formulated gluten-free flour blends (often a mix of rice flour, sorghum flour, tapioca starch, potato starch, etc.) and incorporating effective binders. Ingredients like psyllium husk, xanthan gum, or ground flaxseed become crucial; psyllium husk, for example, can absorb a significant amount of water (up to 9 times its weight) and create a gel-like network that mimics some of gluten's properties, providing elasticity and preventing crumbling.
Unlike gluten doughs that require kneading, GF vegan bread doughs are often more like thick batters or very soft, sticky doughs that are simply mixed thoroughly to distribute the binders evenly. Proofing might look different too – the rise might be less dramatic. Accurate measurement is paramount in GF baking, especially weighing flours and binders, as slight variations can drastically affect texture. Using recipes specifically designed for vegan and gluten-free needs is highly recommended when starting your GF vegan bread baking guide.
Vegan Sweet Bread Recipes
Expanding your vegan bread baking guide to include sweet breads opens up delightful possibilities like cinnamon rolls, enriched breakfast loaves, or vegan challah. These doughs are richer than lean bread doughs, typically incorporating more sugar, fat, and sometimes plant milk or plant-based yogurt for tenderness and flavor. Vegan butter is commonly used to provide the richness and flakiness characteristic of traditional sweet breads.
Vegan substitutes like aquafaba (the liquid from canned chickpeas) can sometimes replace eggs in certain sweet bread applications, providing lift and binding. Various plant milks (like soy or oat milk) contribute moisture and a creamy texture. These doughs are often softer and require a gentle touch during shaping. Incorporating flavorings like vanilla, cinnamon, cardamom, or adding fillings like fruit, nuts, or chocolate chips makes vegan sweet bread a truly special treat.
Mastering Flavors and Textures in Vegan Artisan Bread
Achieving the complex flavors and textures of artisan vegan bread involves exploring advanced techniques and ingredient interactions. Longer fermentation times, particularly cold proofing in the refrigerator for 12 to 48 hours or even longer, allows organic acids to develop, resulting in a more nuanced, tangy flavor profile and improved crust development. Using a vegan sourdough starter (simply flour and water, fermented) as the leavening agent instead of or in addition to commercial yeast also contributes significant flavor depth and a characteristic chewy texture and open crumb structure.
Mastering hydration is also key to artisan bread; higher hydration doughs (70%+) are common for achieving an open, airy crumb, though they are trickier to handle. Techniques for achieving a perfect crust, such as baking in a preheated Dutch oven or on a baking stone/steel with added steam, are essential for that satisfying crunch. Experimenting with blends of flours, like adding a percentage of rye or whole wheat flour to a white bread base, further enhances the flavor and texture complexity of your artisan vegan bread.
Your Journey to Delicious Vegan Bread
Frequently Asked Questions
What makes vegan bread different from regular bread?
Vegan bread differs from regular bread primarily in its lack of animal-derived ingredients. This means it excludes dairy, eggs, and honey, which are often found in traditional bread recipes.
What are some common vegan substitutes for ingredients like eggs and milk in bread baking?
Common substitutes include plant-based milks like almond or soy milk for dairy, and flaxseed "eggs" or applesauce for eggs. These provide moisture and binding needed for the dough's structure.
Can I use any type of flour for vegan bread baking?
Yes, you can use many types of flour! All-purpose flour, whole wheat flour, and bread flour are all suitable. Experimenting with different flours can create unique flavors and textures in your vegan bread.
What are some tips for ensuring my vegan bread rises properly?
Ensure your yeast is active by proofing it first. Also, providing a warm environment for rising is crucial. Proper kneading to develop gluten is also key.
How do I store my vegan bread to keep it fresh?
Store your vegan bread in an airtight container at room temperature for a few days. For longer storage, freezing slices is a great option. Consider avoiding refrigeration as it can dry out the bread.
Final Reflection: The Rising Crust of Vegan Baking
The accessibility of vegan baking is no longer a niche pursuit; it's a burgeoning movement transforming kitchens and palates worldwide. This guide aimed to demystify the process, proving that creating delicious, fluffy vegan bread is achievable for everyone, regardless of baking experience. We've explored simple substitutions, tackled common pitfalls, and celebrated the versatility of plant-based ingredients. The result? A wealth of knowledge empowering you to confidently embark on your own vegan bread-baking journey.
The shift towards plant-based diets is profoundly impacting our culinary landscape, and vegan baking is at the forefront of this change. It's more than just a dietary choice; it's a statement about sustainability, ethical consumption, and the exploration of new flavors and textures. As we move towards a more conscious relationship with food, recipes like these become increasingly important. Food is symbolic of love when words are inadequate.
- Alan D. Wolfelt. This sentiment rings true for the act of baking itself, and especially so when sharing the fruits (or loaves!) of your labor with loved ones, regardless of dietary restrictions.
Now, it's your turn. Don't let the perceived complexity of vegan baking hold you back. Experiment with different flours, explore unique flavor combinations, and most importantly, enjoy the process. Each loaf you bake is a testament to your creativity and a delicious step towards a more sustainable and compassionate culinary future. So, dust off your mixing bowls, preheat your oven, and let the aroma of freshly baked vegan bread fill your home – the possibilities are truly endless.
Unleash Your Inner Vegan Baker!
Thanks for taking the time to explore the world of vegan bread baking with us! We hope you've gained some delicious inspiration and newfound confidence in the kitchen. Now it's time to put your knowledge to the test!
- Bake your first vegan loaf today! Choose your favorite recipe from the guide and get baking. Even a simple sourdough starter can be a rewarding first step!
- Share your baking journey! Snap a photo of your masterpiece and share it on social media using #BakeWithEaseVeganBread. Let's inspire others to embrace plant-based baking.
- Dive deeper into vegan baking techniques by exploring our other resources on BakeWithEase.com (this will eventually contain other related articles)
Ready to transform your kitchen into a vegan bread haven? What's the first vegan bread recipe you'll try?